
Summer DIY: How To Make A Gold And Grey Planter
I'm currently re-vamping my tired-looking balcony (full reveal coming in a few weeks!) Since the sun has been shining in the past week (even though it's now pouring as I write this) I decided to get out and get some Vitamin D and work on part of the project which was to build a tall planter trough ready for summer flowers. Building and painting the planter takes no longer than a day, so it is perfect for a sunny Sunday DIY project.
The first stop was to get some load-bearing wood. My top tip, if you are going to build a planter like mine, is first to check if there is anyone in your area selling used scaffold boards. Building regulations state that builders’ scaffolding boards have to be changed regularly, so you often get scaffold and building companies selling off their old scaffold boards for cheap on eBay and Gumtree. Failing that, check out any local skips where wooden palettes have been disposed of, or old wood boards have been thrown out (you could try skip hire in Canterbury). Half the wood used to make this planter I skip-dived for and I also purchased wood from my local Wickes store.
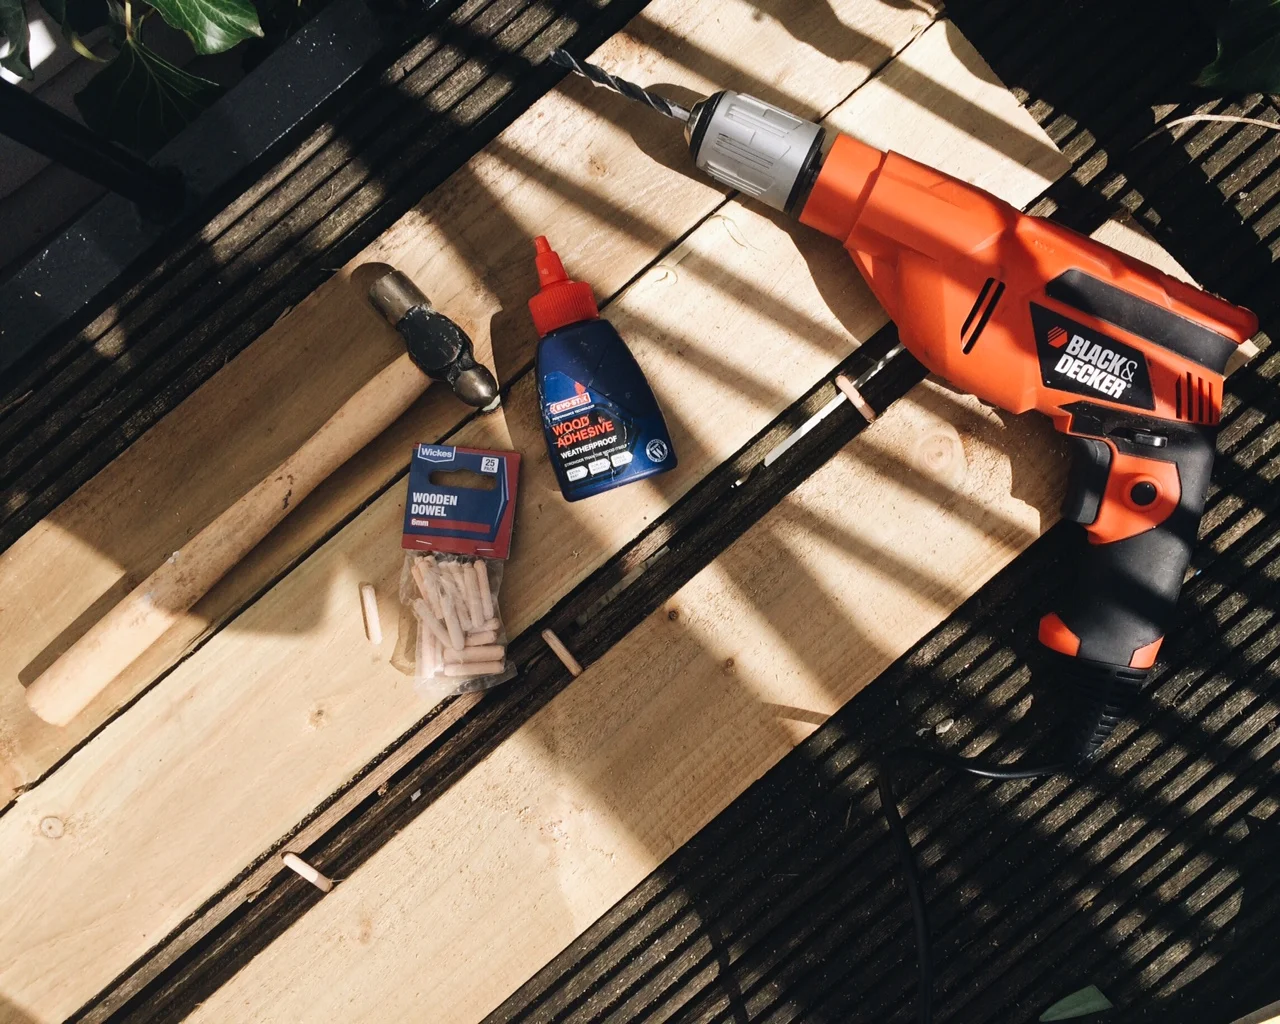
Once you have the wood, you'll need the following items in order to build your planter:
Wood dowels (you may know of these from flat-packed furniture - they act as plugs to secure wood together)
Exterior Wood Glue
Basic Hammer
Drill
Wood screws long enough to join your wood together and a screwdriver
Heavy duty saw
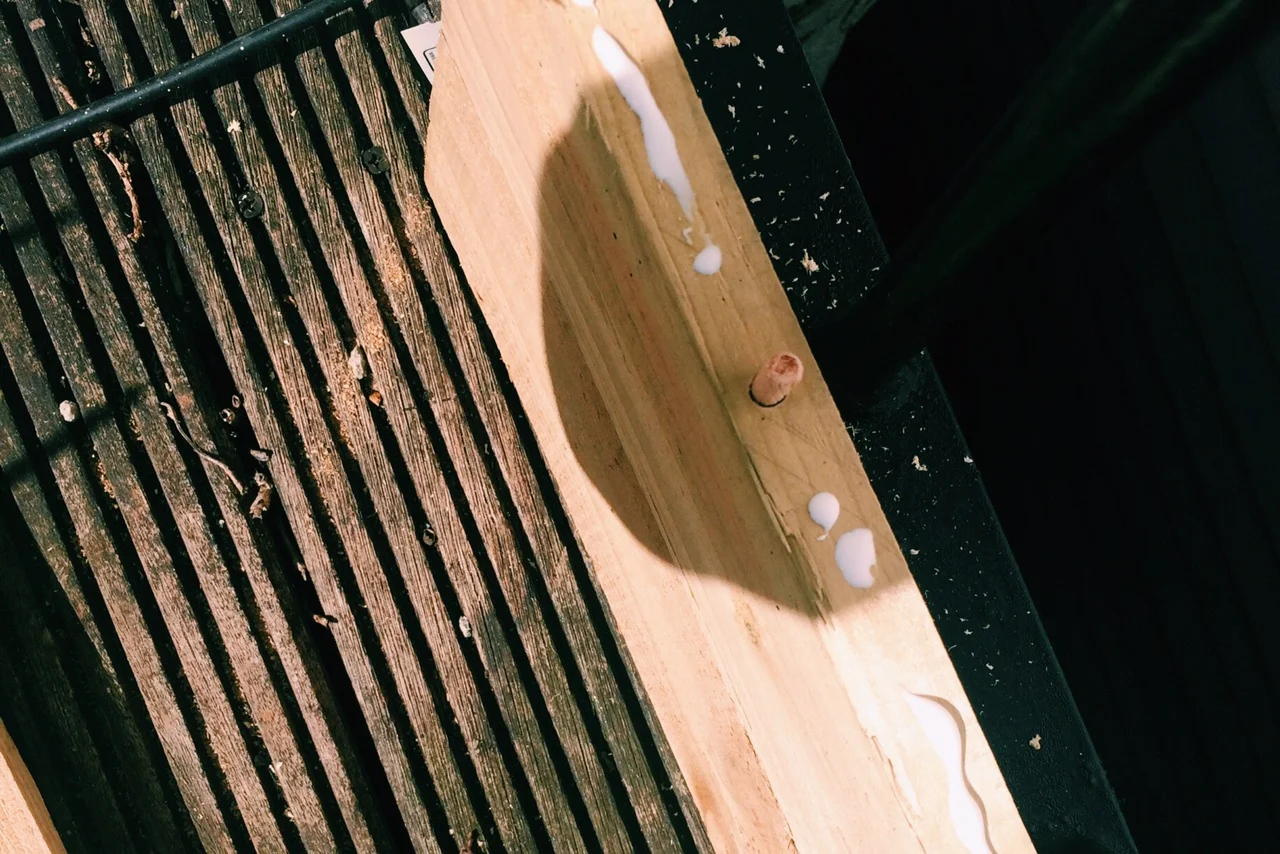
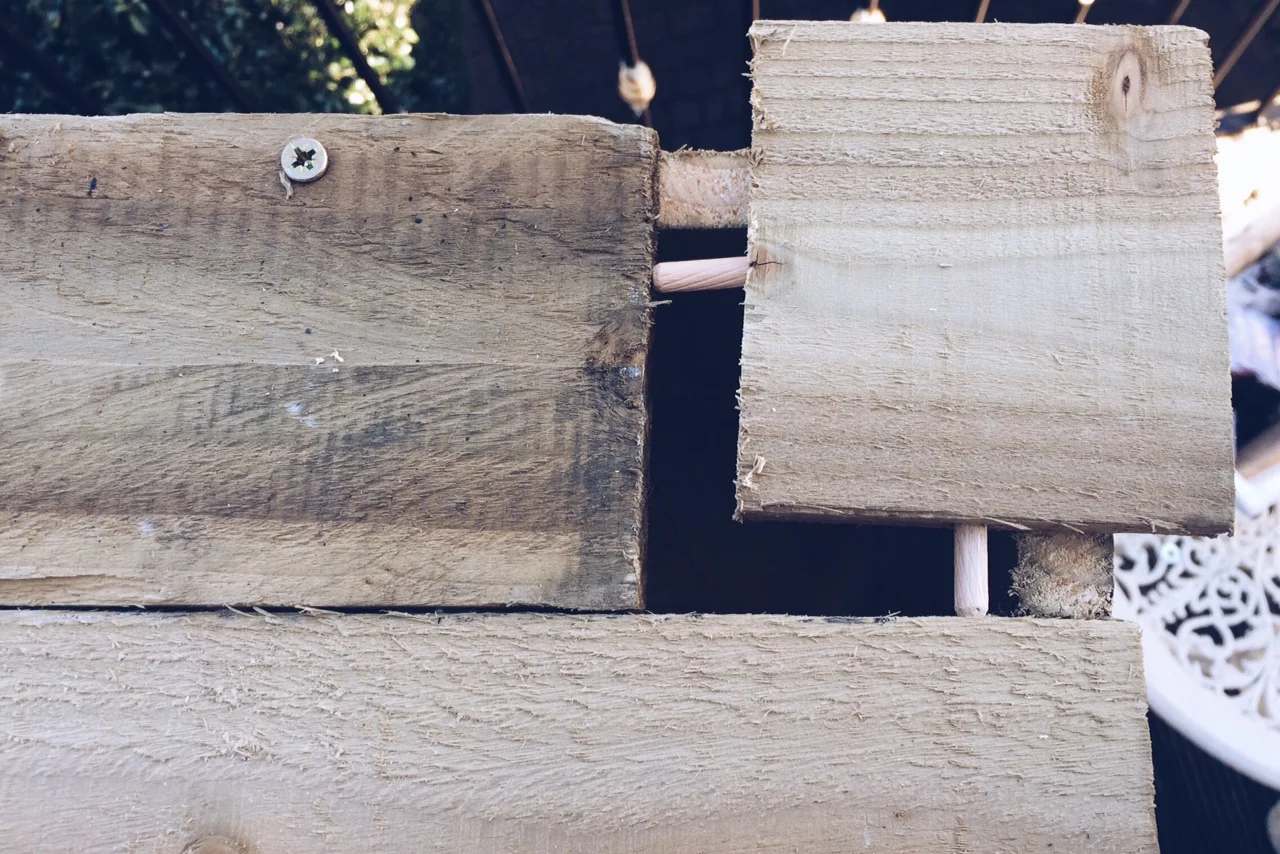
To make the planter base, lay the wood face down and decide on your measurements for the depth and width of the planter, then join with dowels and wood glue.
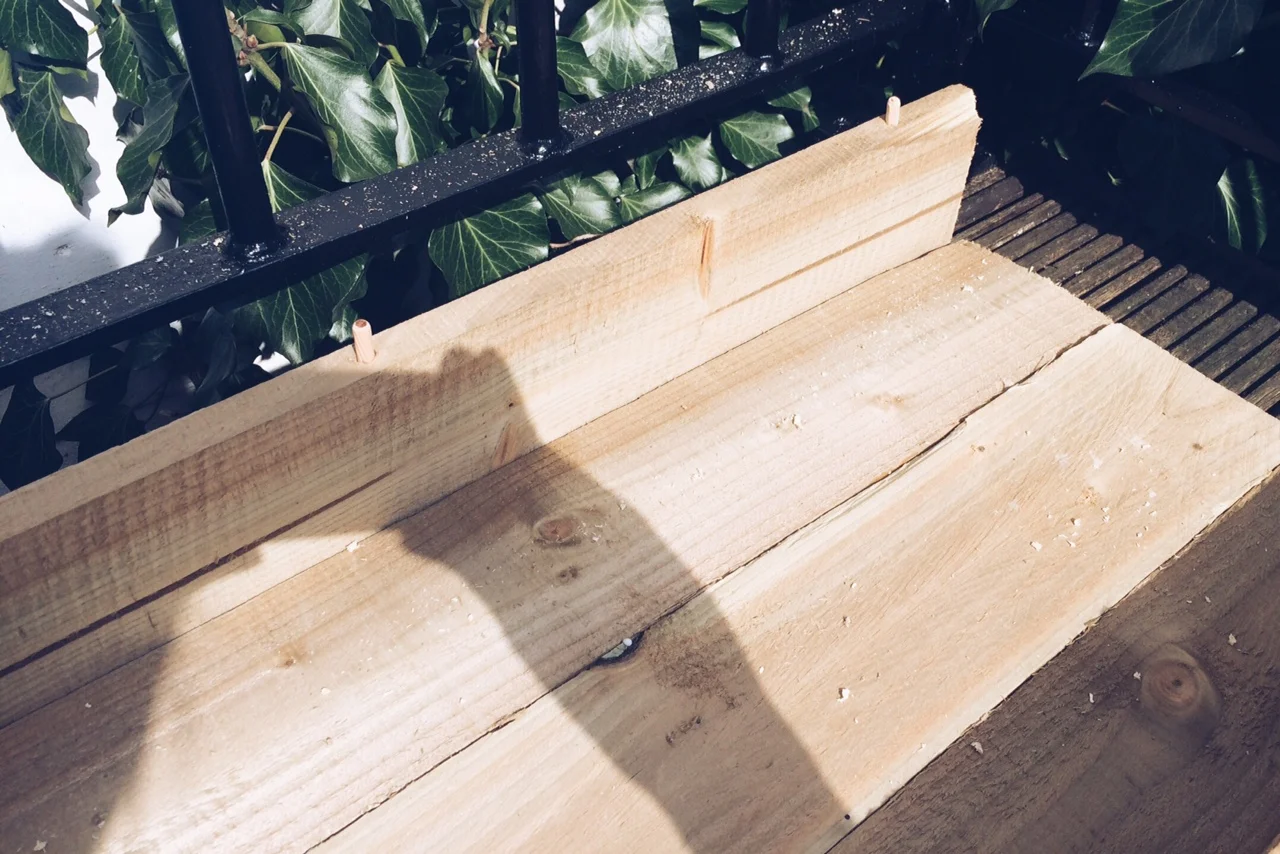
Work out what depth you want your planter by laying your wood planks face down side by side. I used 3 planks for my base as I wanted my planter quite thin (it will be on my balcony so I didn't want it taking up loads of space). Decide on the length of the planter after you have chosen the width and cut your wood to size. Take one plank and drill about 1cm deep holes all down one side for your dowels. Holes should be about 20-30cm apart. My planter is around 100cm in length and I drilled 4 holes per plank. In each hole squirt in a drop of wood glue and slot in a dowel halfway. Lay your next plank down next to your dowel-filled plank and mark on the side of this plank exactly where the dowels should meet. Drill 1cm deep holes in the side of your second plank. Your dowels should meet up and the planks should slot together. Once you have checked that they do all slots easily, run some wood glue all down the side of one of the planks and push the planks together. Use a hammer to secure the dowels to join the two planks properly.

Don't be afraid of drills! They seem scary at first but like everything just take a bit of practice.
Once you have your base you need to apply the same method building the planks upwards to make the front and the back of the planter. Cut your wood the same length as your base planks and at the edge of your base add dowels and glue and slot your planks side on so it looks like this:
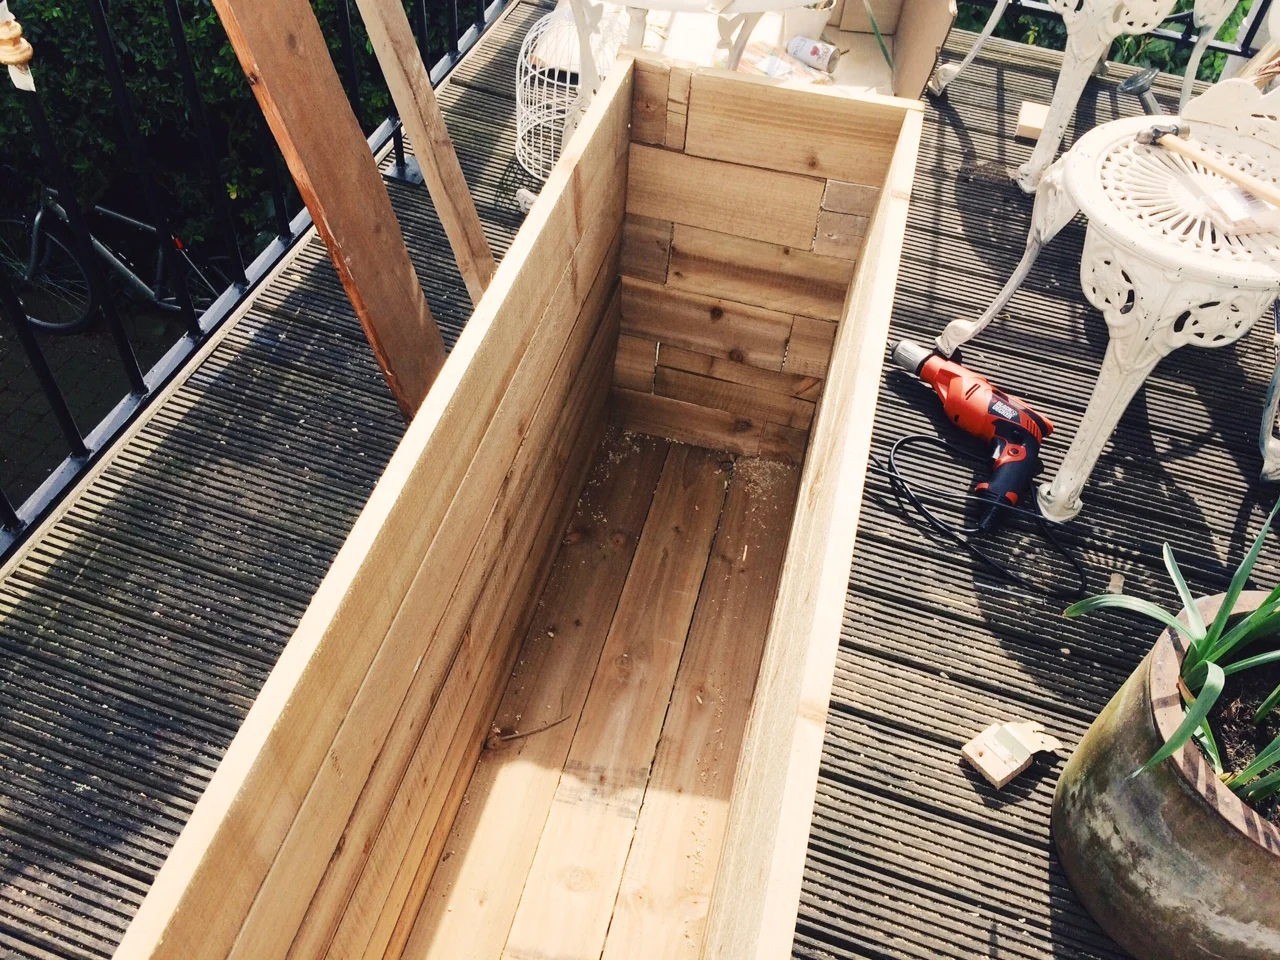
Build your planks up at the front and back until the planter starts to feel secure. That's when you need to start adding the sides of the planter with dowels, glue and screws.
If you have enough wood to hand simply cut it the depth of your planter and screw it in place with wood screws to the ends of the front and back planks. For my planter sides, I used the chopped wood from the planks used to make the front, back and base of the planter and kind of made a Tetris-style look so the wood was not wasted:
Alternate dowels, glue and screws as you build up your sides so the planter is secure. Remember a planter is for outside use and will be filled with soil, so in no way does it have to be perfect and is a great project if you are a novice DIY-er.
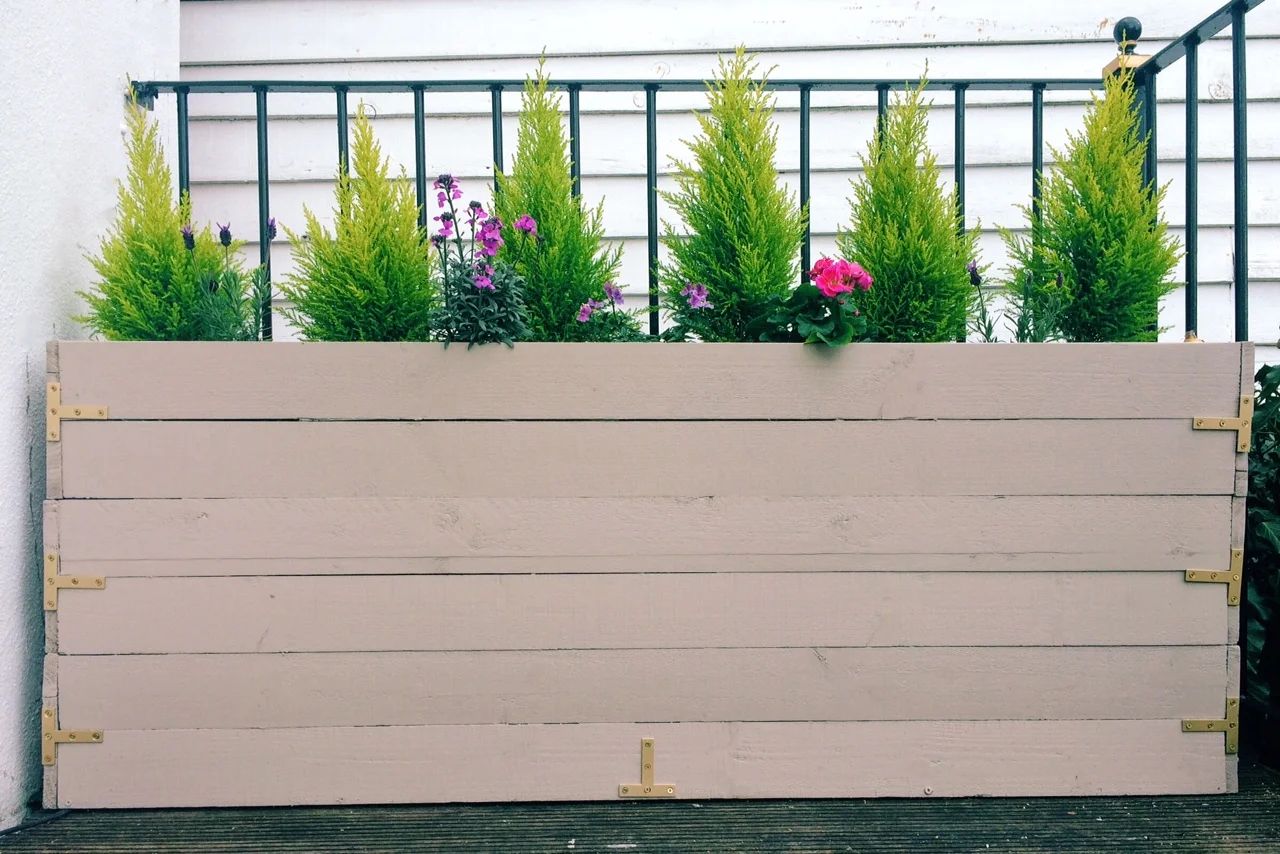
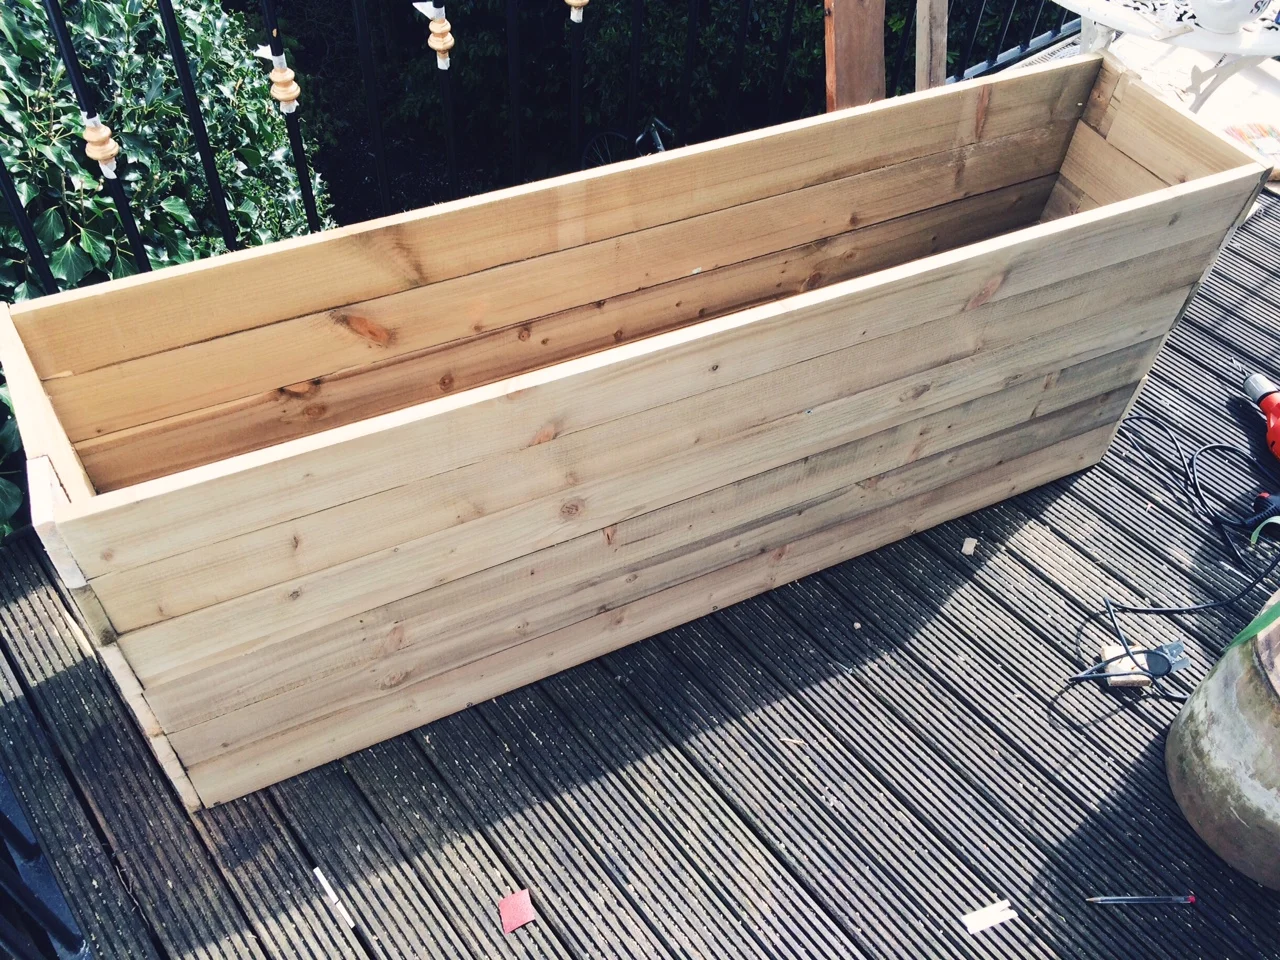
Build up your planter until you like the height. I made my planter tall as I am using it to hide part of the neighbours house from my balcony. Here is the finished result once built:
The planter is now secure and practical but oh-so BORING! Any outside space is an extension of your home and should be treated as such, so I gave this planter a make-over in my go-to colours of grey and gold using the following:
Electric sander (or sheet of course sandpaper)
Cuprinol Garden Shades paint in Muted Clay and a paintbrush
T-Plate fixings
Brass wood screws and screwdriver
Gold spray paint that is suitable for exterior use
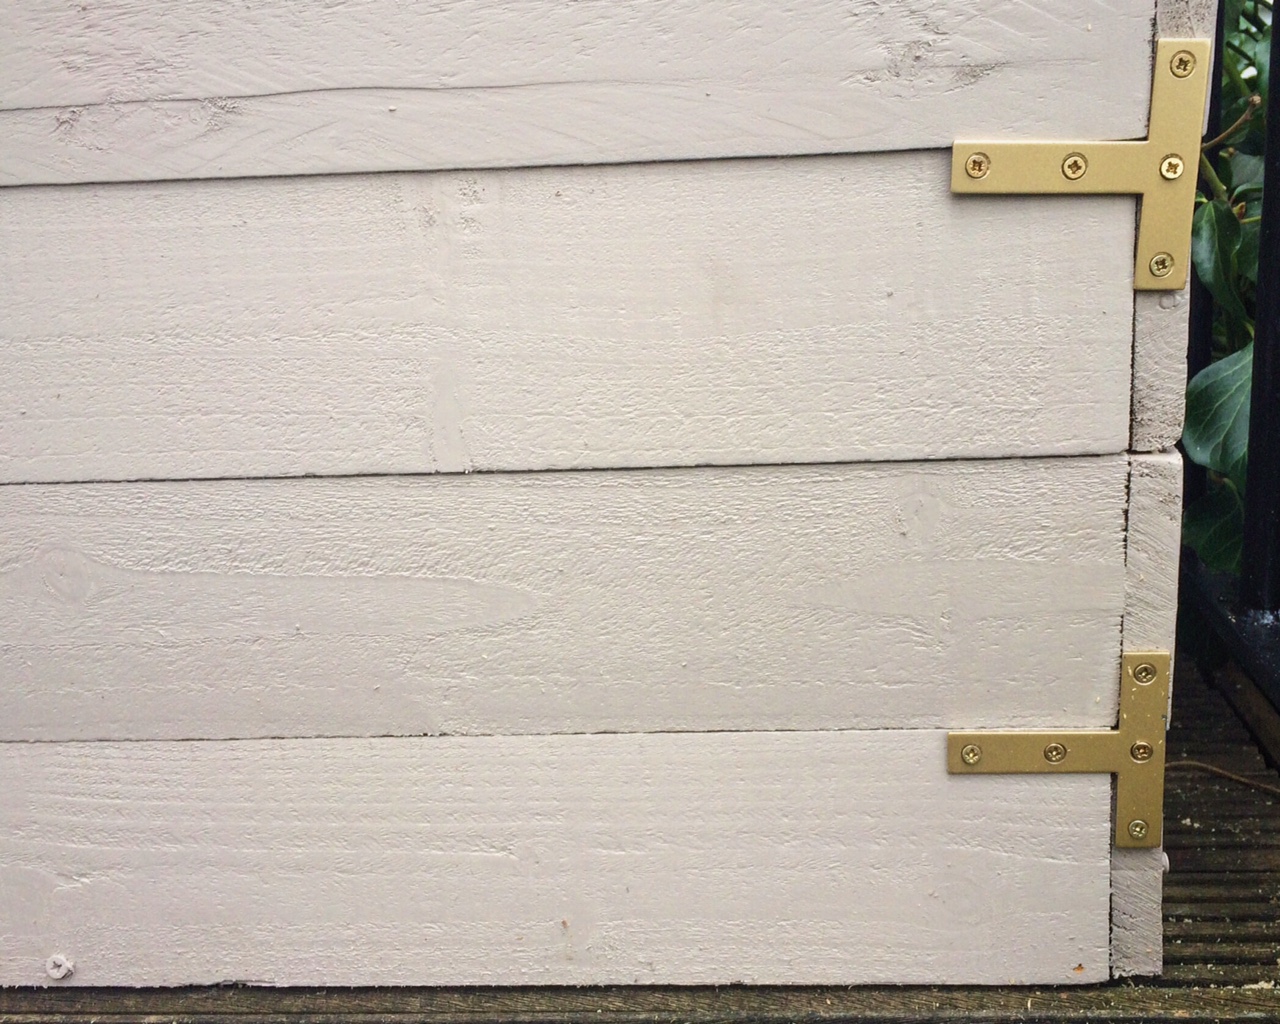
Buy a couple of packets of silver T-plate fixings and spray them with gold spray paint. These will secure the planter together more and add the brass touch:

Spray paint the standard silver T-Plate fixings with a spray paint that can be used on exterior projects.
While the T-Plate fixings are drying, coat your planter in at least 2 coats of exterior wood paint. Here I have used Cuprinol Garden Shades in Muted Clay. Once the planter is dry work out where you want to apply your T-Plate fixings and screw them in with brass wood screws and ta-dah! Your planter is pretty much built!
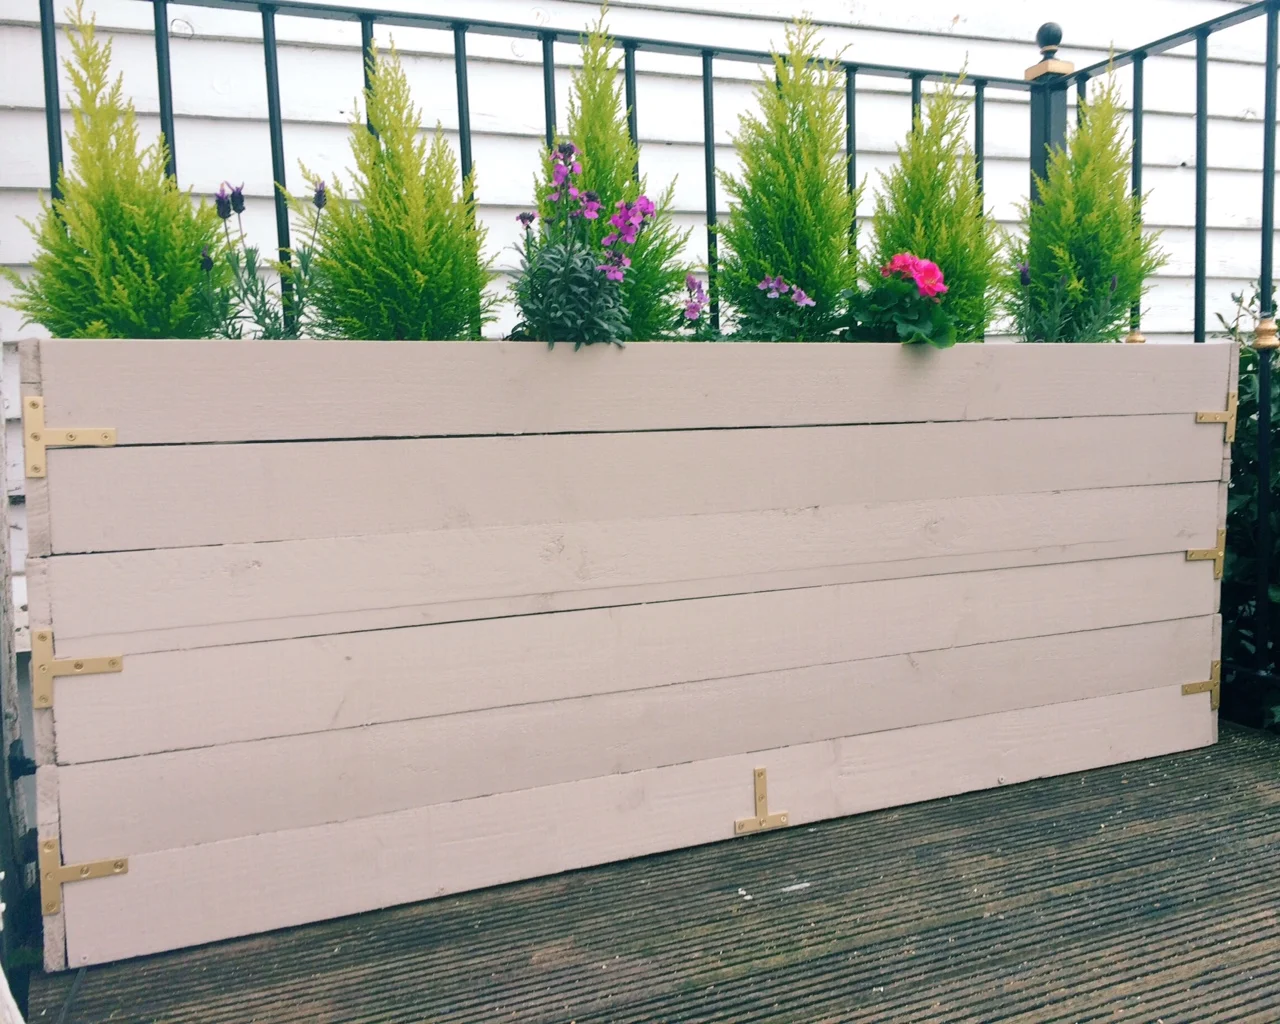
This planter is painted in Cuprinol Garden Shades 'Muted Clay'
Before you plant flowers in your planter, turn the planter on its side and drill a number of holes in the base for drainage. To preserve your wood as much as possible, if you have not painted the planter make sure the wood is treated if you buy it, or add a wood treatment on it to protect it from rot or insect attack. You may also want to line the inside of the planter with bin bags before you add in your soil.