
How To Fix A Hairline Crack On A Plaster Wall So It Doesn't Come Back

This week, I have been doing some prep work in my dining room ready for me to redecorate it. The room hasn’t been painted for a number of years; in that time a huge hairline crack in the plaster has appeared under the window. Hairline cracks are usually nothing to worry about - houses move and contract and expand in the heat so most homes (both new and old) will experience these ruptures in the plasterwork.
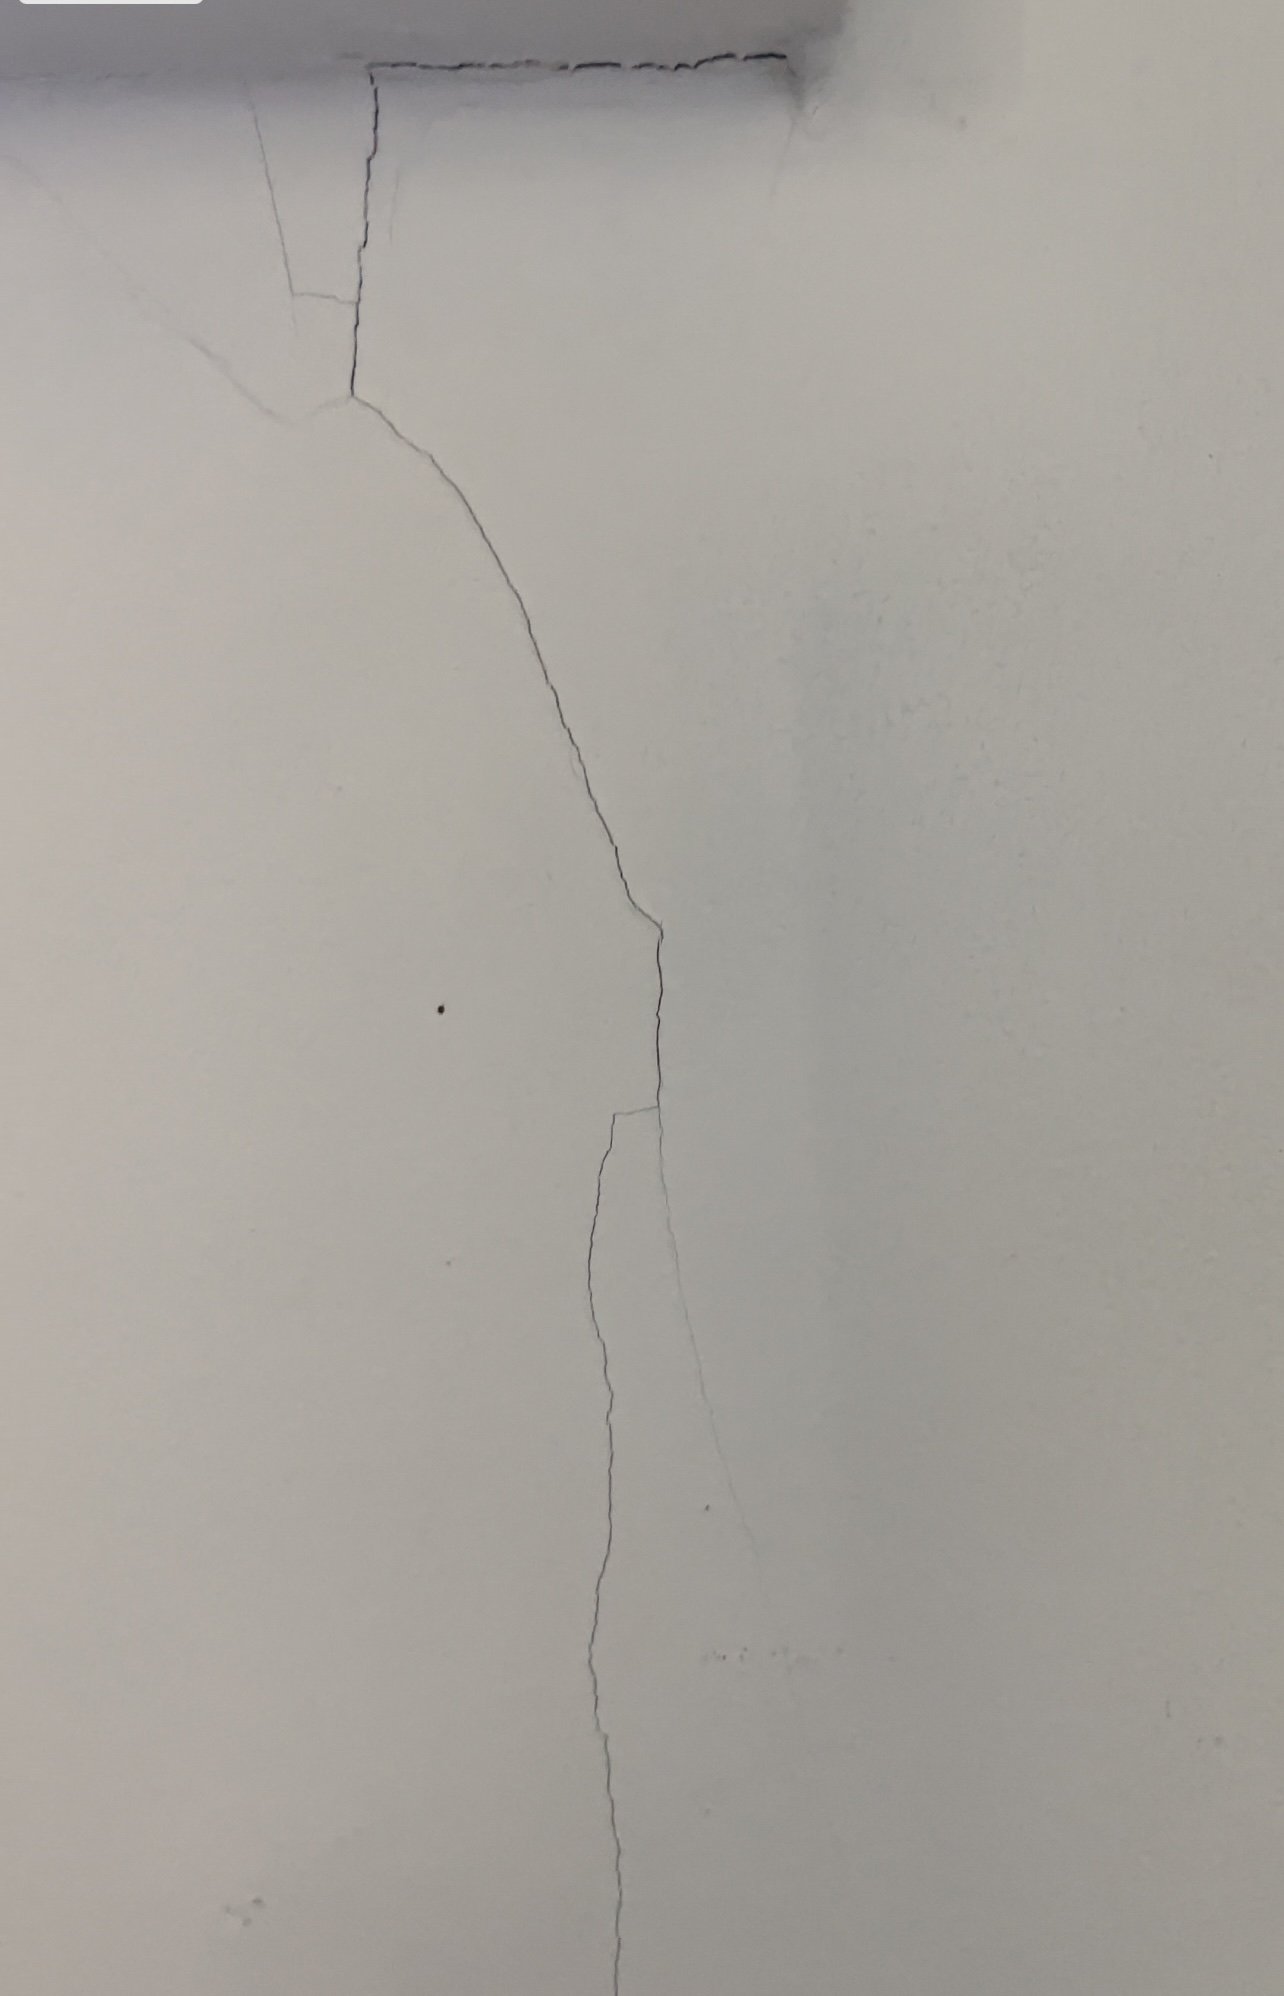
The big mistake that most people make when these cracks appear is to just fill them as they are with a general all-purpose filler and then paint over the top. If you do this, the crack will resurface almost instantly. Instead, there is a method to follow to make sure that these hairline cracks don’t reappear a week after you decorate (a professional decorator taught me this repair process a number of years ago and it has never let me down since!)
To Repair A hairline Crack in Your Wall or Ceiling You Will Need:
Clean cloth (preferably microfibre)
Paint
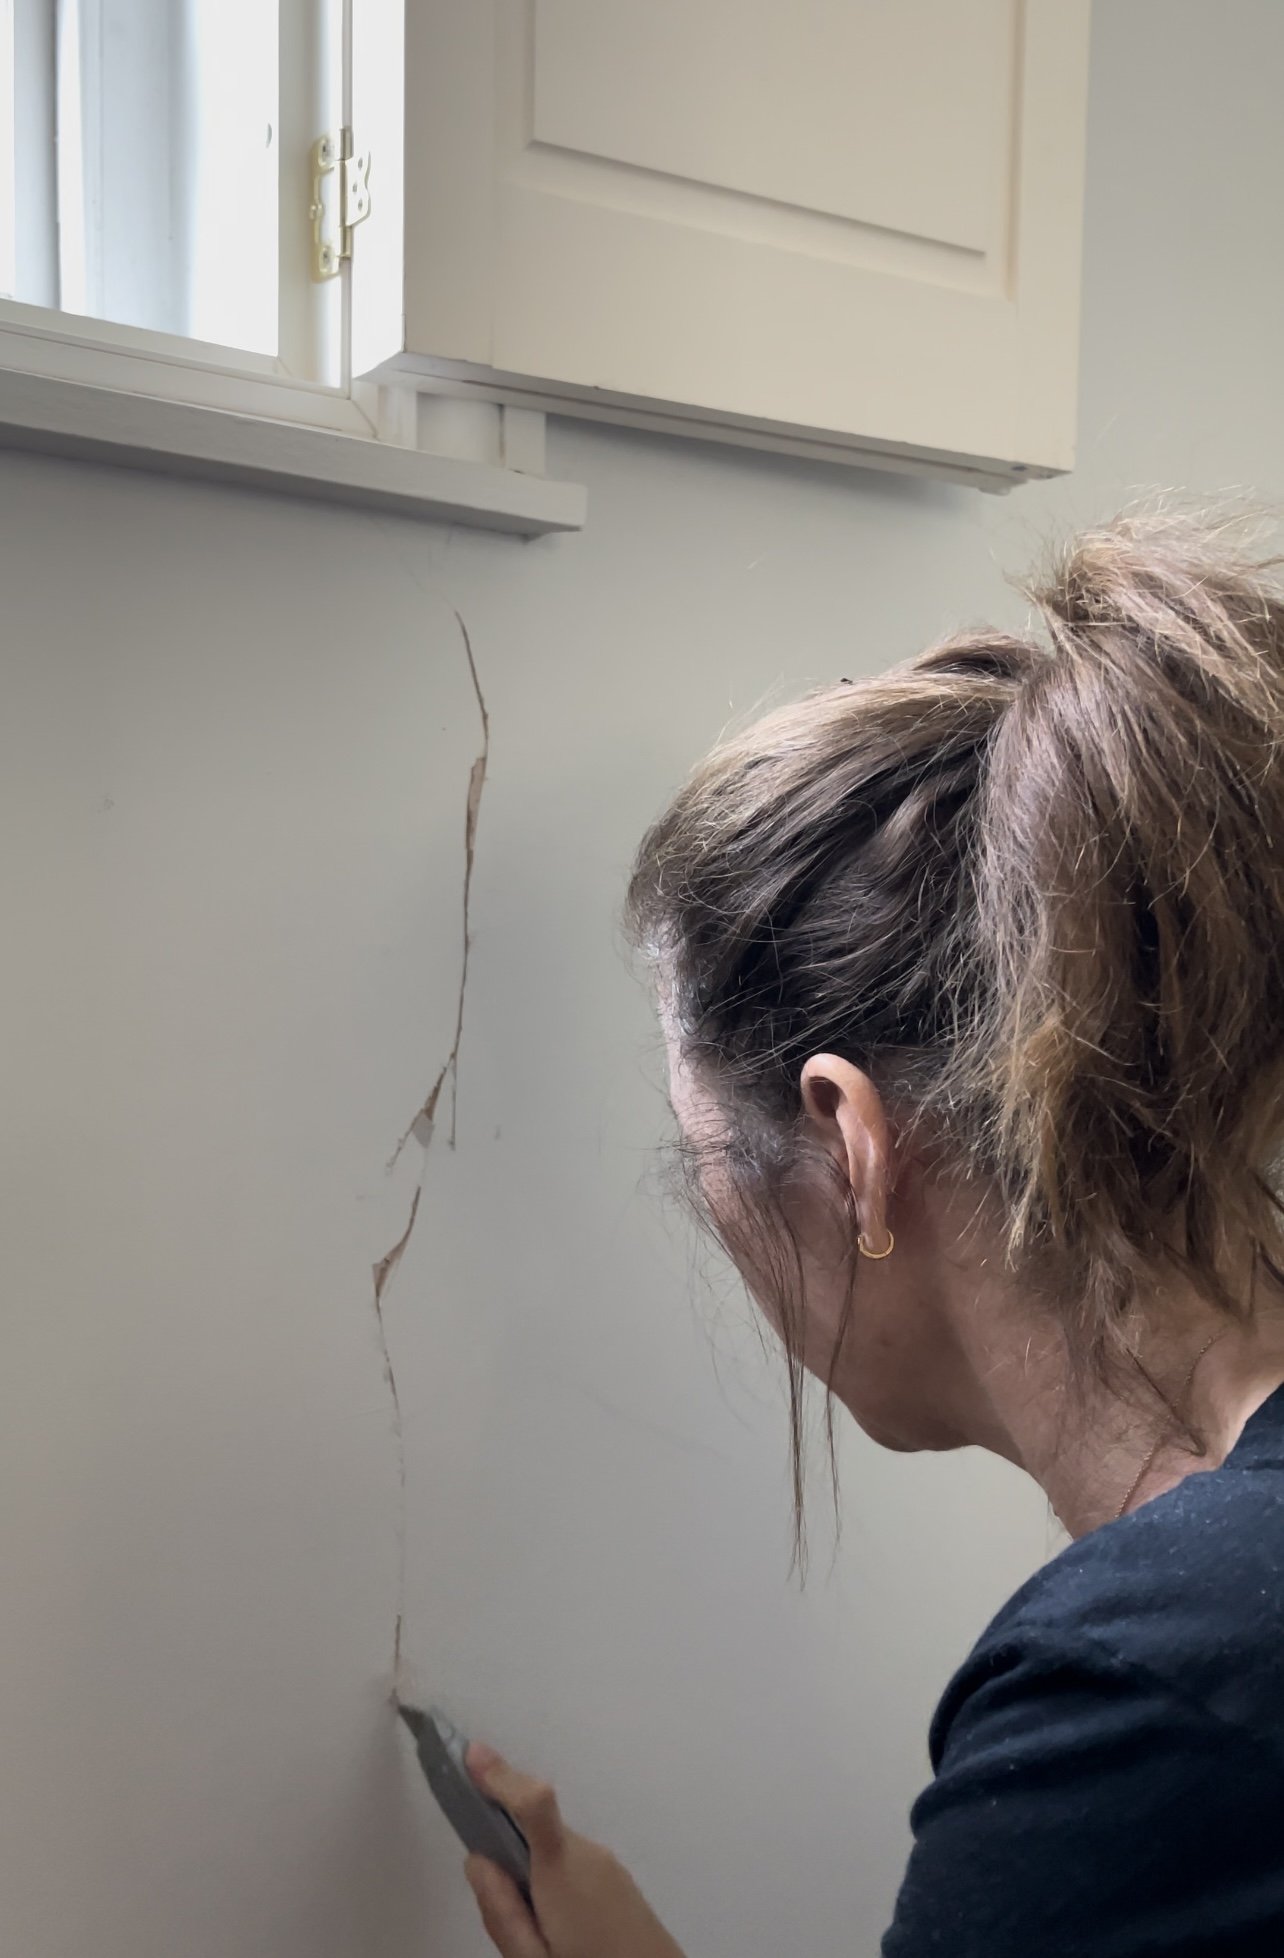
The first part of the process may seem scary, but you need to make the hairline crack wider and deeper by cutting into your wall over the crack with a Stanley knife. By digging out the crack, you are creating space to fill with flexible filler that will be able to cope with the movement that the plaster could not. The flexible filler will move as your wall moves and will not fracture. Simply cut in deeper and a few millimetres wider than the hairline crack, making sure that there is no loose debris once you are finished. Clean the crevice ready to fill.
If you do not feel confident with these first few steps, you may want to seek out plasterer jobs to enhance your skills and eventually become proficient in fixing walls professionally.

I’ve always used Toupret products for repairing hairline cracks as they were highly recommended to me and work really well. I use Toupret Fill Flex in a tube and apply it with a caulking gun so that it is injected directly into the carved-out plaster. Once filled, I smooth it in with a filling knife (this filler doesn’t have to be level as this is your base filler - don’t worry about it being completely smooth with your walls).

Let your flexible filler dry completely, then give it a quick rub down to remove any excess with a medium-grade sandpaper. Clean the area with a damp microfibre cloth and you are ready for the final step: applying a fine surface filler for a seamless finish.

Again, I use Toupret Fine Surface Filler for this job as it’s a great product; it spreads really well onto the wall for a seamless end result. Using a filling knife, smooth over the creamy filler so that there is no evidence that a crack ever existed in your wall. Level everything nicely and you shouldn’t need to sand back after application!

Leave the fine surface filler to dry for the recommended time and you’ll be able to paint over the top! There will be no evidence of the unsightly gash that was there before and the crack will not return!
For more decorating tips, head to my DIY page!


