
Appliance Painting: How I Successfully Painted My Fridge With A No-Chip Finish
For all the years that I have spent painting and decorating my home, I have never been as nervous to paint anything as much as I was when I was about to paint my American Fridge Freezer. I love our fridge - it has that retro look, it’s large and with its A+ rating, it’s also super energy-efficient. The problem that I had with it was that it was bright blue. Now, I have nothing against a blue fridge - blue is one of my favourite colours and in the right setting, a big blue fridge can look amazing. The trouble was that in our period home with low ceilings and small square footage, it completely dominated. When I recently redecorated our kitchen diner, I knew I needed to do something to the blue fridge so that it worked with the new colour scheme. I didn’t want to sell the fridge - I felt I wouldn’t get anywhere near what it was worth, nor would I be able to replace it with something as good as what we had with the money I made from the sale. There was also a bigger issue with the fact that we couldn’t get it out of the house even if we wanted to! We struggled to get the large fridge down the narrow side passage of our home in the first place; since then, we’ve had a new gate installed and there is no way the fridge would now fit past it!
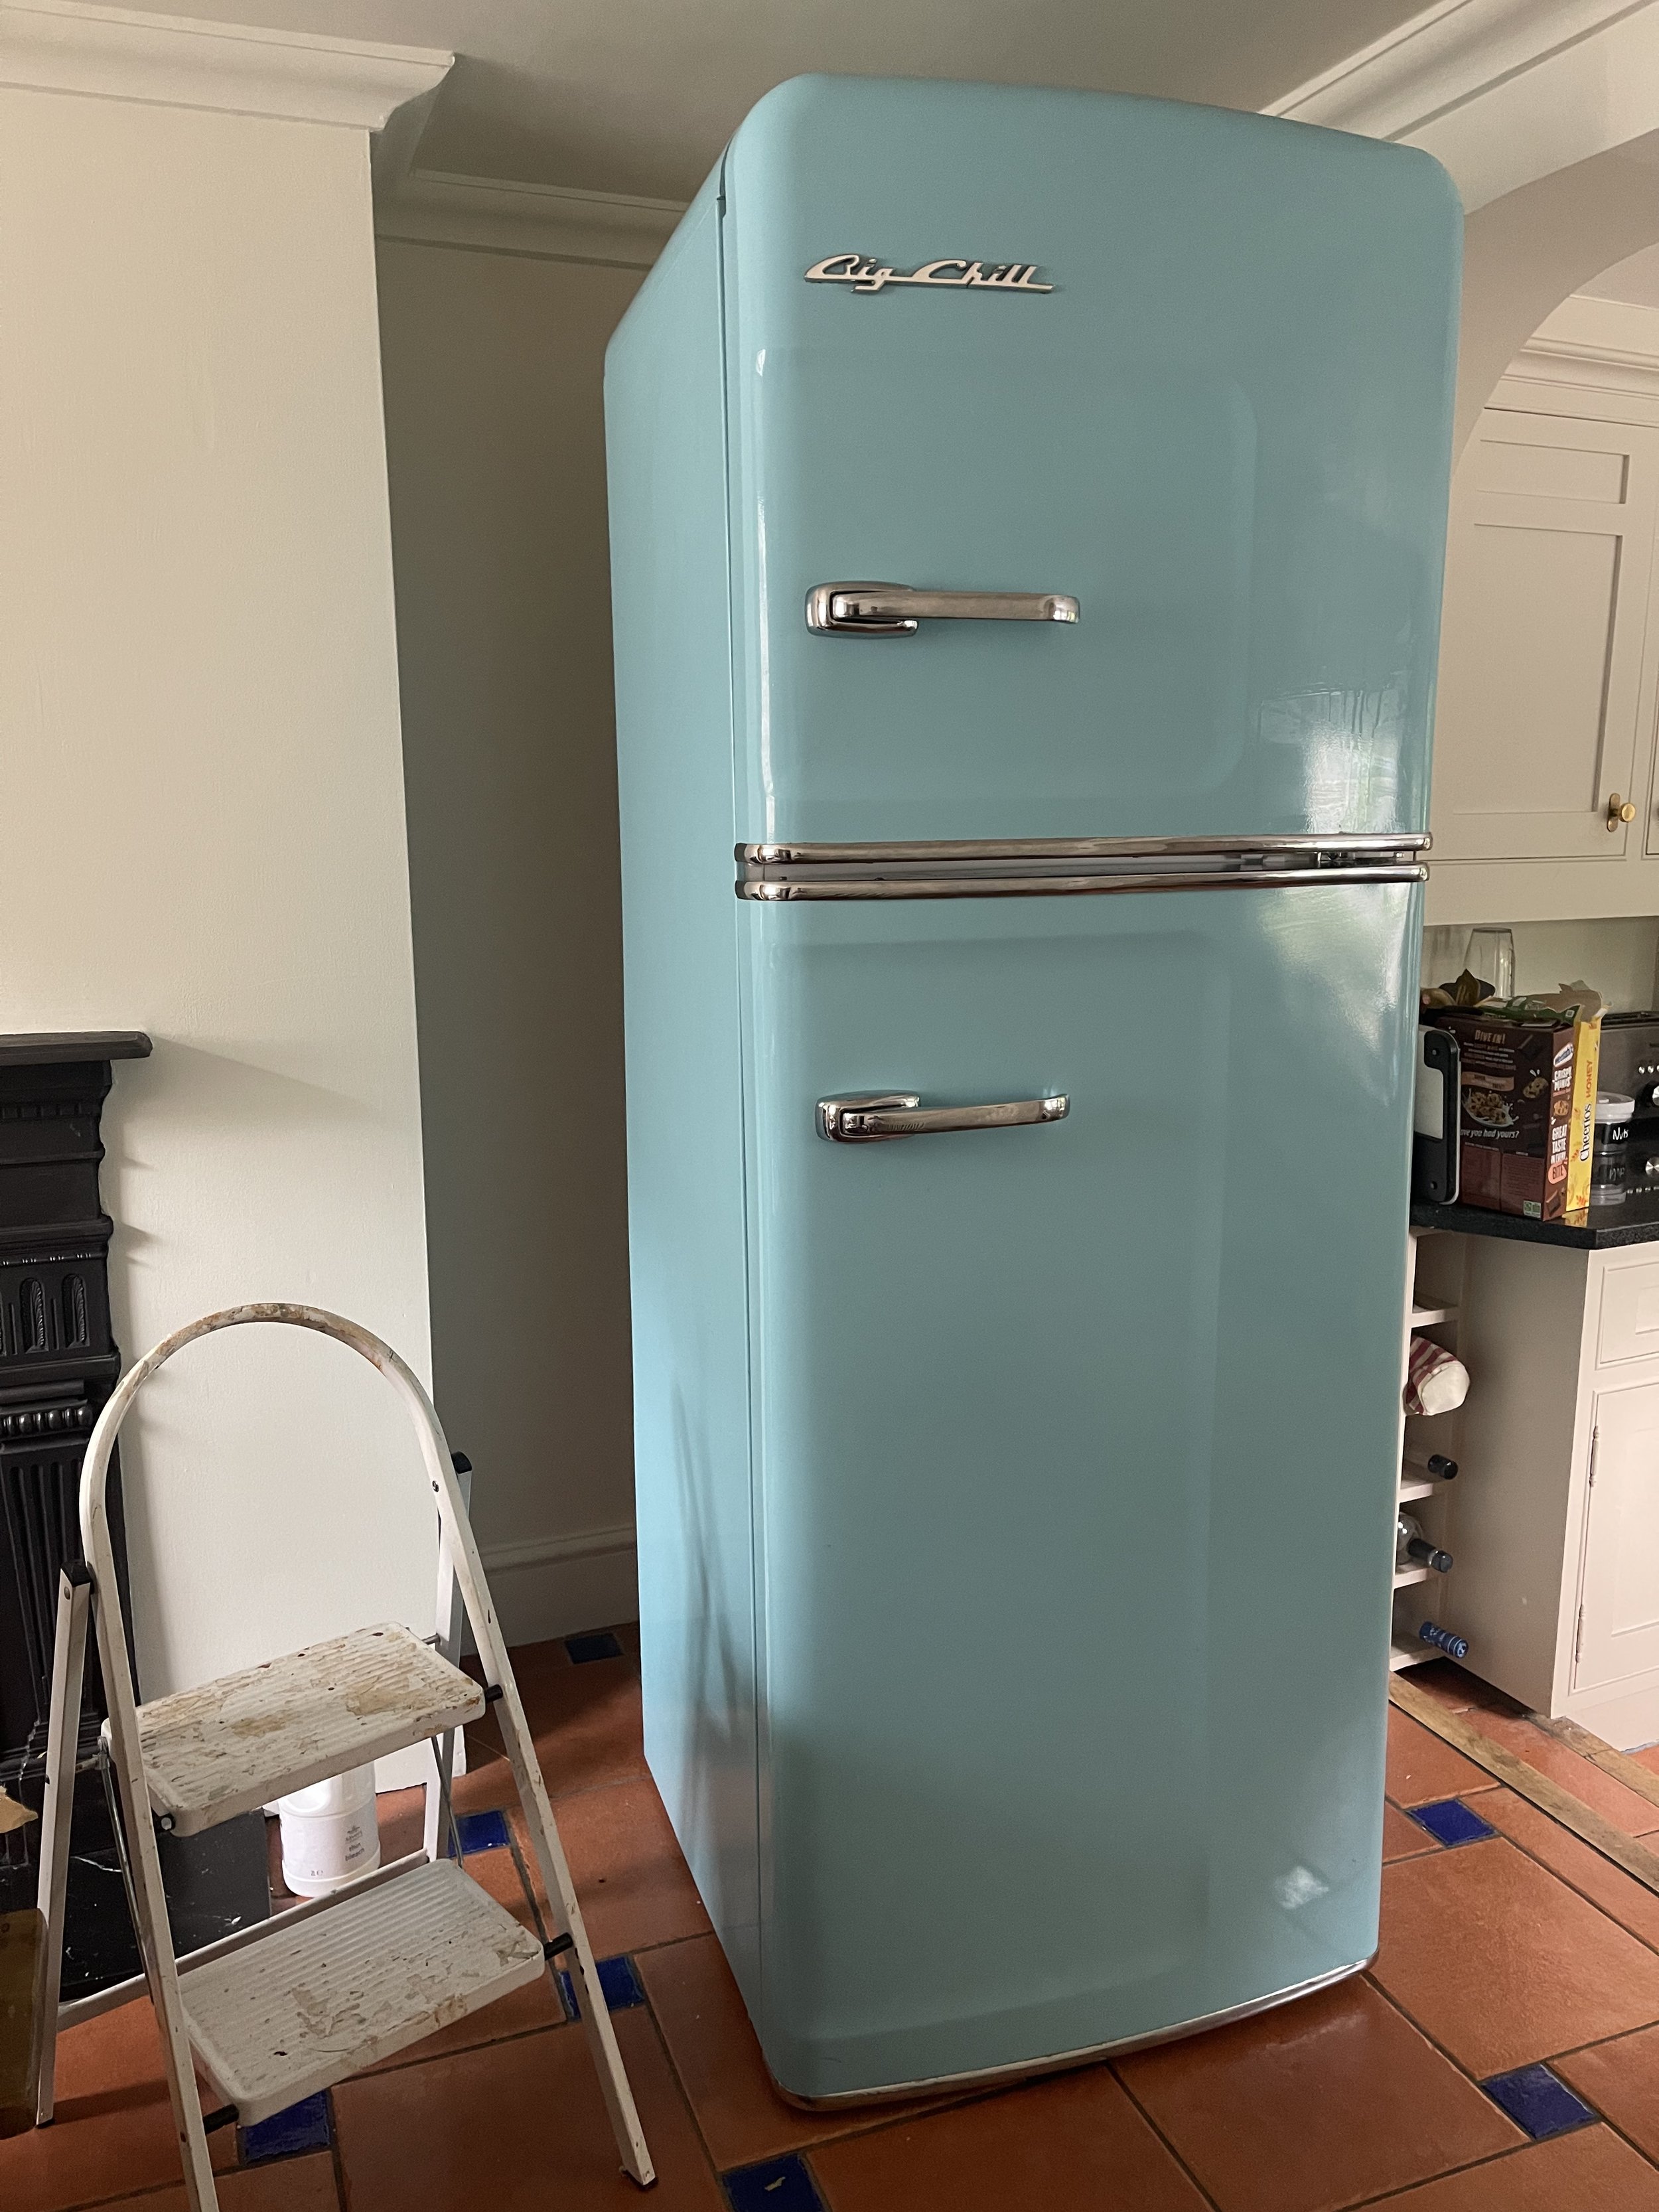
My blue fridge. I love this fridge and I loved the colour, but it was too dominating in our compact kitchen diner. After living with it for a few years, I decided to paint it to blend in more.
I had three choices - leave it blue, get it vinyl wrapped, or paint it. I didn’t want to leave it blue and I couldn’t afford to get it professionally wrapped, so I opted to paint it. I had never painted an appliance before and even though I knew it was possible, I was sceptical about the outcome: how would the paint adhere to the fridge? Would it look patchy and messy? Am I about a ruin an amazing fridge that I couldn’t replace? My fear was that if I painted it and it looked bad, I was going to have to live with it.
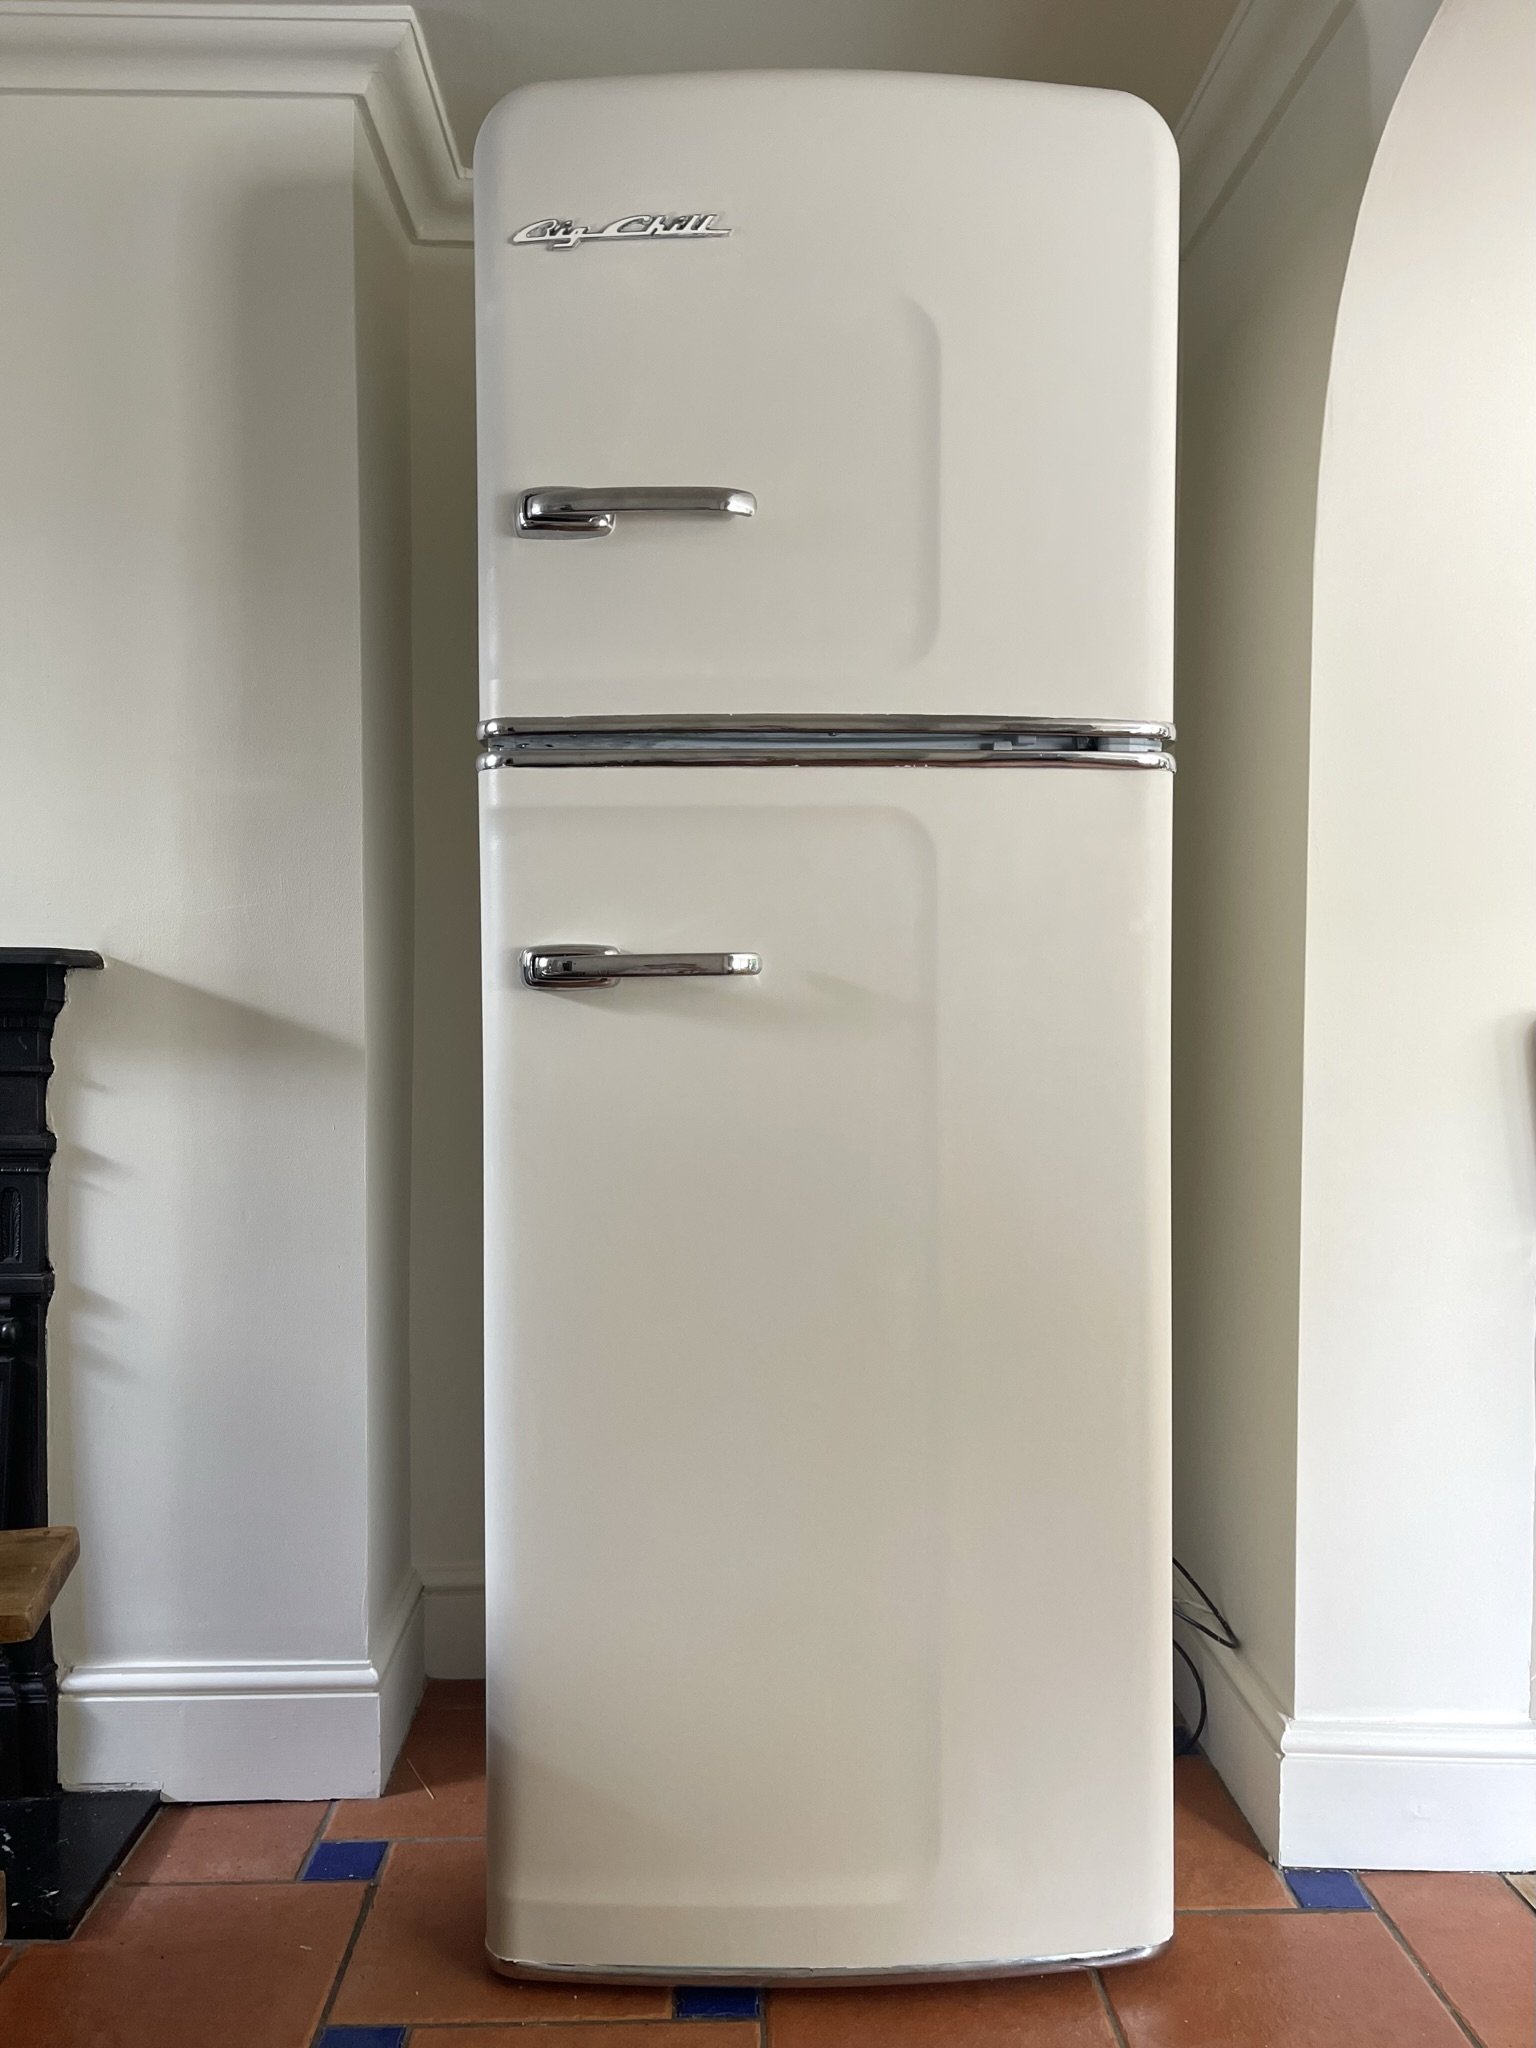
After contemplating my decision for a day or so, I decided to just go for it. I have to say, I am delighted with the end result. I’m so pleased that I plucked up the courage to paint my fridge! I painted it in a creamy white and while I know to some this is sacrilege (I got a bit of a kicking about it on social media), the neutral fridge slots into our compact kitchen so much better (while still retaining that retro look).
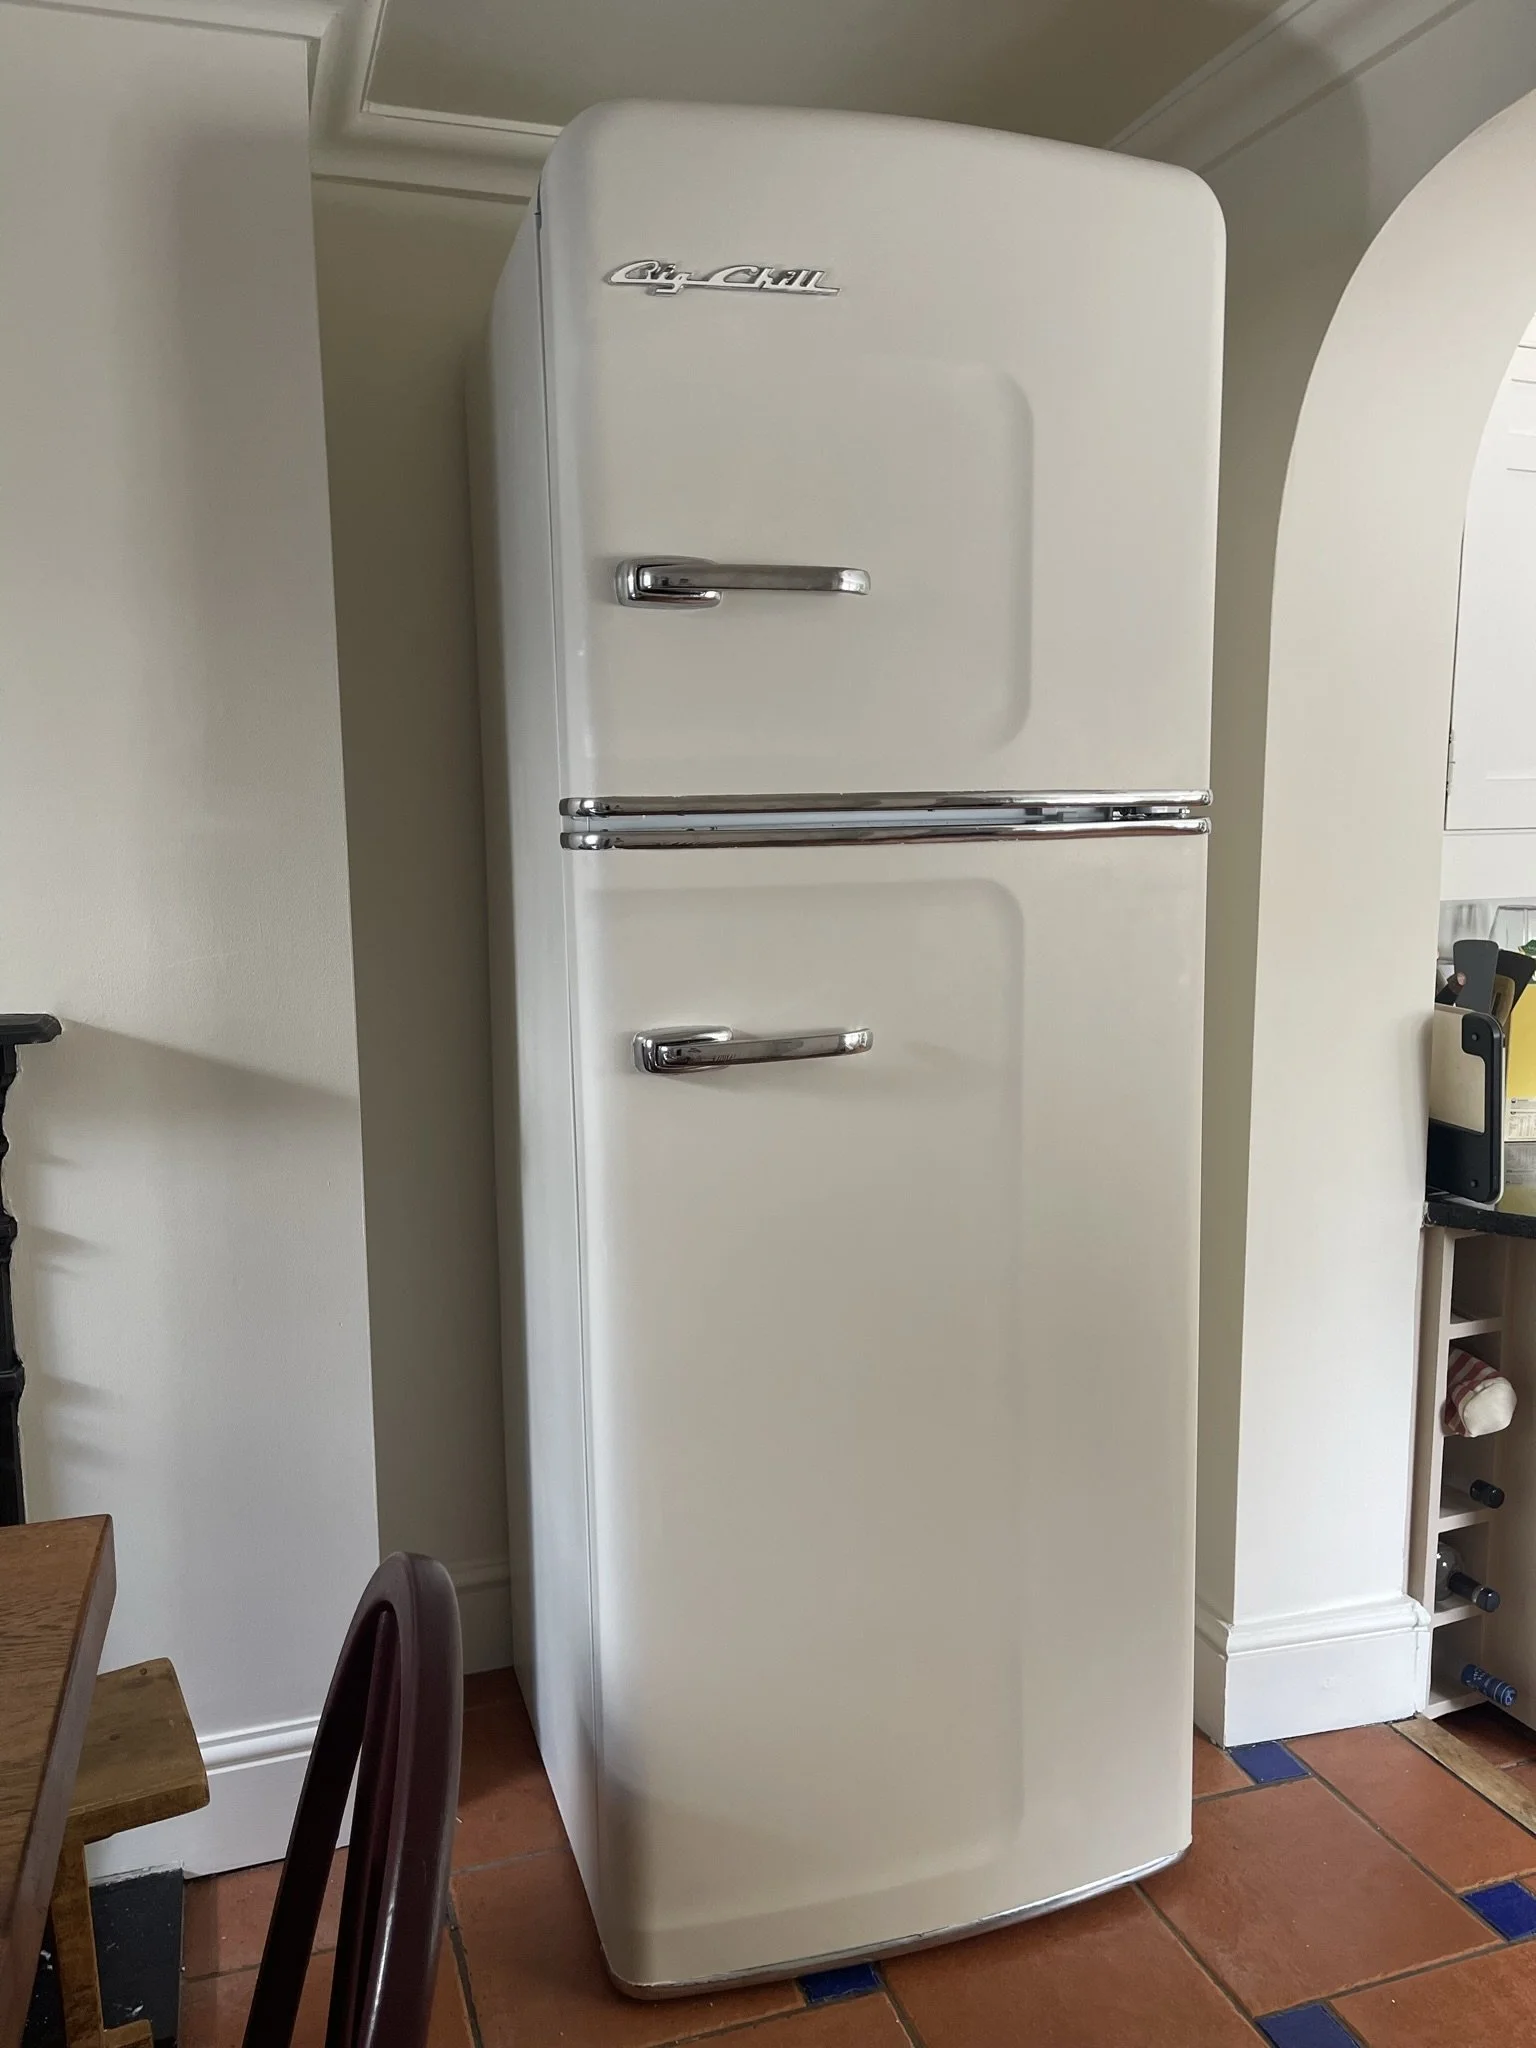
The end result after painting my fridge.
The key to a successful end result was definitely the tools I used for the job. Rather than invest in specialist appliance paint, I decided to paint it using products I’d used before and trusted to do a good job.
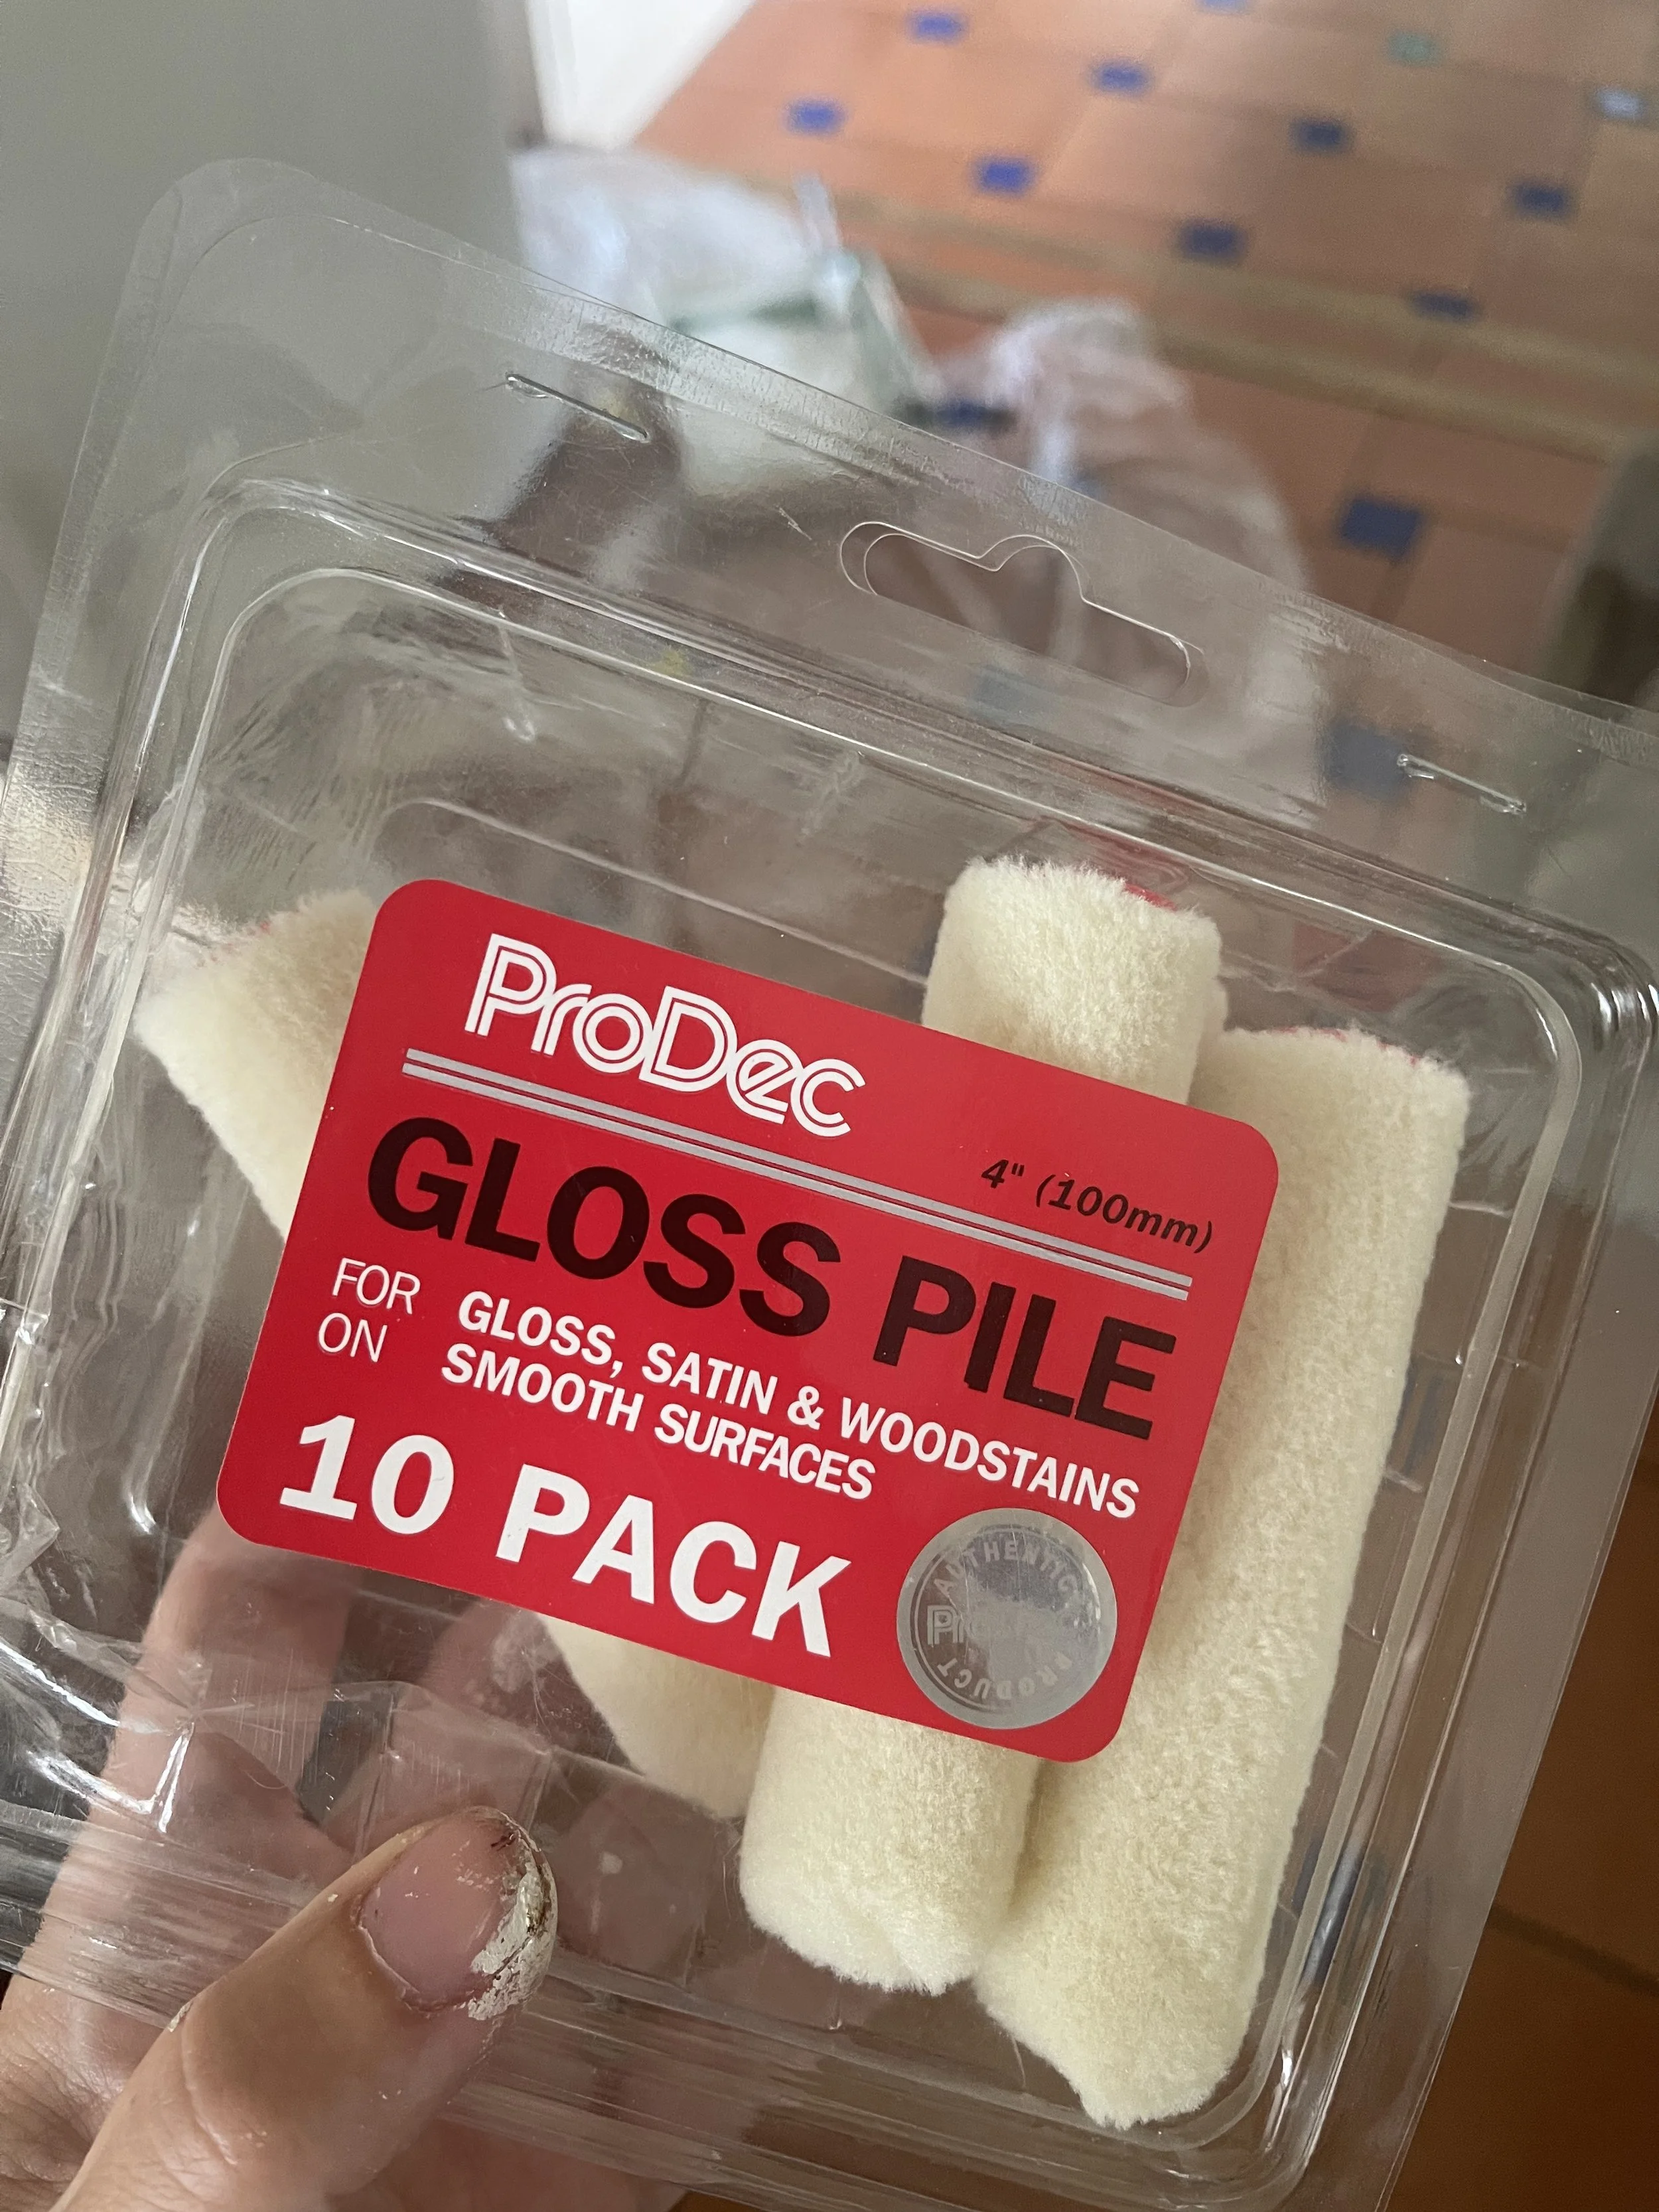
After thoroughly cleaning the fridge down in both sugar soap and a degreaser so the surface had no dirt, oil, dust or grease attached, I taped up the areas that I did not want to paint (like the handles and the silver trims) in masking tape. Using a low-pile felt roller suitable for wood and cabinet painting, I applied 2 coats of Zinsser BIN primer with a shellac base. I made sure that the roller was not overloaded and the coats were thin, building up a fine layer and rolling on the primer in one direction only (applying it in all directions will make the end result look a lot less polished).
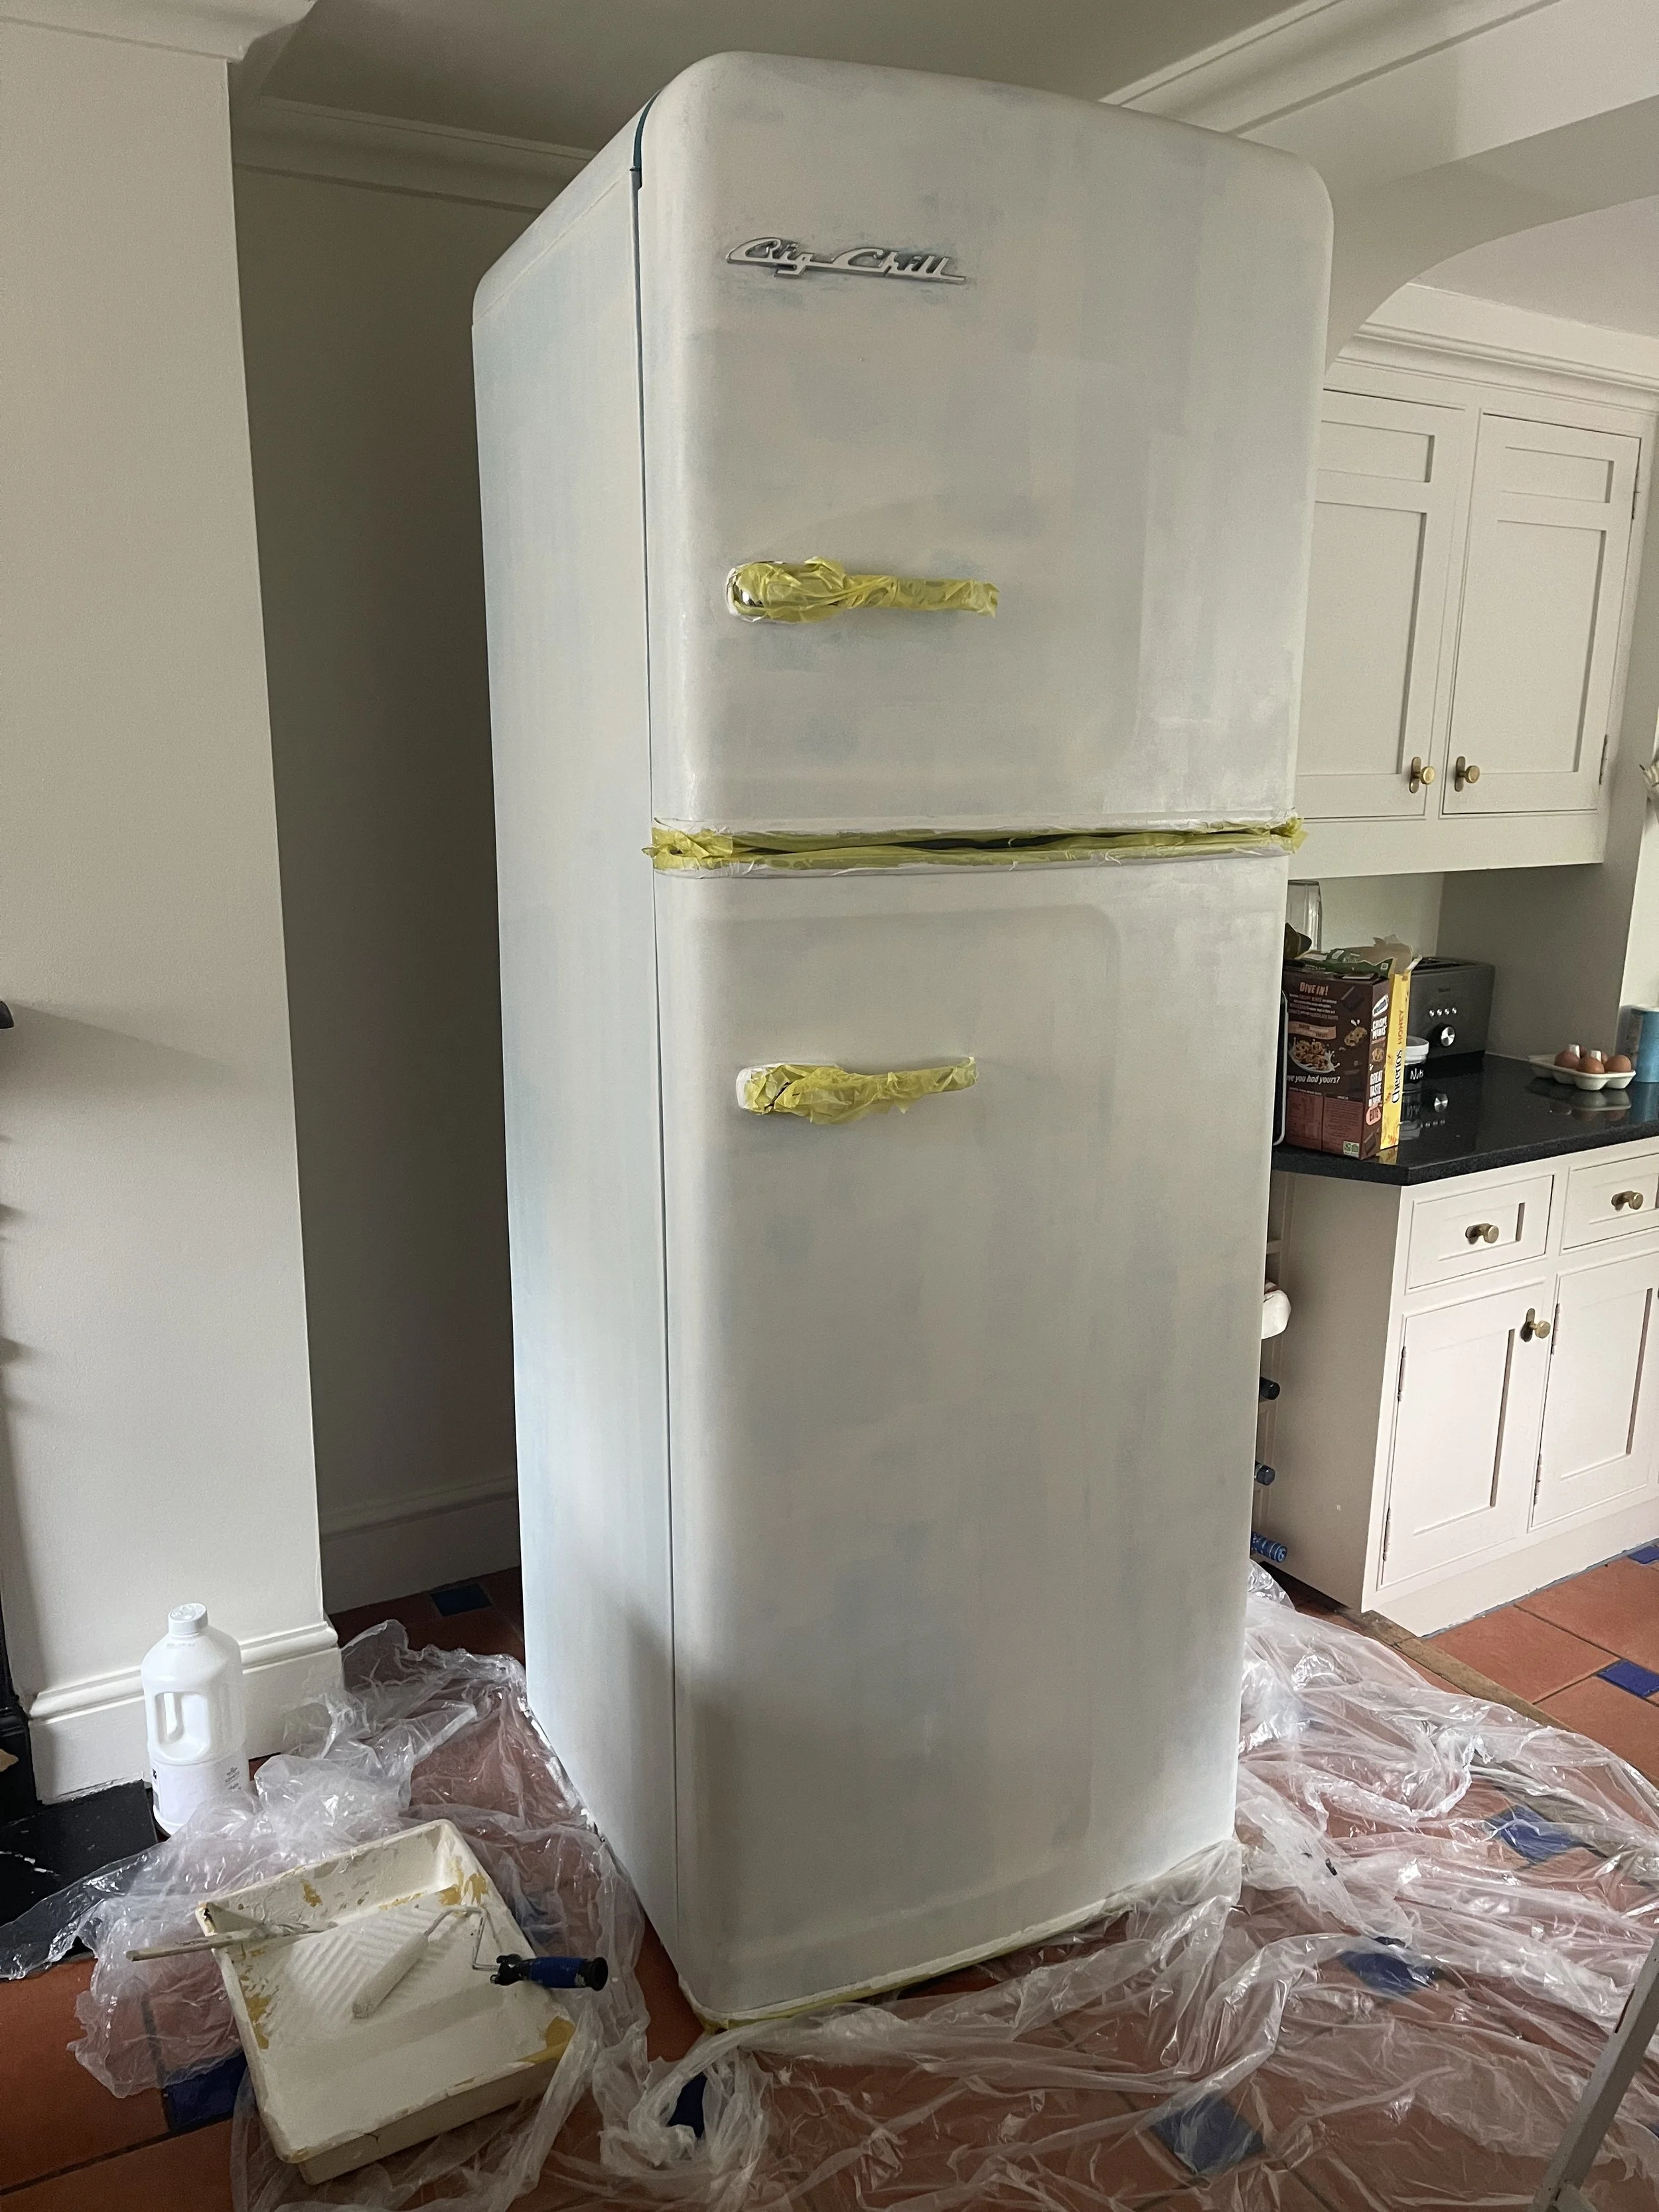
How it looked after two coats of primer.
After applying two coats of primer (allowing time for each coat to dry accordingly) I moved on to applying the top coat. I used a water-based eggshell in an Intelligent finish (which means it is a lot more durable than a standard eggshell). I used Little Greene’s ‘Portland Stone Pale’ from a tin that I had left over from painting my bathroom and found that I also only required two coats for a high level of coverage.
The most important lesson that I learnt from this experience of painting an appliance was to only use the roller and not a paintbrush (if possible). The specialist low-pile rollers gave me a smooth, level application of primer and paint and the finish is flat and even across most of the fridge, but I could not remove the brand logo from the top door and had to use a tiny artist's paintbrush to paint in between the letters. This area is the only part of the fridge where it looks a little untidy - you can see brush lines and it shows an irregular application of paint.
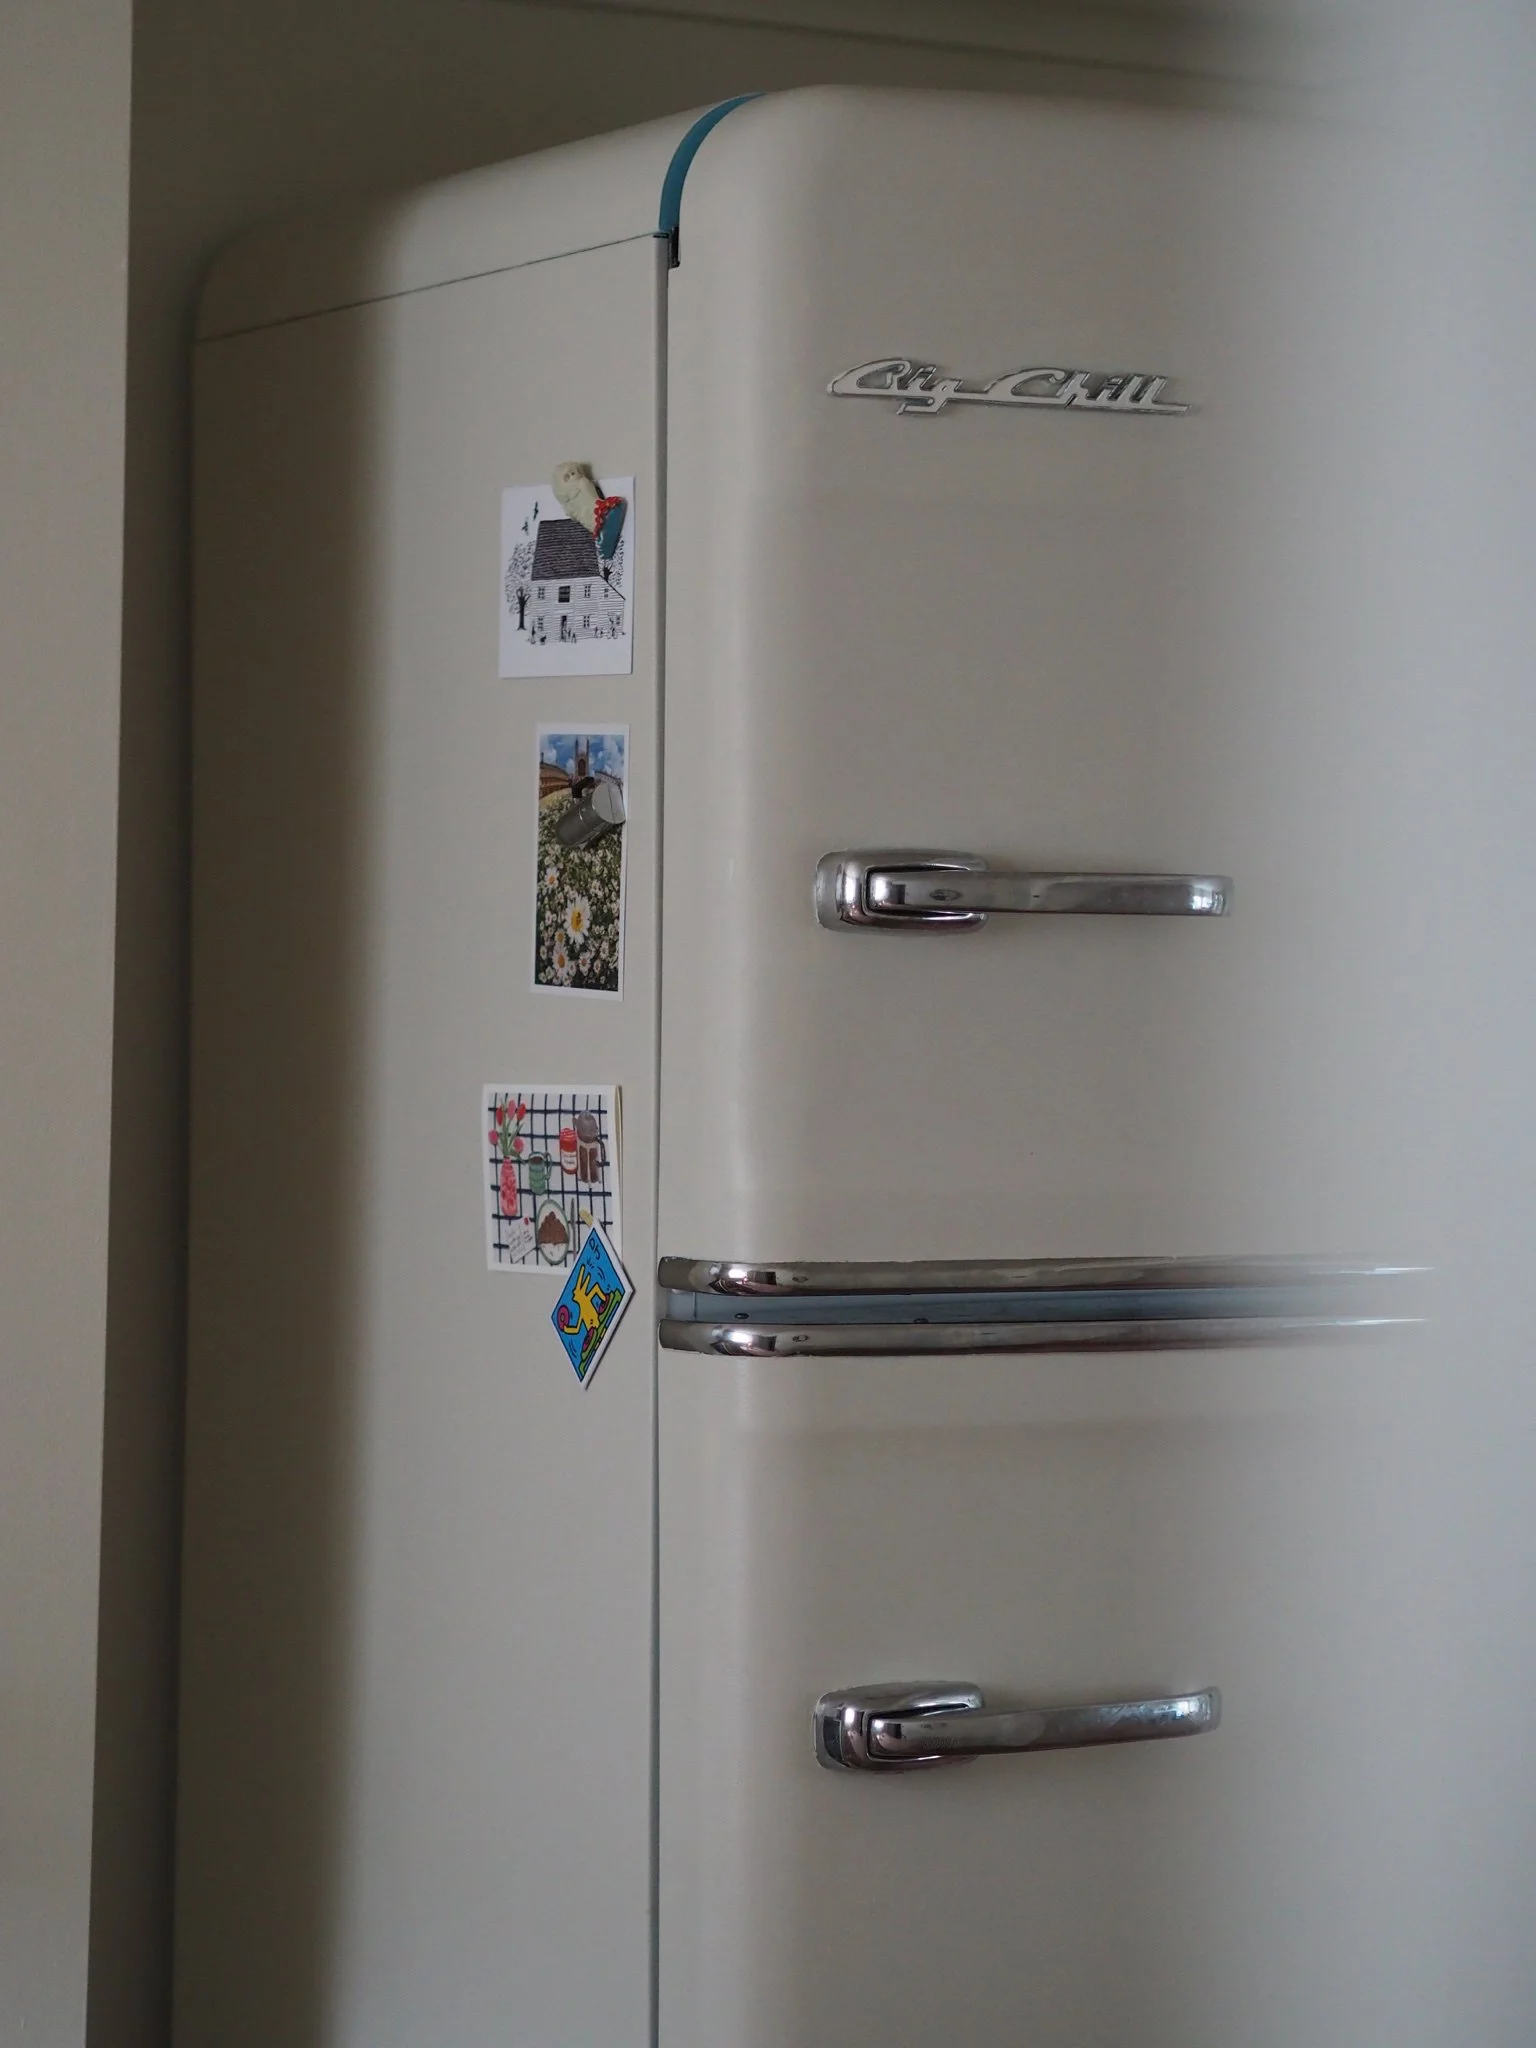
I left the fridge overnight to dry before removing the masking tape; it has now been two months since I painted it and there are no chips! With all the family working from home, the fridge gets used multiple times a day and I clean it regularly with a damp cloth. So far - I am happy to say - so good! The paint has adhered and it can take having magnets and pictures attached with no damage to the paintwork. The only downside is that I used a matt paint and so the fridge has lost its glossy shine. If you did want to keep this sheen, I would advise using gloss paint over a matt!
I will definitely not be so nervous to paint an appliance in the future!


