How To Make These Easter Tree 3D Egg Decorations
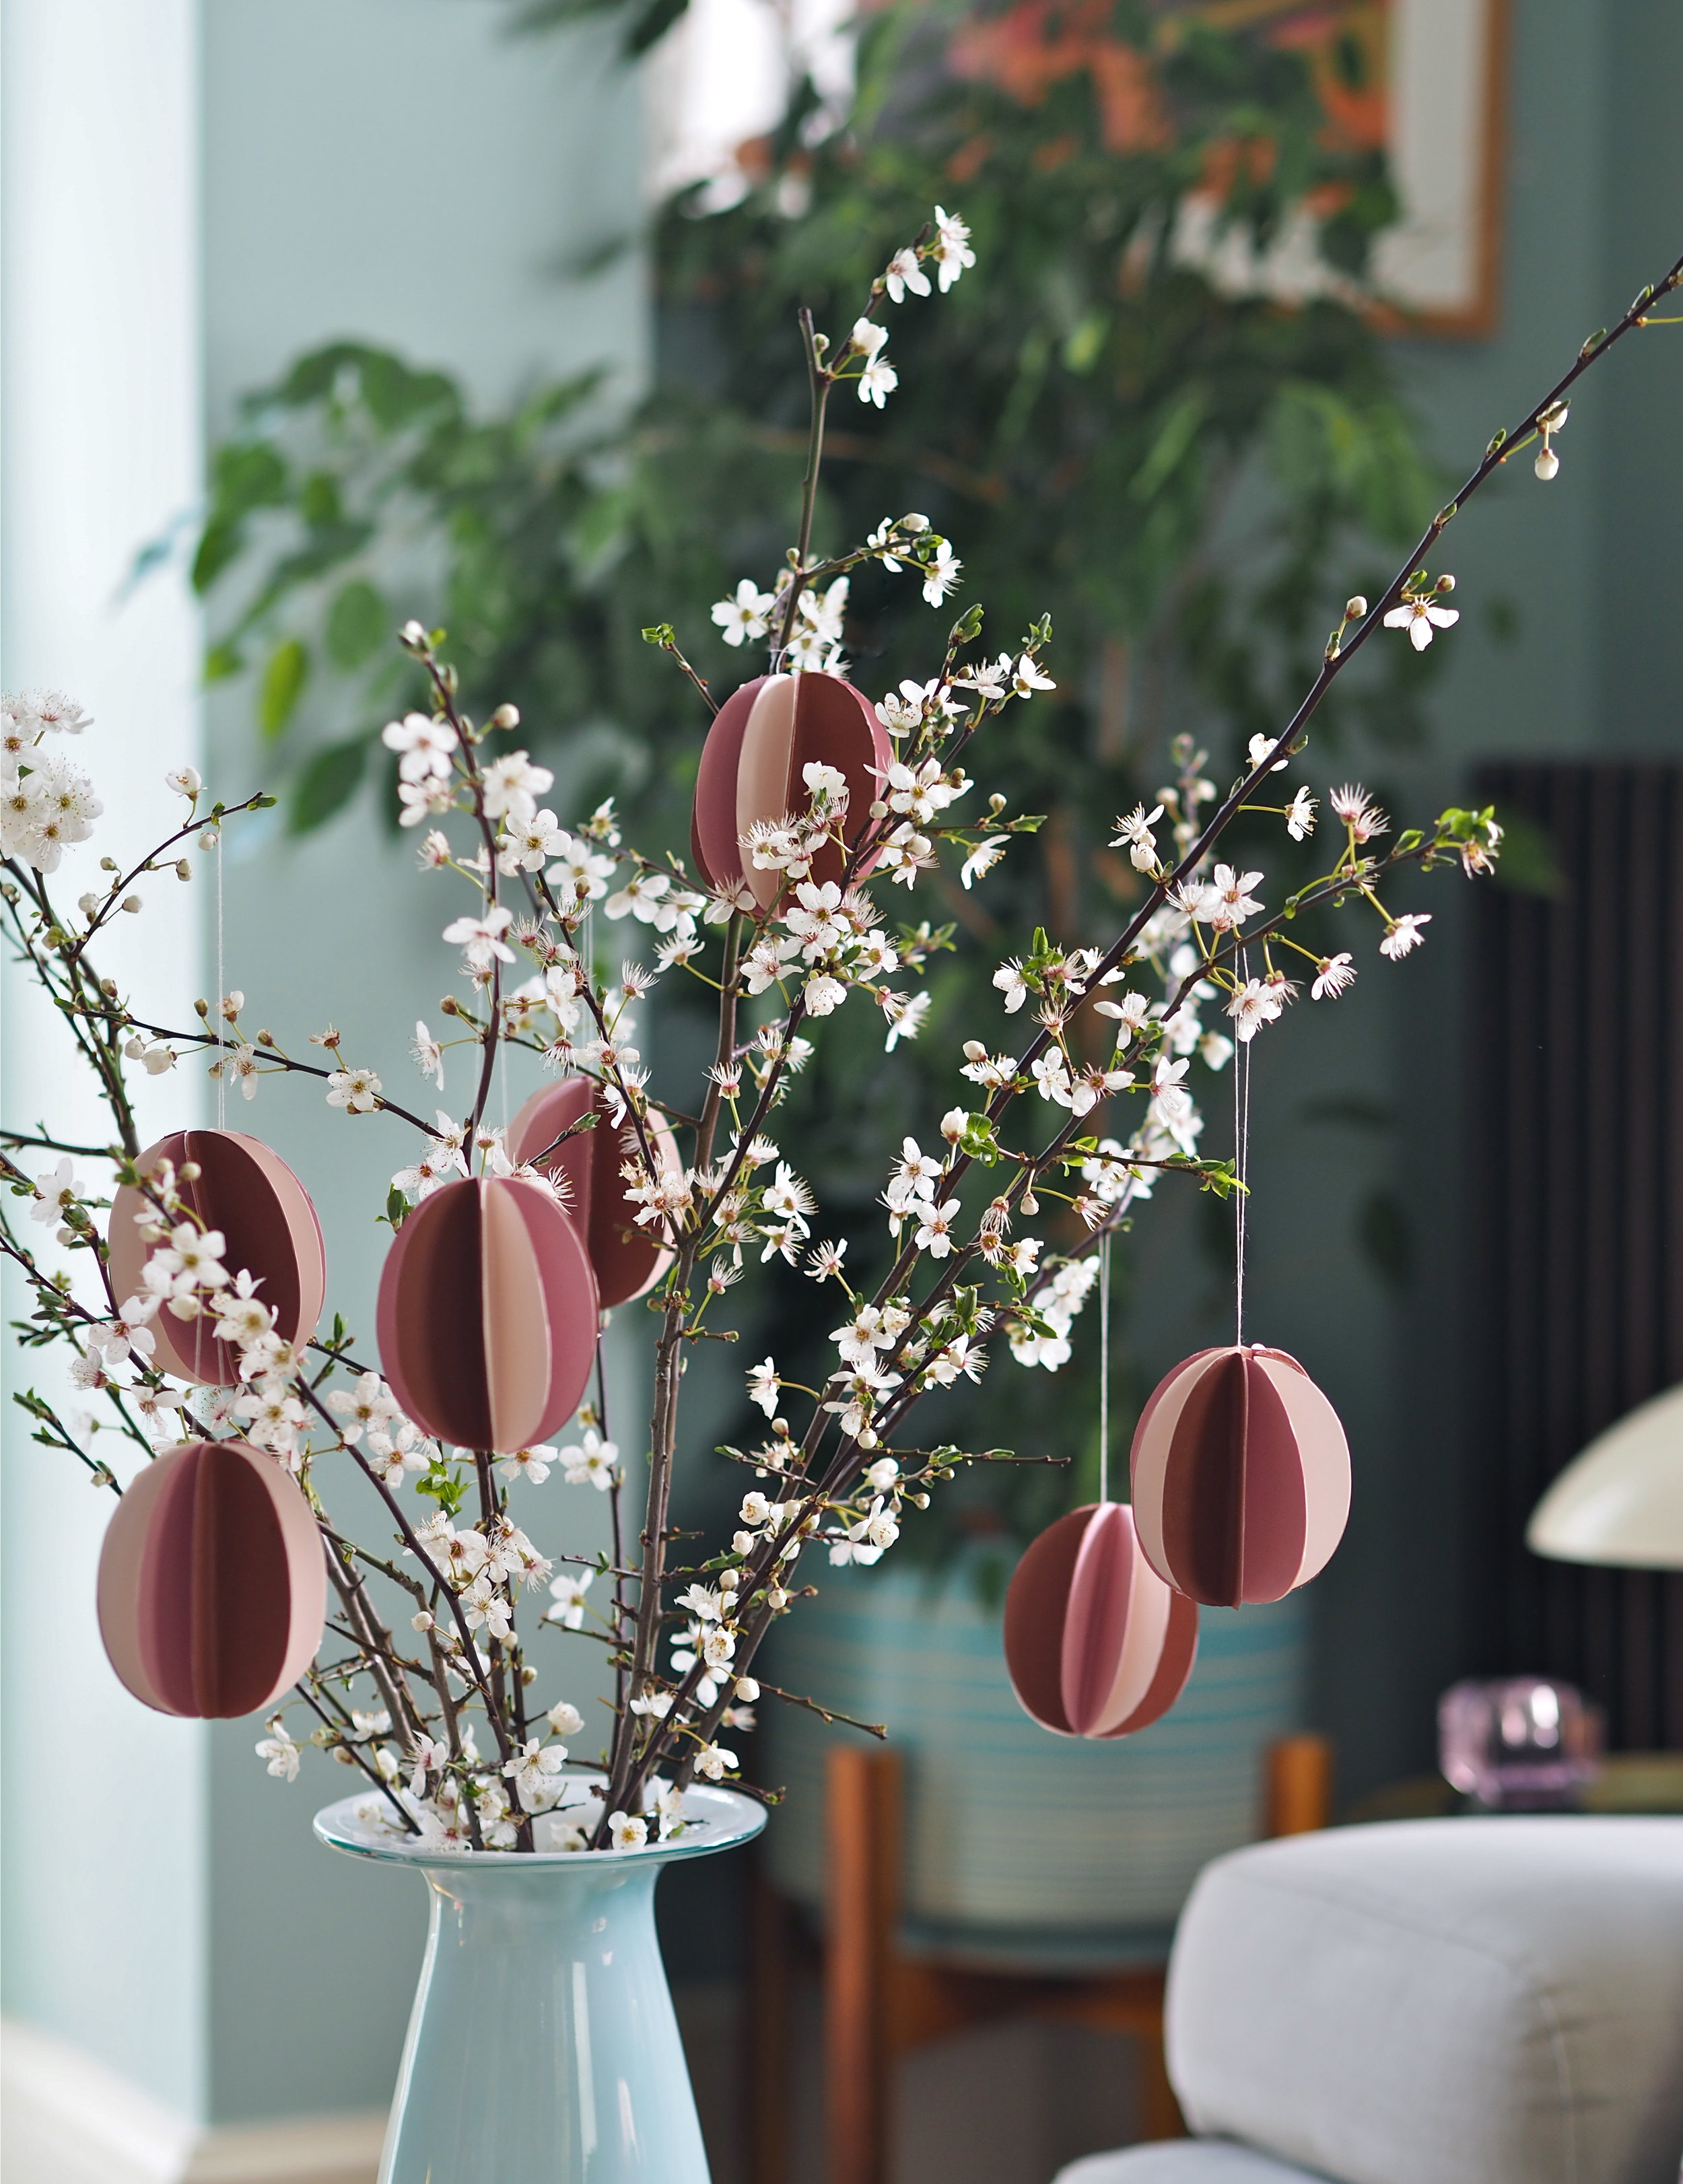
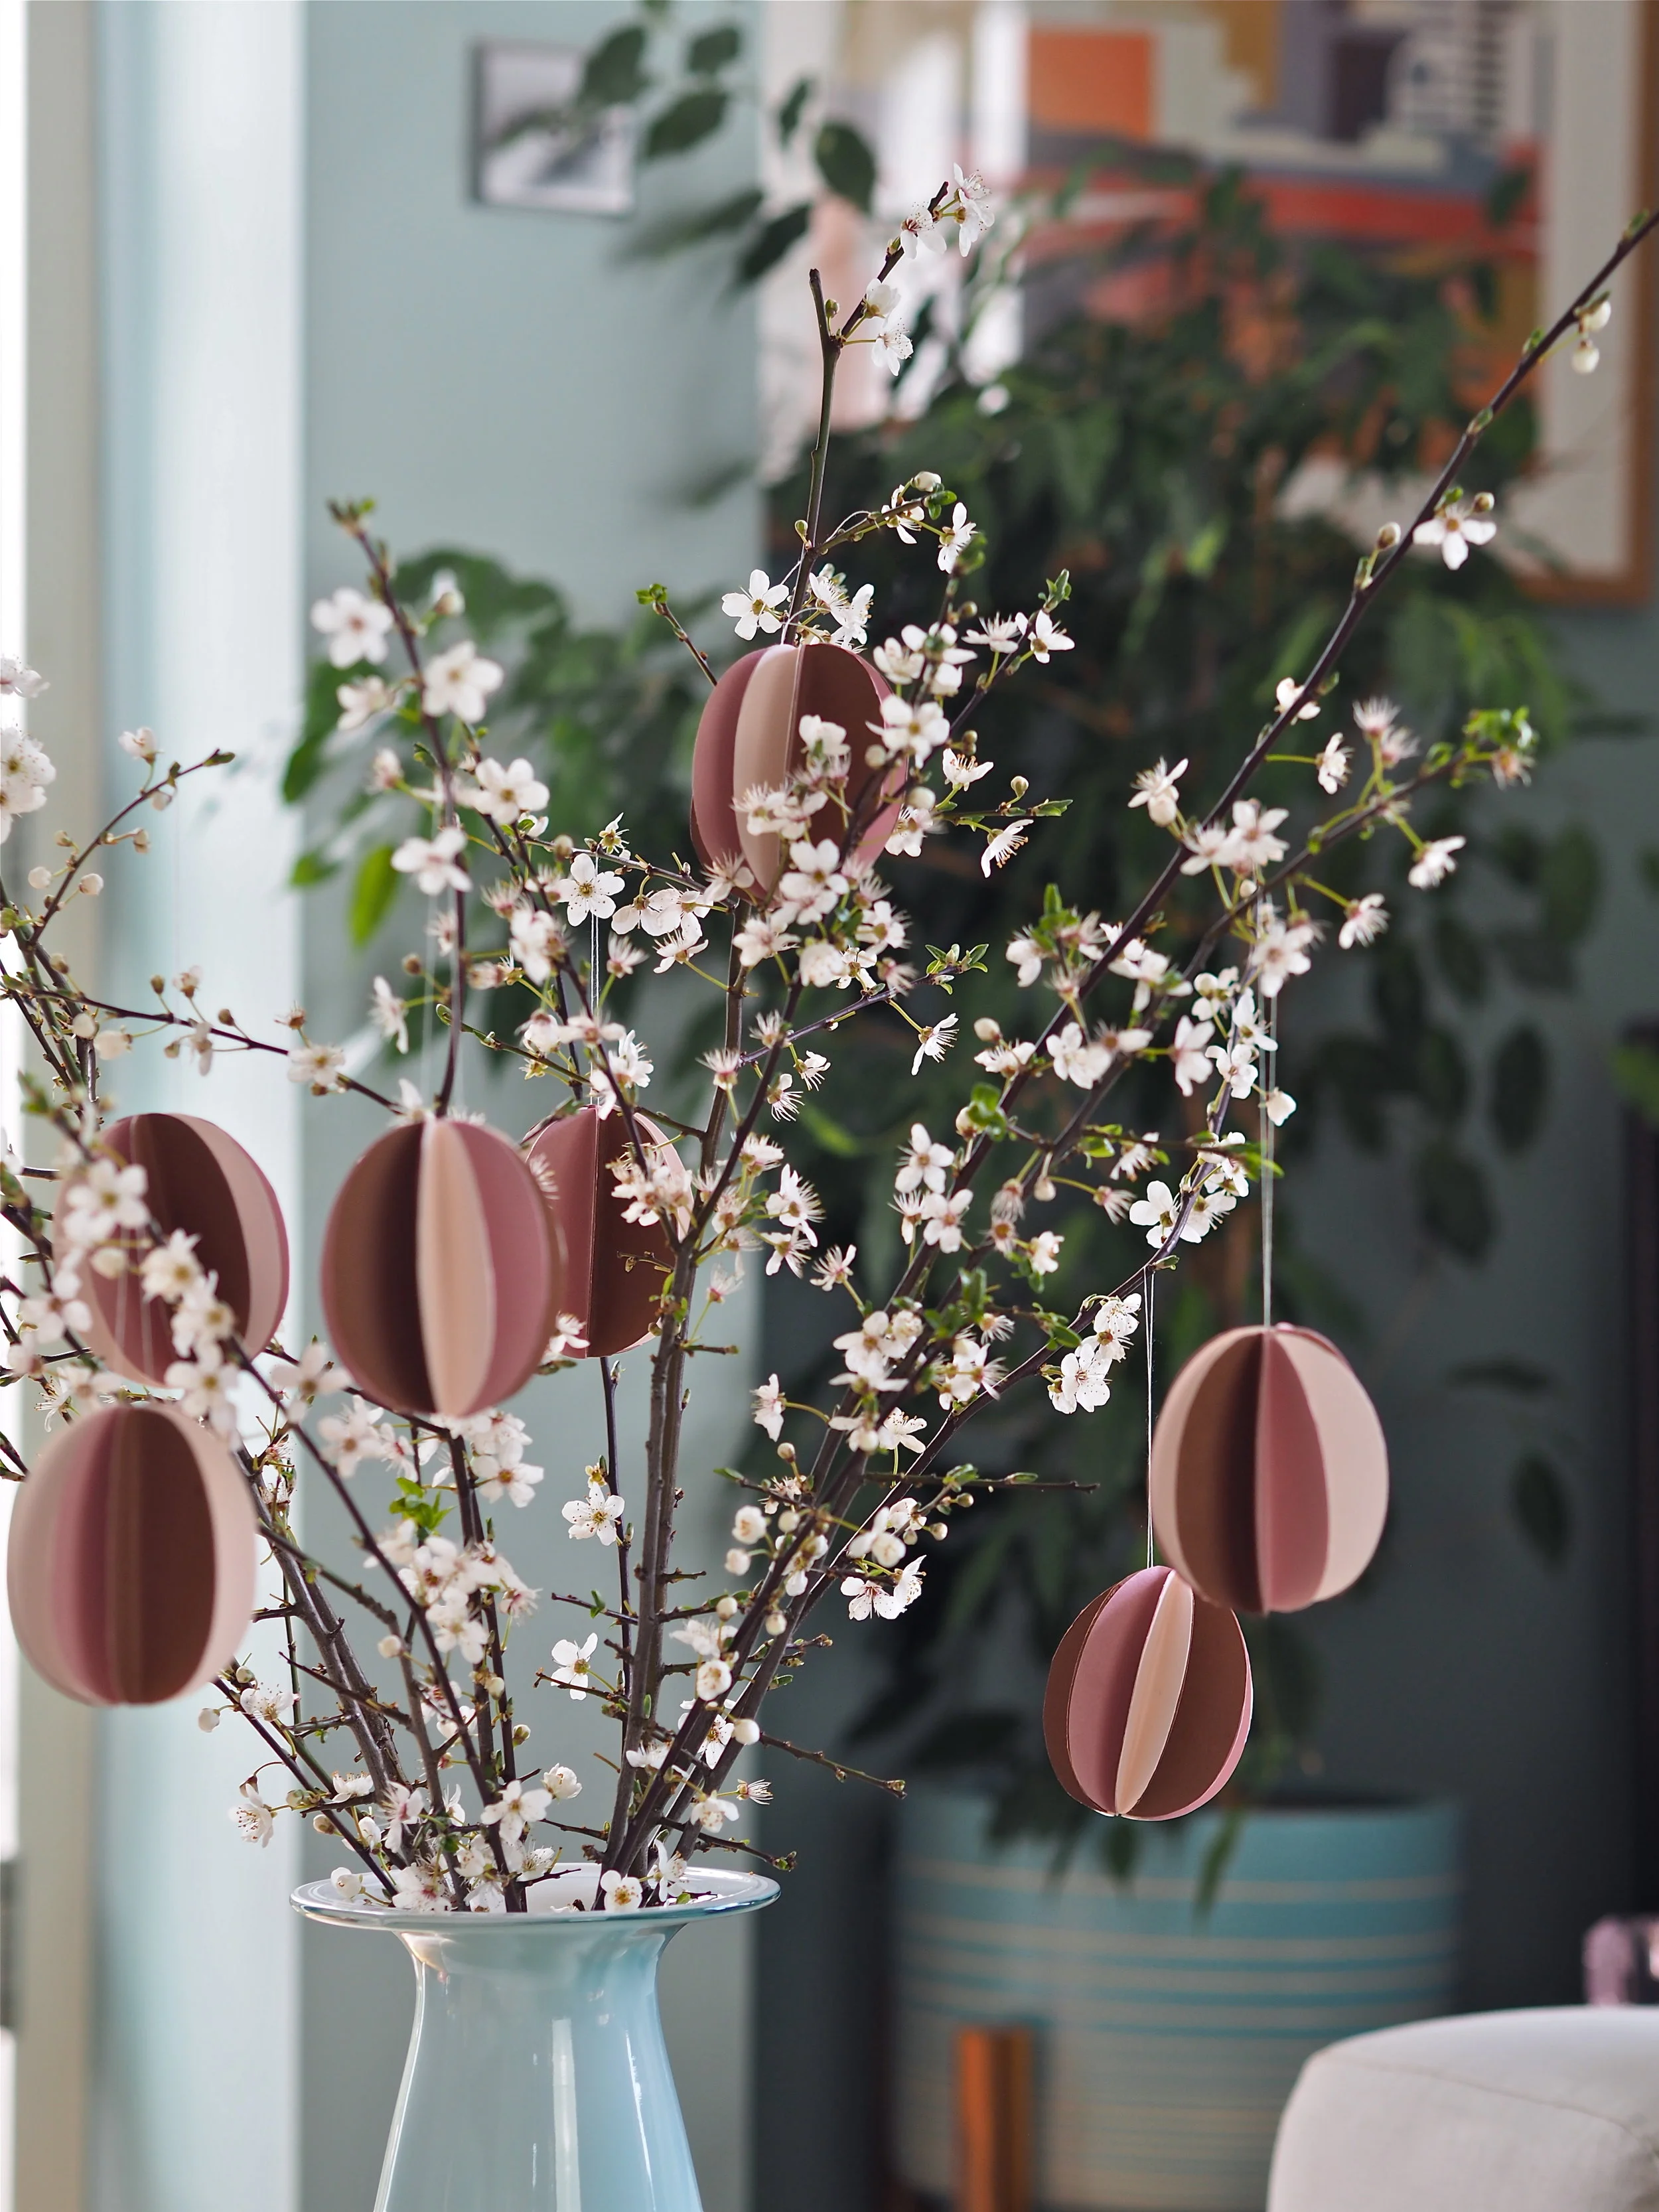
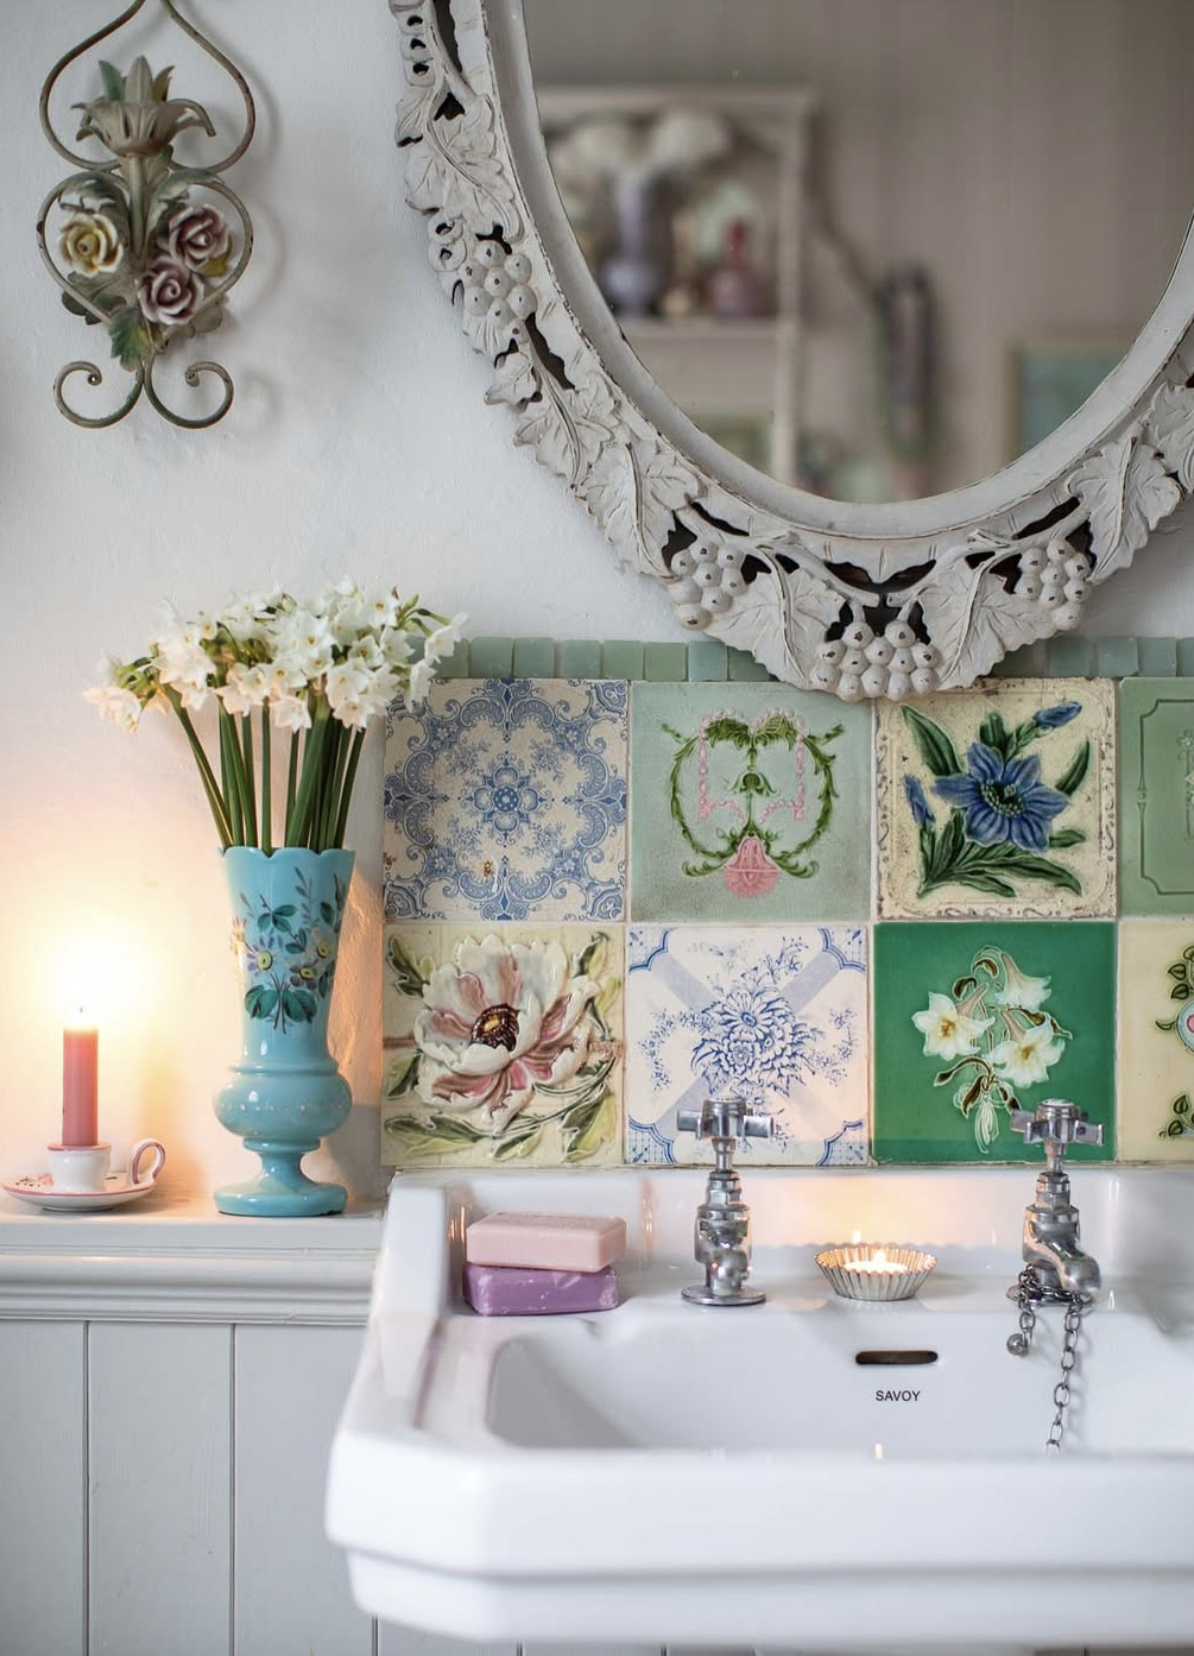
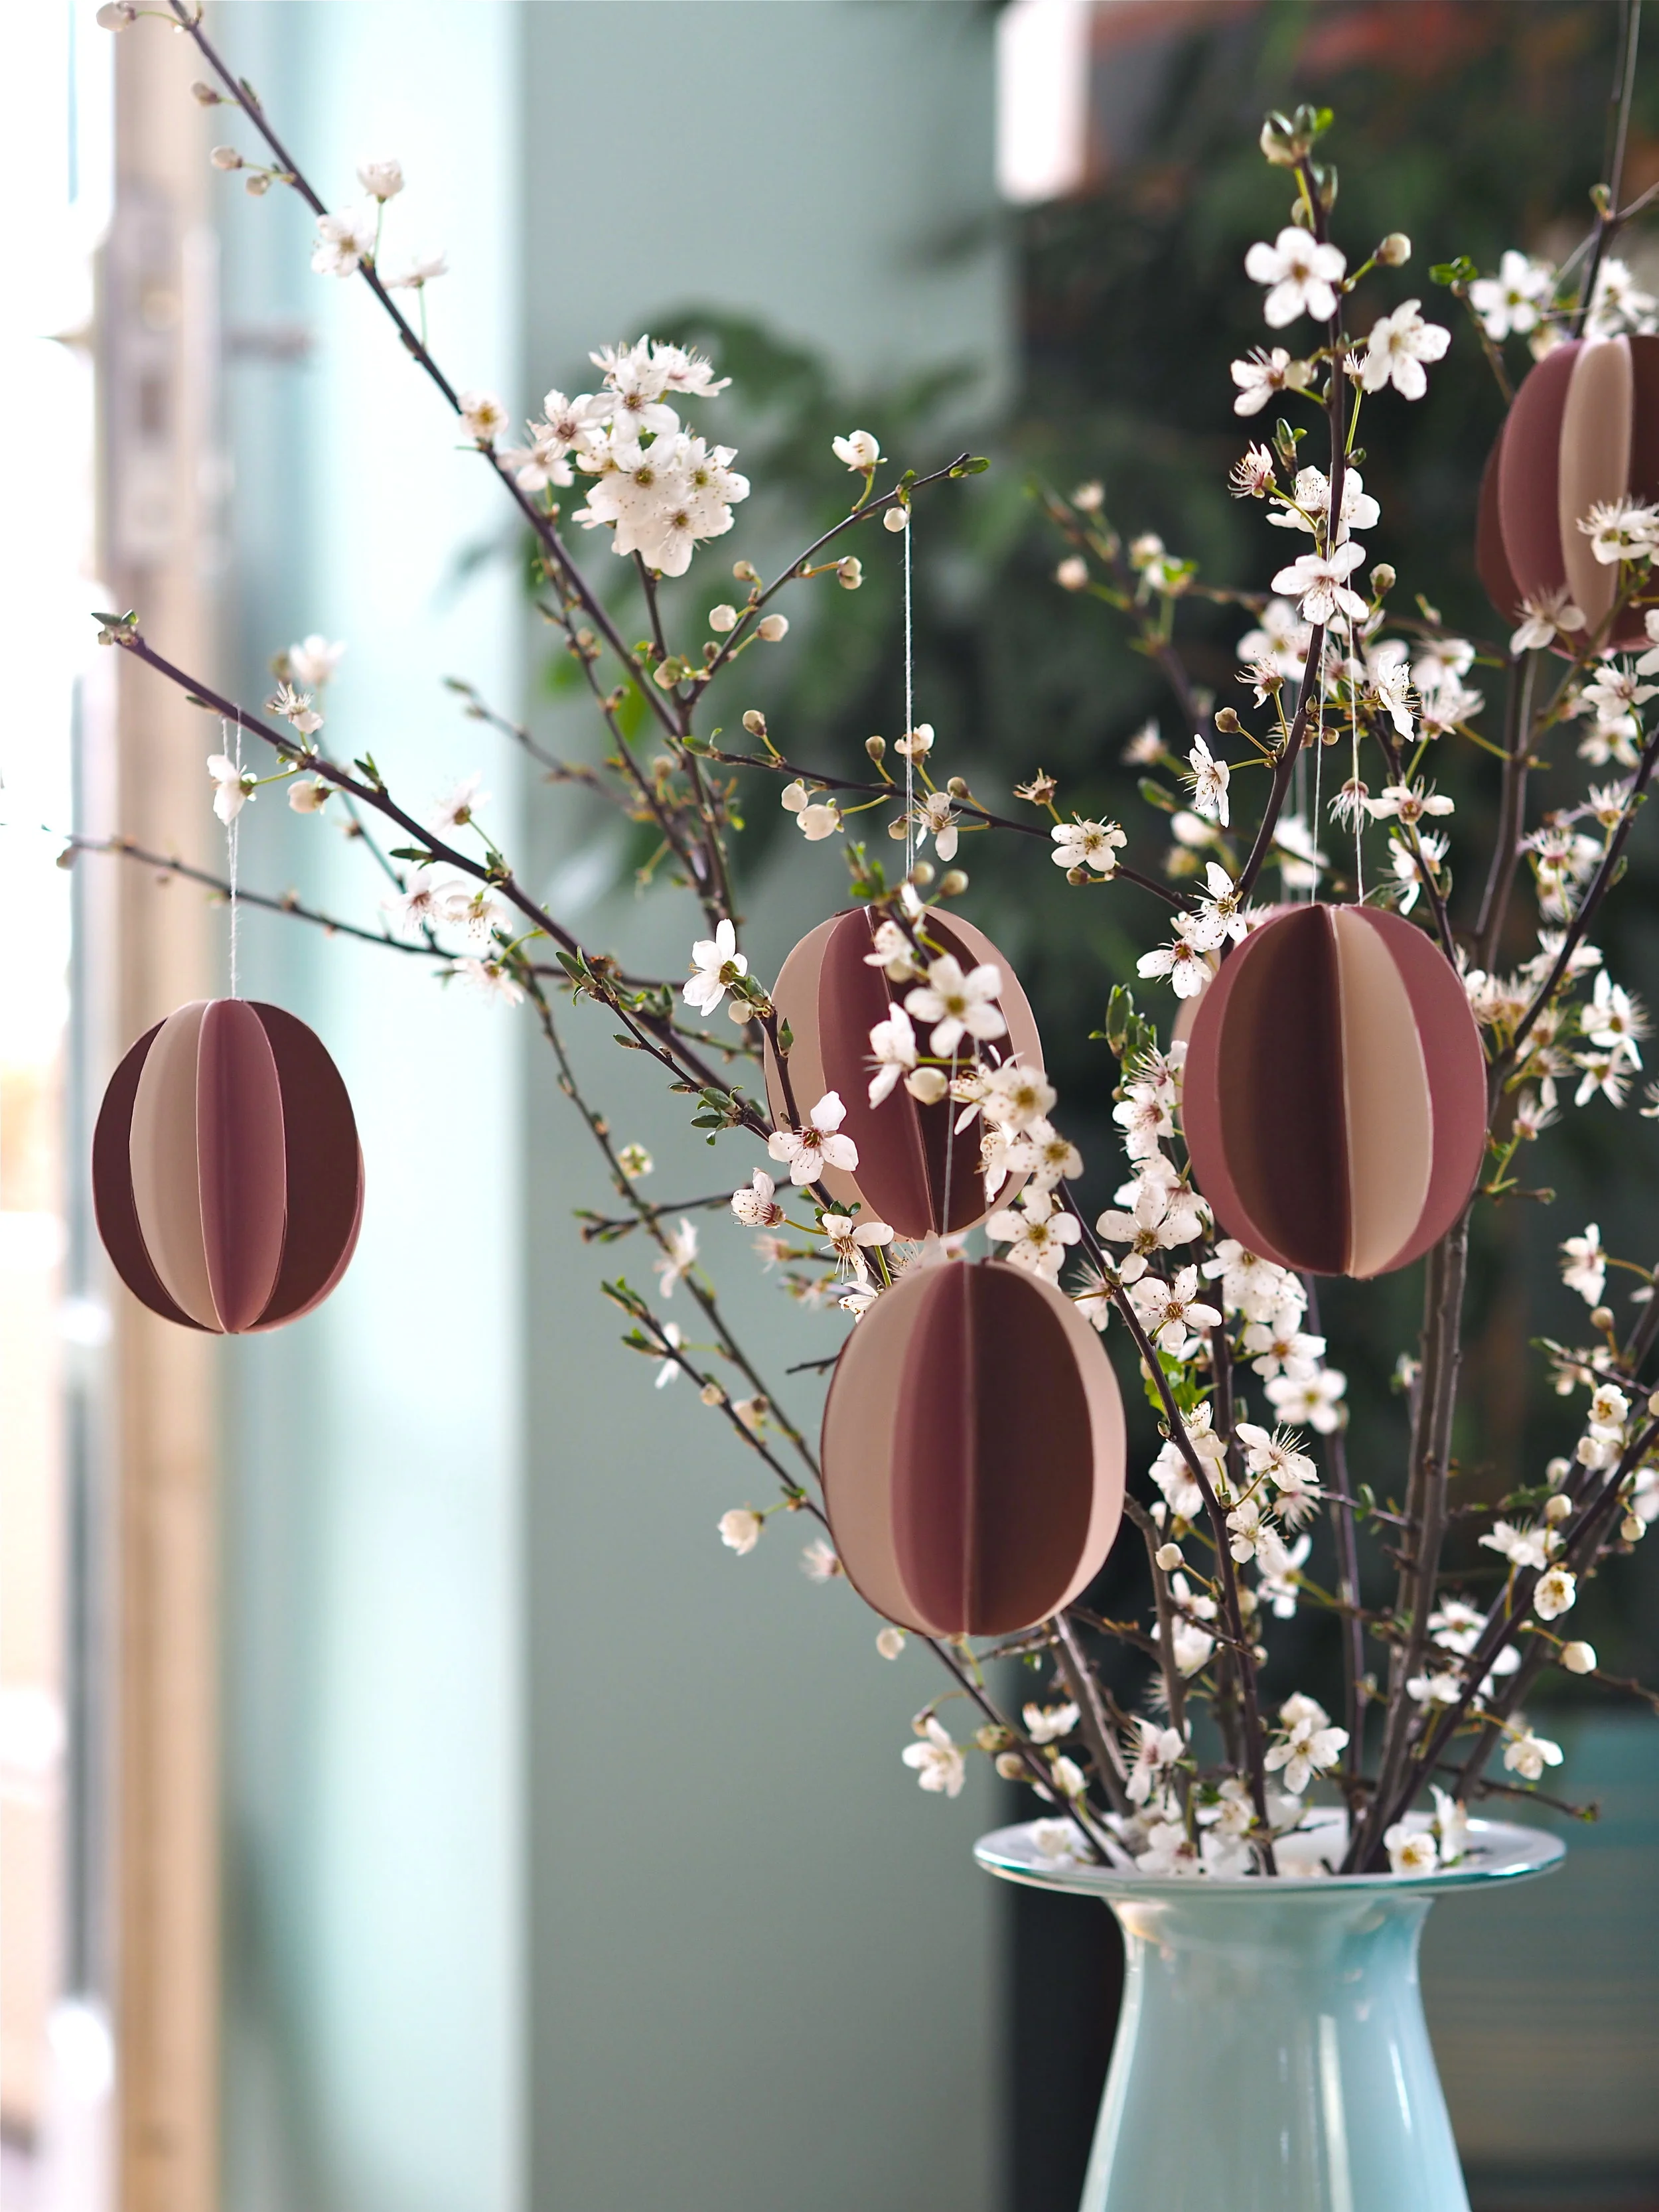
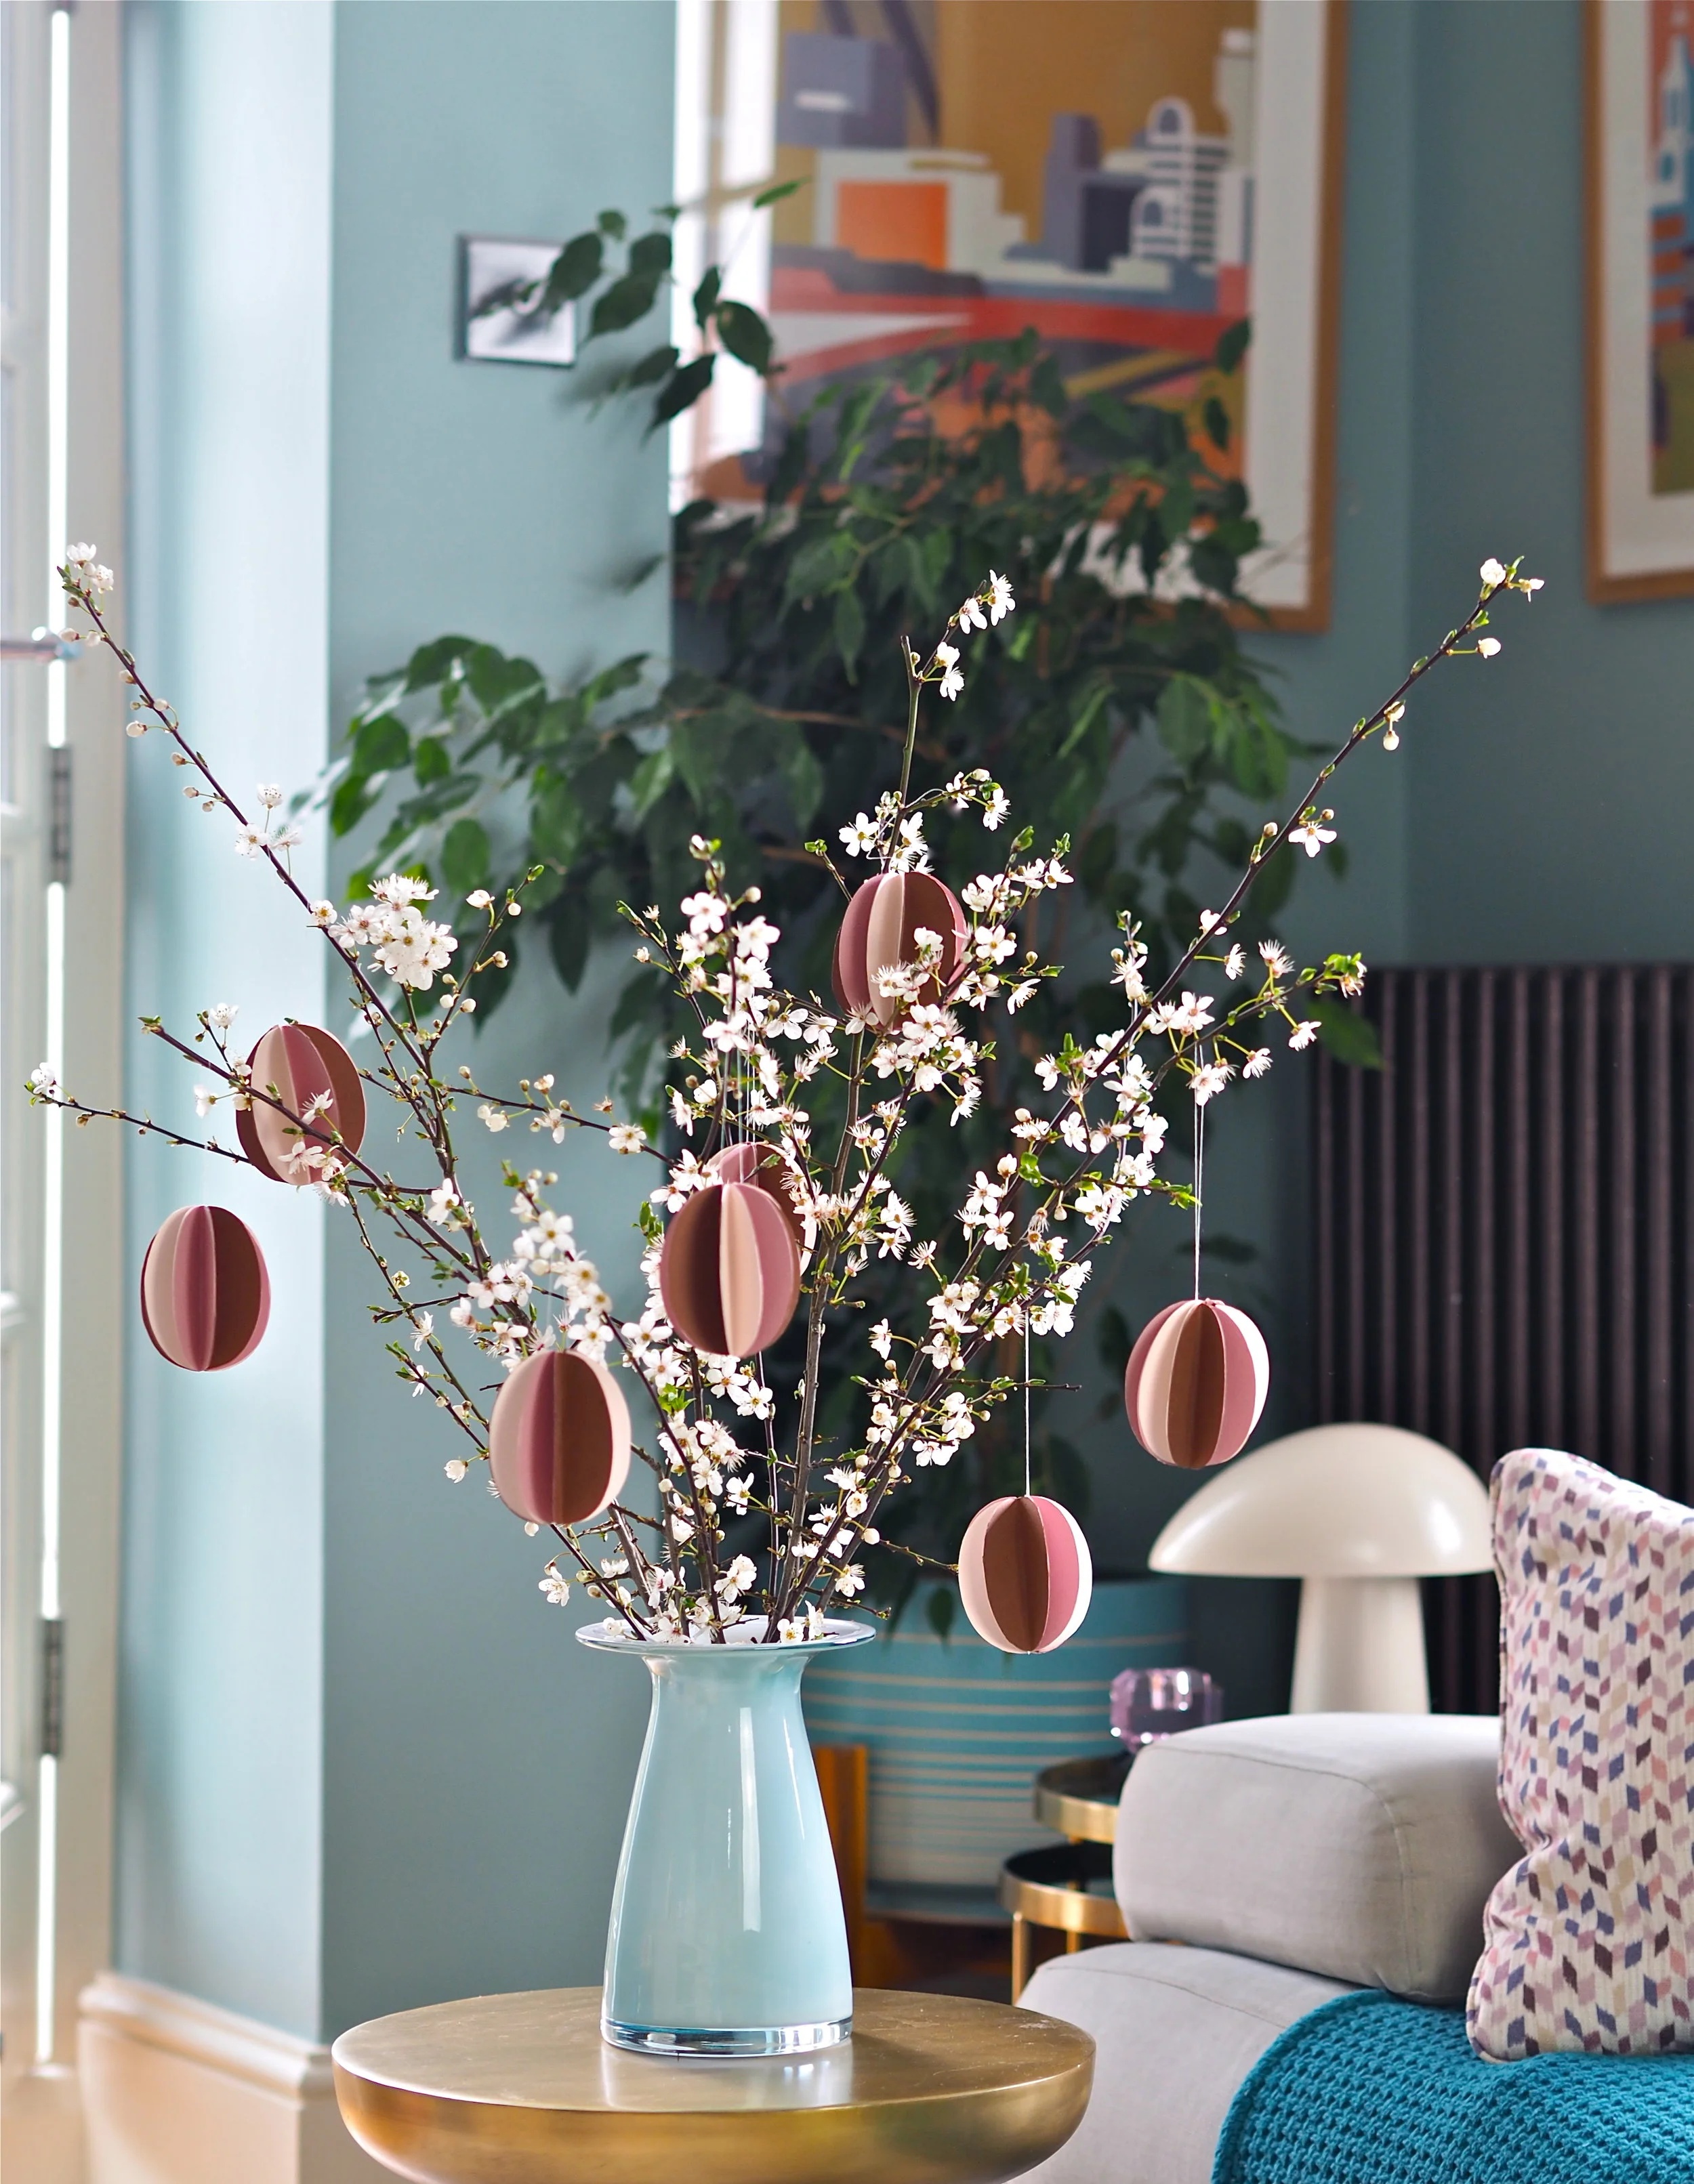
In recent years I have really taken to having a little bit of Easter decor around the house to celebrate the season. Rather than a lot of Easter bunnies and chicks, I prefer to create something a bit more grown up to place in the window. These 3D paper decorations are cheap and easy to make, plus they are really effective when hung on blossom branches (real or faux) to create a decorative spring scheme in the home.

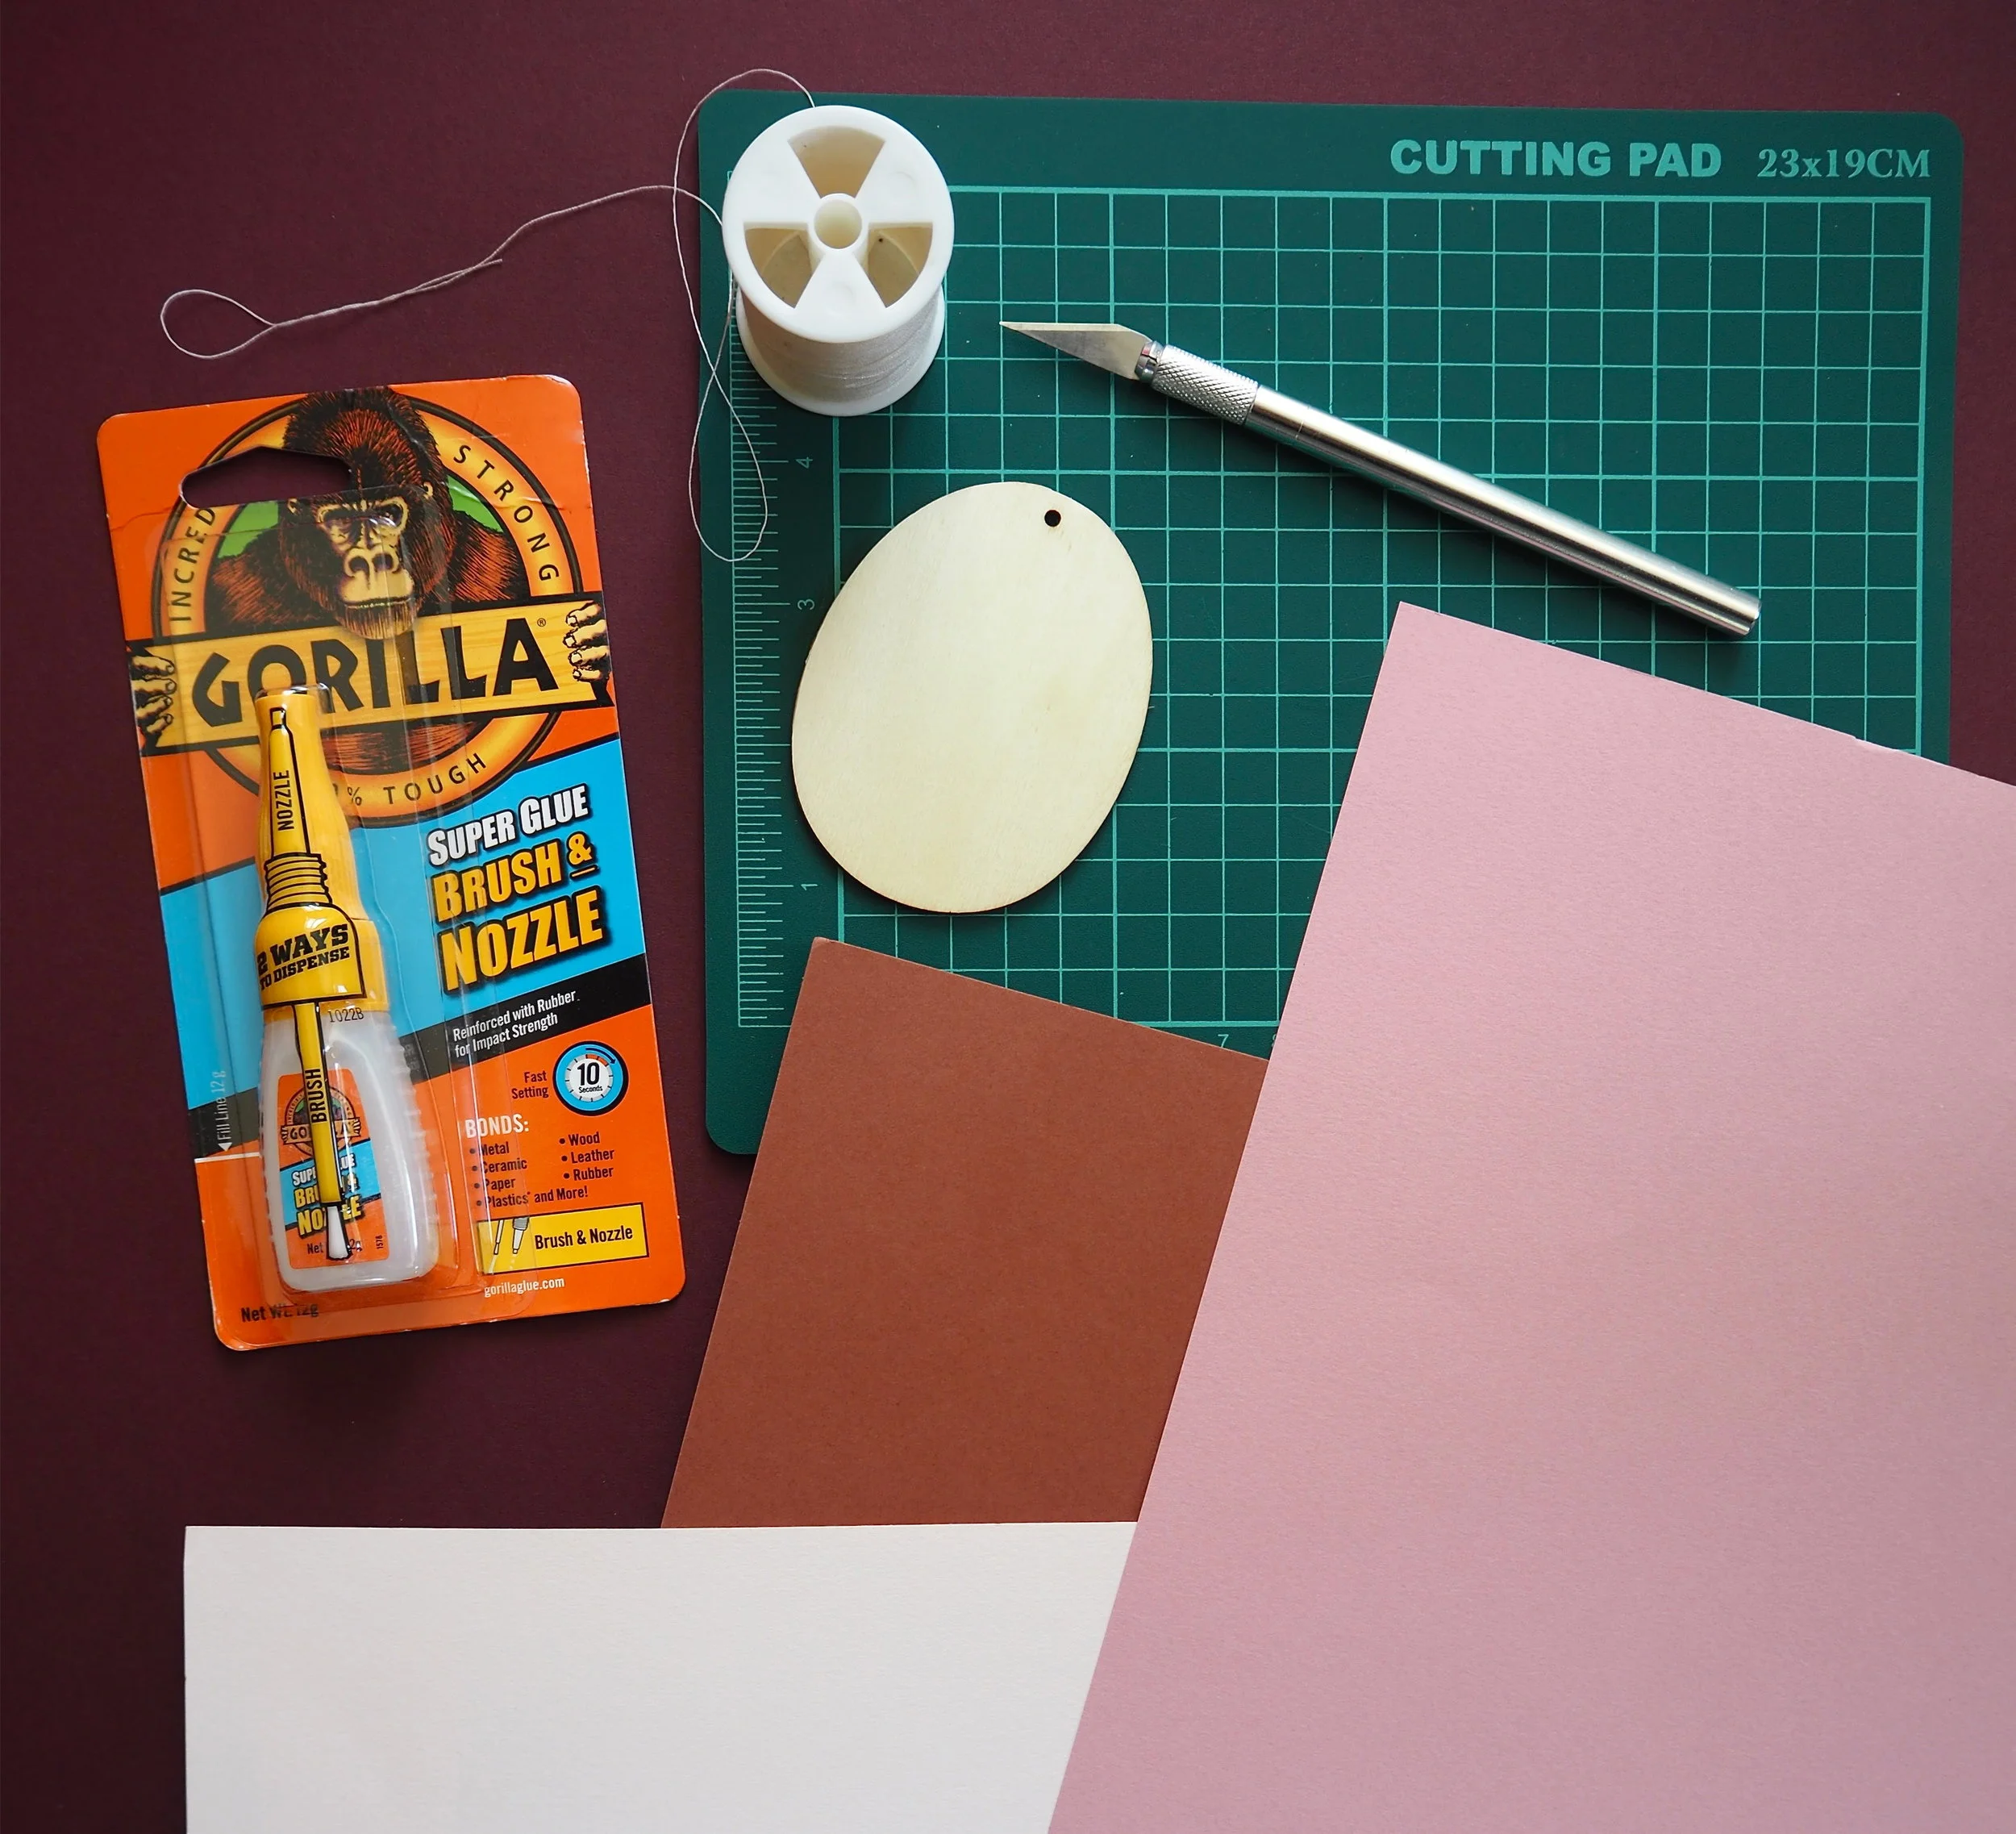
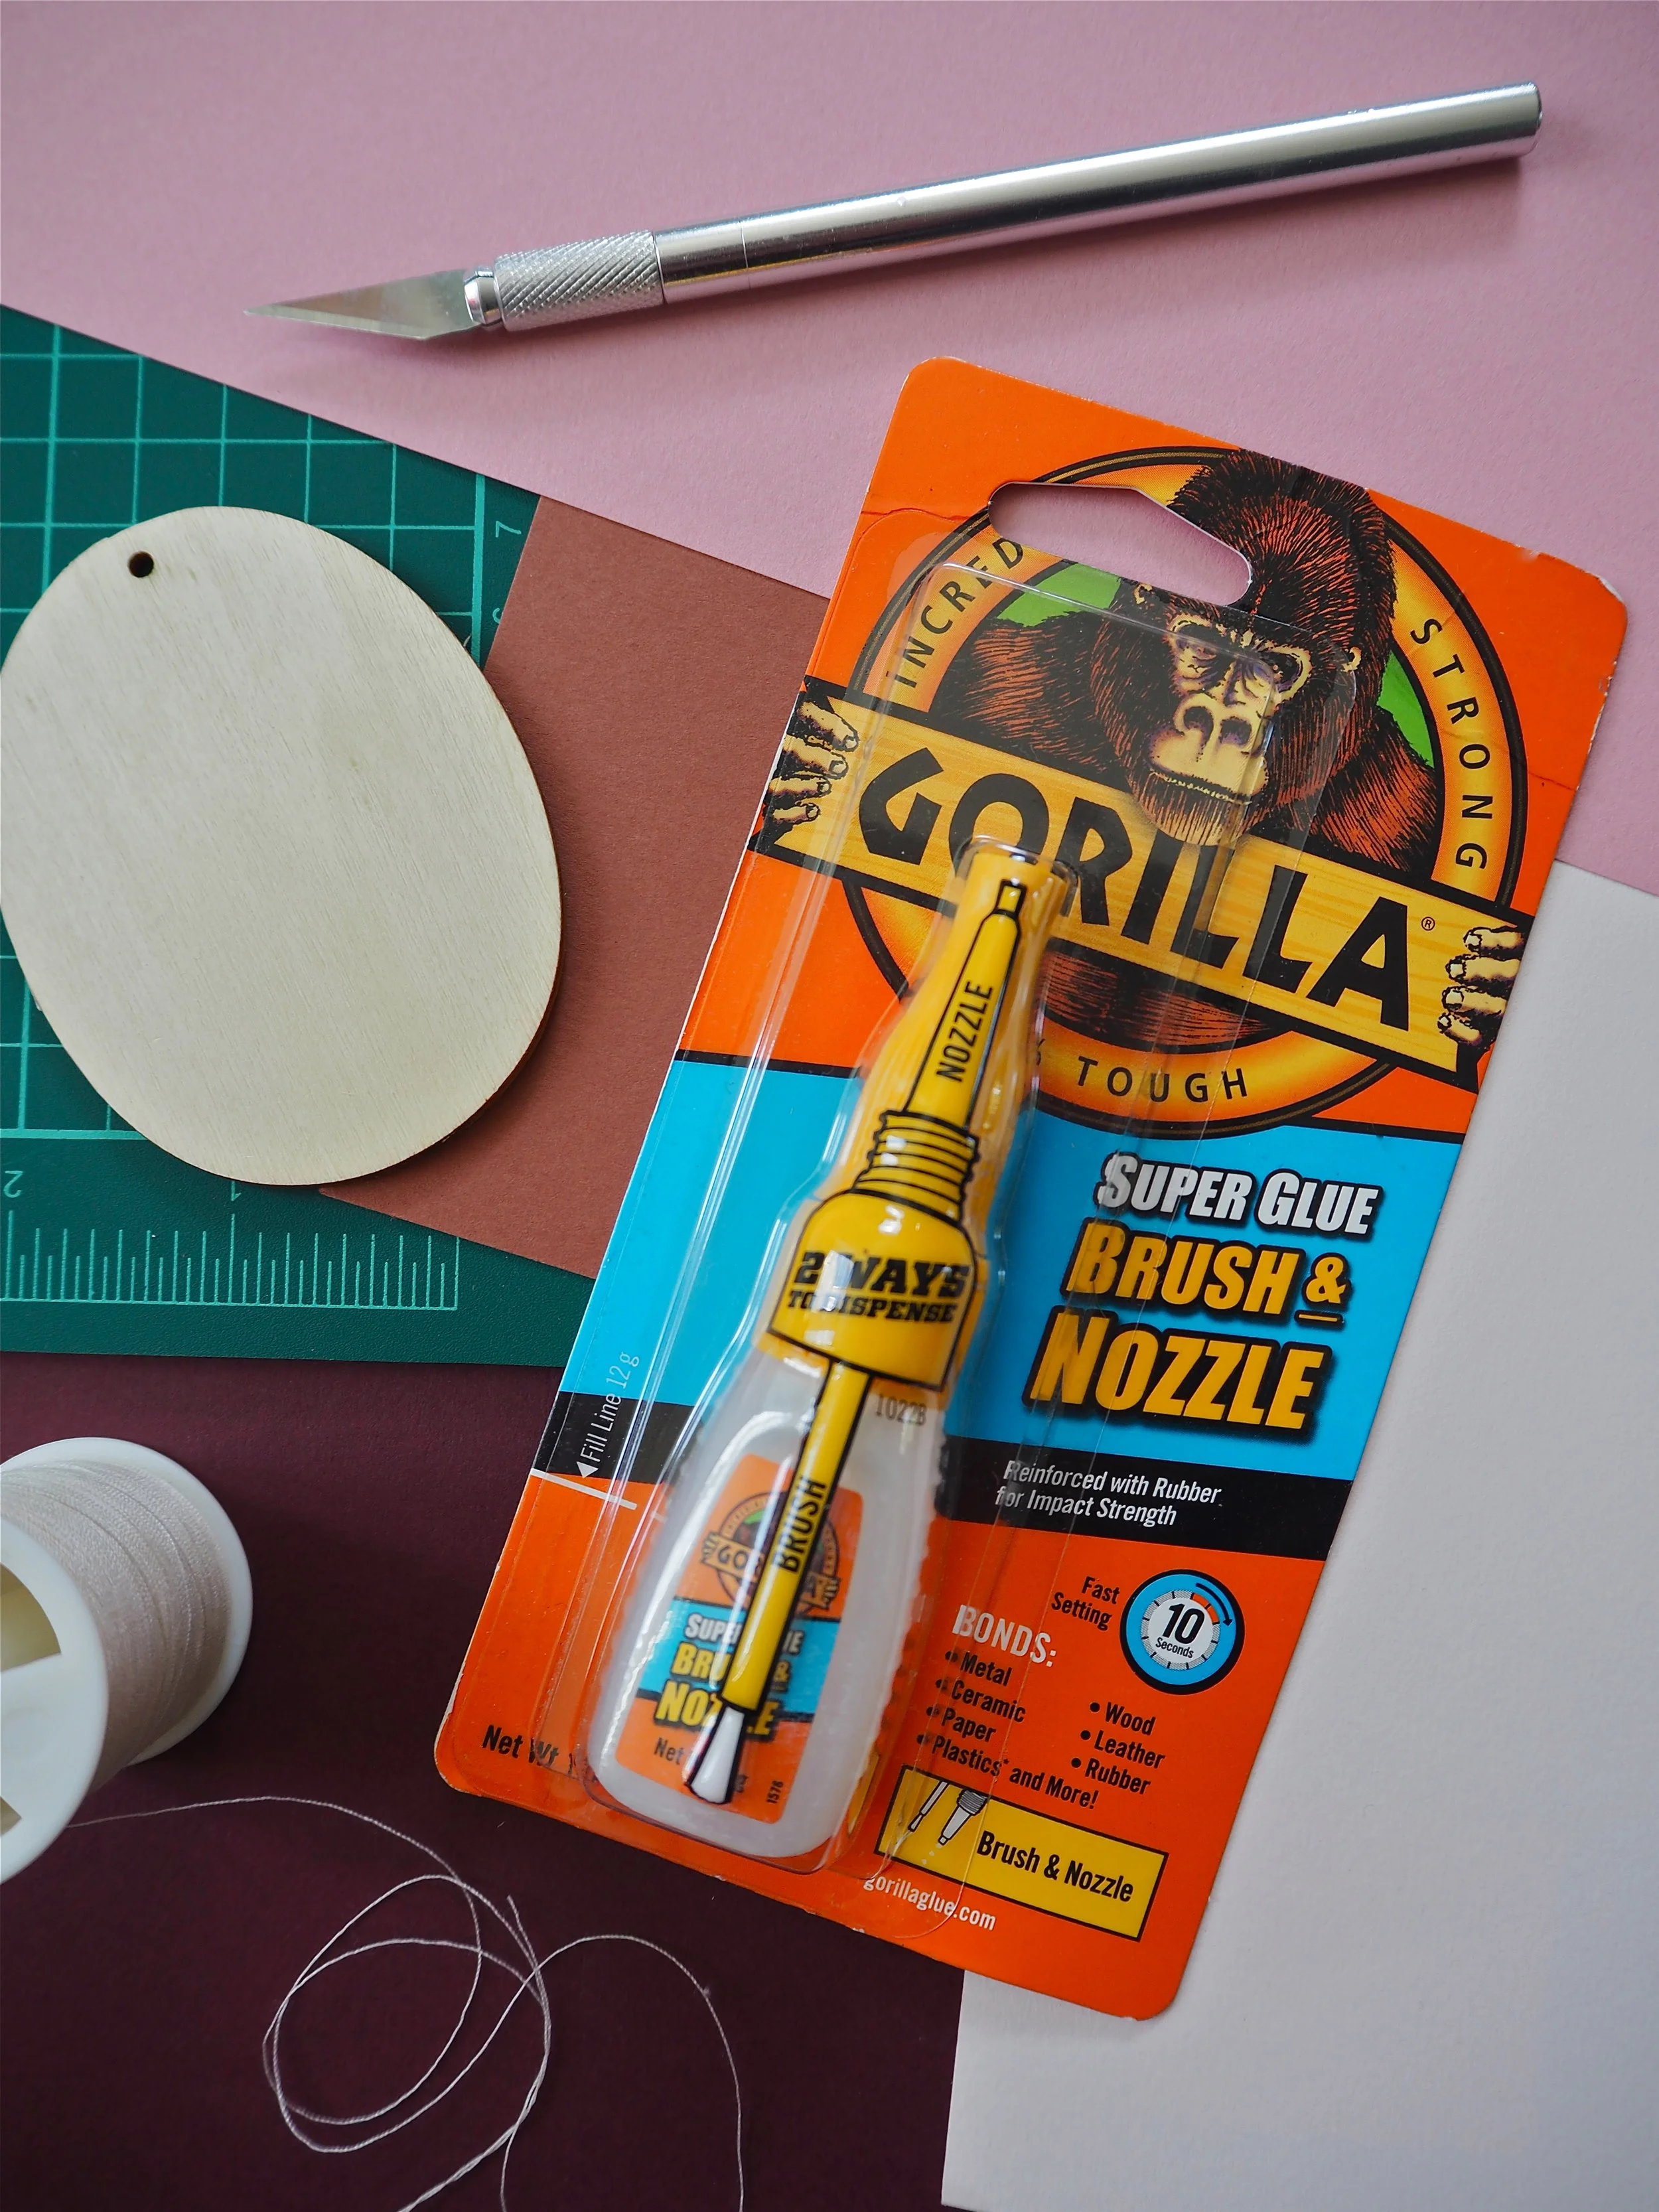
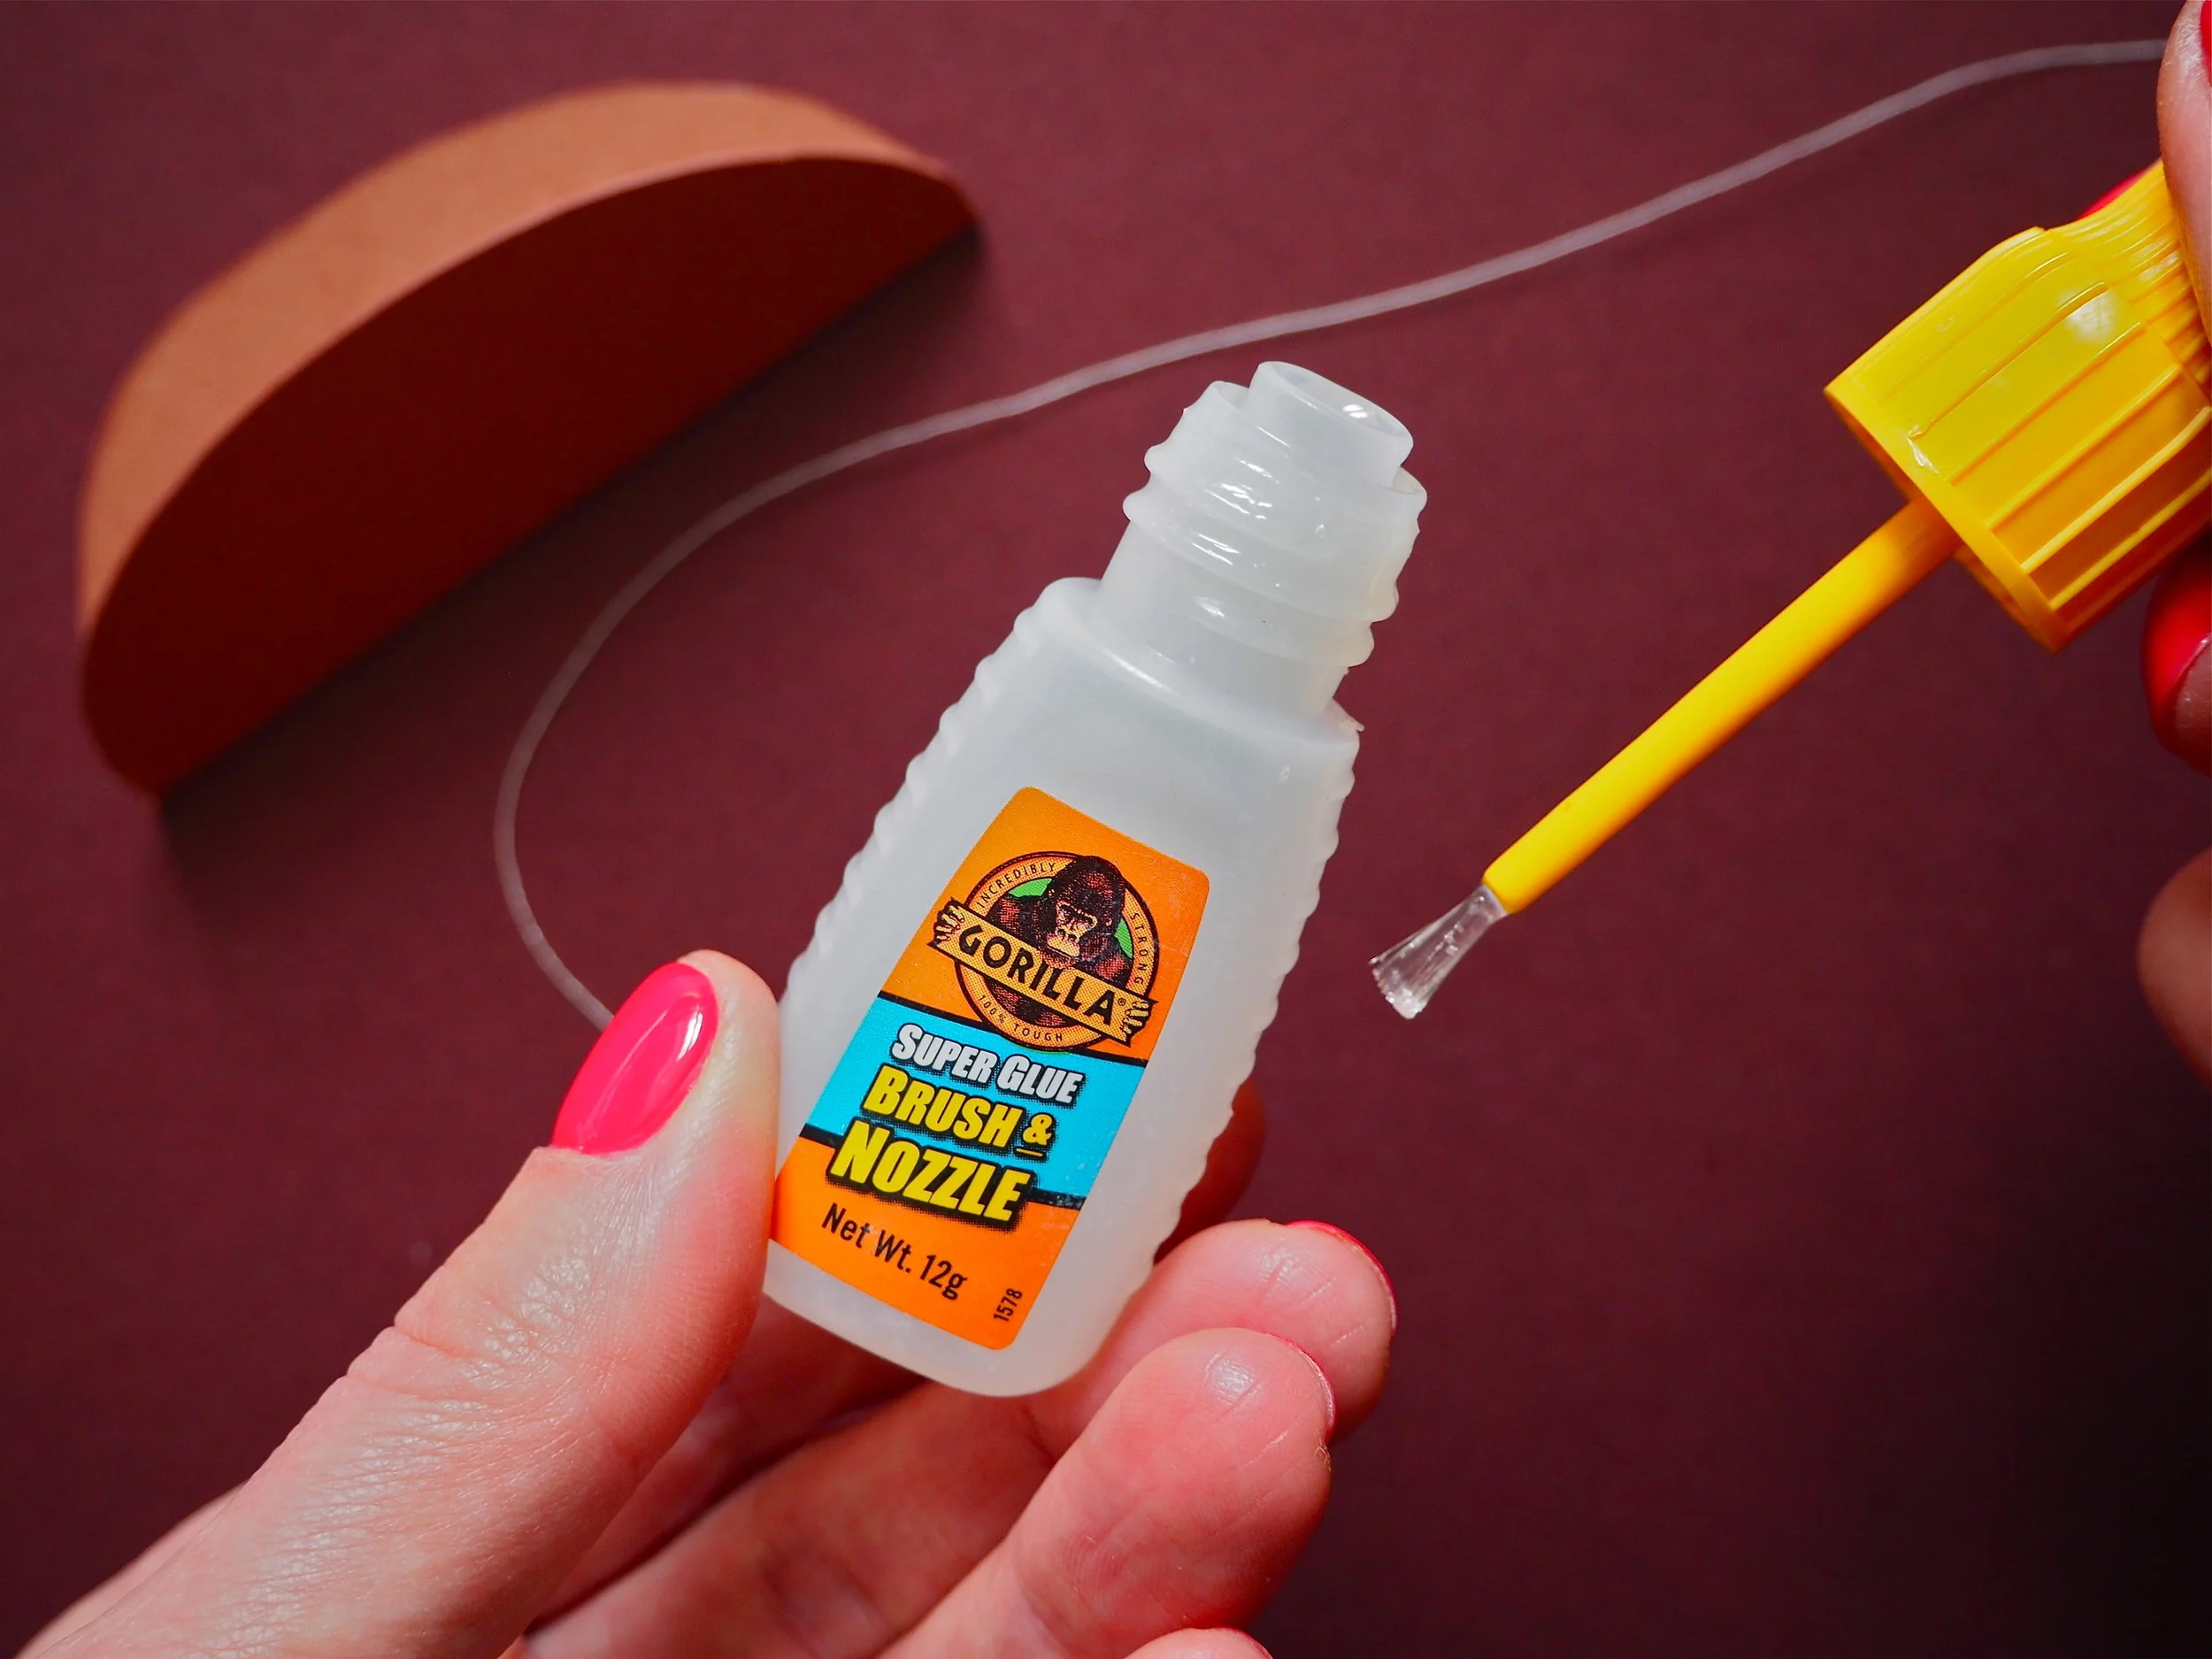
Gorilla Super Glue Brush & Nozzle is perfect for this paper craft which requires a strong bond to hold the cotton thread and card in place. The applicator brush built into the lid means that the glue can be distributed evenly across the card without spills or mess. The brush allows you to apply the glue in the hard-to-reach areas of the decoration as you construct it and as the glue sets in 10-45 seconds, you can build the decoration quickly and easily with controlled coverage.
Using the template, cut around the edge of the egg until you cut out an egg shape on the coloured card. Carefully fold the egg shape over and make a central crease down the middle:
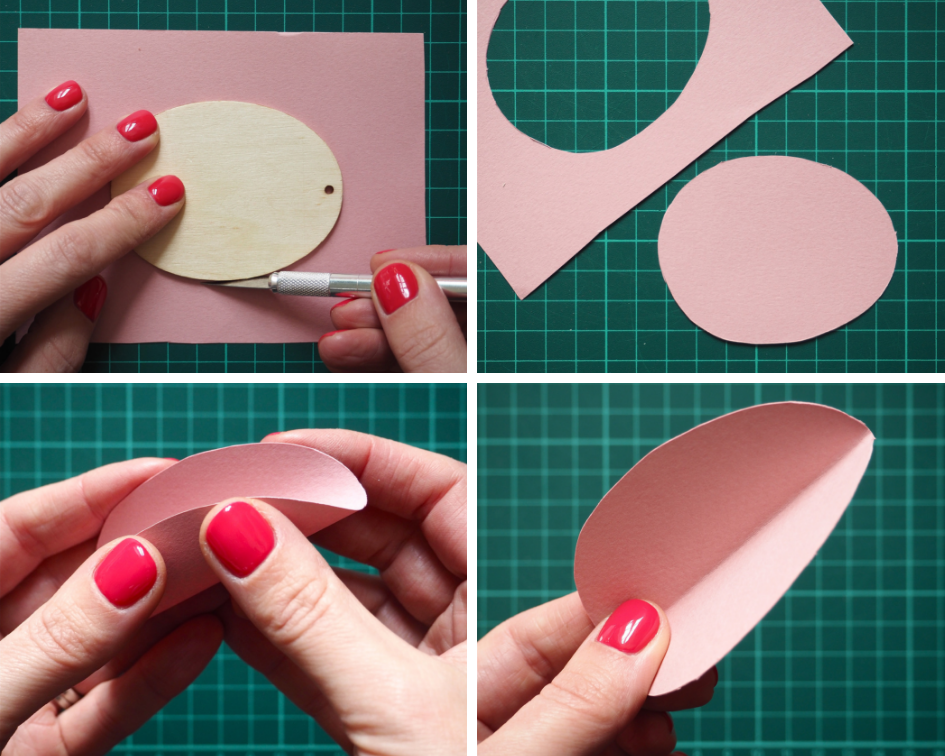
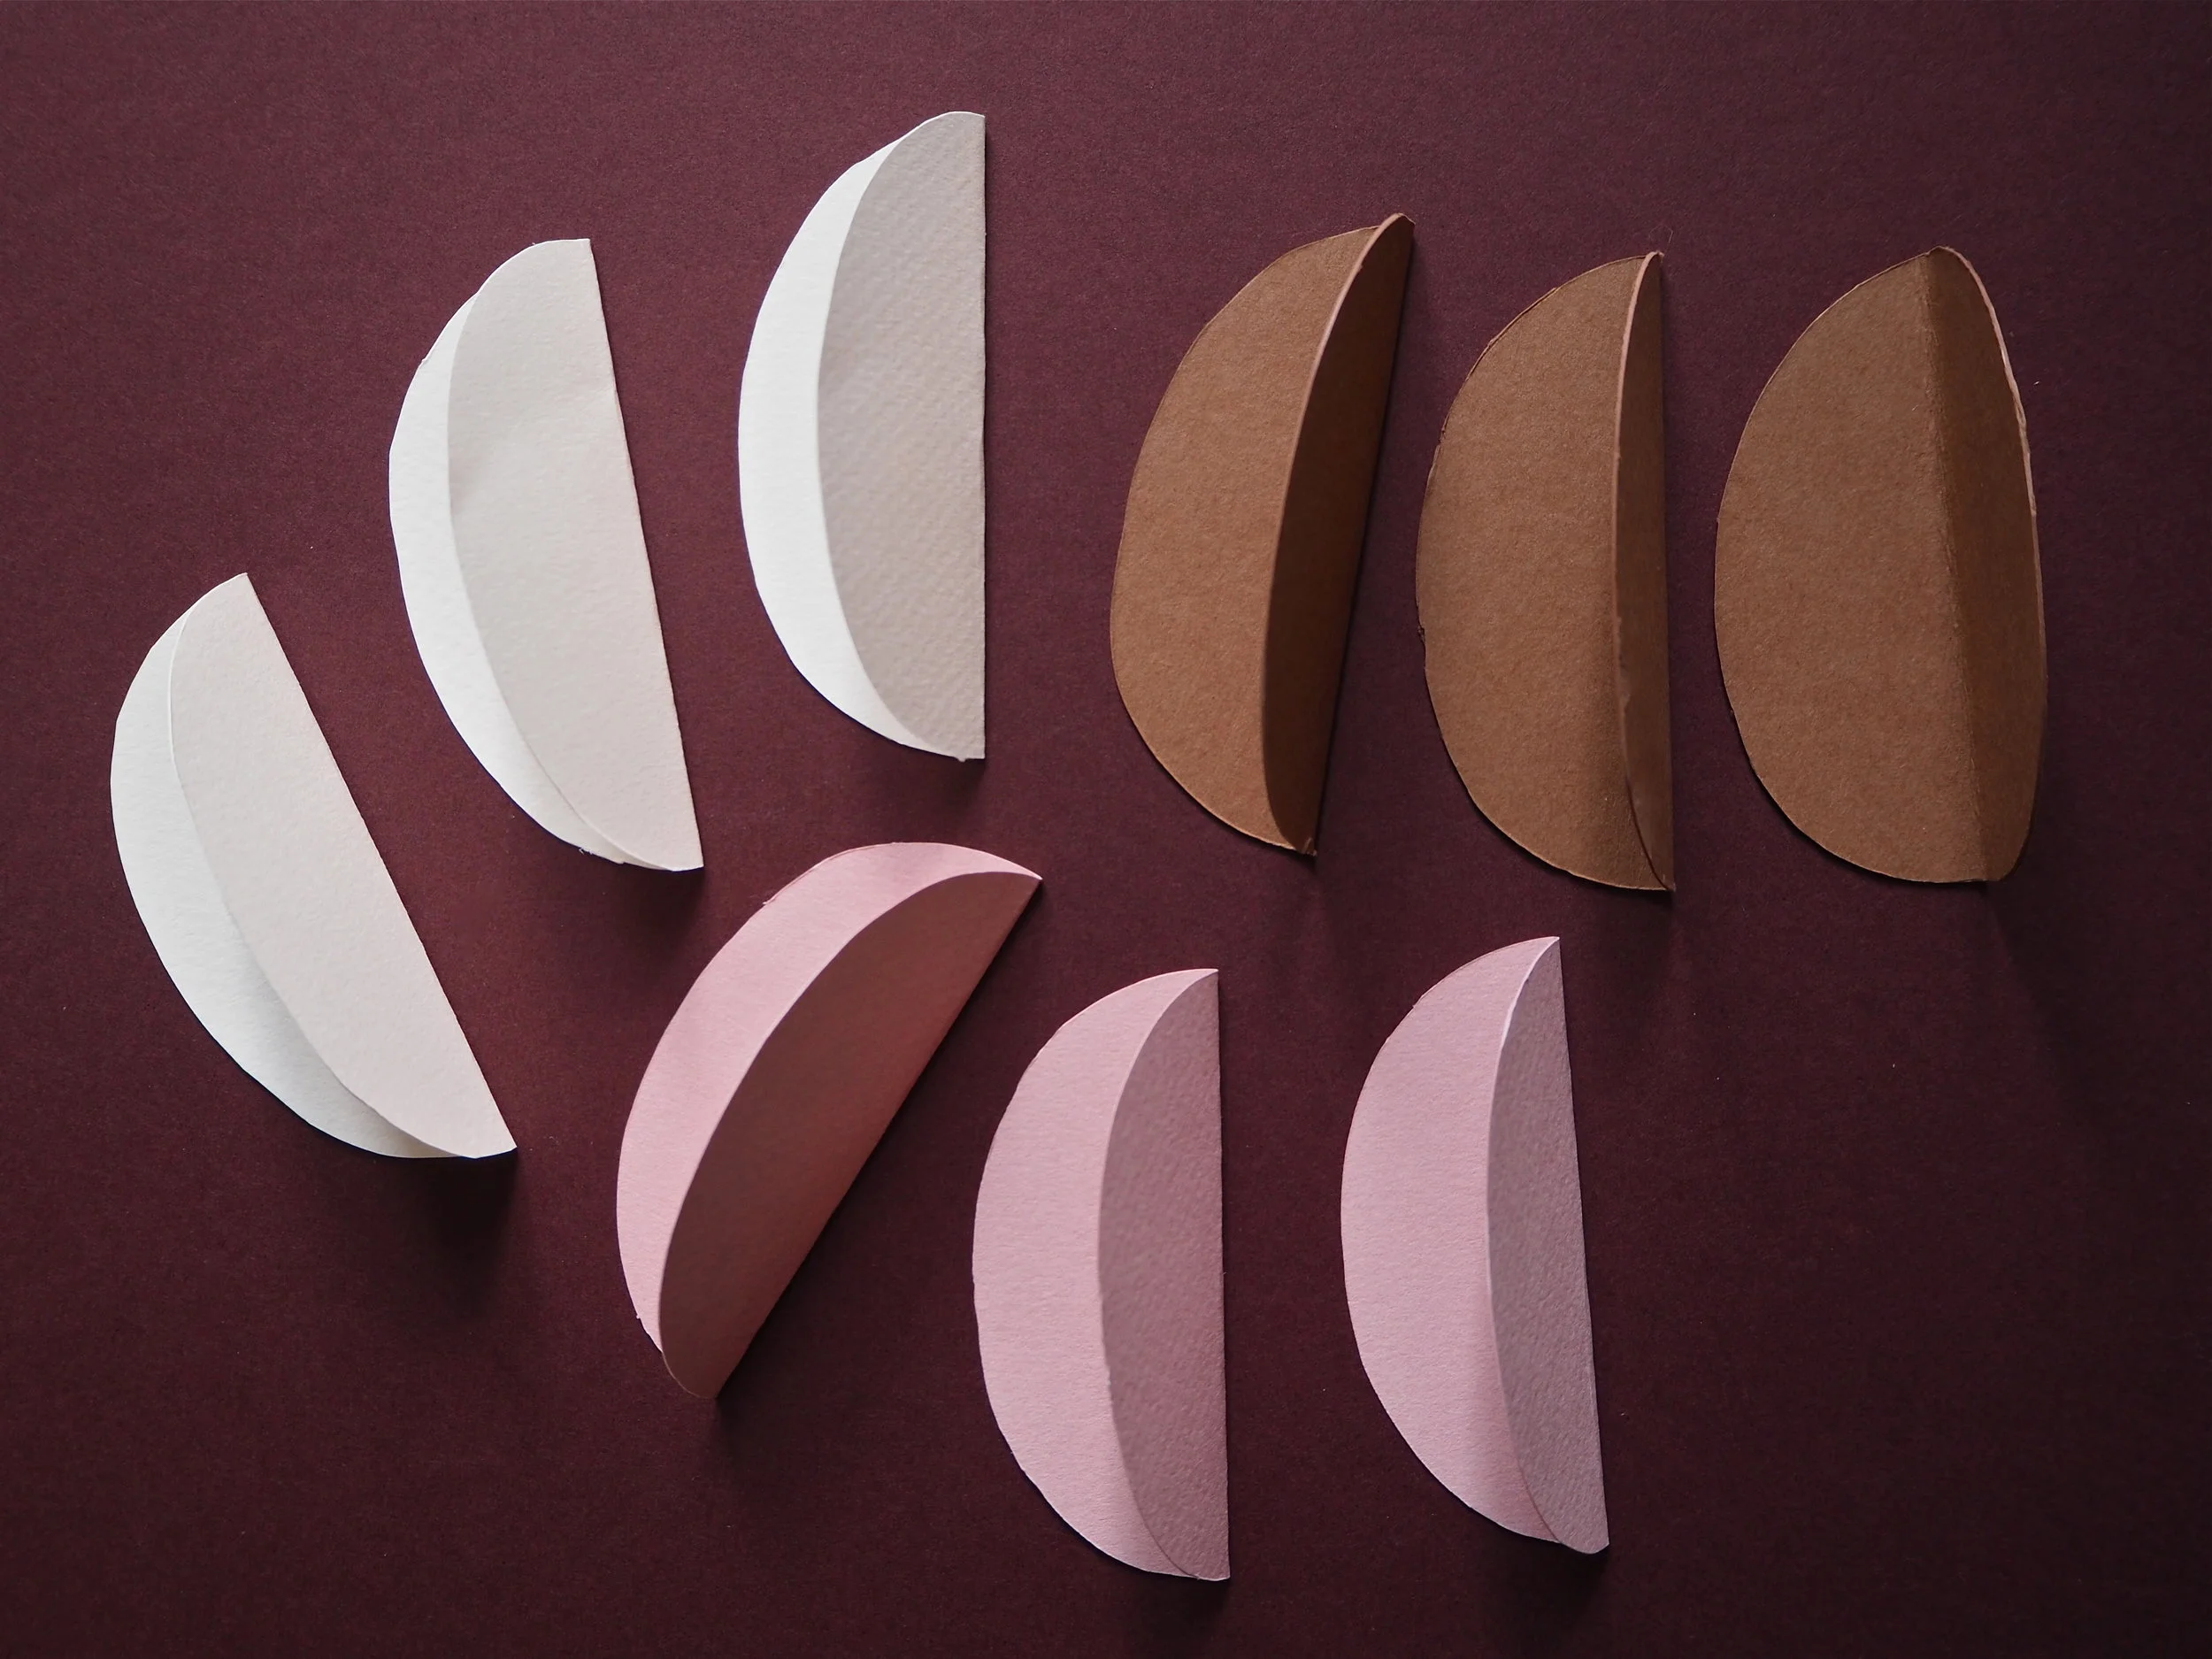
To create one decoration you’ll need nine cut out egg shapes, three in each colour:
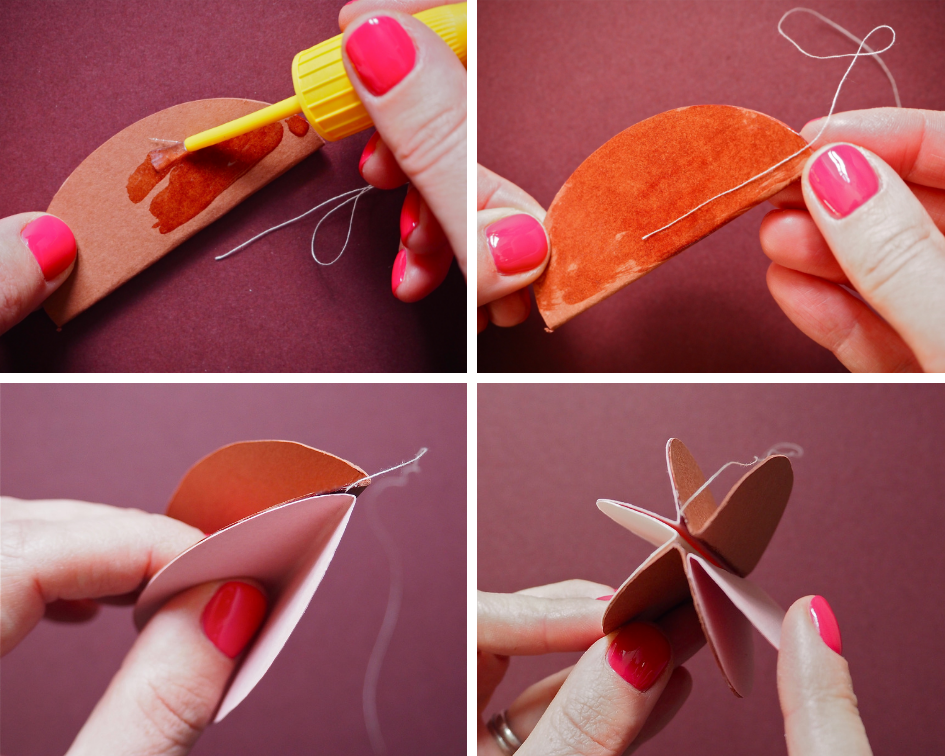
Take one of the folded shapes and a piece of thread around 15-20cm in length.
To use the Gorilla Super Glue Brush & Nozzle, unscrew the full cap and wipe the brush on the inner rim of the bottle to remove excess glue.
Apply a small amount of Gorilla Super Glue Brush & Nozzle to the outside area of one half of the folded egg, spreading the glue evenly and making sure it reaches the outside rim of the shape. Only one drop of the glue per square inch is recommended as you do not want excess glue bursting out the sides of the two pieces of card being joined.
Place one end of the thread near the folded part of the egg shape, then press another folded egg in a different colour alongside it. Make sure that the two shapes line up correctly, then press the two surfaces together for between 10-45 seconds.
Rotate the colours of the card to create your 3D egg decoration, using the Gorilla Super Glue Brush & Nozzle on one section of card only before applying the next shape. Once you have applied four cut outs, take the other end of the cotton thread and lay it onto a glued section of card. This will enable your egg decoration to hang upright and not lean to the side when hung on your Easter tree.
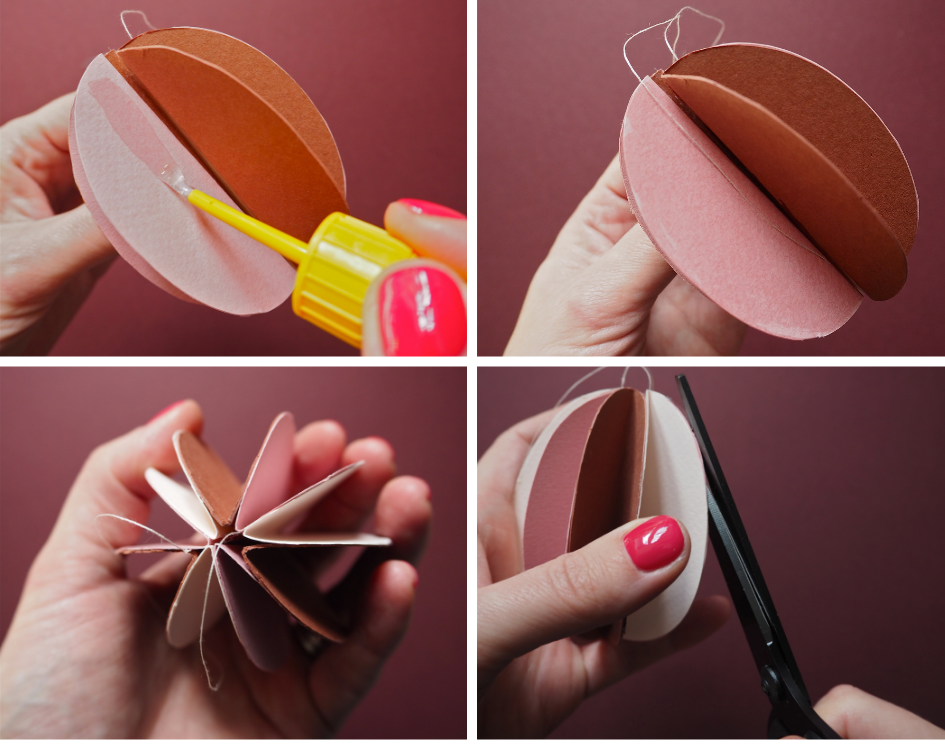
Keep going until you have used all nine pieces of card, then use sharp scissors to tidy up any areas where one piece of card may overlap another. Leave your 3D decoration for 24 hours for the glue to fully cure, then they will be ready to hang on your Easter tree!

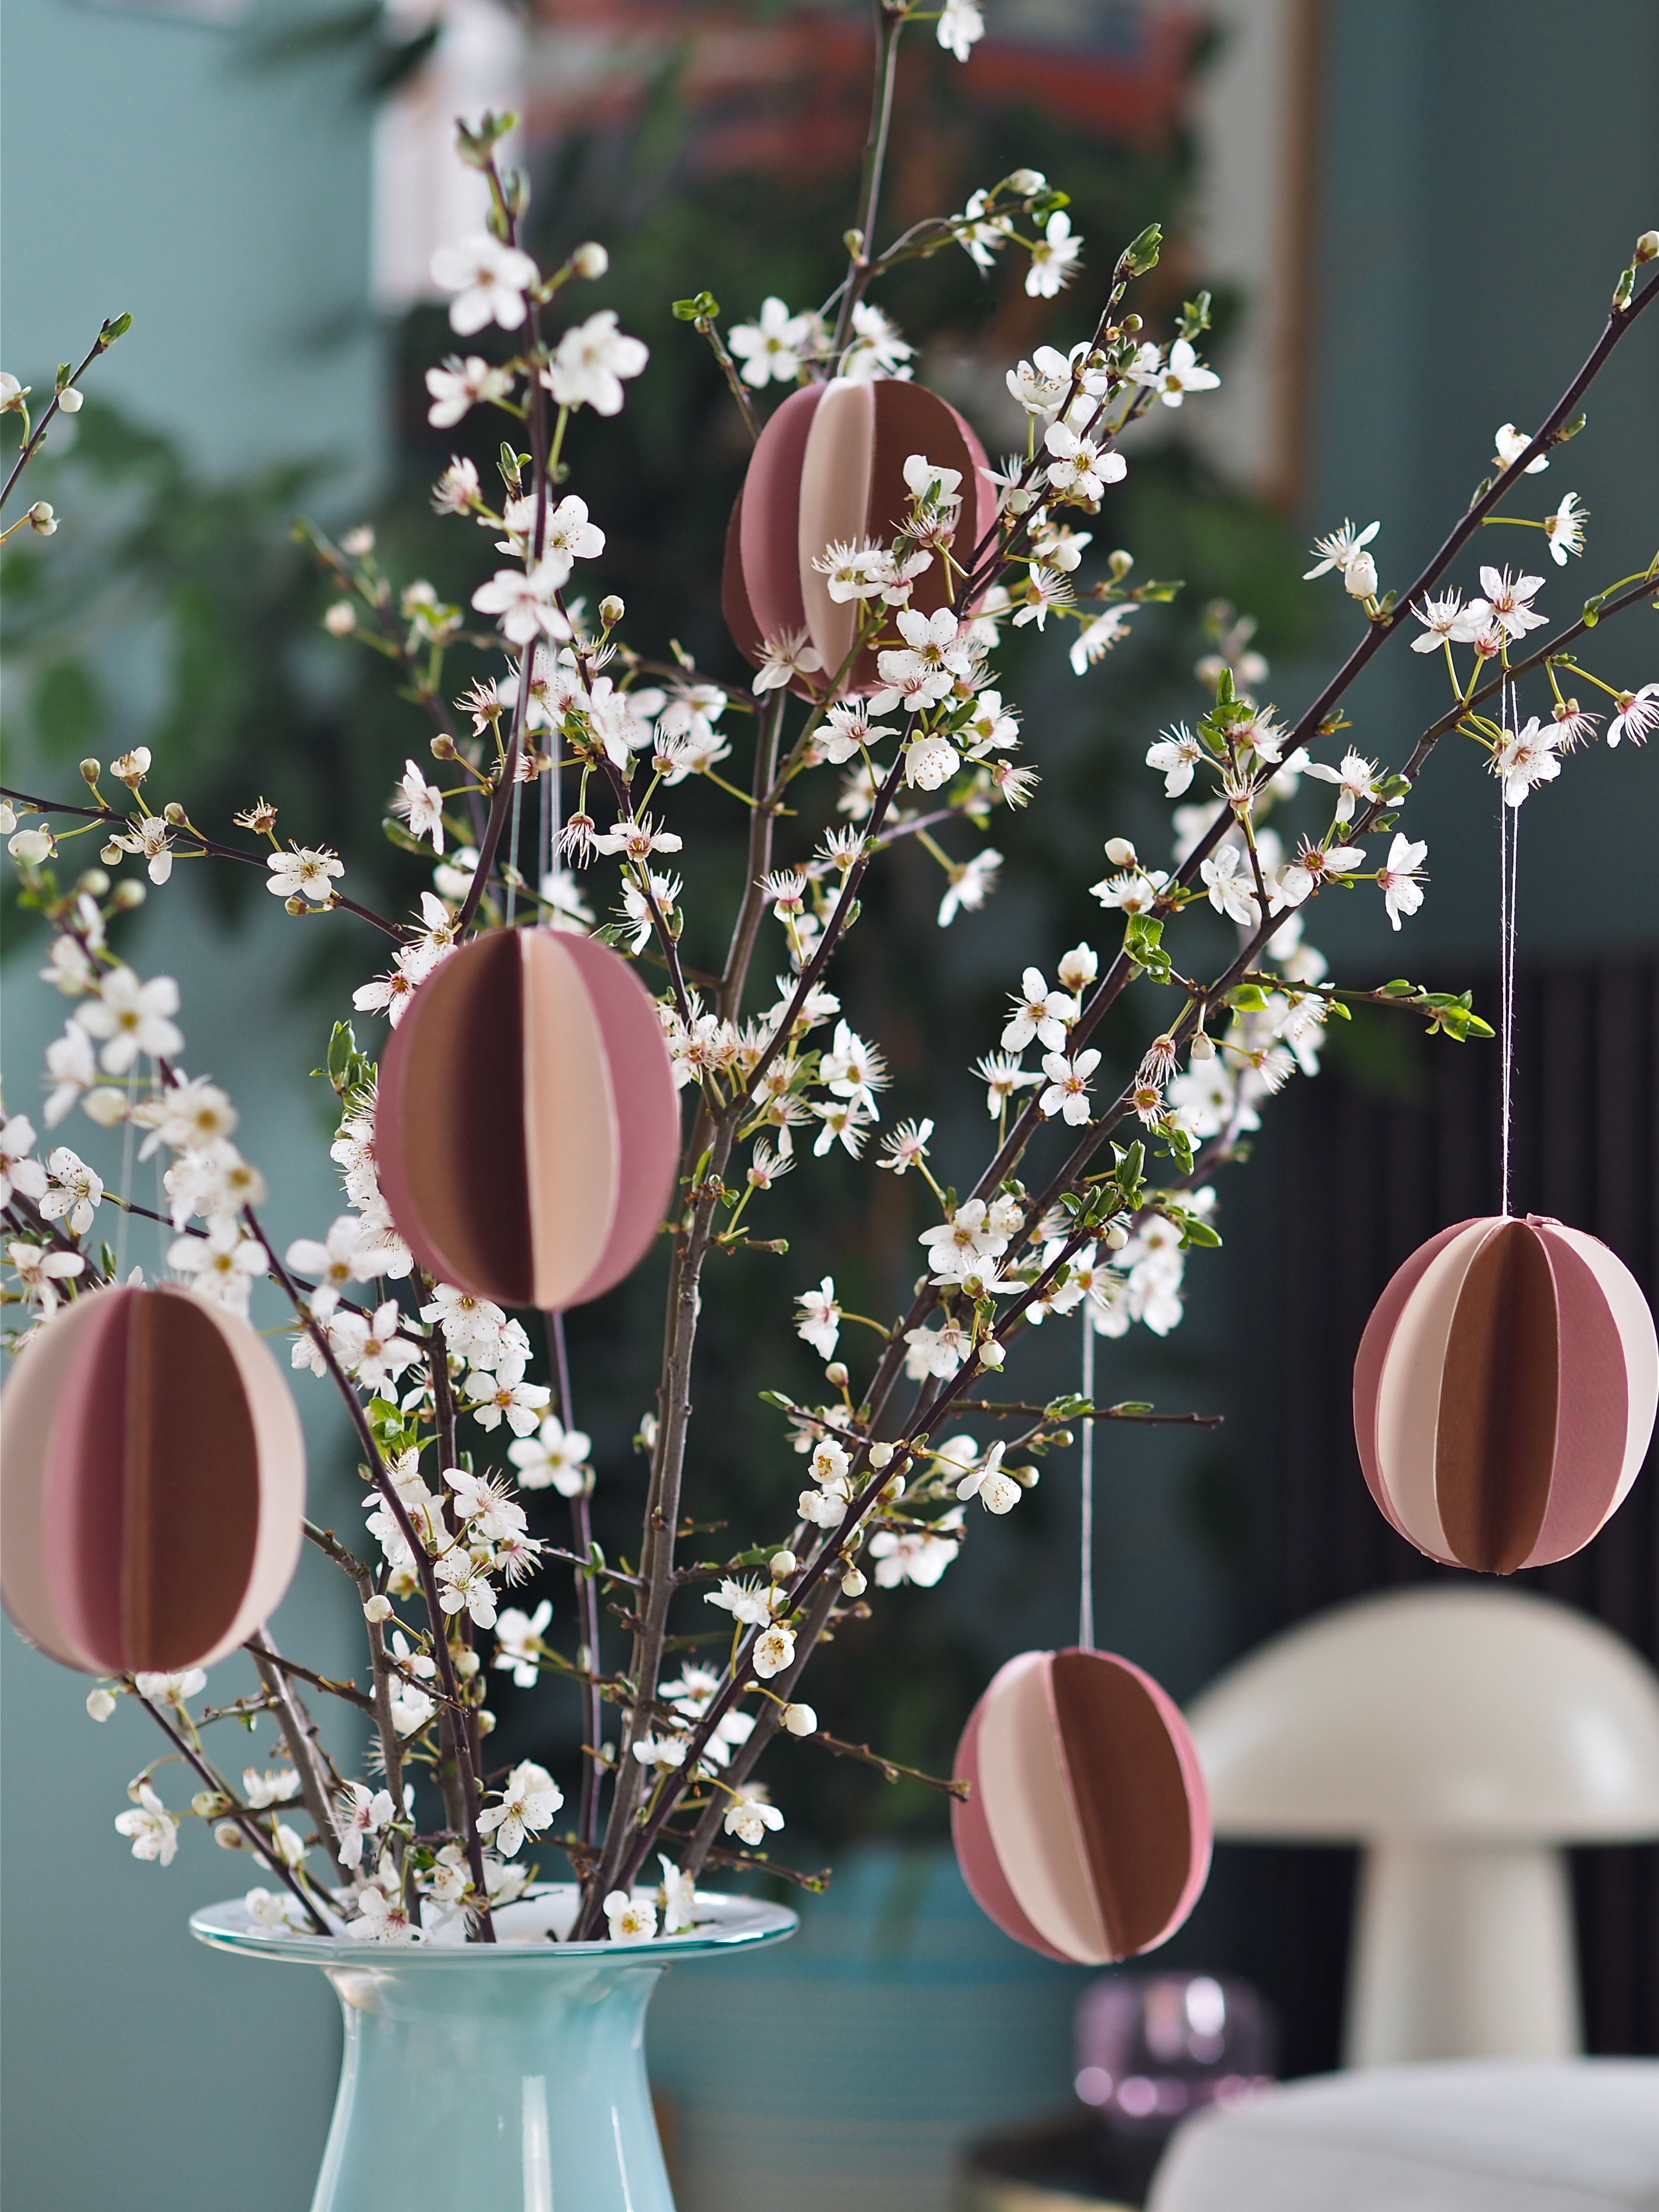
I used soft pink and terracotta tones for my decorations, but you could use any array of colours. This is also a great Easter DIY project to do with kids - get them to draw pictures on the card before you assemble them.

After you have used your Gorilla Super Glue Brush and Nozzle, remember to wipe off any glue that remains on the neck or nozzle of the bottle with a dry cloth before replacing the cap and store it in a cool, dry place, ready for your next DIY project!