A beginner’s guide to painting wooden sash windows
While wooden sash windows look absolutely beautiful, they really are high maintenance. On the inside, frost and condensation lead them to quickly build up black mould in the corners. As a result, the paint often shrivels and peels between the wood frame and the glass panes. On the outside, regular paint and repair work is required to protect them from the elements.
This week I’ve been tackling the sash wooden windows in my bedroom as part of its total redecoration. While covering the process on my Instagram Stories, I was asked to list the products used and the DIY process. It appeared that many viewers had these wooden windows that needed addressing in their own home, they just didn’t know how to repaint them properly.
Maintaining your home windows is essential to preserve their beauty and functionality. This basic beginner’s guide provides a step-by-step approach to painting your sash windows, ensuring they remain a charming feature of your home for years to come. If your windows are in a really bad way with broken cords and you are unable to open them, you might want to call in a professional. House painters with exceptional experience and skills can restore a sash window in the poorest of conditions and bring it back to its former glory.
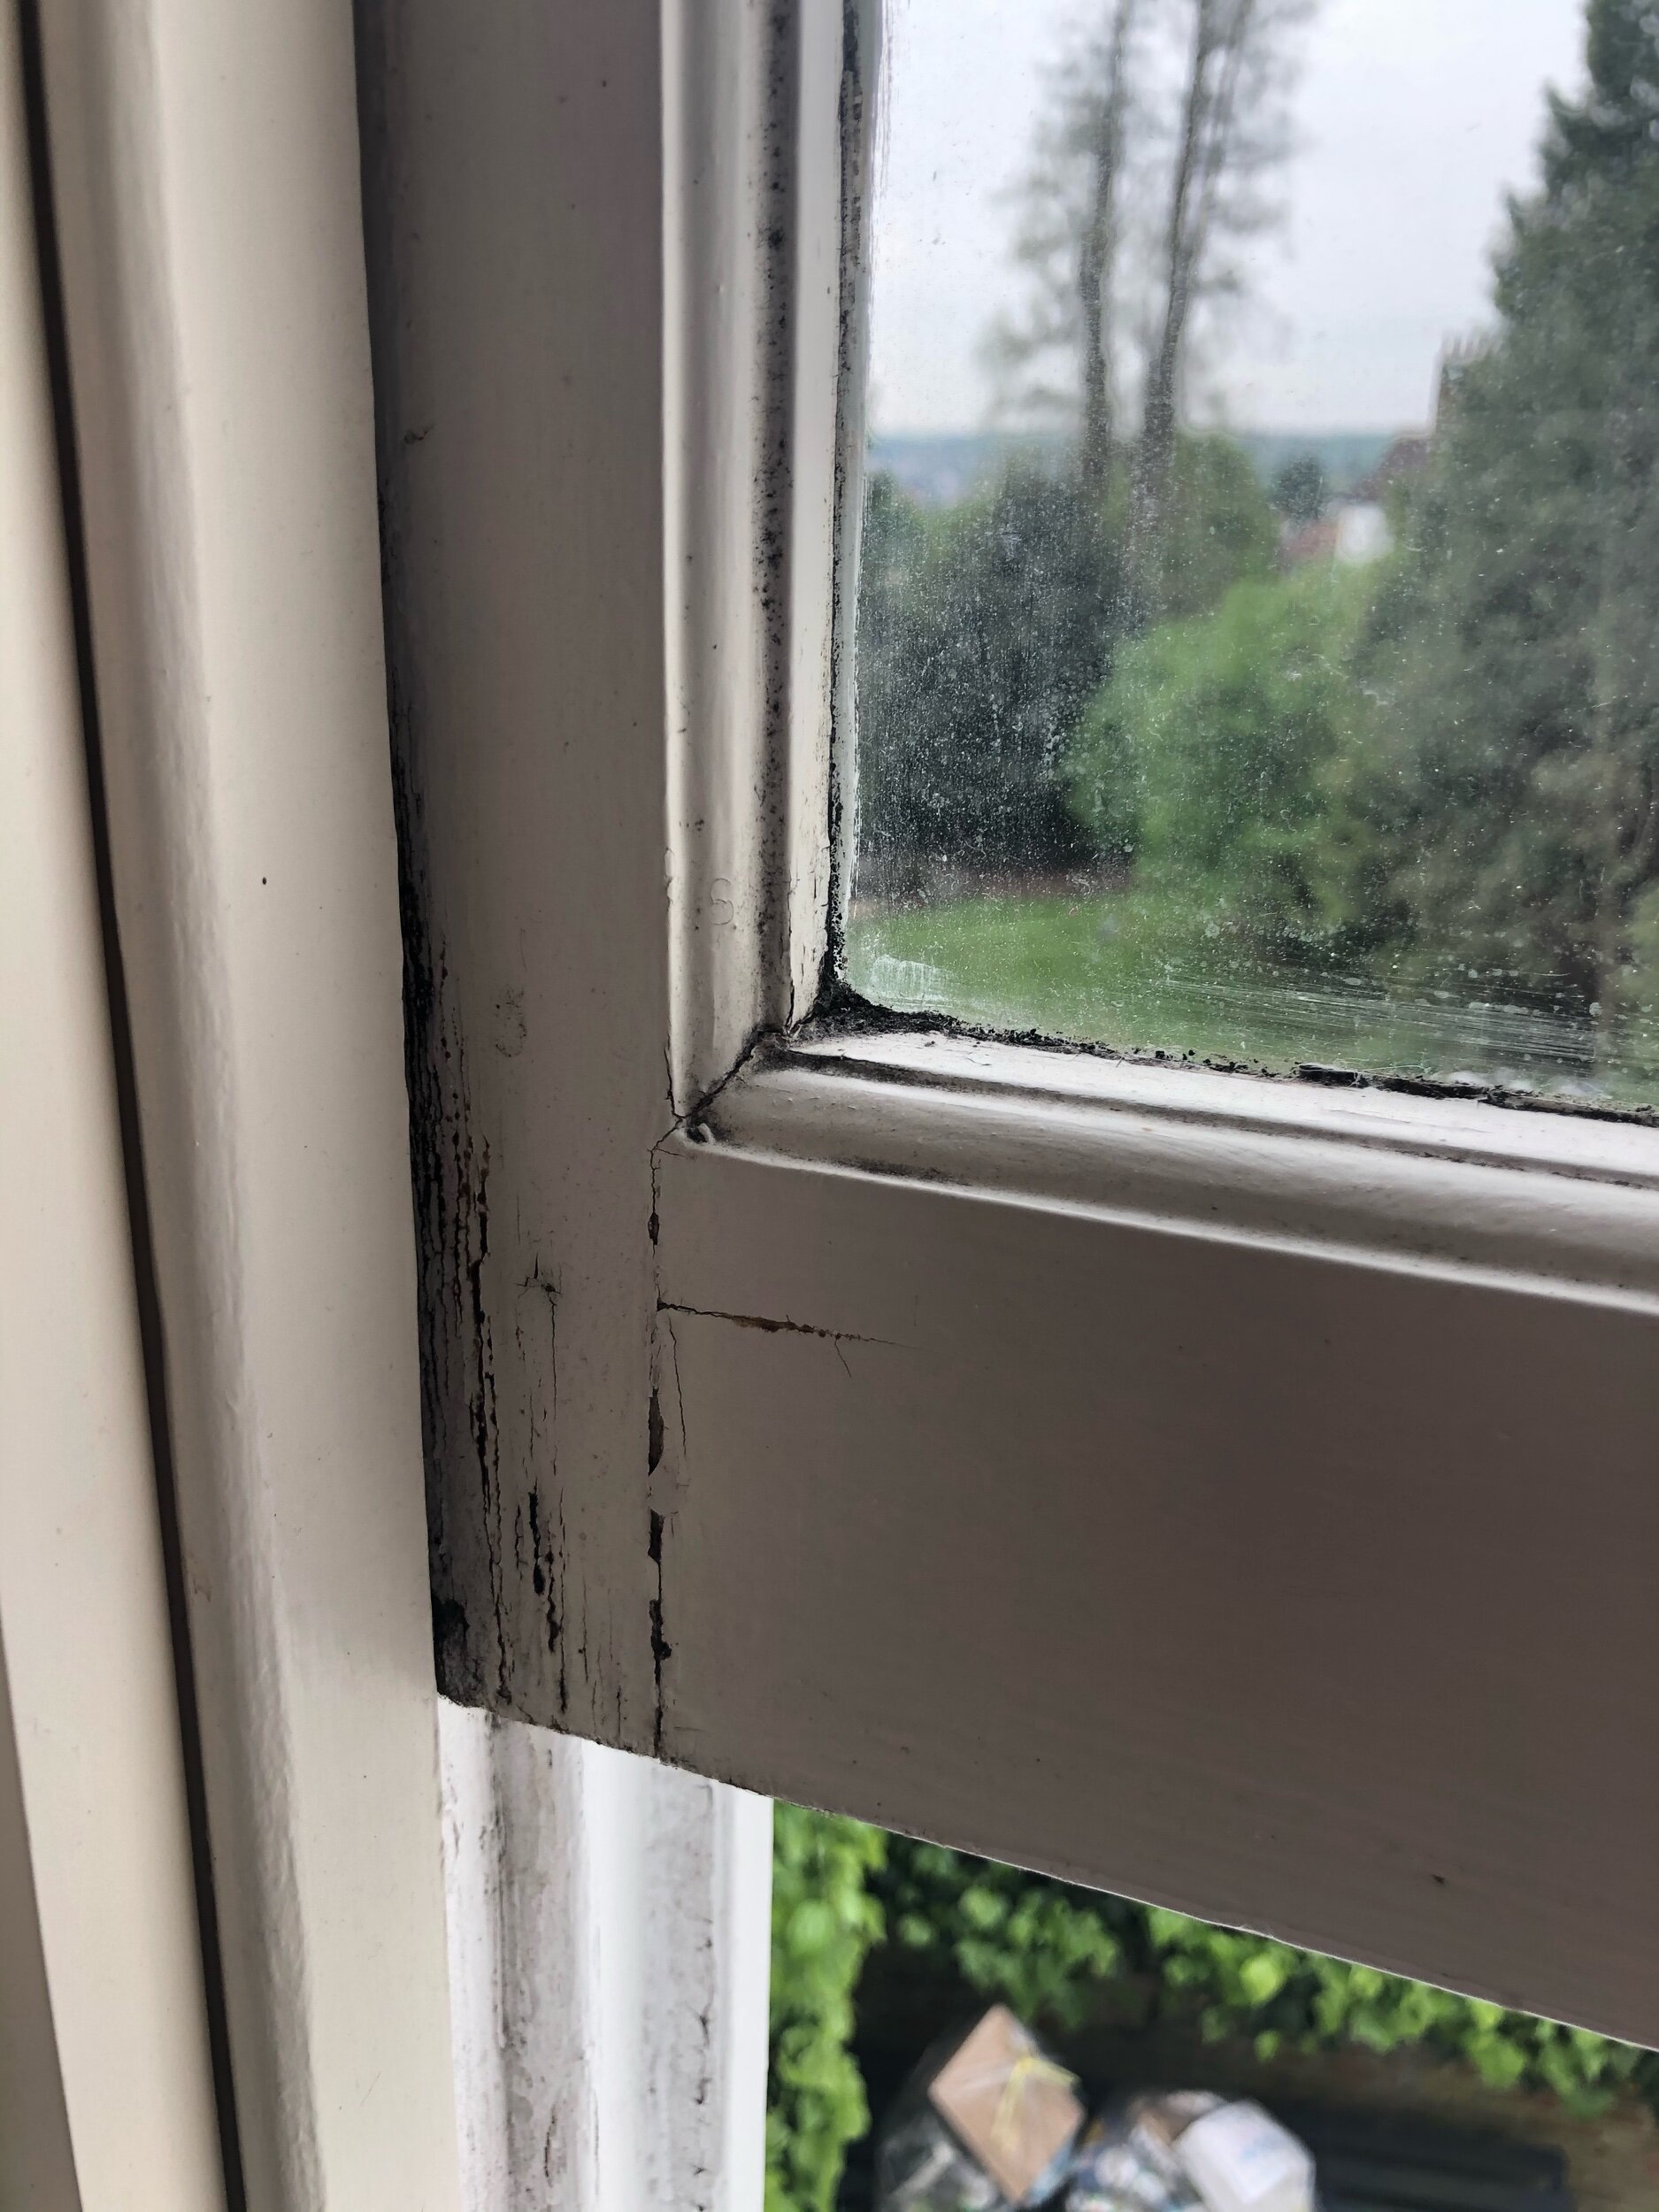
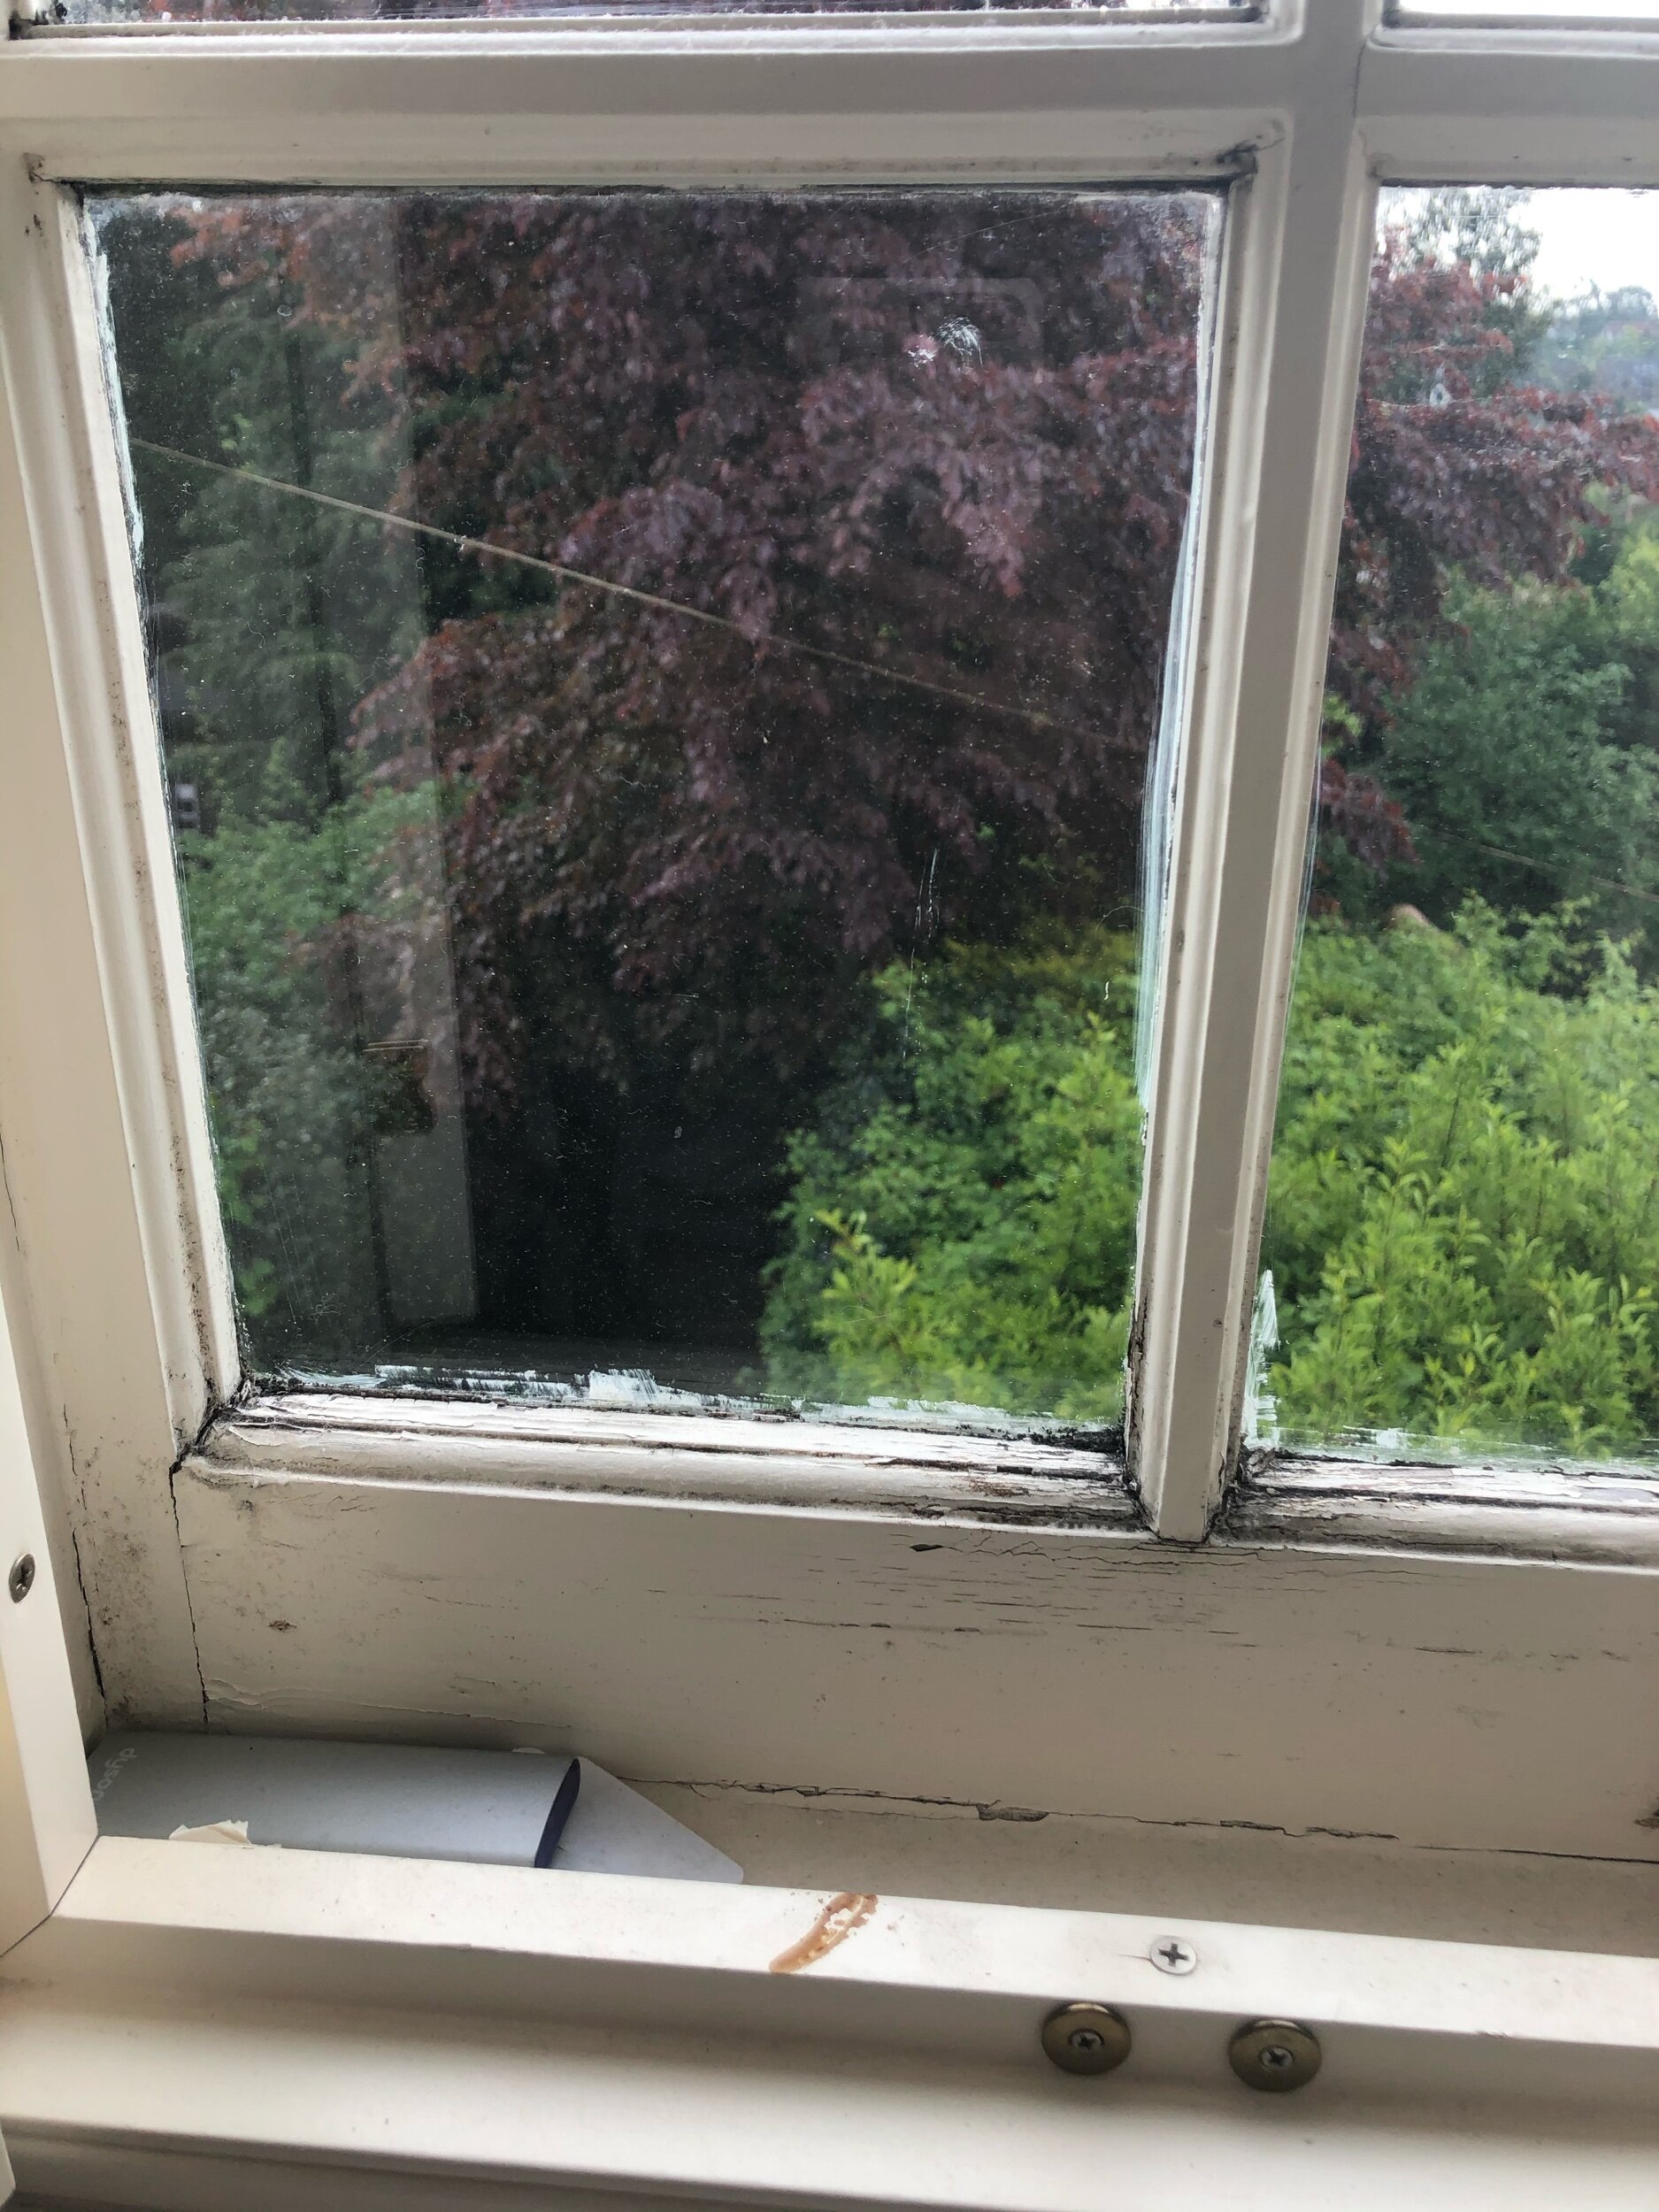
Here is how my bedroom windows looked last week before I set out to repaint them. They were cracked and desperately required some attention:
Sorting out your sash windows to bring them back to their former glory isn’t a hard job, you just need to have the right products. To restore your sashes you will need the following:

Wood Filler (suitable for interior and exterior use if you are painting both inside and outside of the window)
Sanding Block (fine to medium)
Flexible silicone for suitable for windows and doors
Primer for wood (suitable for interior and exterior use if you are painting both inside and outside of the window)
Water-based eggshell paint or gloss (suitable for interior and exterior use if you are painting both inside and outside of the window)
Painters tape or masking tape (optional: only if you need to protect other paintwork)
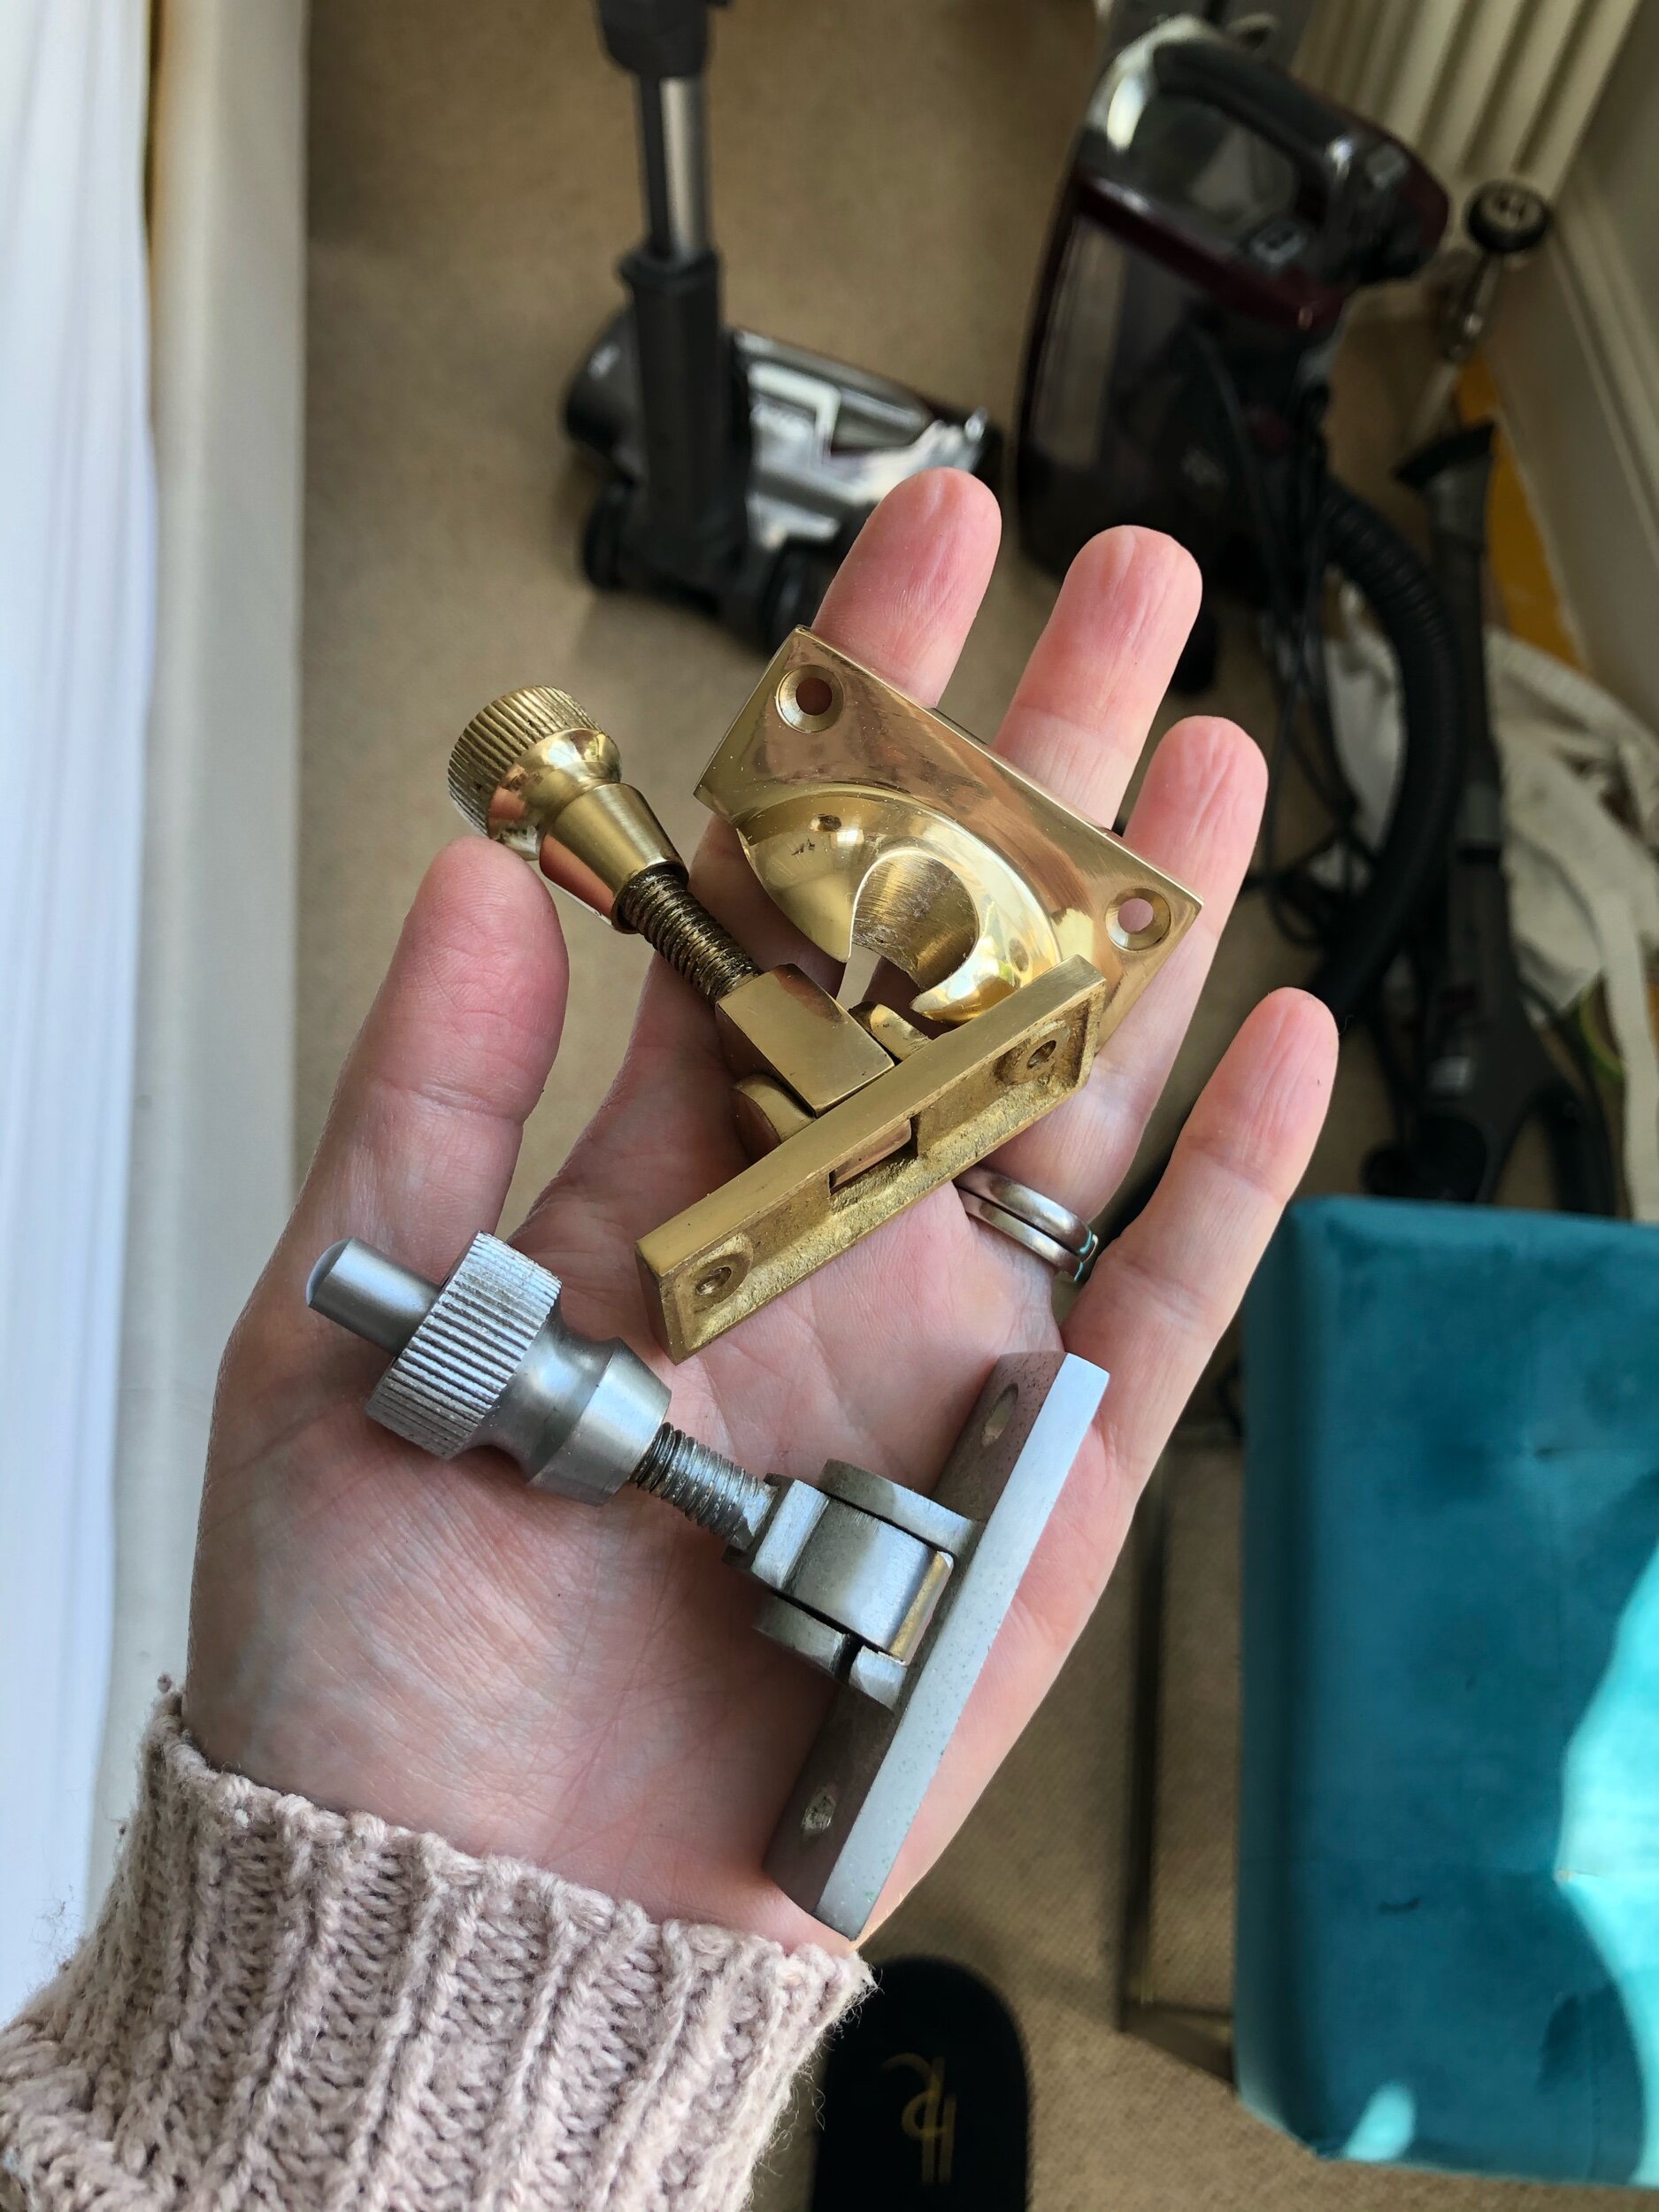
New window furniture (optional: only if you want to refresh your existing fittings)
STEP ONE: REMOVE LOOSE PAINT & SAND BACK
Make sure your windows are dry and the wood is not damp. Remove any window furniture like the lock lever and the lift pulls with a screwdriver.
The first part of the job is to rid your frames of any chipped, loose paint. Scrape away larger chunks with a decorator’s knife, then use a fine-grade sanding block or piece of sandpaper to smooth down the remaining problem areas. Where old paint remains in good condition, you still need to scuff and buff this up to free it of any gloss or shine, so that your new paint adheres to the old surface.
If possible, try to not sand too far back to the wood, as this might remove any original carved details on the frame. Further layers of paint also mean more protection for the timber. The aim is to just get a nice, smooth finish ready for painting. Another thing that needs to be noted here is if your windows haven’t been maintained for a very long time (perhaps you’ve moved into a house that’s a reno project) then you need to be aware of stripping previous lead paint. My windows are fairly new and I’m just maintaining them, but if you are repairing very old windows make sure you seal the room, wear a trade quality respiratory mask and other PPE, and clear all sanding dust from the room thoroughly.
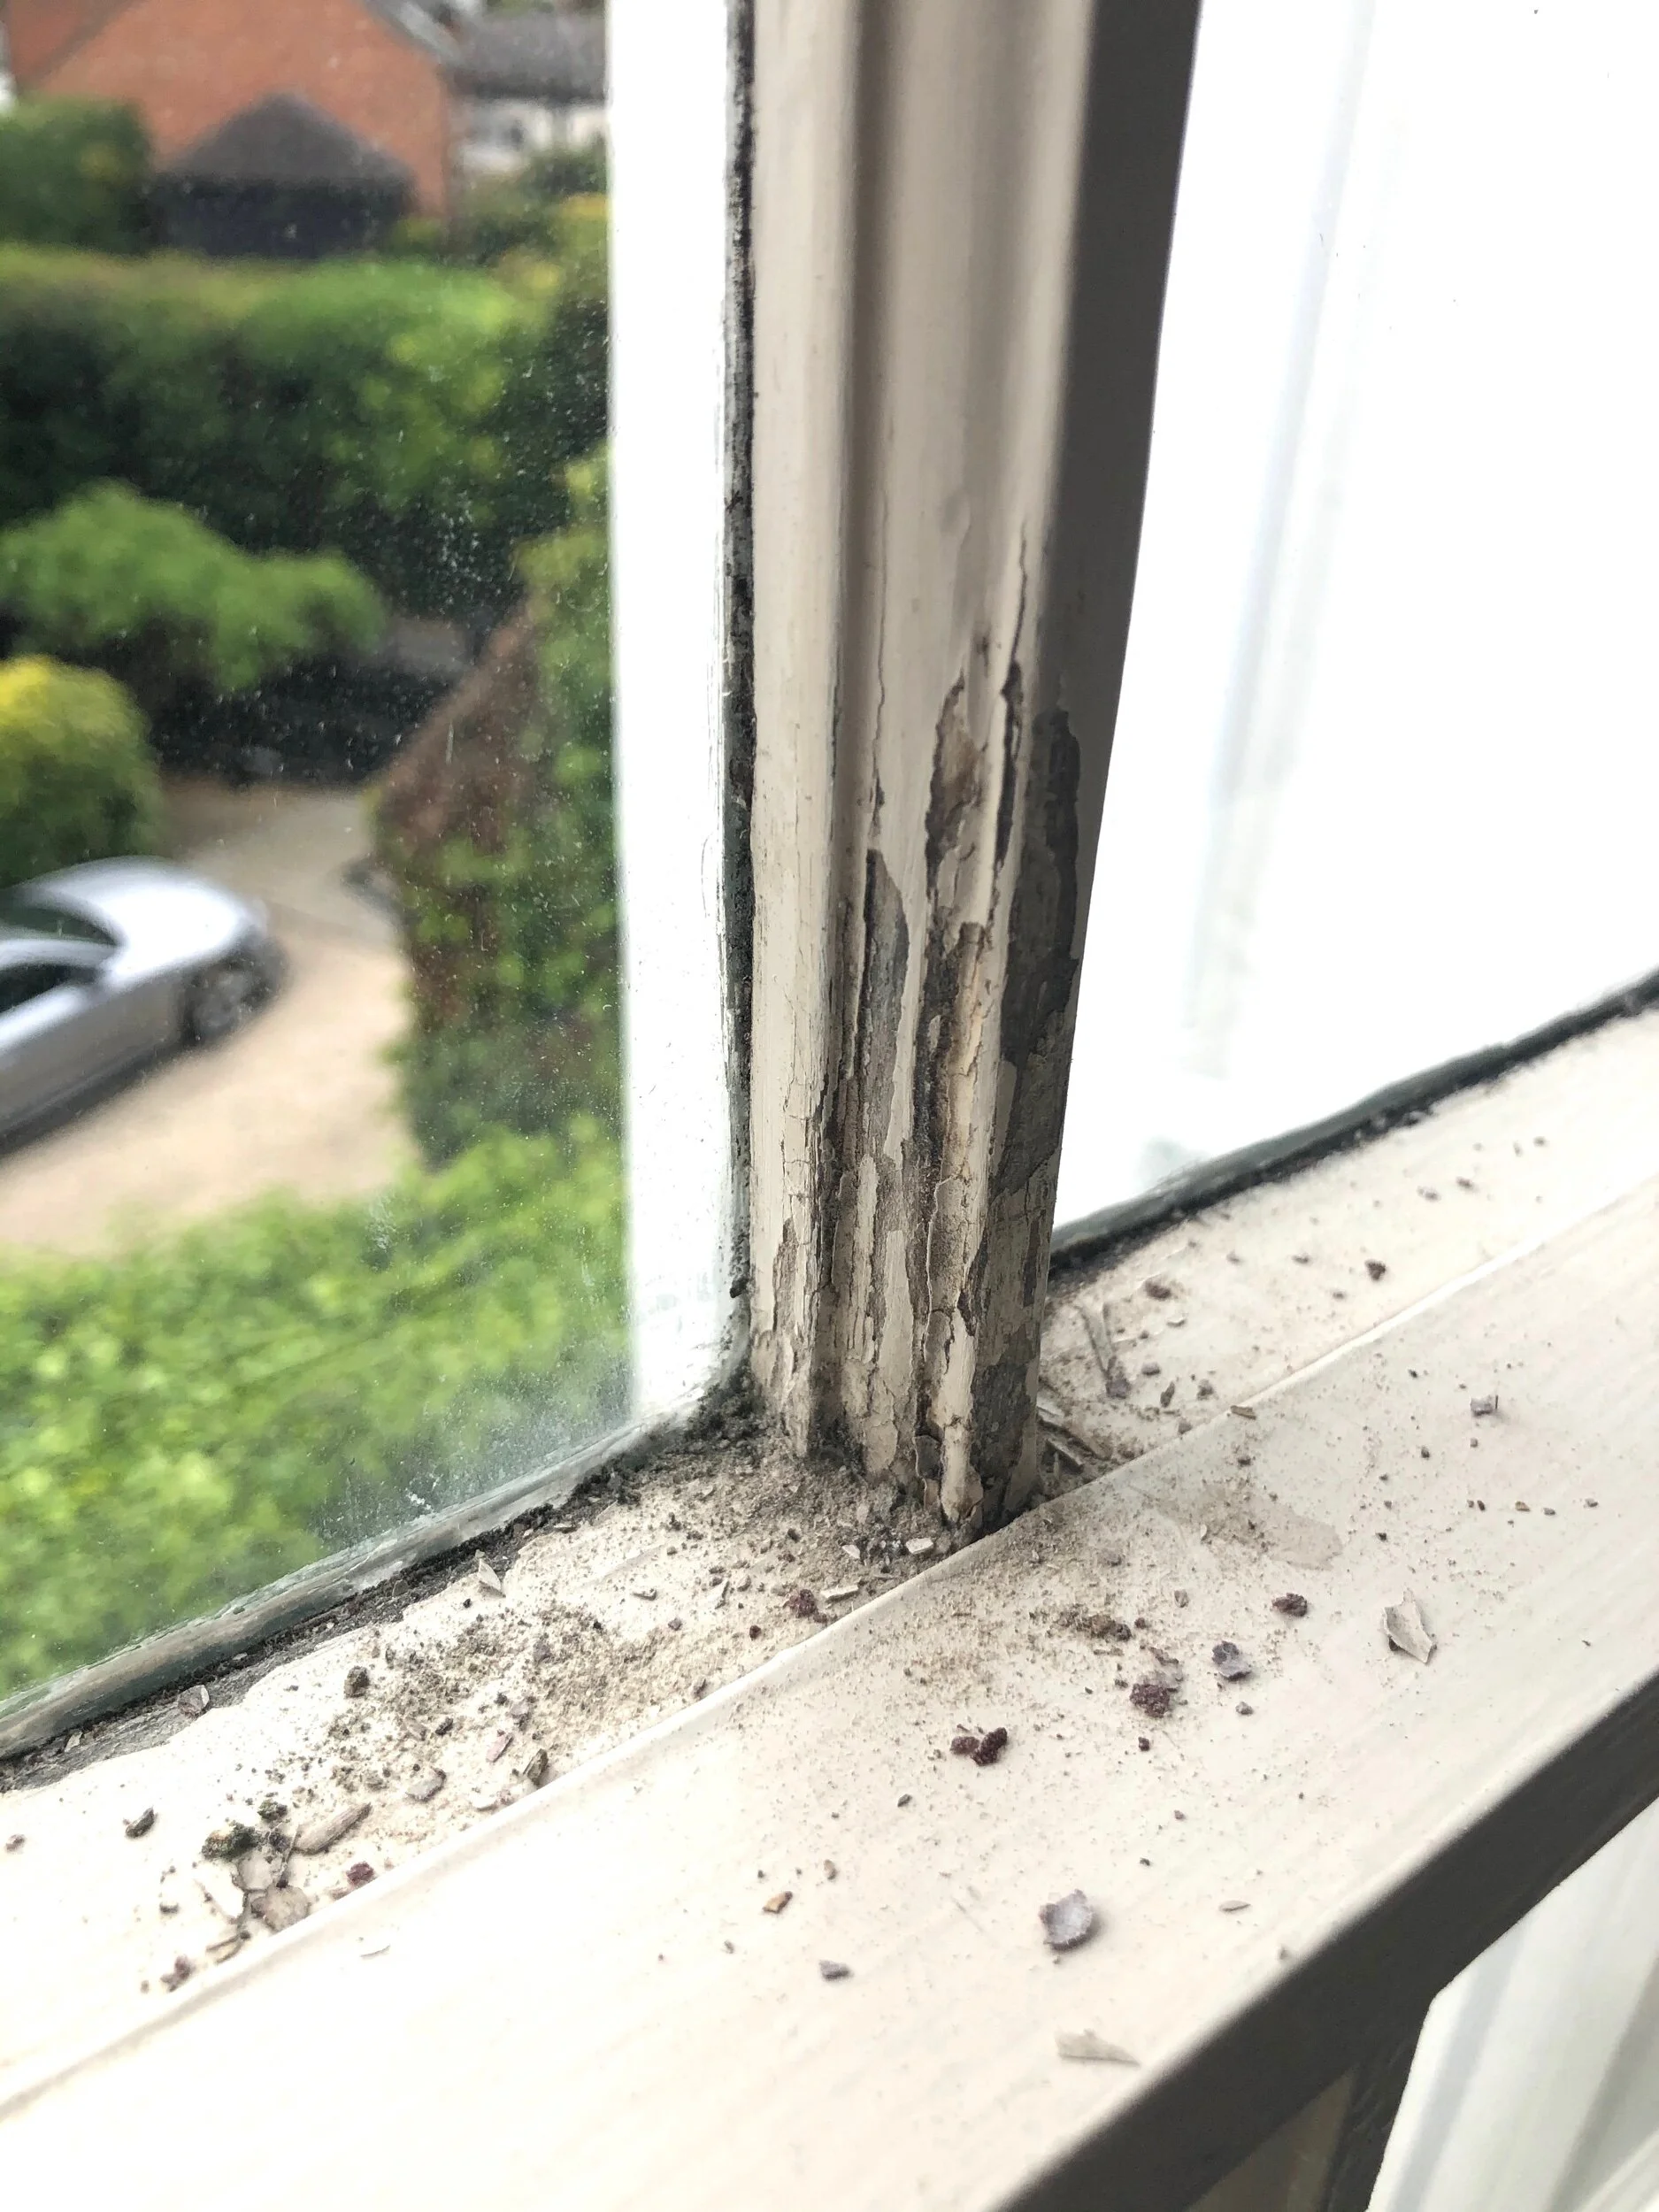
I removed this crumbling paint with a decorators knife before sanding it down smooth with a sanding block.
Wash down your window with a microfibre cloth so that all sanding dust is removed and your frame is free from any dirt or grime. Dry it with another clean cloth and check it over to see that you’ve not missed anything.
STEP 2: FILL ANY HOLES AND PROBLEM AREAS
If your window has holes, cracks, or other imperfections, then you should use some wood filler before painting. If you are fixing your windows on the outside, make sure that your filler is also suitable for exterior use. Simply apply the filler where necessary according to the manufacturer’s instructions. Once dry, sand it down to create a level surface. Again, wash and dry your windows to get rid of any sanding particles.
If there are any gaps between the edge of your window frame and your walls, or where the wood meets the sill, apply a flexible silicone suitable for windows in the gap. If you do not already own one, you may need to buy a caulking gun for this job.
STEP 3: PRIME
If you’ve sanded your window back to bare wood, or you have a few areas where you can see the timber, you’ll need to apply a primer before you apply your topcoat of paint. Use a primer that is suitable for wood (again, if you are doing the outside of your windows, make sure it is suitable for exterior use). Applying a primer will provide a great base for paint adhesion. If you really want to do a good job, you might want to prime the whole window with a primer like Zinsser Bulls Eye.
STEP 4: PAINT
Once your primer is dry, apply a water-based eggshell or gloss paint (again, check it’s suitable for exterior use, if that’s what you need) using a sash window brush that has a pointed tip (making it easier to add paint in the corners). Do a minimum of two coats to get the best finish. Pull down the top of the sash window and paint that first before painting the bottom half. Leave to dry and try not to close the window for as long as possible (although regular moving of the frames up and down is advised to avoid them sticking together). If you do have to close the window, try and open it again as soon as possible to stop your window from becoming stuck by paint that hasn’t fully cured yet (I’ve learnt from experience, as I didn’t do this once to a window and a flush access panel - they both stuck shut!)

In my bedroom, I am painting the window frame black, so I used painter’s tape to not get the black paint on the outer frame which is to remain white.
Once the paint is dry, screw back on the existing window furniture (or add new furniture for a fresh new look). If you got any paint on the glass, simply use a window scraper to scrape it off!

To see the final result of my painted black window frames in my bedroom, sign up to my newsletter below to not miss the full reveal!