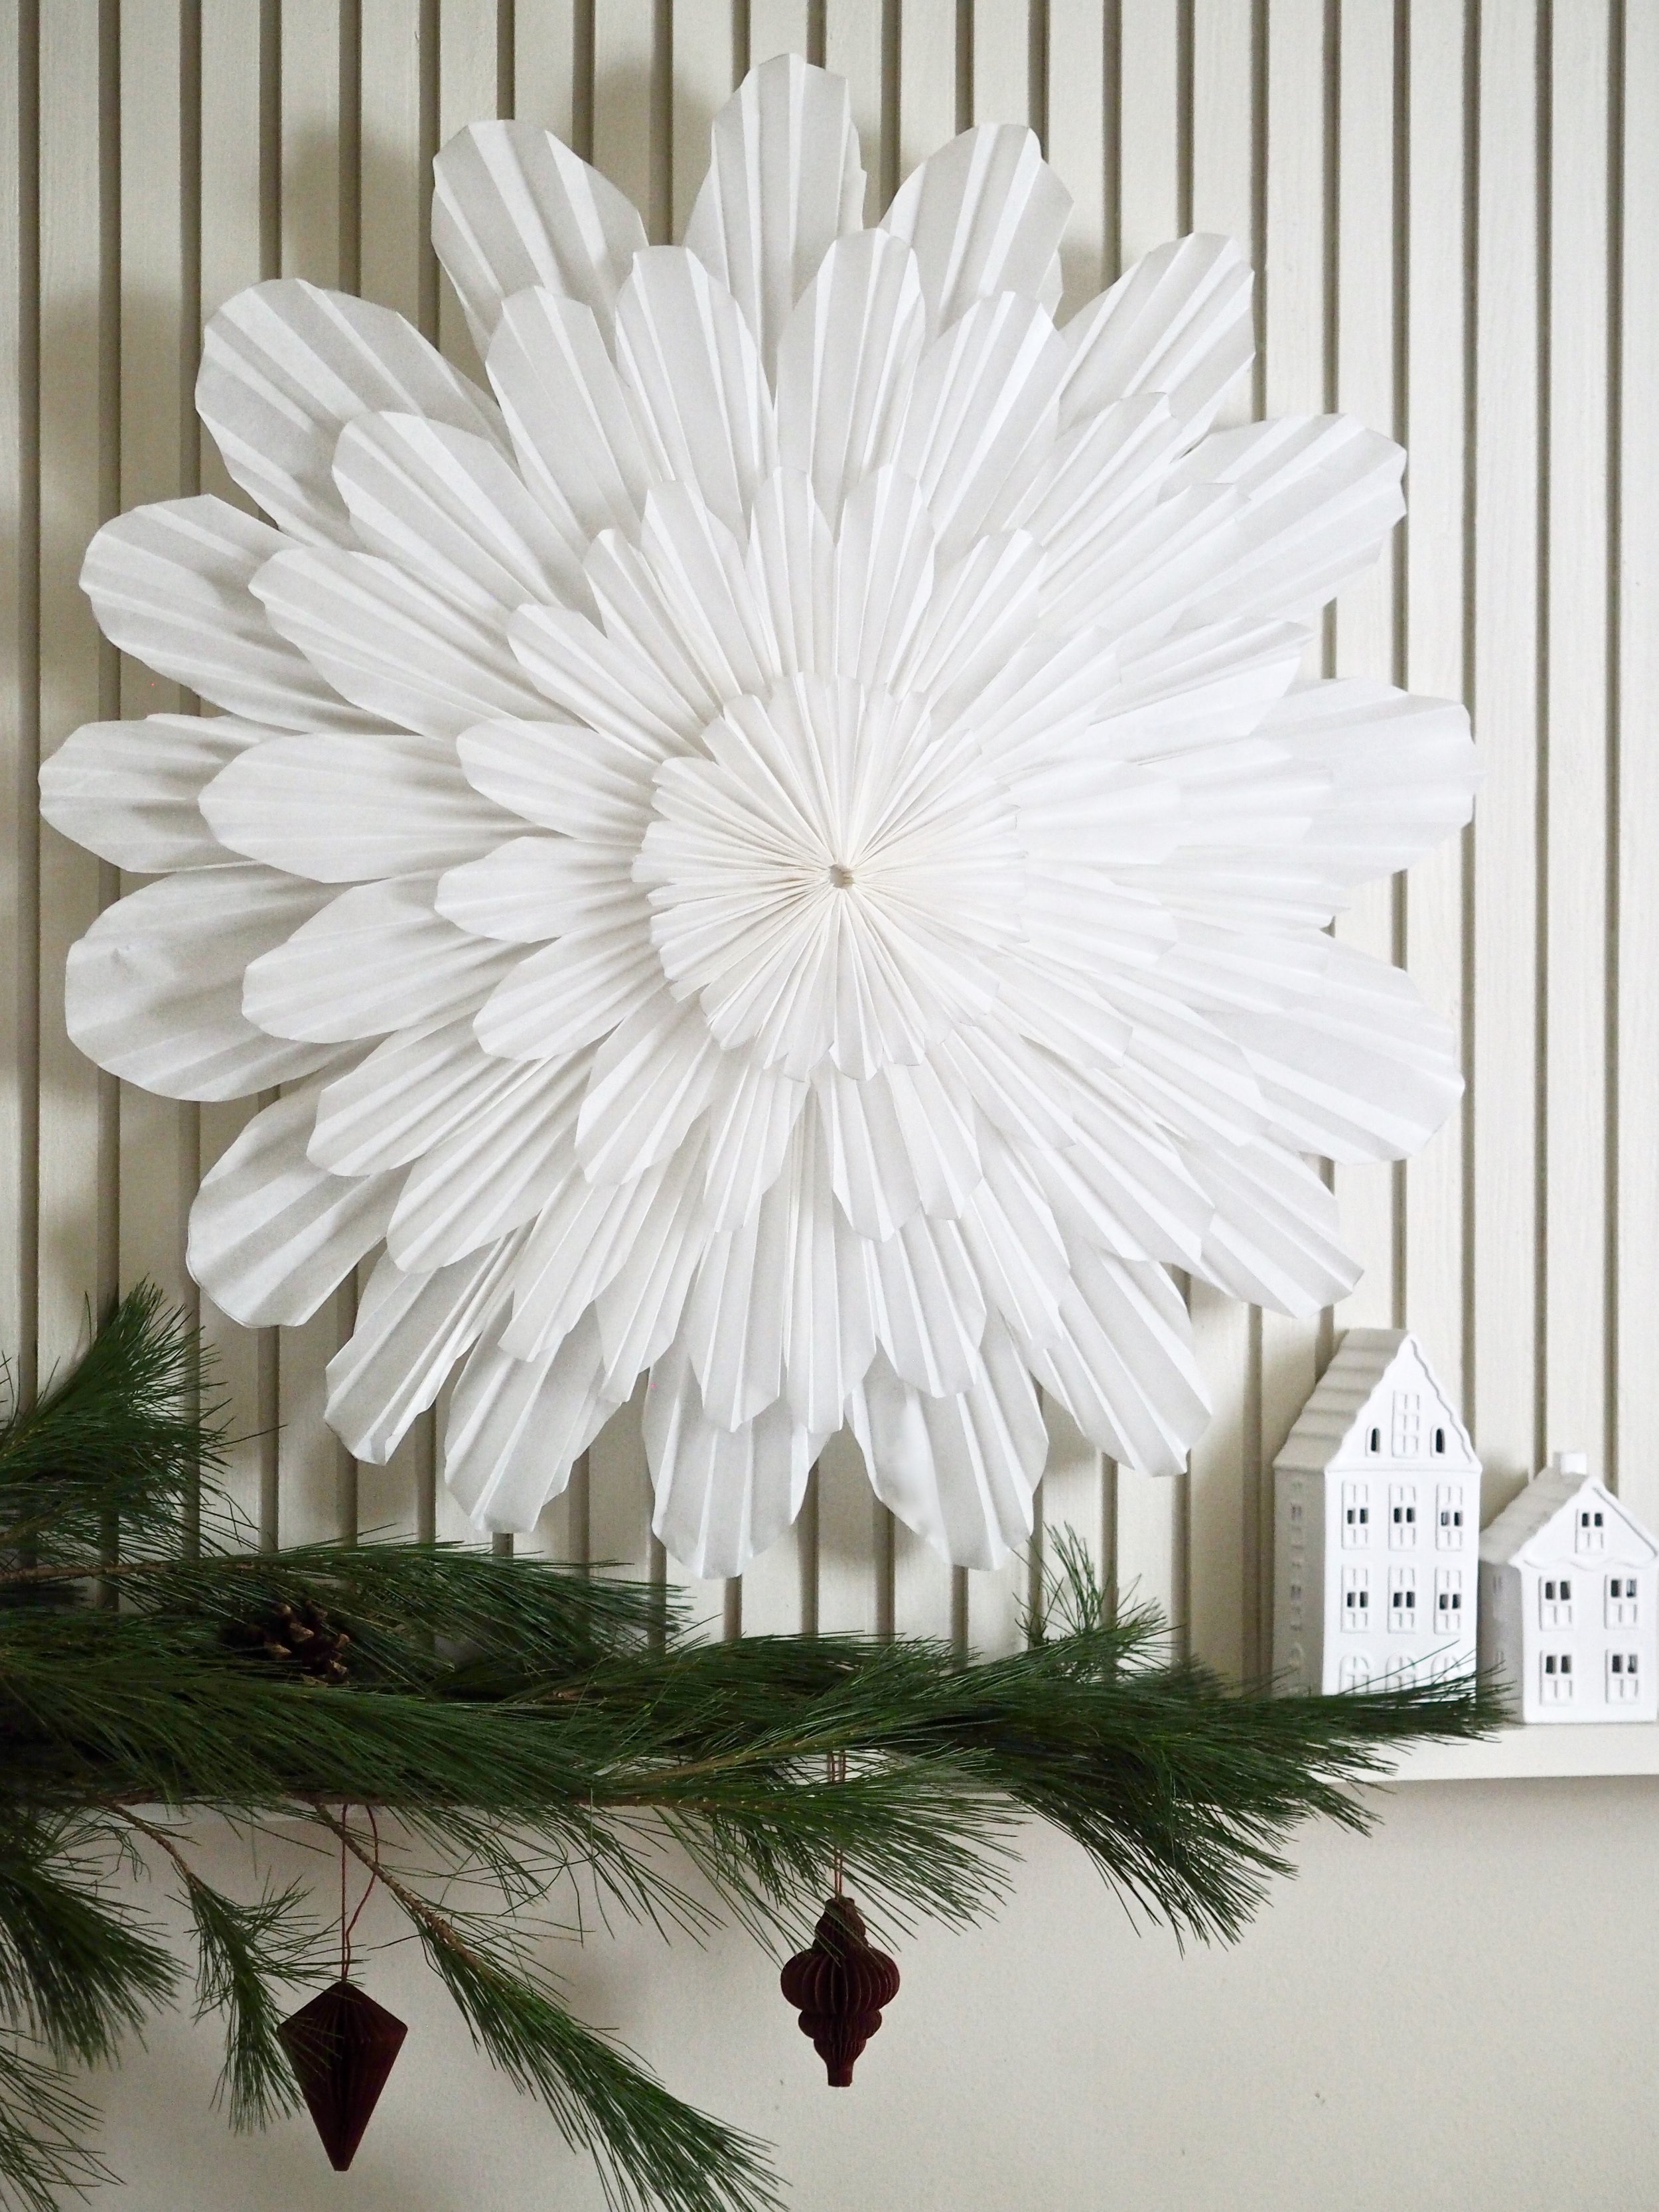
How To Easily Make Stunning Scandi-Style Folded Paper Christmas Snöblomma Stars
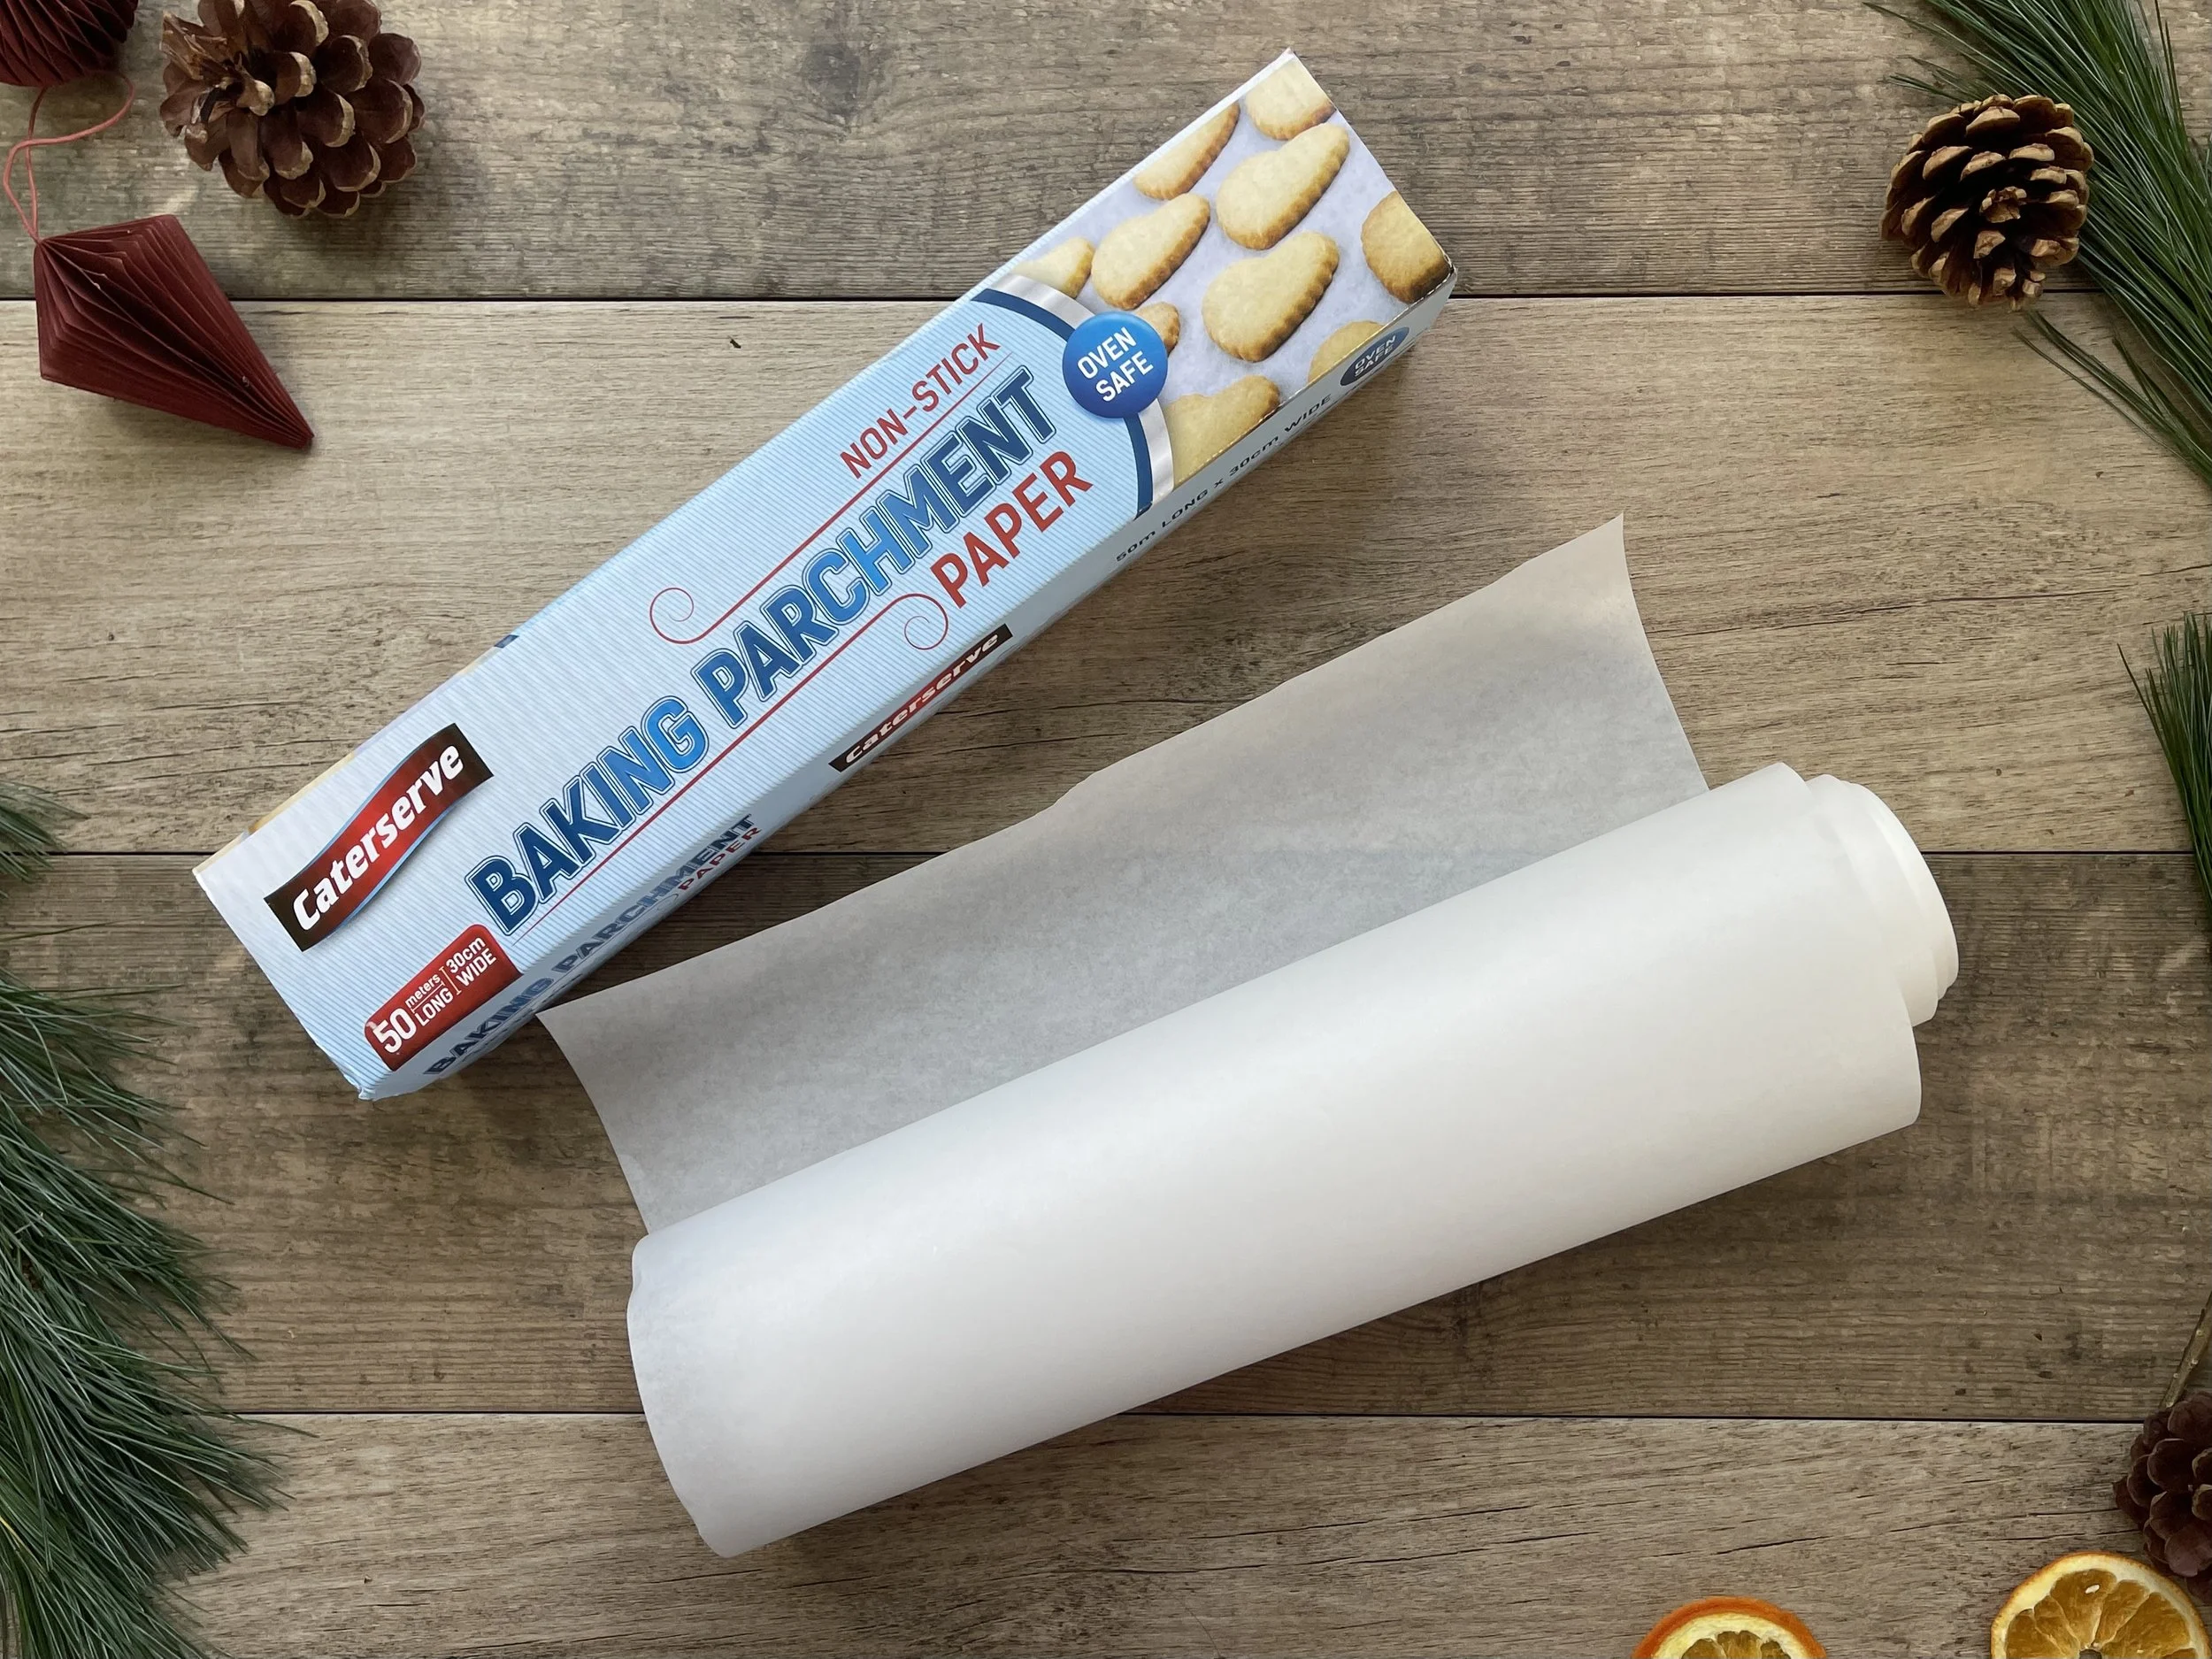
These extra-large Nordic paper decorations that are all over Instagram are really beautiful, but they are quite expensive to purchase pre-made. I wanted to buy one from ARKET last Christmas, yet the £70 price tag was out of my price range. This Christmas, I was determined to make my own version, and after a bit of research, I discovered that I could do this using white baking paper (otherwise known as parchment paper).

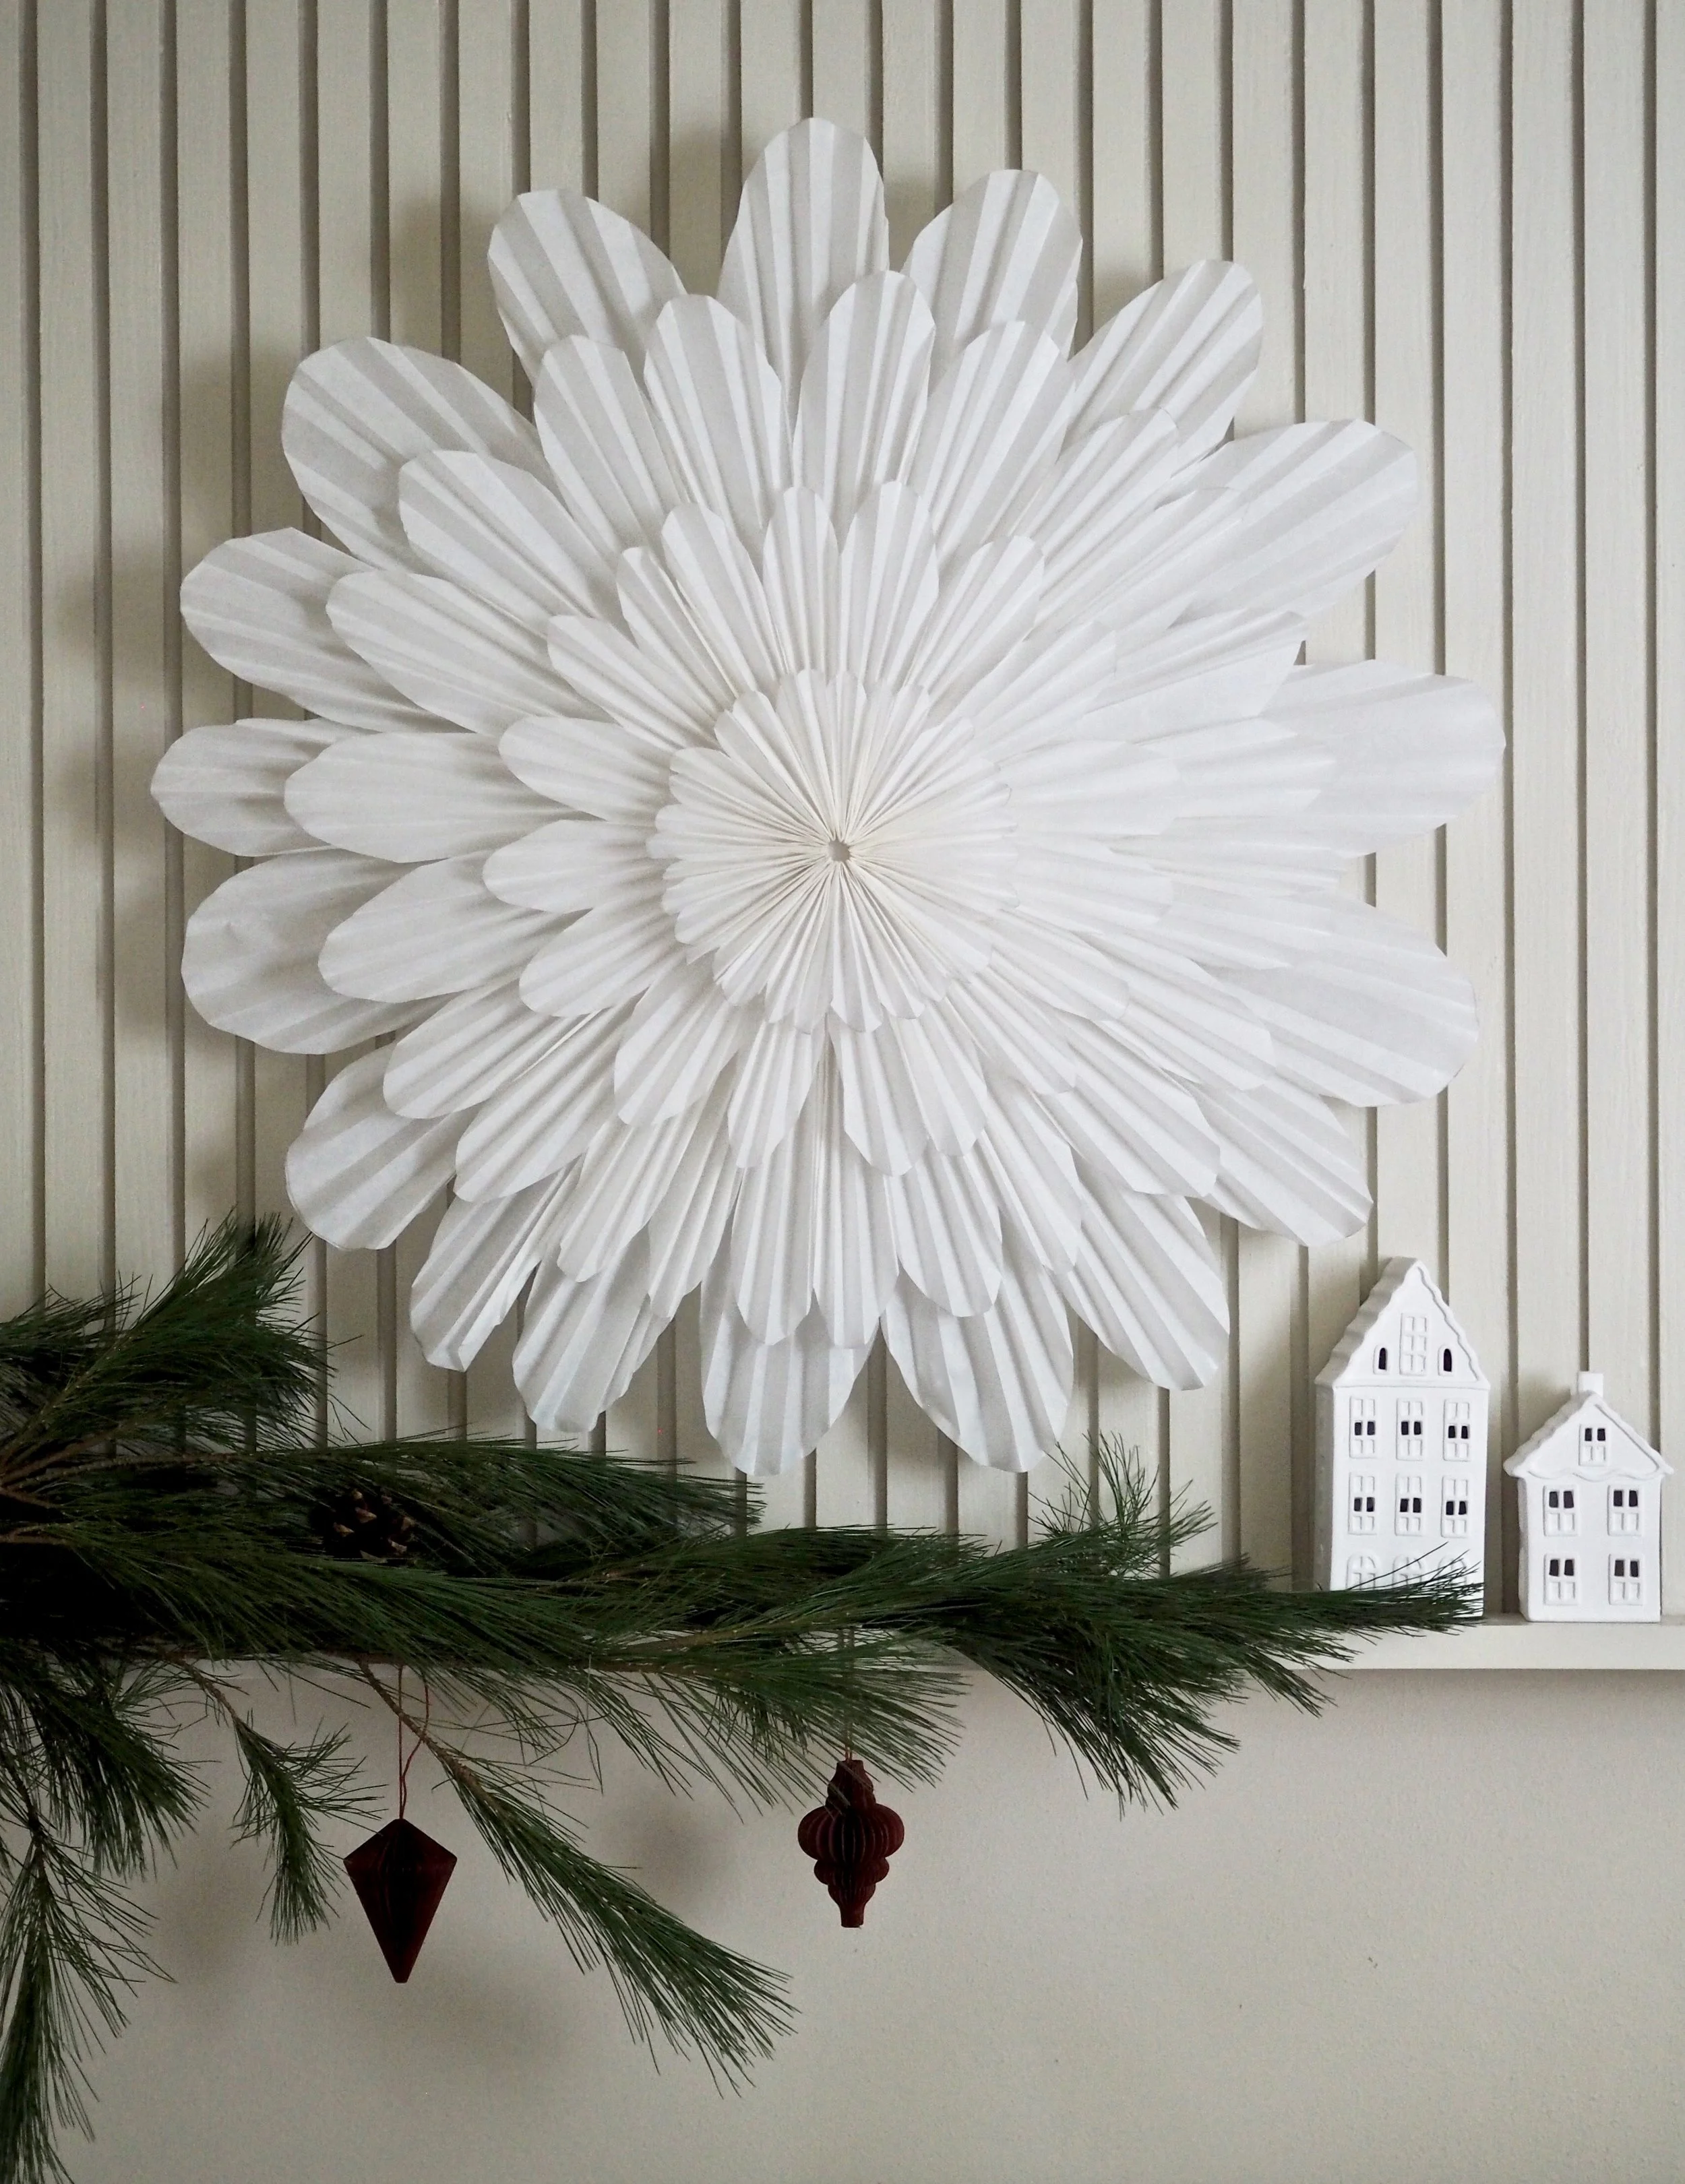
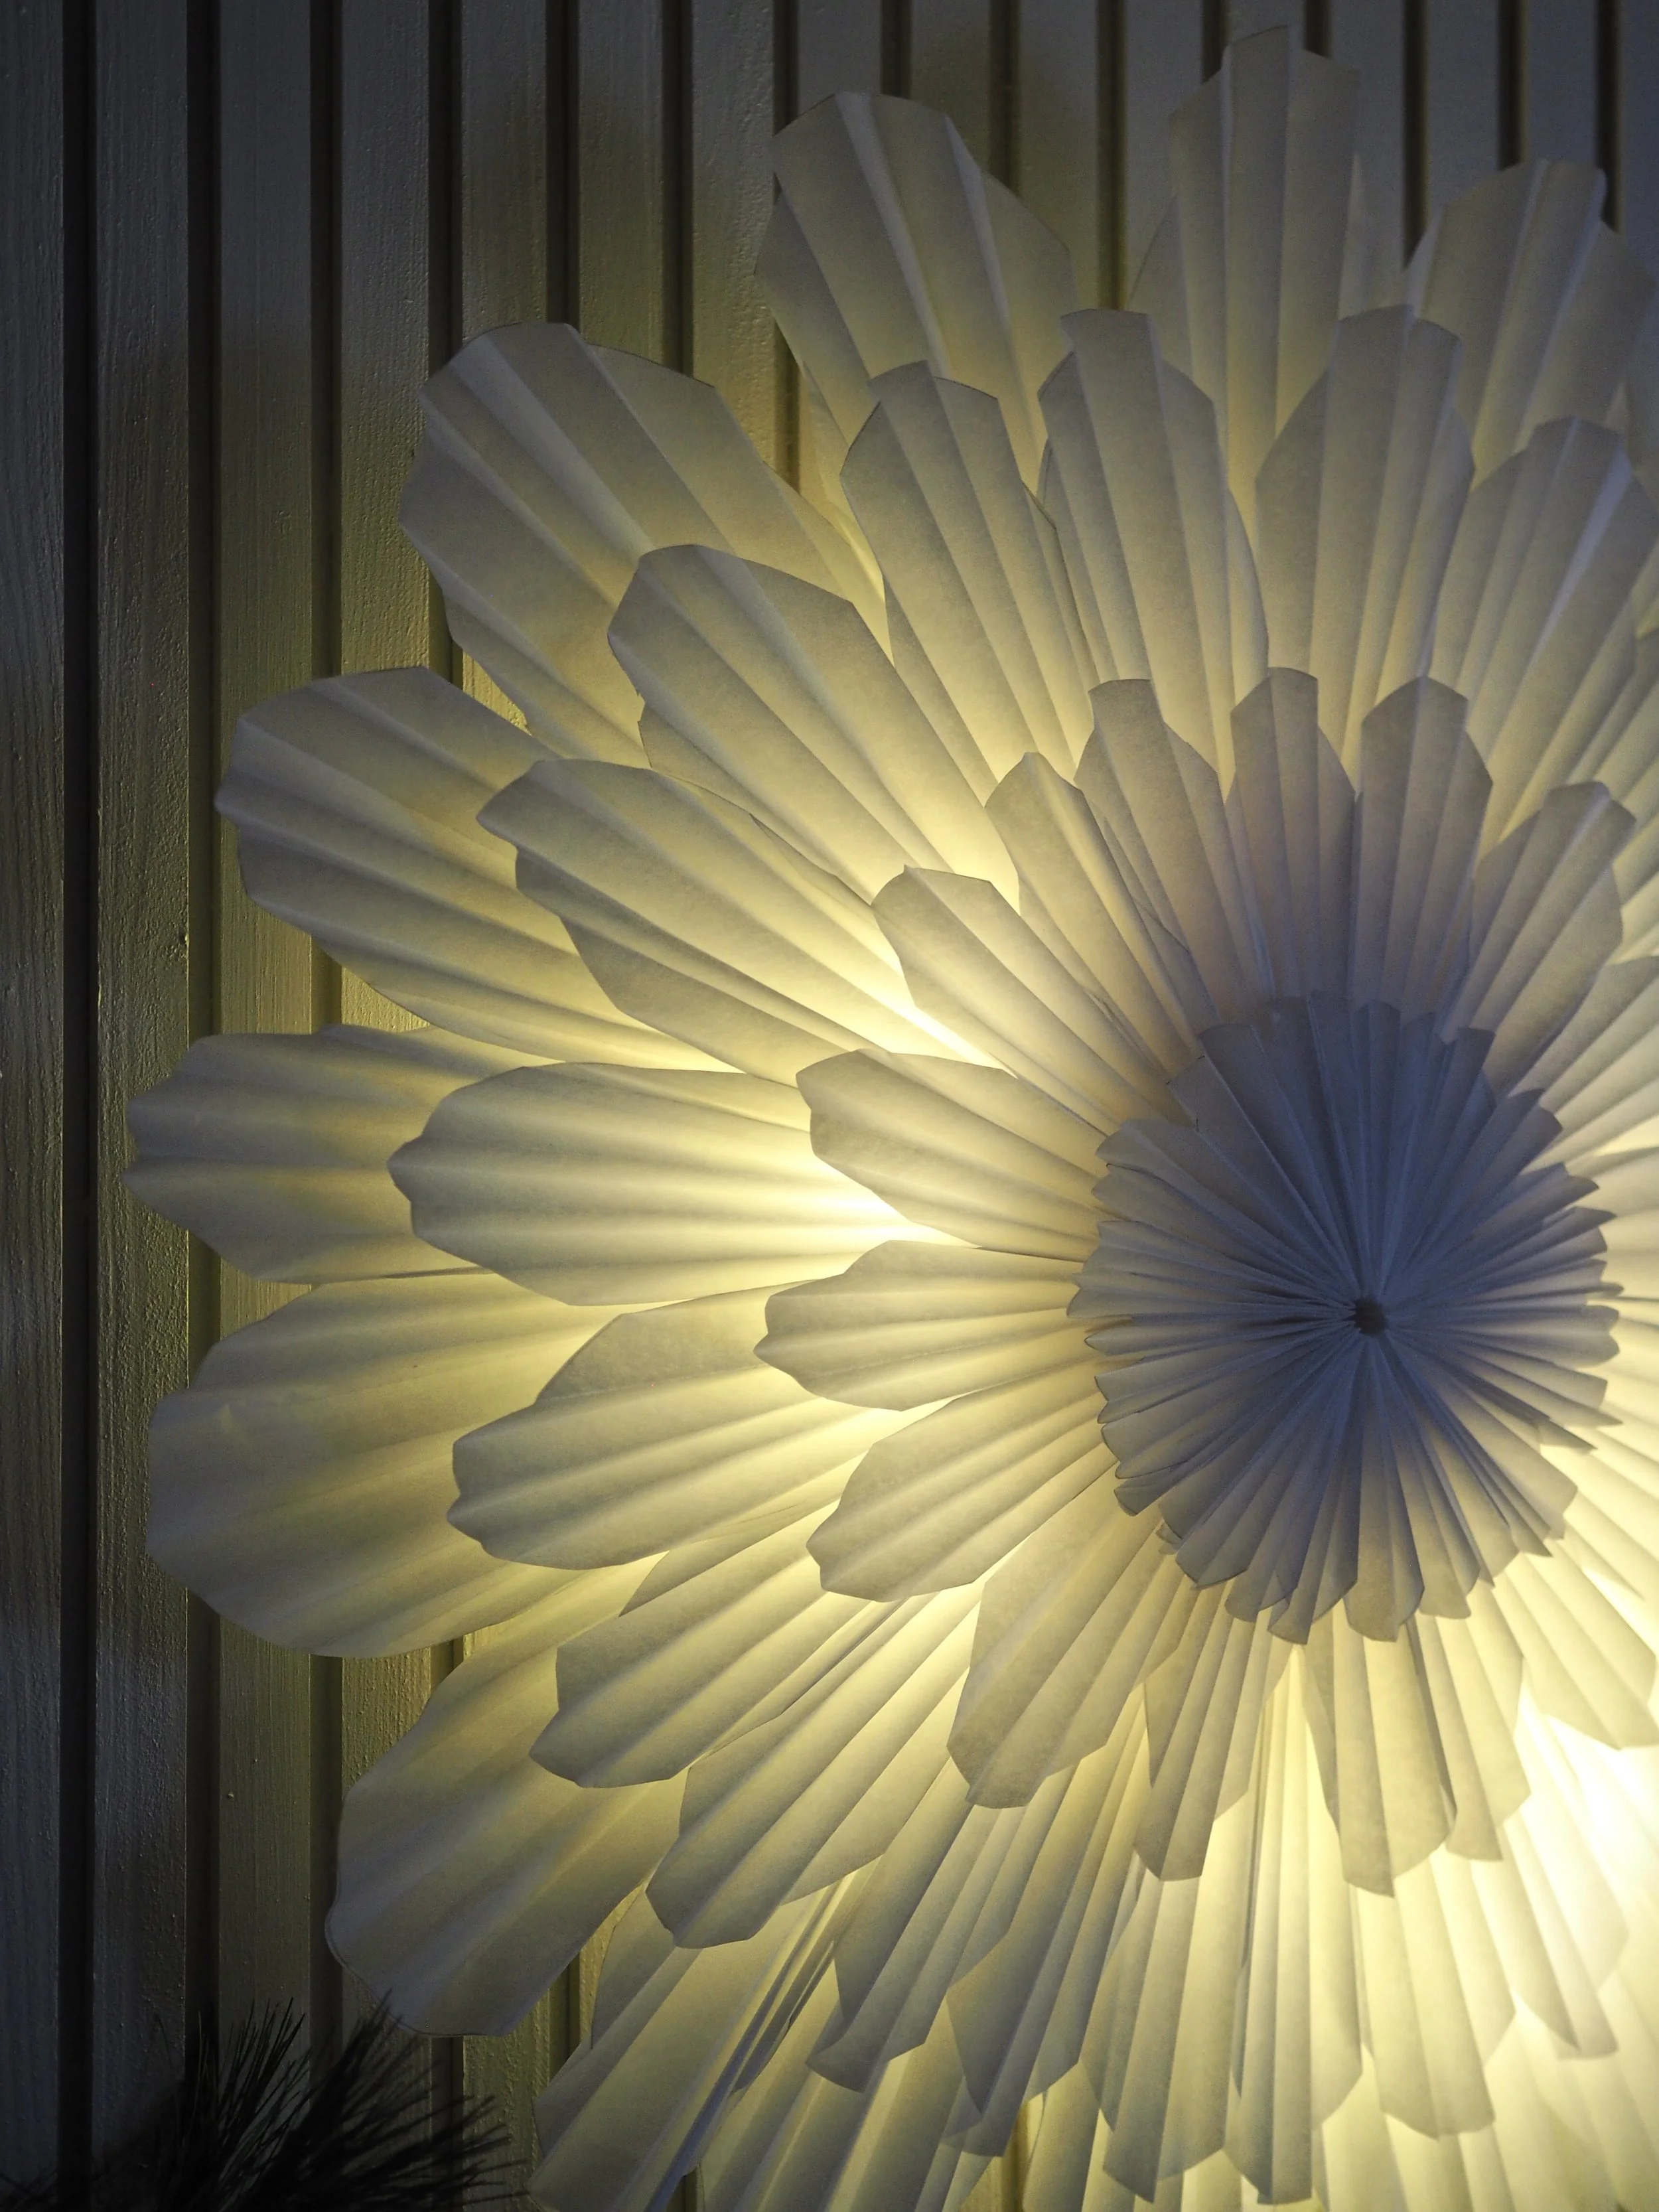
This is a simple DIY that only really requires paper, scissors, and glue! I did think it may take some time to create, but I managed to make my version in just a couple of evenings spent cutting and folding in front of the telly. I’m really delighted at how my ‘Snöblomma’ (its official Scandi title) turned out! I’m even more pleased that it only cost me between £5-£10 to create!
To make this beautiful light-up Christmas decoration yourself, simply follow my step-by-step guide in this post. You’ll need just a few things to create your Snöblomma:
Bleached baking paper/parchment paper (I used around 25m of a 50m x 30cm roll)
Pack of A3 paper card
Scissors (craft scissors give a good, sharp cut)
Ruler
Pencil
Sellotape
Glue stick (i used a pritt stick)
A3 thick white card (300gsm)
Cup, side plate and cereal bowl to draw around
Large cardboard ribbon roll (optional - for lighting up only)
Battery operated metal string lights (optional - for lighting up only)
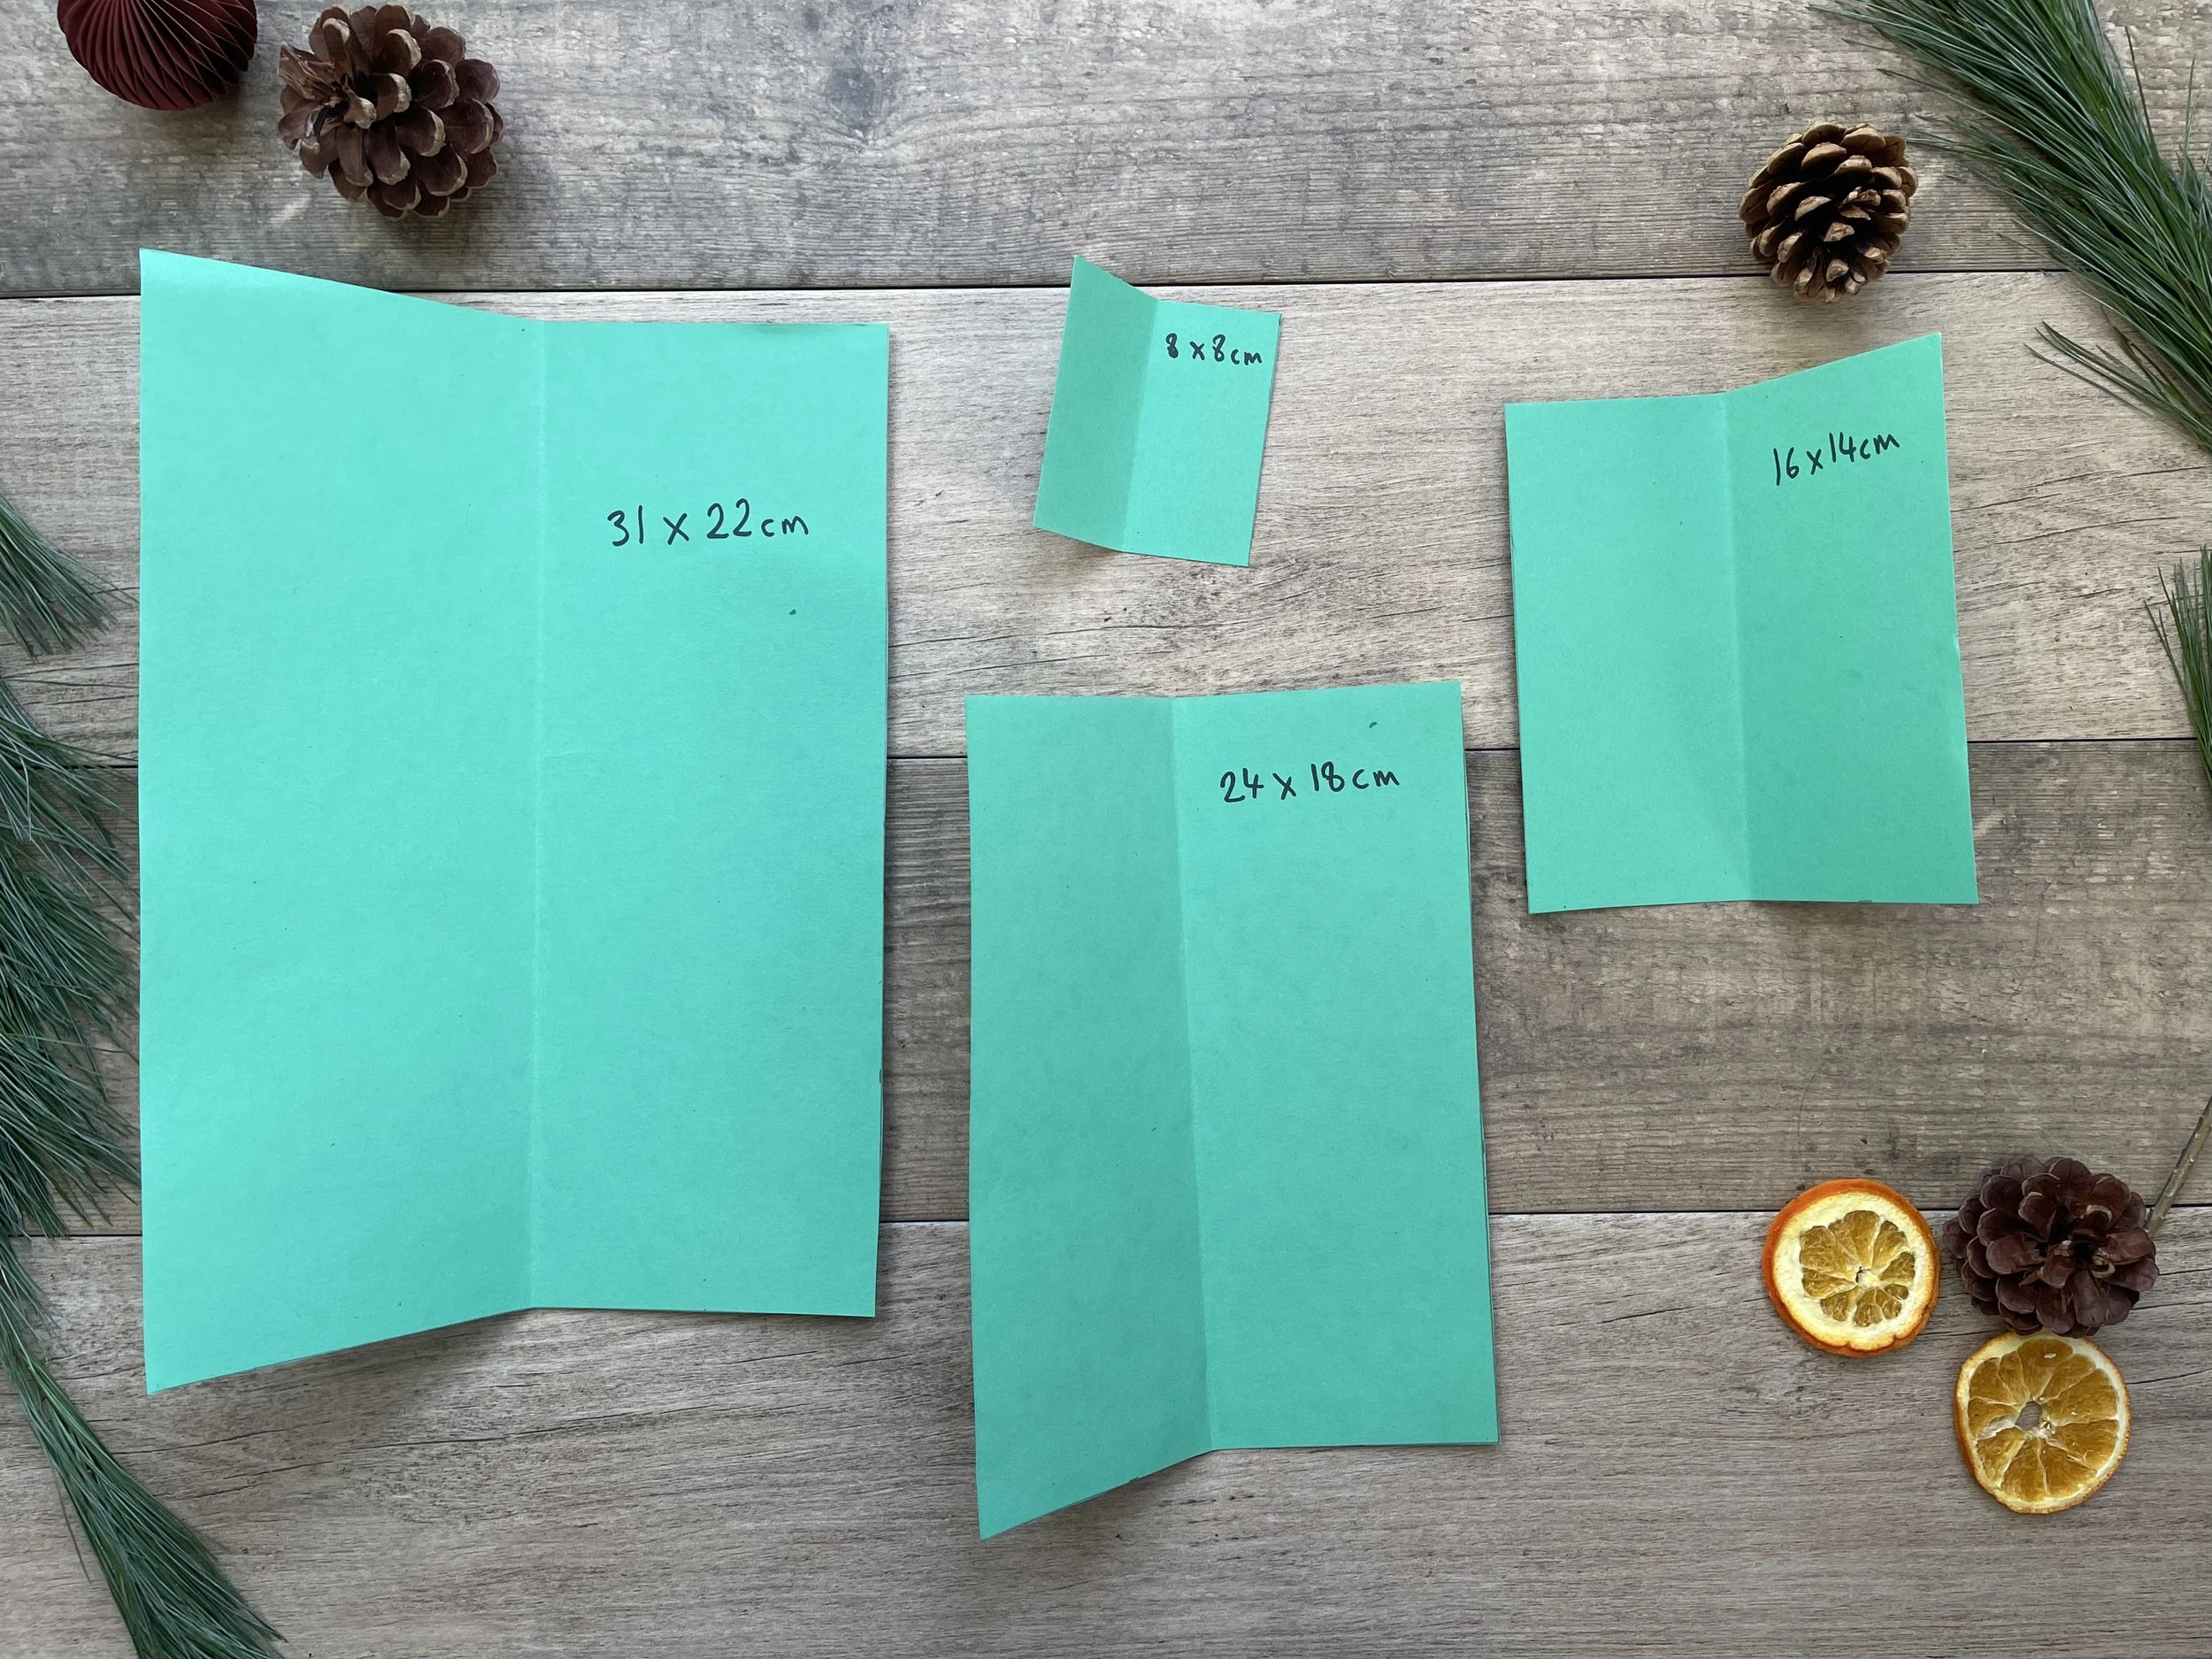
I created my star using four layers of paper so that it was a large 65cm in diameter when completed. You can make yours with fewer layers or bigger or smaller, but to make a Snöblomma the same as mine you’ll need to cut four pieces of card the following dimensions: 31x22cm, 24x18cm, 16x14cm, and 8x8cm.
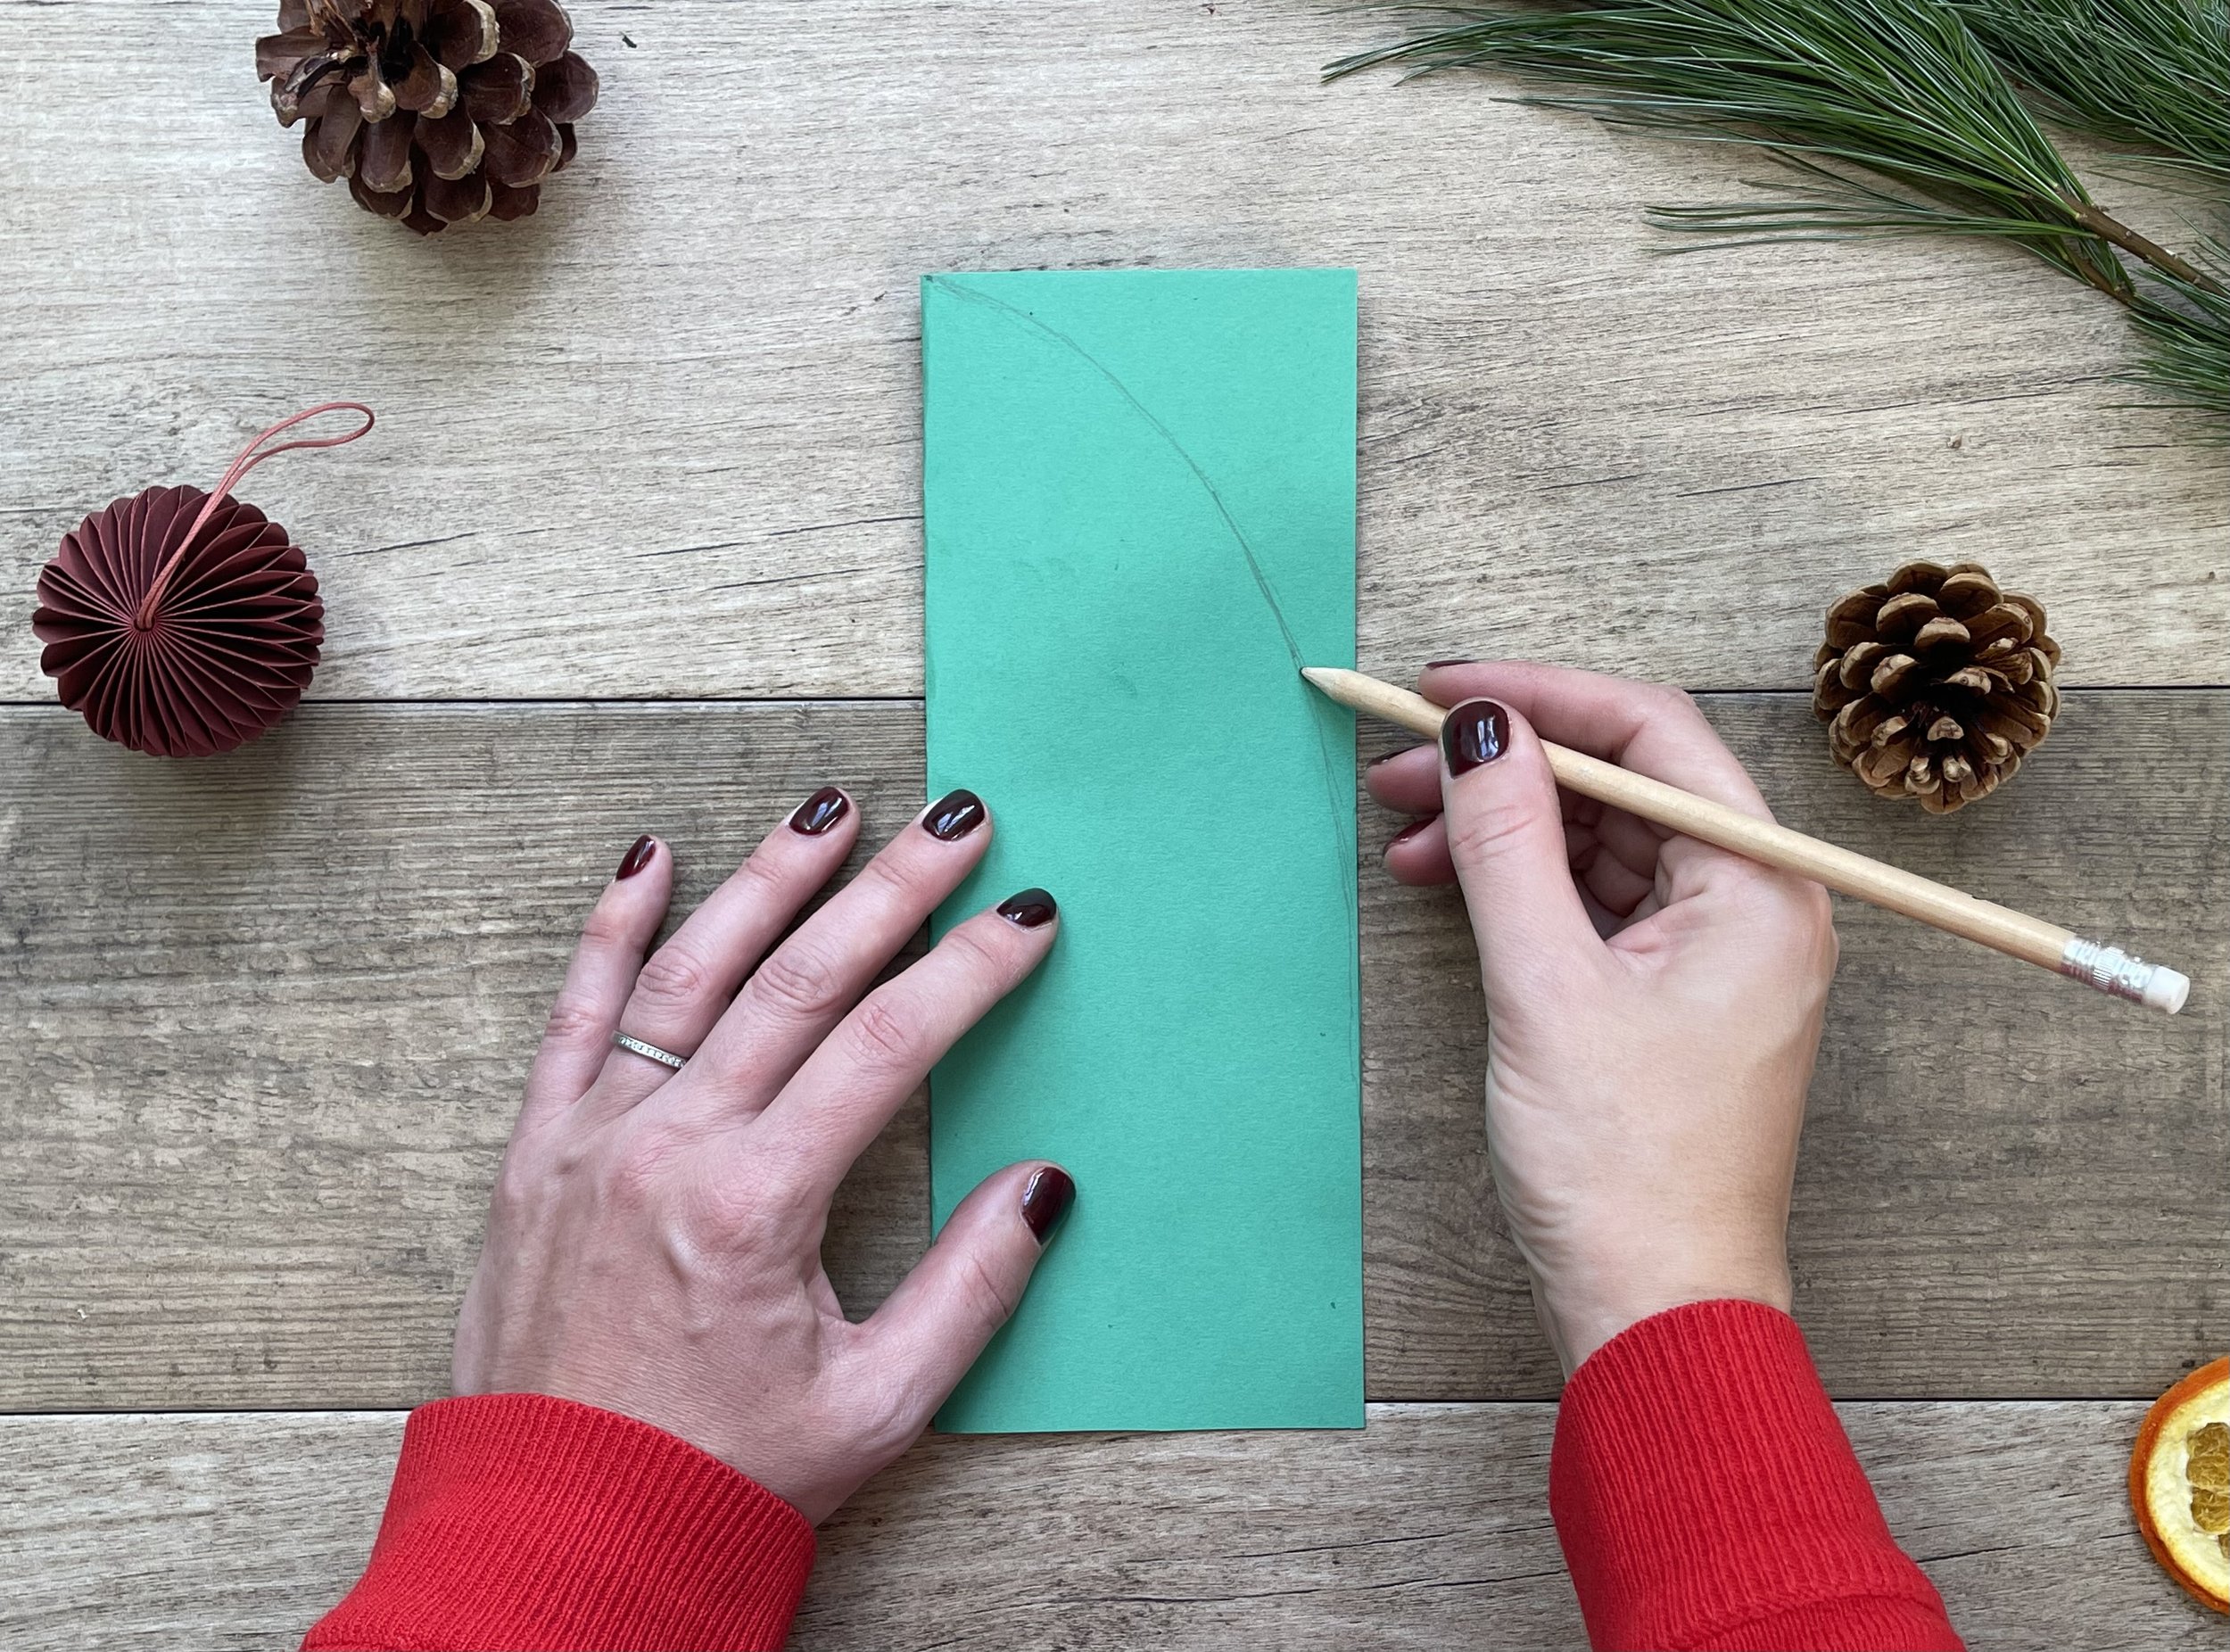
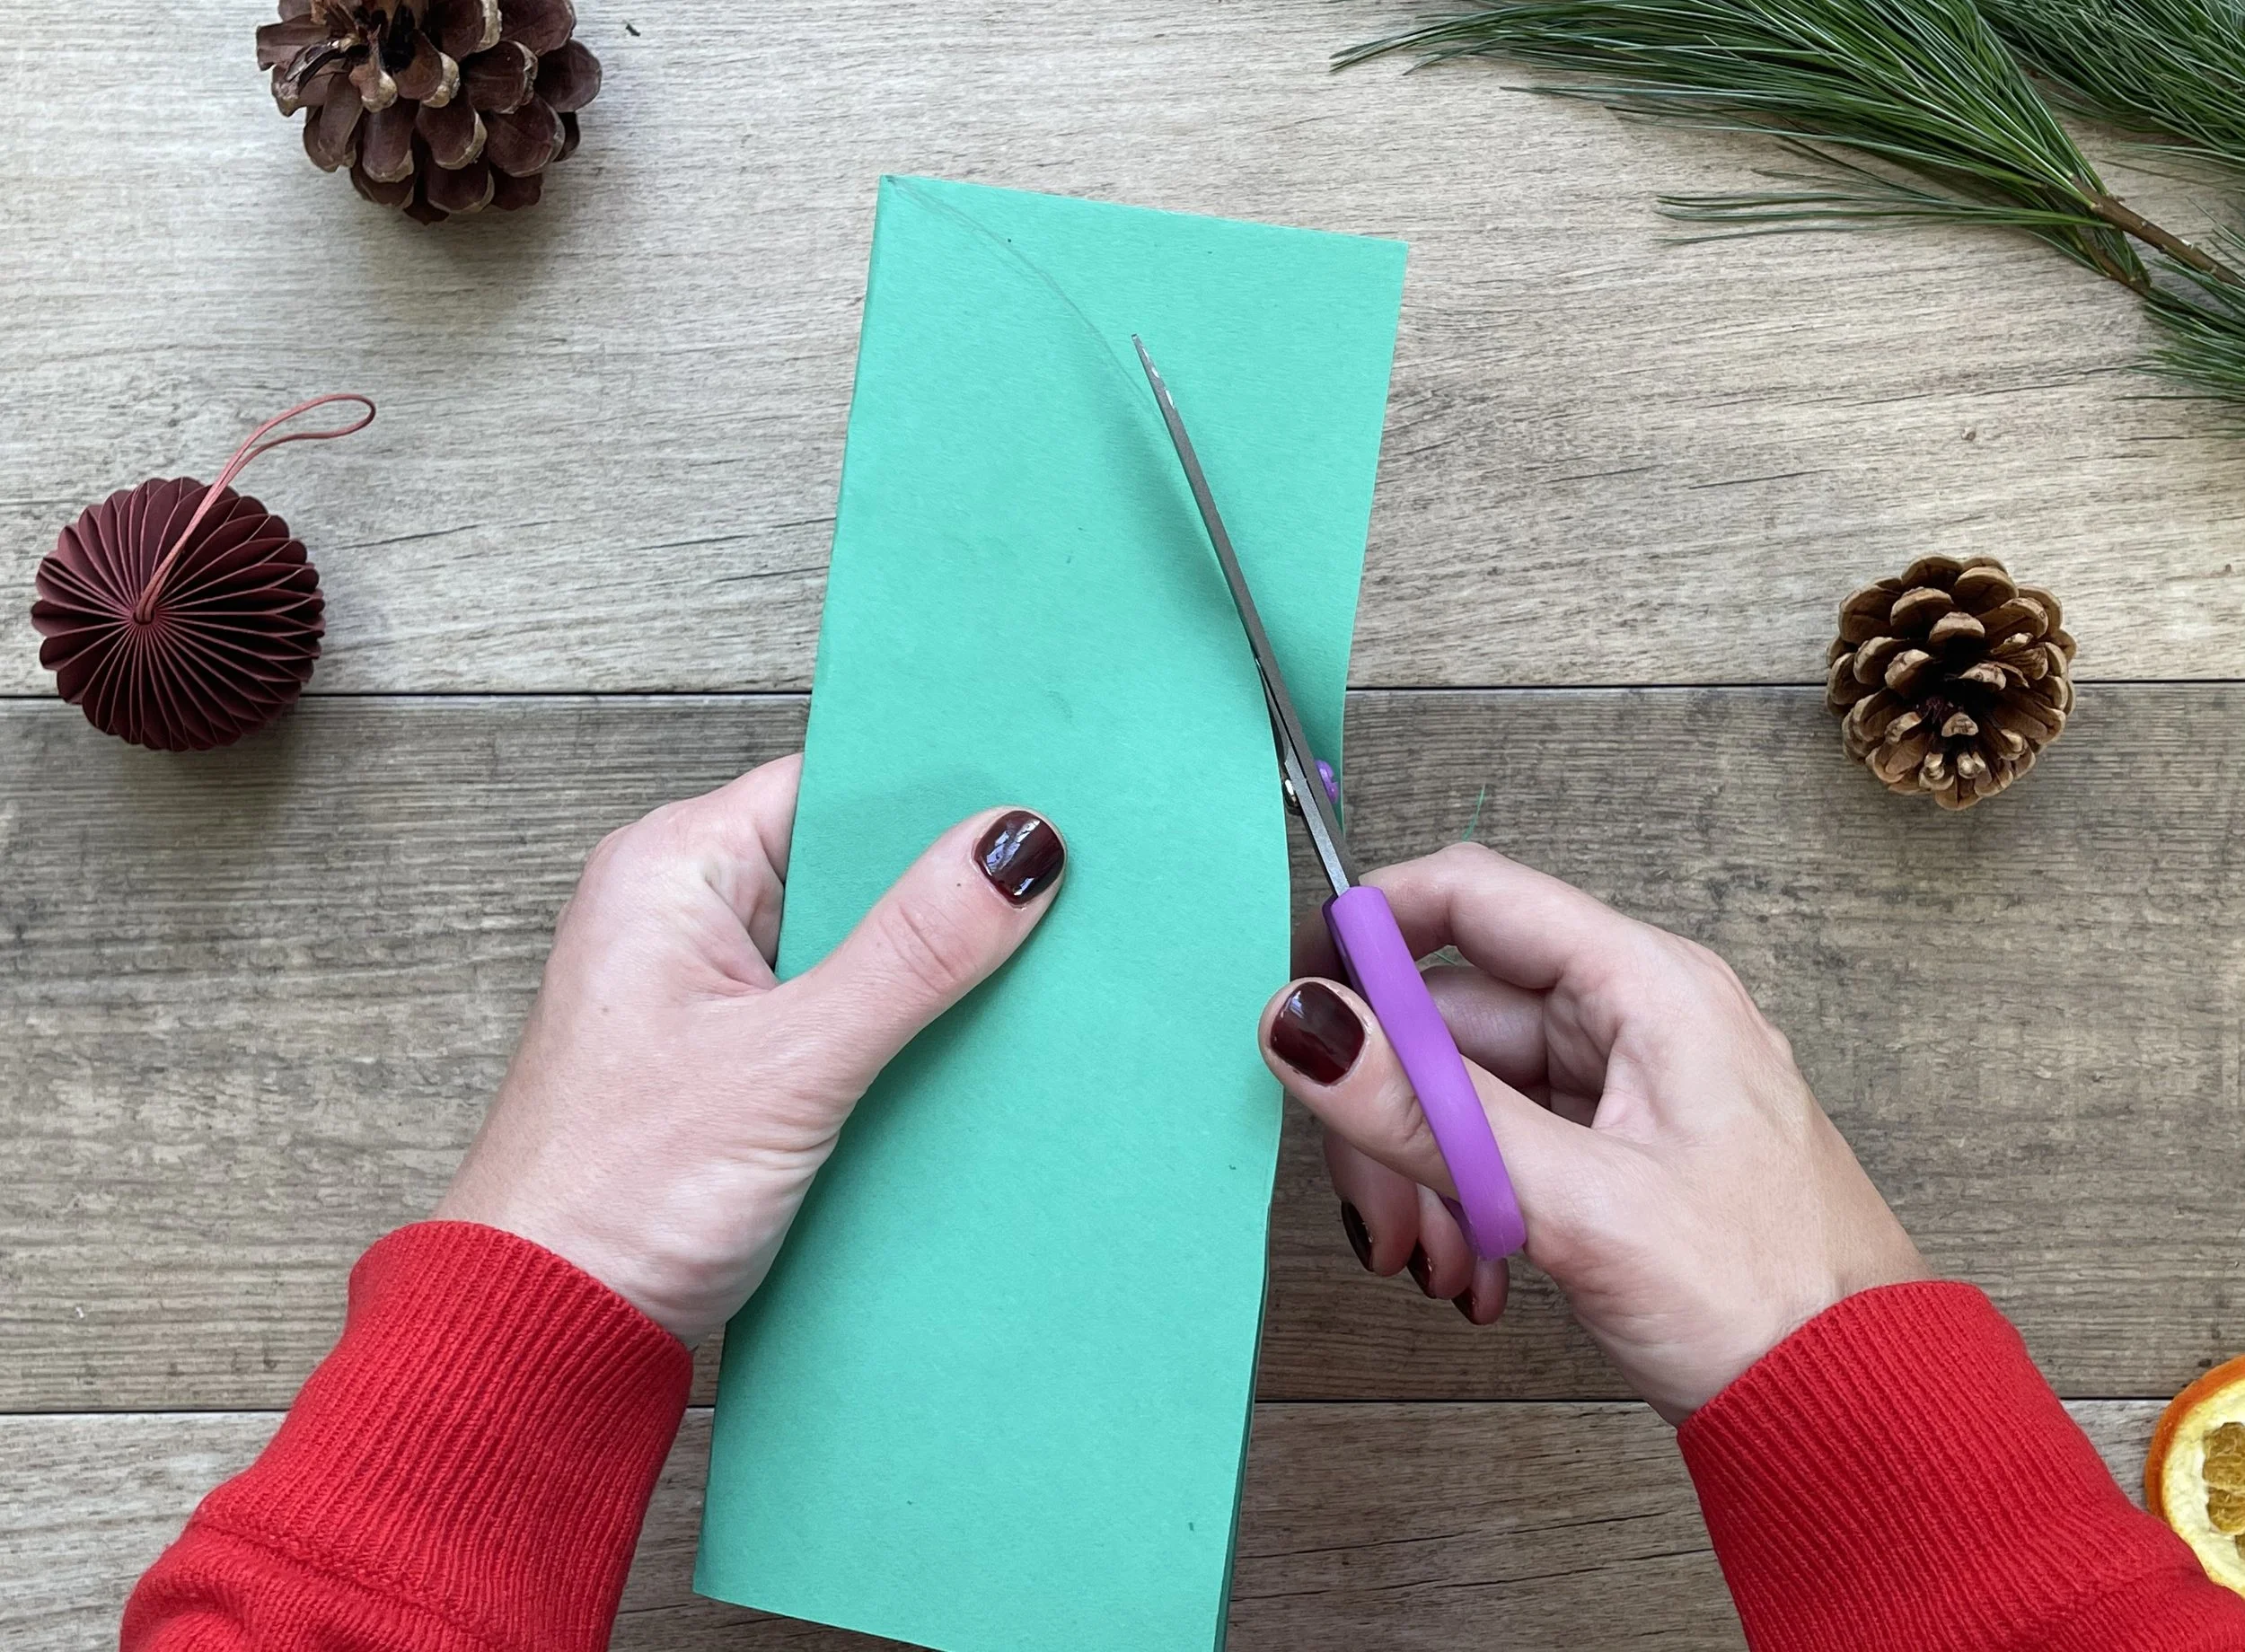
Fold your four pieces of card in half. Using your pencil, draw an arched shape (starting at the top folded corner down to the opposite bottom corner). Cut it out to create the shape of an arched door:

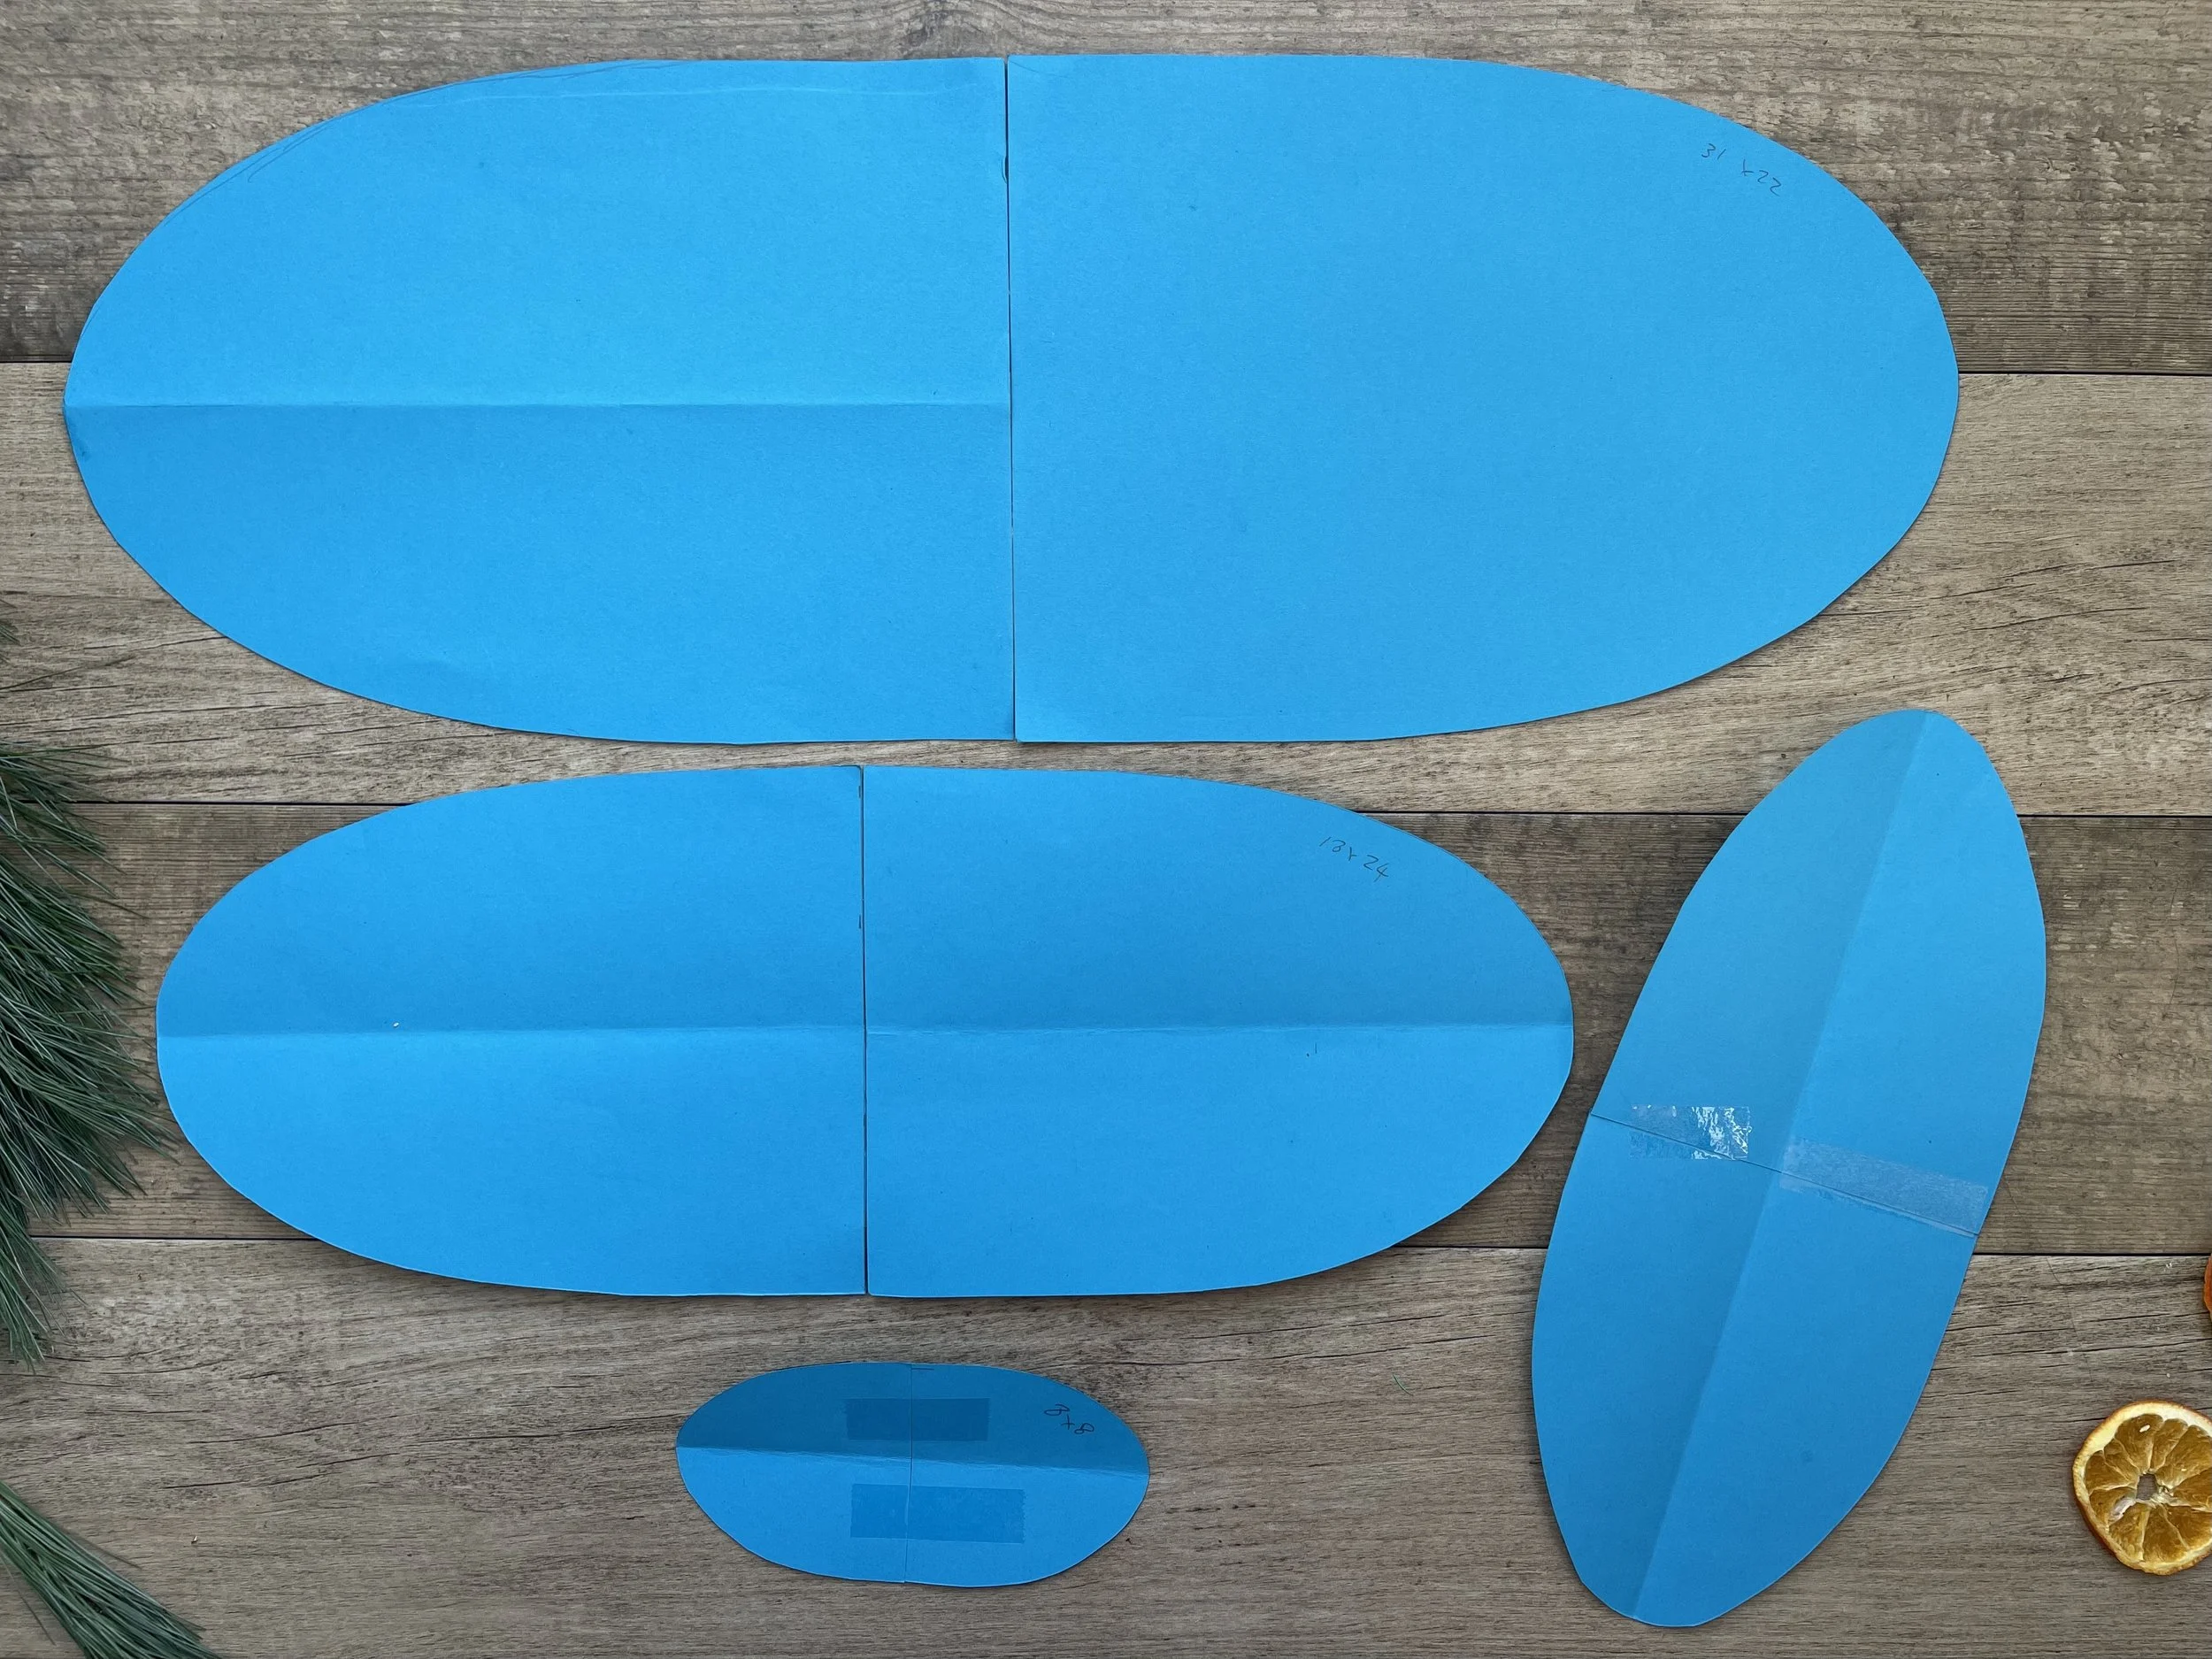
Draw around your arch on another piece of card. Cut it out, then join them both together using some sellotape to create a pill shape. Do this for all four pieces of your folded card.

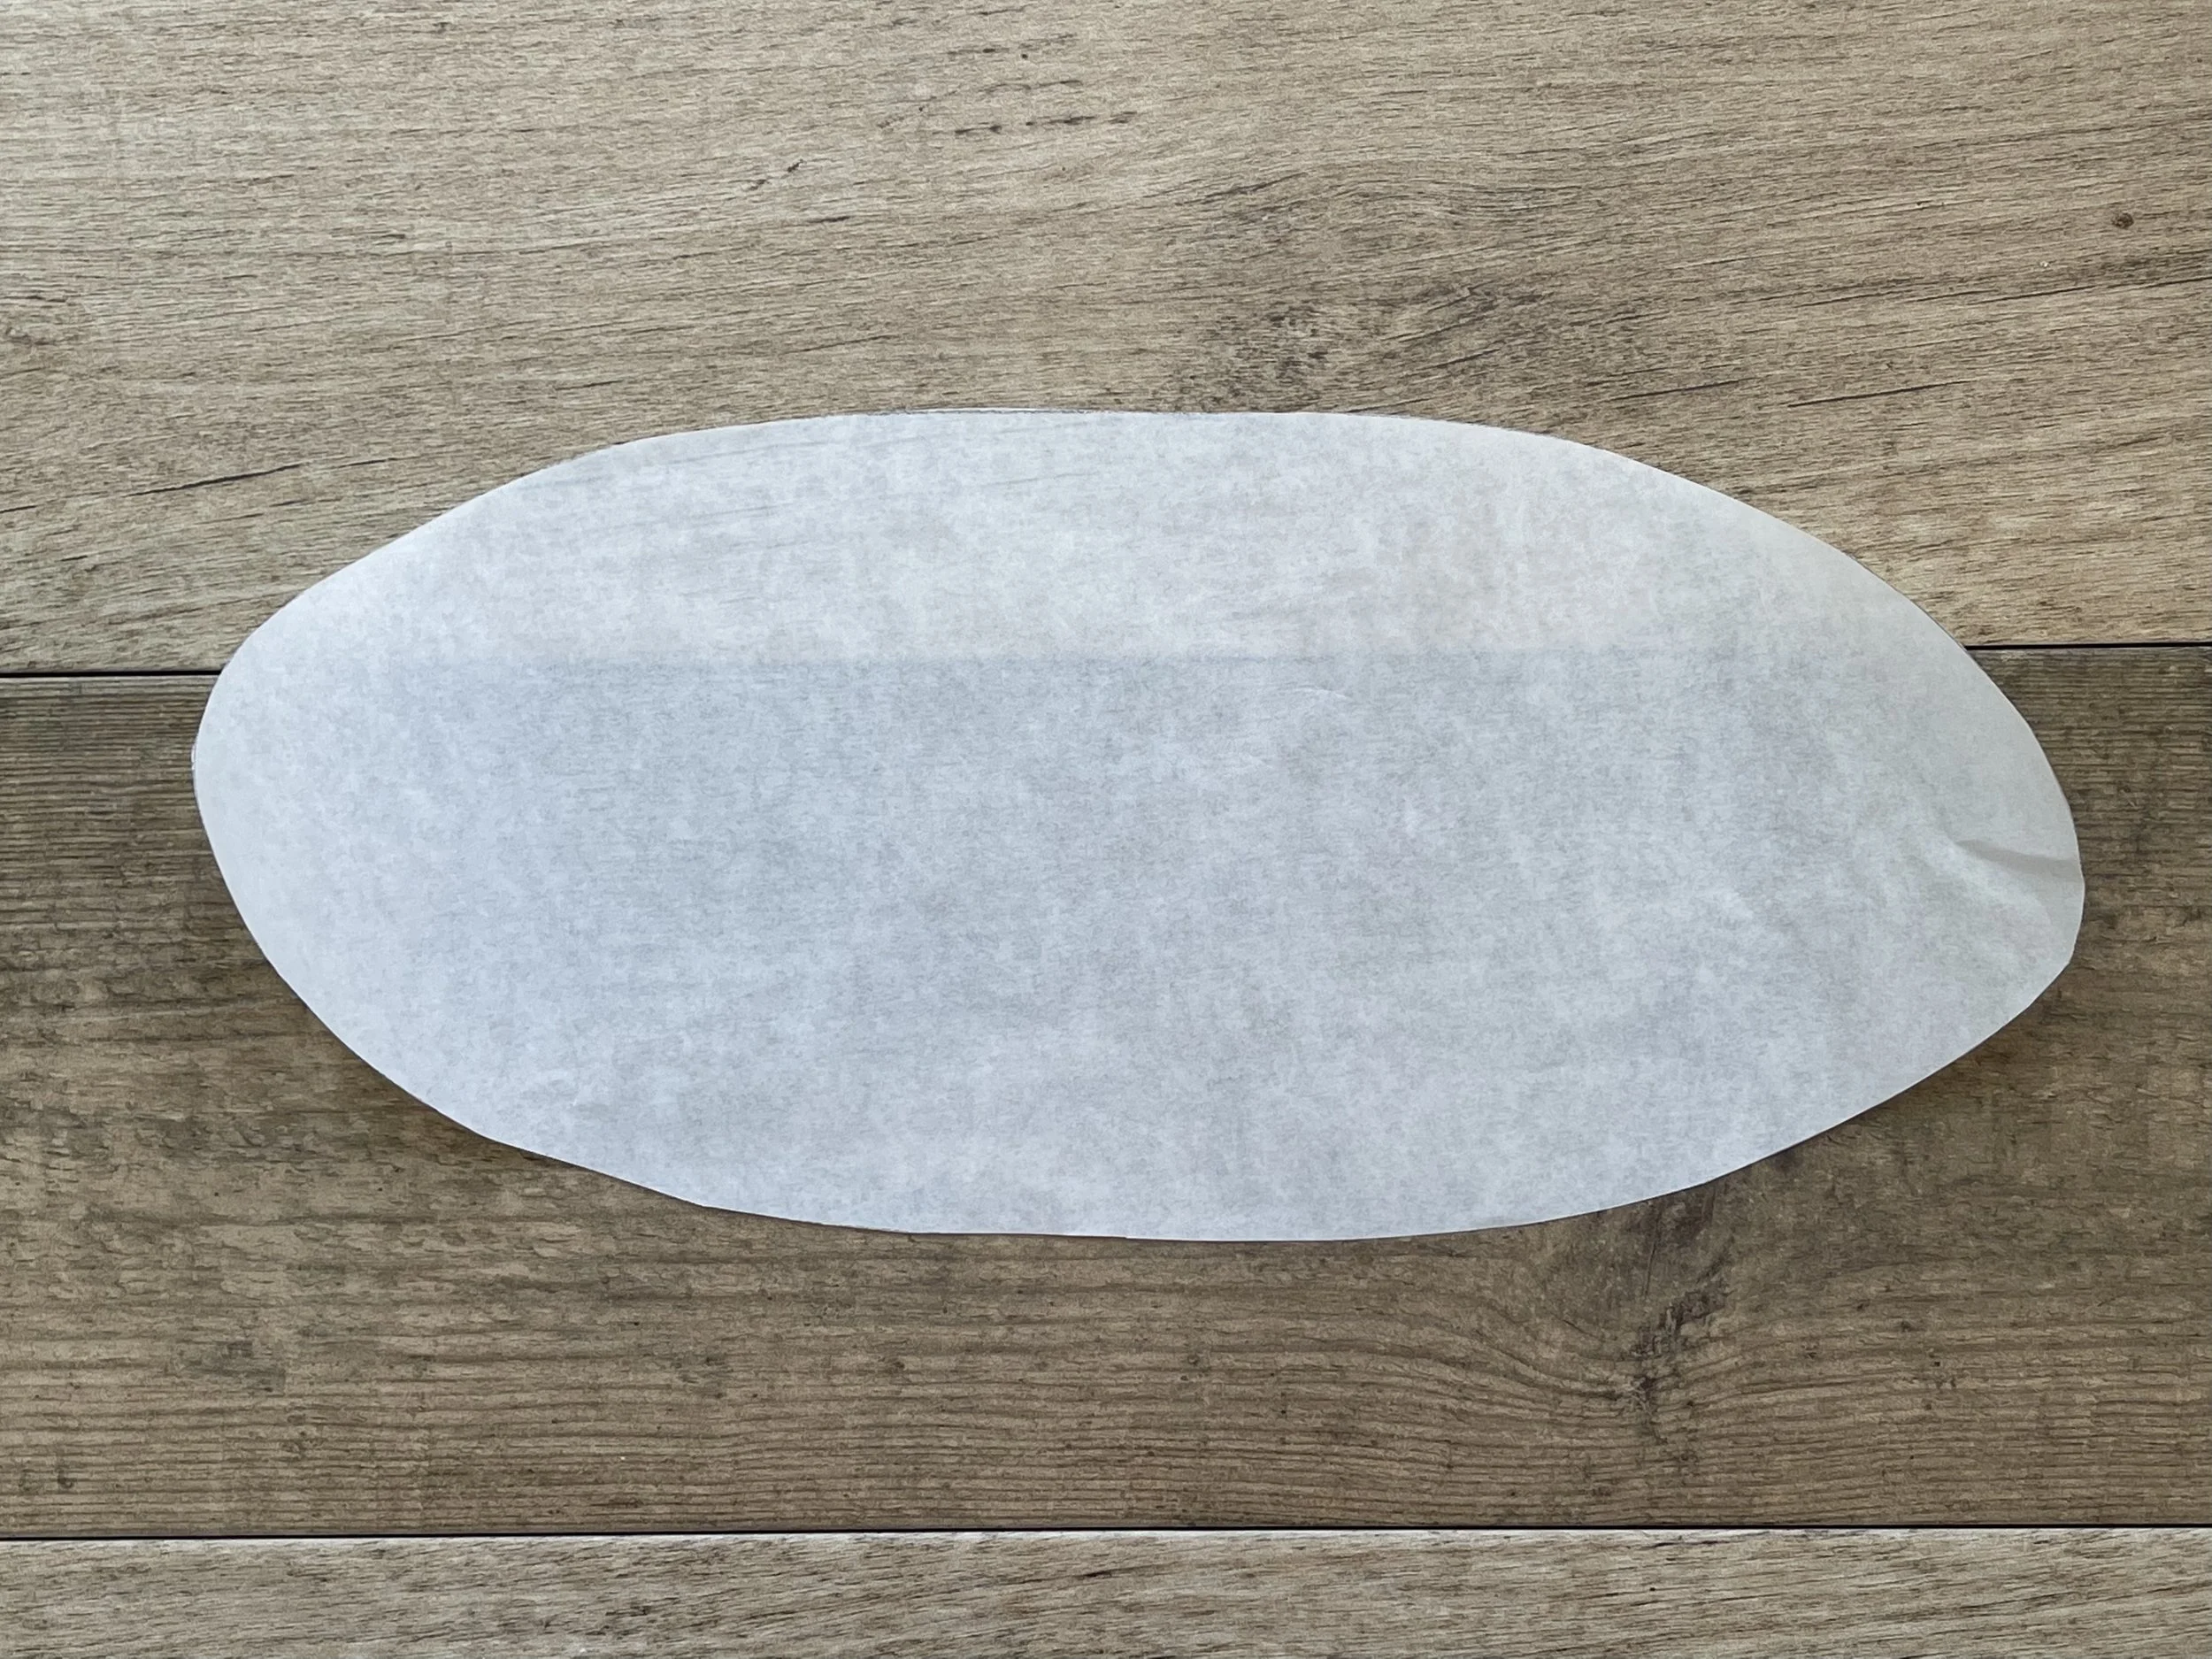
Starting with one of the shapes, draw an outline of it onto the baking paper and cut it out.

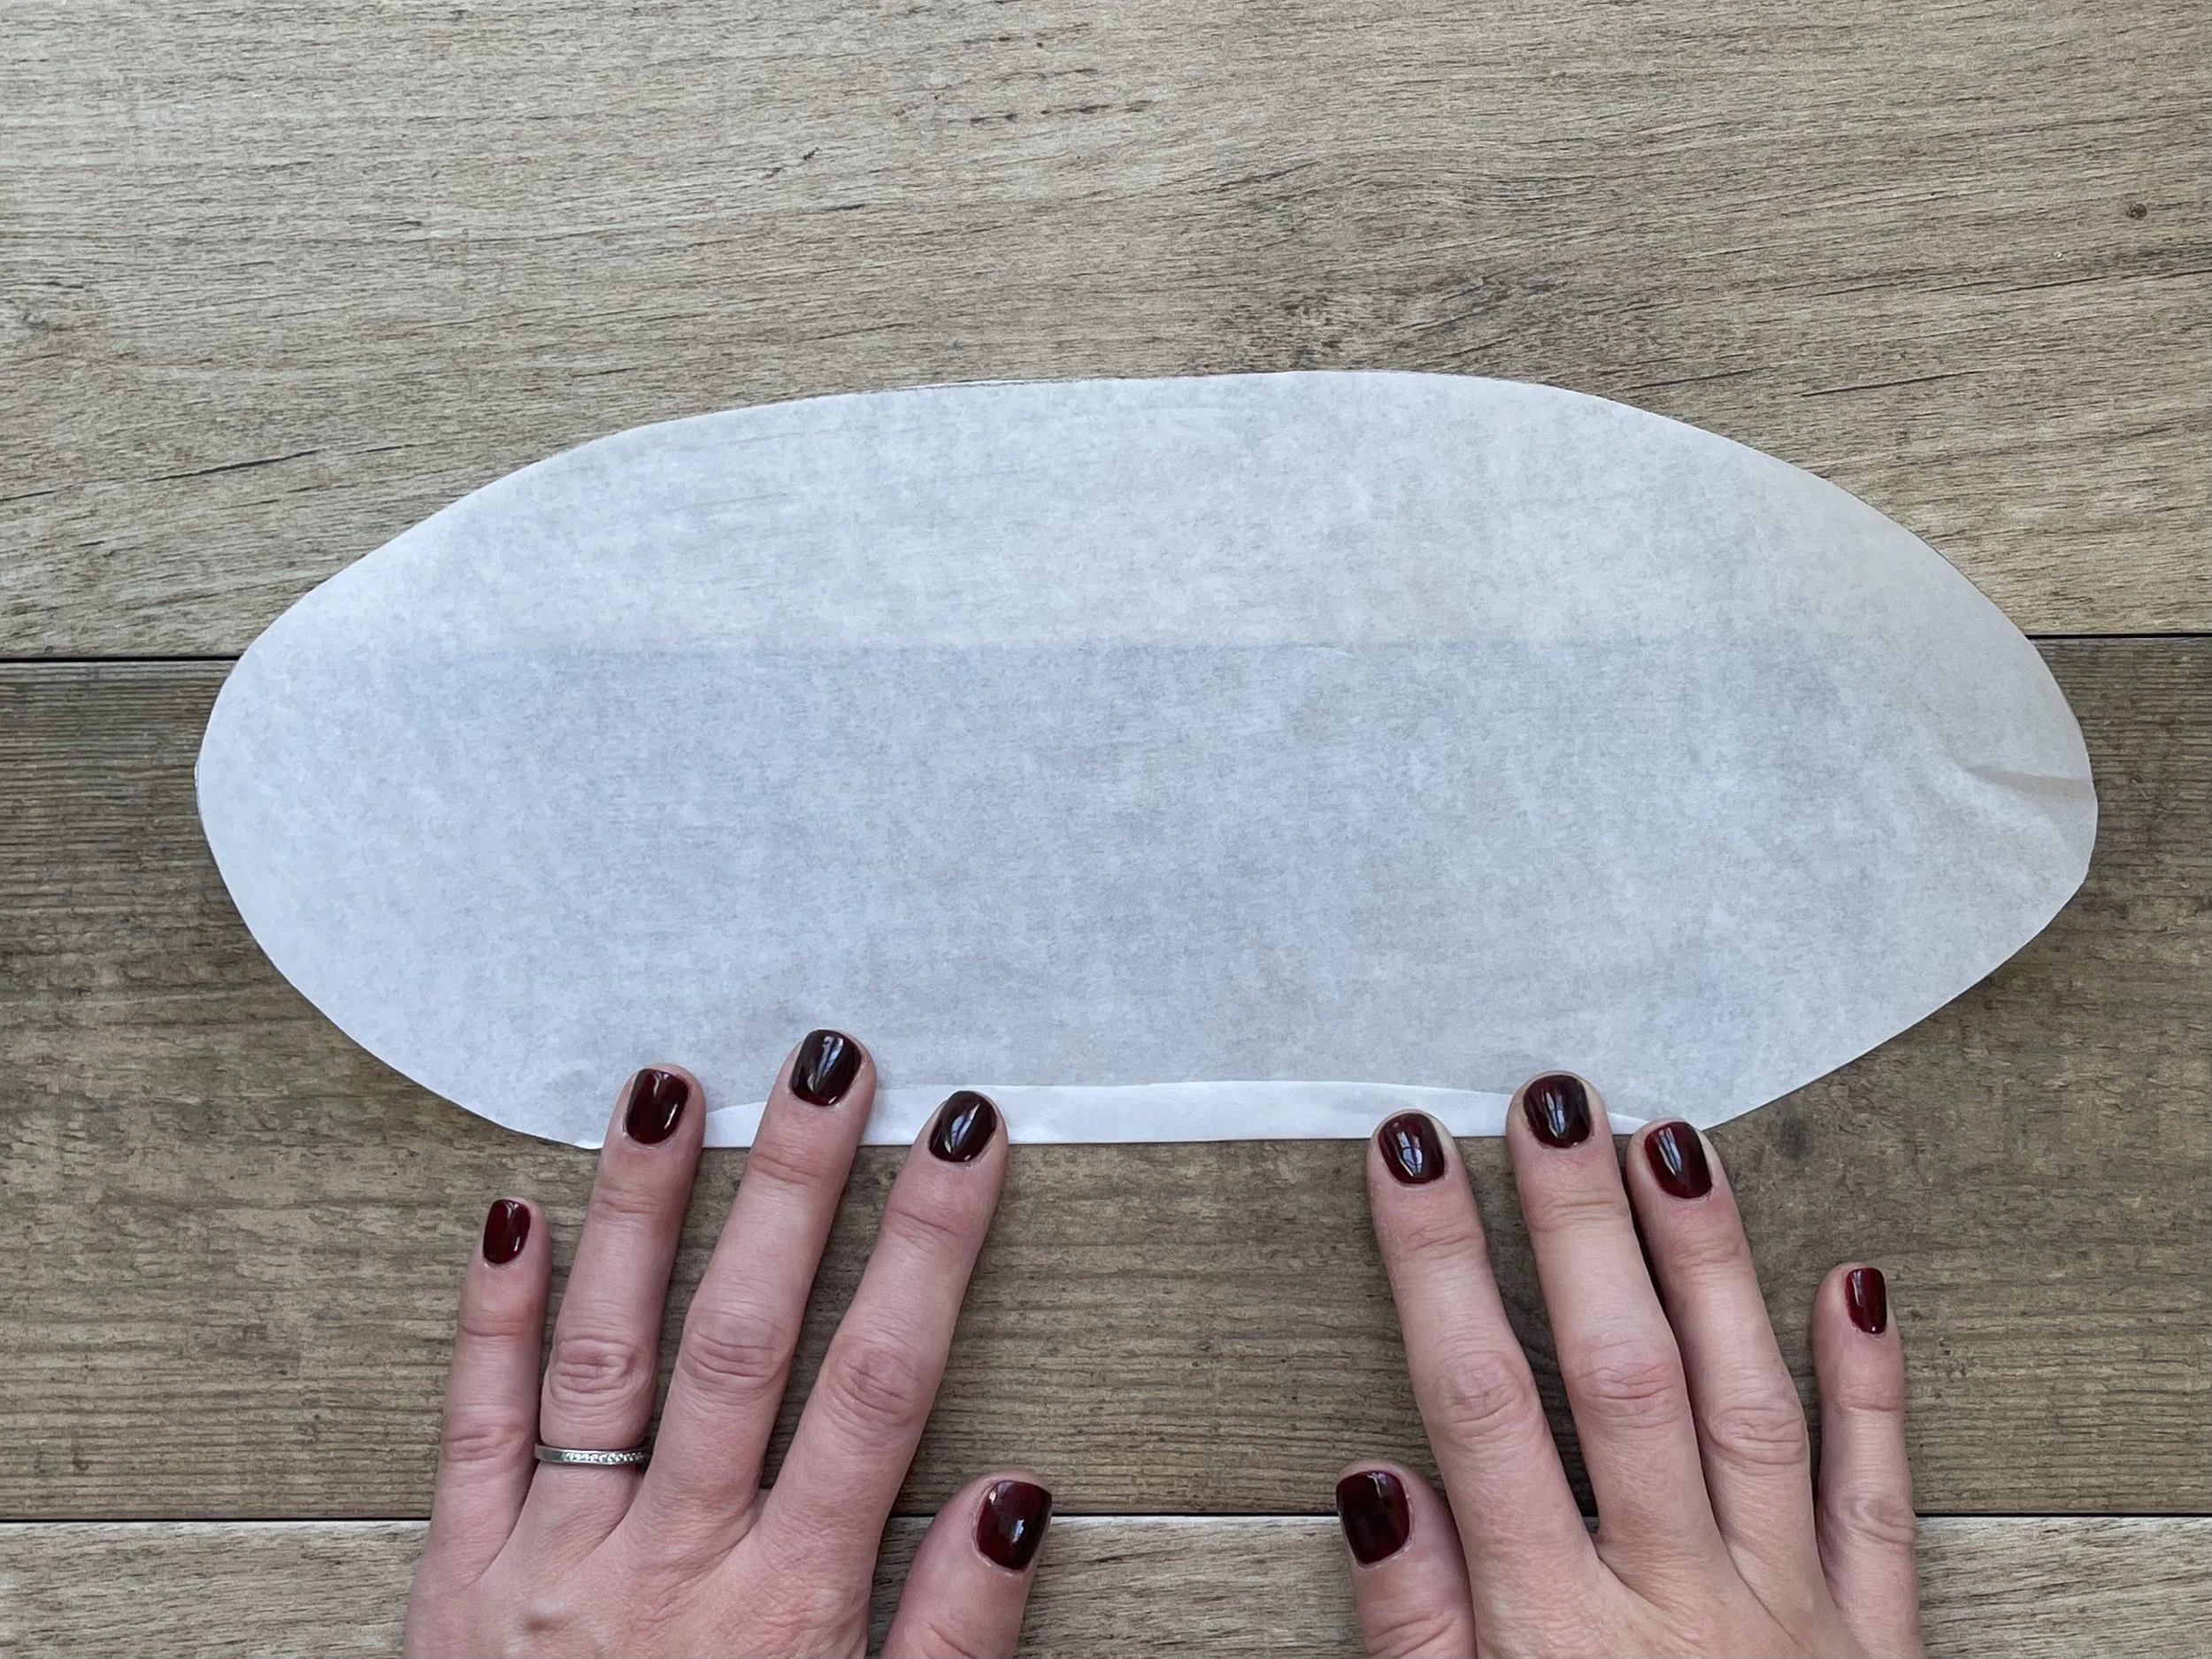
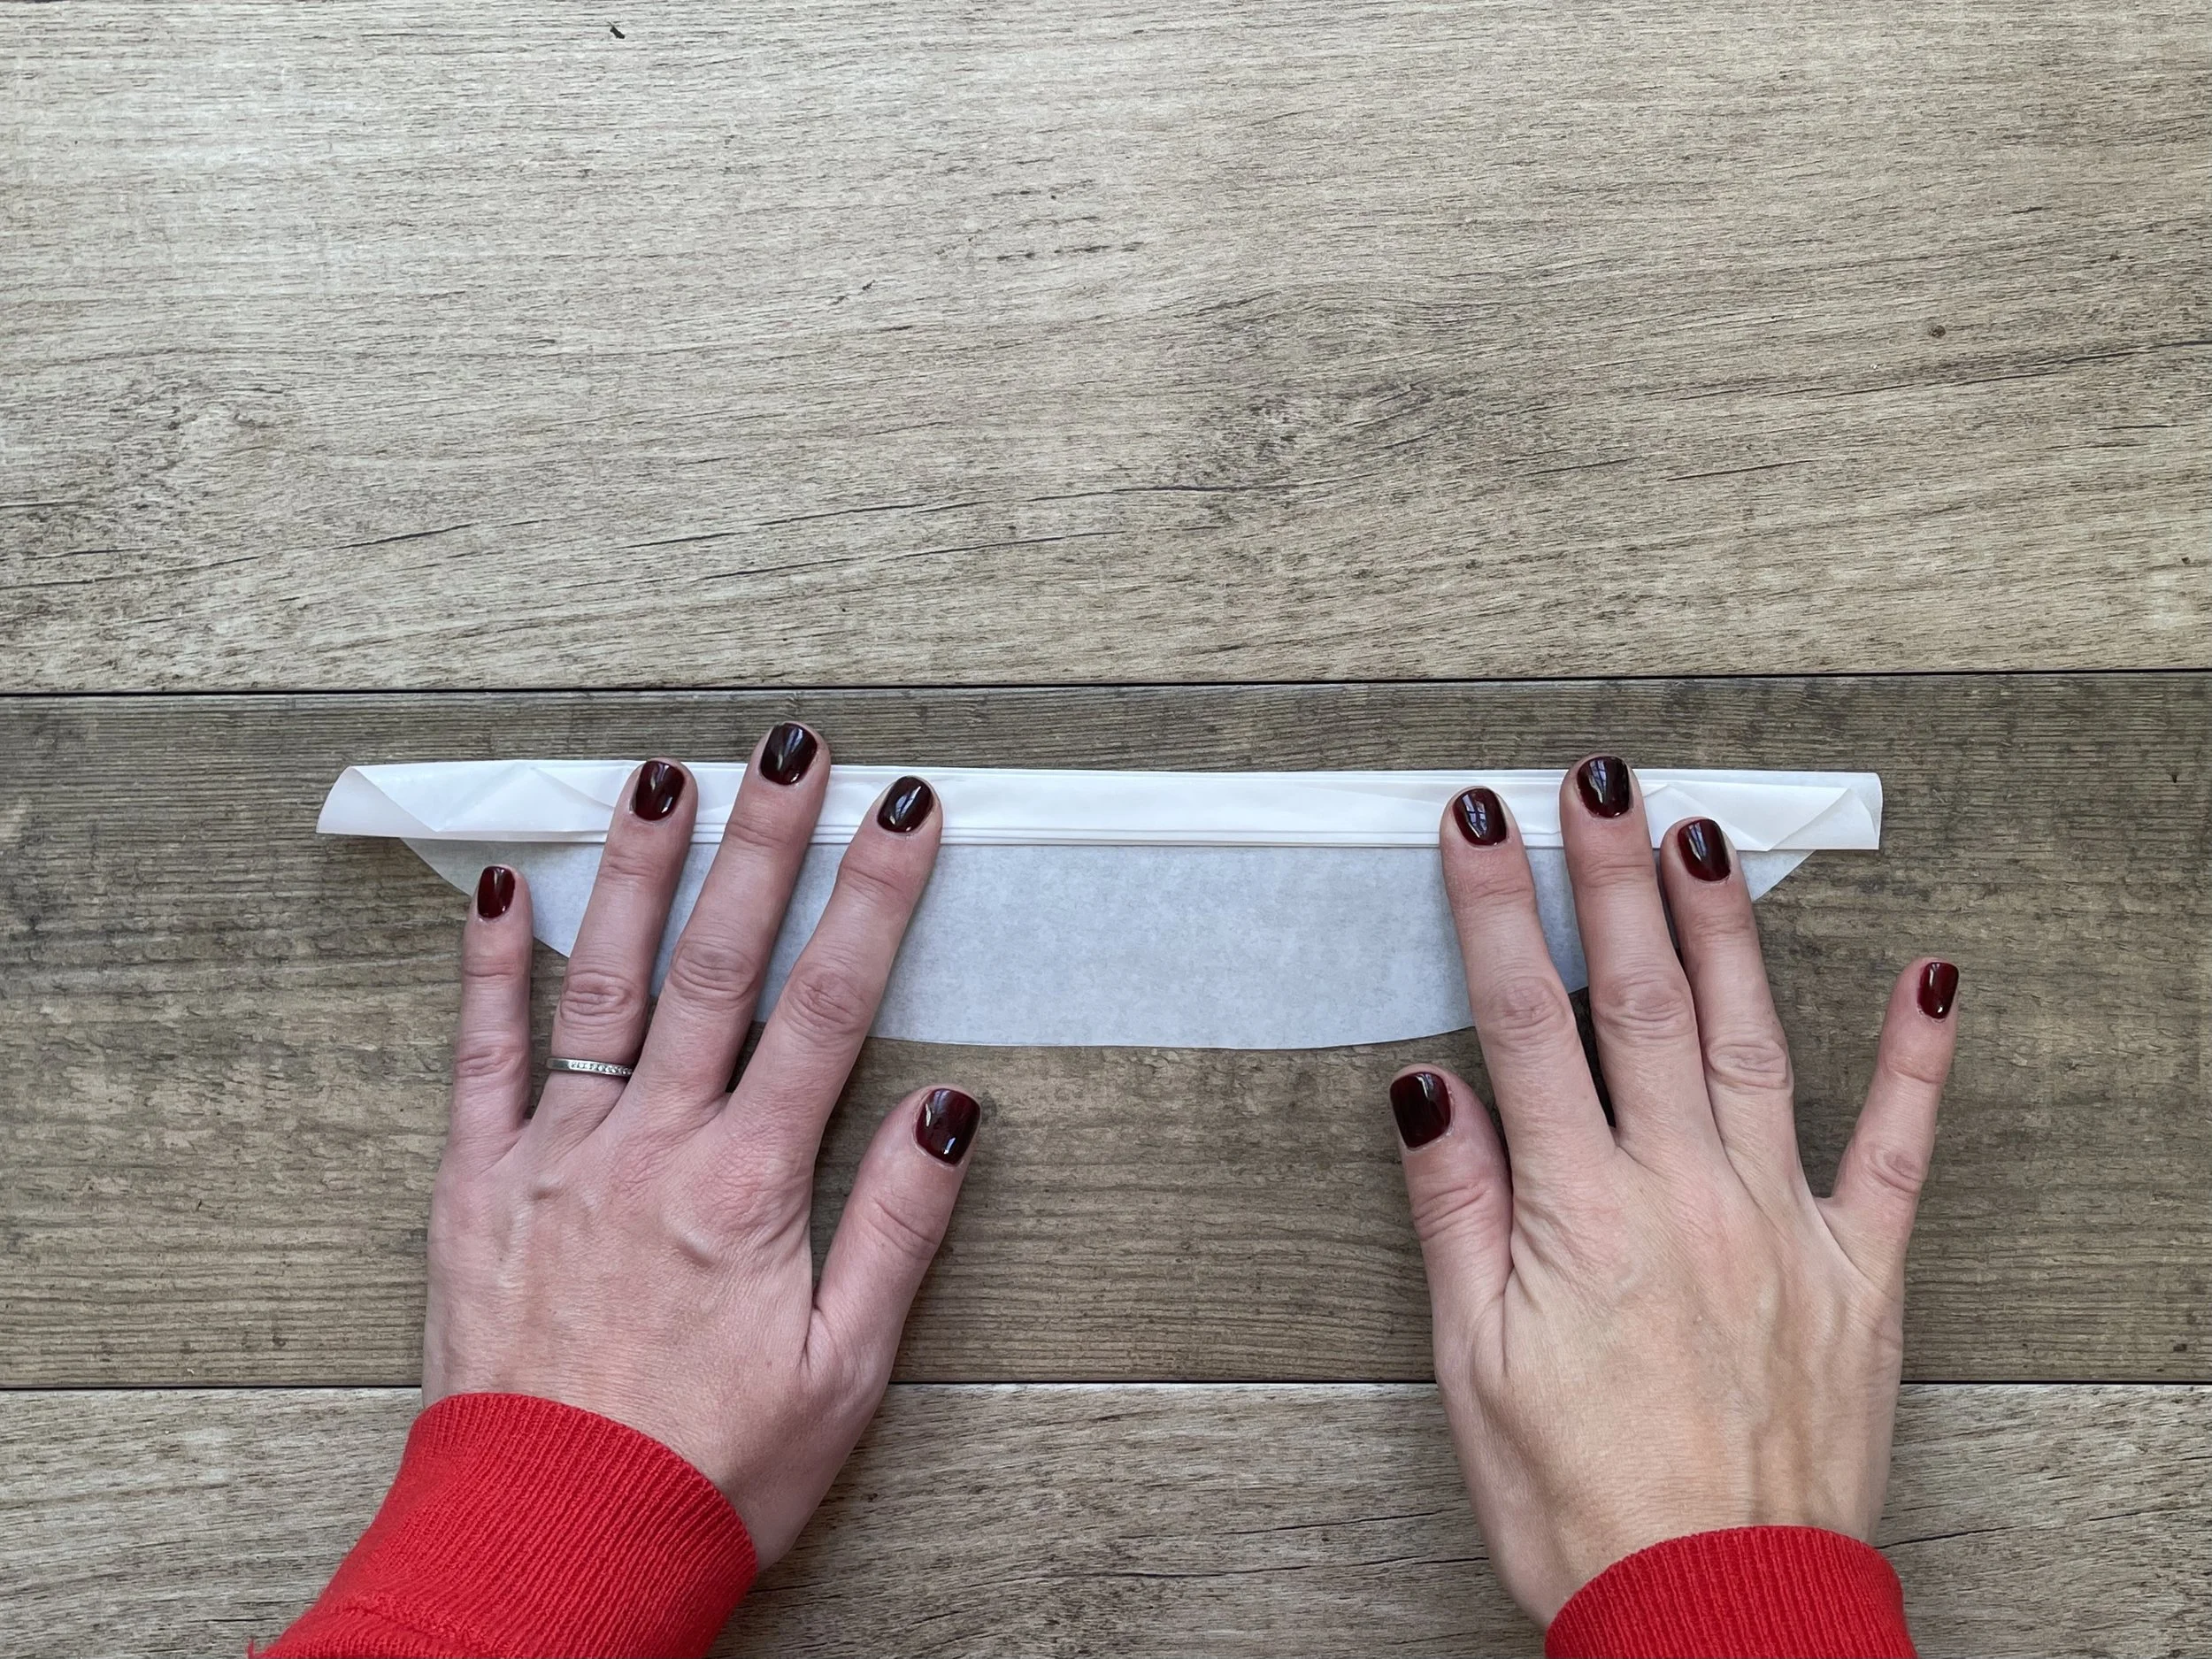
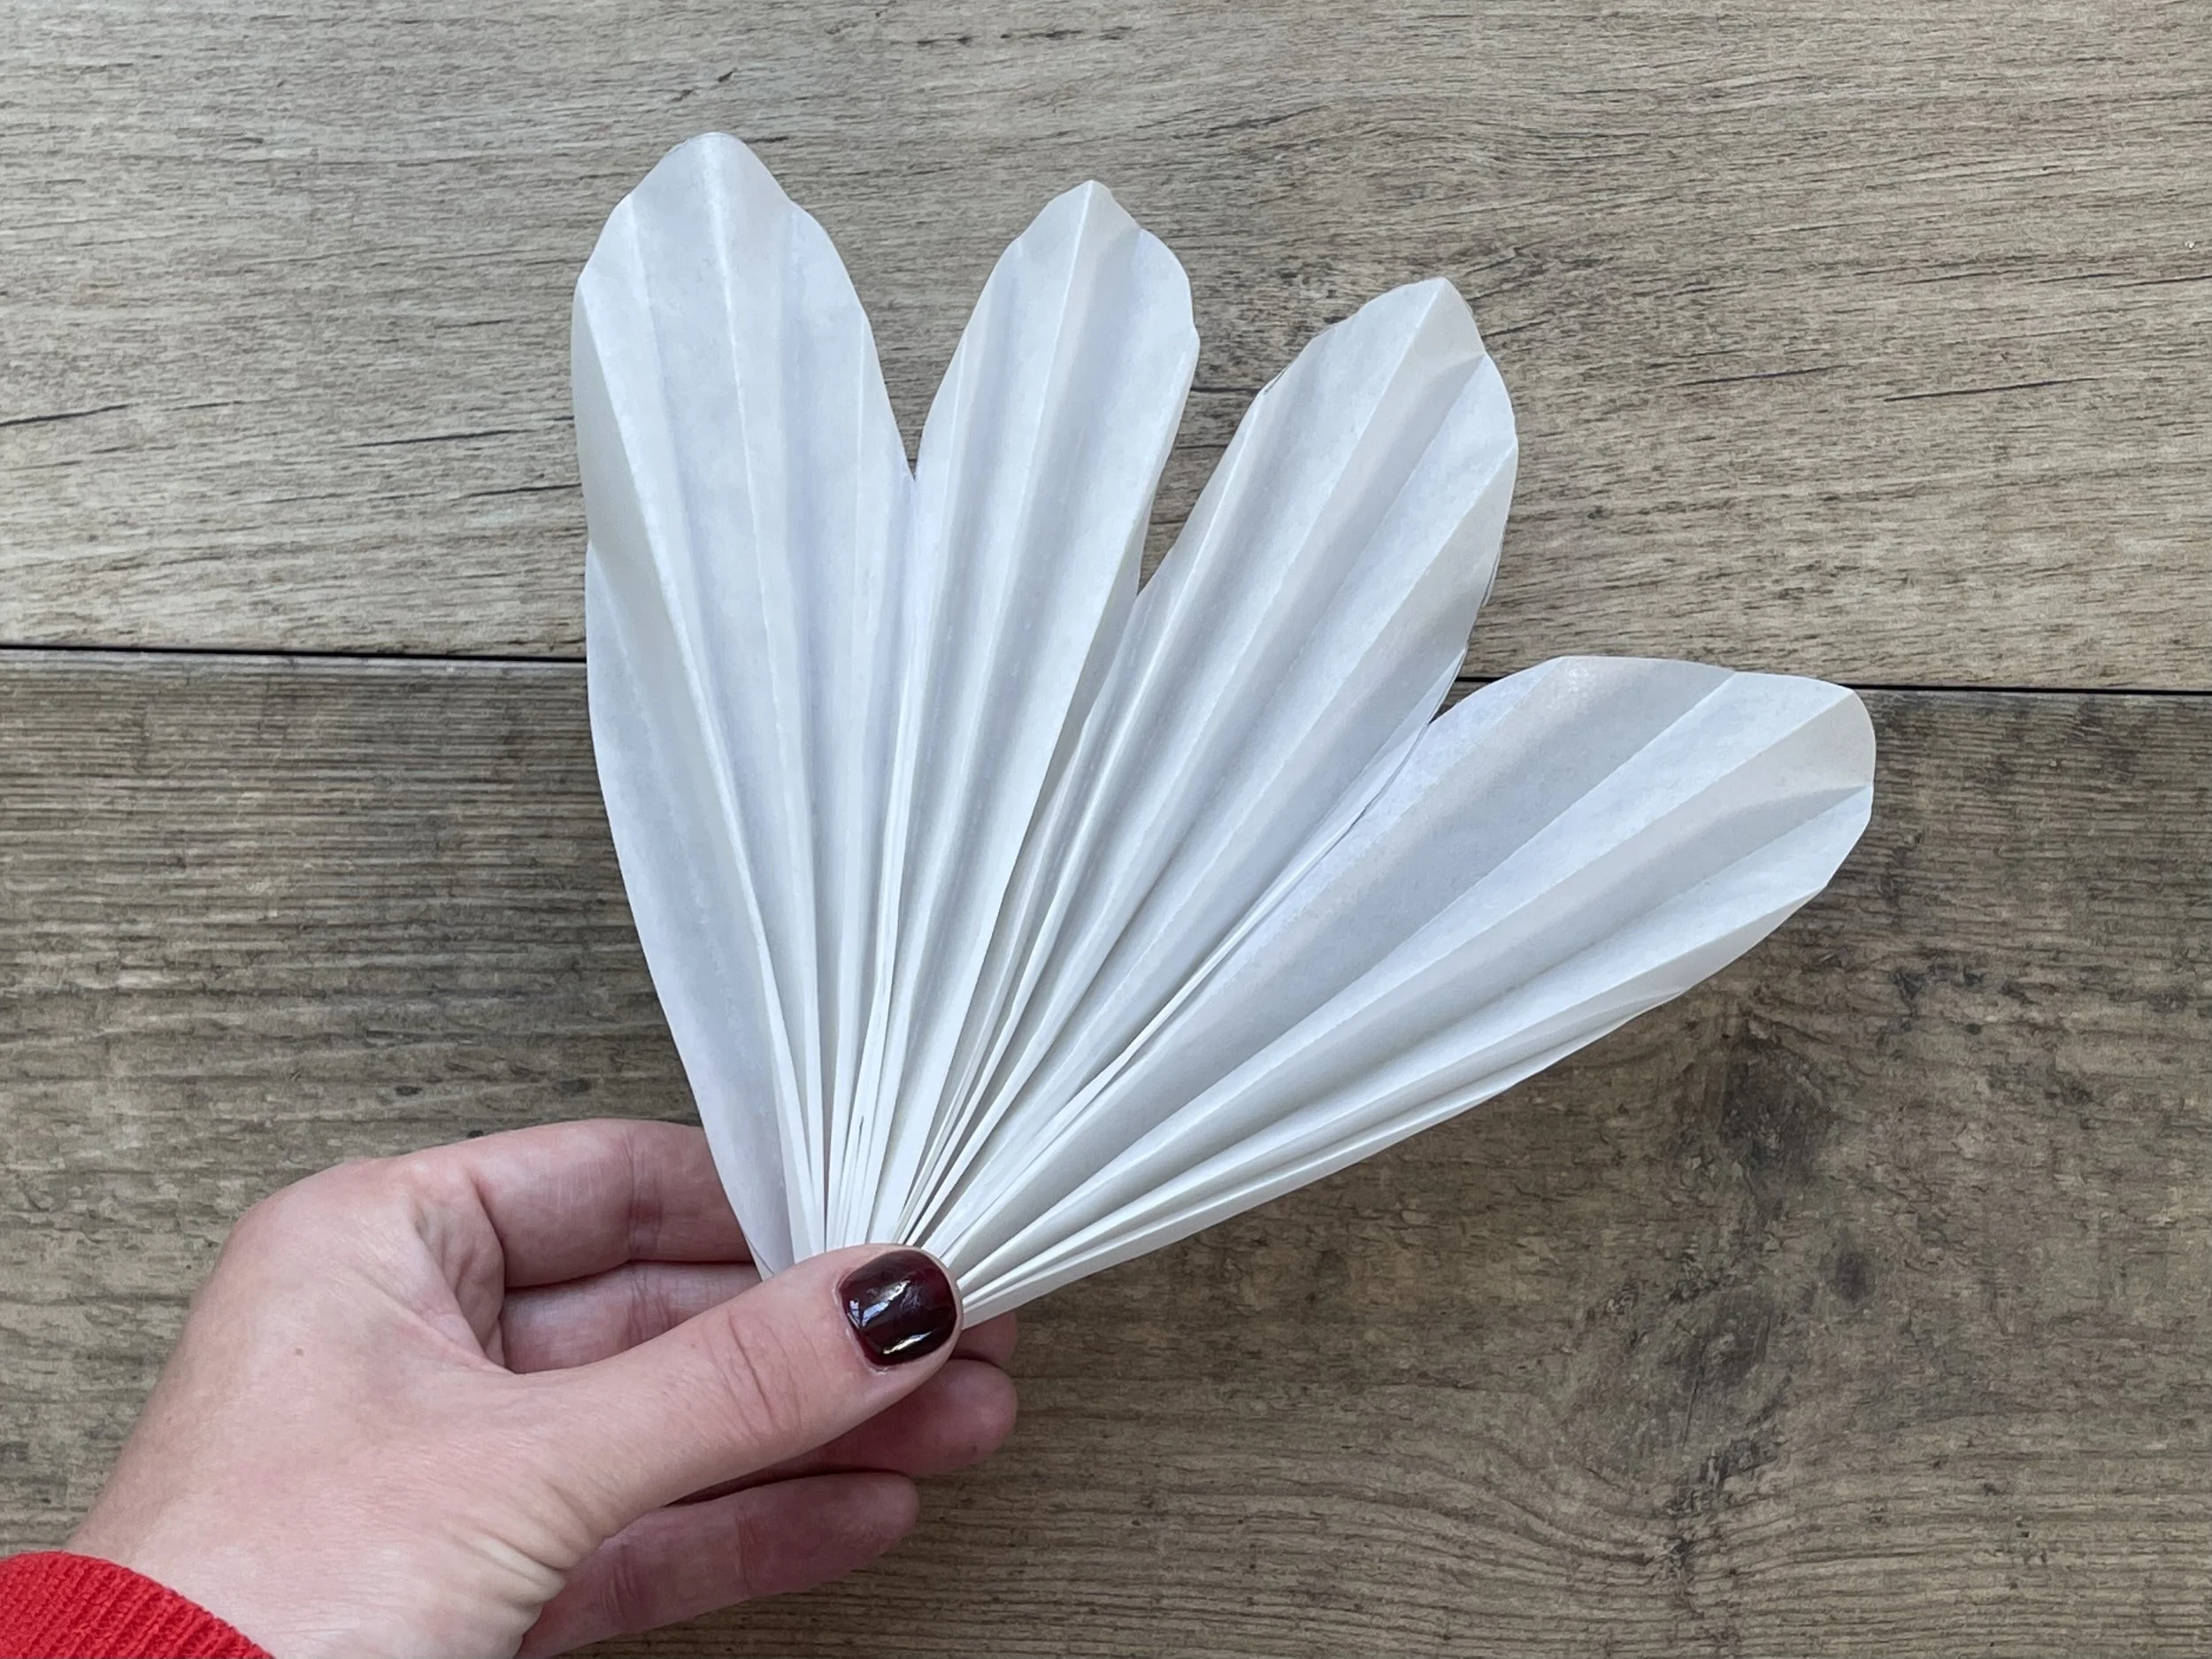
Fold the bottom edge of the shape up (make the fold no wider than 1cm). Turn the paper over and fold up again. Repeat until the shape has been folded back and forth, so the paper is zig-zagged.
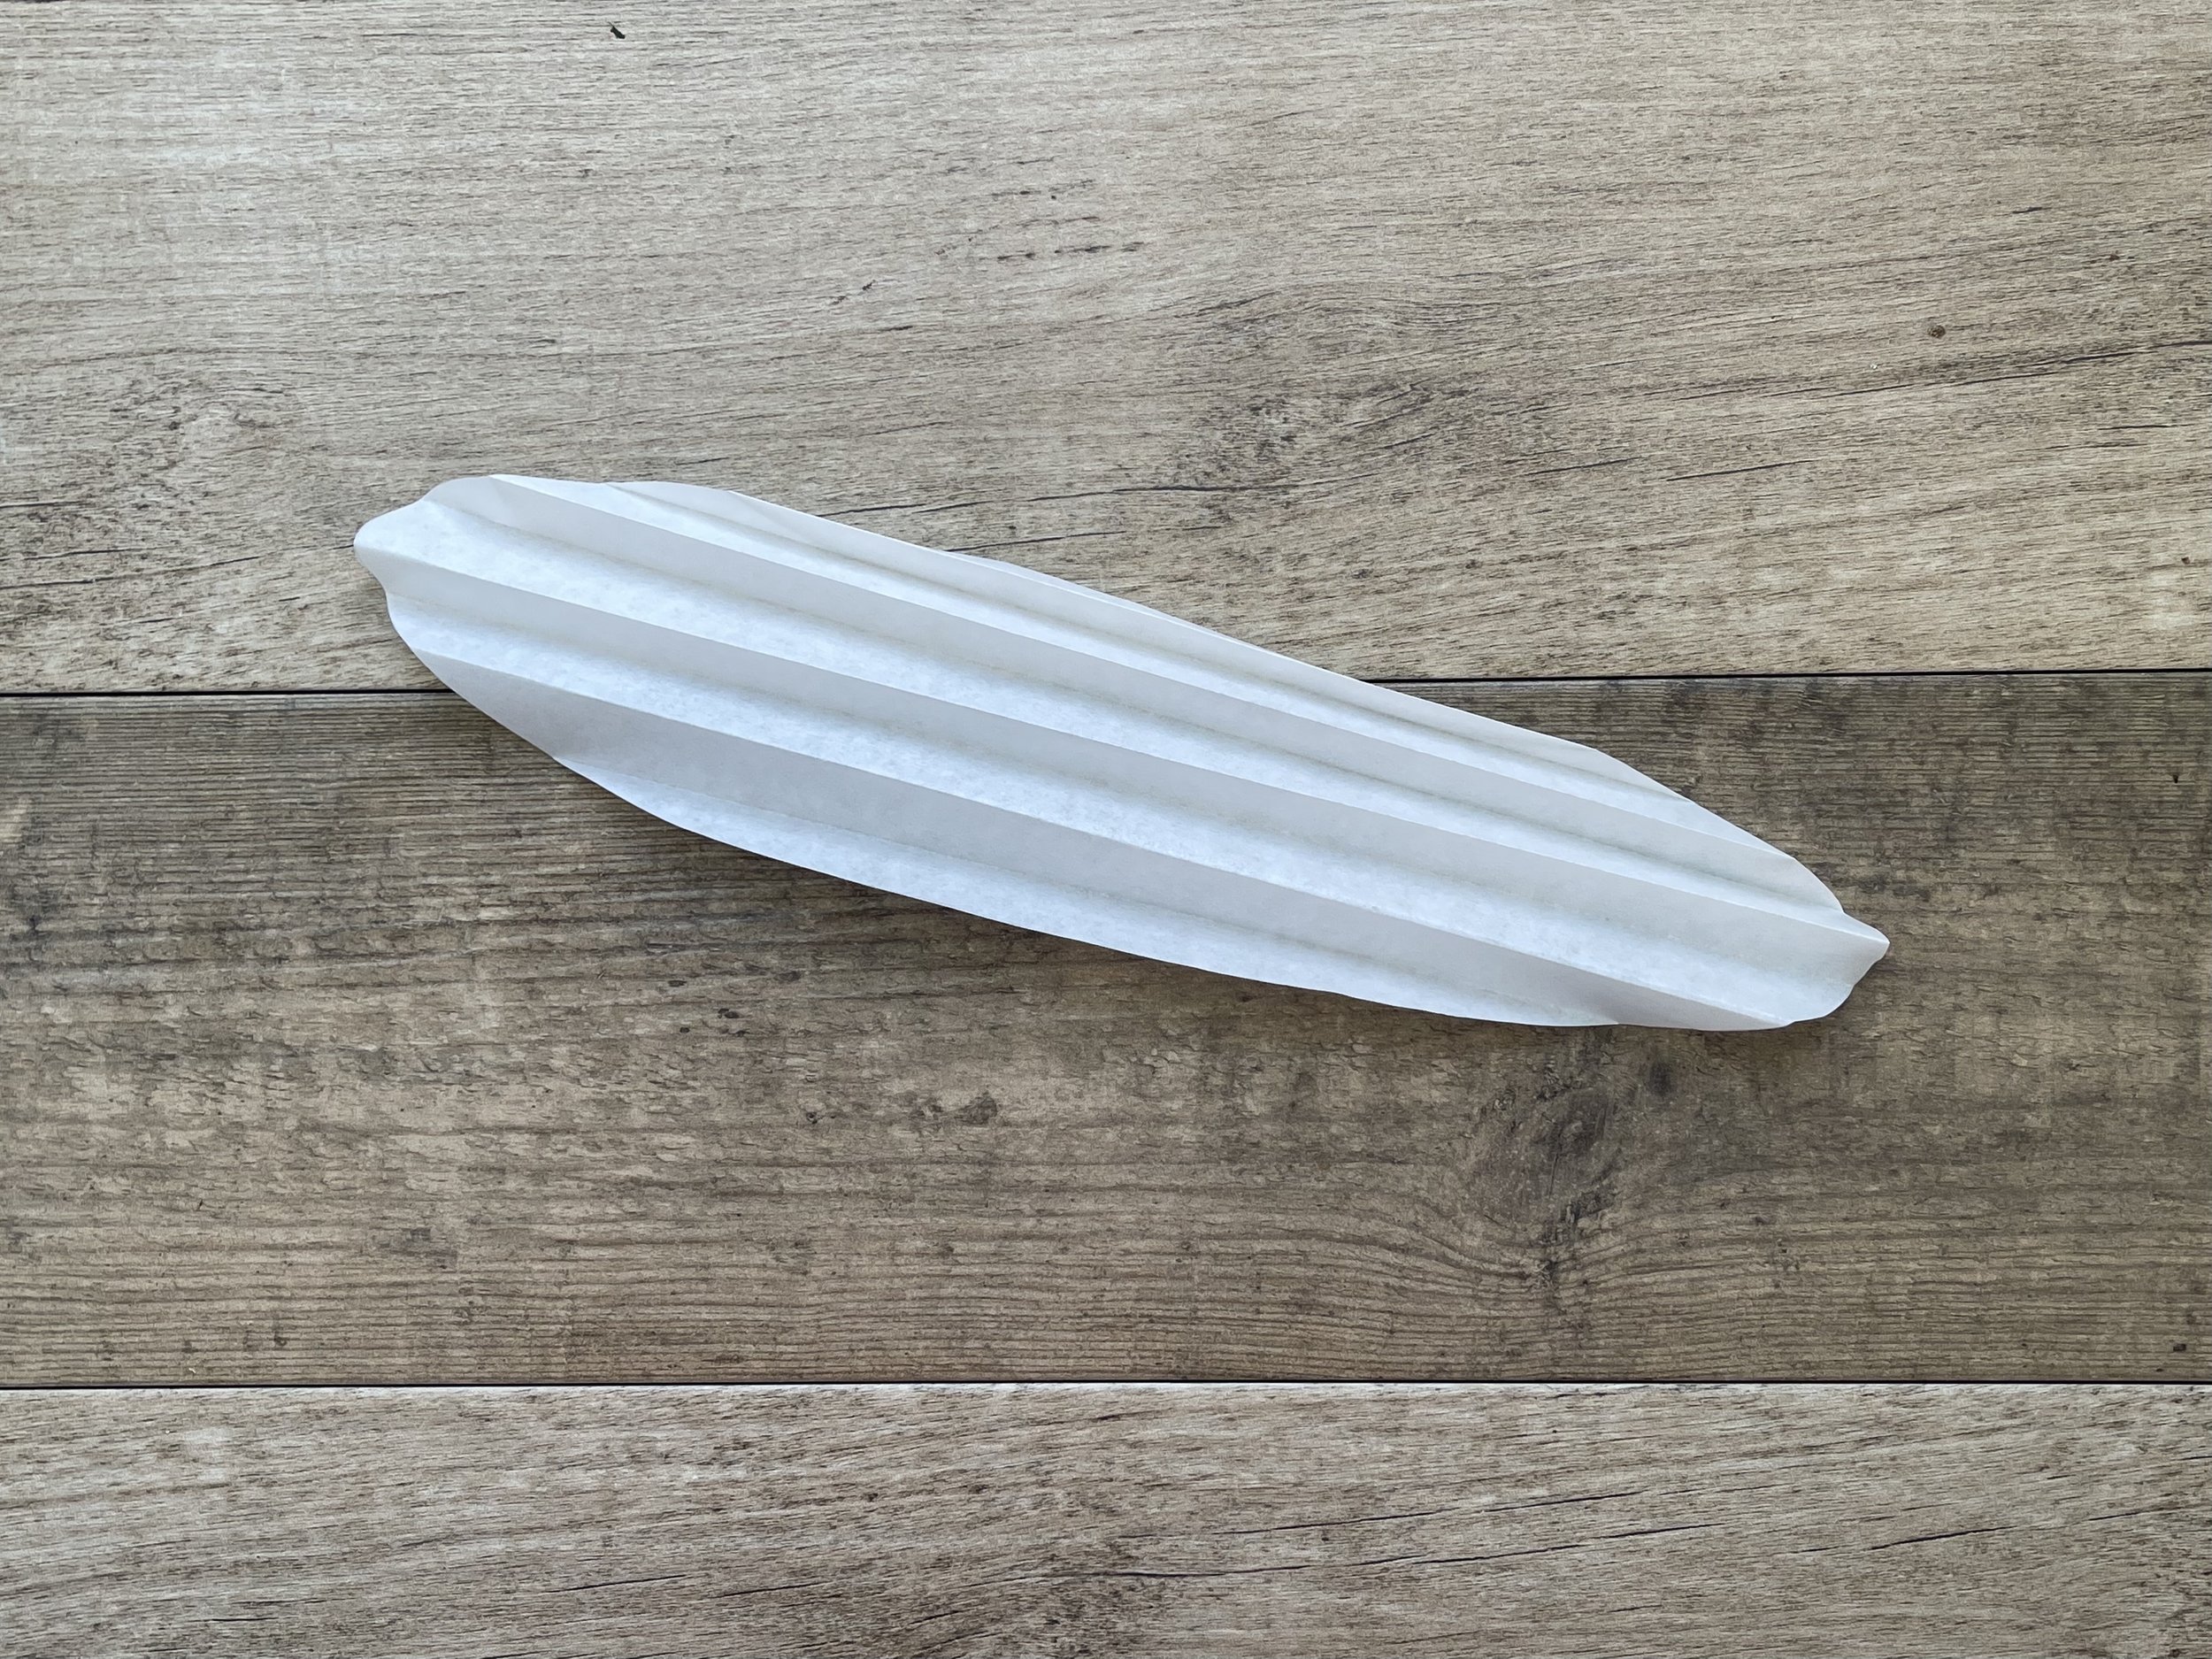
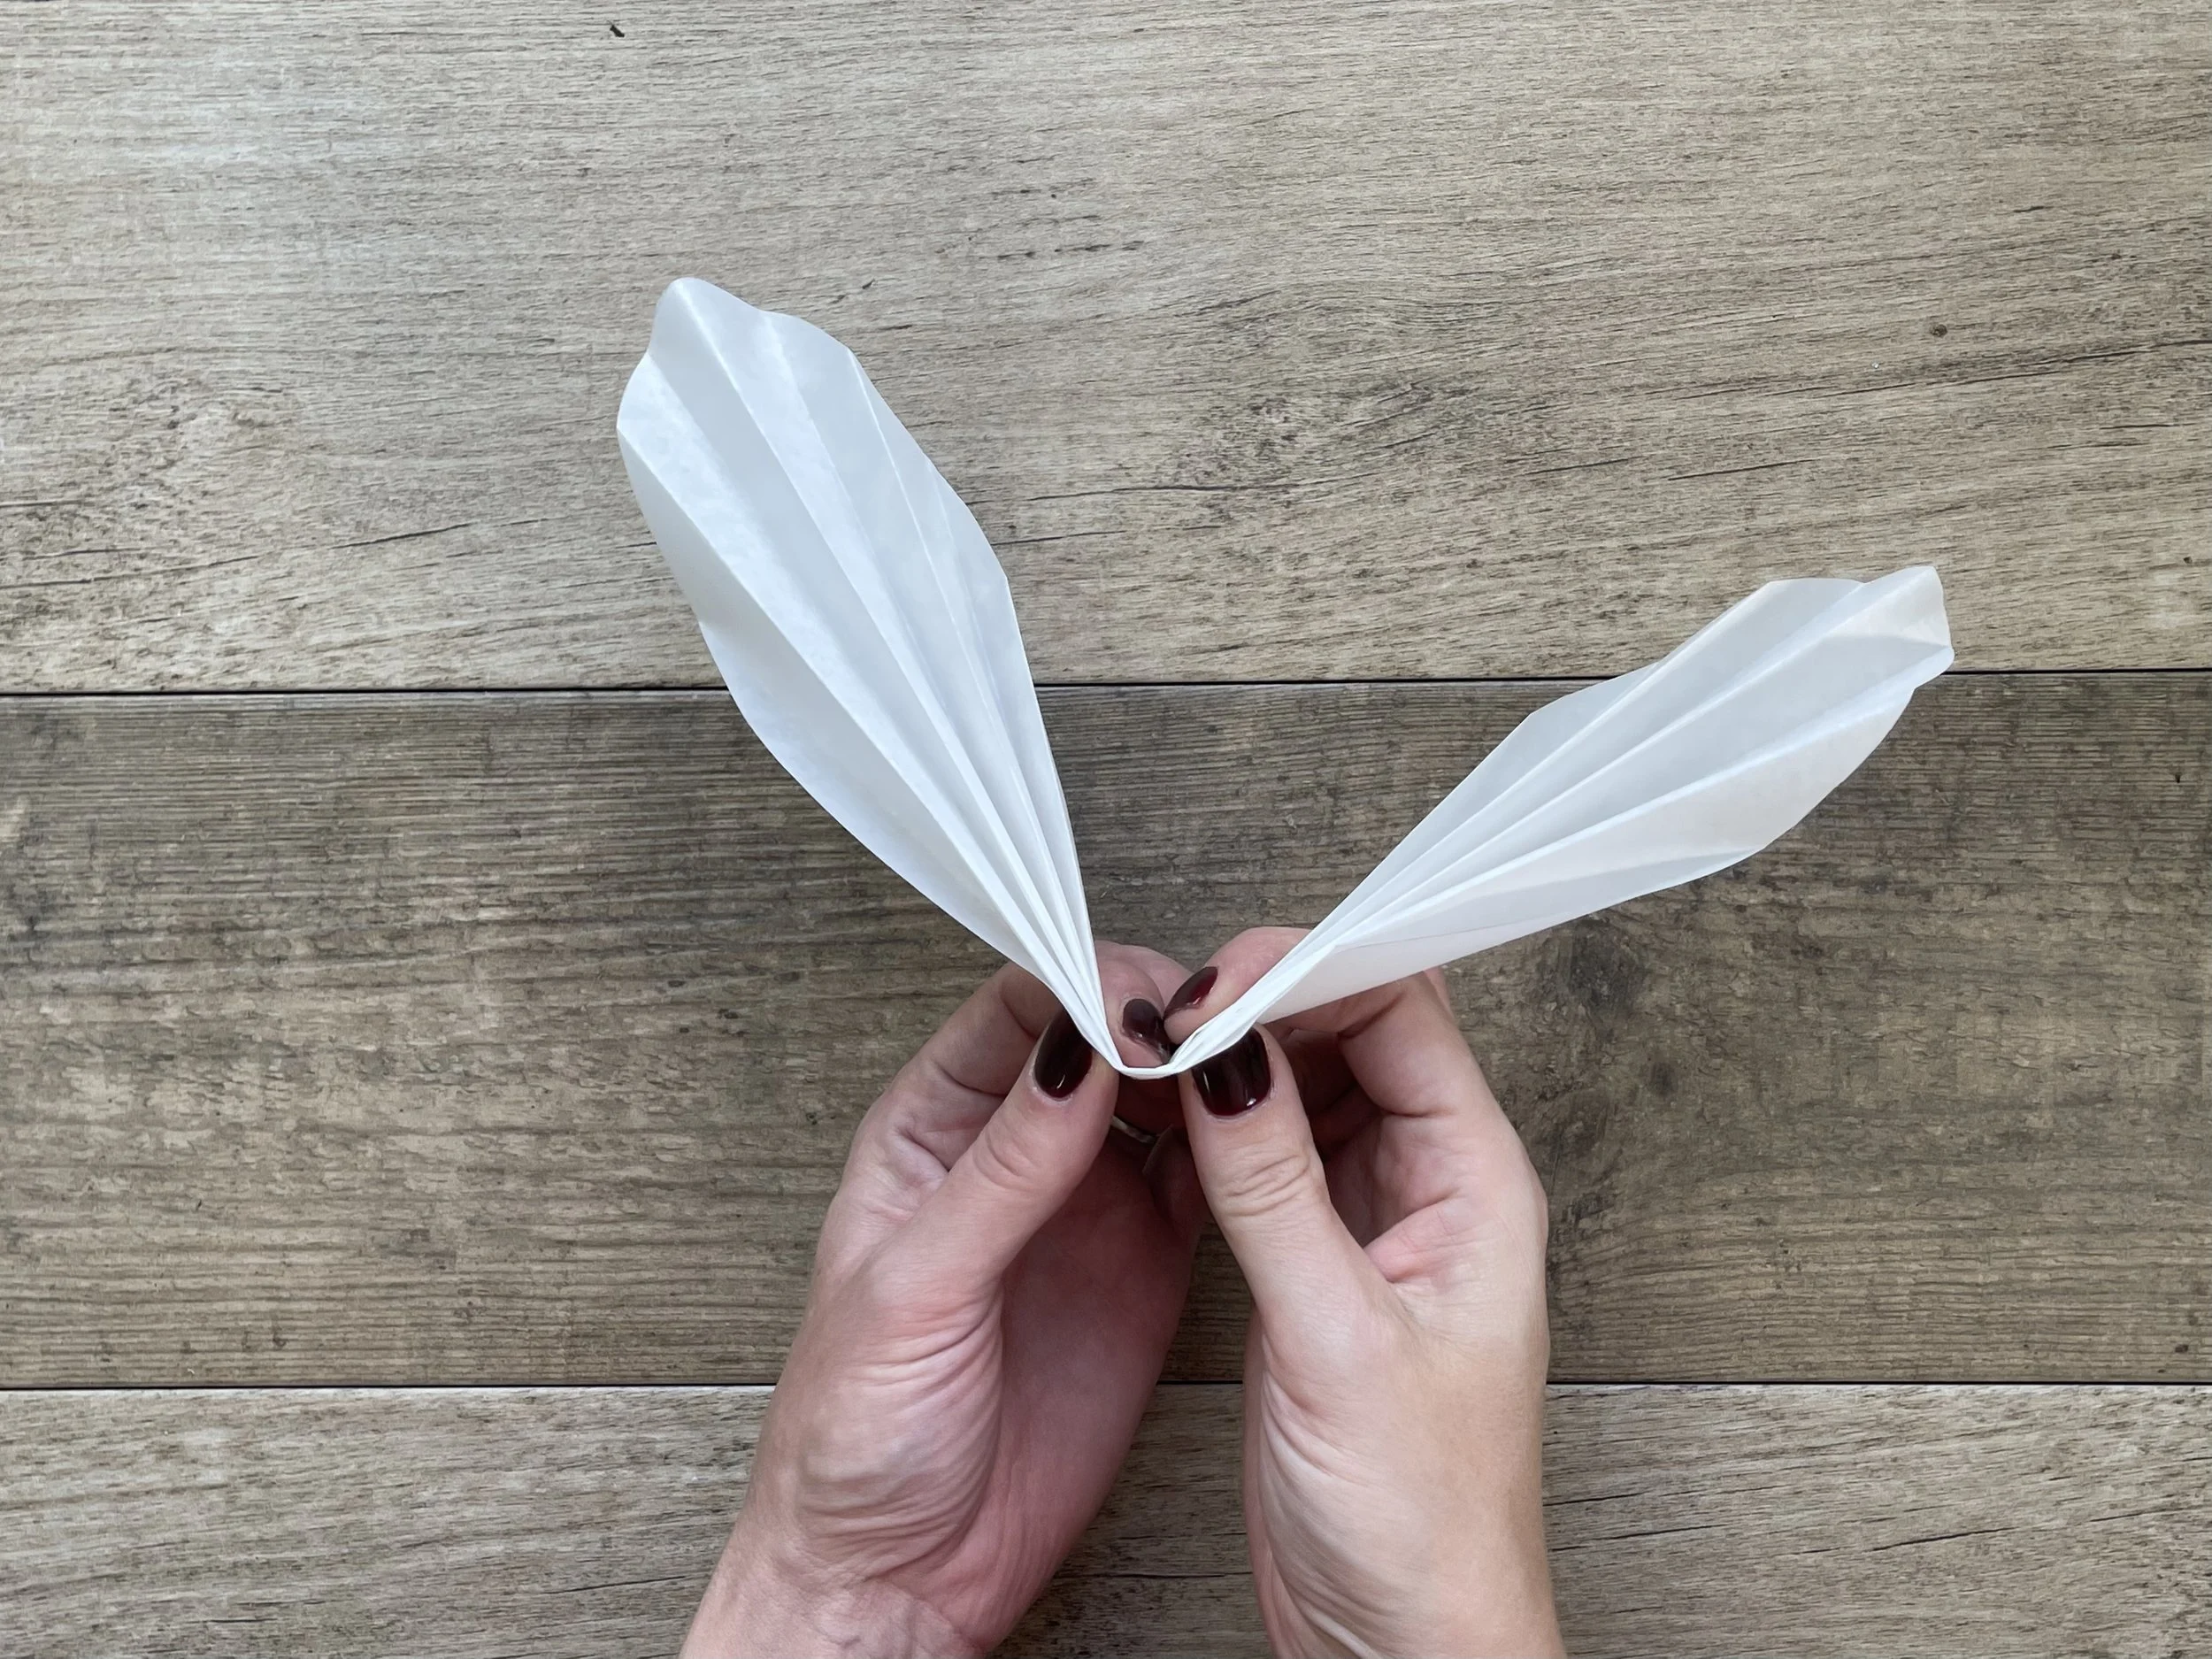
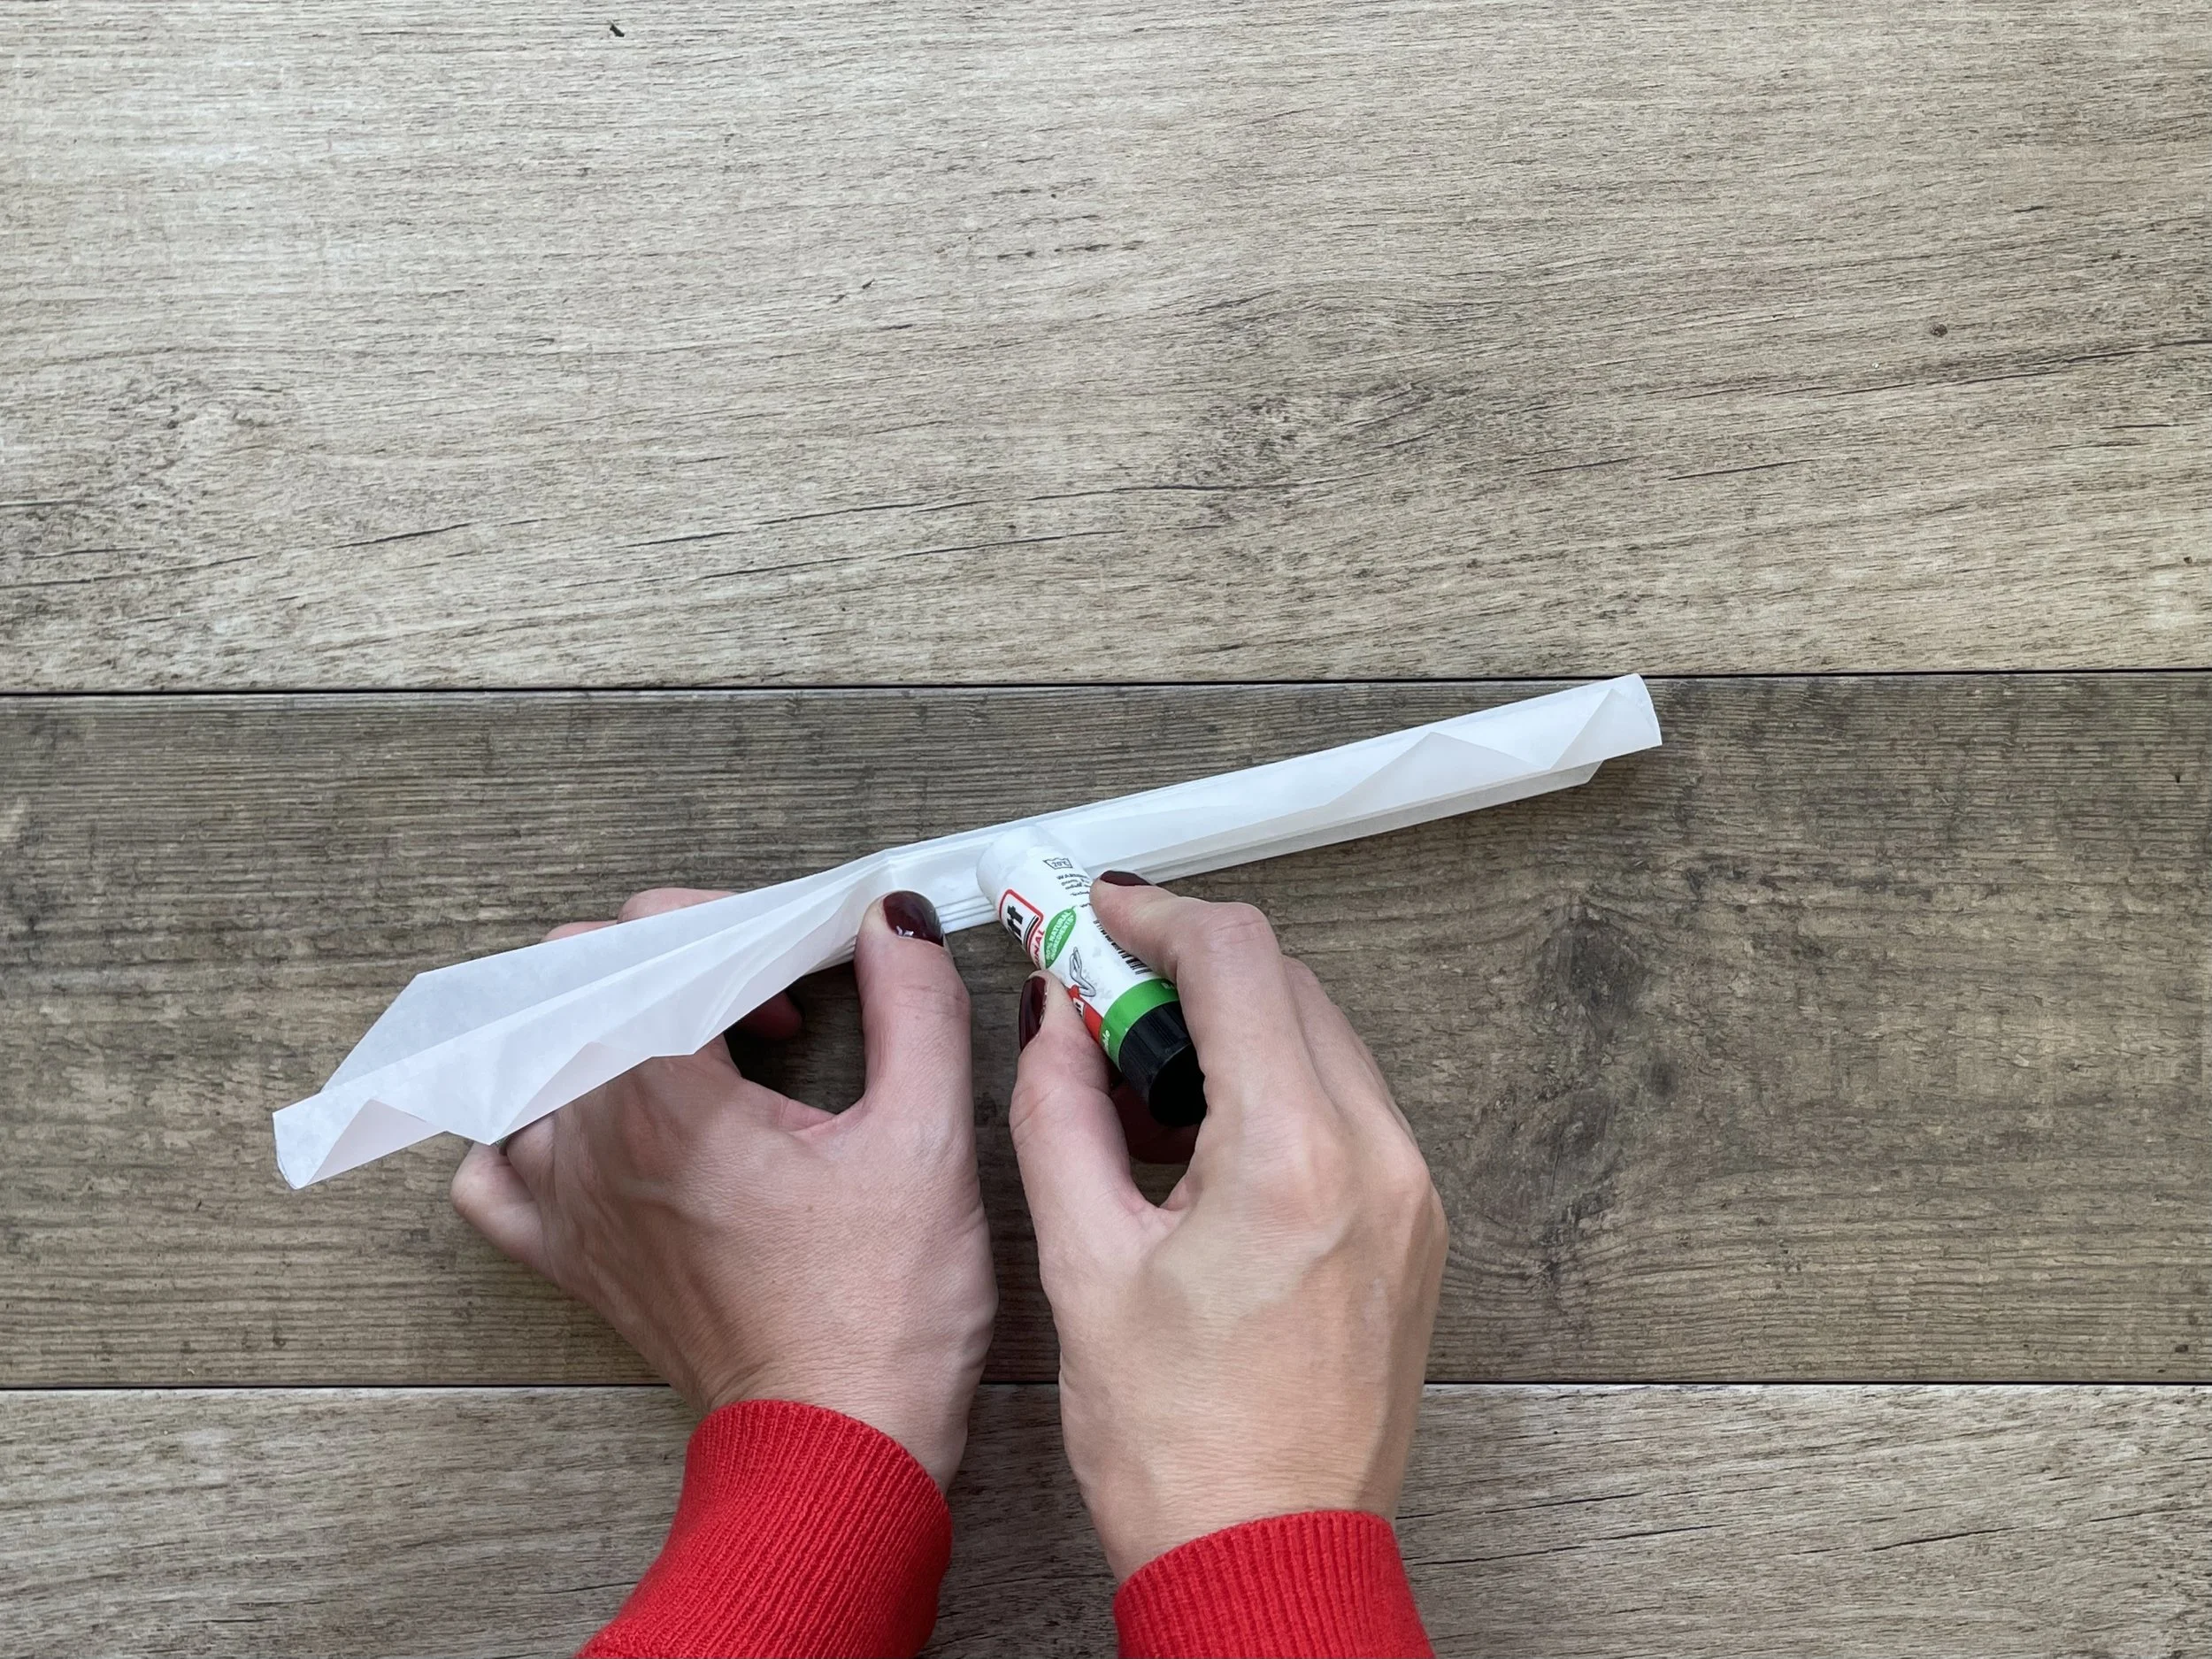
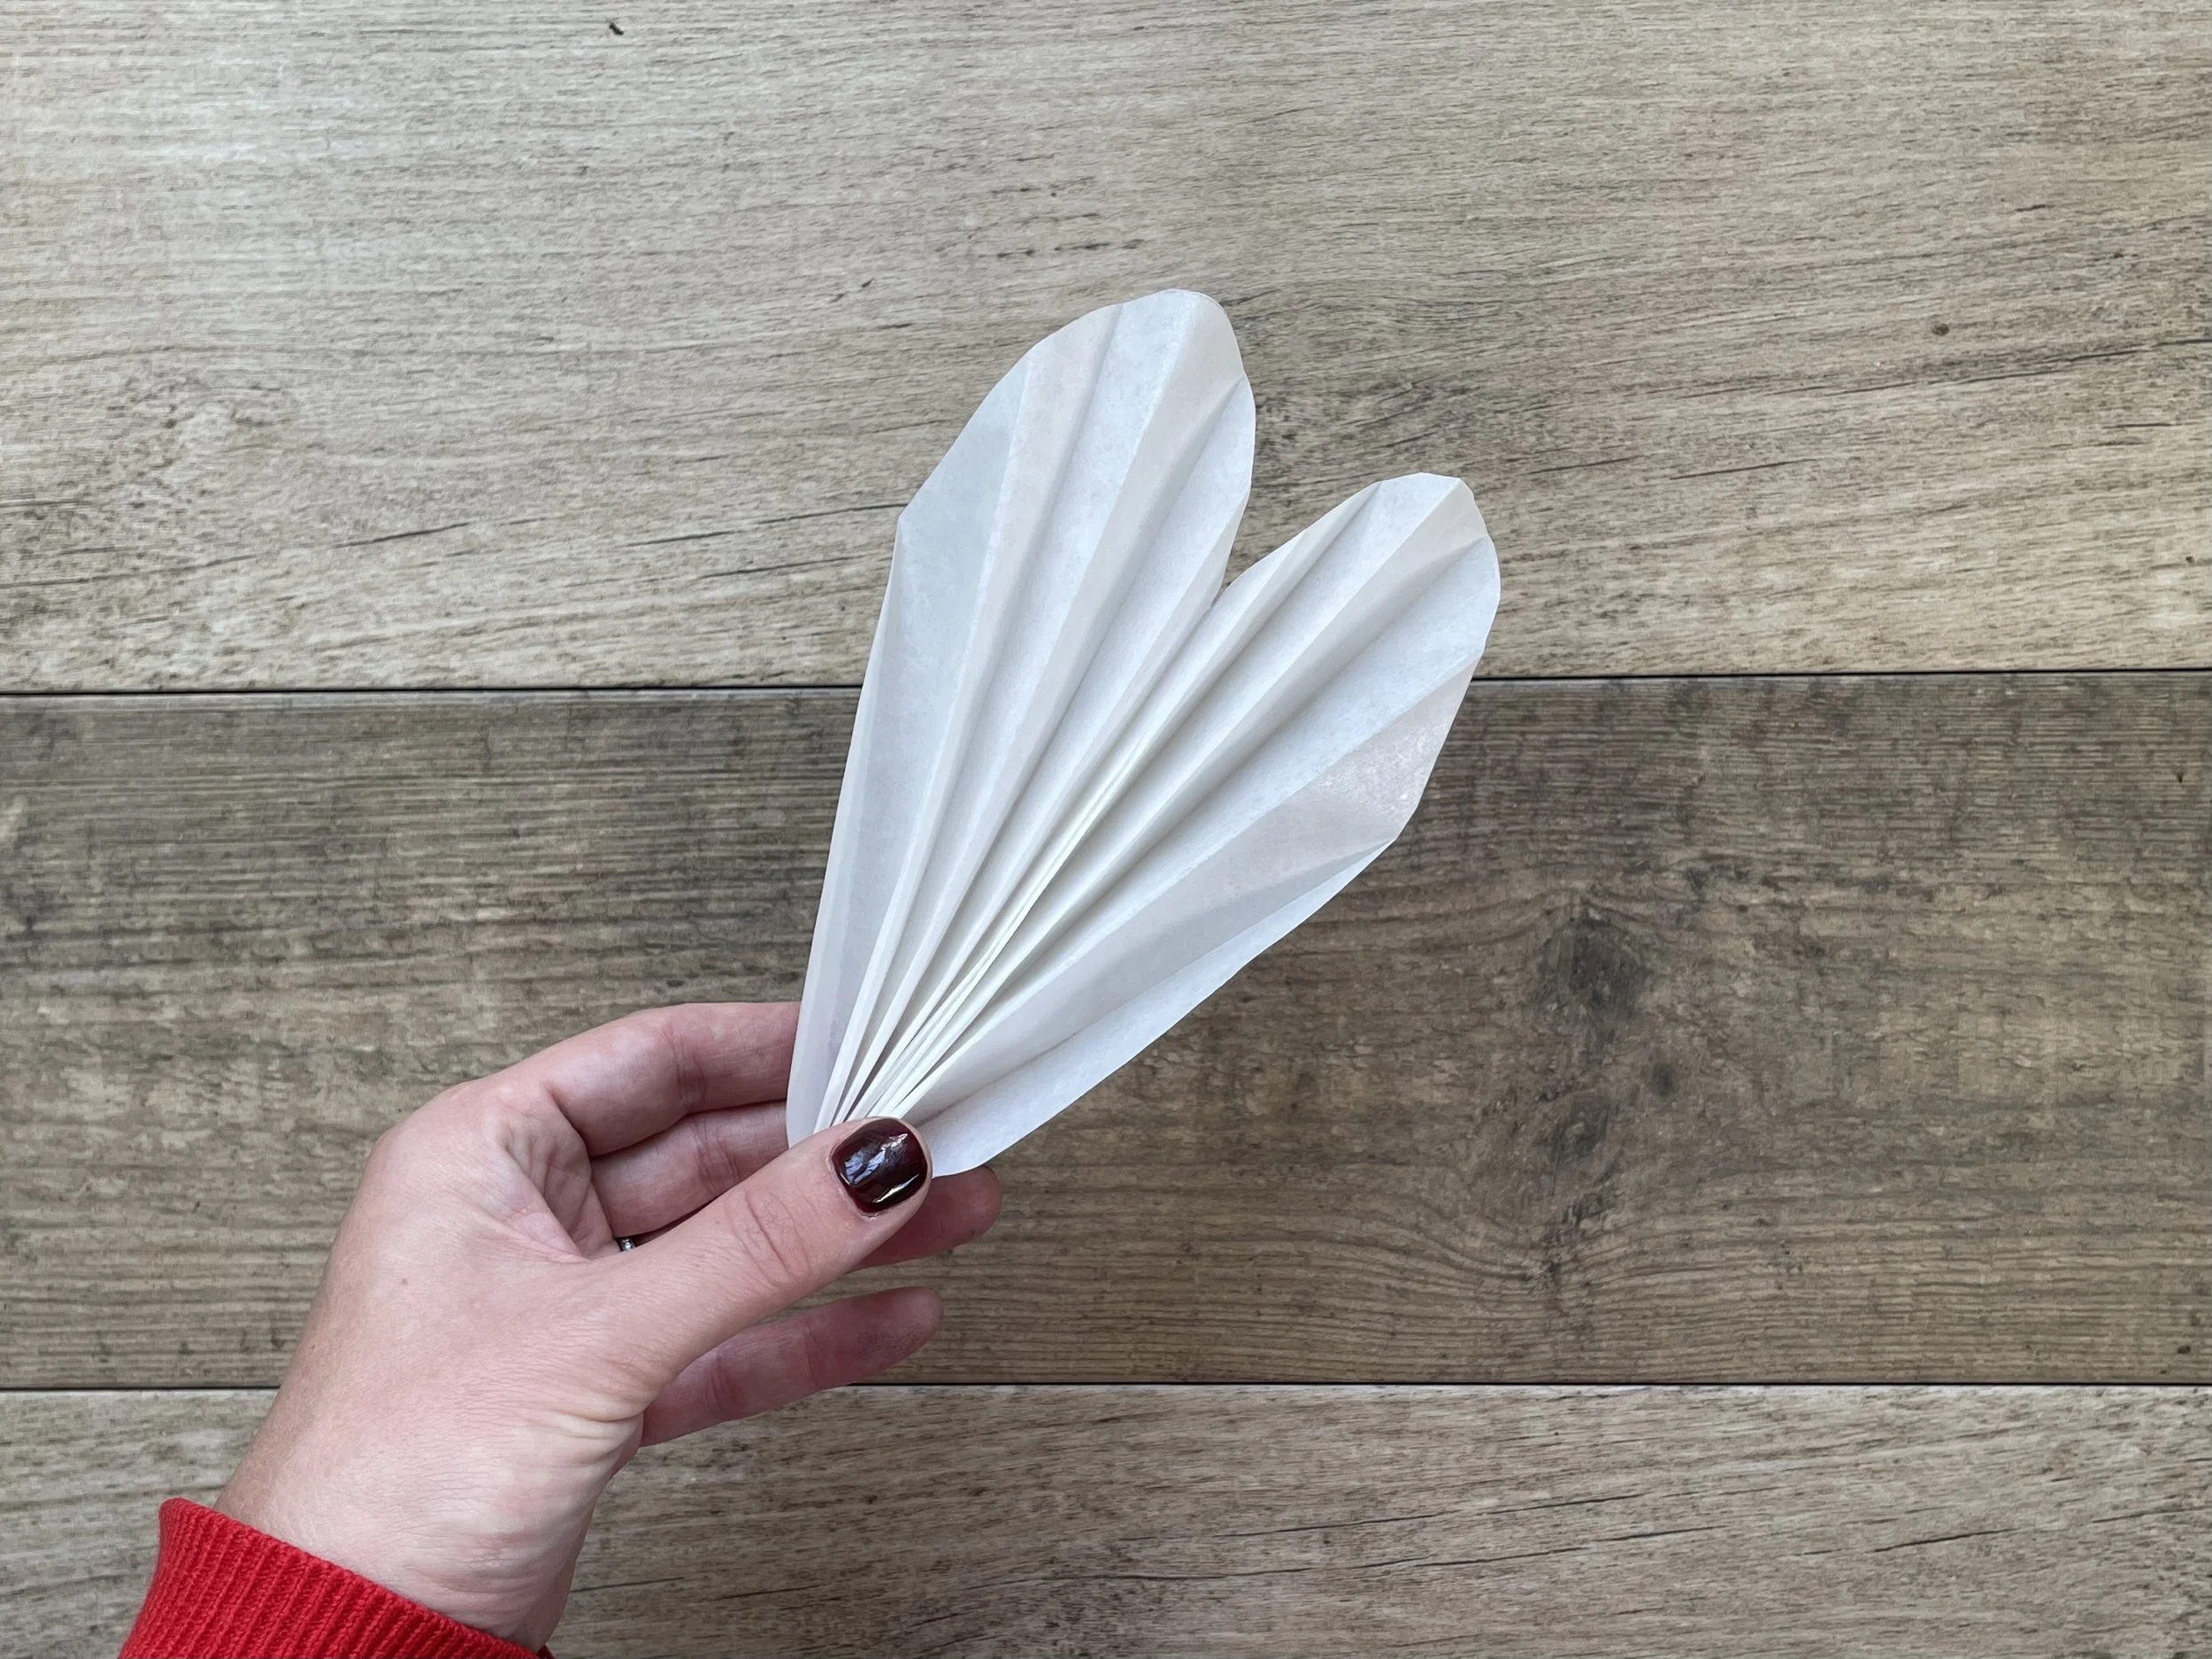
Fold your pill-shaped paper in the middle, so that the two tip points meet equally. Use a glue stick down the inside fold to join each side together to create a heart shape.
You’ll need to repeat this step multiple times to create each layer of the star. Here are the number of baking paper cut outs that I used to create each layer:
Layer 1 (largest layer): 9 baking paper cut outs
Layer 2: 13 baking paper cut outs
Layer 3: 9 baking paper cut outs
Layer 4 (smallest and frontal layer): 15 baking paper cut outs
The more cut outs you add in the ‘frillier’ the star, with less, your star will be more fanned out. These numbers are what worked for me best.
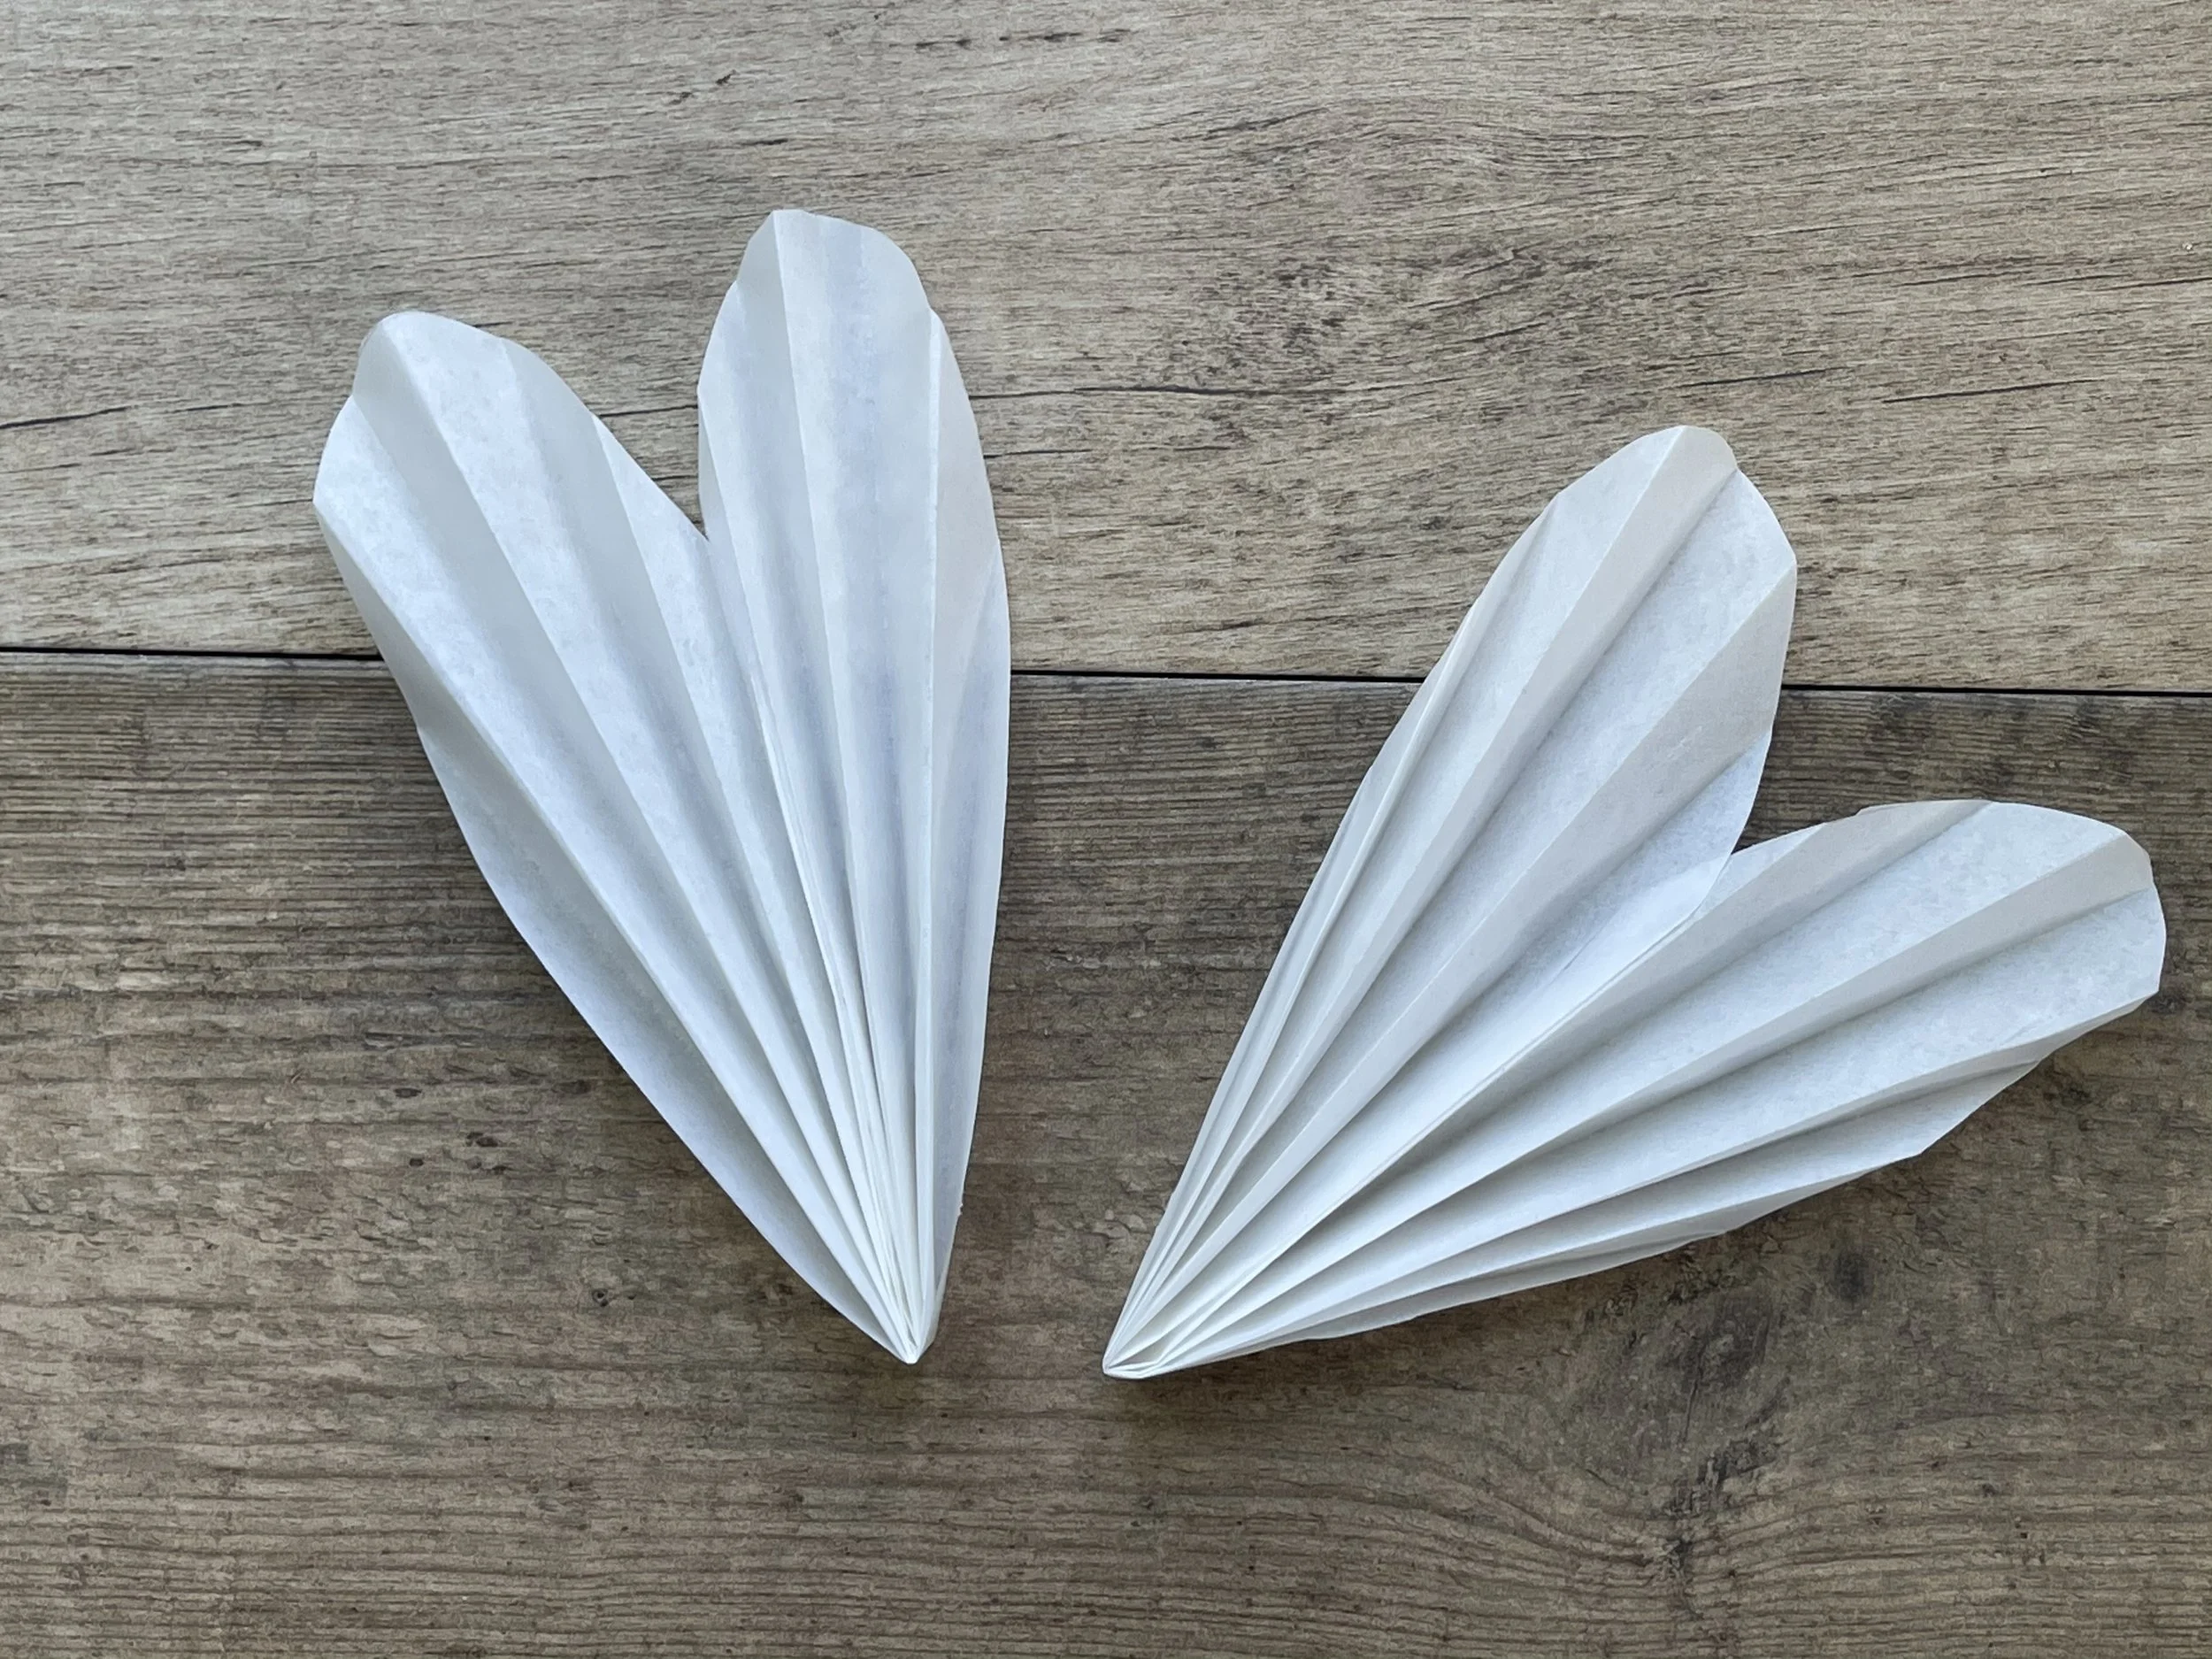
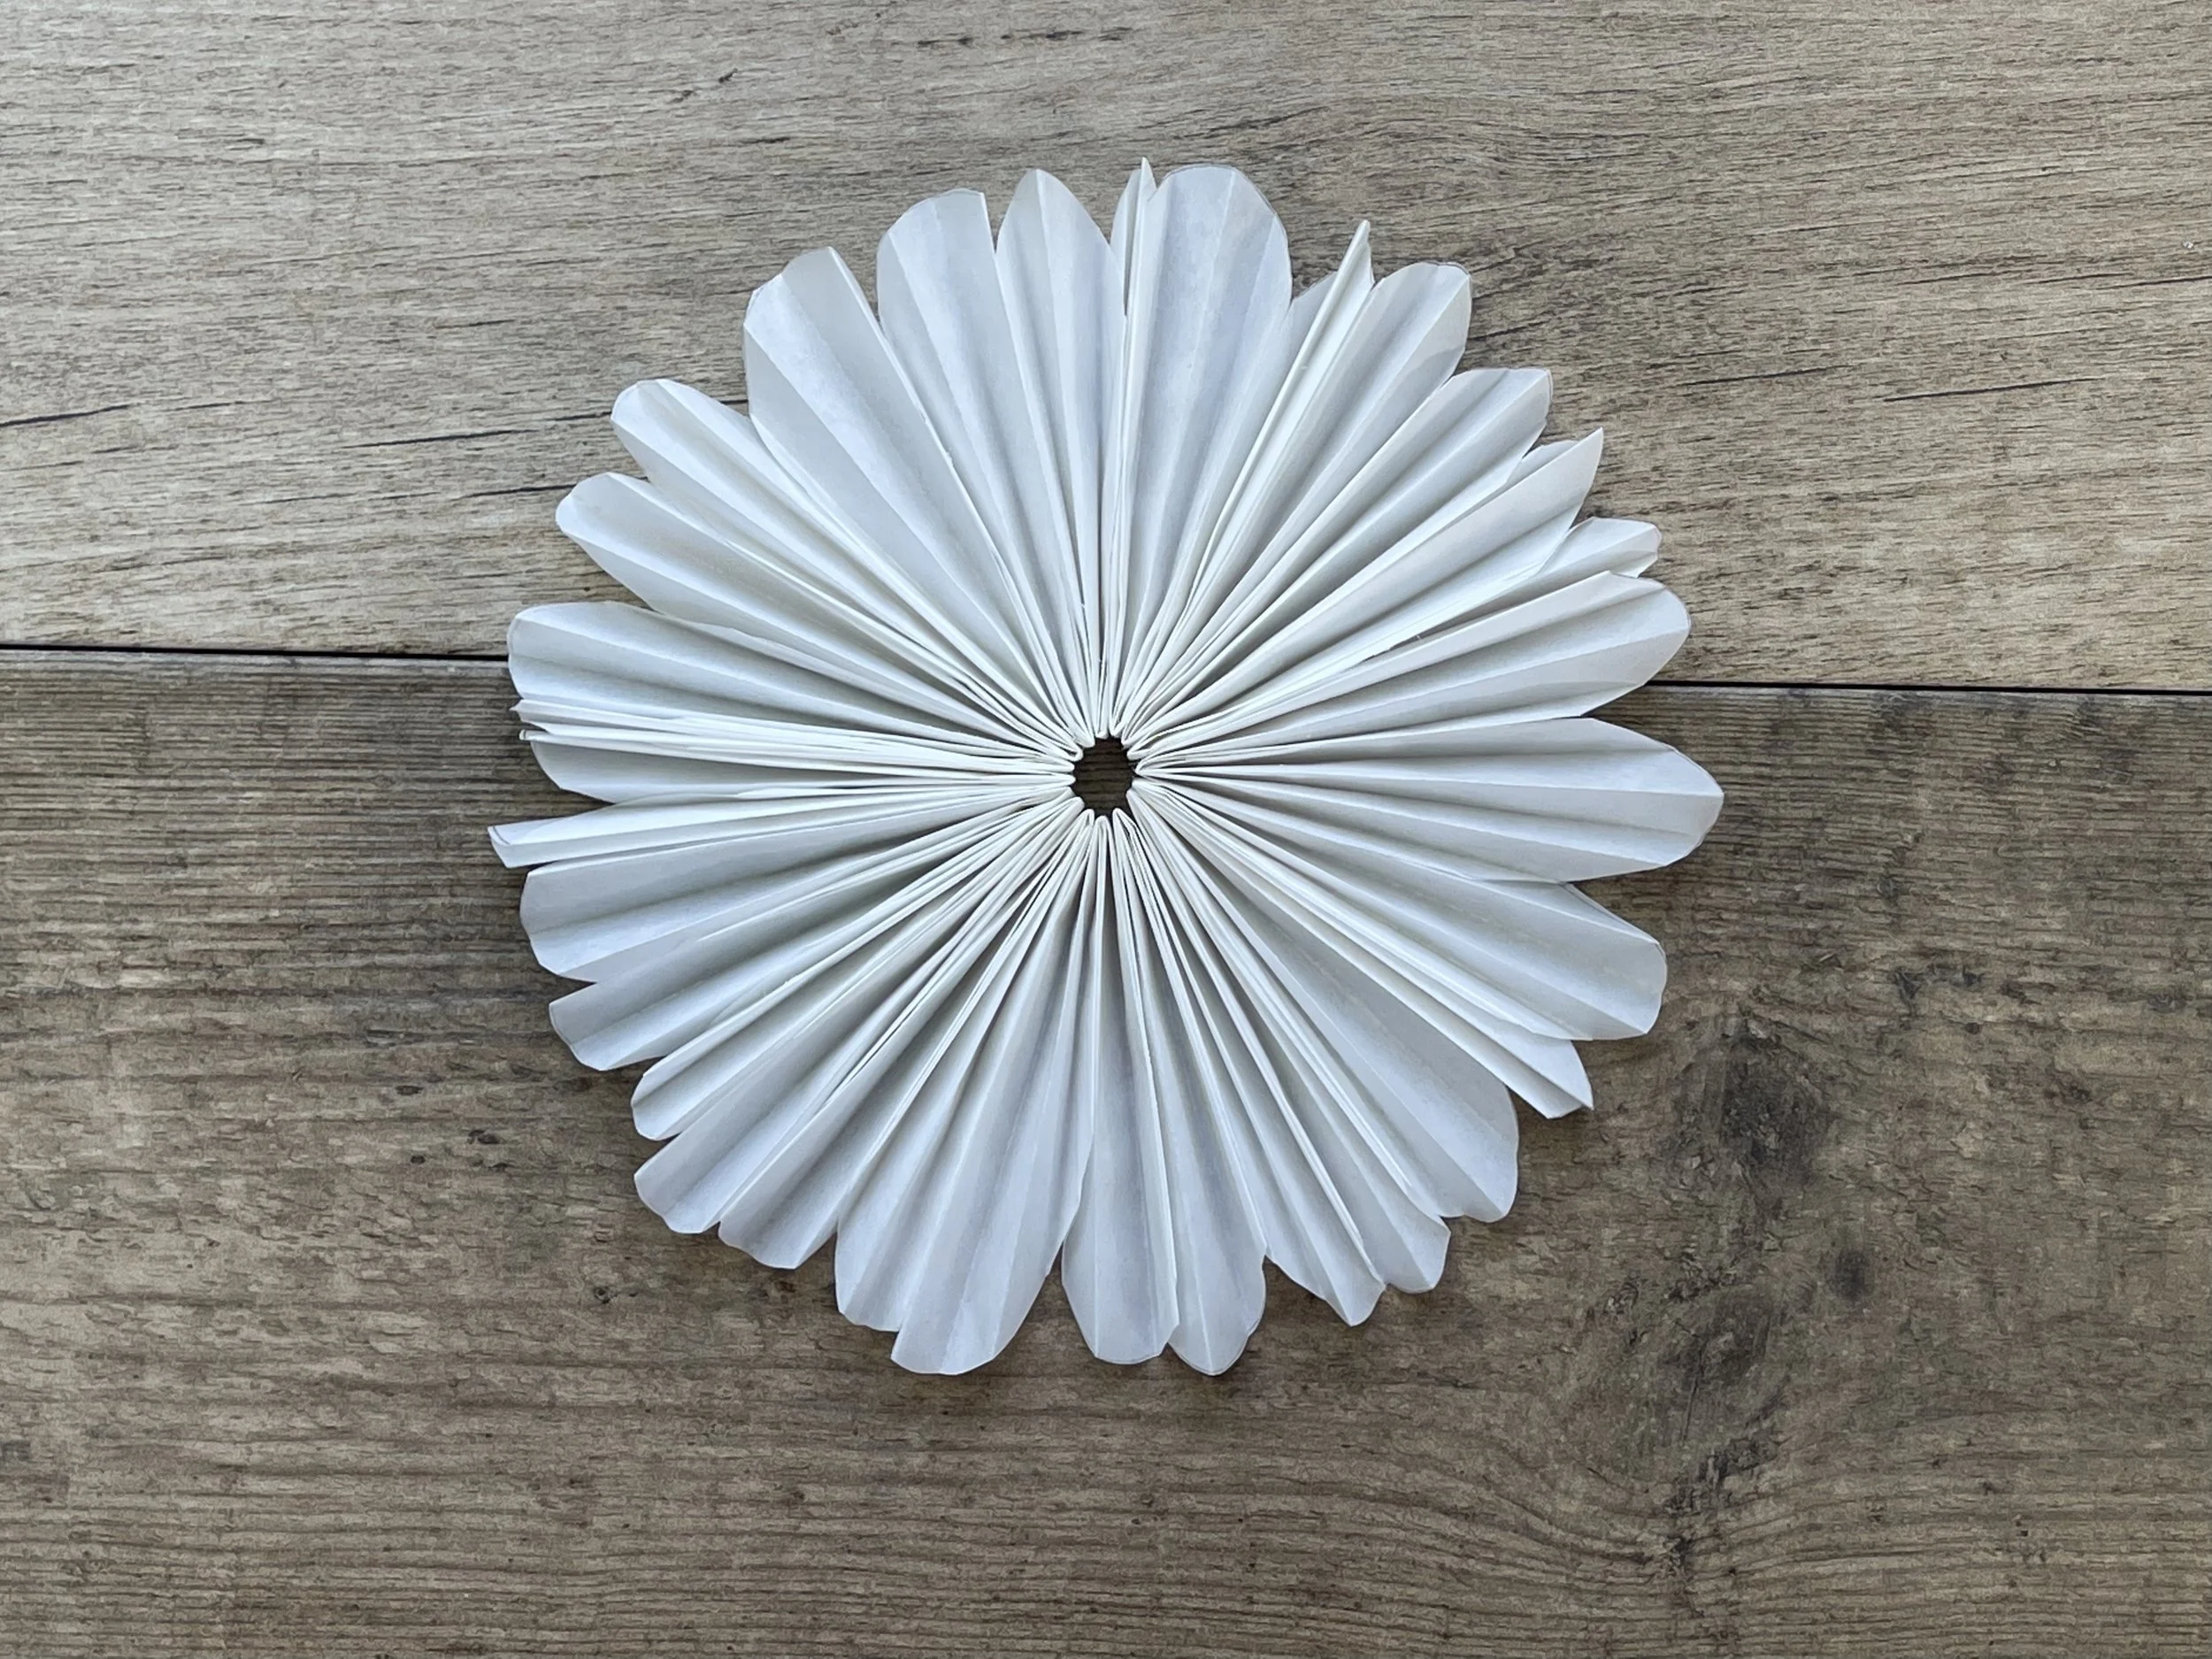
Using your glue stick, join your cut out hearts together. Make sure the base of each heart meets neatly to create a perfect central circle.
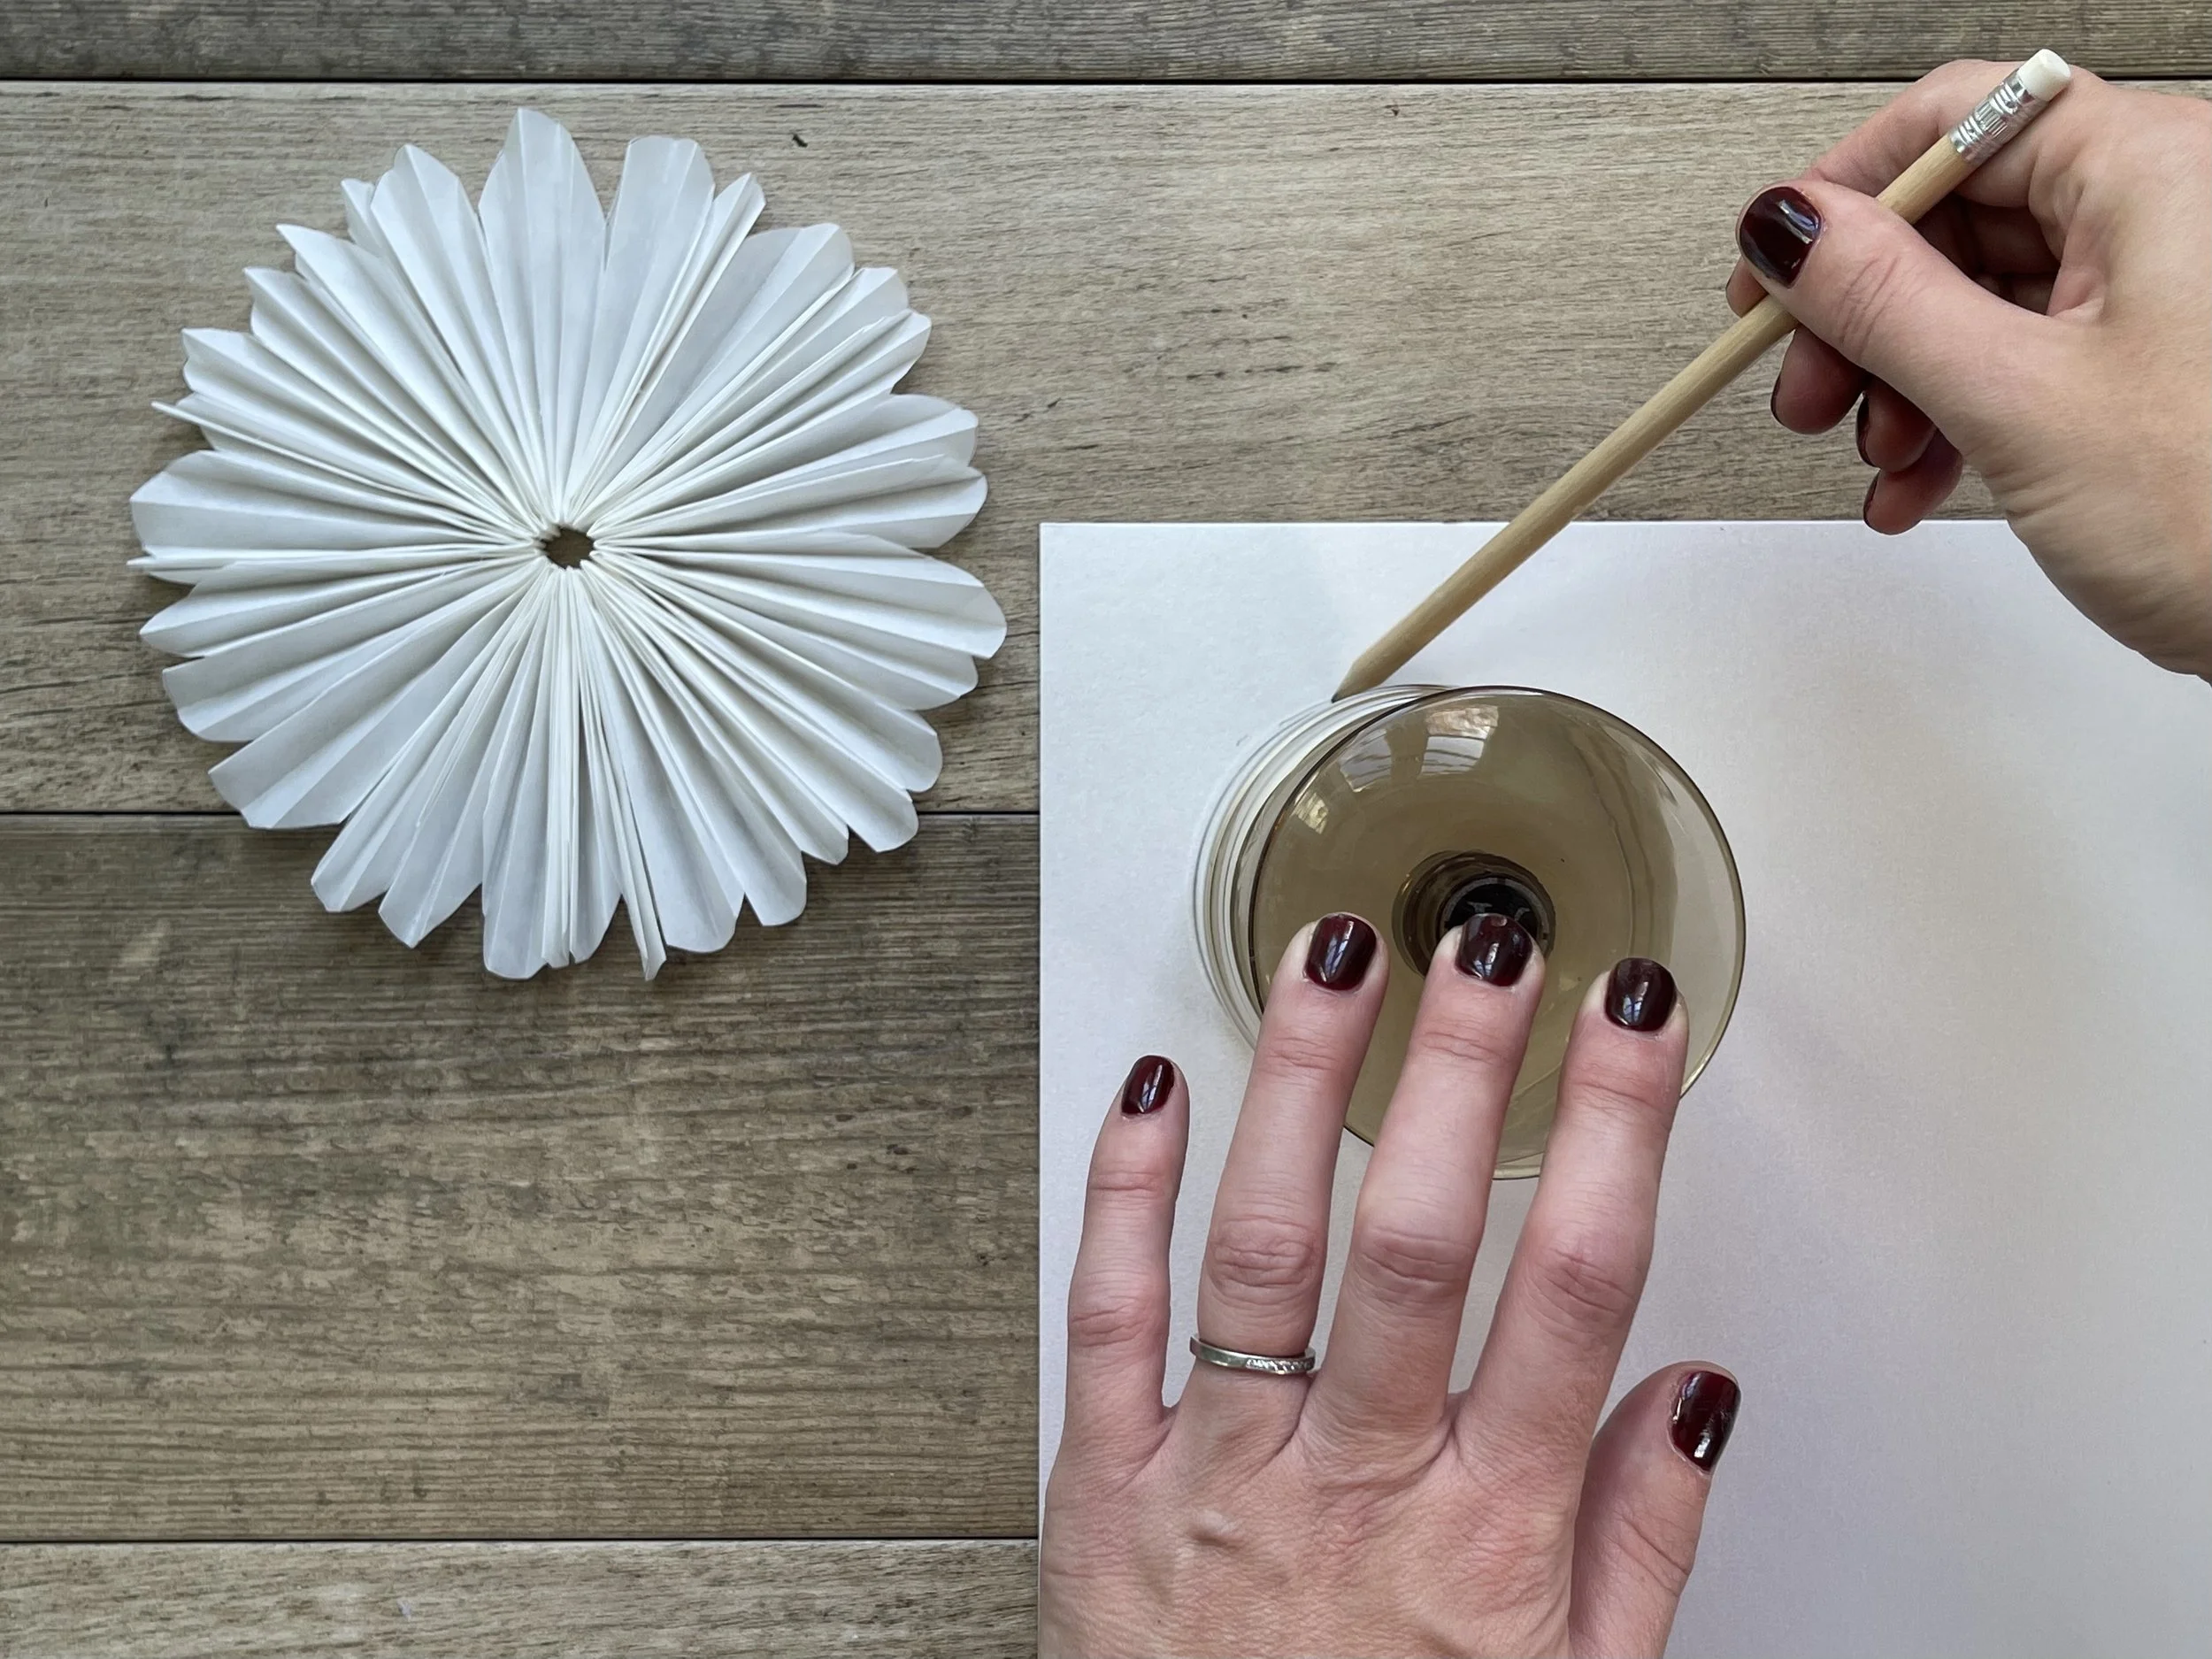
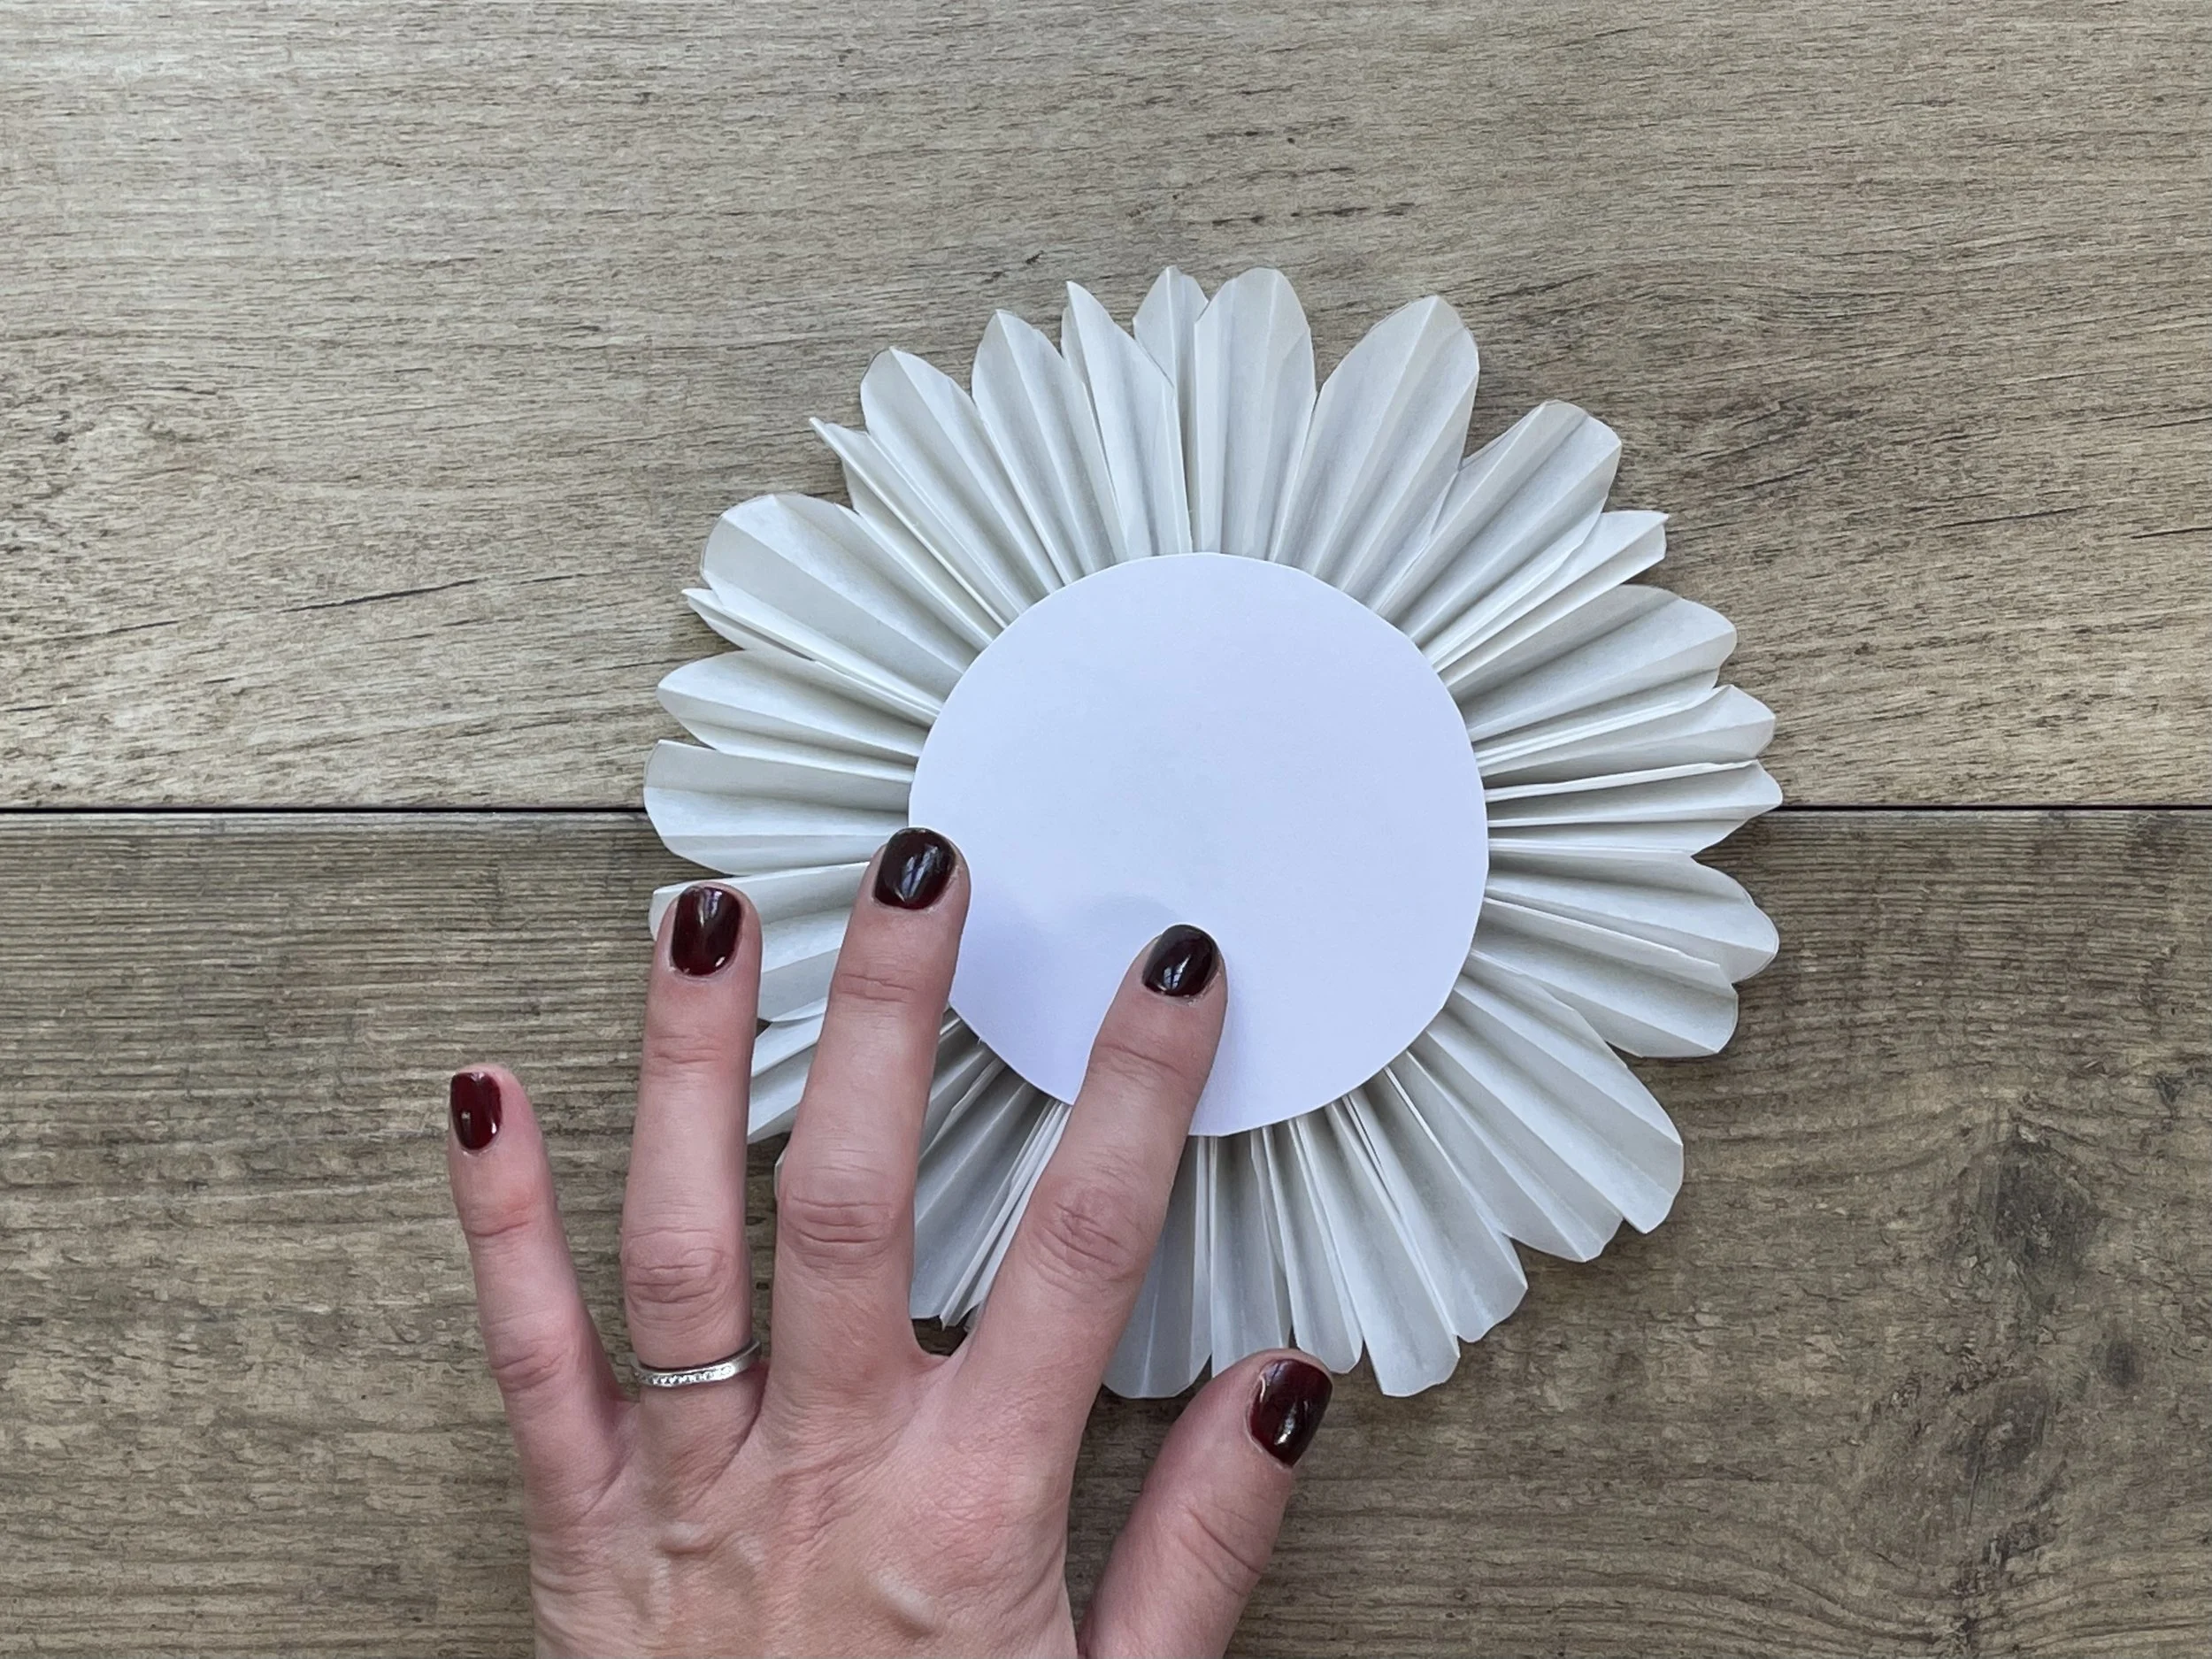
Once you have completed your four star layers, you’ll need to join them together. To do this, I secured cut out card circles behind the stars using UHU glue. For the smallest star, I used a wine glass to create a circular shape. I then cut it out and held it in place until the glue was tacky.
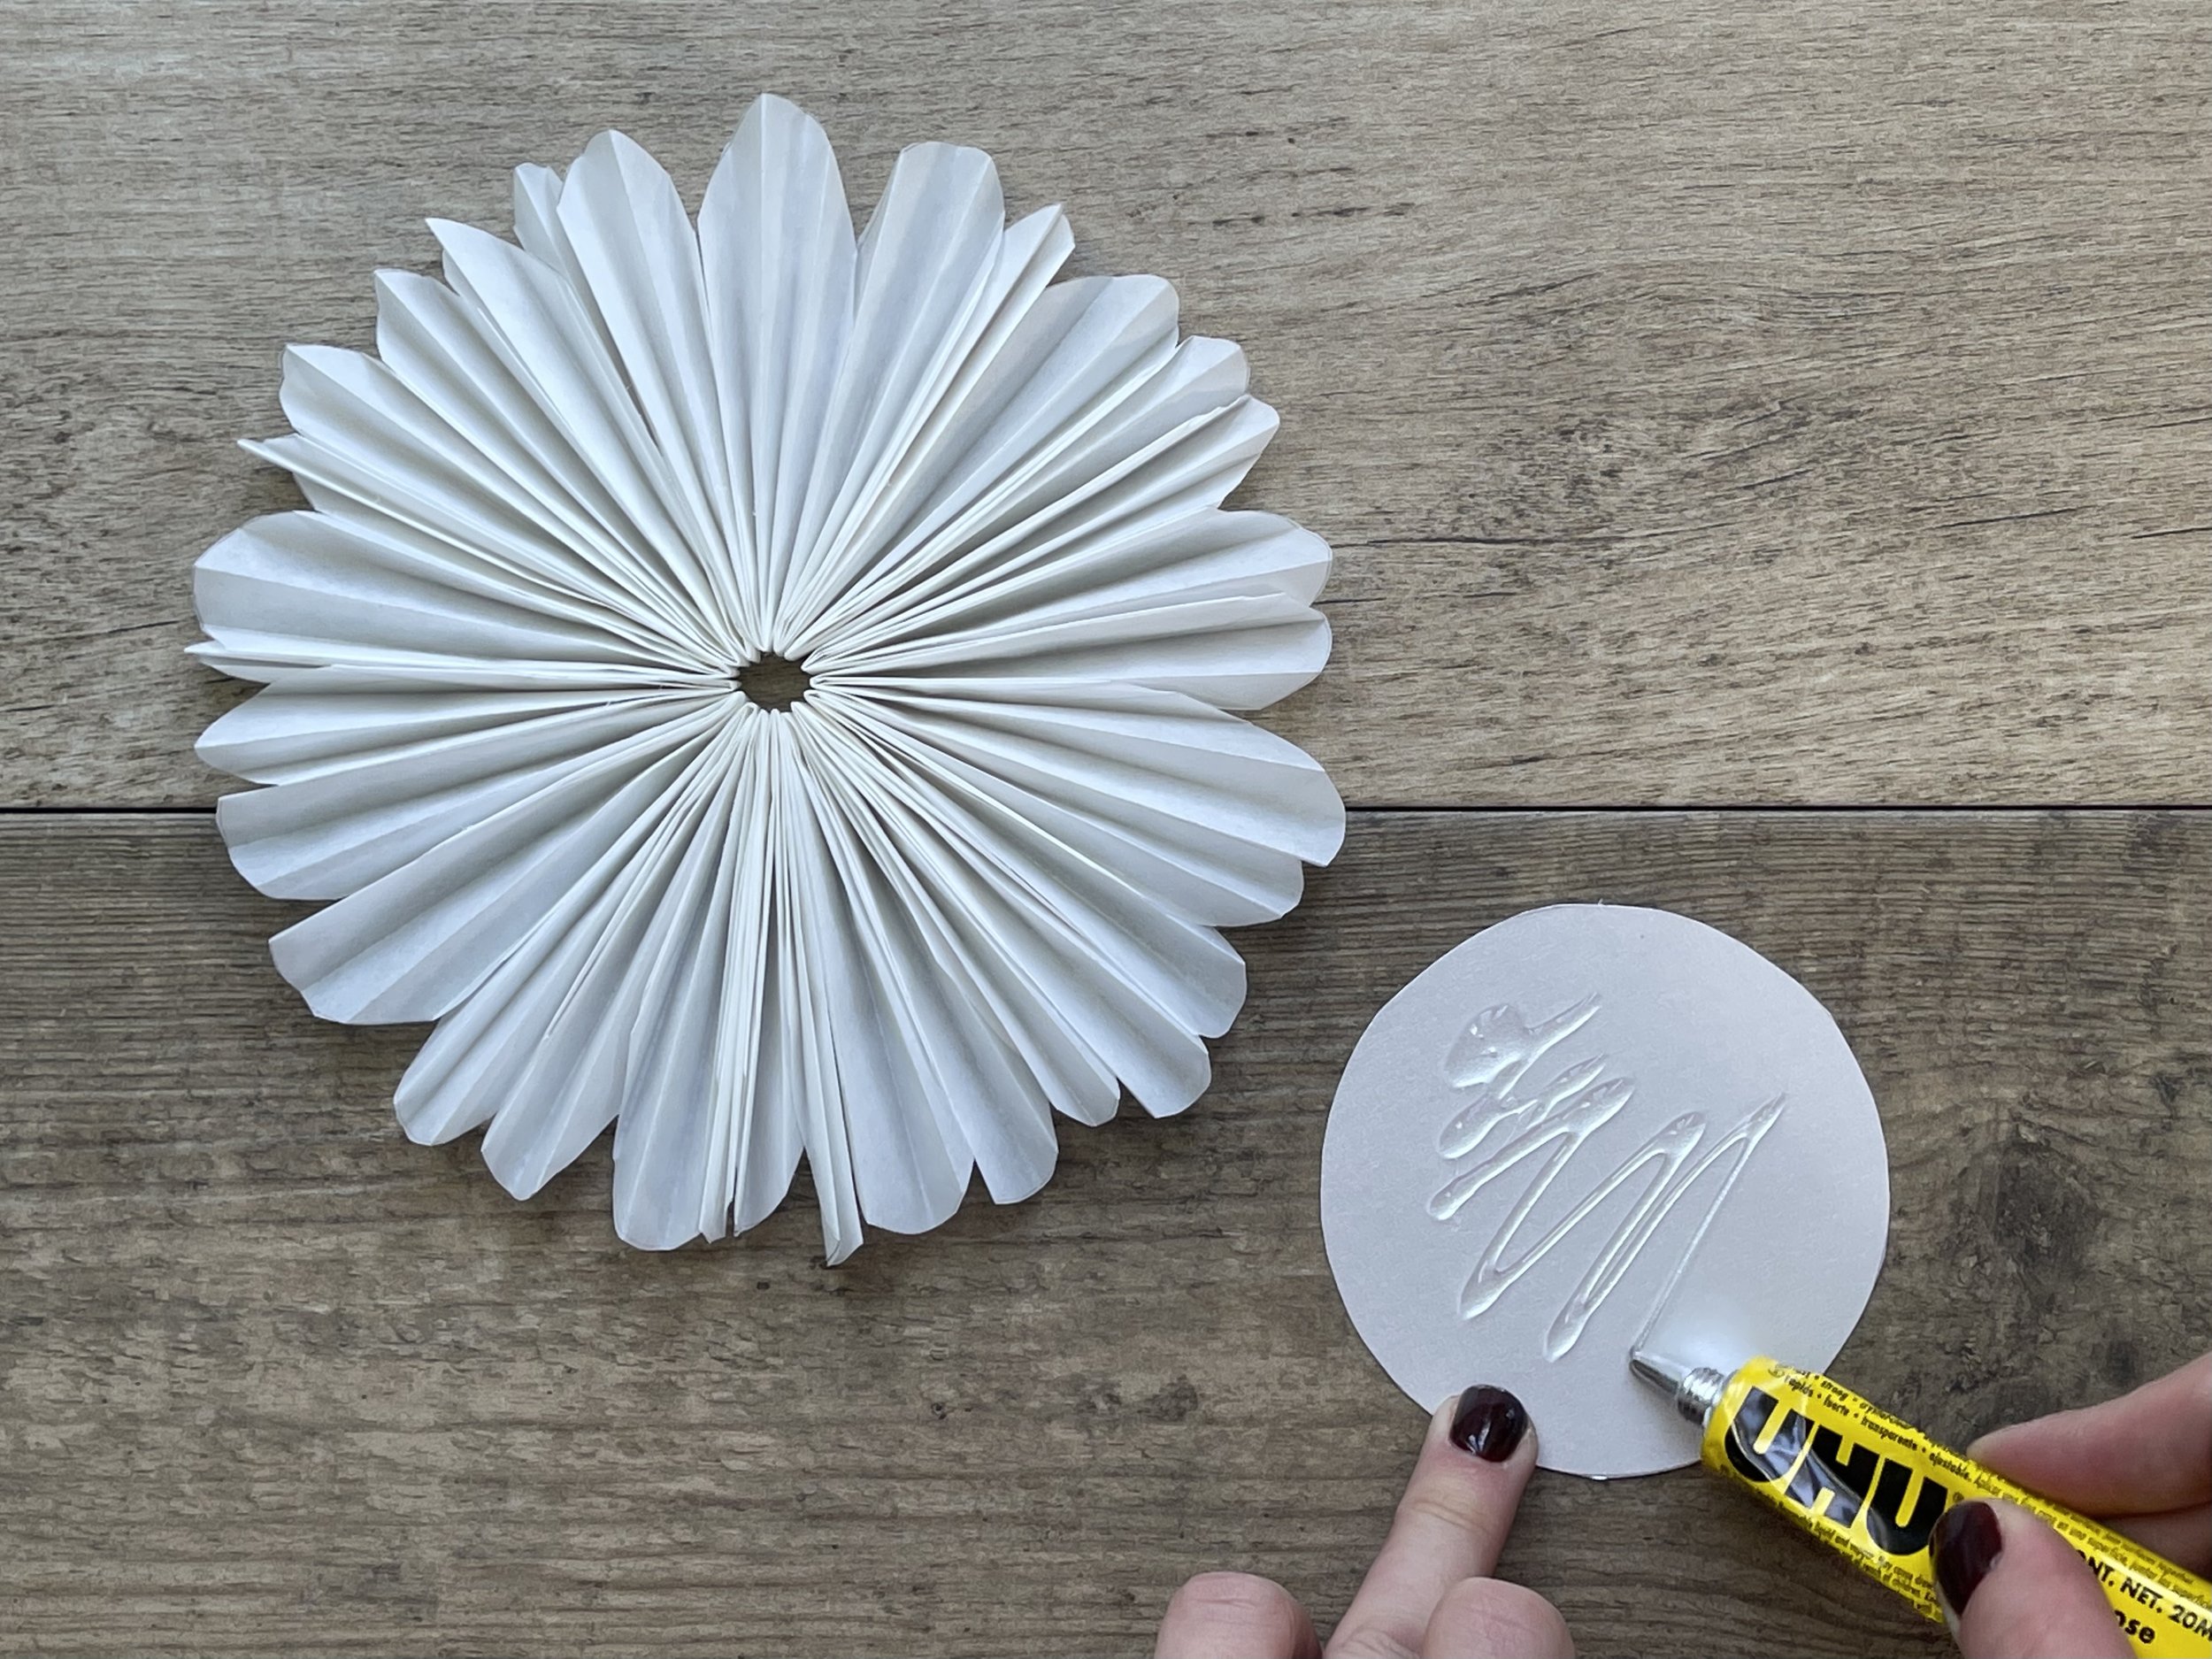
I then added glue onto the surface side of the circle and pressed on the next star layer:
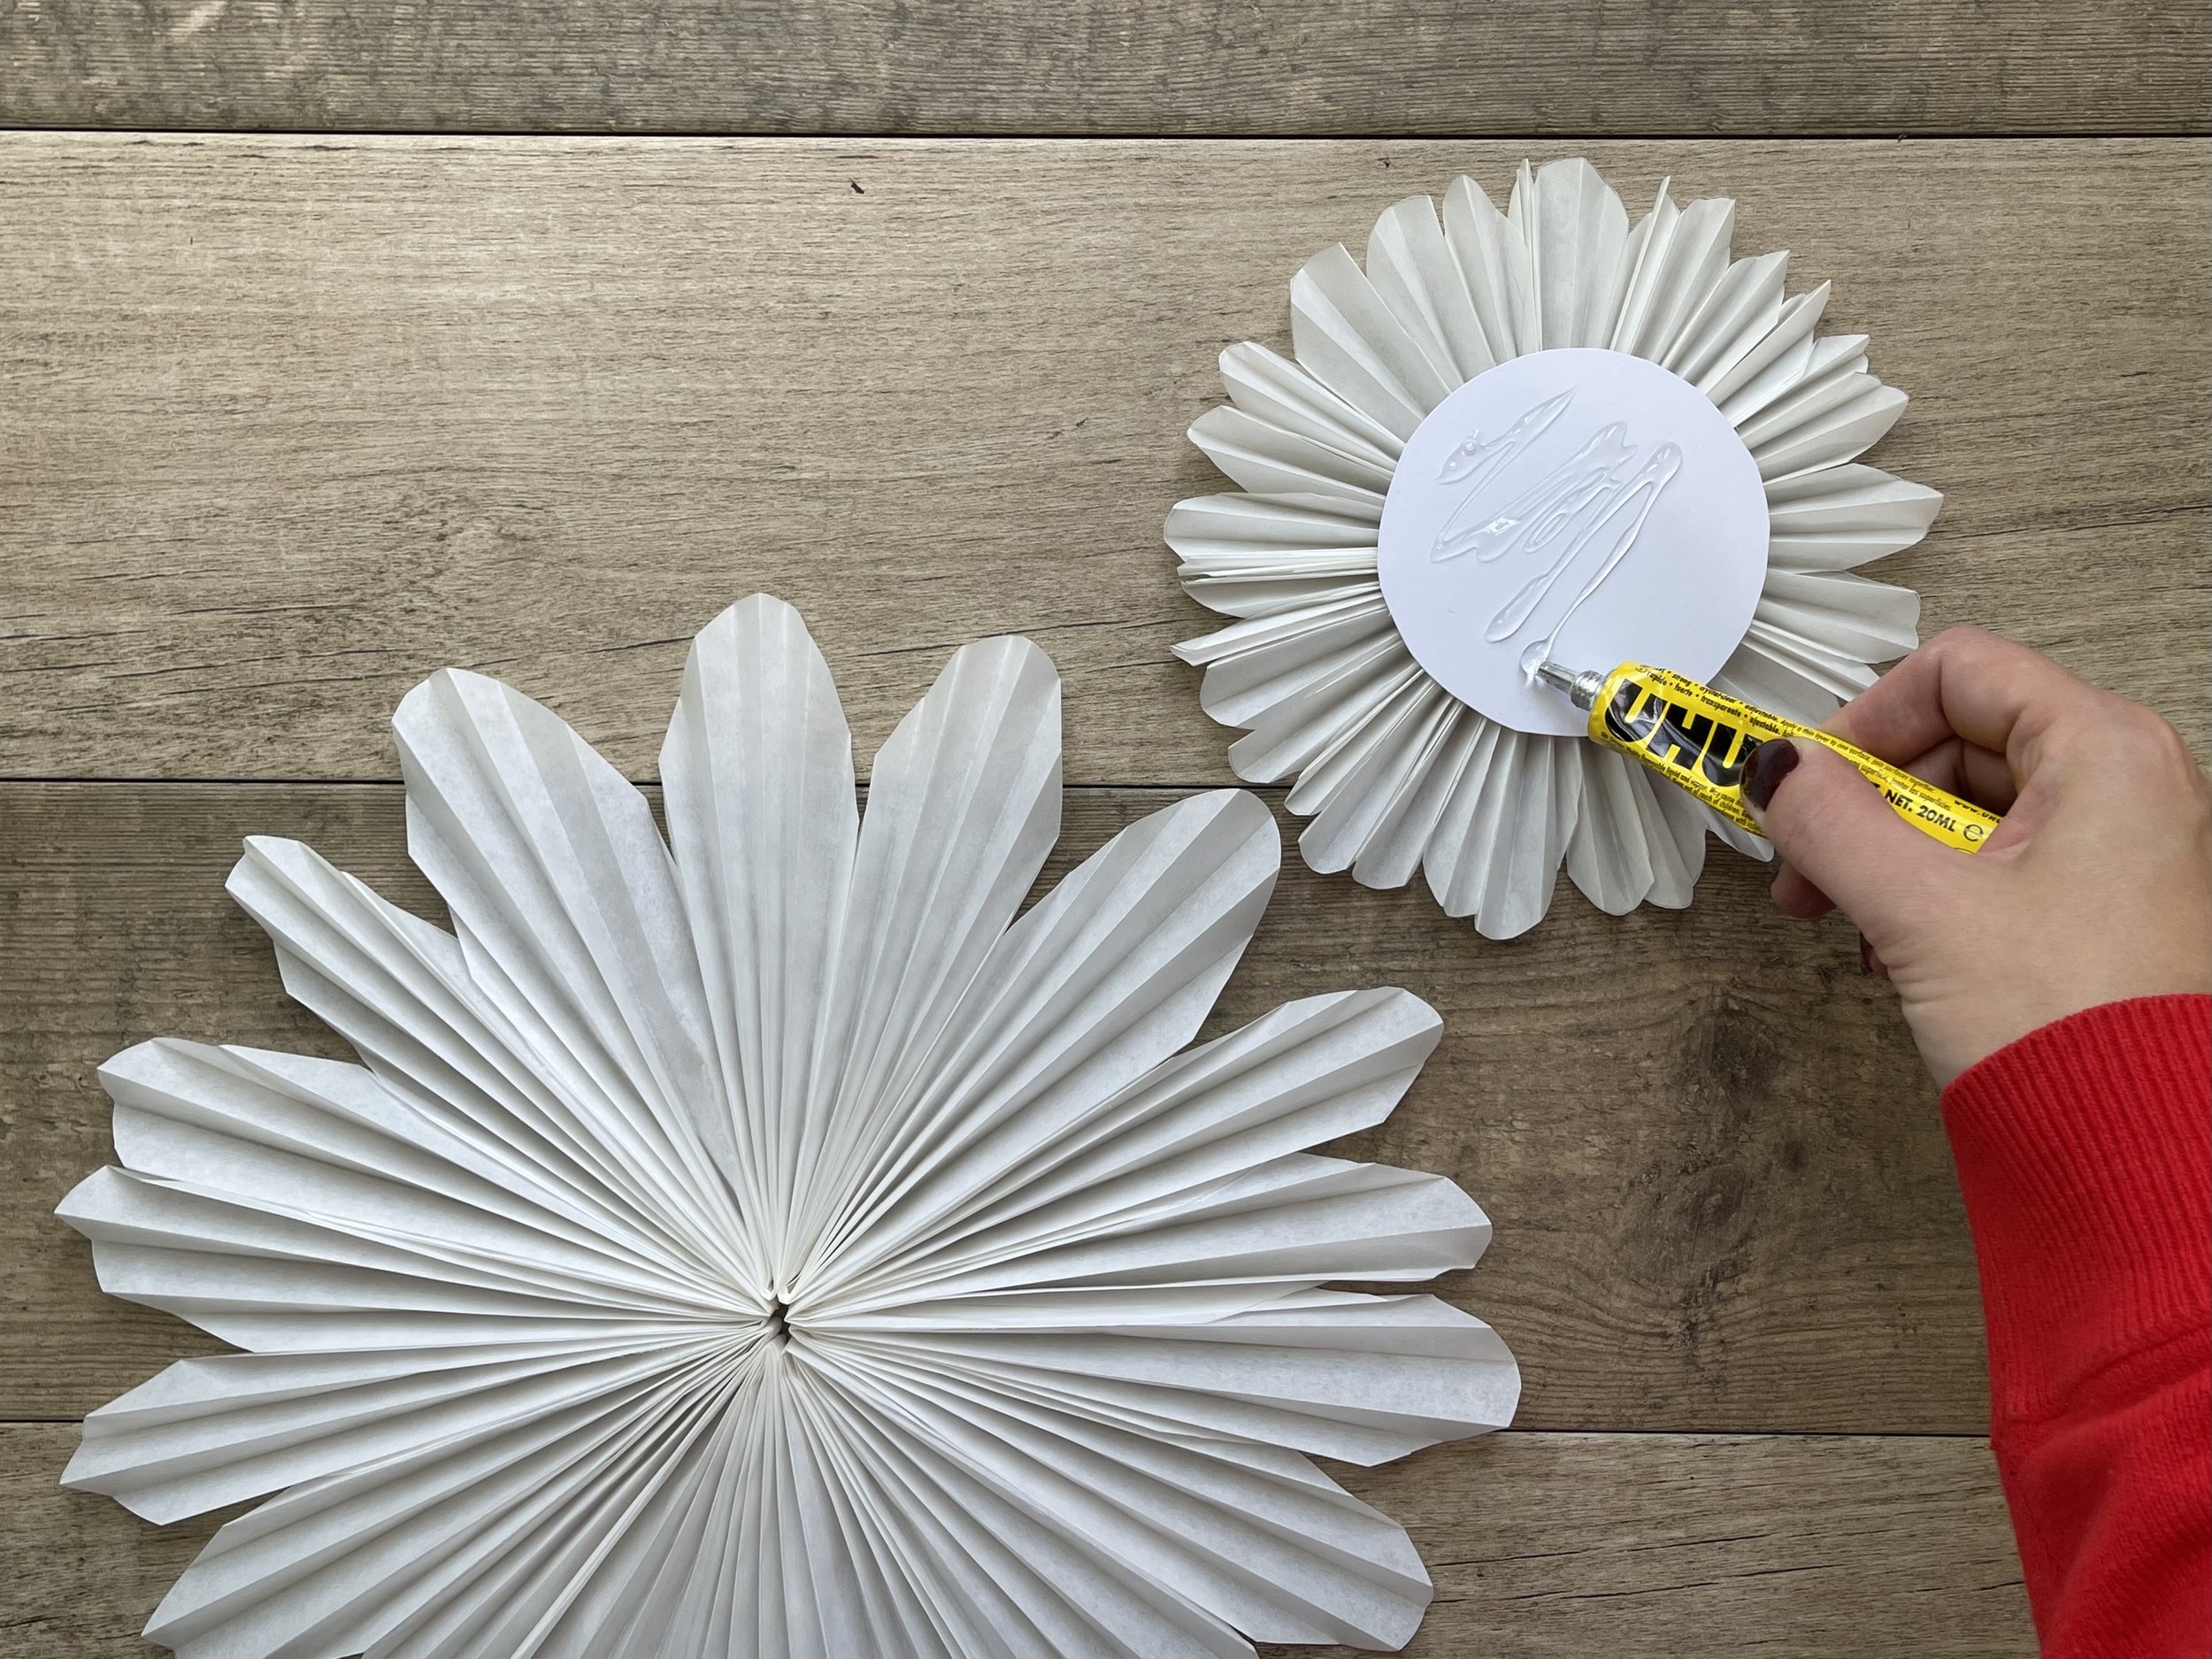
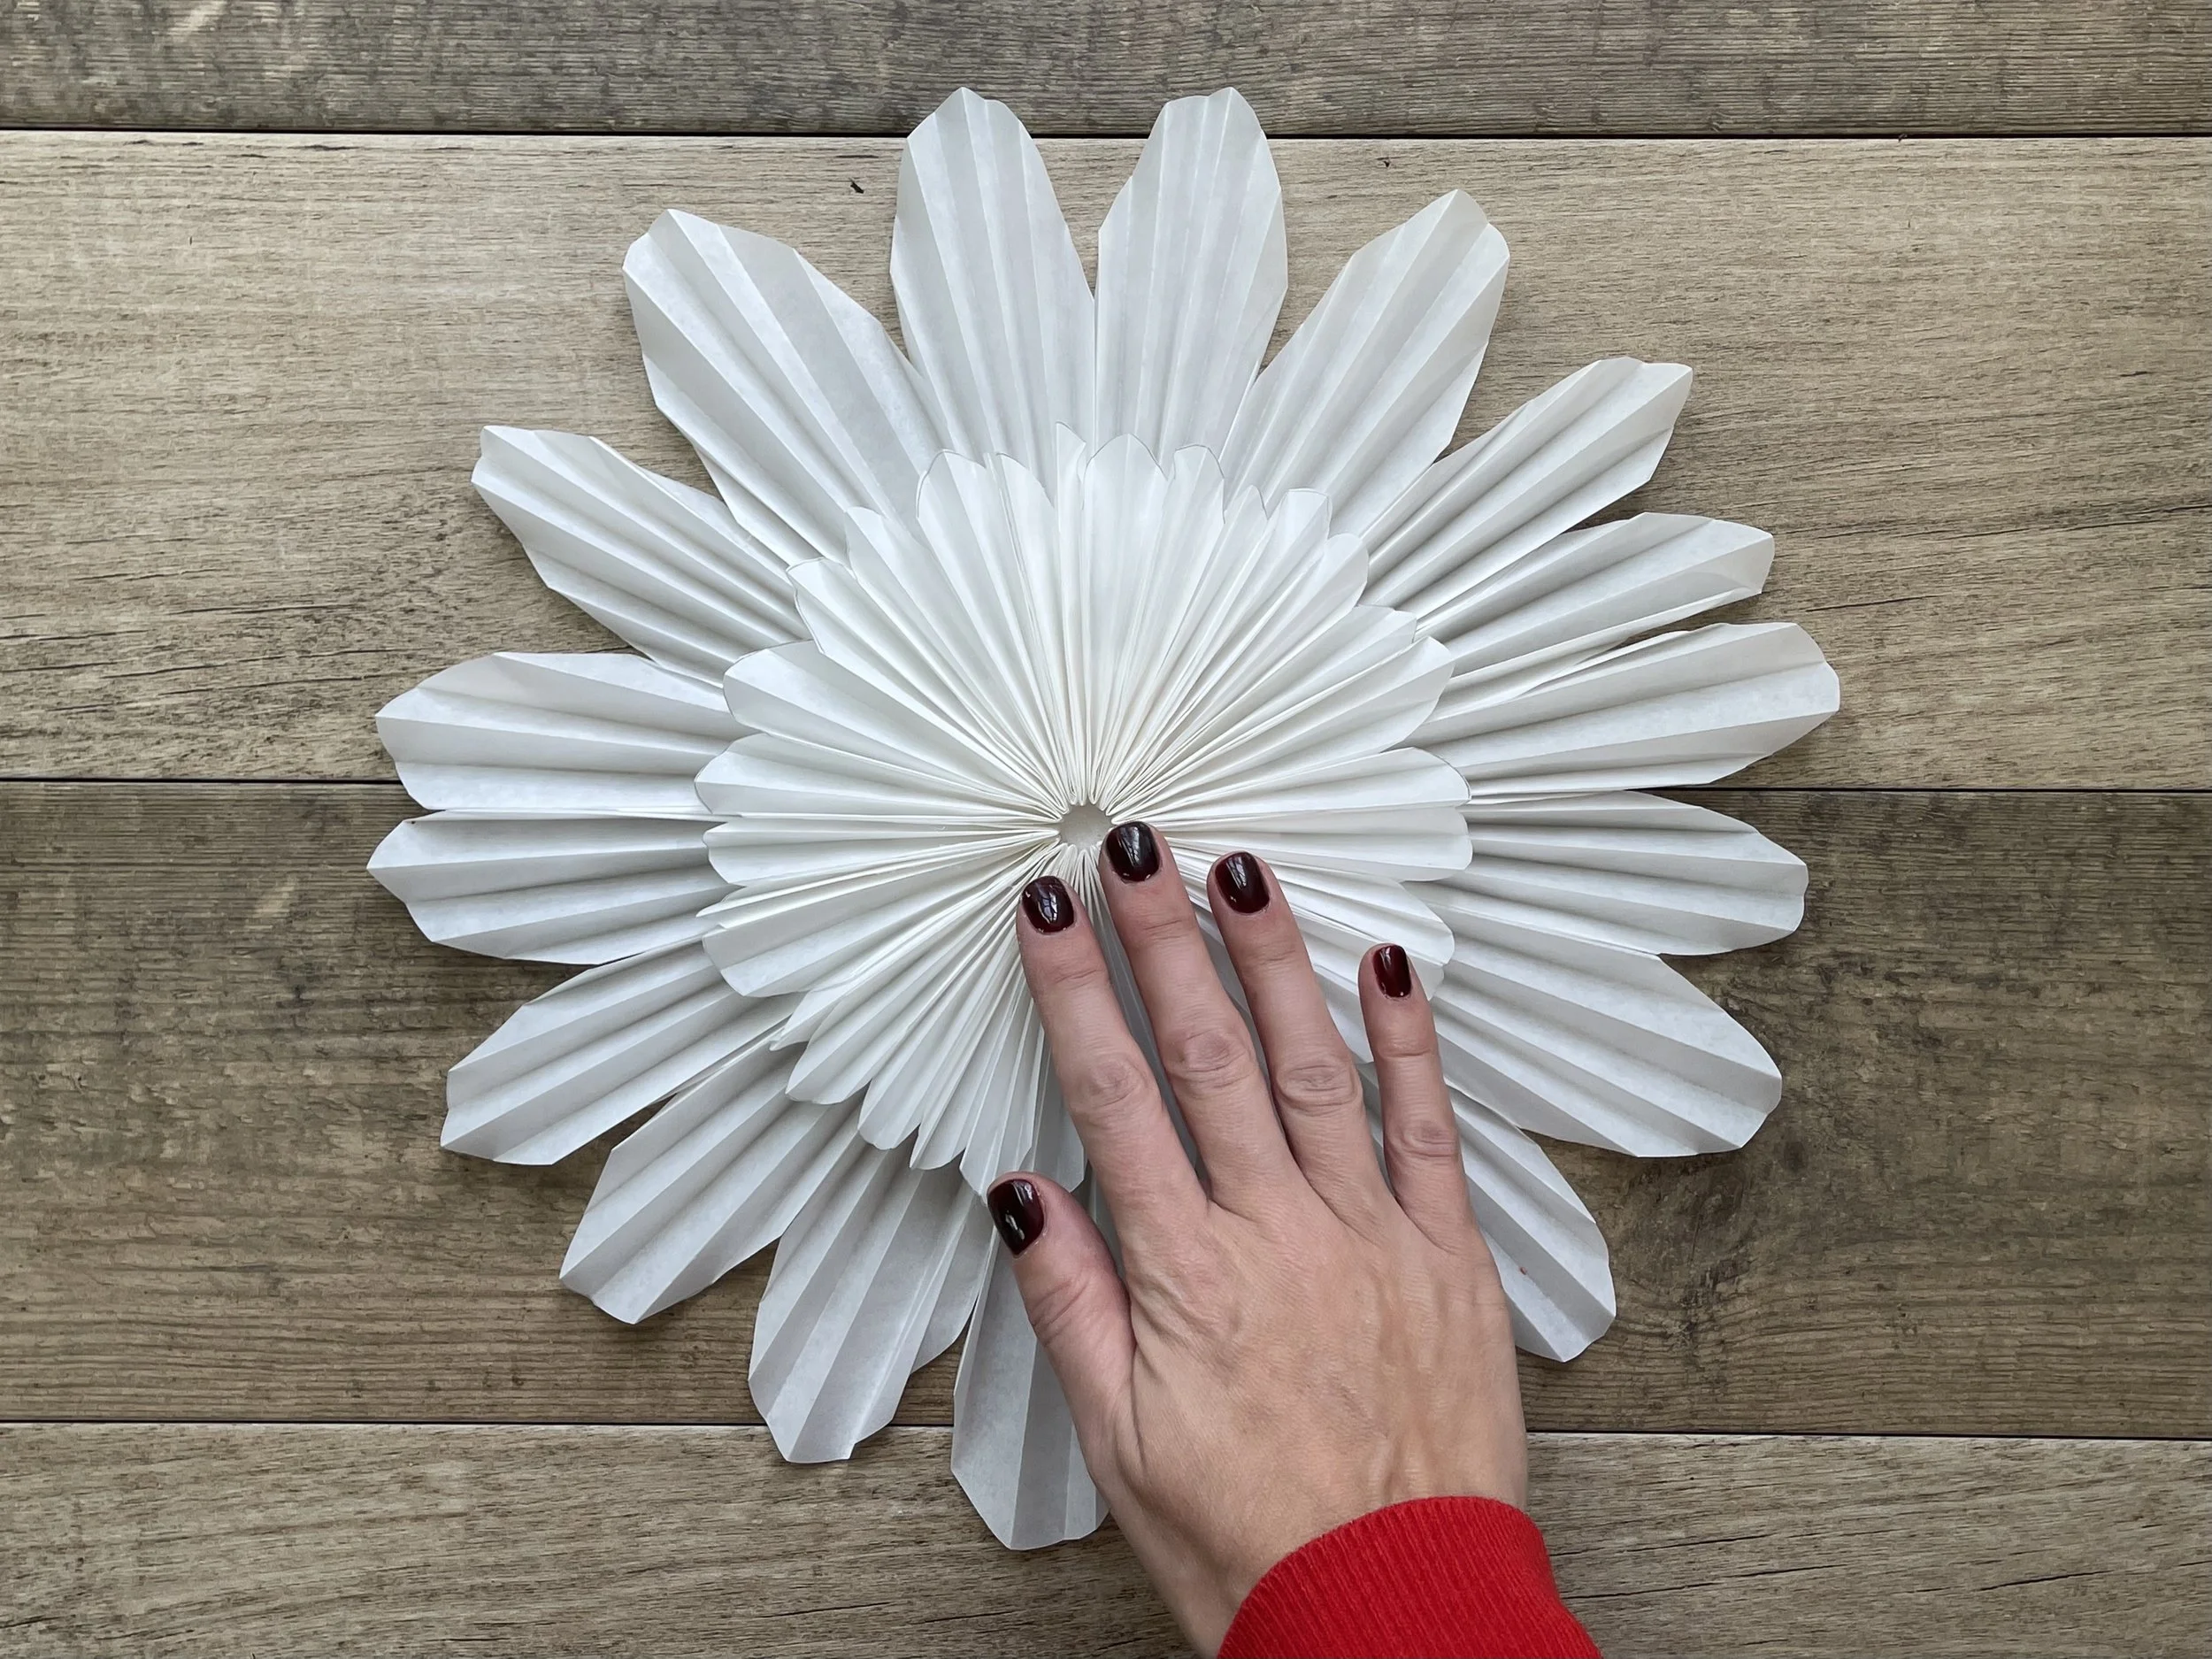
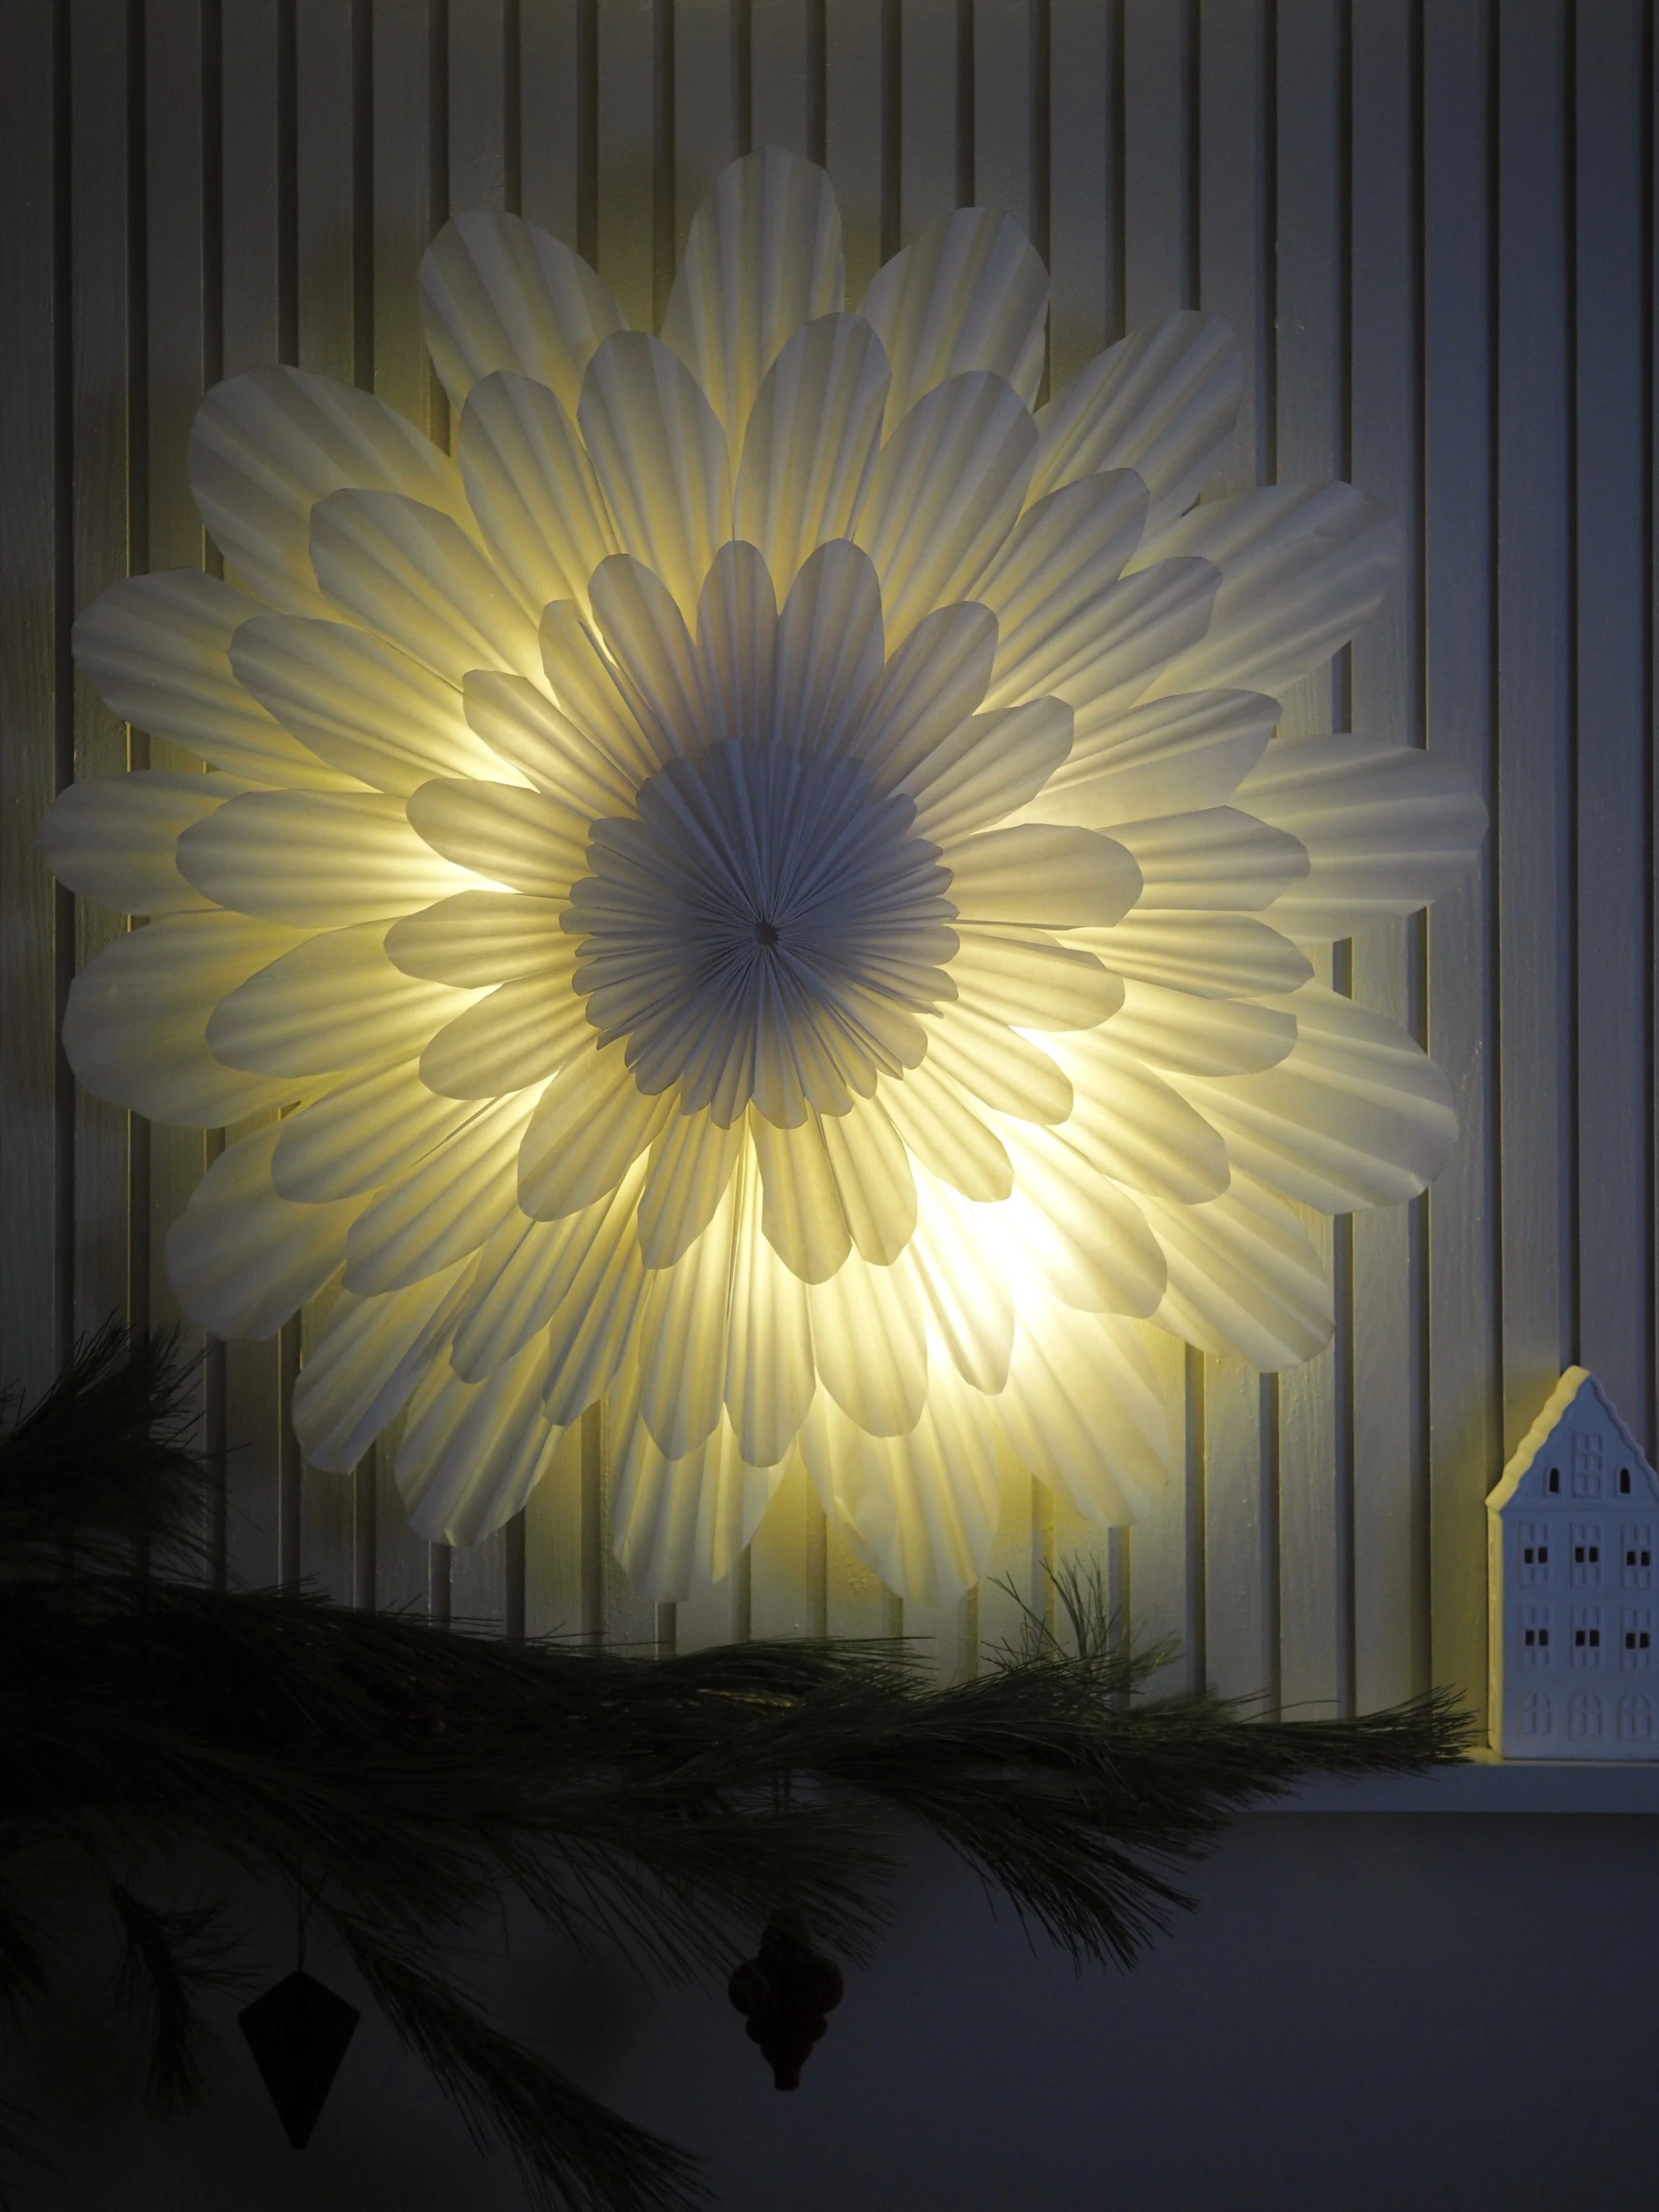
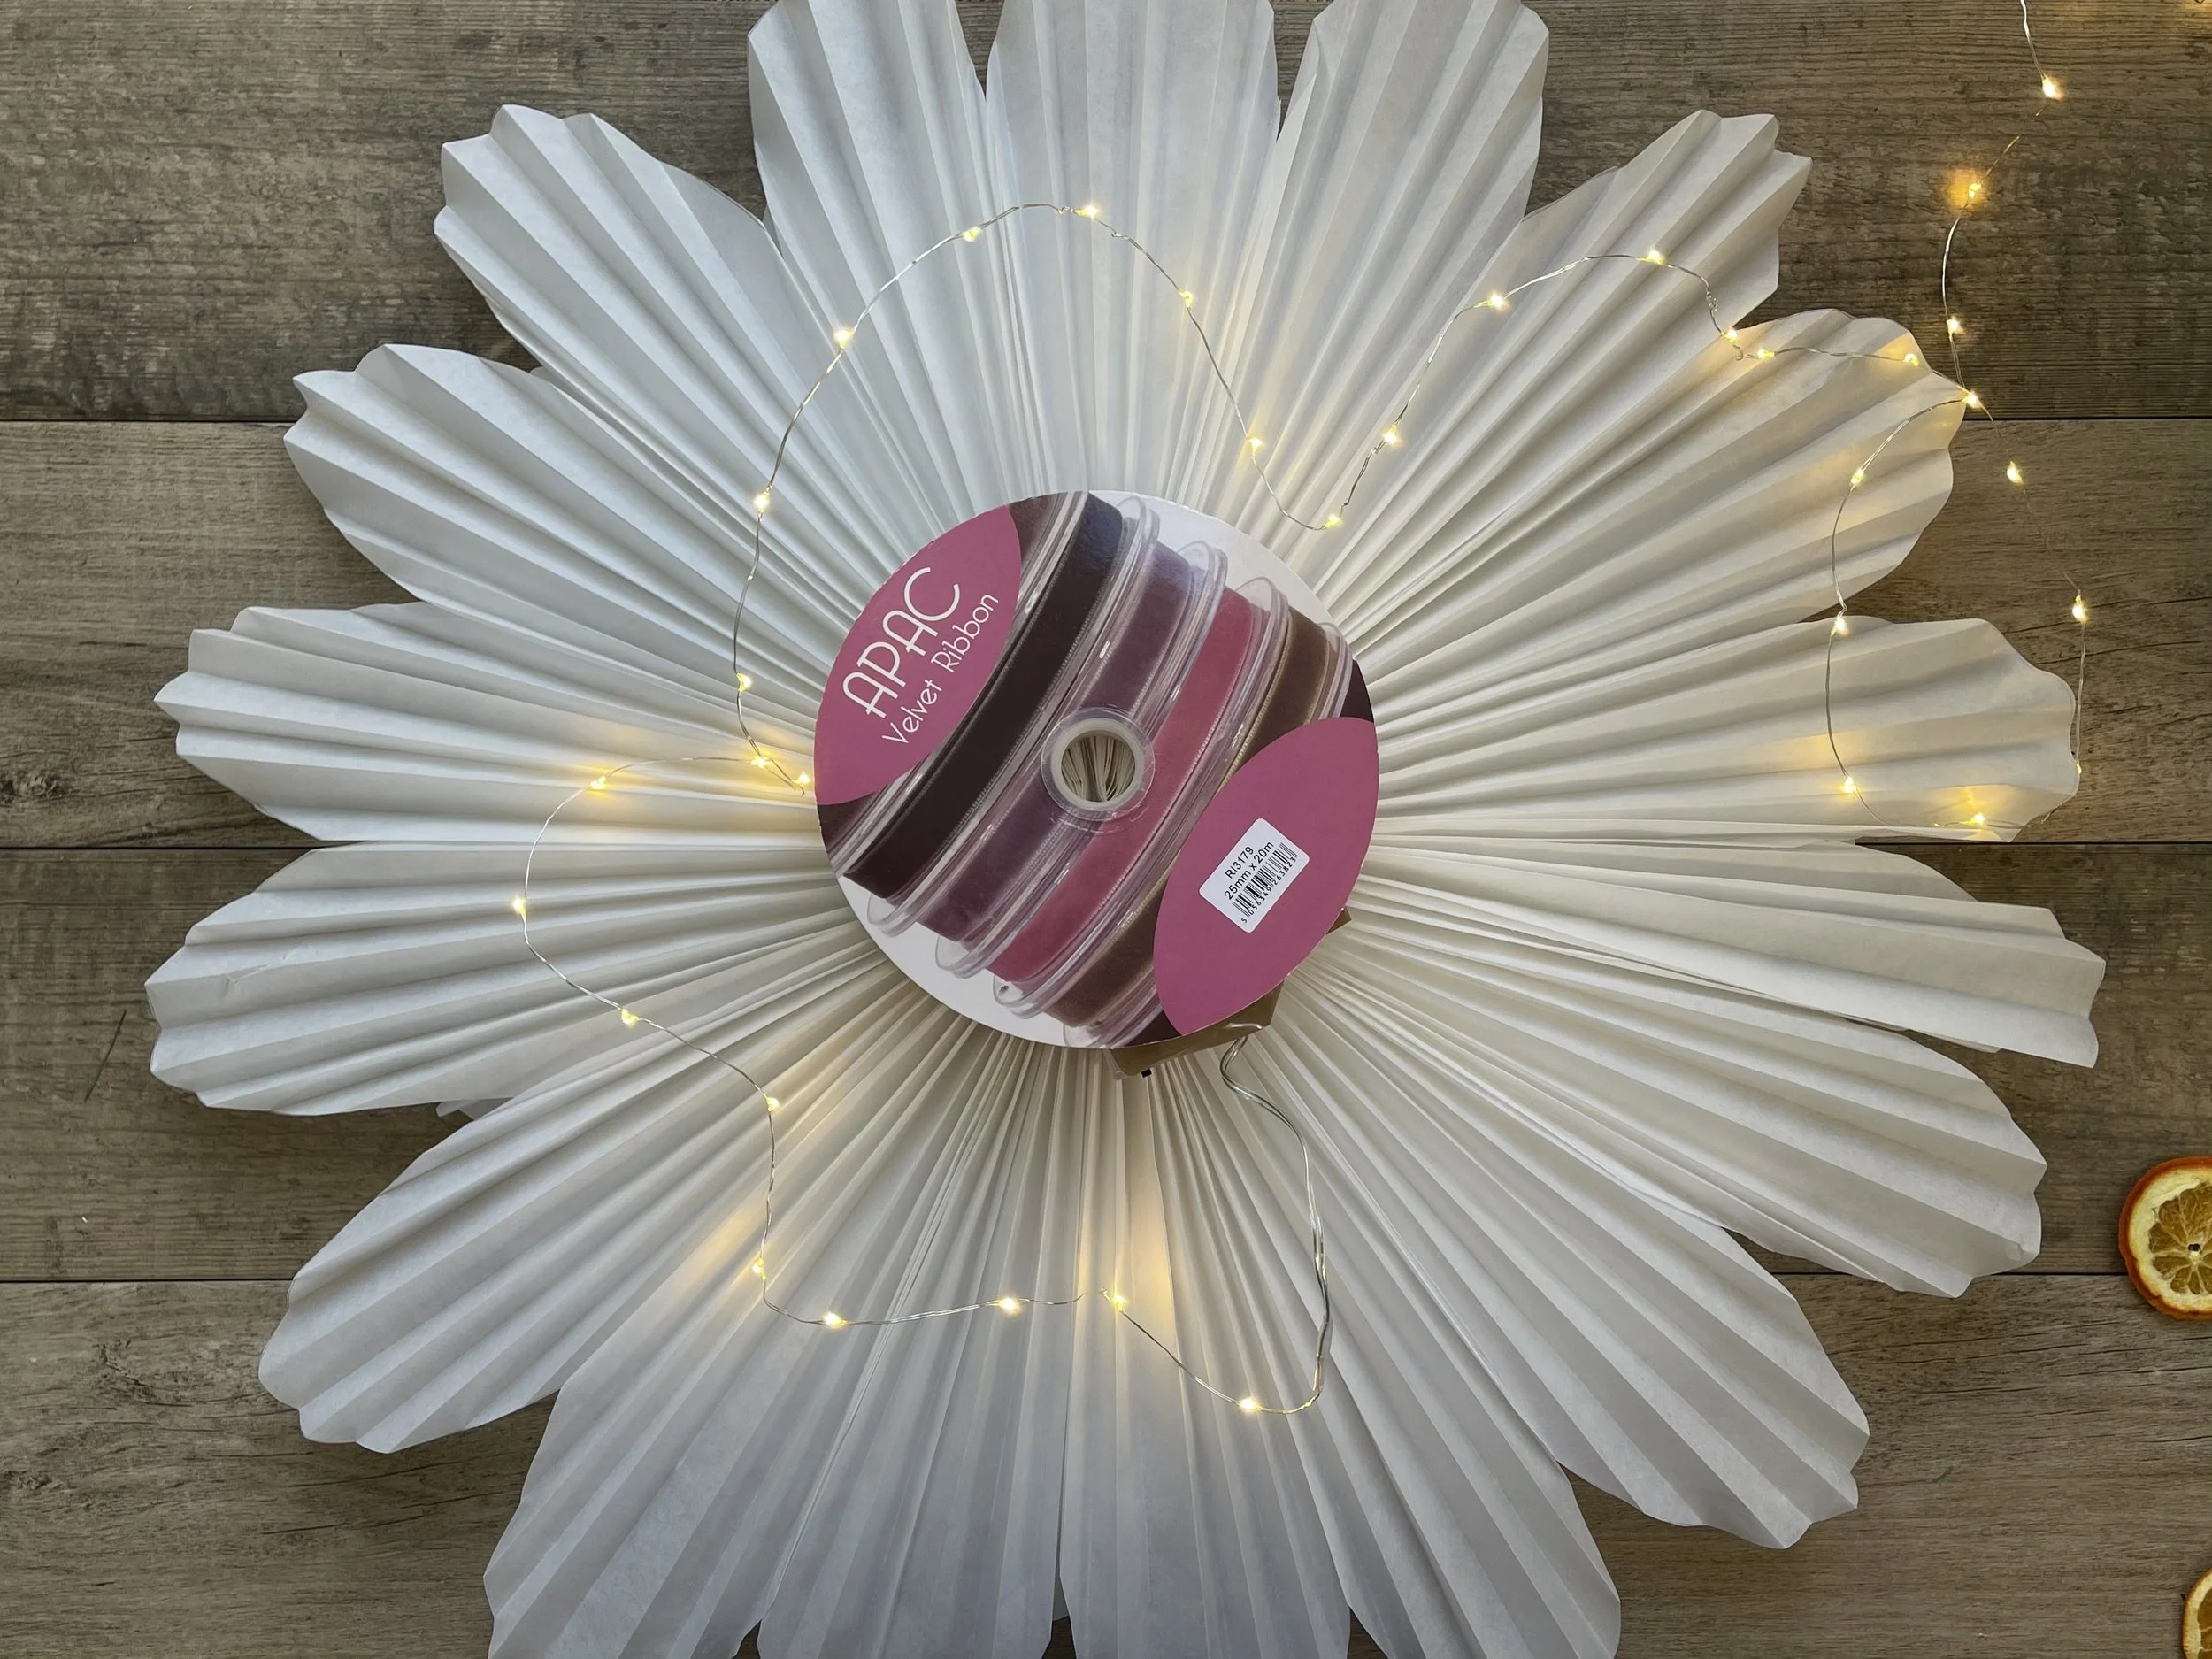
I repeated this for each layer, increasing the size of the circle using a cereal bowl and then a side plate! Once my four layers were joined together, I wanted to add lighting around the back of the star so that it had that Christmas glow! To do that, I used an old ribbon roll which I glued onto the back of the star. I then taped inside the ribbon roll a battery pack of lights and wrapped the string of lights around the centre.

The star isn’t heavy, so you can host it on your wall either by adding a loop of string, or by using command strips!