How To Make These Cute Pressed Flower Resin Craft Hanging Decorations
How to create these pretty pressed flower DIY resin decorations…
Read More
How to create these pretty pressed flower DIY resin decorations…
Read MoreHow I made this extra large Scandi paper Christmas decoration using baking paper…
Read MoreThese popular candles can be found all over social media. Here is my guide on how to make them…
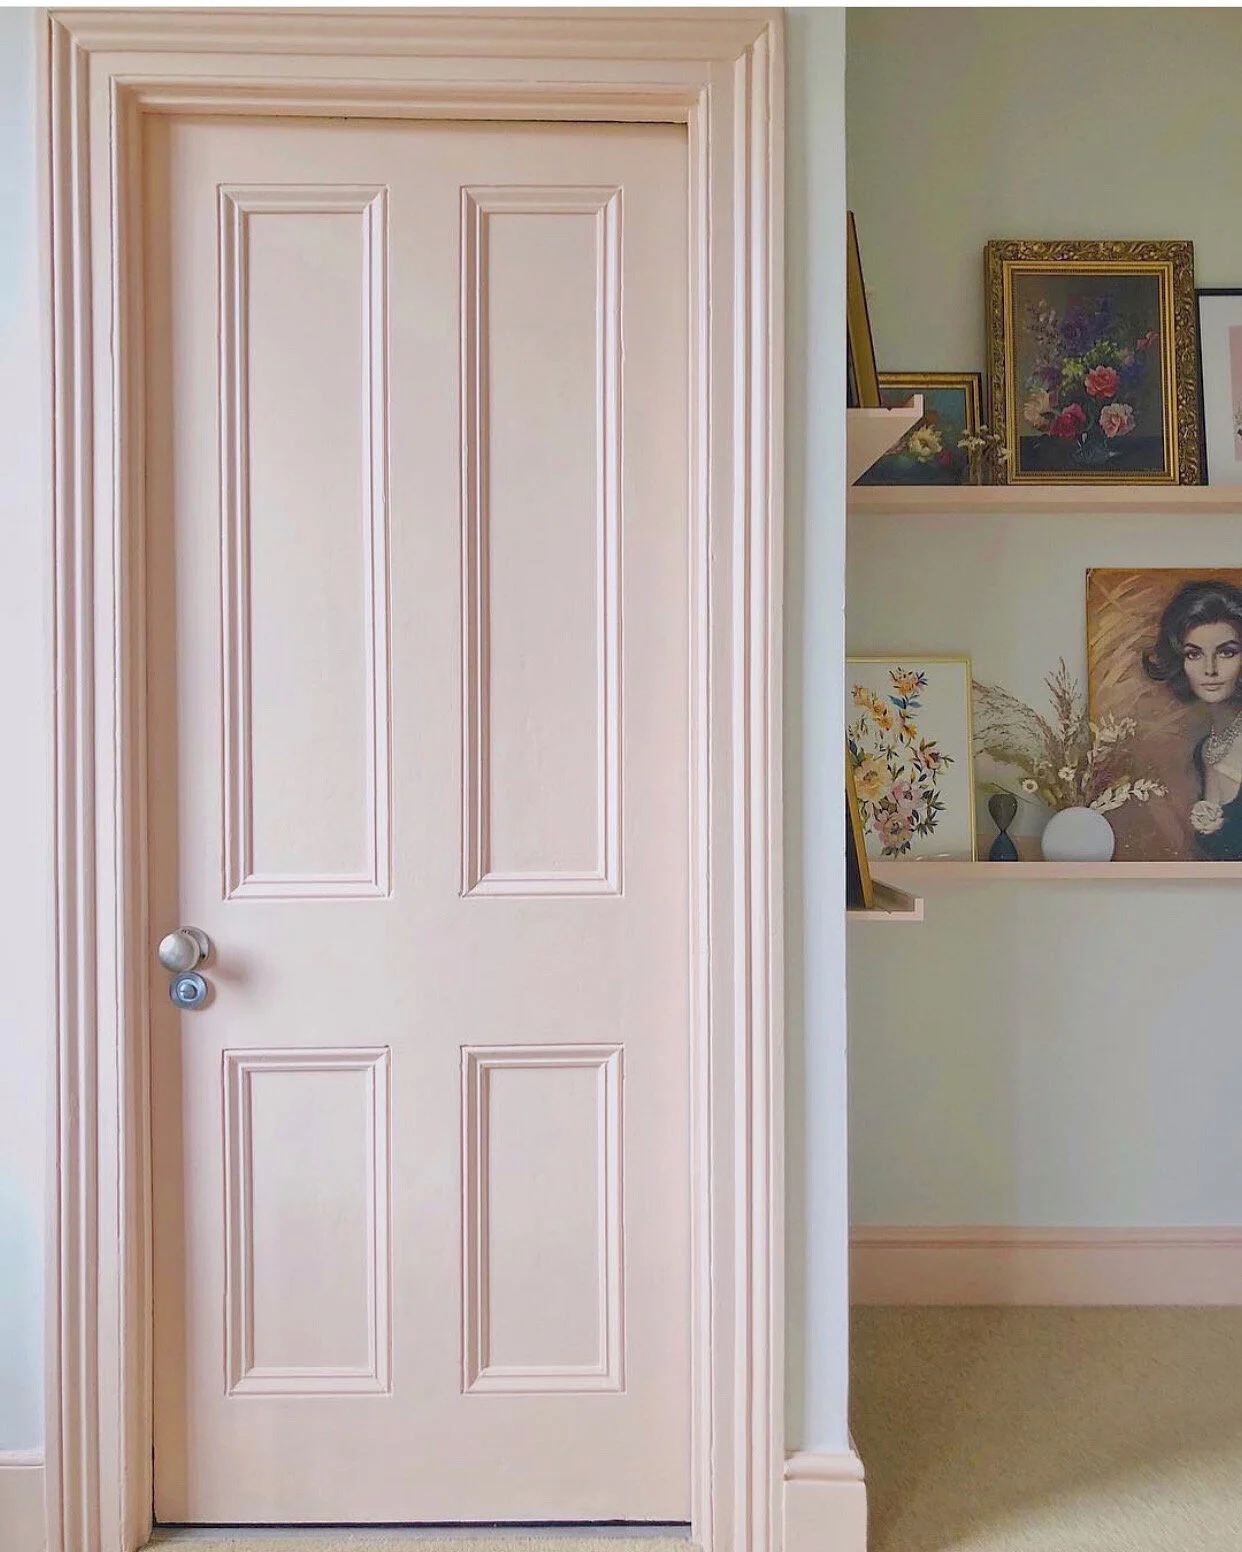
Read MoreHaving previously painted the back of my front door this vivid turquoise colour, I really wanted to make the most of this attention-grabbing entryway so decided to create a dried flower wreath that would stand out against the bold hue.
Read More
A little while ago my lovely friend Jenny from the award-winning Seasons In Colour blog got in touch and said "You're crafty, fancy a styling challenge in collaboration with the VITA copenhagen Silvia Mini Create?"
Now the VITA copenhagen Silvia is quite iconic. The fanned 'leaves' create that globe artichoke effect that is unmistakably Danish in design. VITA copenhagen have manifested this design from it's original white form to also be available in a choice of metallics and a 'mini' version for table/floor lamps. The latest version is a DIY project, whereby the leaves are made from watercolour paper that can be drawn or painted on to create your very own lighting design.
So, how could I resist Jenny's offer? Apart from being convinced she will wipe the floor with me in the styling challenge (the woman just oozes style and creativity), this was right up my street. You can find a link to Jenny's creation at the bottom of this post!
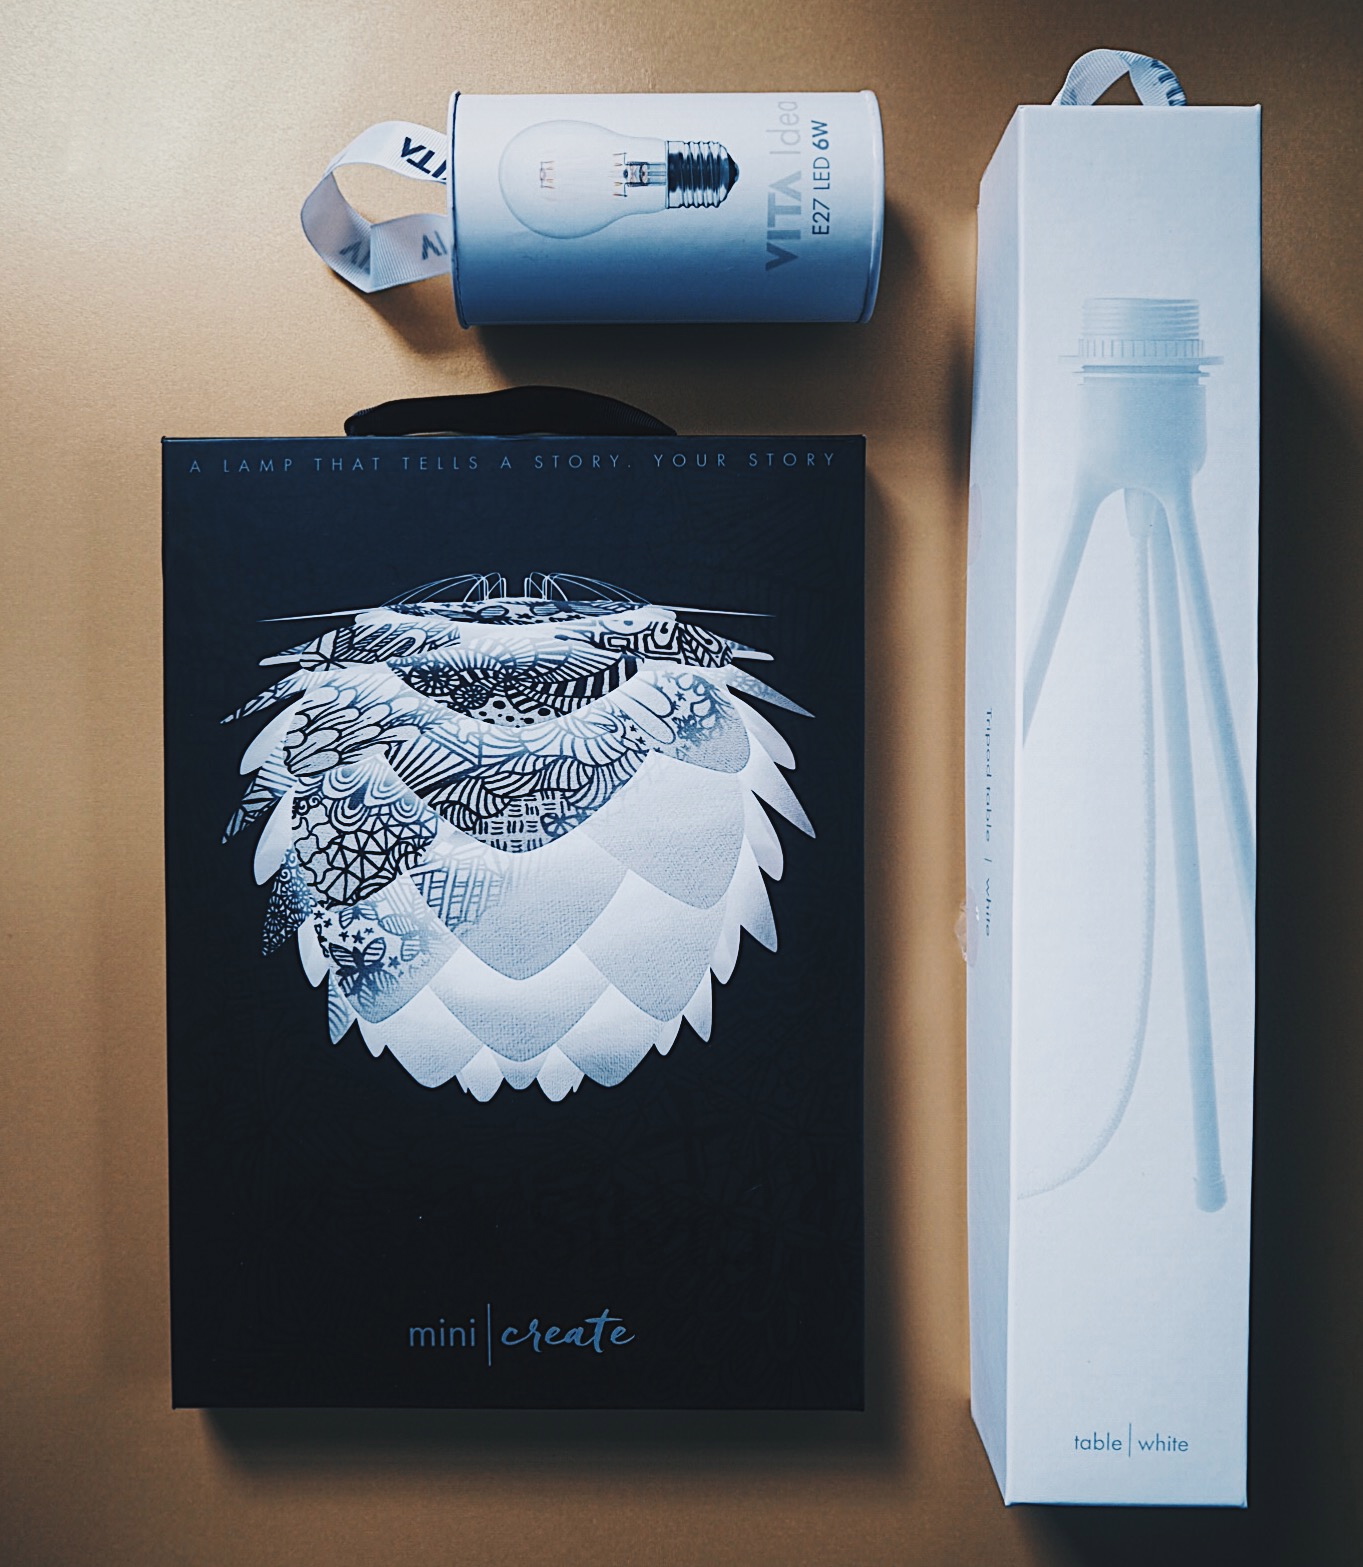
All the parts of the kit to get started - the shade, table stand and VITA lightbulb
VITA delivered to my door everything I needed for my Mini Create - the table lamp base (which just clicks into place easily in seconds), a VITA bulb, and the Mini Create itself, which was packaged as an adorable flat carry pack. Inside the pack was the shades structural elements, along with the leaves that you popped out of the watercolour paper. You get extra leaves in the pack in case some leaves go wrong or you decide to start again. You can also buy a new complete pack of the leaves for £39 if you decide to change your lamp later further down the line.


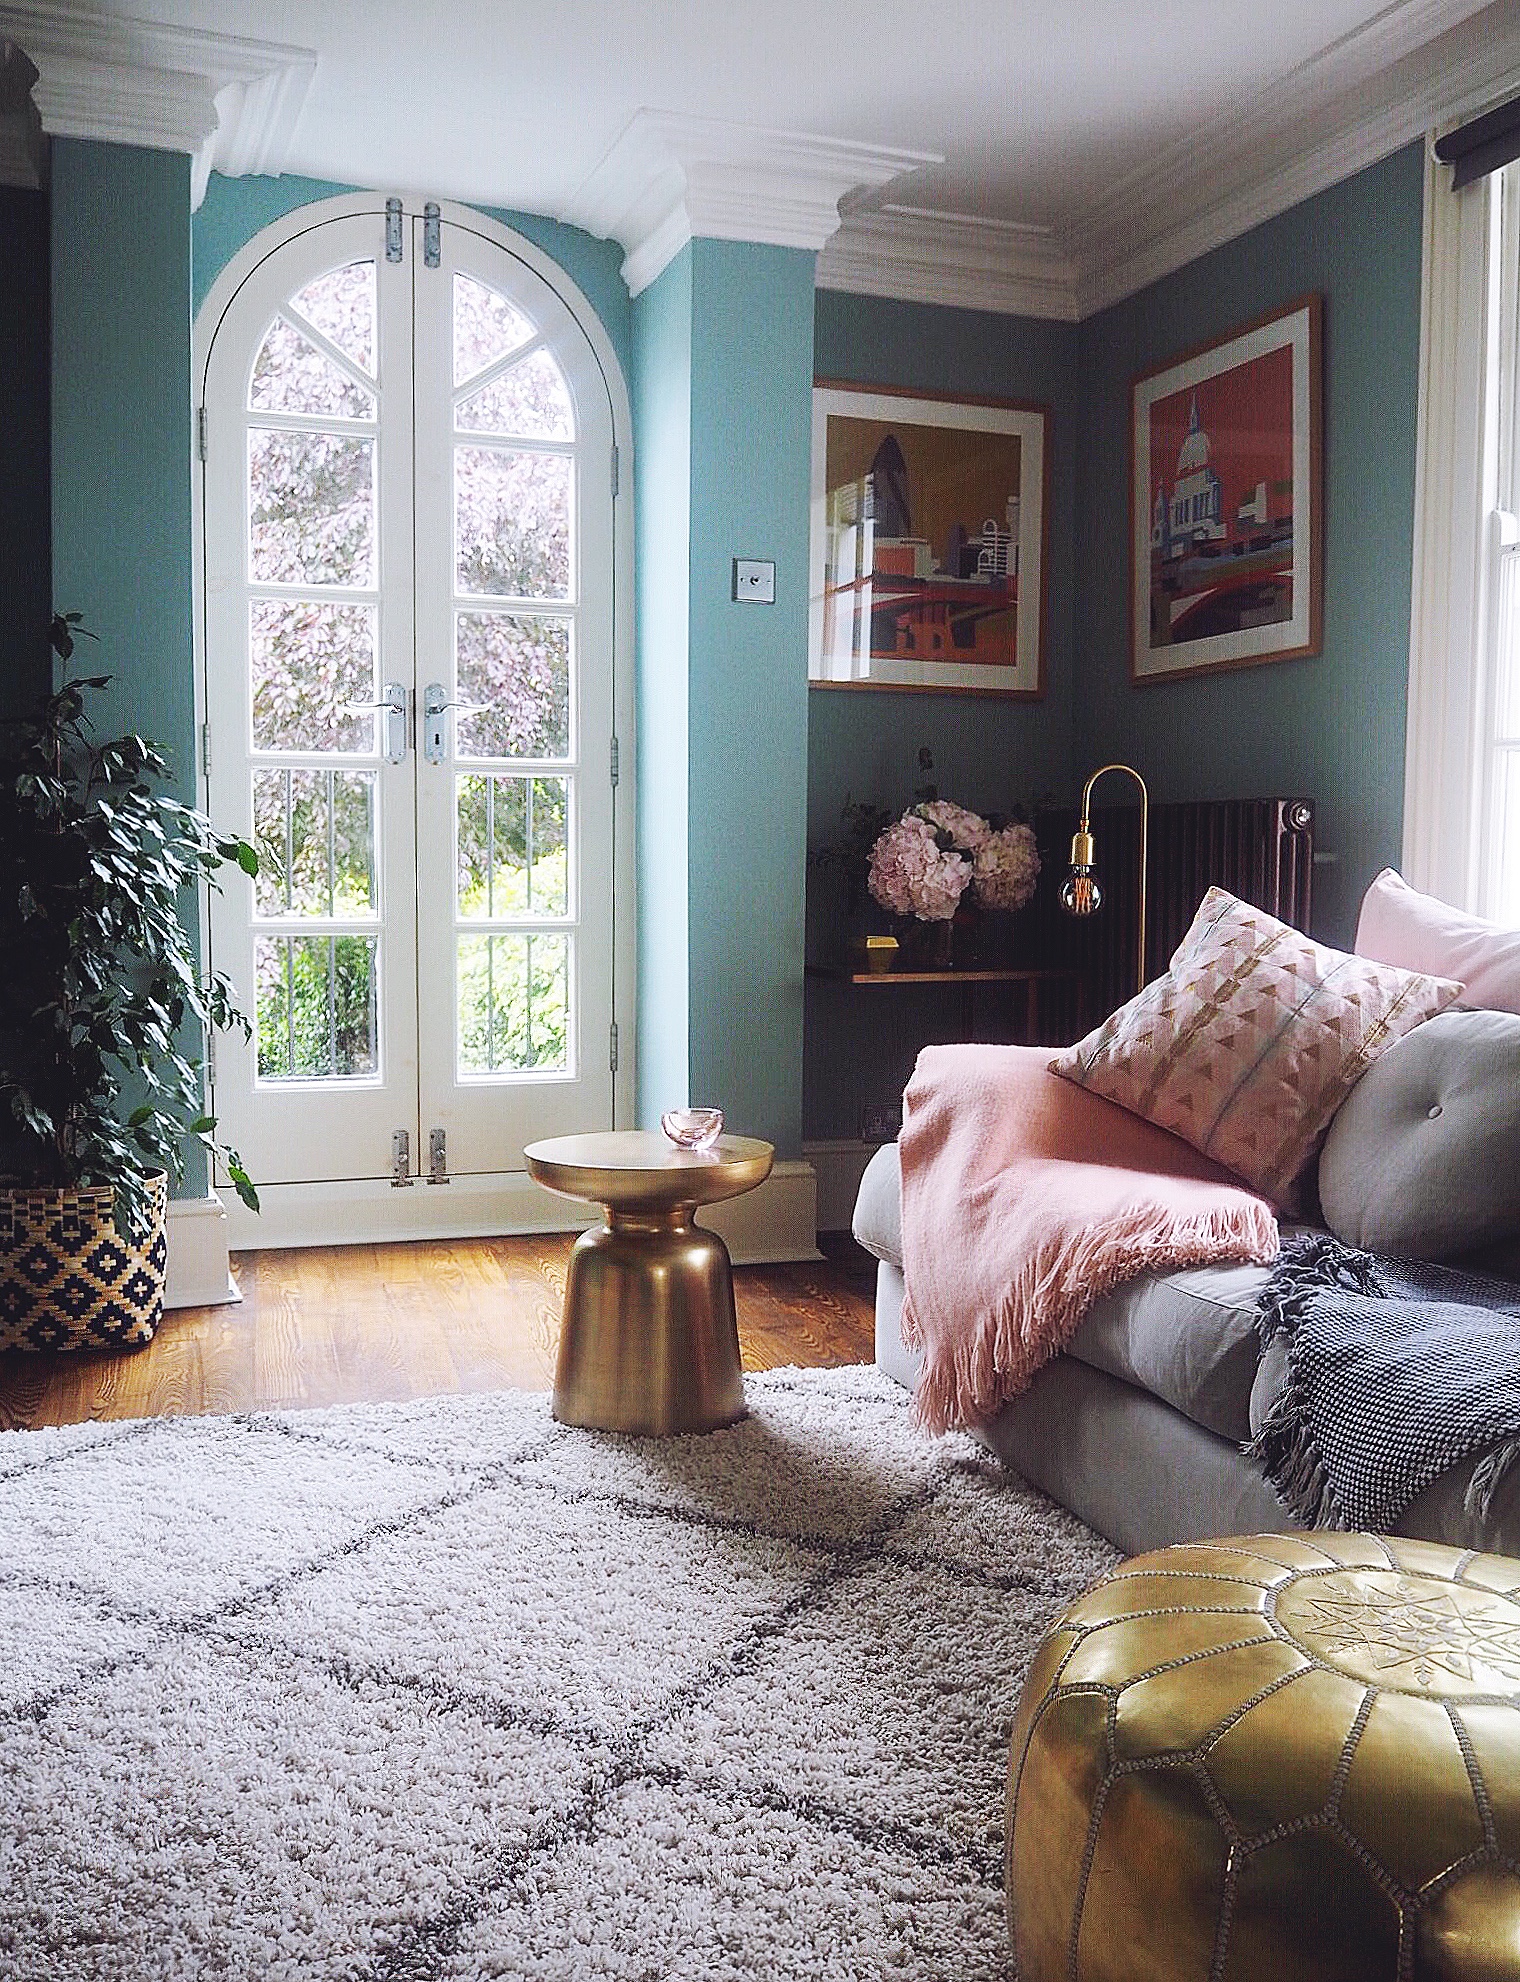
As I had recently decorated my living room blue with elements of pink, I decided that I was going to create an ombre pink effect on my Silvia Mini Create. This would mean my lamp would fit in with the scheme of the room, while the ombre effect was a bit modern (I've been wanting to ombre my hair for ages but chicken out as I think I'm too old now to pull it off!)

I purchased a rose pink watercolor from my local craft store, then set about testing how I would ombre each leaf.

Using a small brush, I added a tiny amount of the pink paint to the tip of a leaf, then gradually added water, working the paint upwards so that it got lighter and lighter and the top was a very pale pink. I repeated this for all the leaves, which I was actually relaxing and enjoyable to do. Perfect for a lazy, crafty Sunday.

While my leaves were drying I put together the structure of the shade, which was a simple slot-in process.

I then slotted in my ombre leaves as per the instructions. This was also simple and they held perfectly.

So this is my pink ombre DIY VITA Copenhagen Silvia Mini Create! It is quite effective in front of the blue walls, and is totally bespoke as it has been created by me!

If you like the sound of the Silvia Mini Create, but don't feel completely 'crafty-confident', you can download ready-made templates from the VITA copenhagen website which you can then print directly onto the watercolour paper and then colour as you wish. There are a number of patterns available from geometric triangles to doodle designs.
So that's mine, come on Jenny show me yours!
* I was gifted all the items to make up the Silvia Mini Create by VITA copenhagen in order to write this post, to which I am super grateful! Massive huge thank you to Jenny from the continuously brilliant Seasons In Colour for letting me be a part of this challenge with her, and for always supporting me and this blog.
When I was younger I remember pressing flowers by sticking them inside a heavy book, then putting them in the airing cupboard for 3-4 weeks. I've only recently found out you can actually press flowers really quickly using an iron! I brought one of those cute brass and glass hanging frames in the January sales and I wanted to put pressed flowers inside. I decided to give the iron trick a go, and it totally worked!
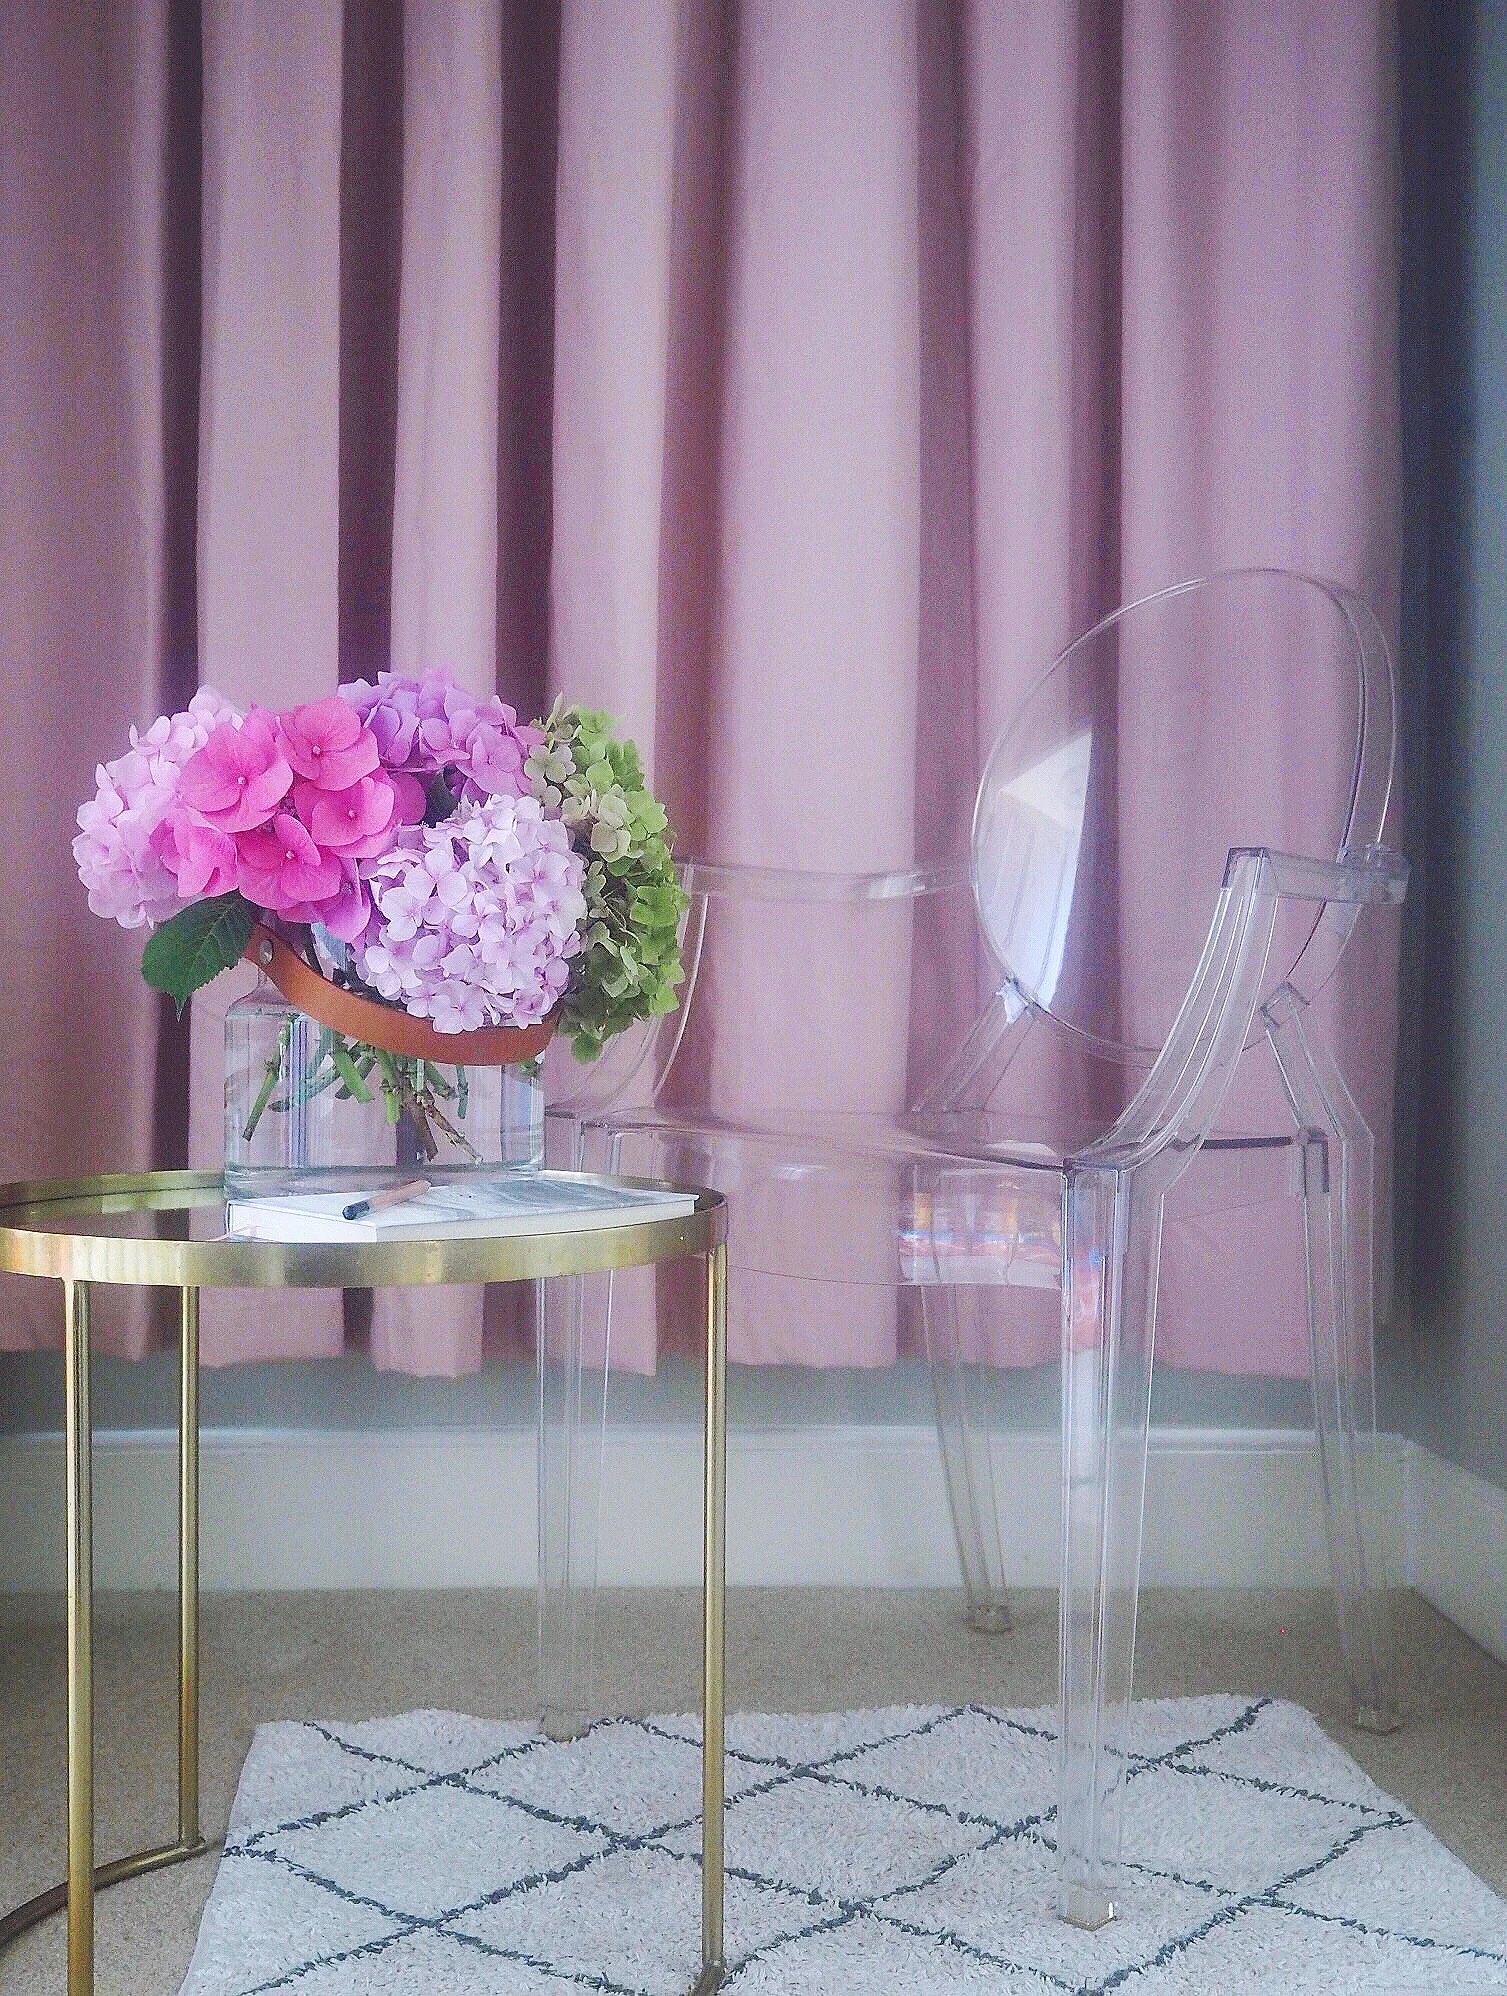
Read MoreWhenever I read an interview with a interior designer that I love, the thing that I pick up most from them is that texture and layering are key when it comes to styling a room. Texture comes from using different fabrics- wool, velvet, sheepskin; and laying means dressing the room to be visually stimulating. The easiest way to add texture and layer your room is with the home furnishings, so we are talking cushions, rugs, throws, curtains and so on....
Cushions are amazing as they can change the dynamics of an interior scheme, but are completely non-committal. You know how you can wear a different style outfit each day depending on how you feel? Well cushions act like your sofas clothes - you can add and remove them depending on how you want your room to look that day. Cushions also provide the ideal opportunity to add a fabric/print that you love, but can't afford to add much of in your home (like getting a sofa re-upholstered in a House of Hackney print, or curtains made in Sanderson fabric, which can cost from £50-£100 a metre!) You can buy cut offs, samples and fat quarters on Ebay and at fabric warehouses of expensive fabrics and make your own cushions, which is EASY! Trust me - you don't have to own a sewing machine, you don't even have to be an expert sewer, it's literally all about sewing a few straight lines together....
Read More