Before & After: How I Created This Wall Panelling Look For Under £35

If you have come to this post direct from a Google search on how to DIY wall panelling, then you may want to read this post post here instead , which is an updated post on how to cheaply create wall panelling with a full 'tool shopping list' included!
When we moved into our house last year there was a problem with some damp on the lower floor. We called in the damp proofing people but we had real trouble with one interior wall in the hallway. The damp guys came back 3 times to try and fix the issue, with the final result being that the damp was eradicated but the hallway wall was left a total mess. Most of the wall had been drilled away numerous times to inject anti-damp treatment and even though I used a range of plaster repair tools and fillers, when the wall got a new coat of paint it still looked shoddy. What made it worse was that this wall was by the back door so the light shined on it all day highlighting all its imperfections:
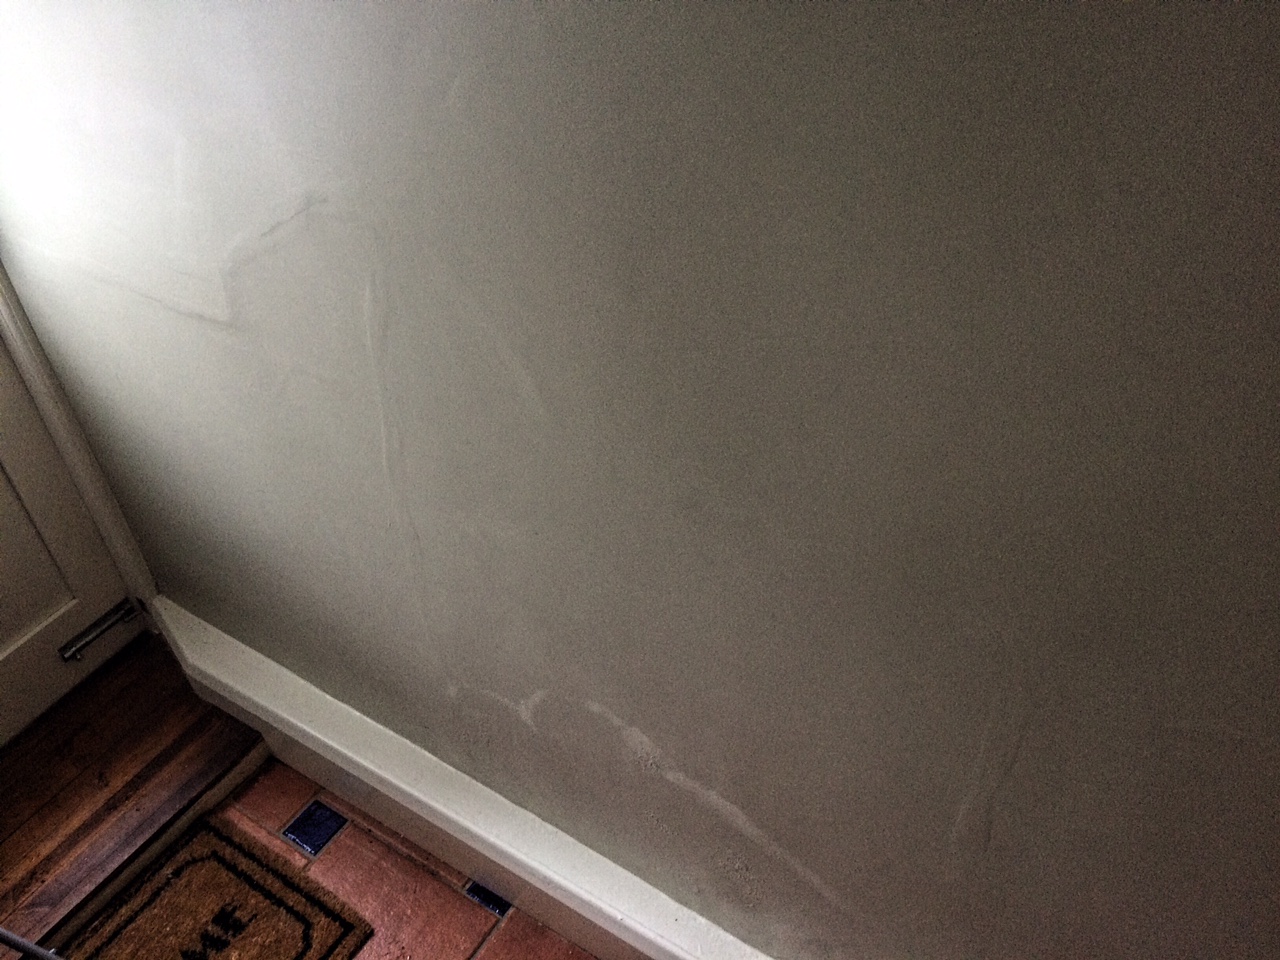
The 'before' disaster wall.
I'm lucky enough to live in a beautiful double-fronted period property. I love classic period features and one of my favourite features in period properties is wall panelling which makes a room look so sophisticated and full of character. I decided it would be perfect to use Victorian style panelling in my hallway to hide my dodgy wall which got me sulking every time I walked out the back door.
Once something that was considered expensive as it was made bespoke and crafted out of real wood, you can now add panelling for a fairy reasonable price with MDF pre-made panels from the local DIY store, or from online moulding companies. With the wall only being 213cm in length, I decided to really budget it and DIY my own wall panelling with MDF board and decorative mouldings purchased from my local Wickes. I measured the area I wanted the panelling to cover and purchased t this large MDF board for £11.99. I worked out I wanted three 'panel' features so brought four sticks of this decorative moulding for £5.25 each.
The first hurdle was to get the MDF board onto the wall (even though the first hurdle was really trying to get this board home in my Fiat 500!) I measured the wall and cut the board to size with a hand saw. This is where I made my first classic DIY mistake. I only took the wall measurements once, which were wrong, and ended up cutting the board about 10cm too short for the wall (*smacks head on keyboard*). I had to cut off a bit more board to fill in the gap which wasn't the end of the world, but was a bit of a pain, wasted valuable allotted DIY time and made the final result not so seamless. My tip here is to take your measurements at least 3 times before you start sawing away!
I then needed to cut a hole in the board for a plug socket in the bottom right hand corner of the board. If you need to do this do yourself a big favour and invest in a jab saw, I didn't and ended up spending an hour sweating and swearing trying to make a dent in the board big enough to get my hand saw in.
Once the board was all ready, I stuck it to the wall using No More Nails glue which is perfect for DIY jobs like this as it only took about 7 seconds to set and hold the board. It was then I realised my dodgy wall was pretty warped and the board was raised in a few areas, so I used a few small, thin nails to secure it down.

Measuring the board to size and once stuck to the wall with No More Nails glue.
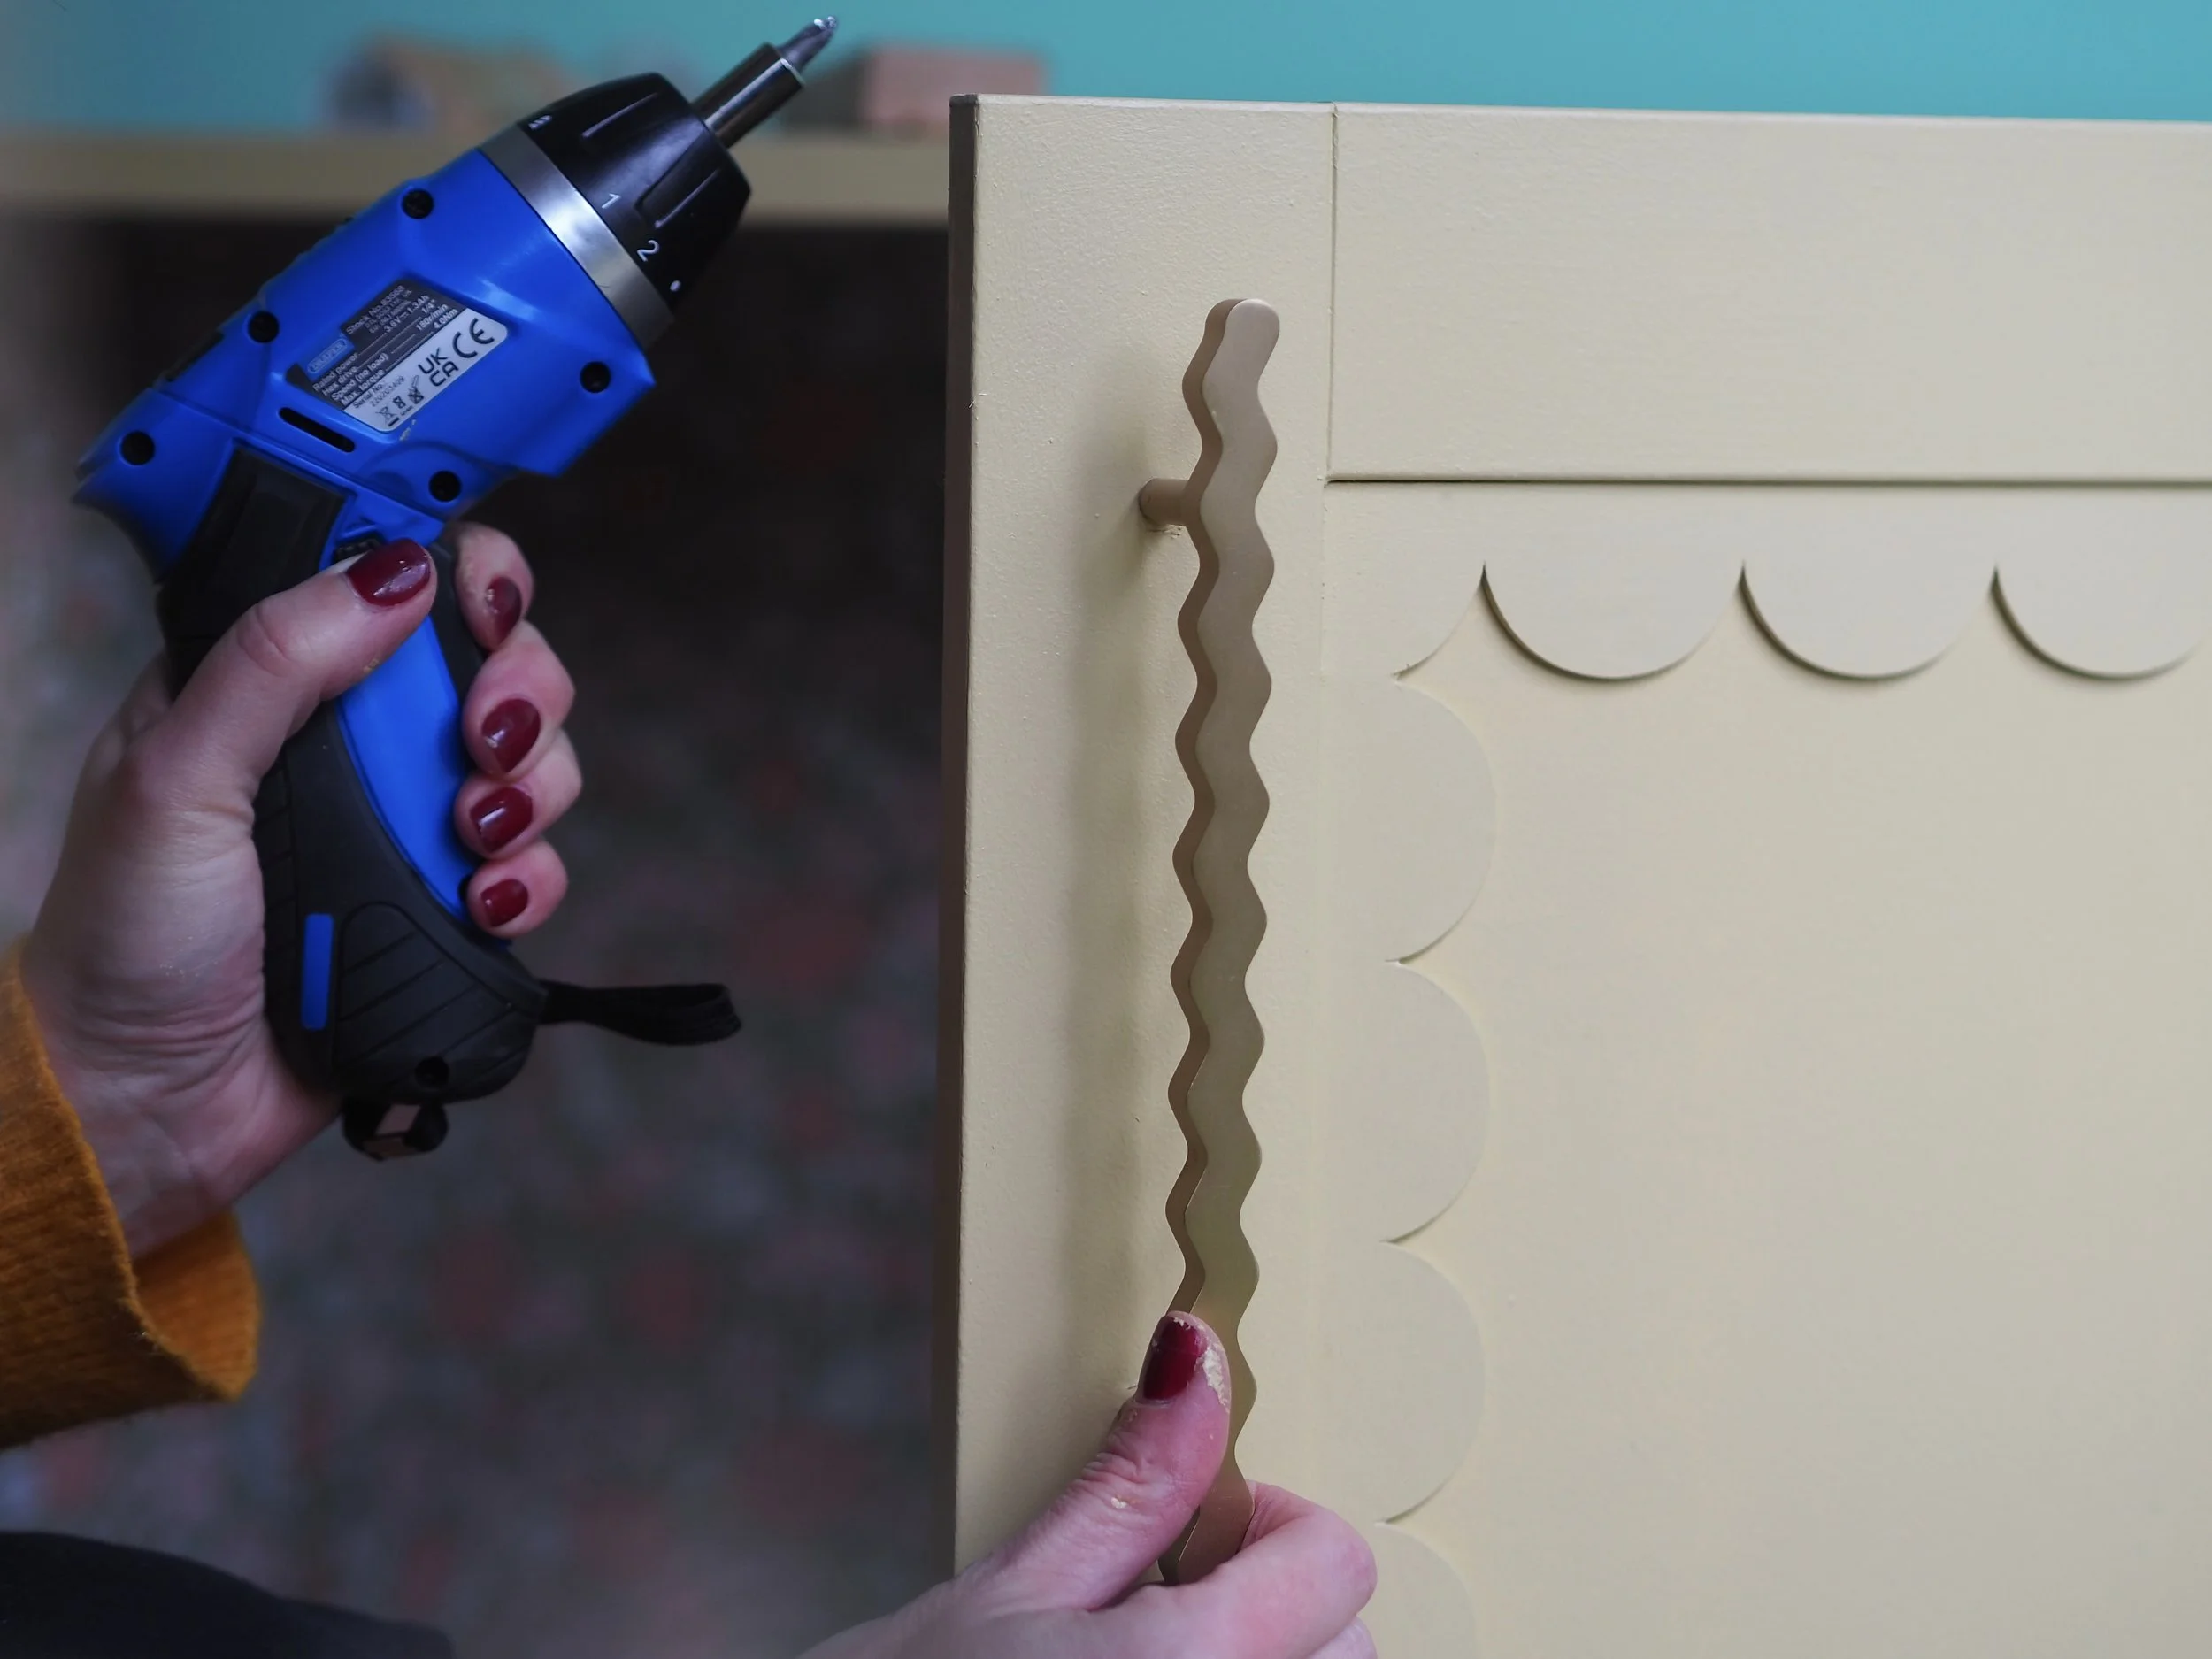
I then cut the 3 'panels' to size using the moulding sticks. To work out the measurements required I took the length of the board and divided it by 3, took into account the space for the gaps between the panels and decided that my panels need to be 60cm each in width. I then cut 6 pieces of moulding at 60cm each for the top and bottom of each panel. I measured the height that I wanted the panels to be and cut another 6 pieces each the same size. I don't have a bench to saw on and just cut the wood supported on a garden chair outside. If you also do not have a saw bench then make sure you support the moulding at both ends while cutting otherwise once you get towards the end the weight of the unsupported piece of wood will cause your moulding to snap.
The next task was then to cut off each section of moulding at an angle at the corners so they would fit together like picture frames do. This is where patience comes in, and probably some sort of angle measuring tool. I have zero patience and an angle measuring tool that I didn't read the instructions for so made it up as I went along. (This is where I wish I had been more vigilant as I could have got a better result if i had taken my time and cut the angles precisely. My thinking was that I'd just use multi-purpose filler to fill in the gaps which did work, but the final result could have looked a lot tidier.) I then stuck the moulding pieces onto the board in the style of picture frames and the panelling really started to take shape:

Measuring and cutting the mouldings at an angle and gluing them to the mounted MDF board.
I added another piece of moulding trim to the top of the MDF board to make a nice transition from the board to the wall, then used my fingers to apply an all purpose filler to all the gaps between the wall/board/mouldings to tidy it up. I left the filler to set and then sanded it down with my Mouse electric sander, which is a great tool as it's compact and shaped like an iron to get in all the crevices. If you don't have a sander a course angled sand block would work just as well.

Sanding down the applied all-purpose filler and painting the panels.
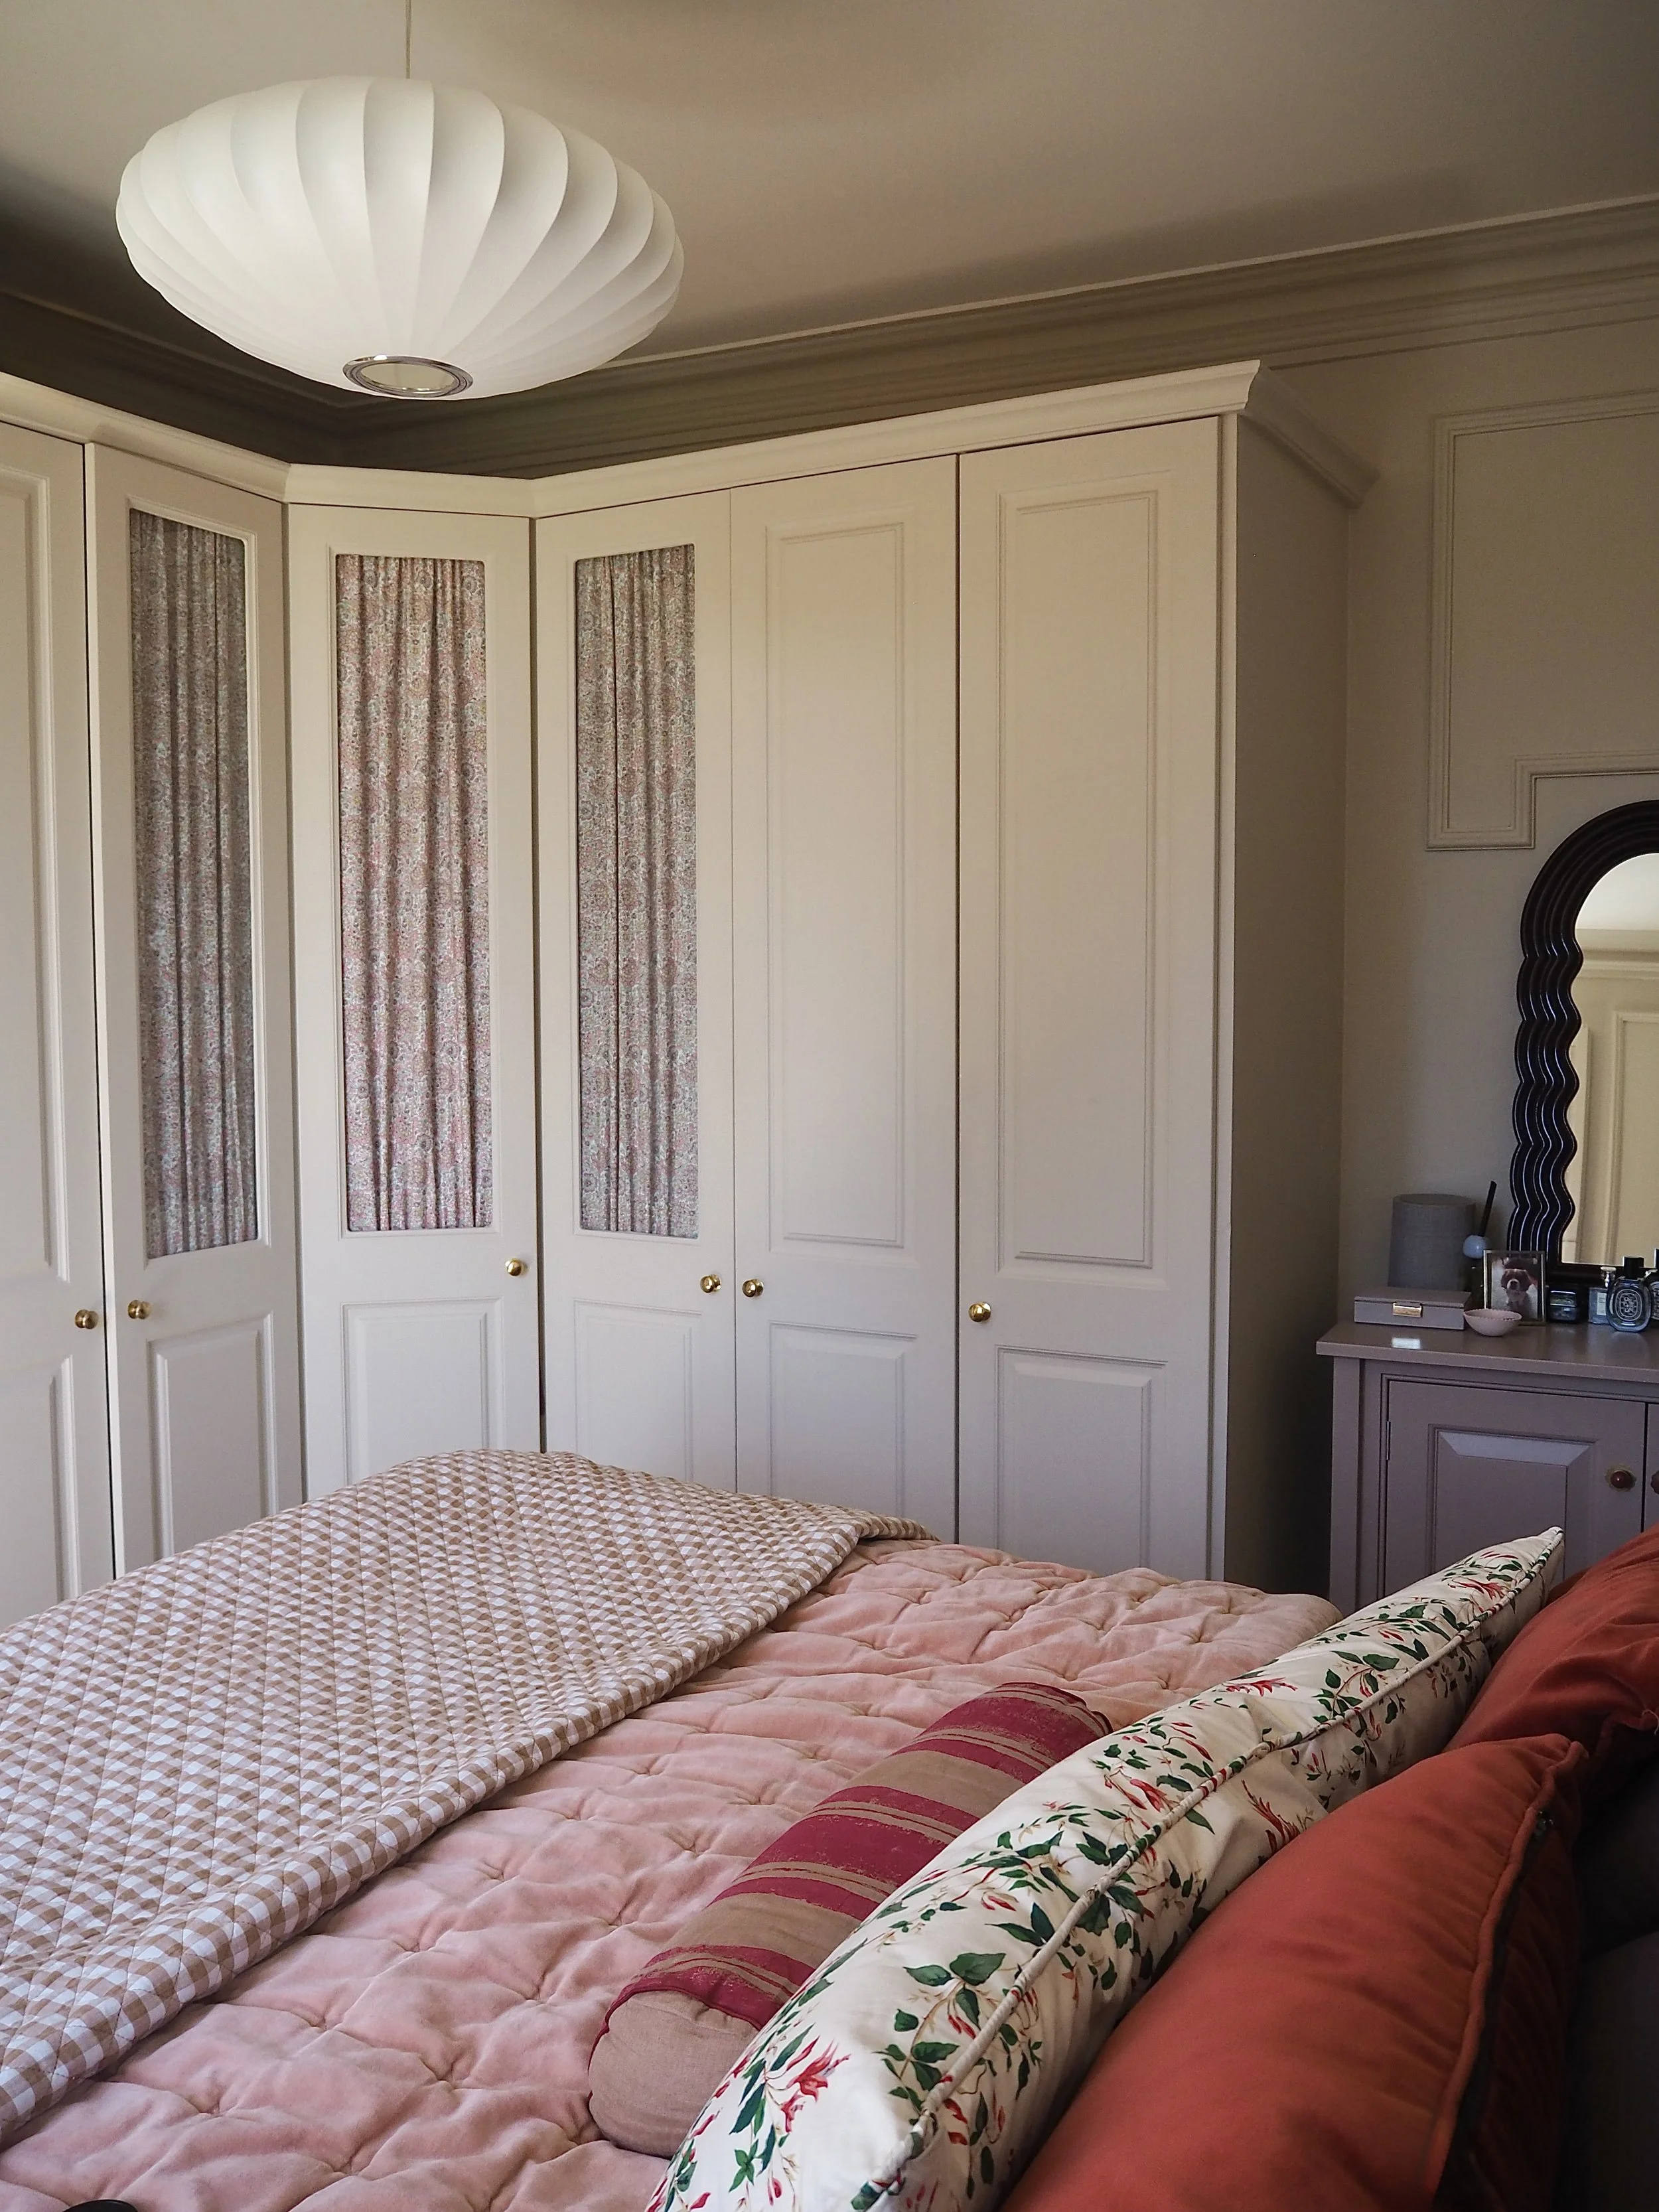
Once I had cleaned away the sanding dust i coated the panelling in 3 coats of durable eggshell paint and this is the final result:
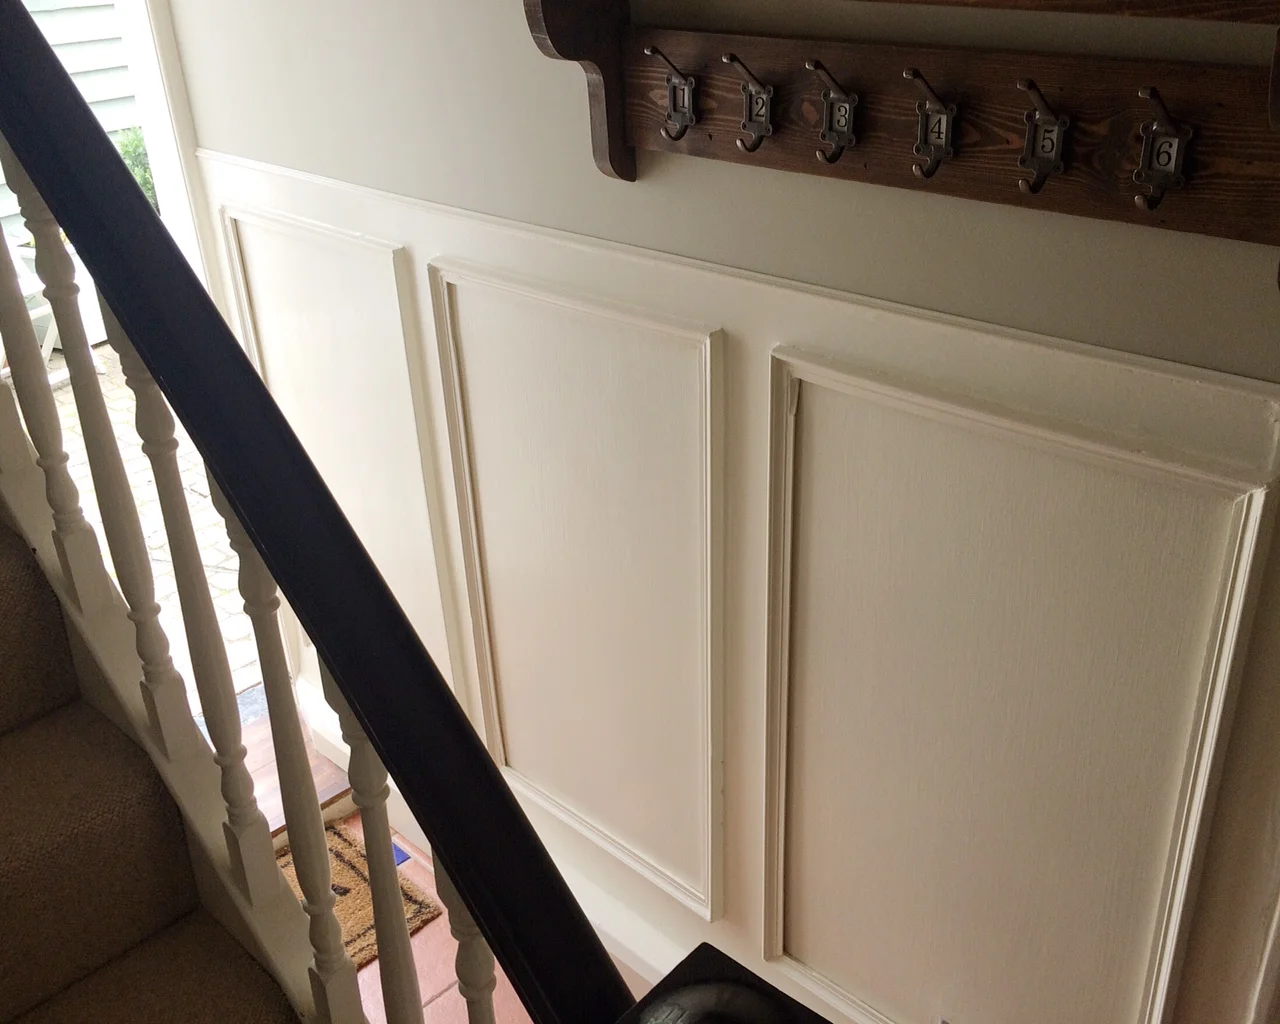

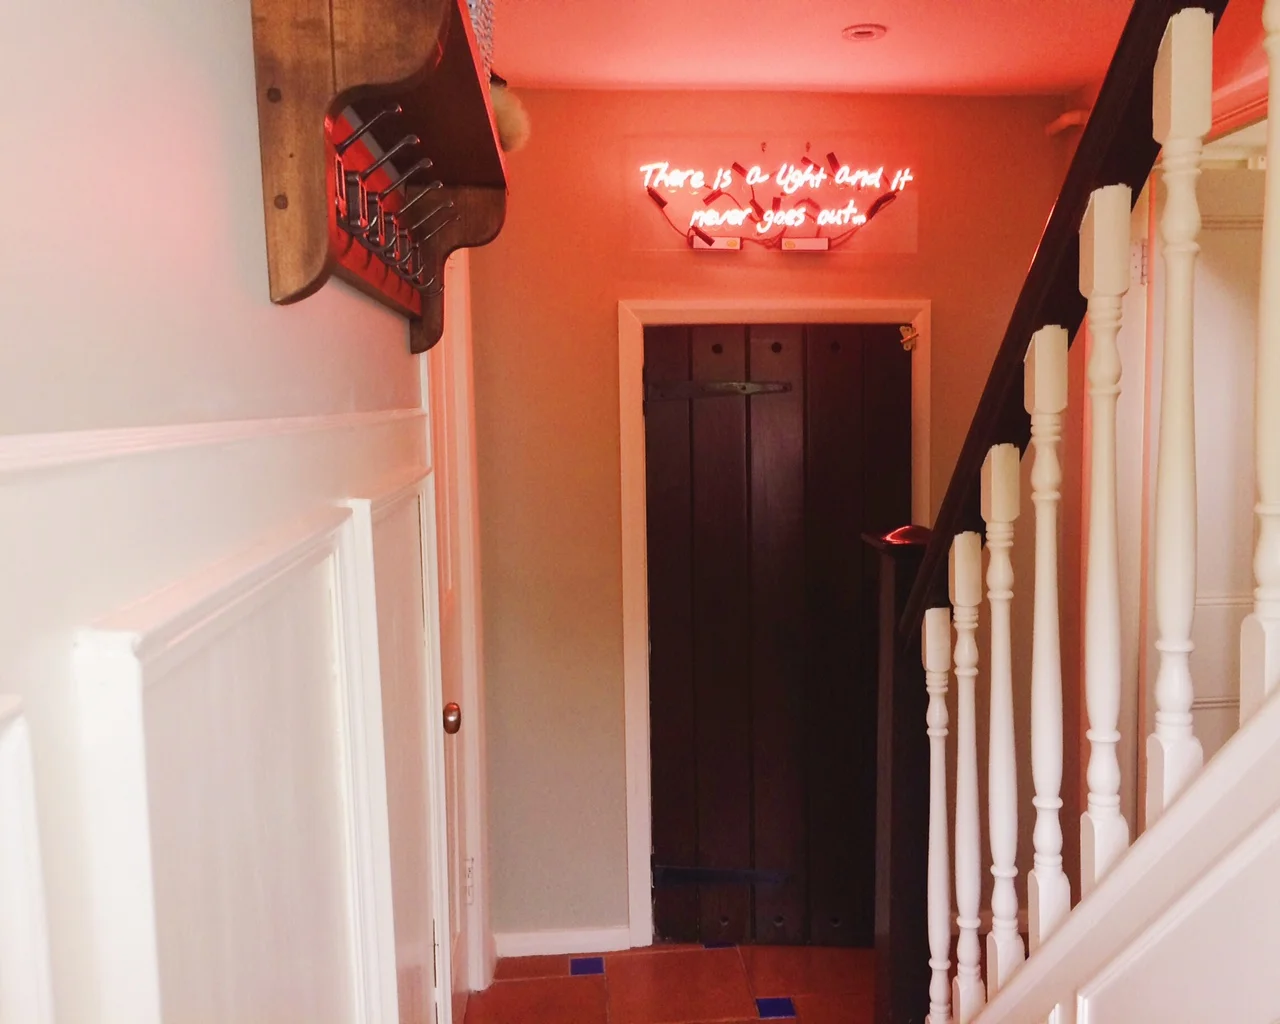
I have to say I'm quite pleased with my new wall panelling. It looks a HELL of a lot better than the dodgy wall did and really adds some period character to the hallway. The tough eggshell paint will also be good to deal with the day to day comings and goings of this area which usually means a muddy dog, dirty wellies, an abundance of coats and a stored pushchair. The mouldings and MDF board were really cheap to create an expensive looking effect and I completed this panelling in 2 days on and off, so it's perfect for a weekend project.
Here is what I used to get the job done:

1. Decent tape measure 2. Eggshell paint (this was Ivory by Hemsley available at Homebase) 3. No More Nails 4. Sander 5. Dust mask for use when sanding 6. Multi-purpose filler 7. Small-ish handsaw 8. Hammer 9. Paintbrushes 10. Nails
Please note that this post contains some affiliate links