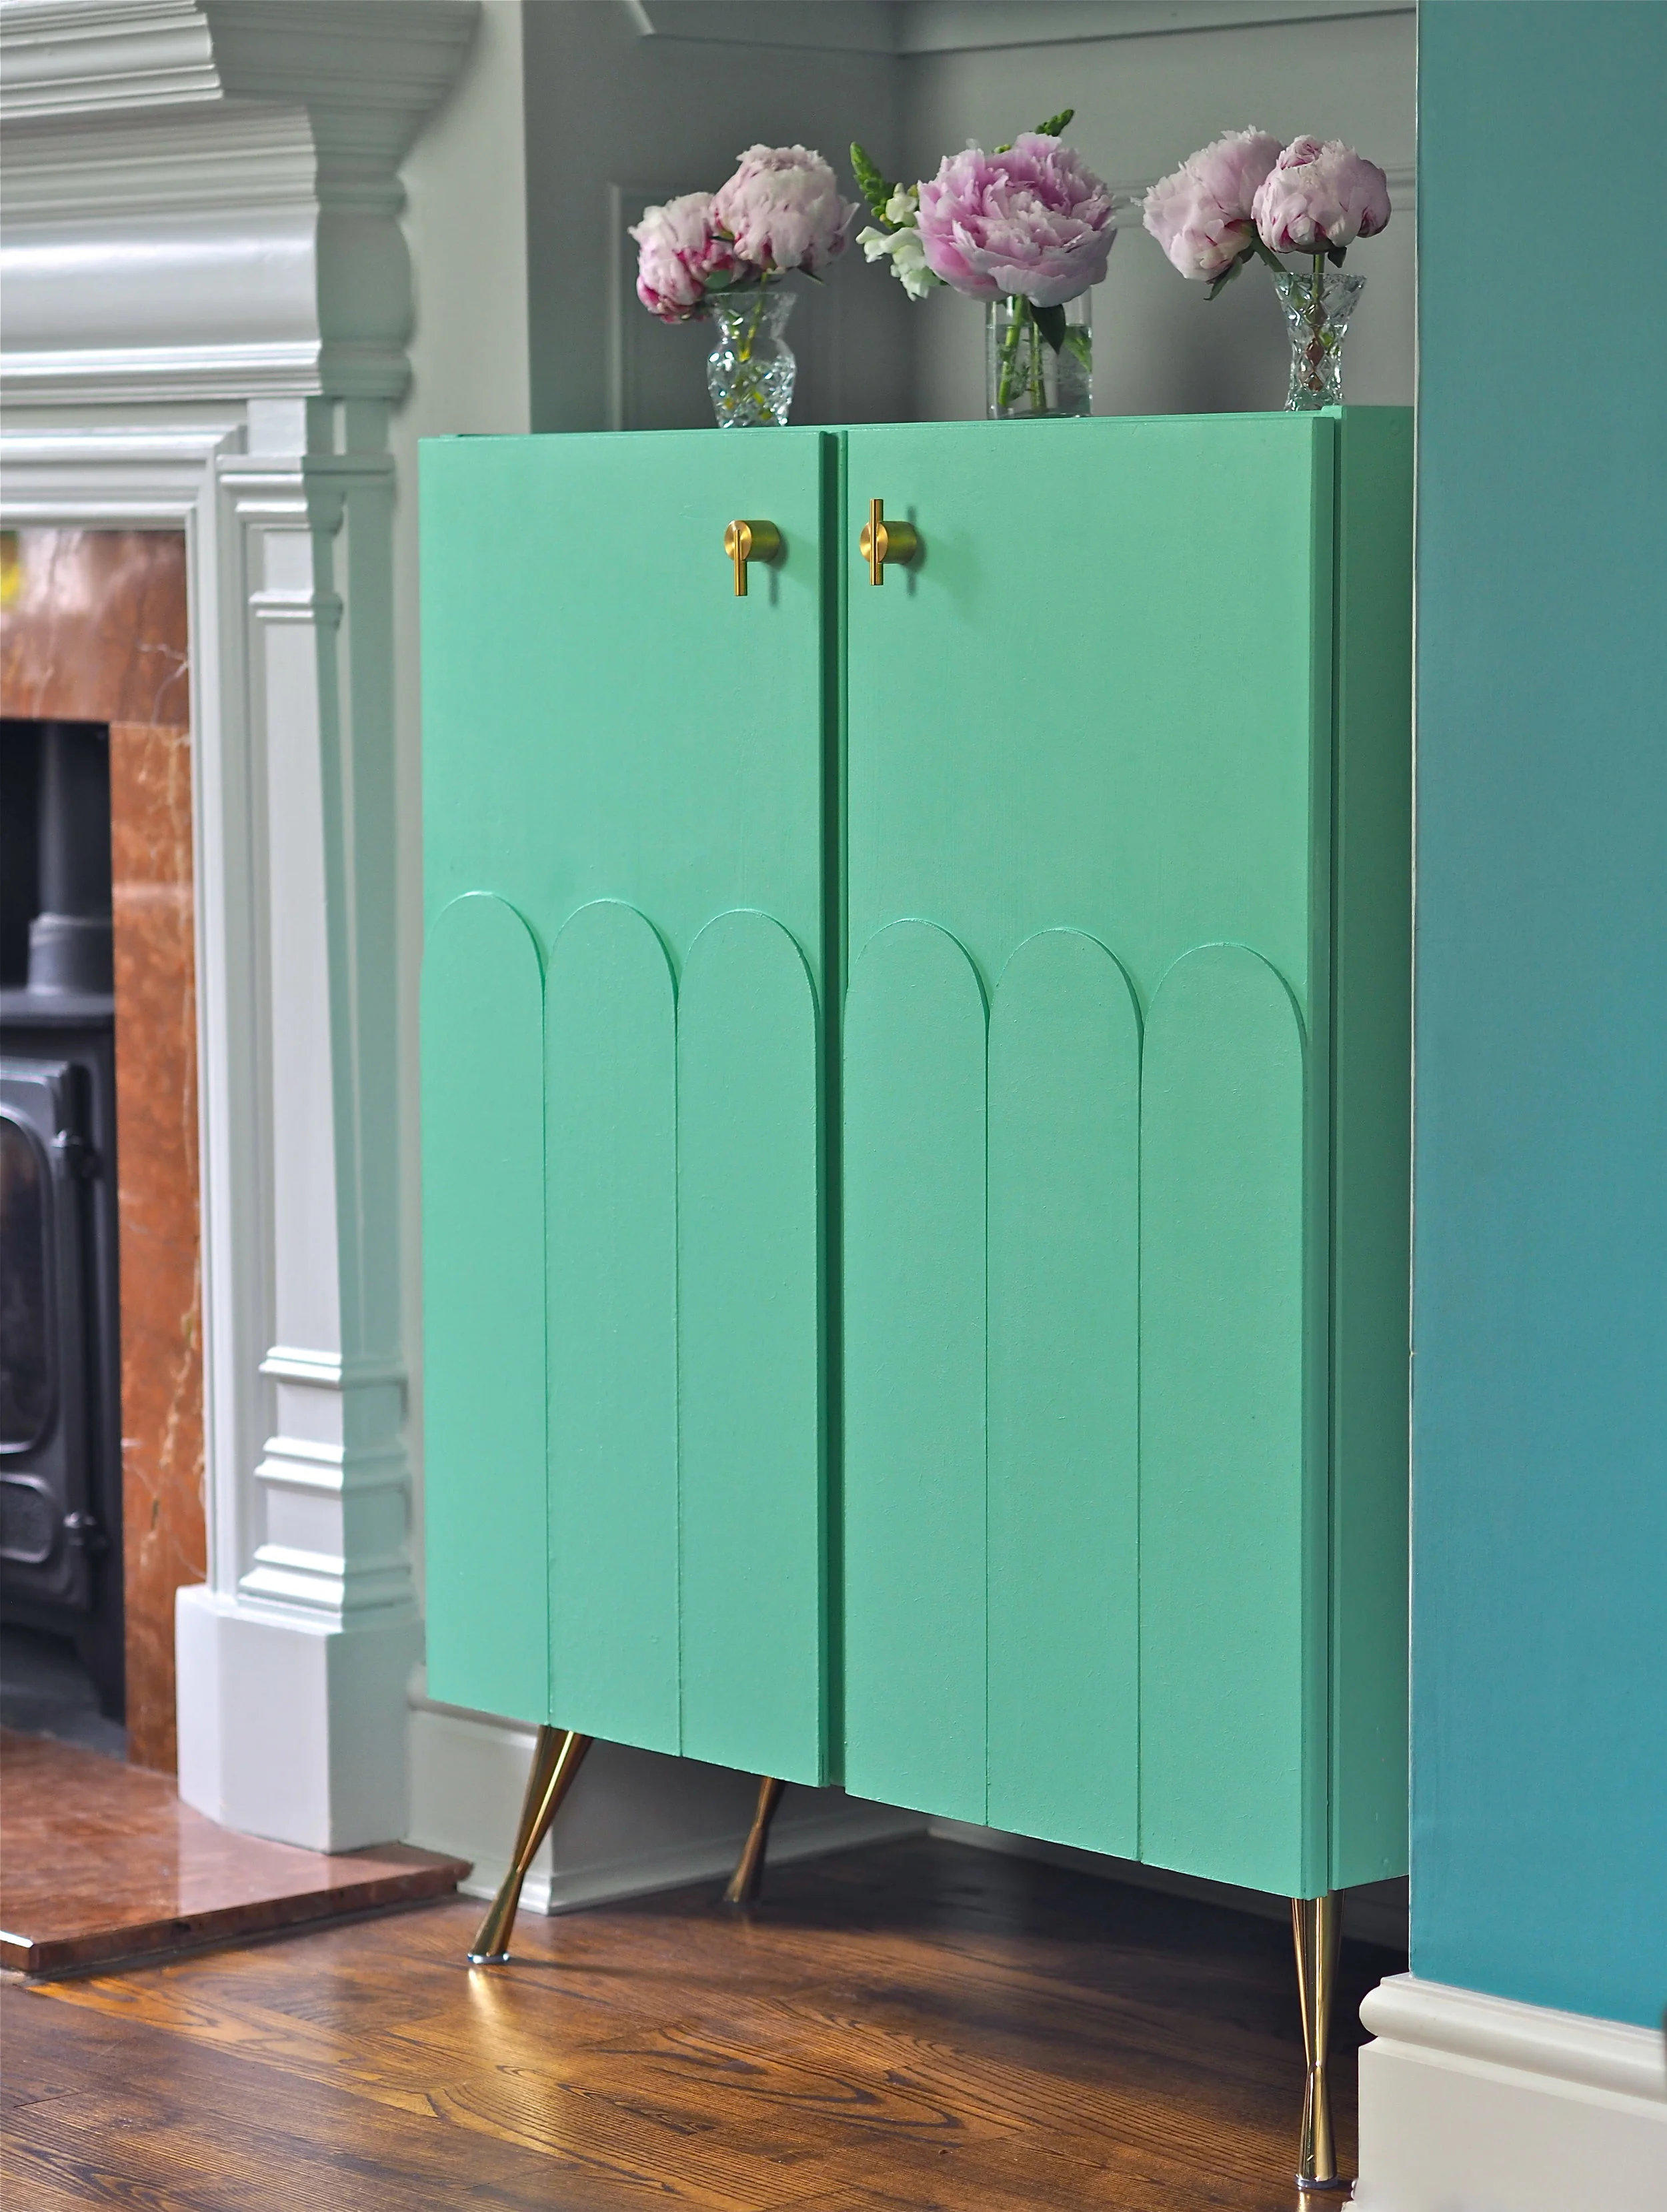
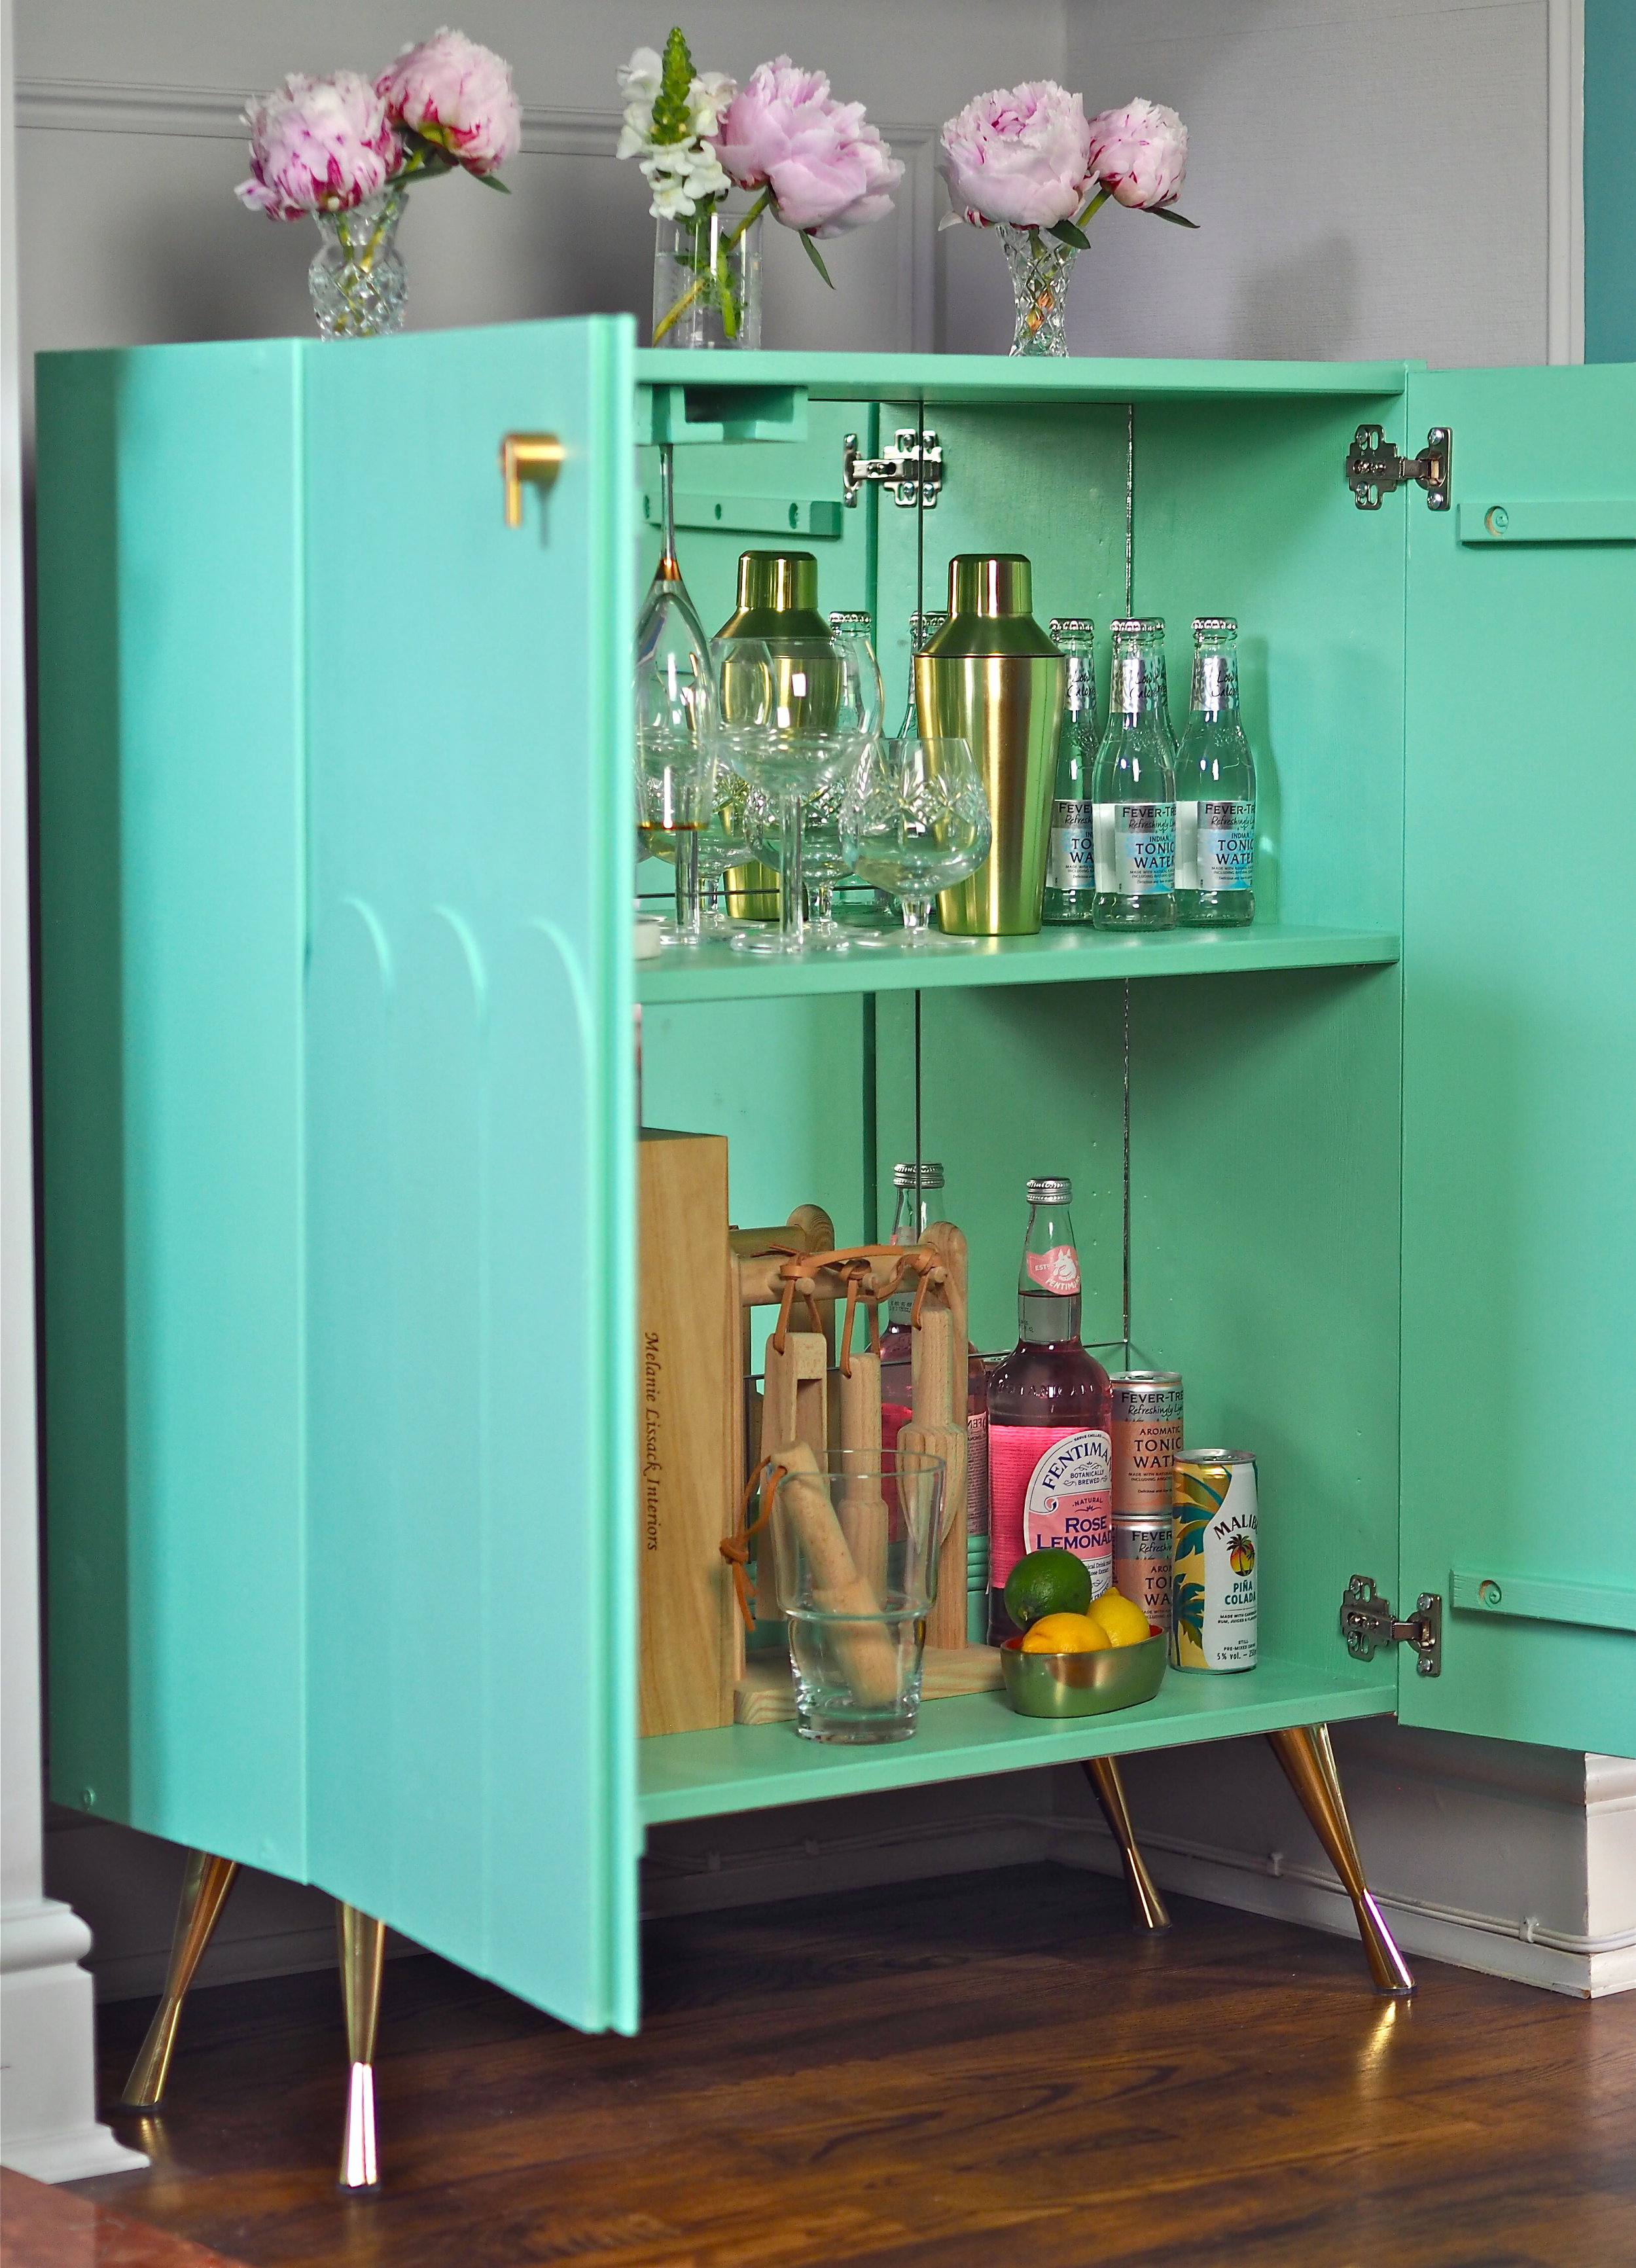
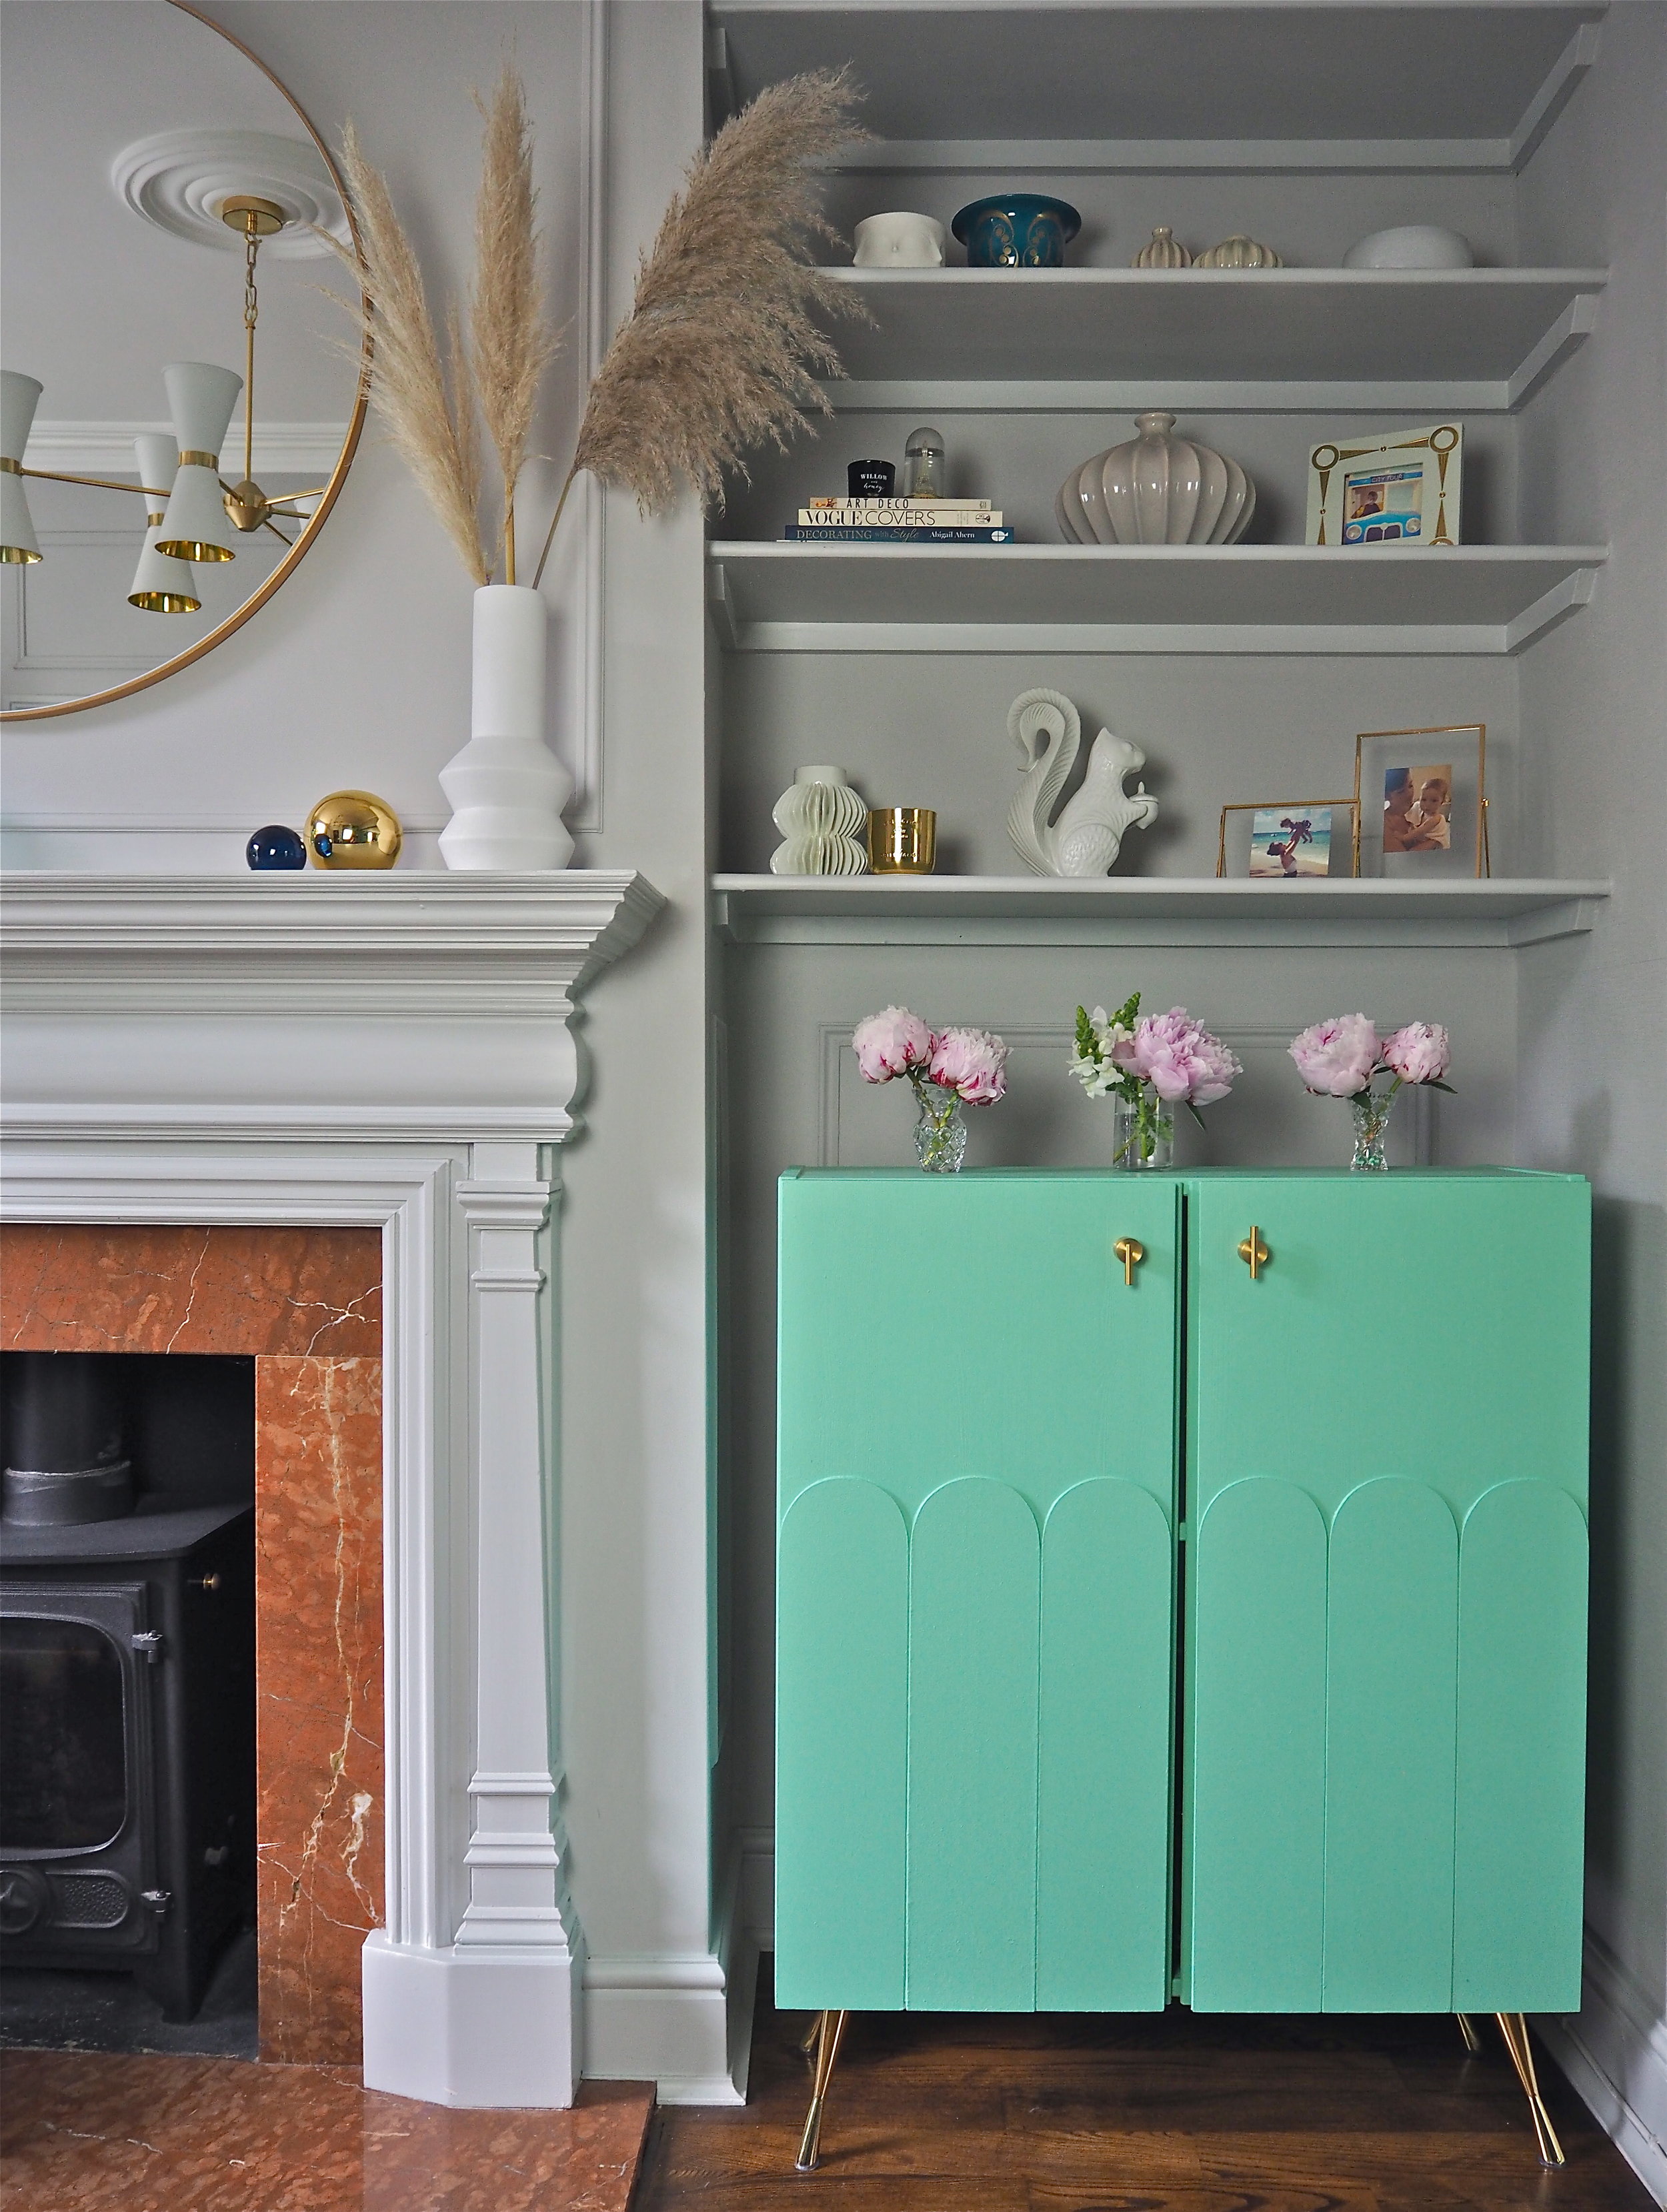
IKEA Ivar DIY Green Drinks Cabinet Hack
Ice-cream and sorbet shades are the key colours in interiors for summer 2019, with minty hues really making my heart flutter! Mint is a really retro colour, so it works perfectly on fun, accent furniture such as drinks cabinets. Both Anthropologie and John Lewis are currently selling mint cabinets and even though I really wanted one for summer cocktails, I couldn’t justify spending a few hundred pounds on a non-essential piece of furniture. Instead, I decided to DIY one using a basic wood IKEA cabinet, paint, some MDF and my trusty Gorilla Glue products.
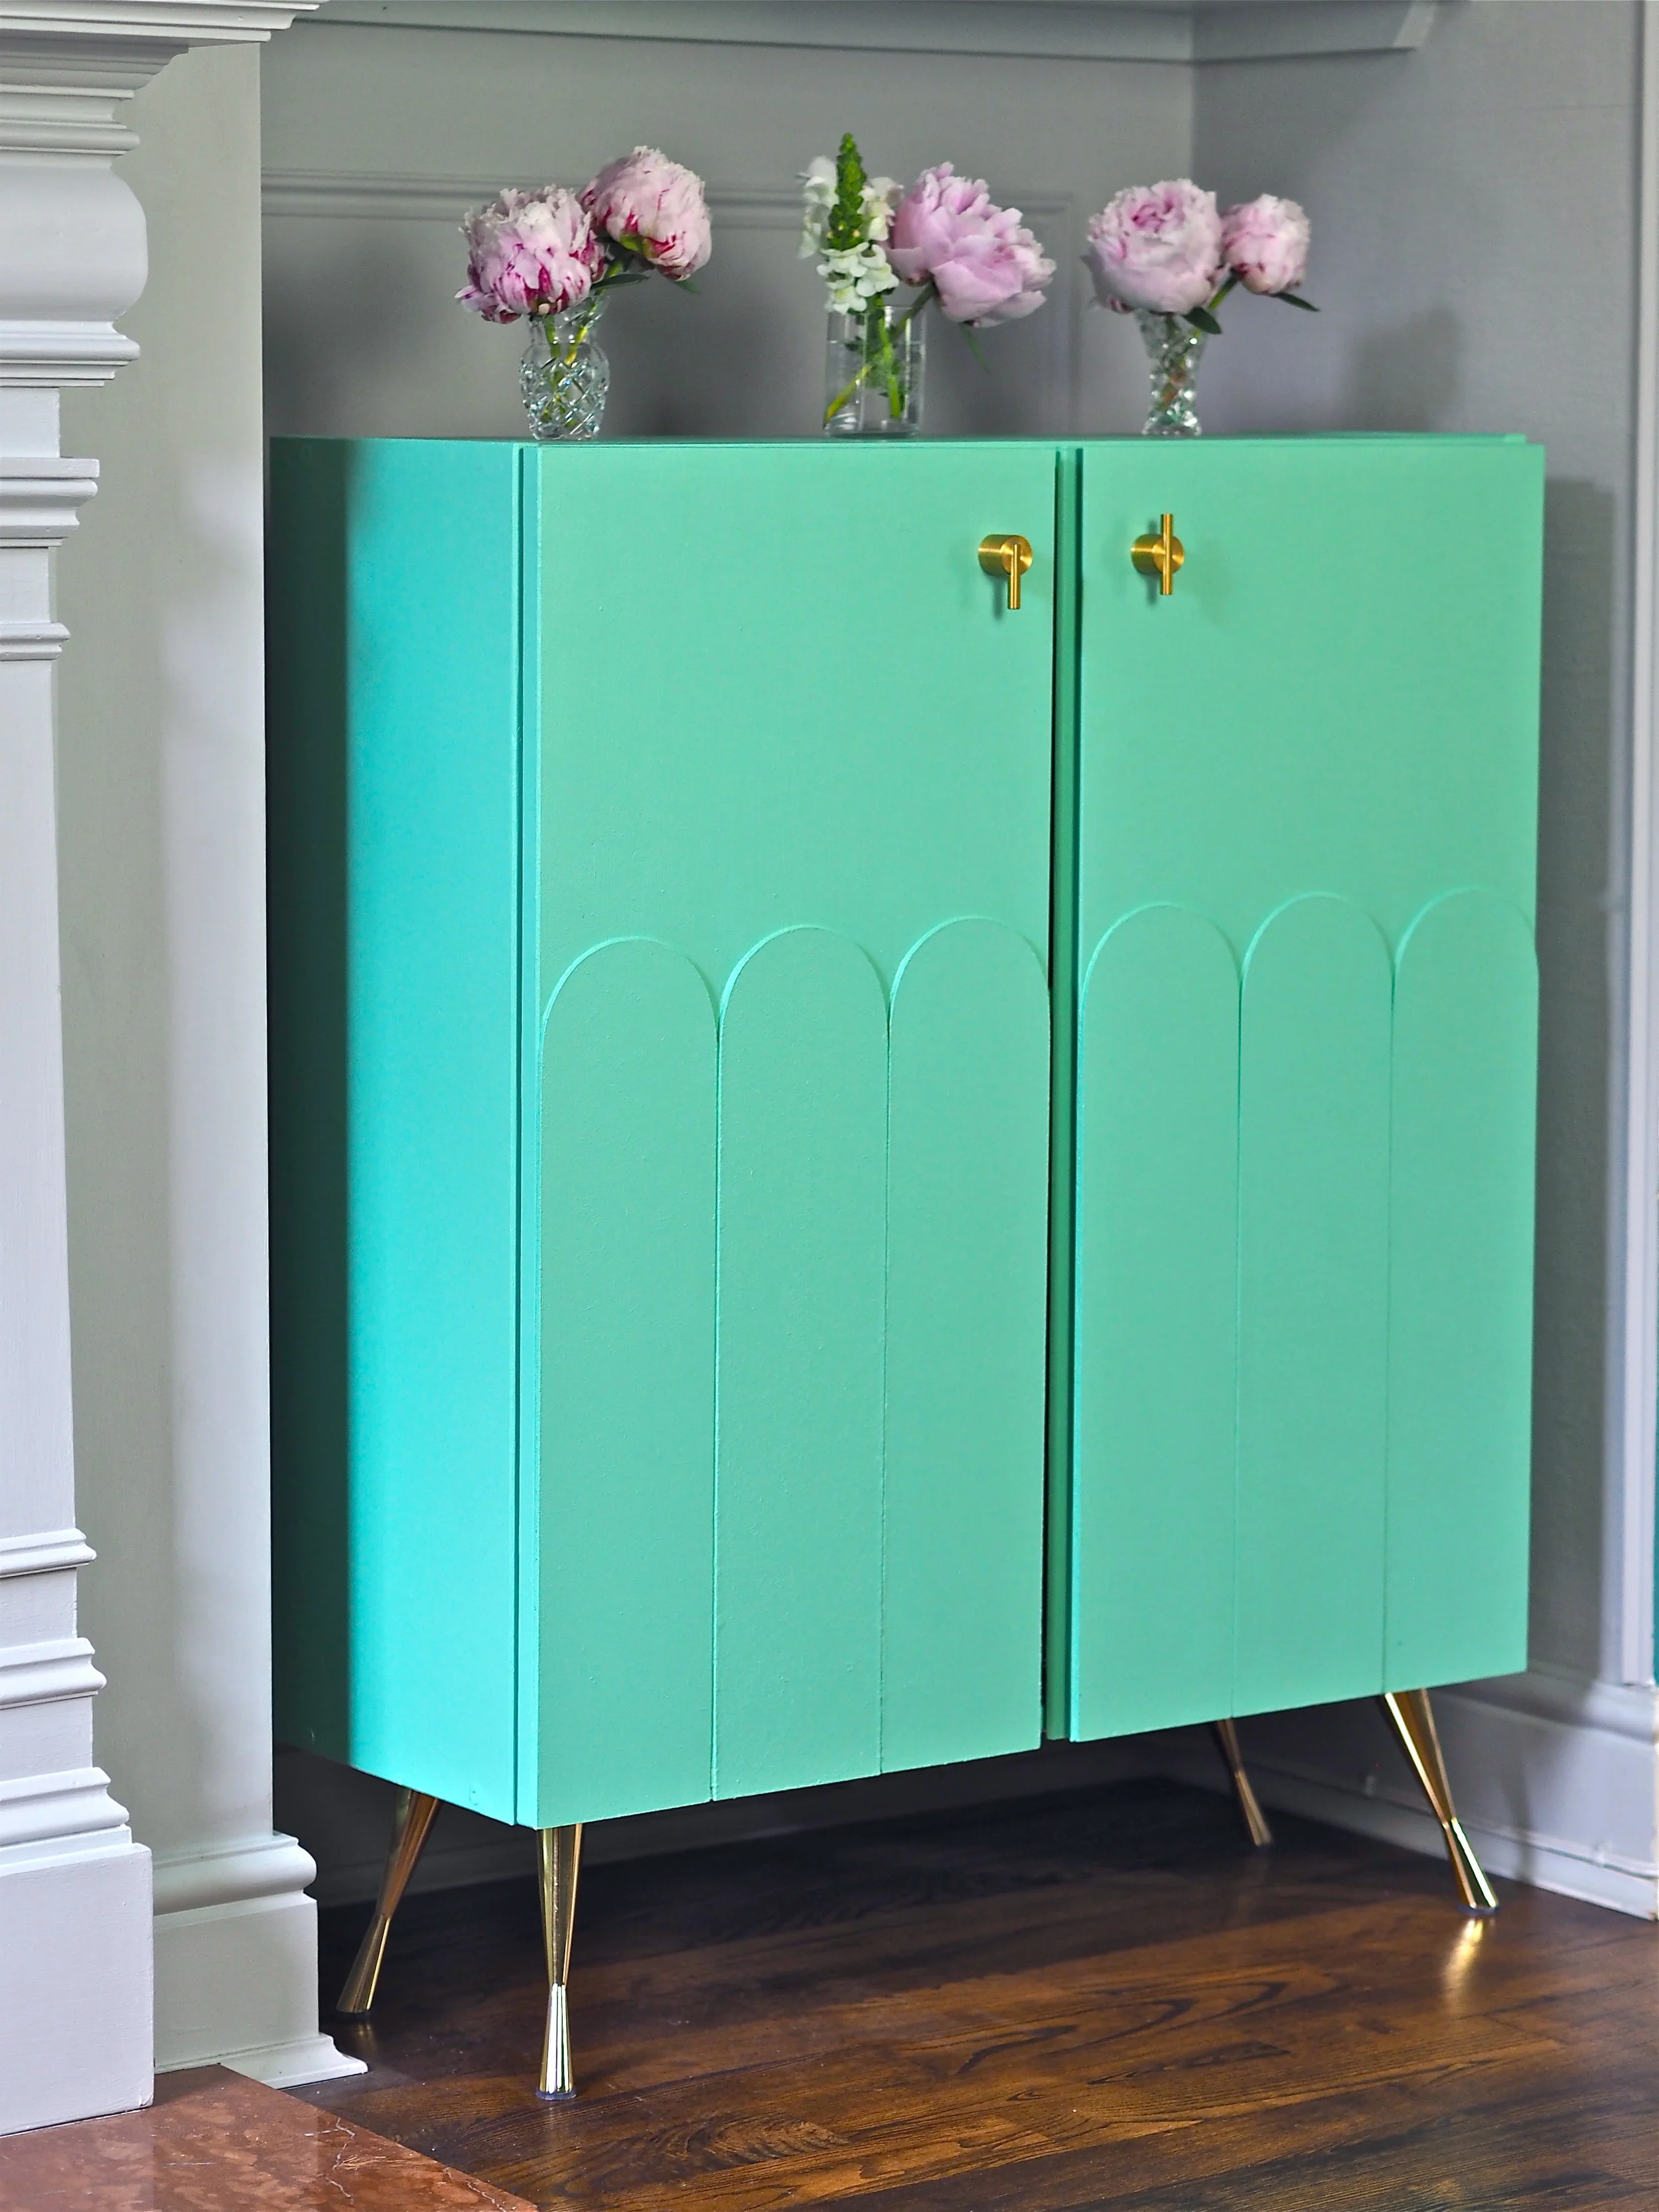

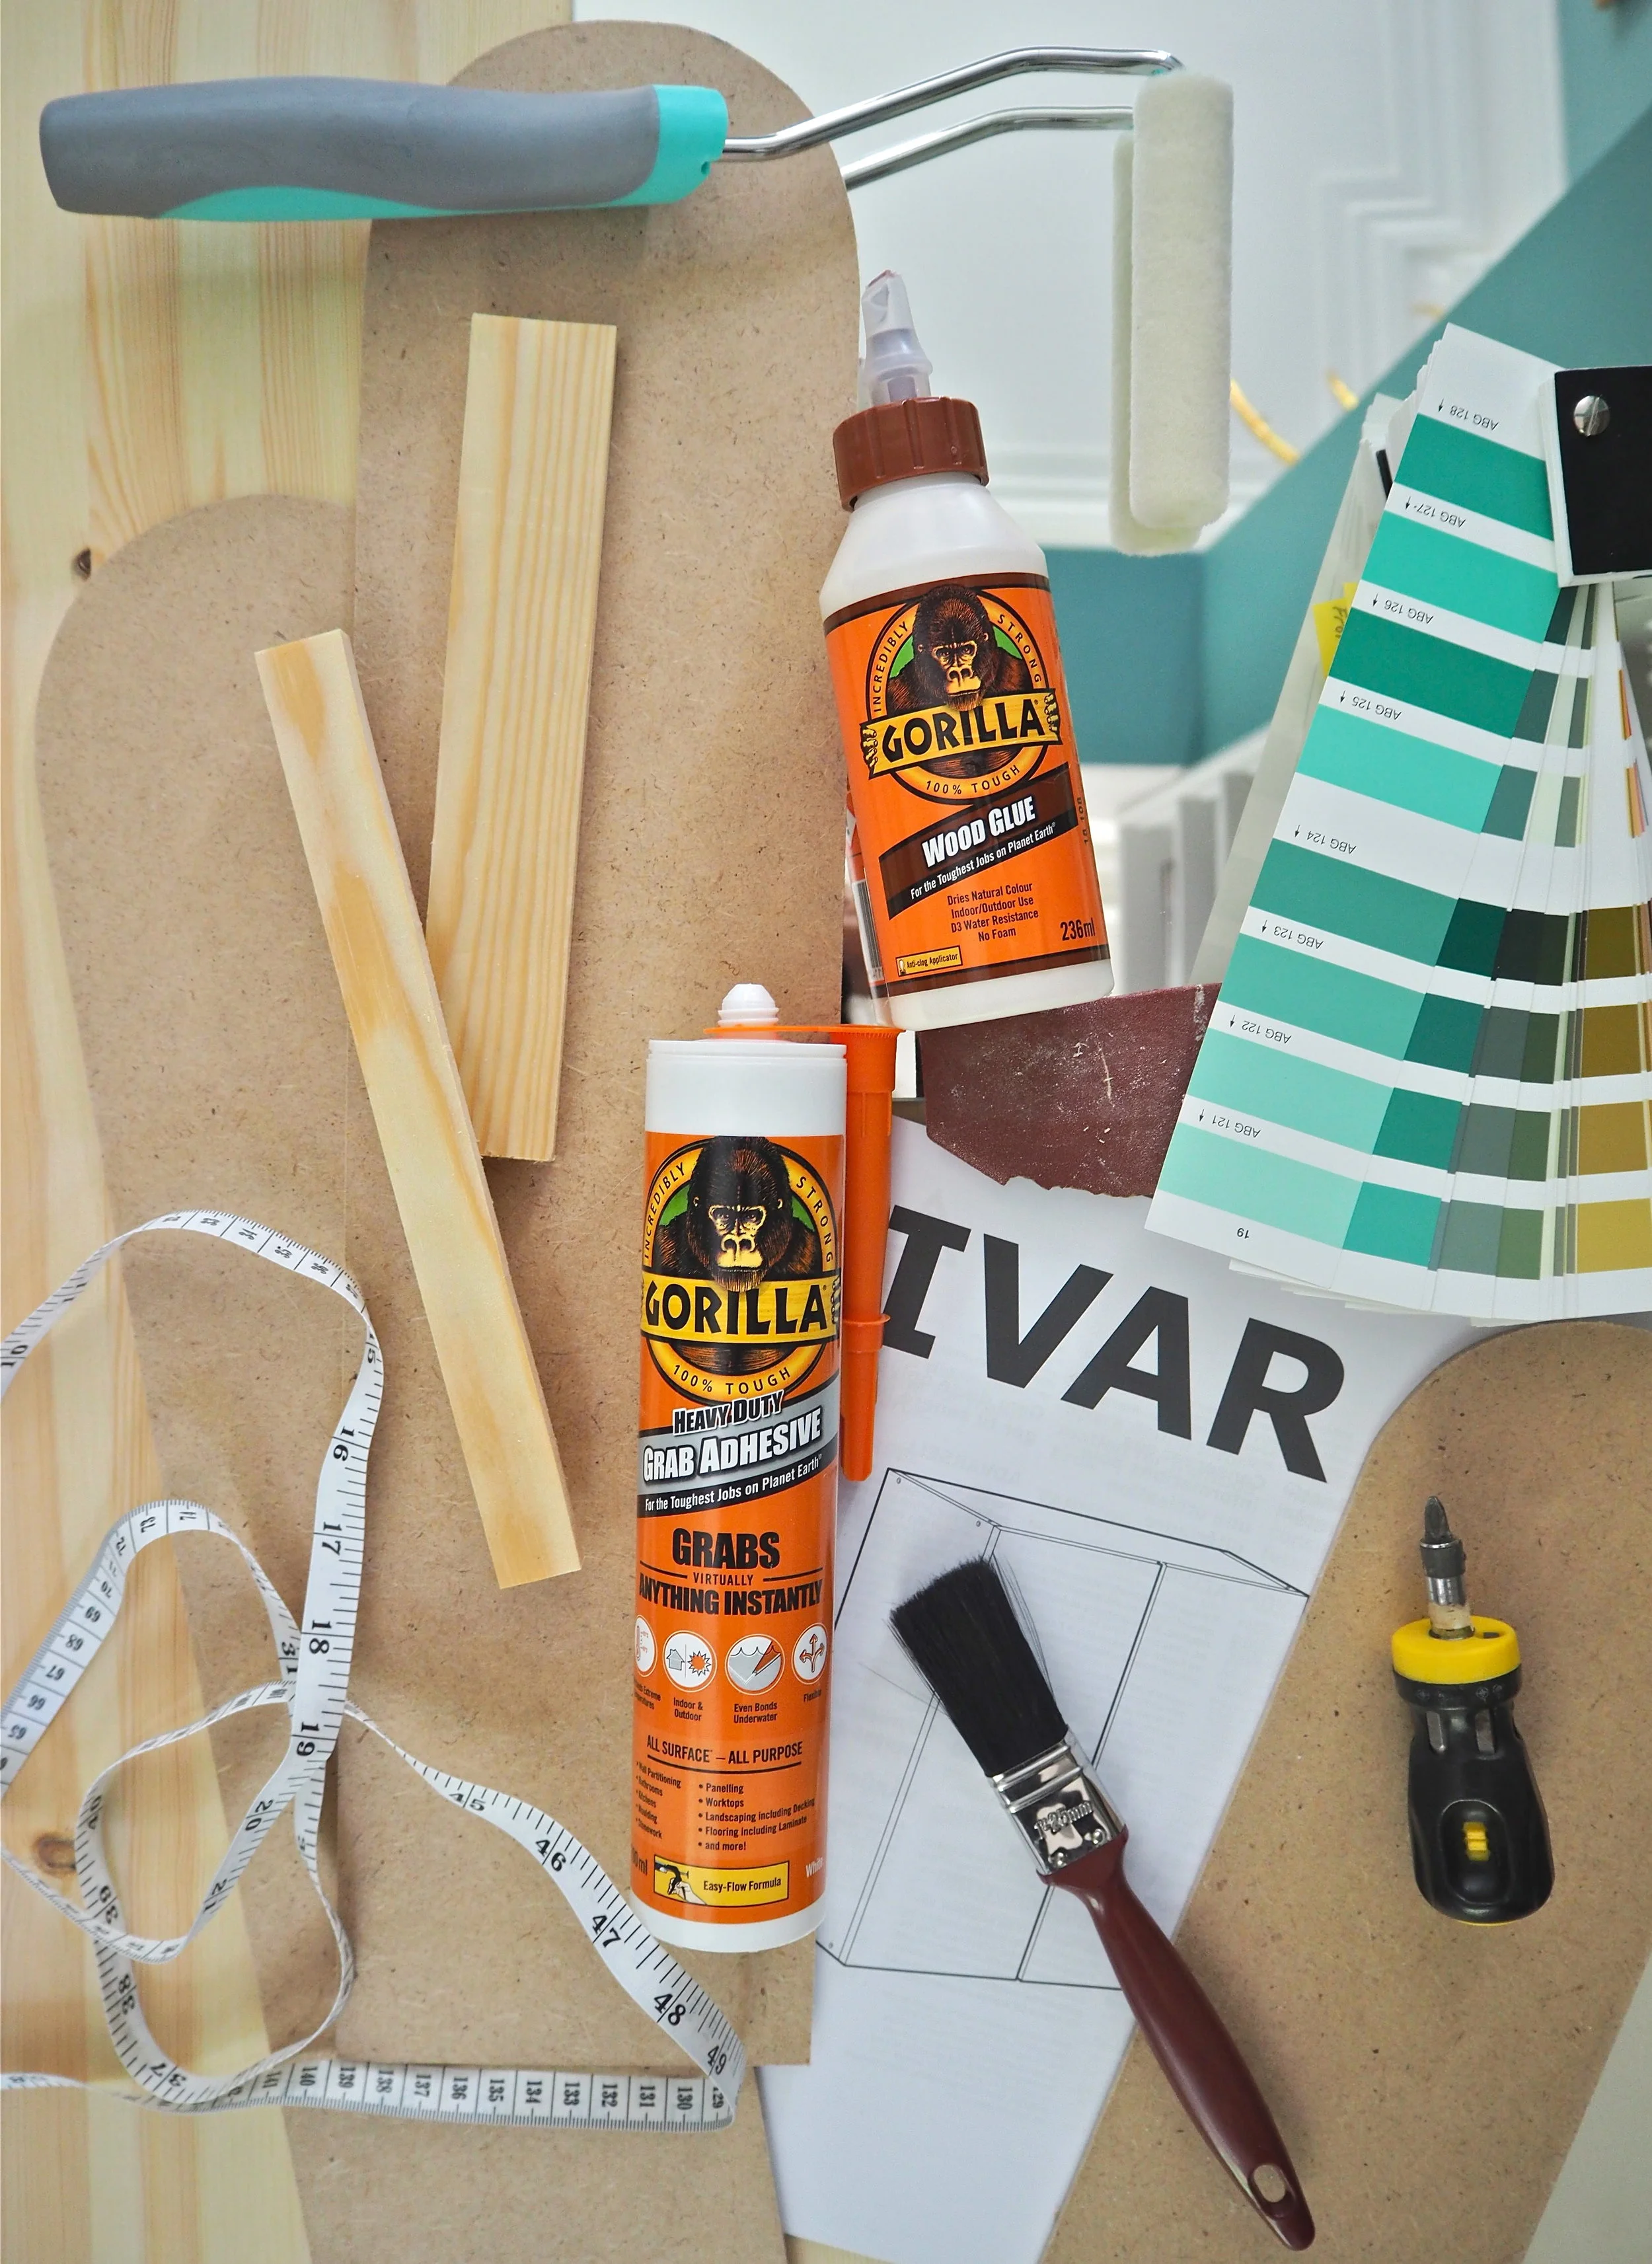
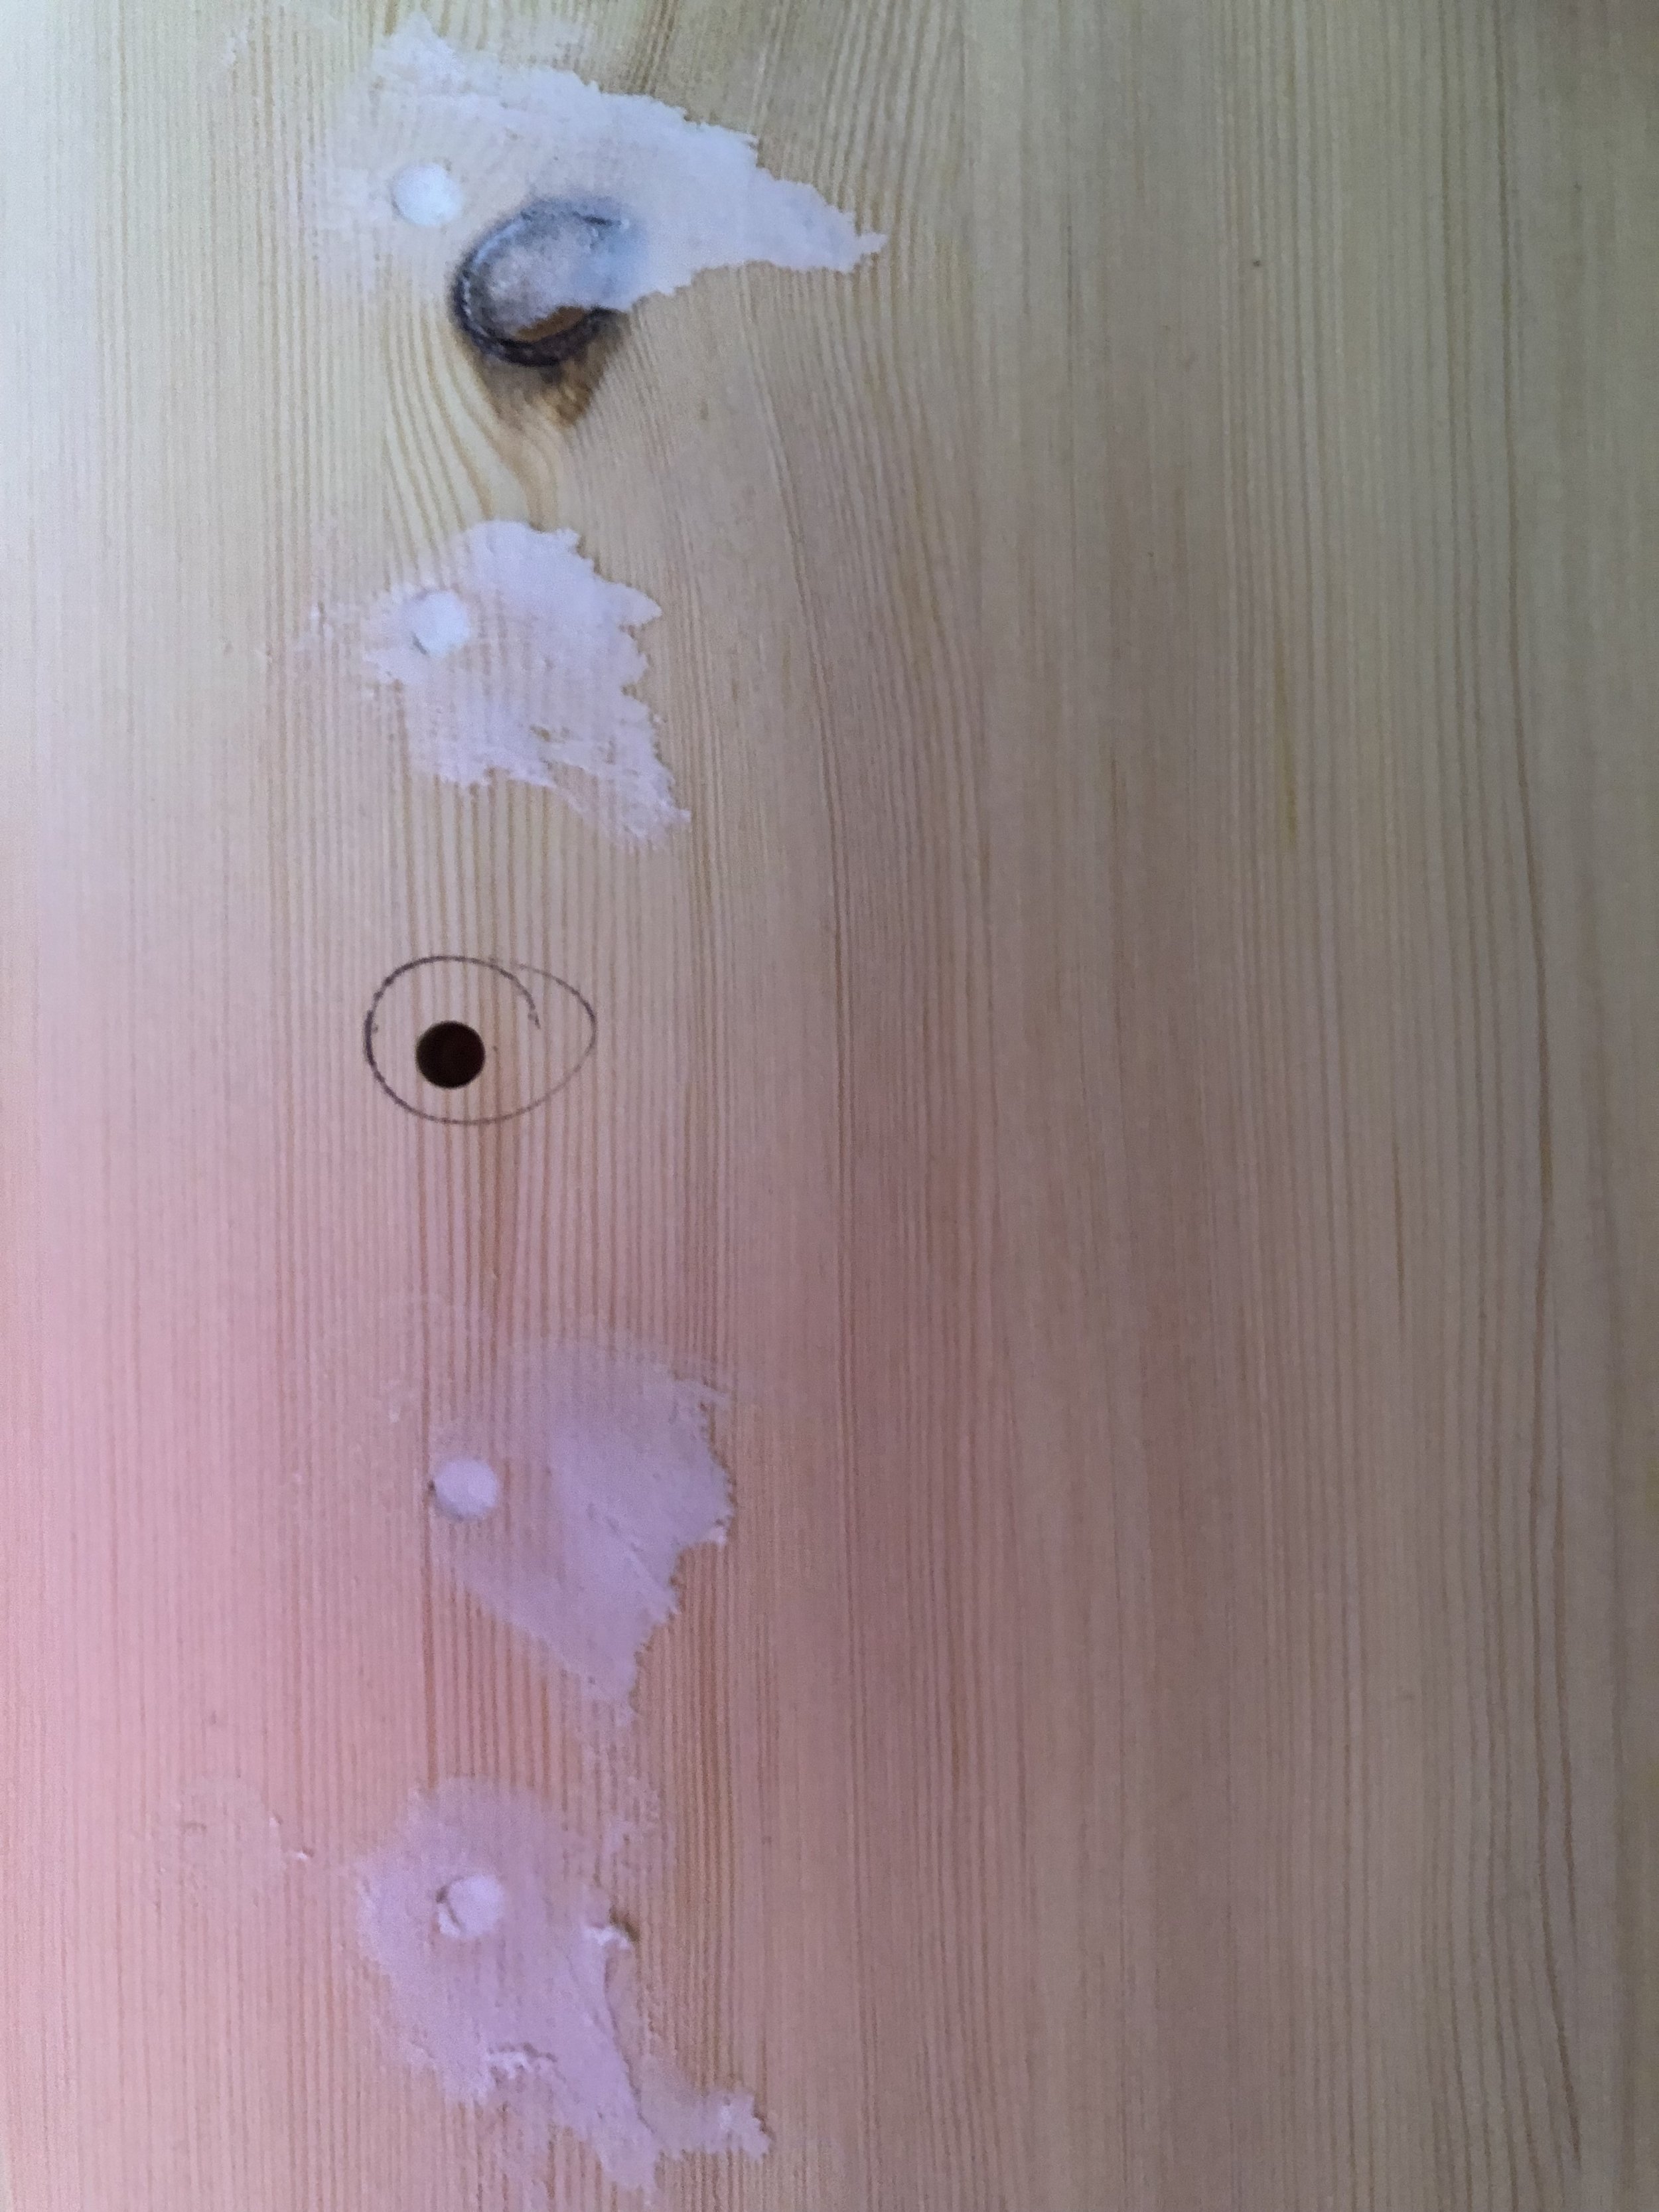
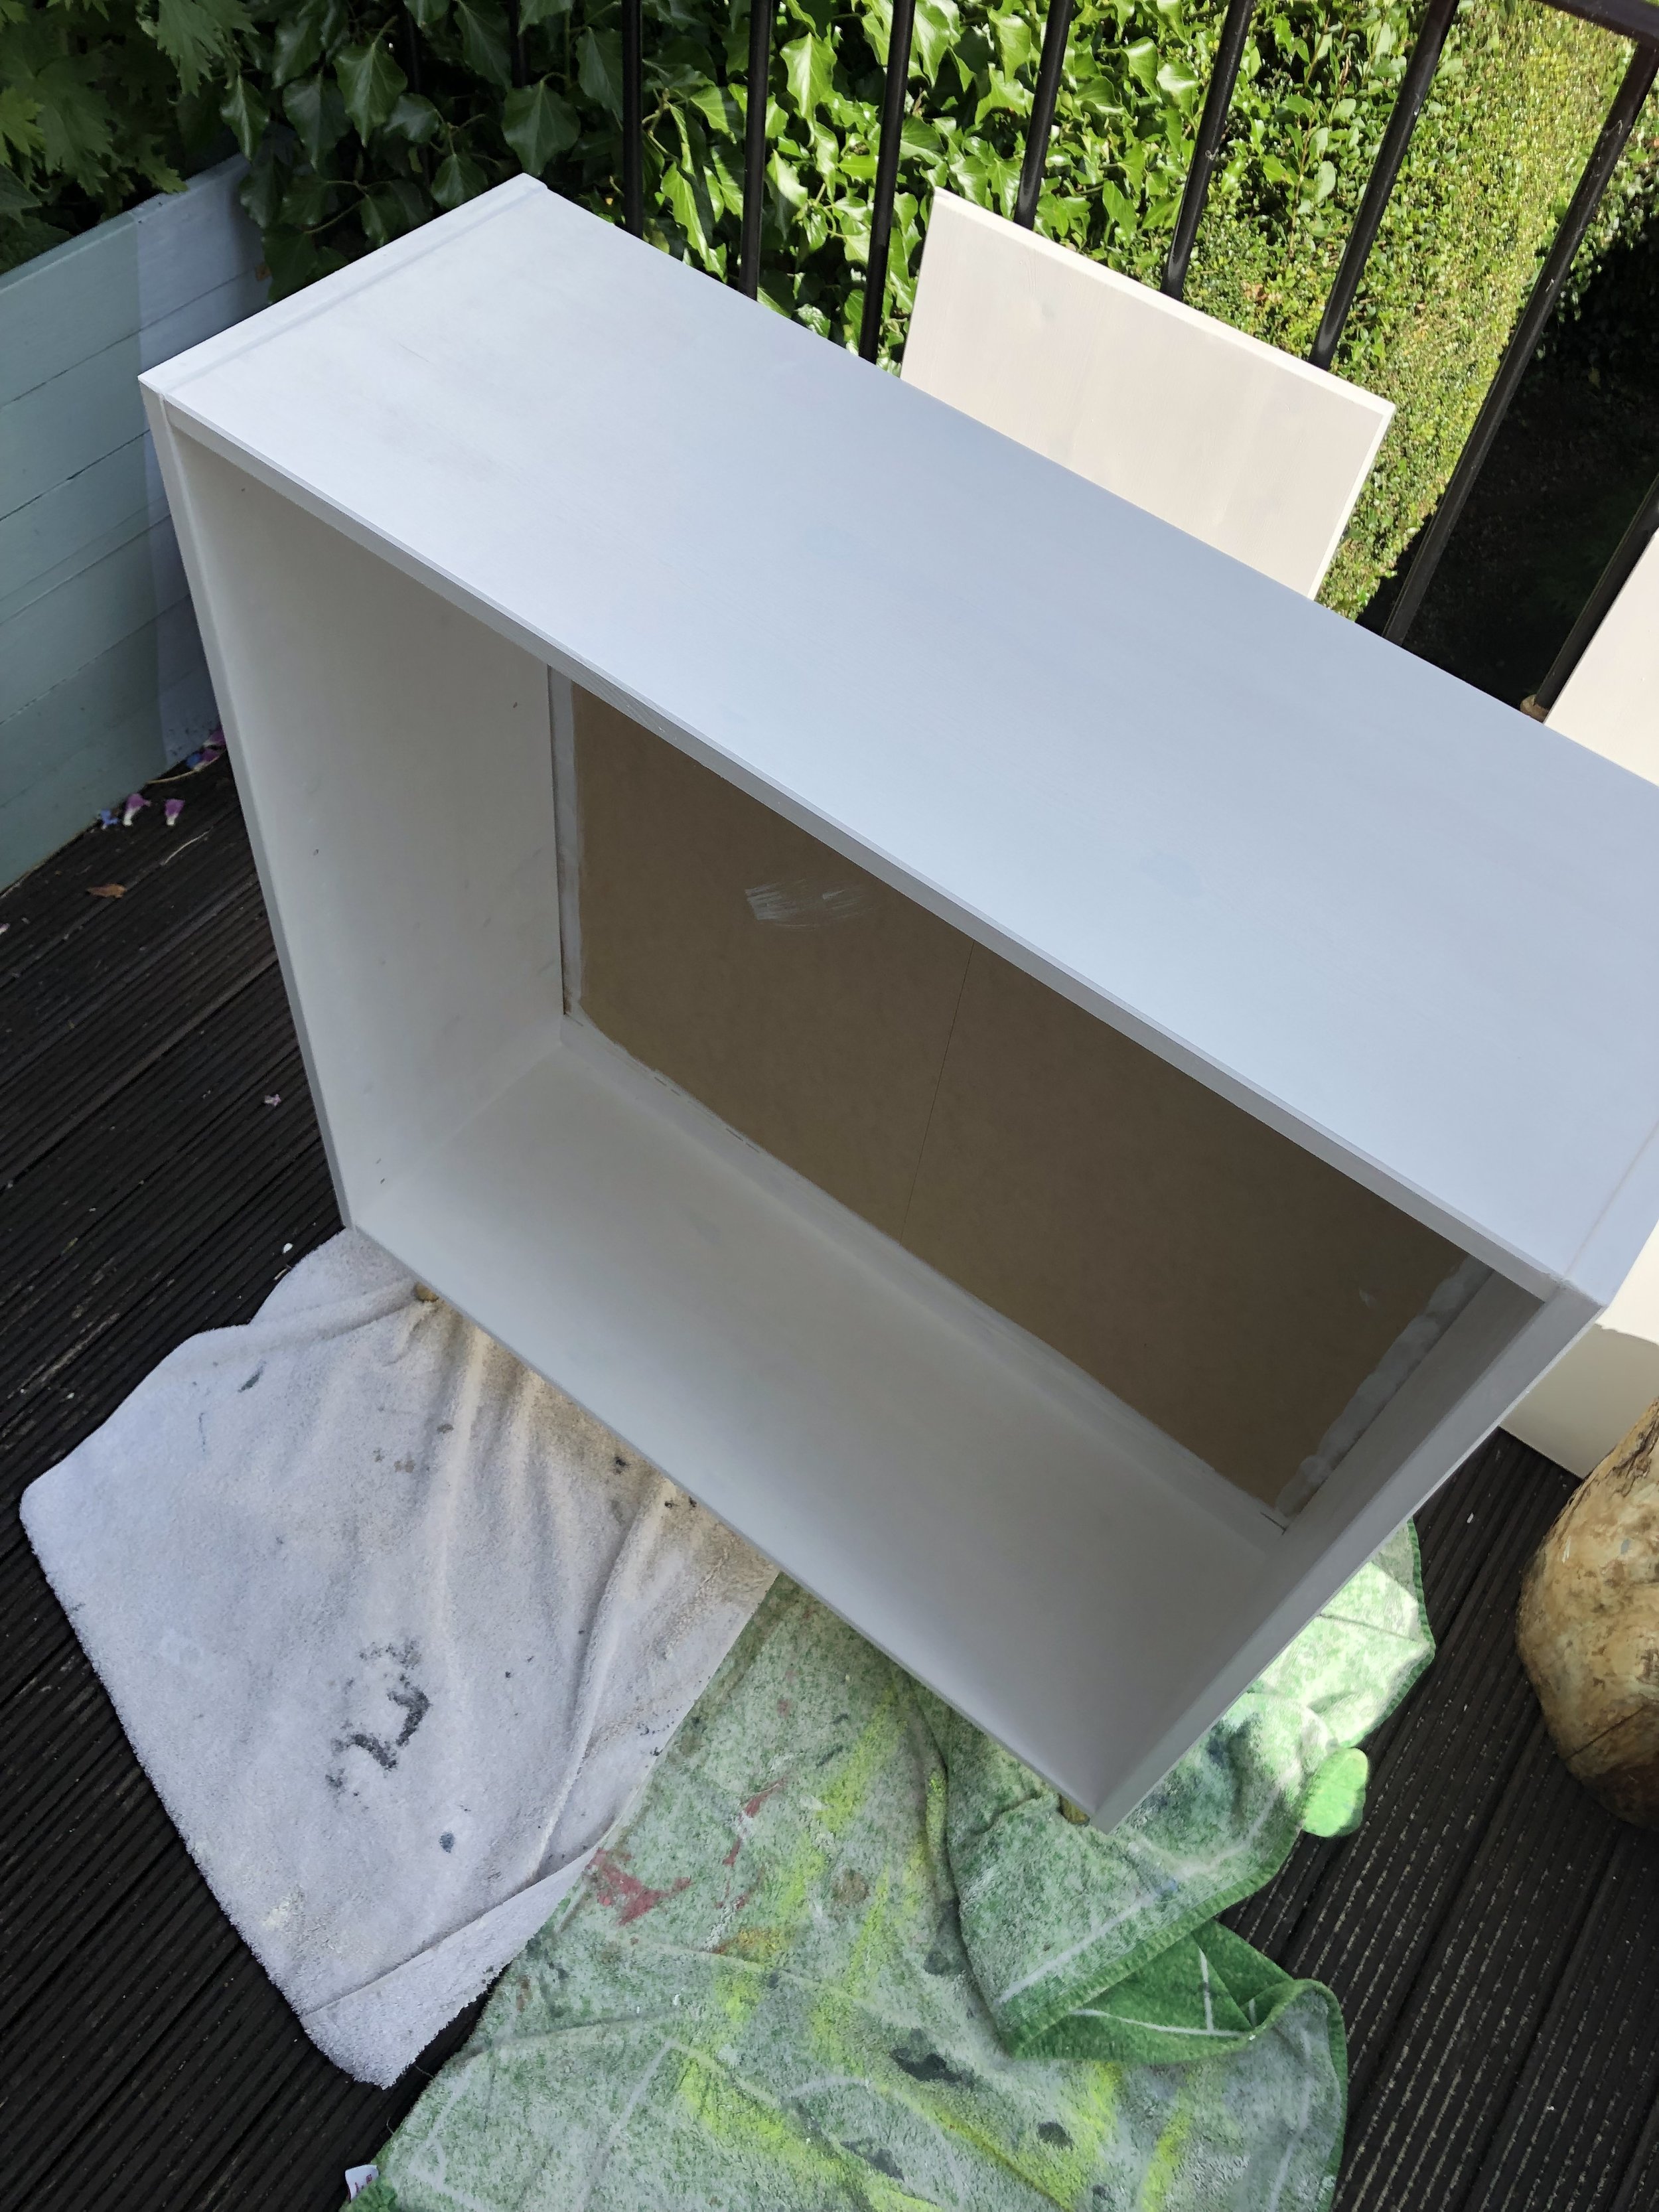
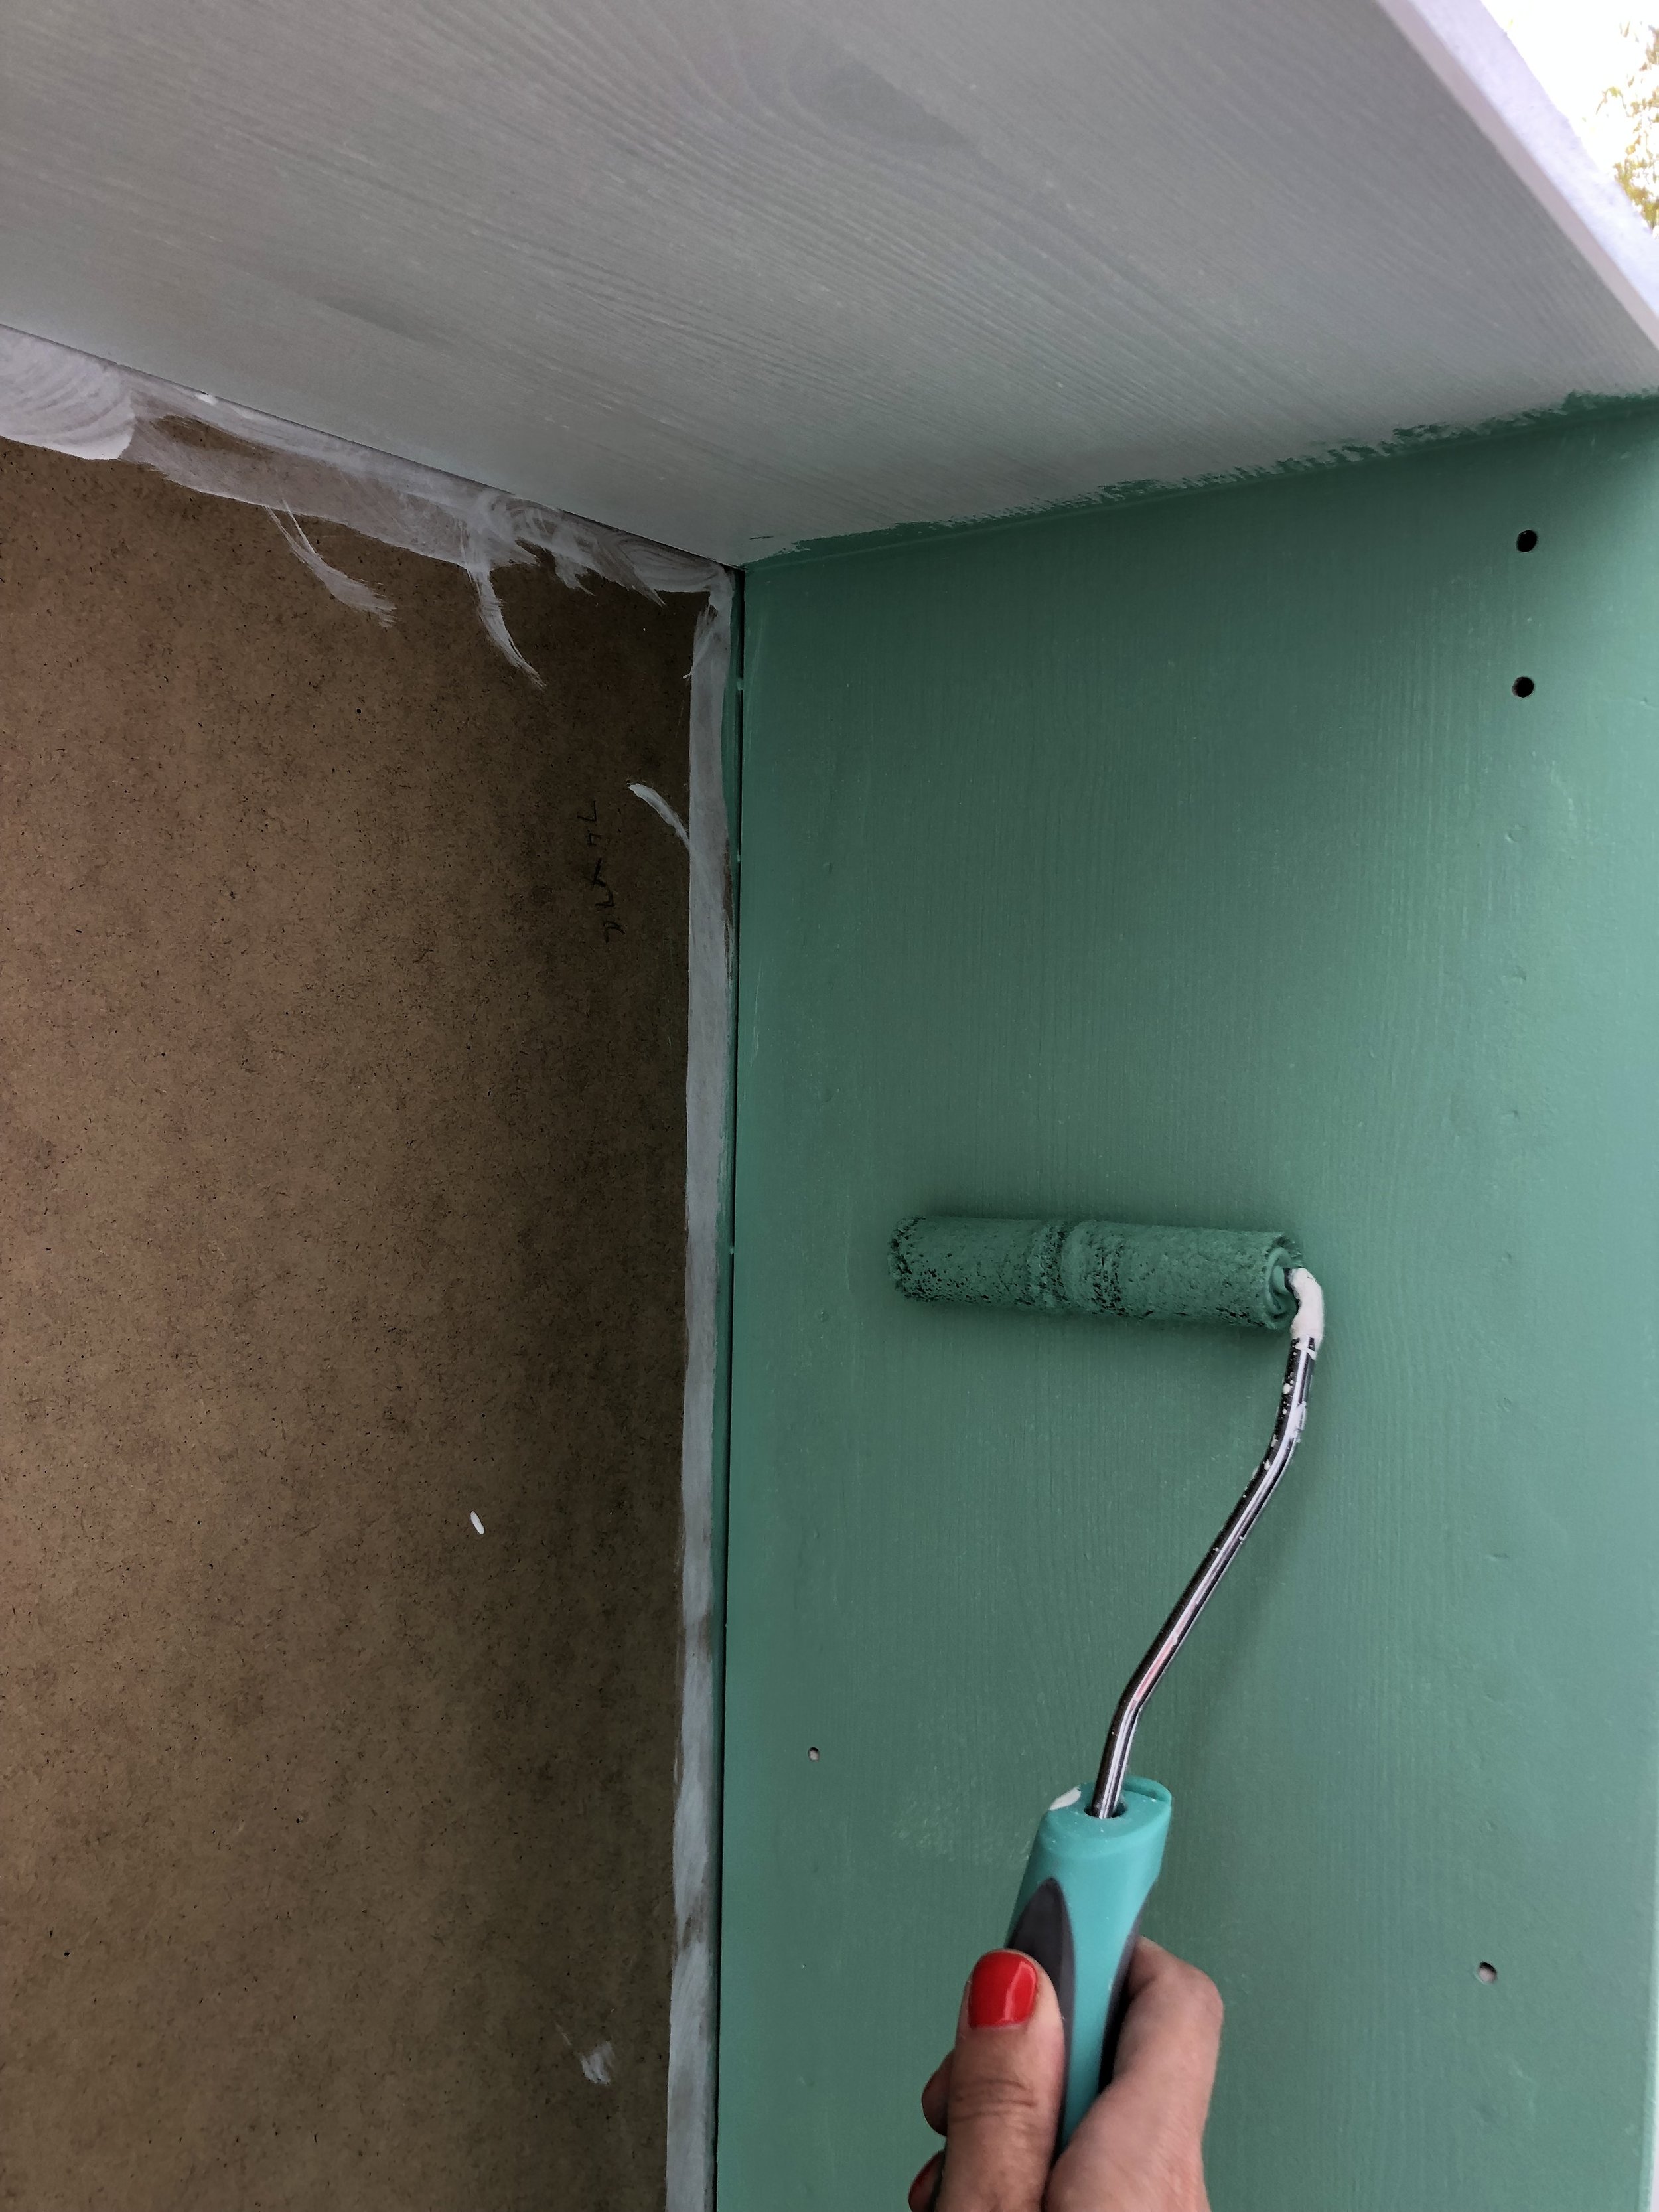
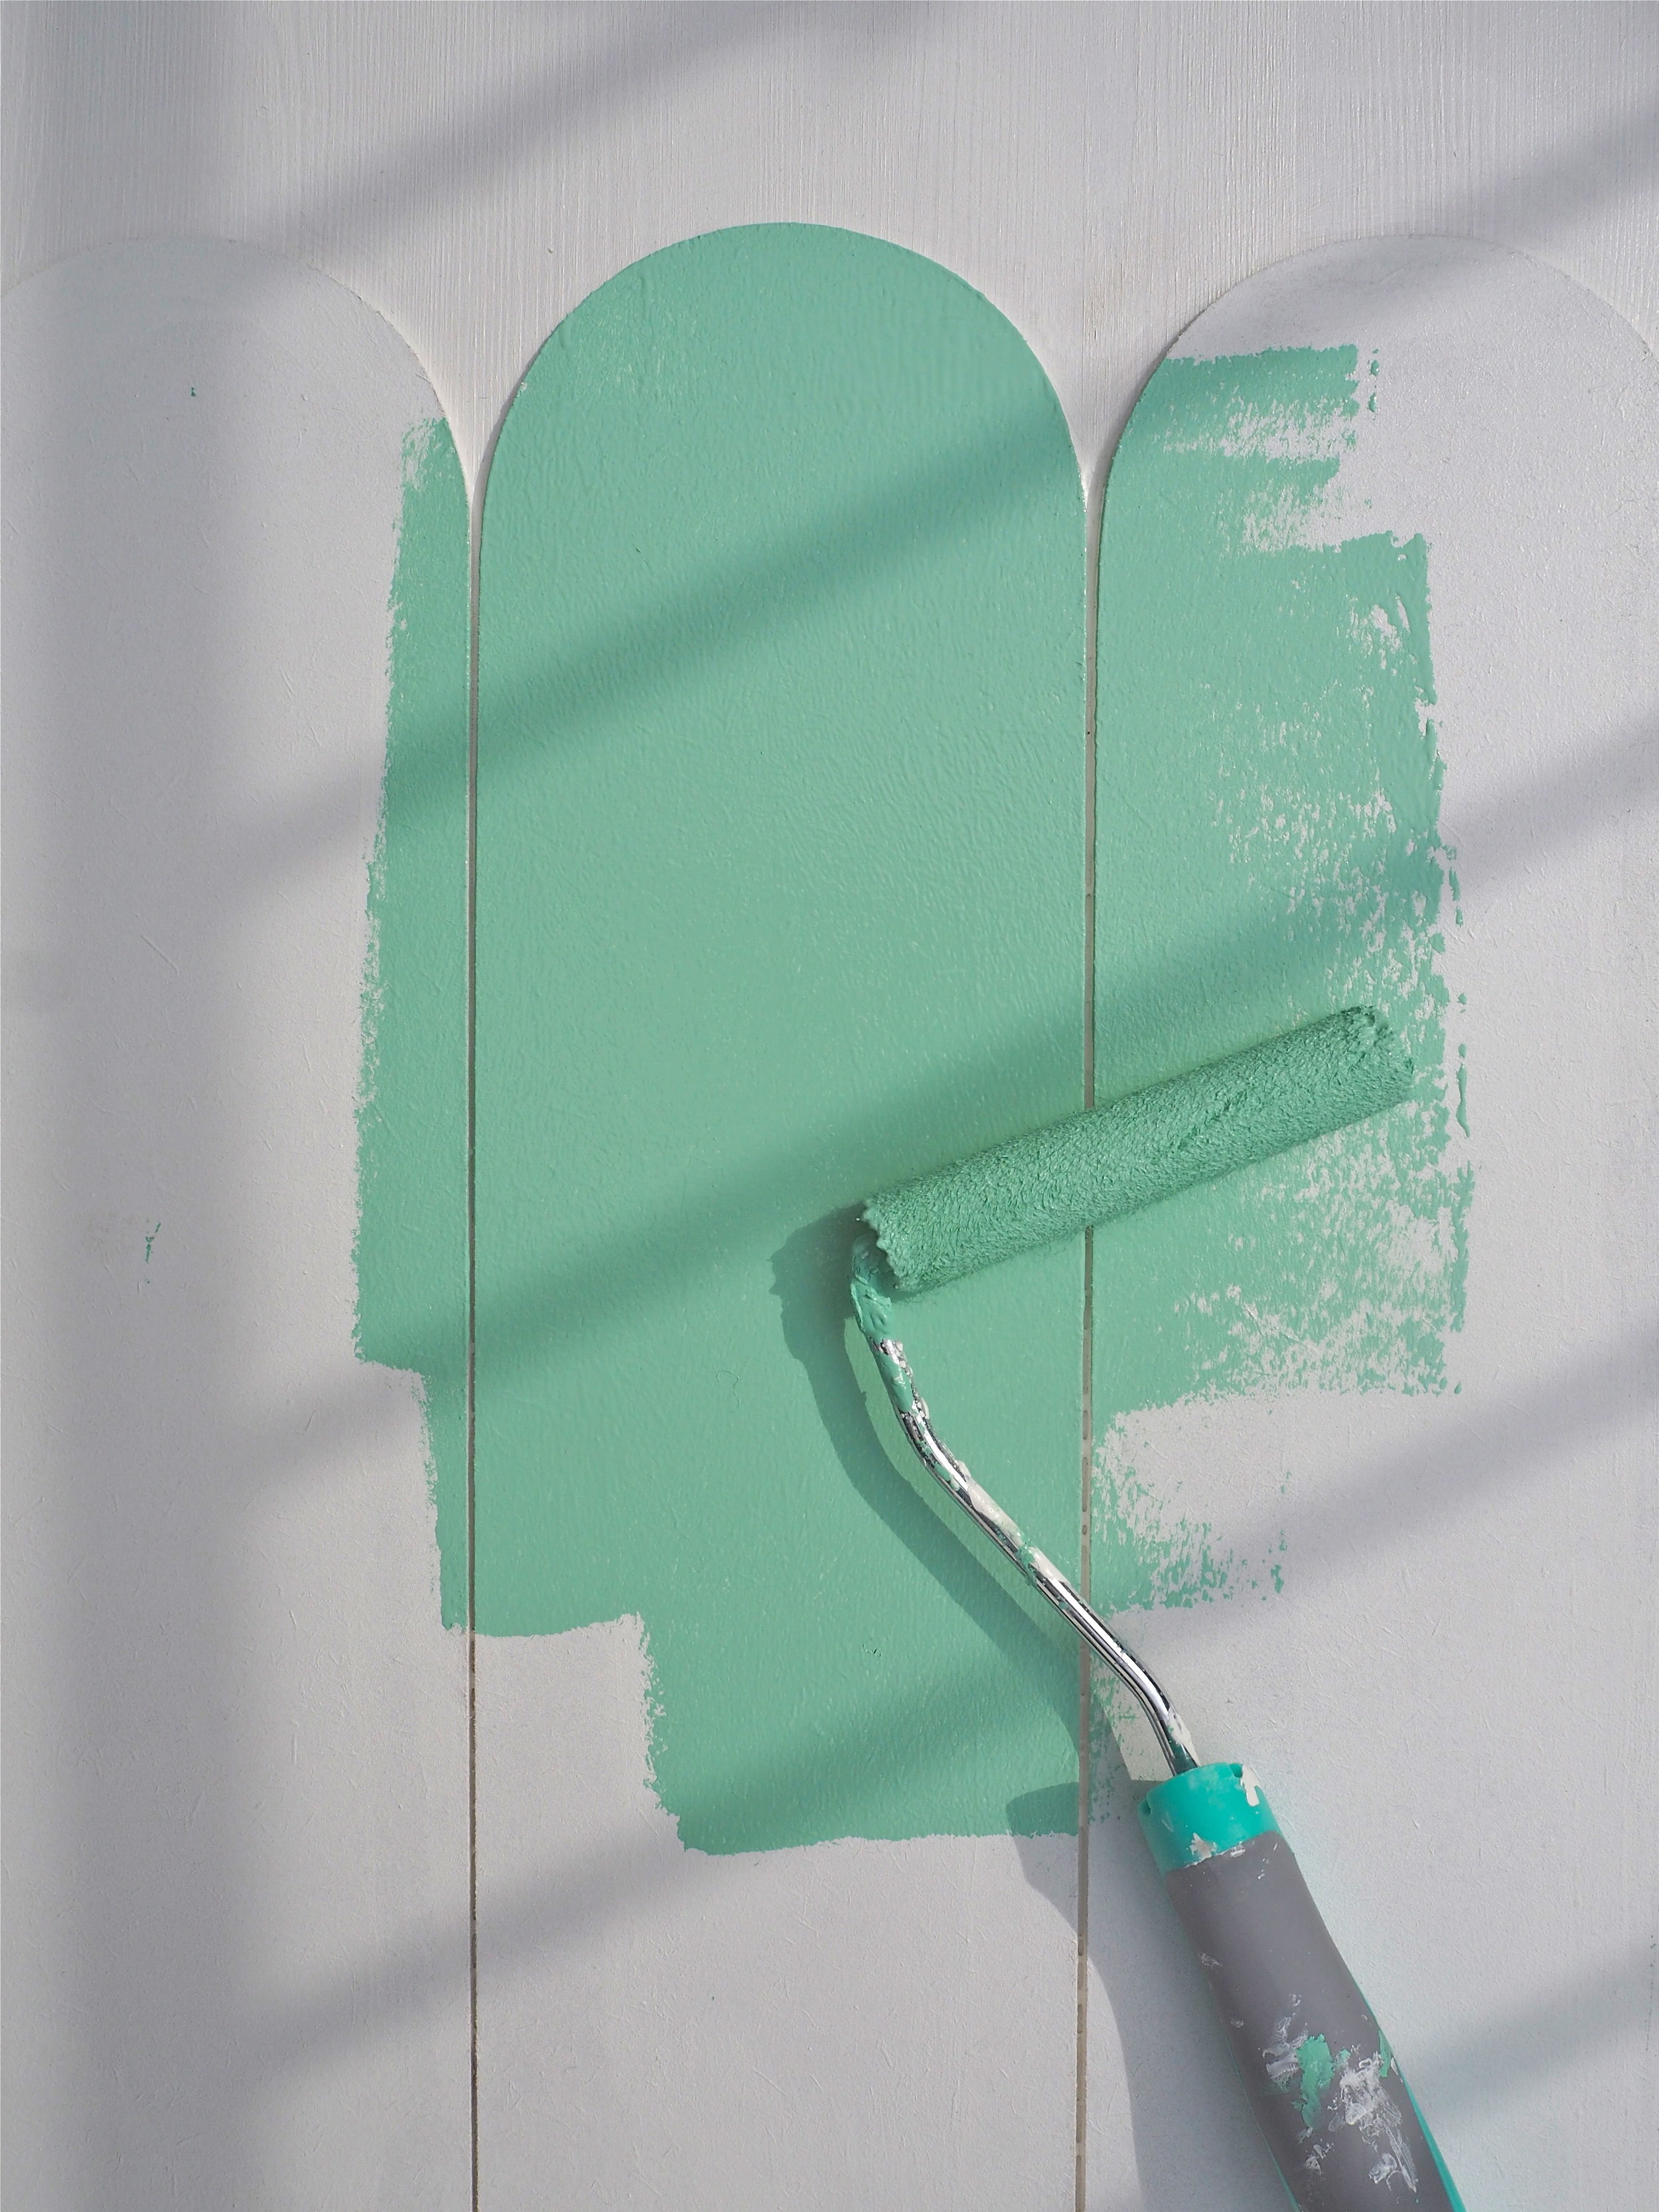
I chose the IKEA IVAR cabinet for this hack as it was the perfect size and is made of untreated wood, so it was ideal for painting. To start, I built the basic square carcass, filled in any unrequired shelf holes with filler, then primed and painted both the inside and the outside of the side and top and bottom panels using a roller suitable for eggshell paint:

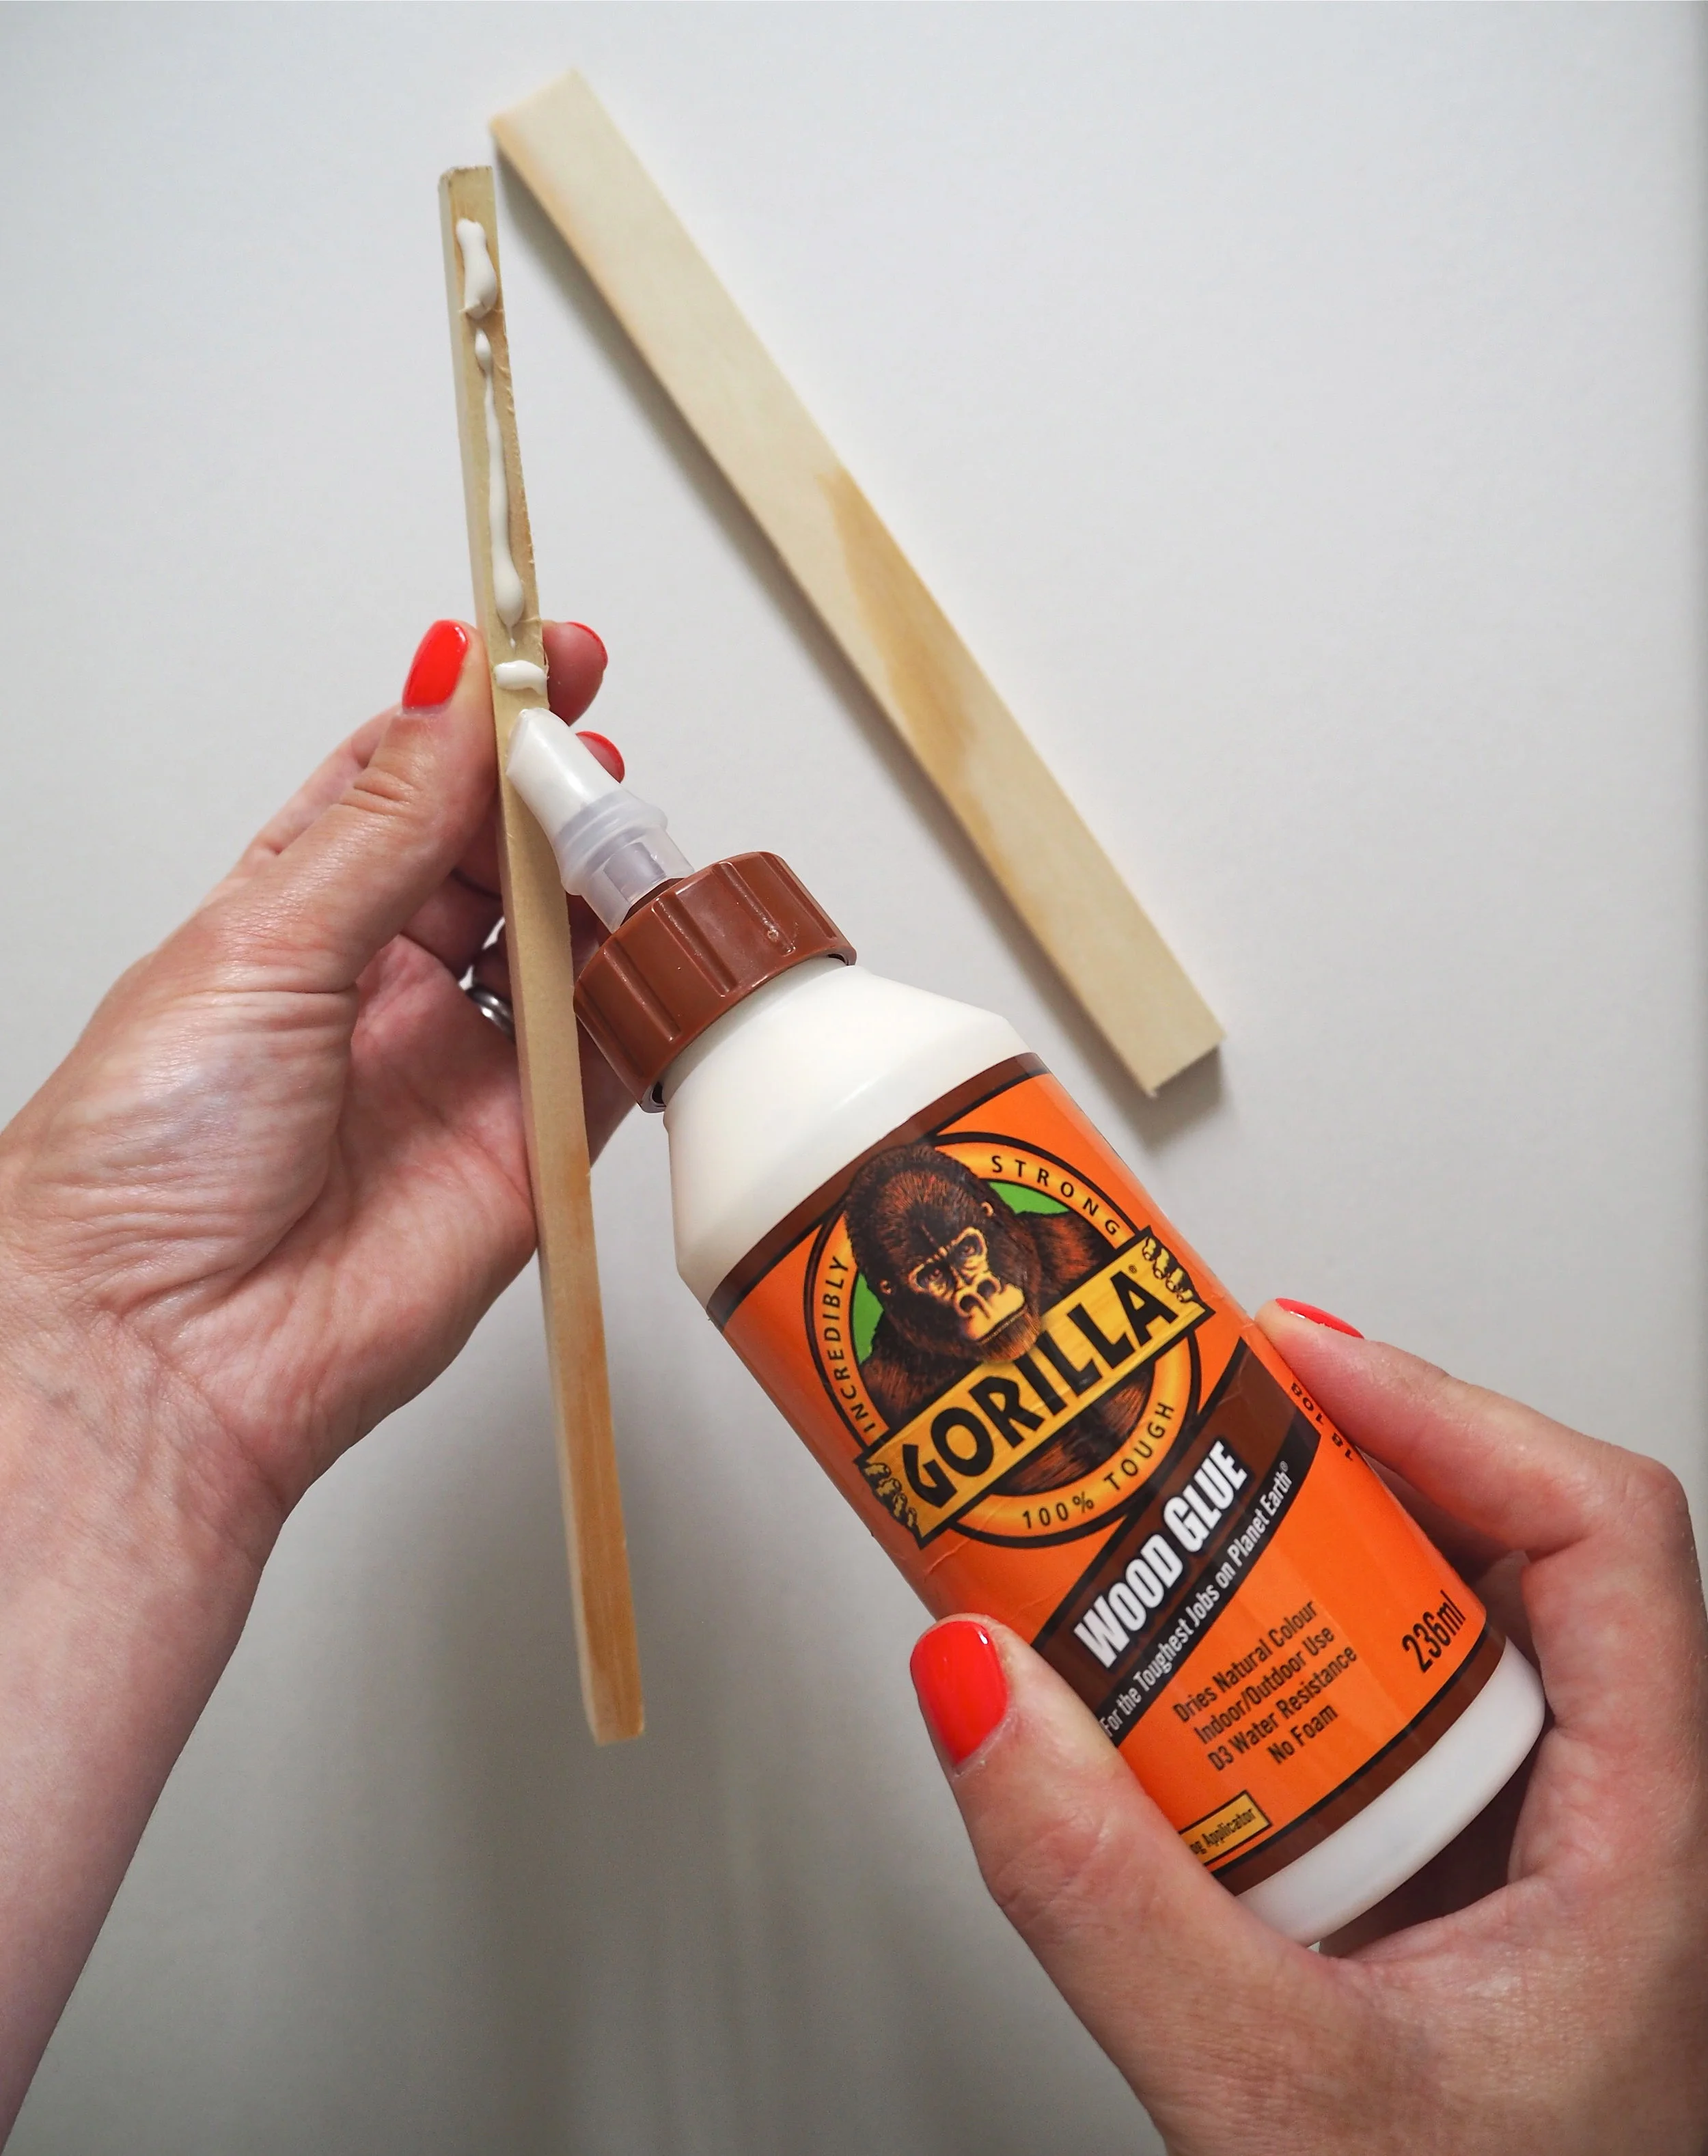
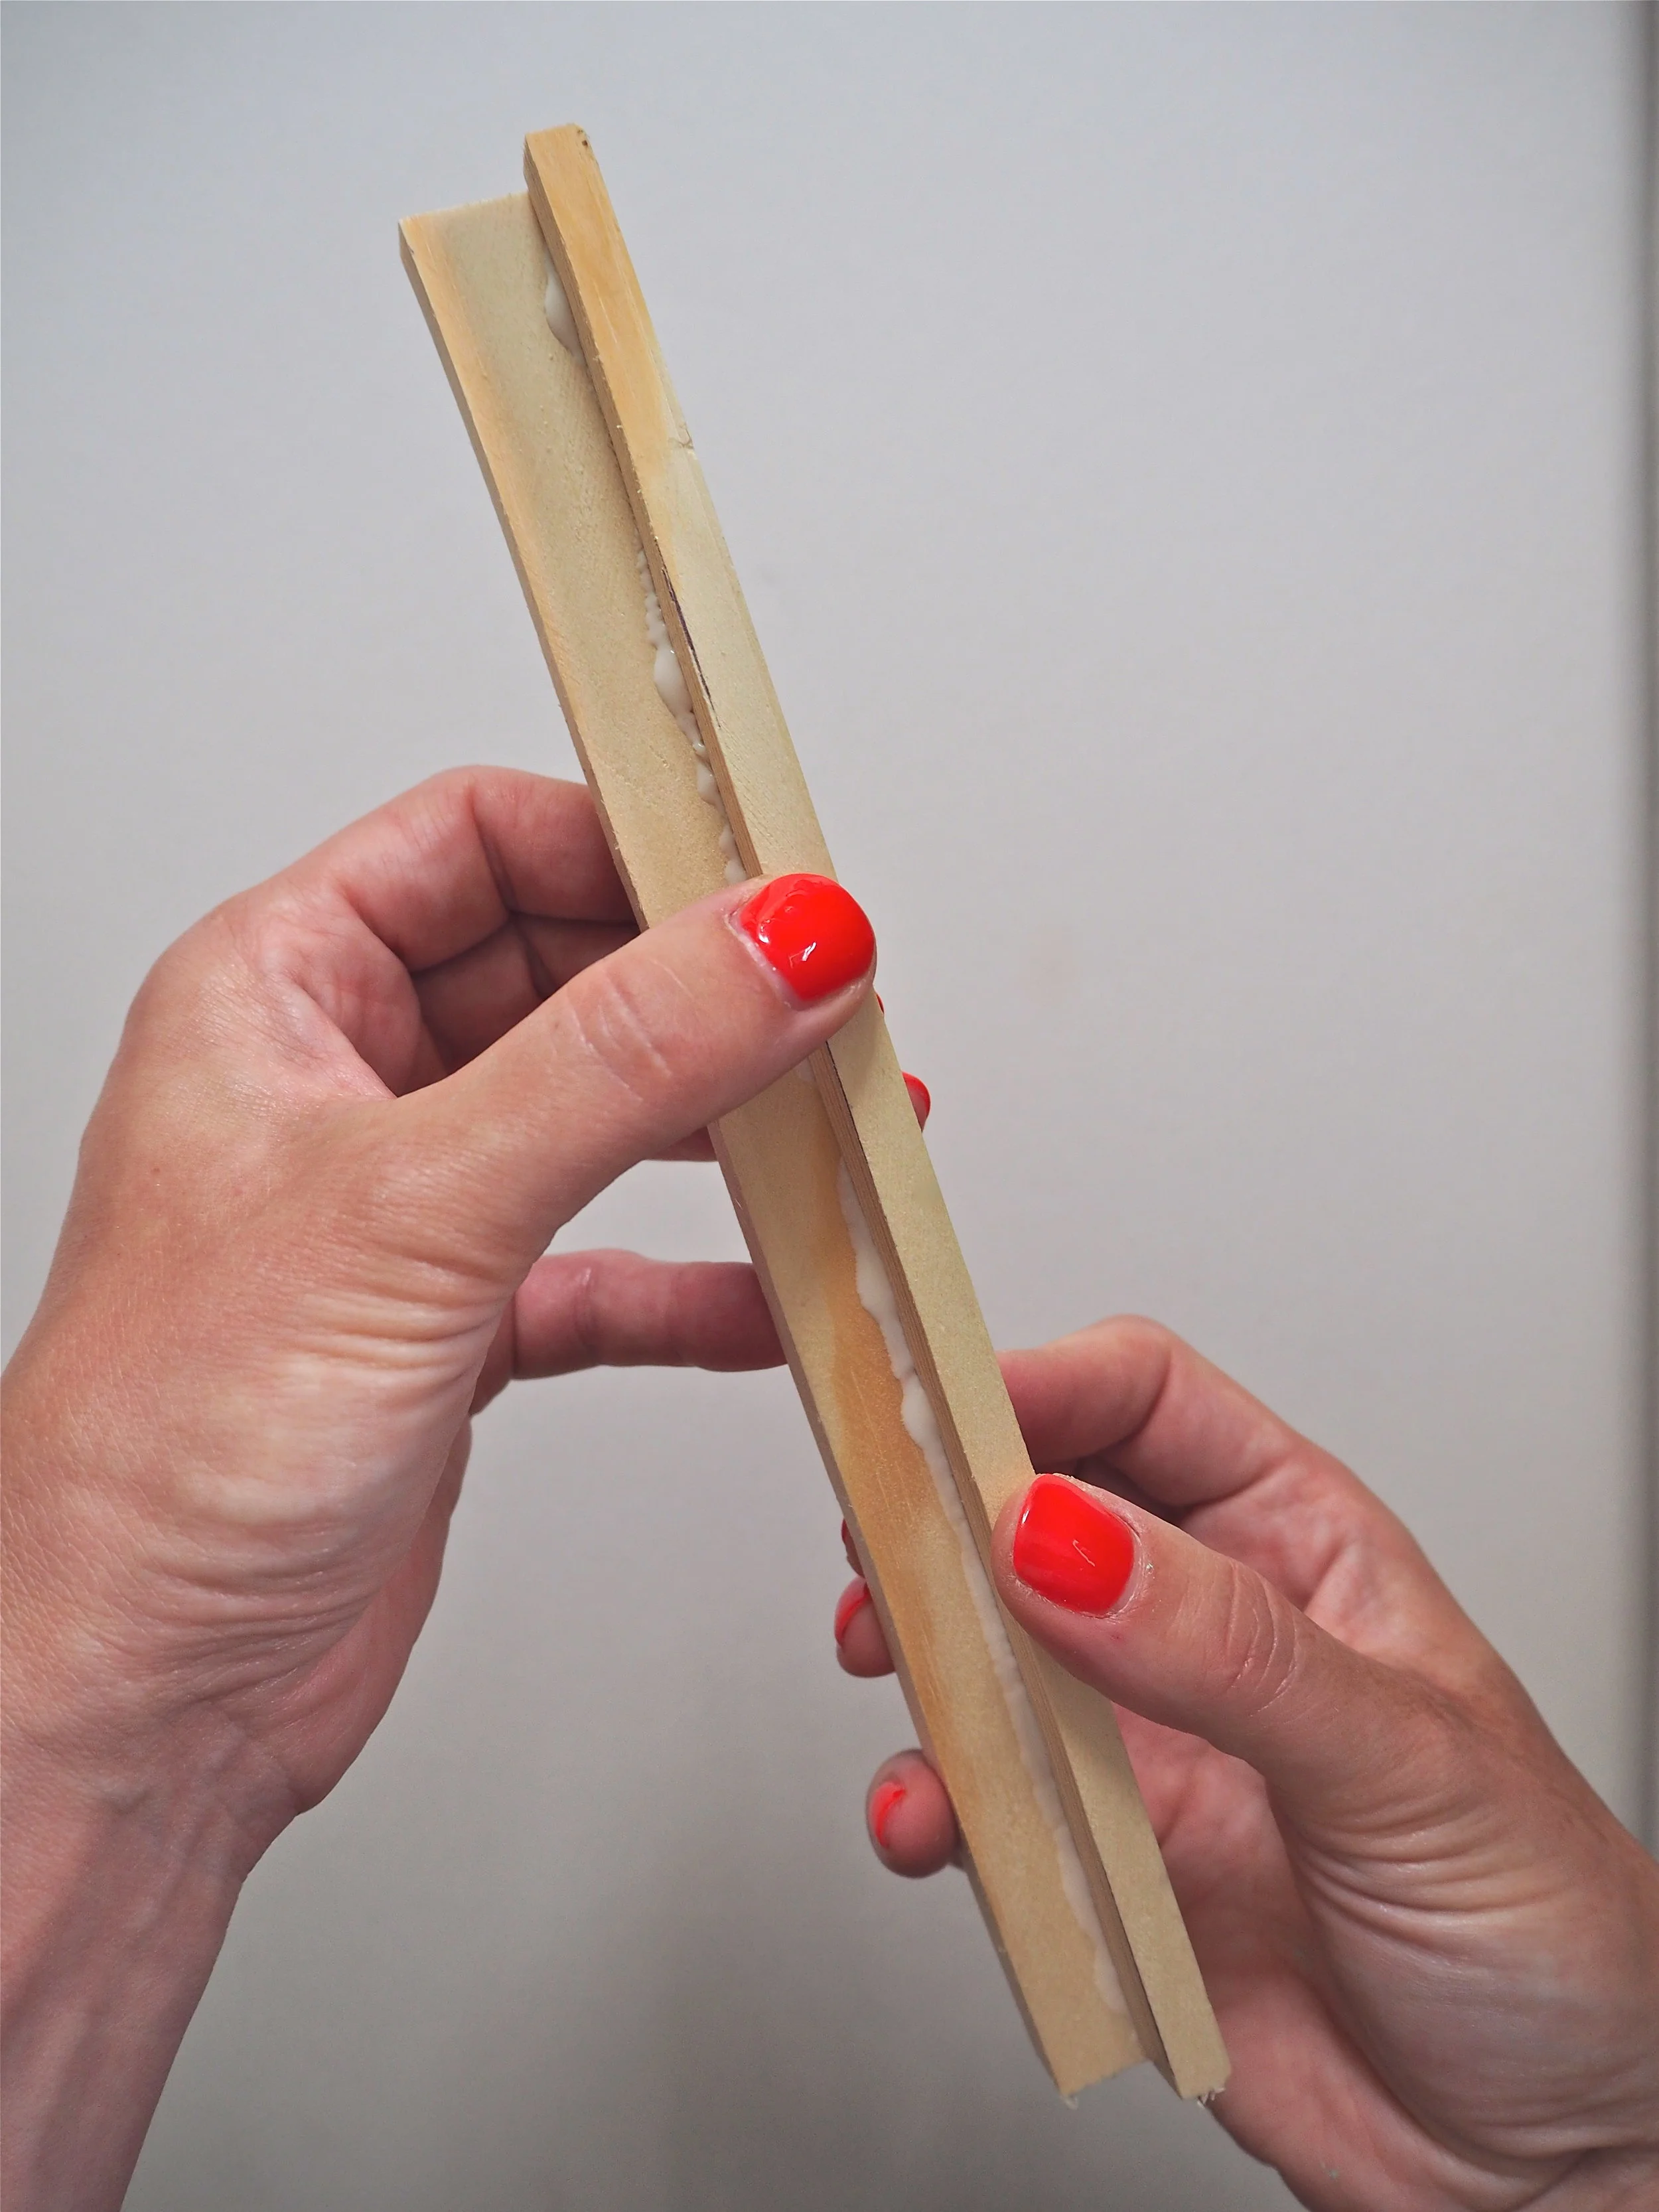
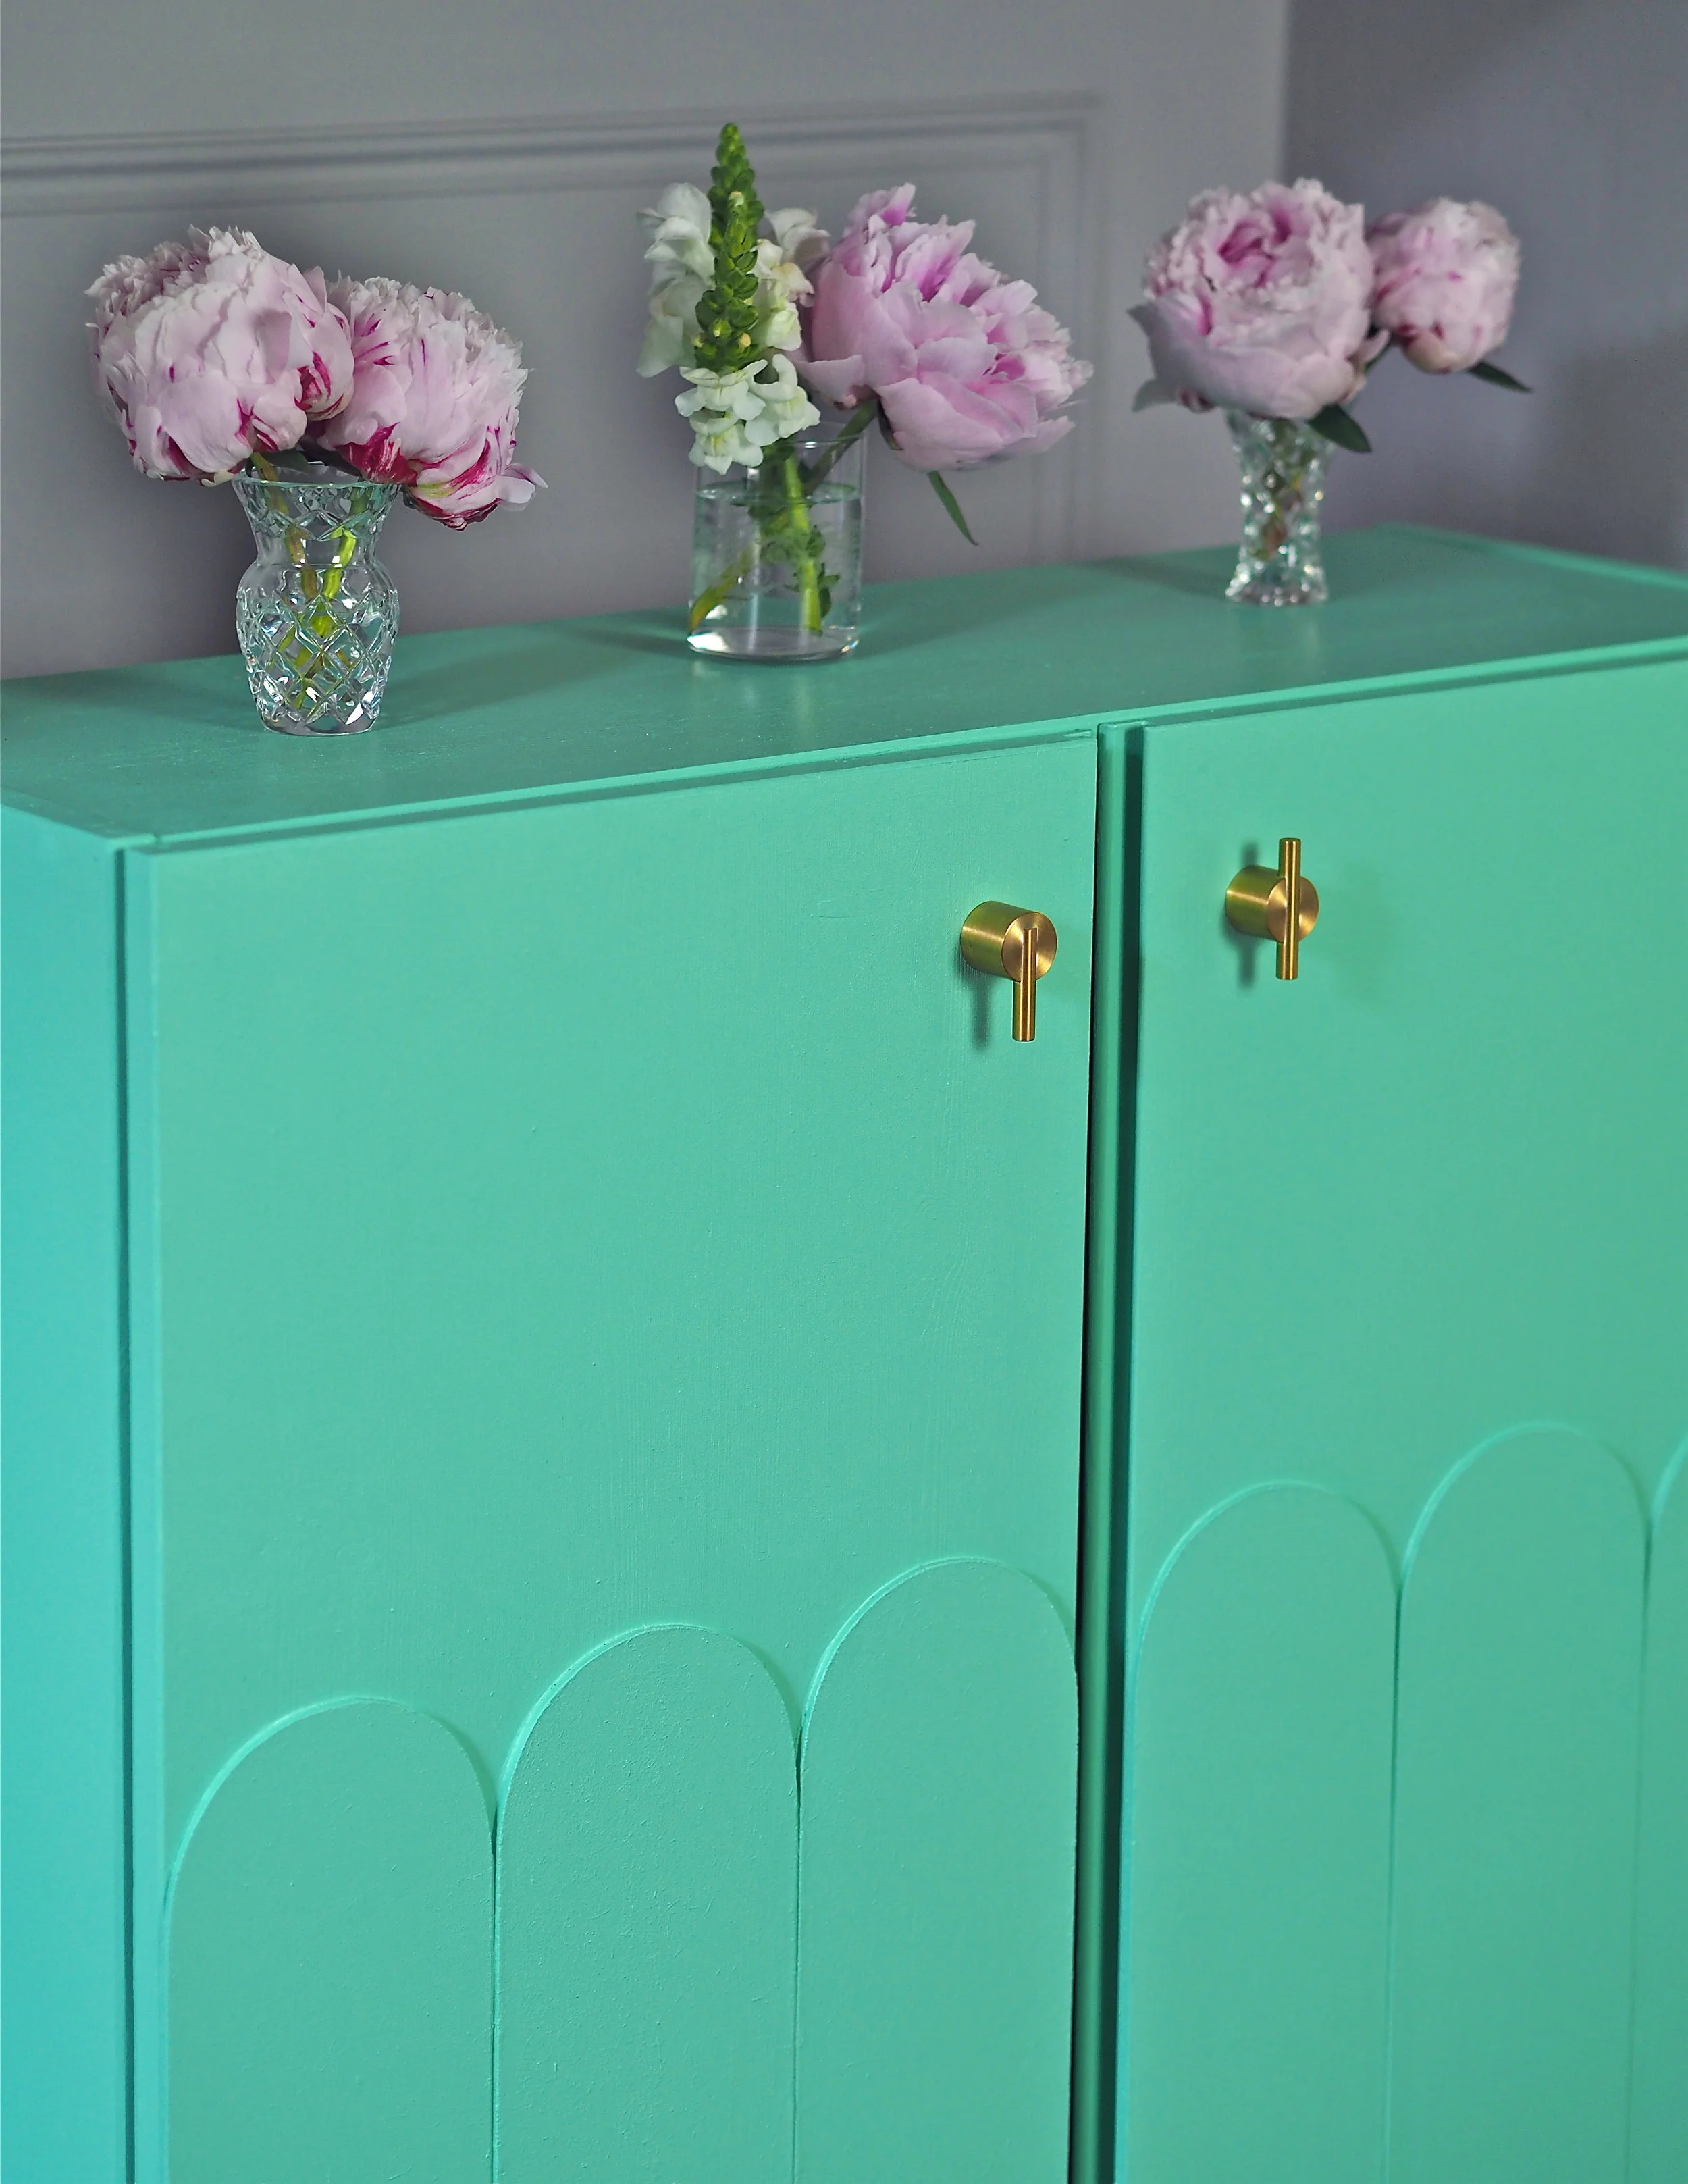
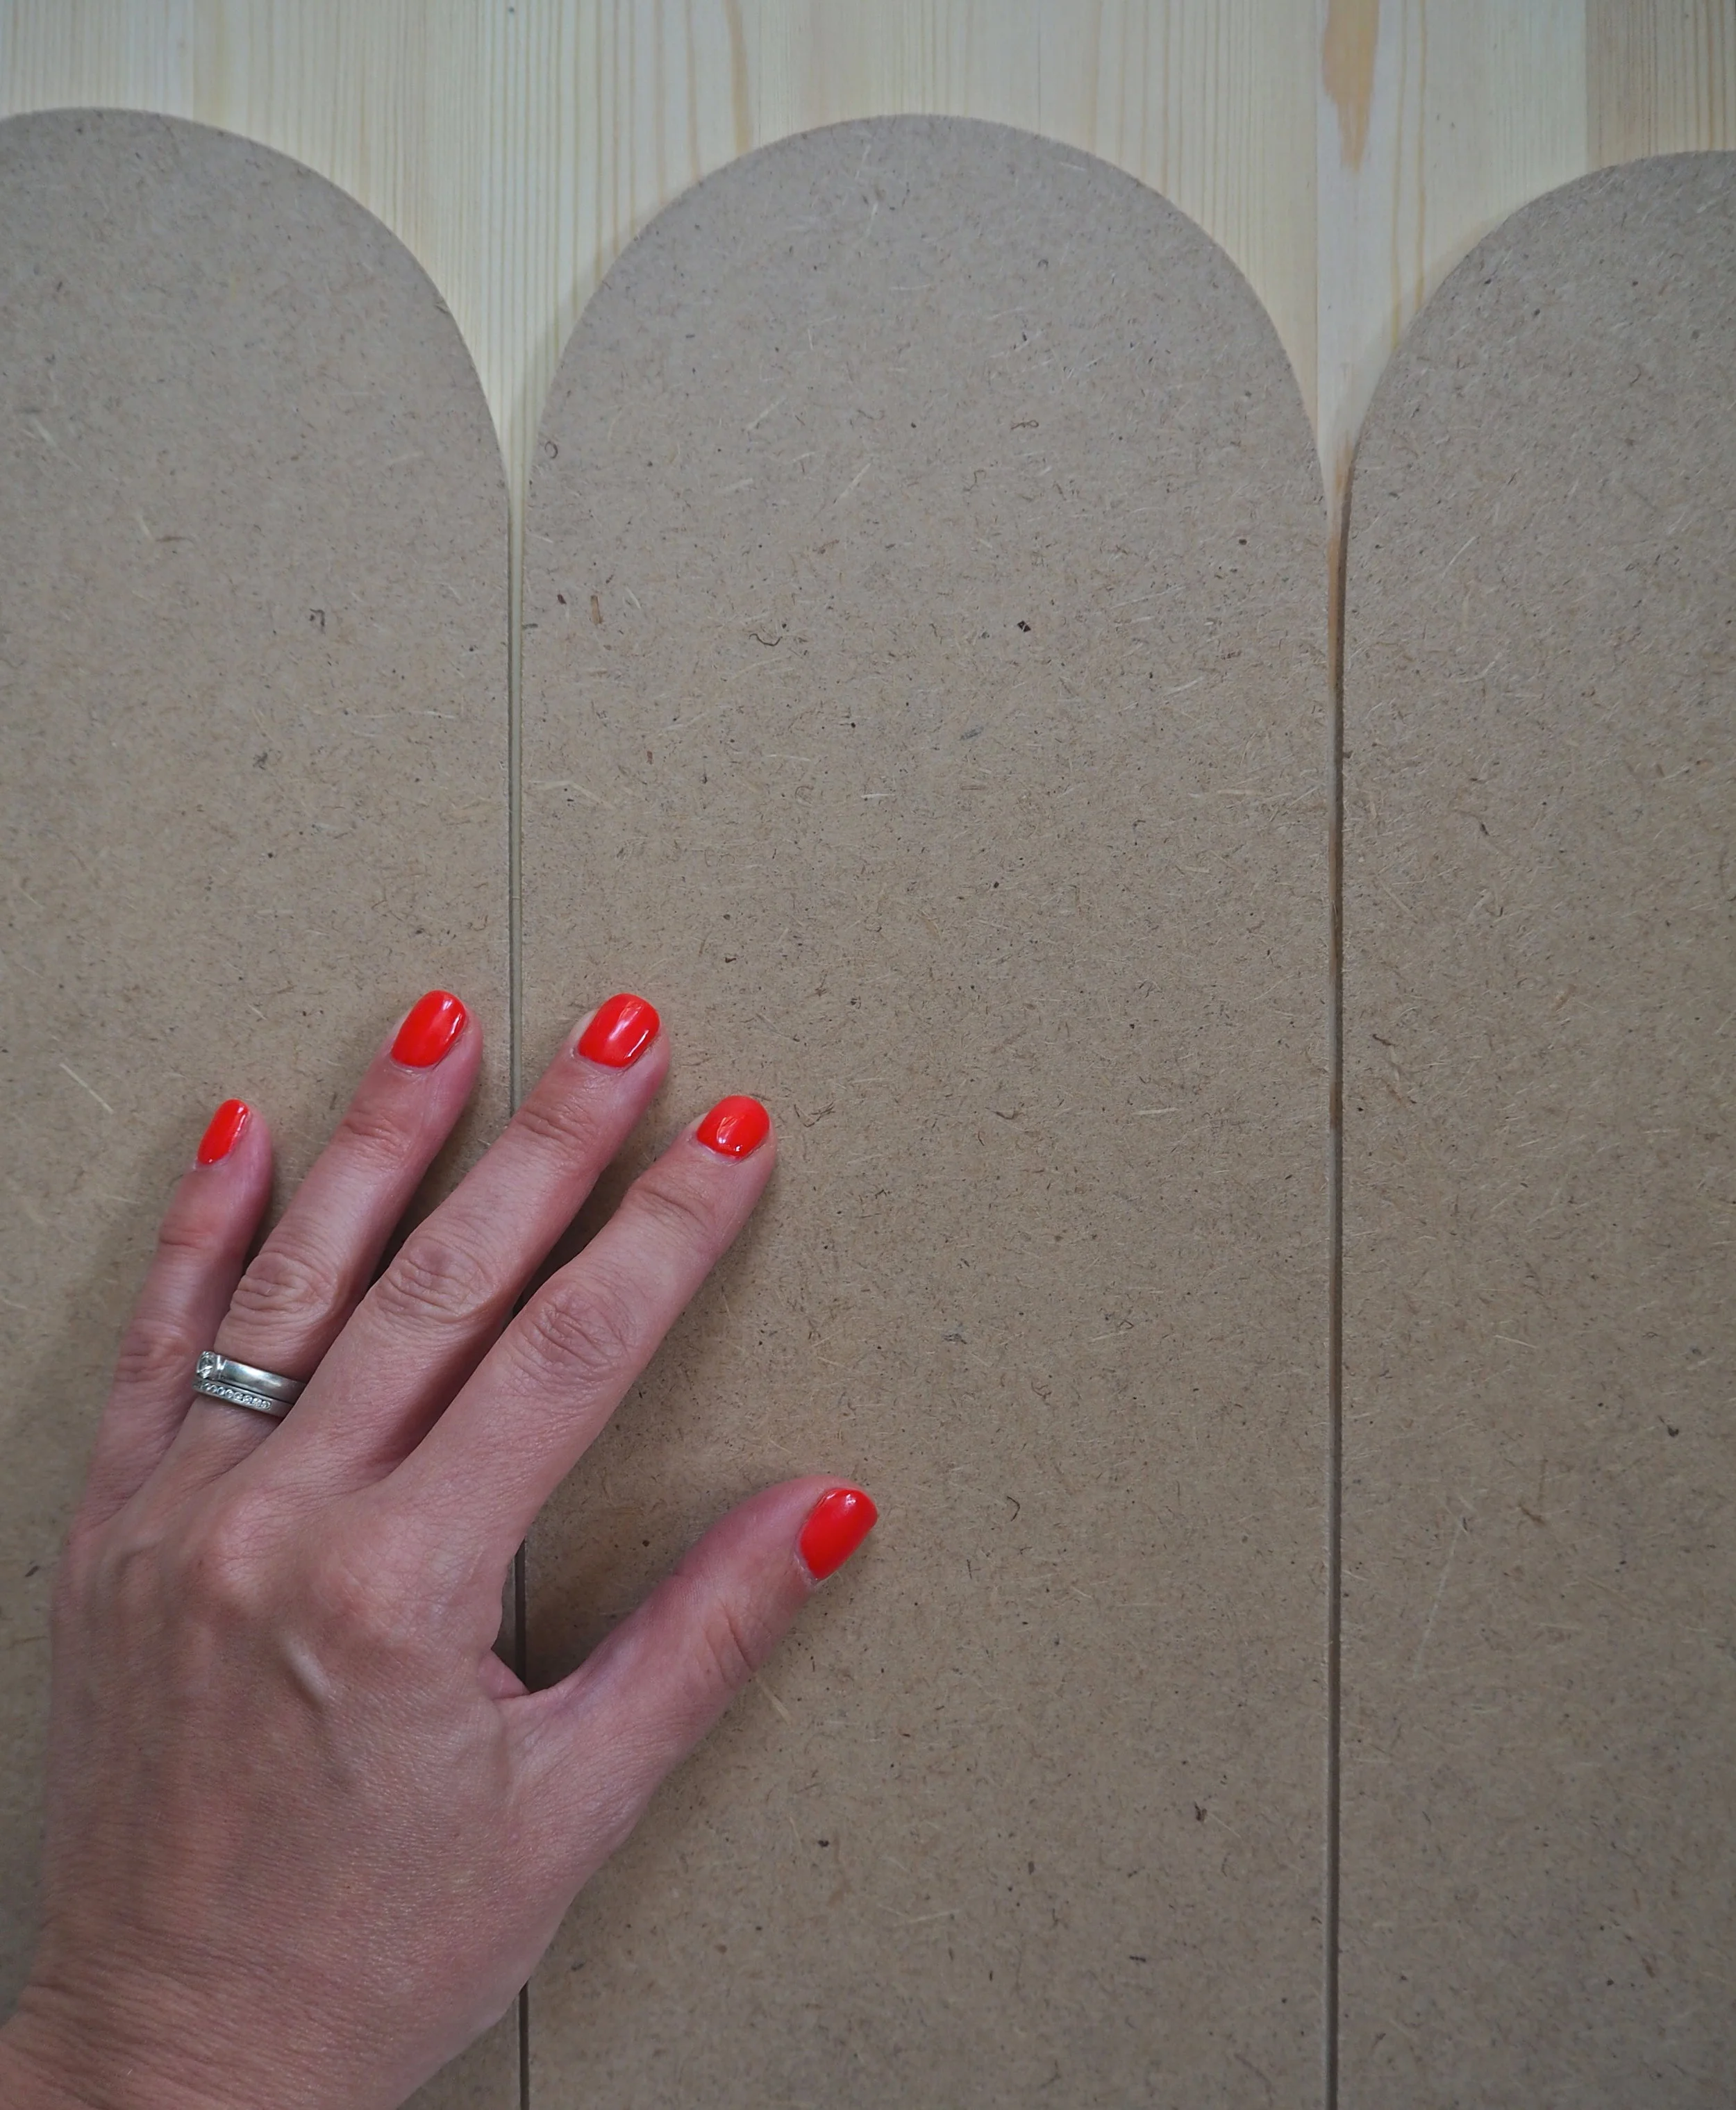
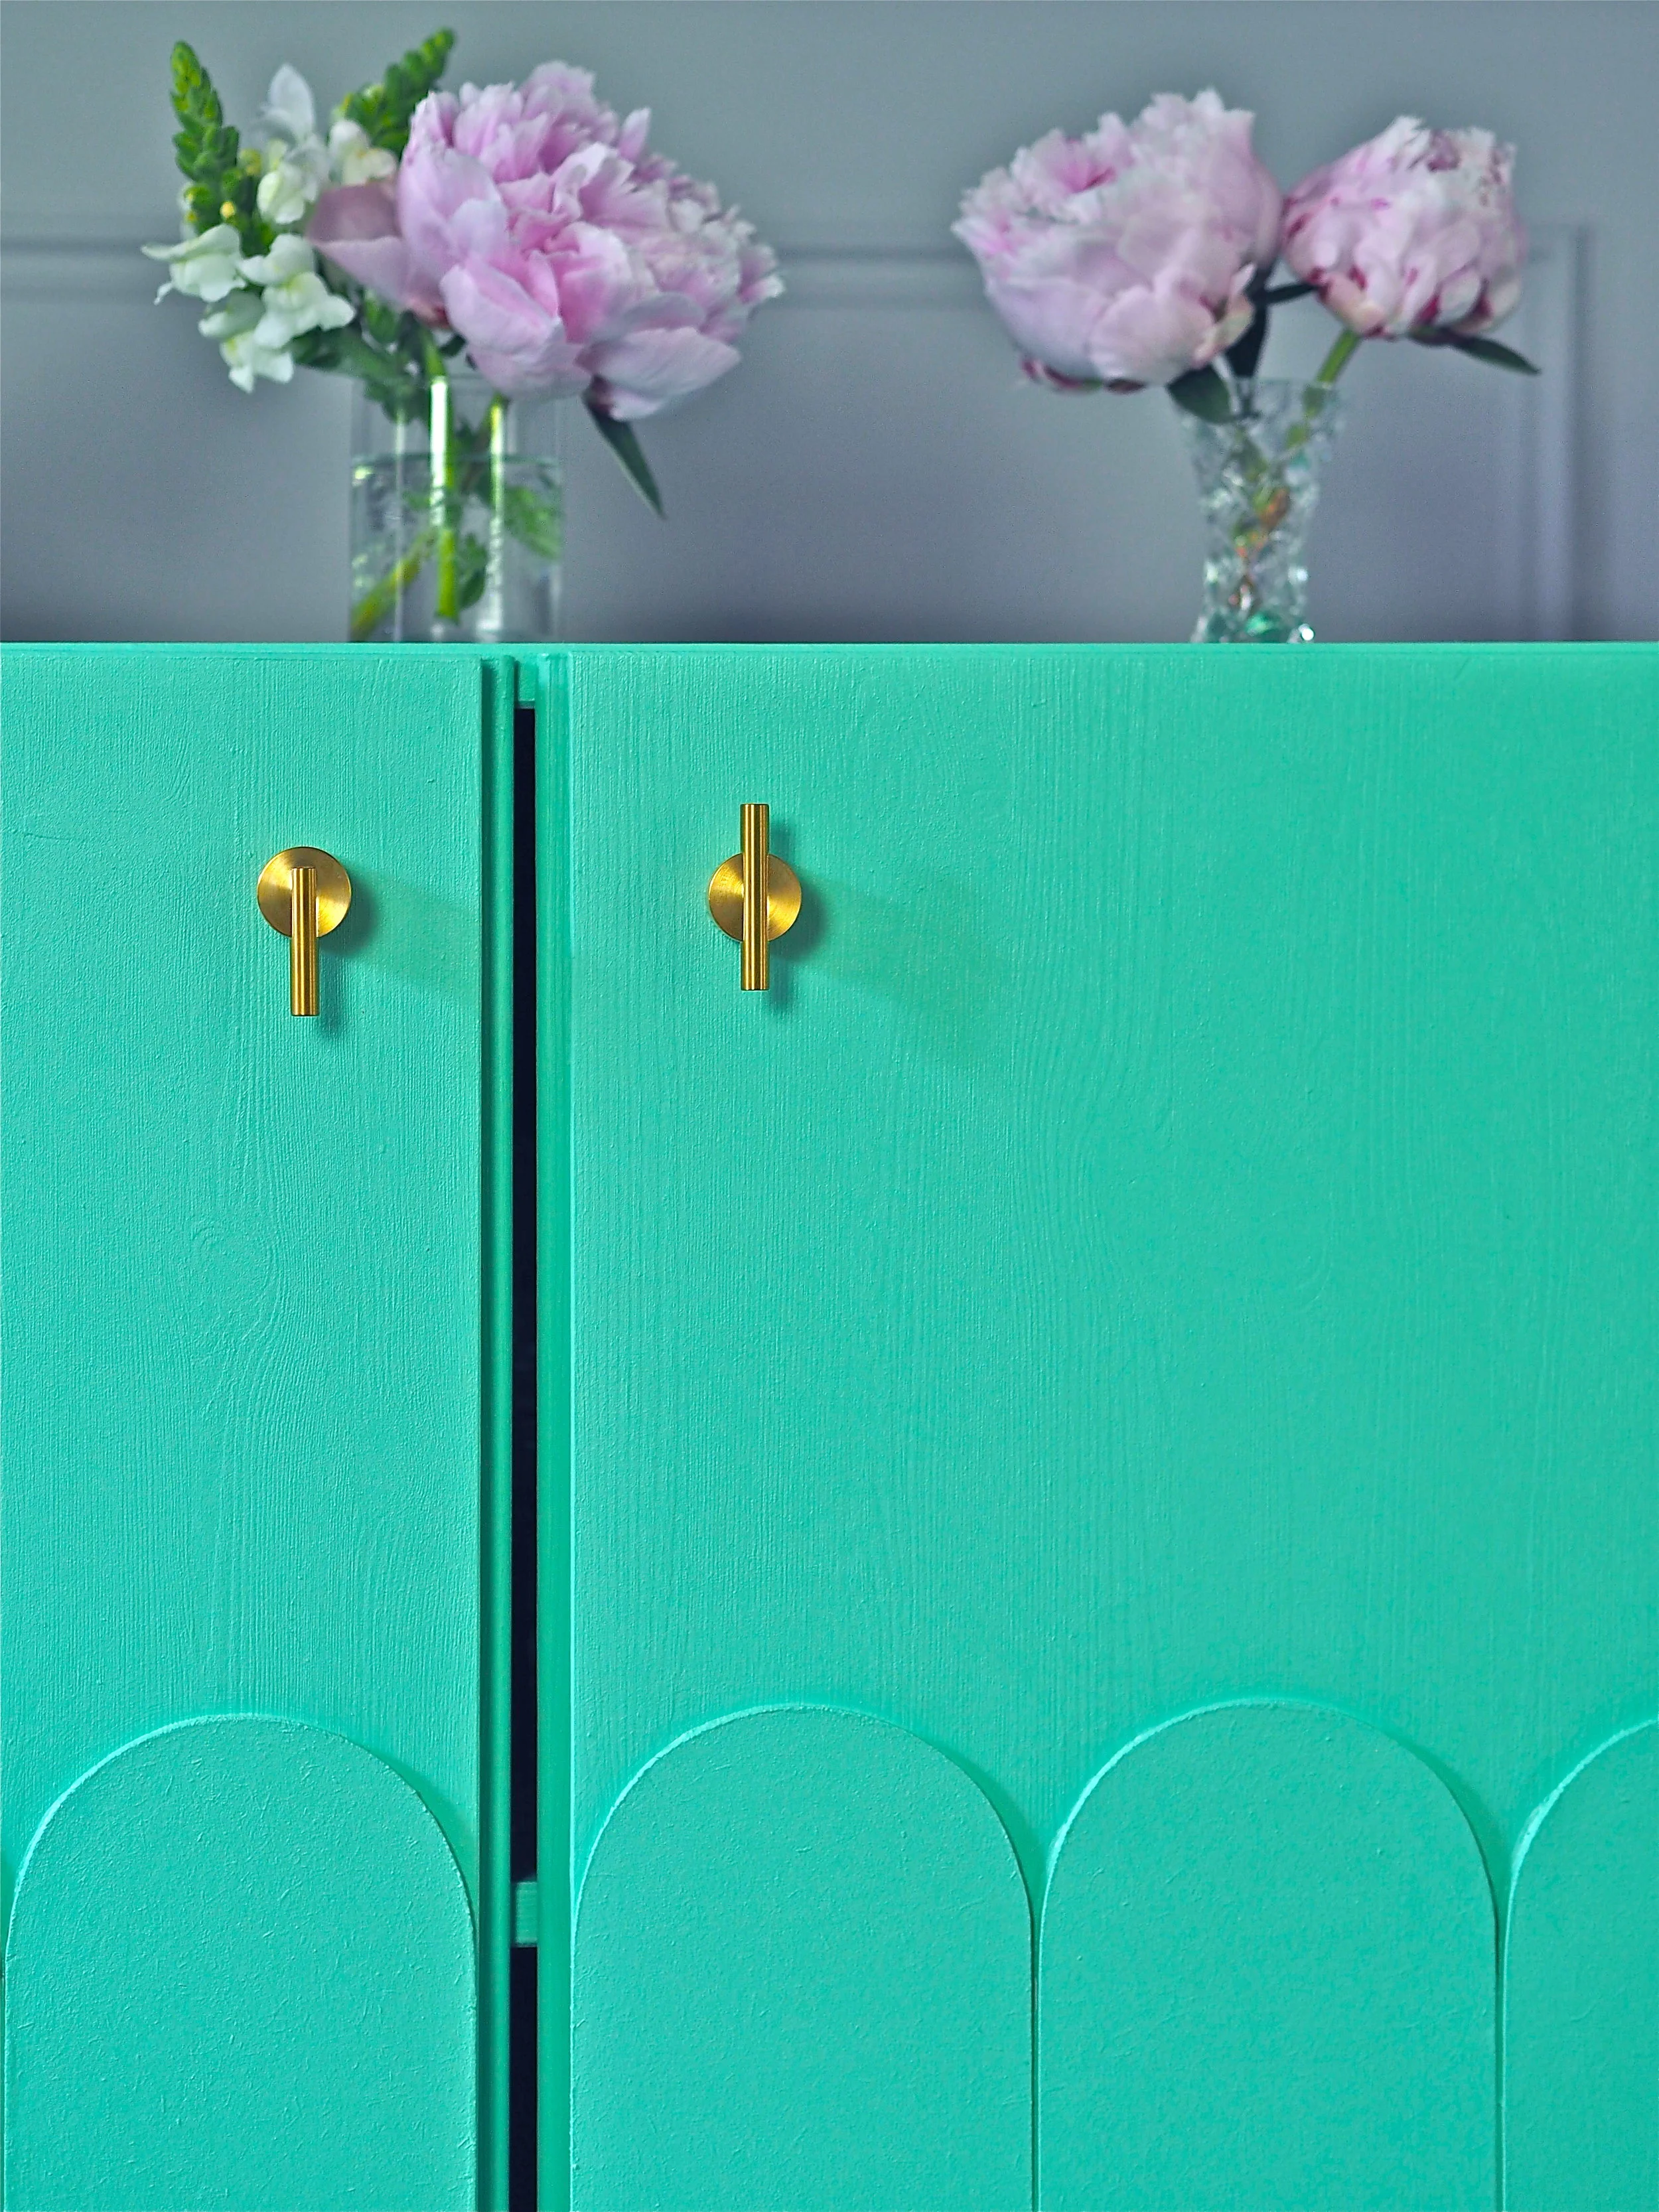
As well as shades of mint green, curves are also a huge trend in interiors so I wanted to add some visual interest to the drinks cabinet by applying some curved shapes to the doors. To do this, I created an arched cardboard template 53cm high and 12.6cm across. Three of these ‘arches’ covered one IVAR door three quarters of the way up. I cut six pieces of MDF exactly from this cardboard template using a 3mm MDF sheet and a jigsaw handsaw suitable for curved cuts:

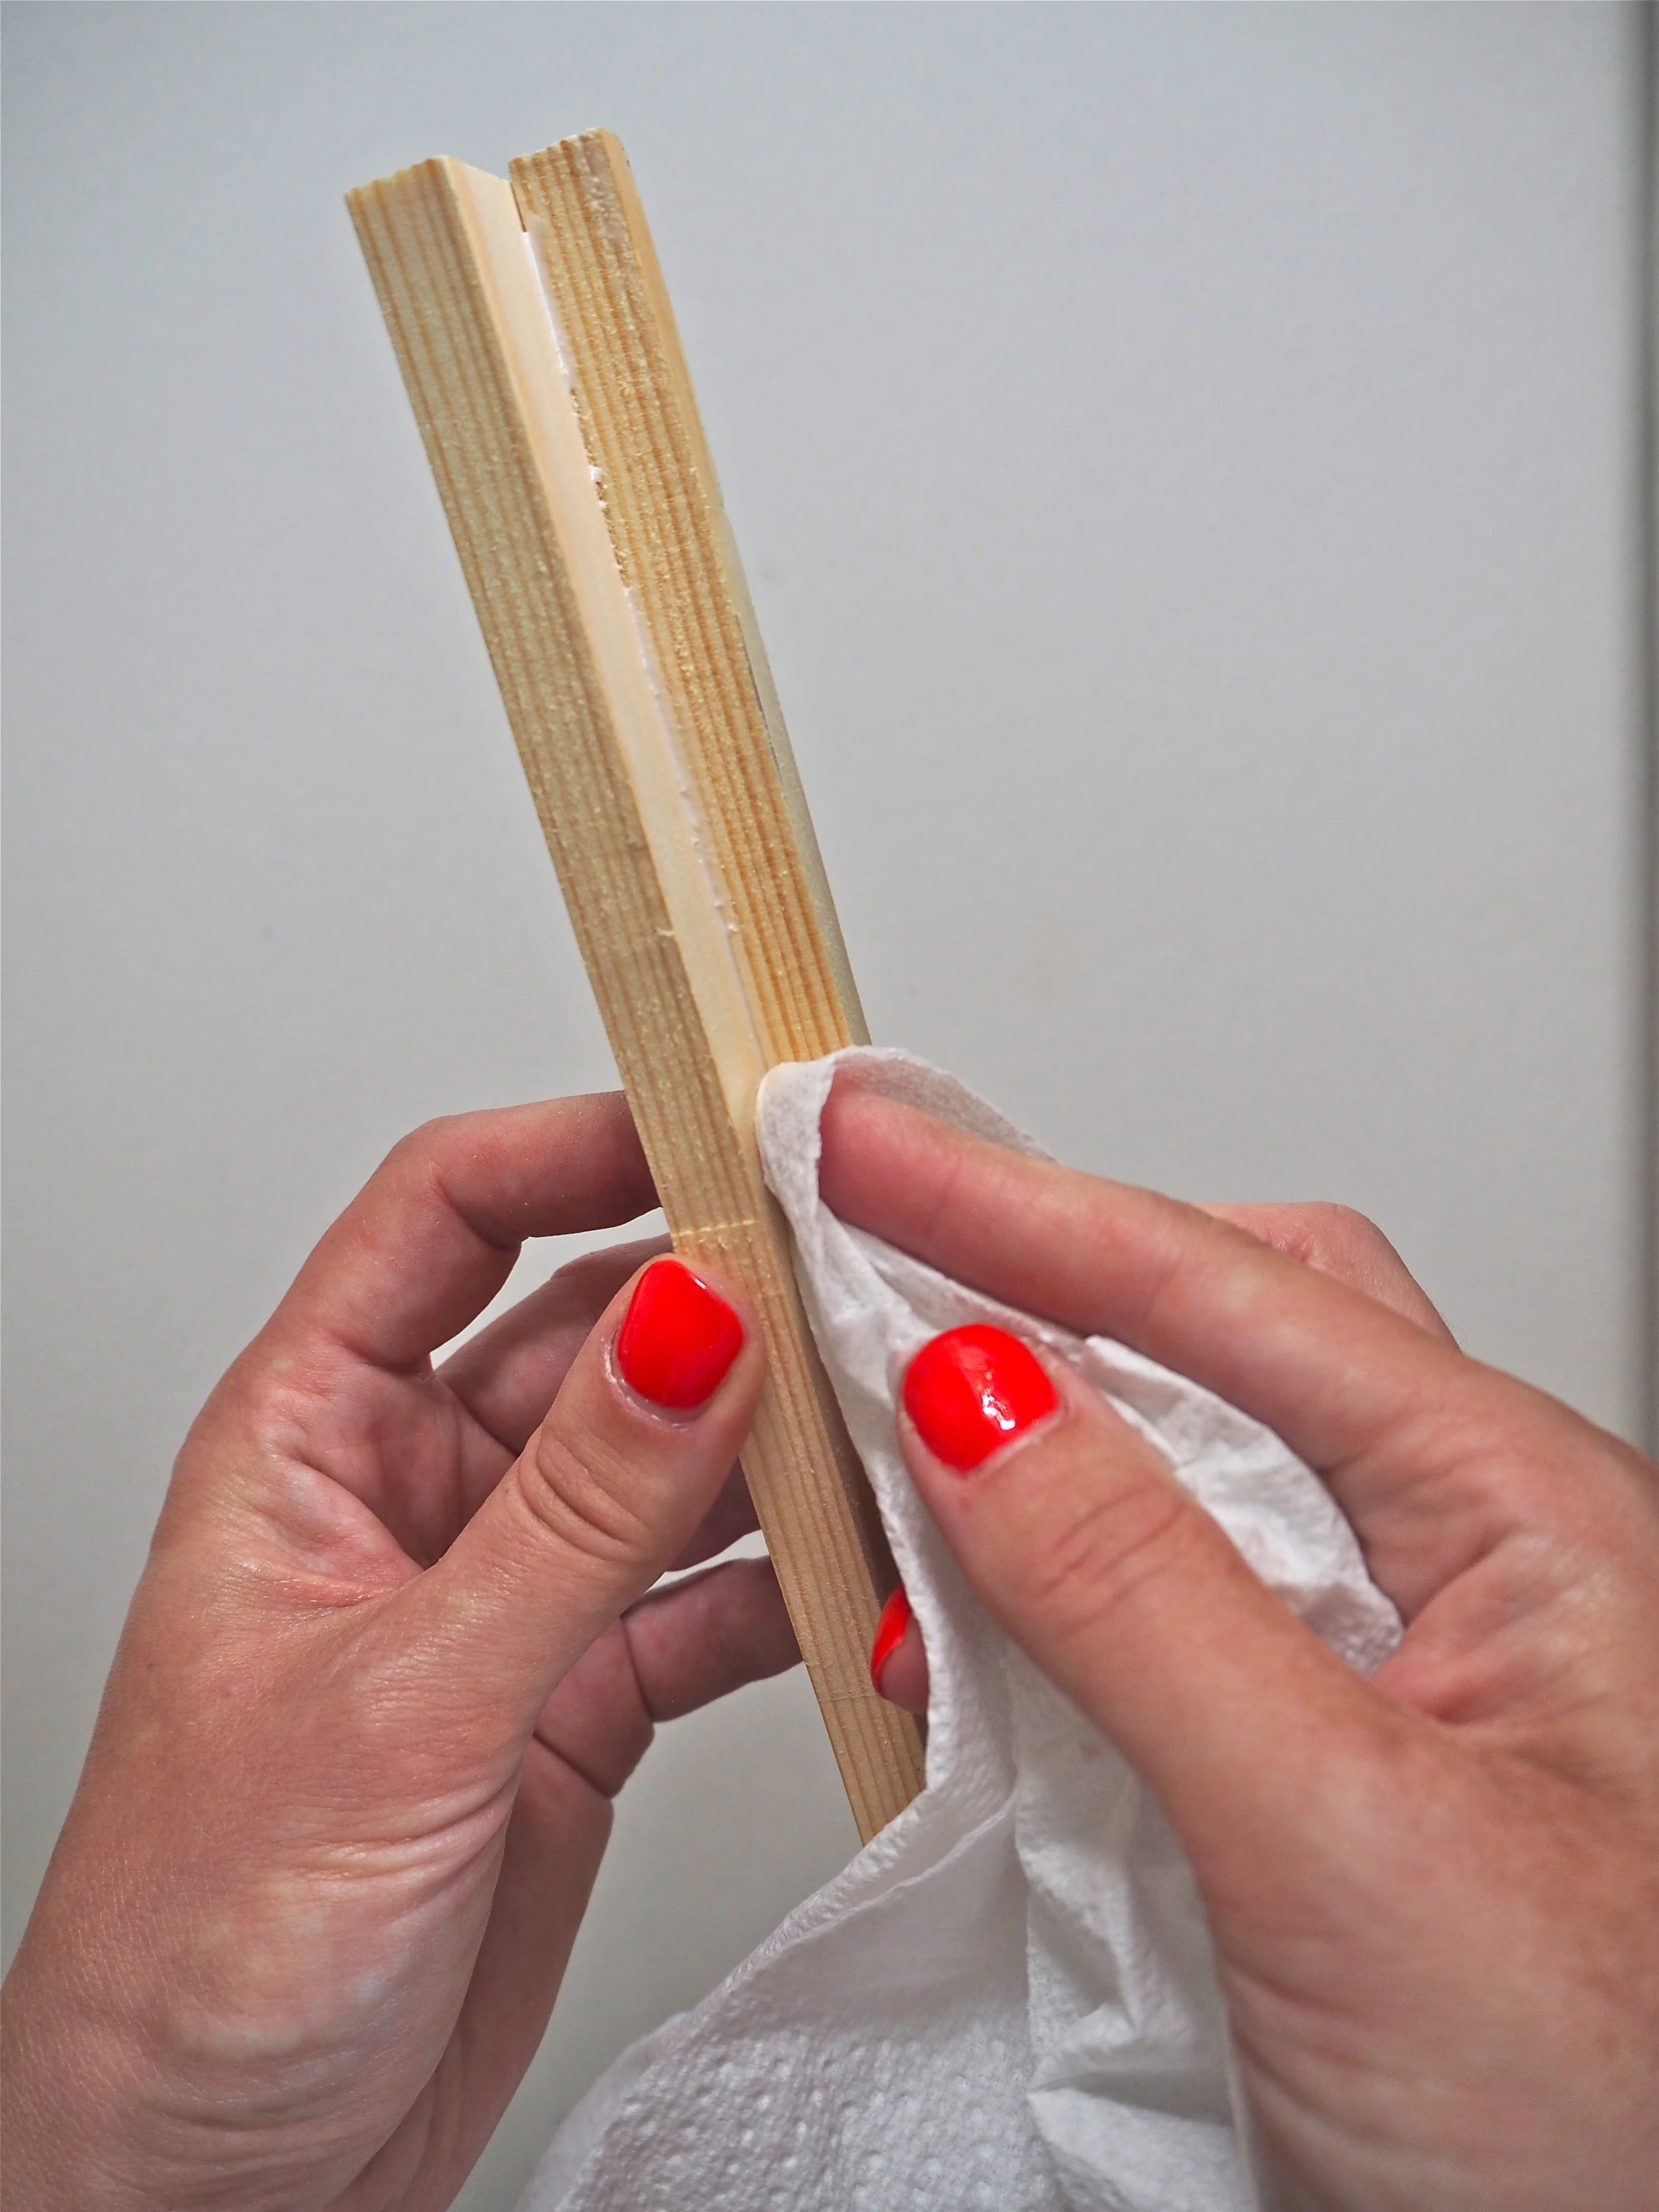
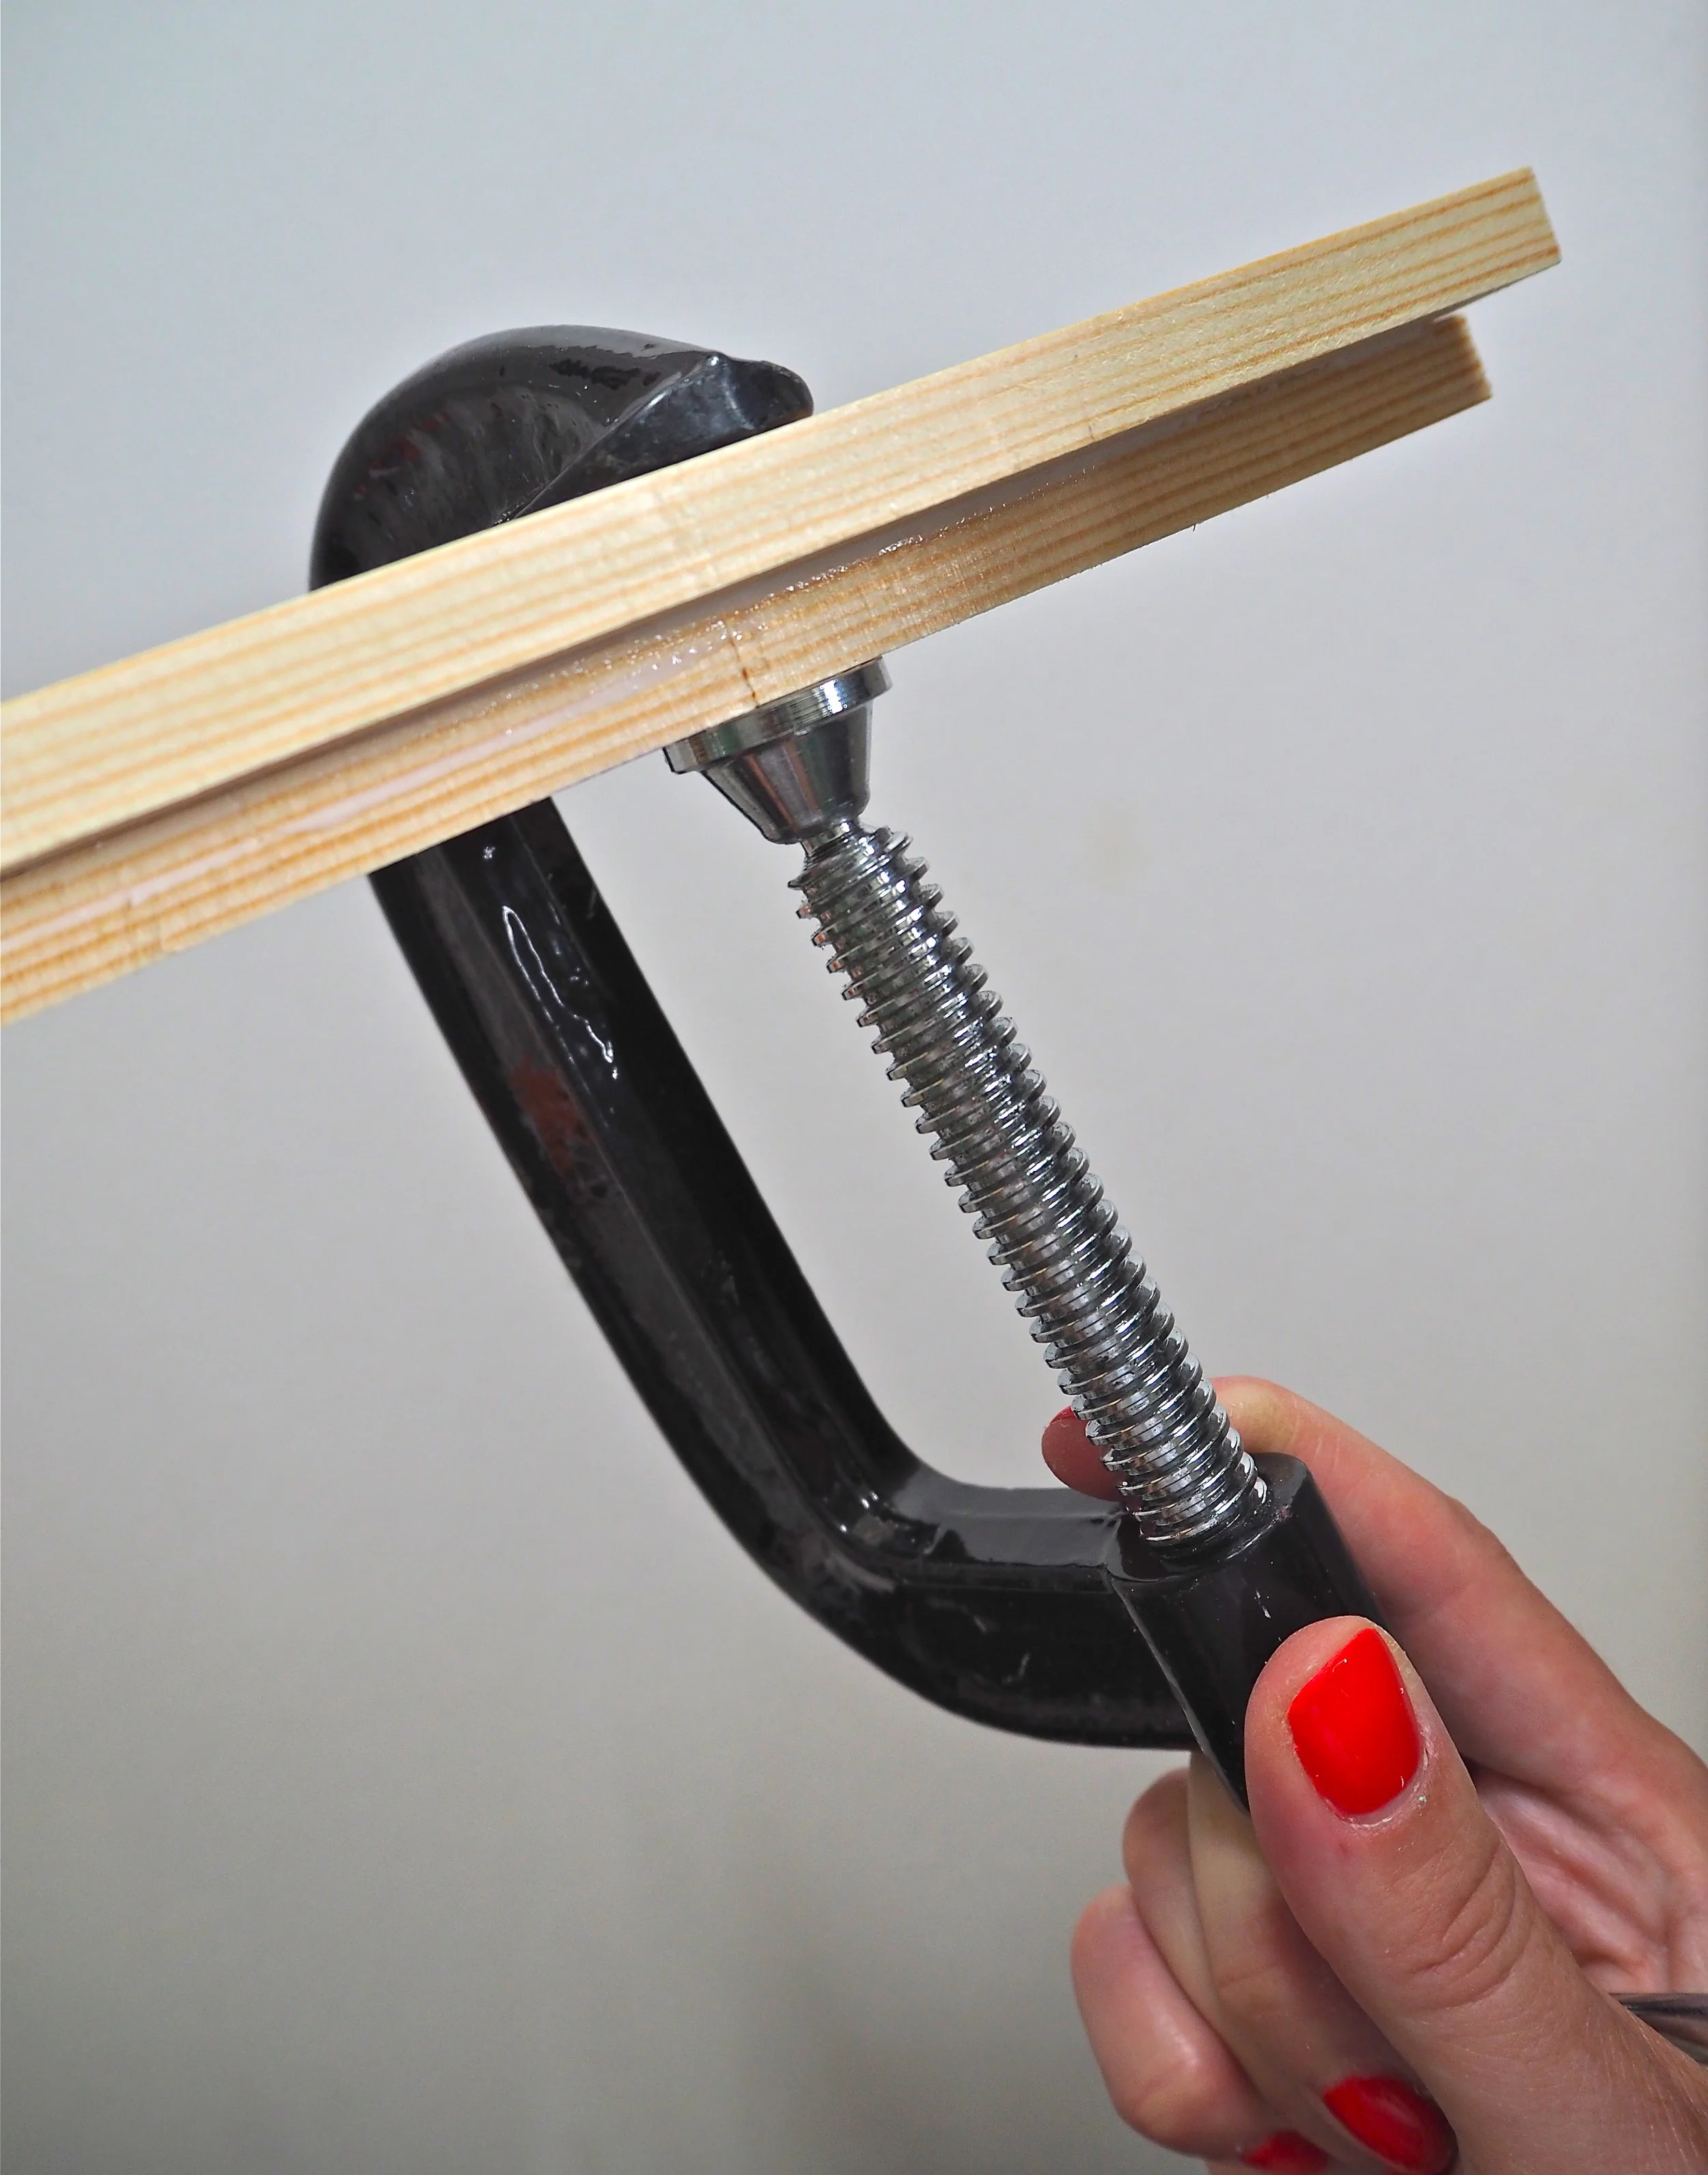
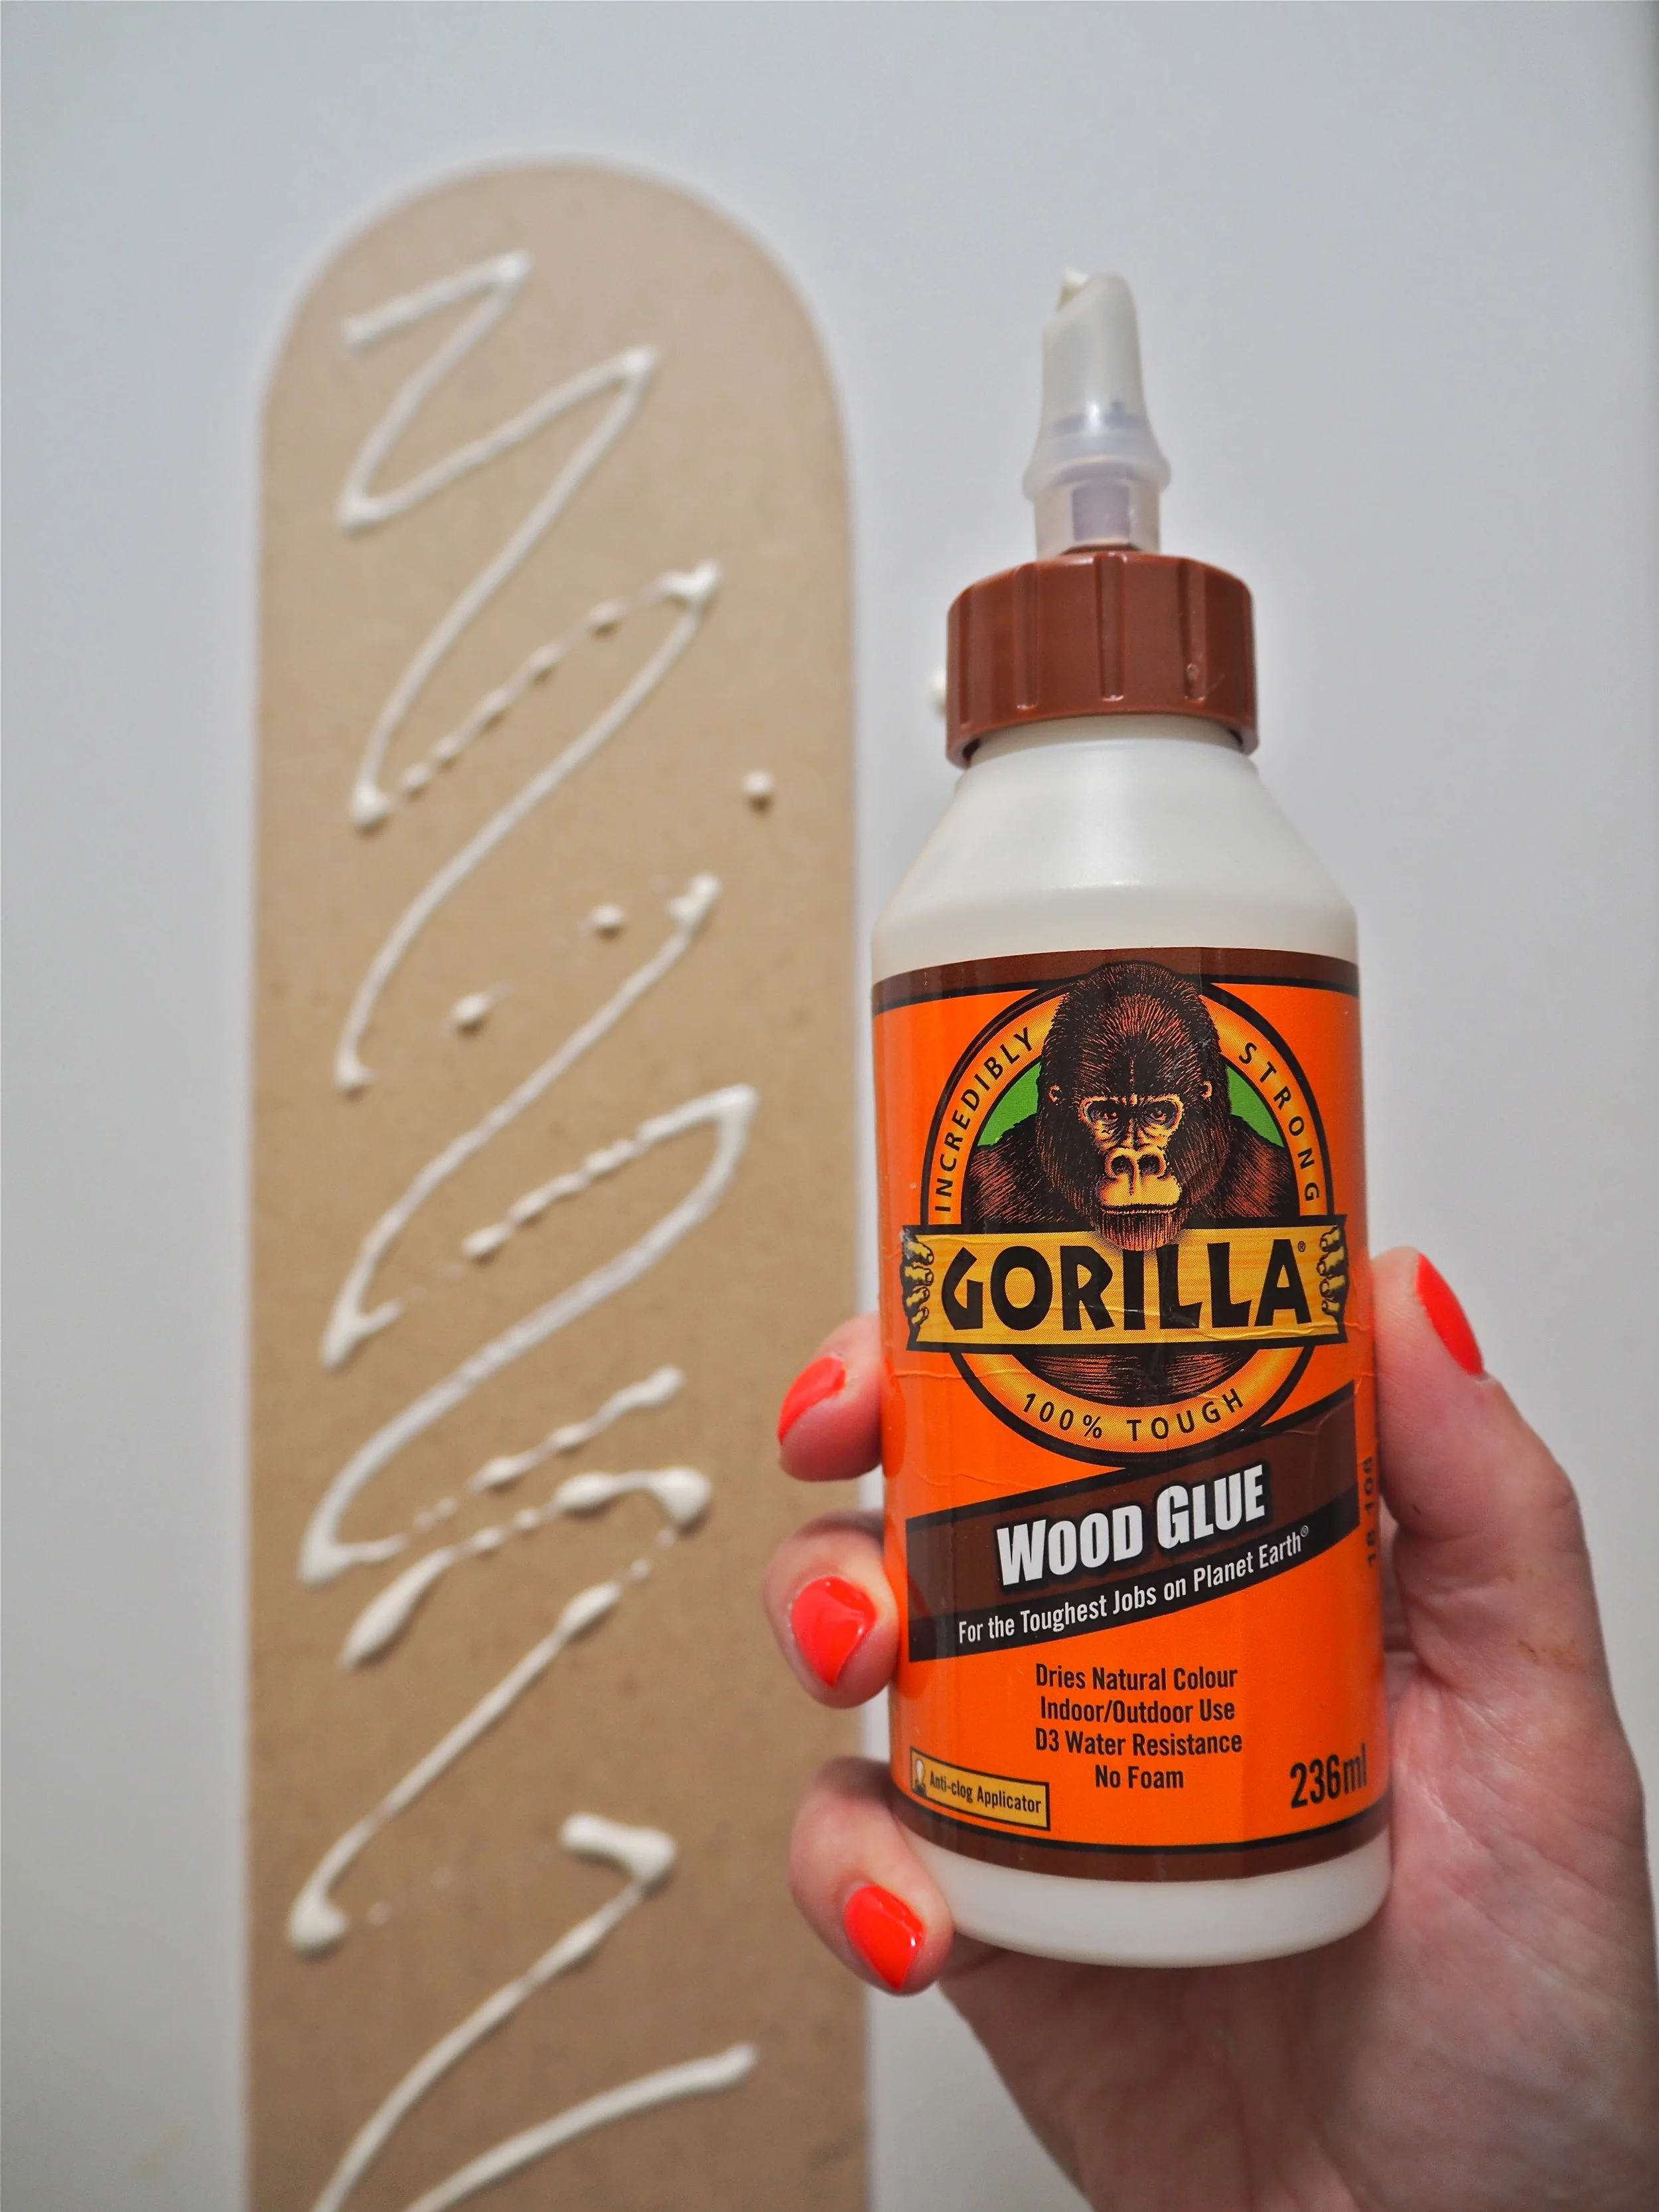
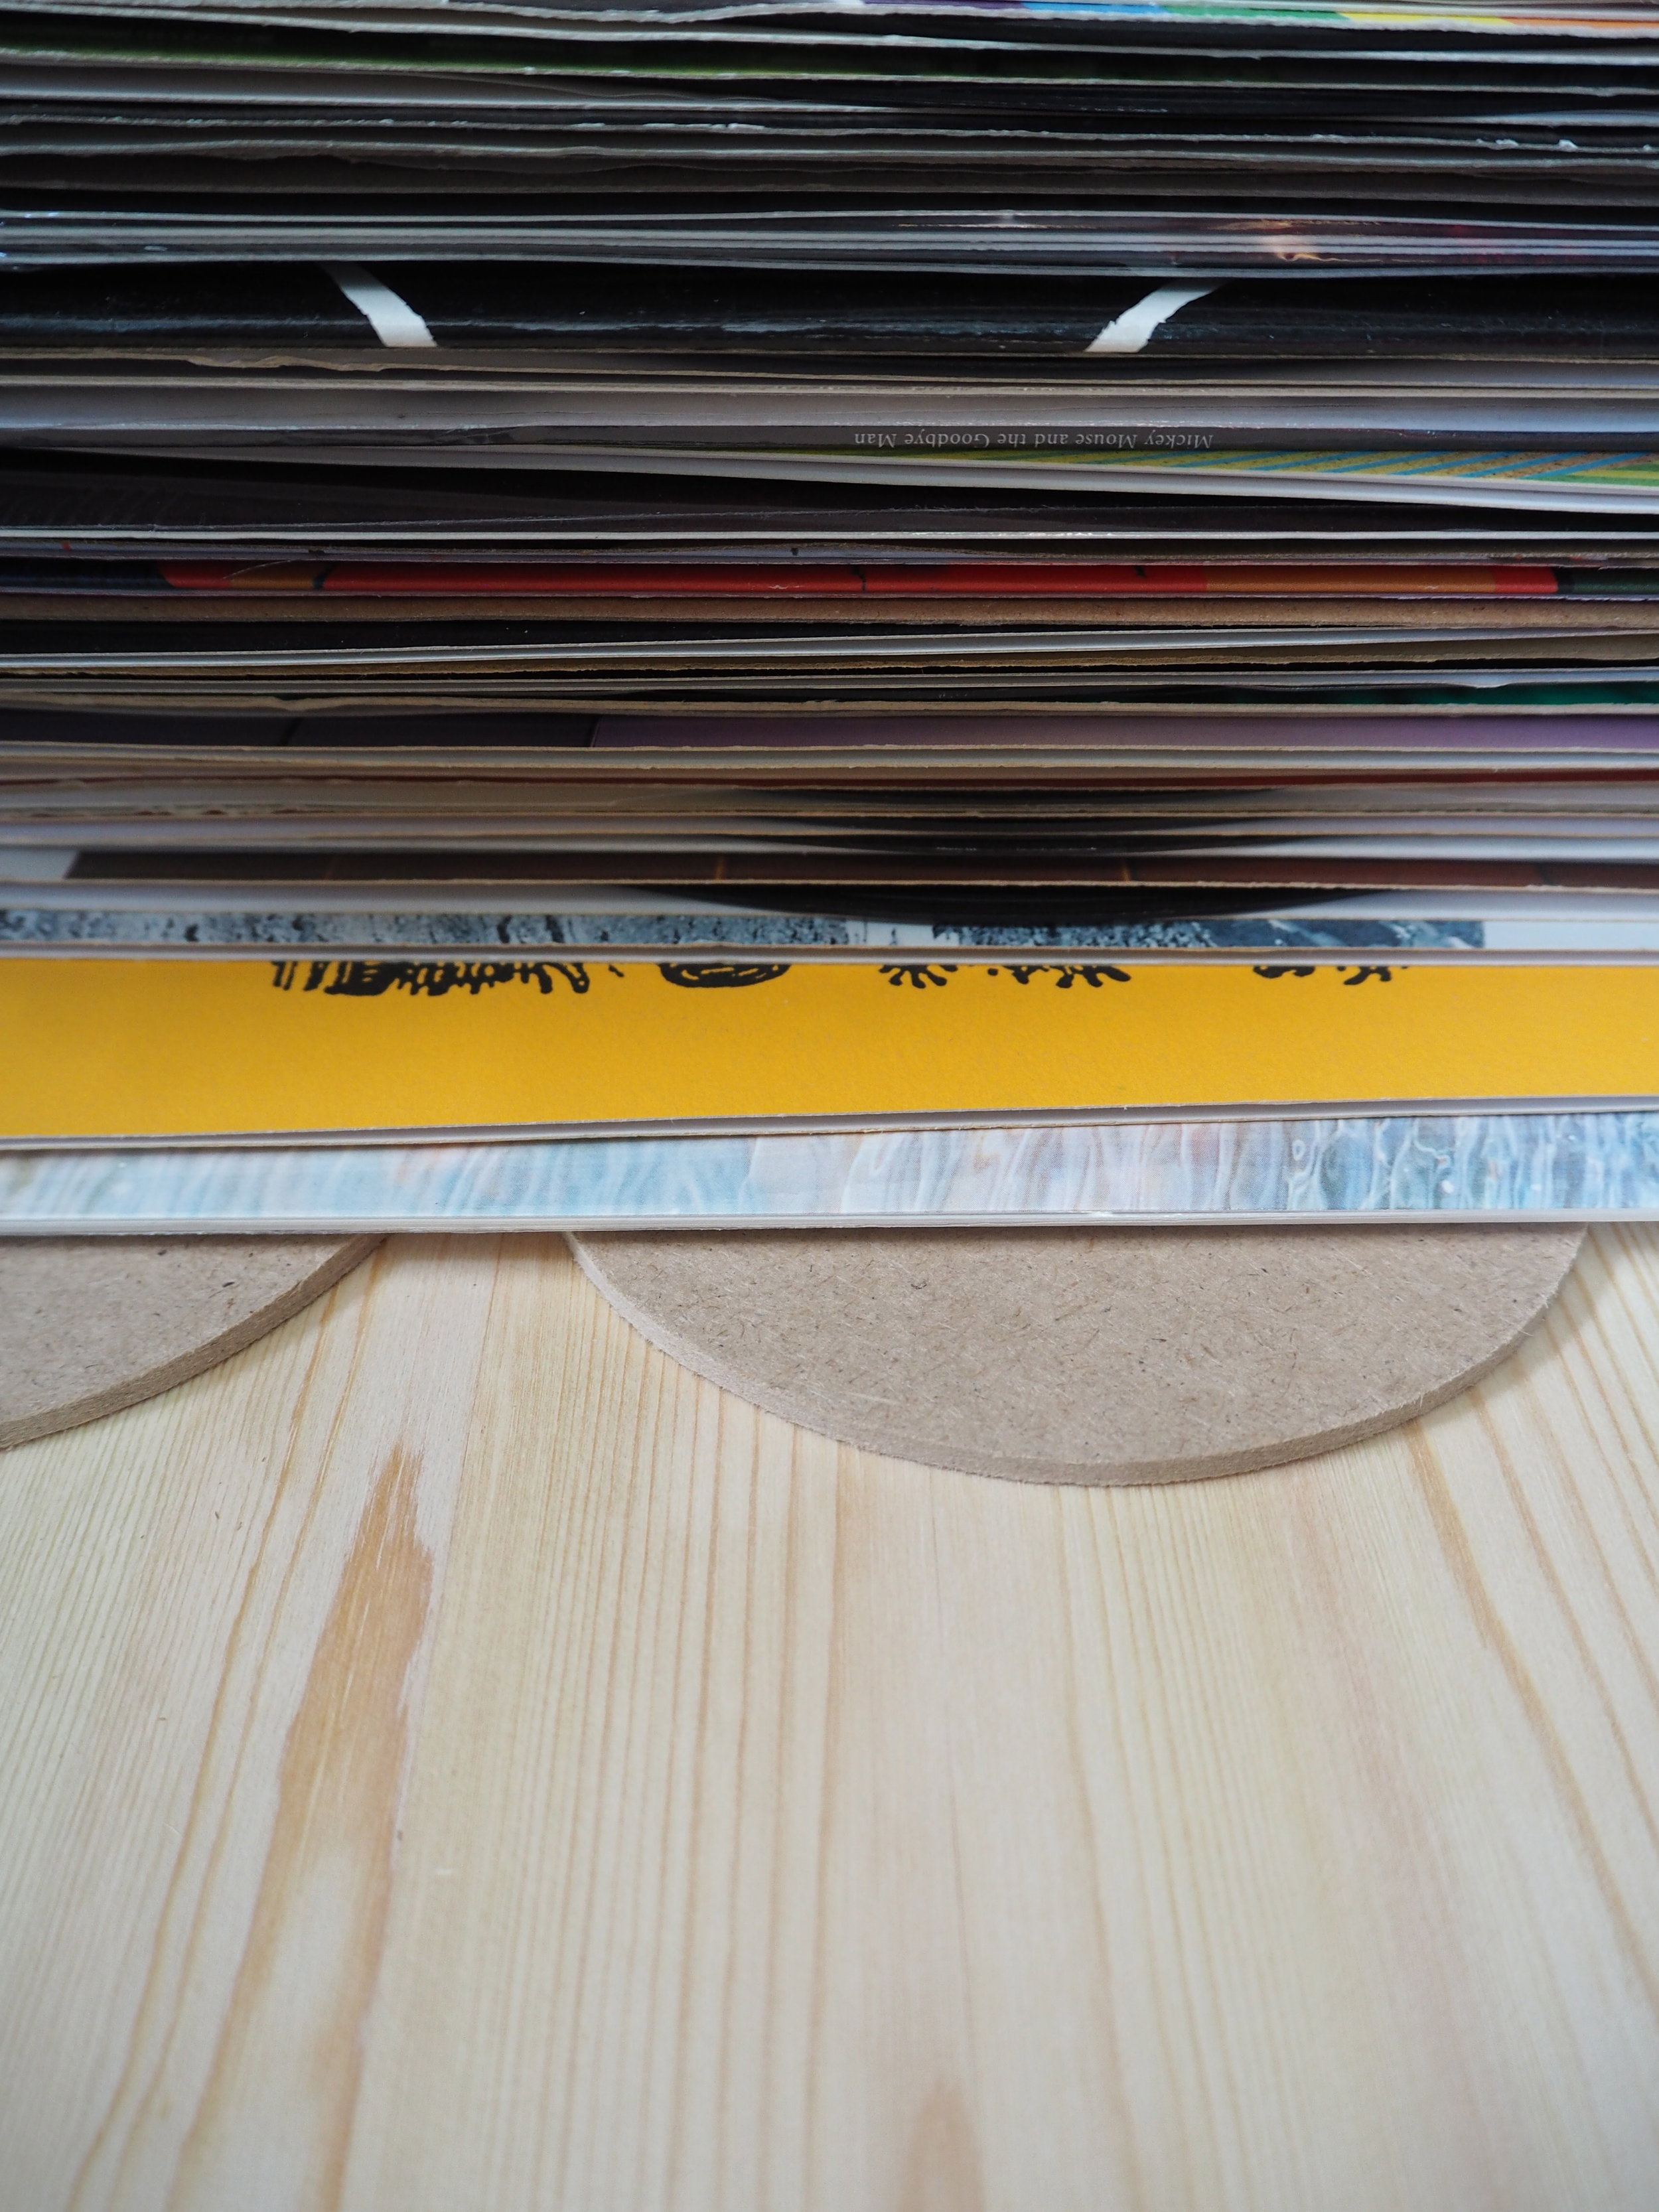
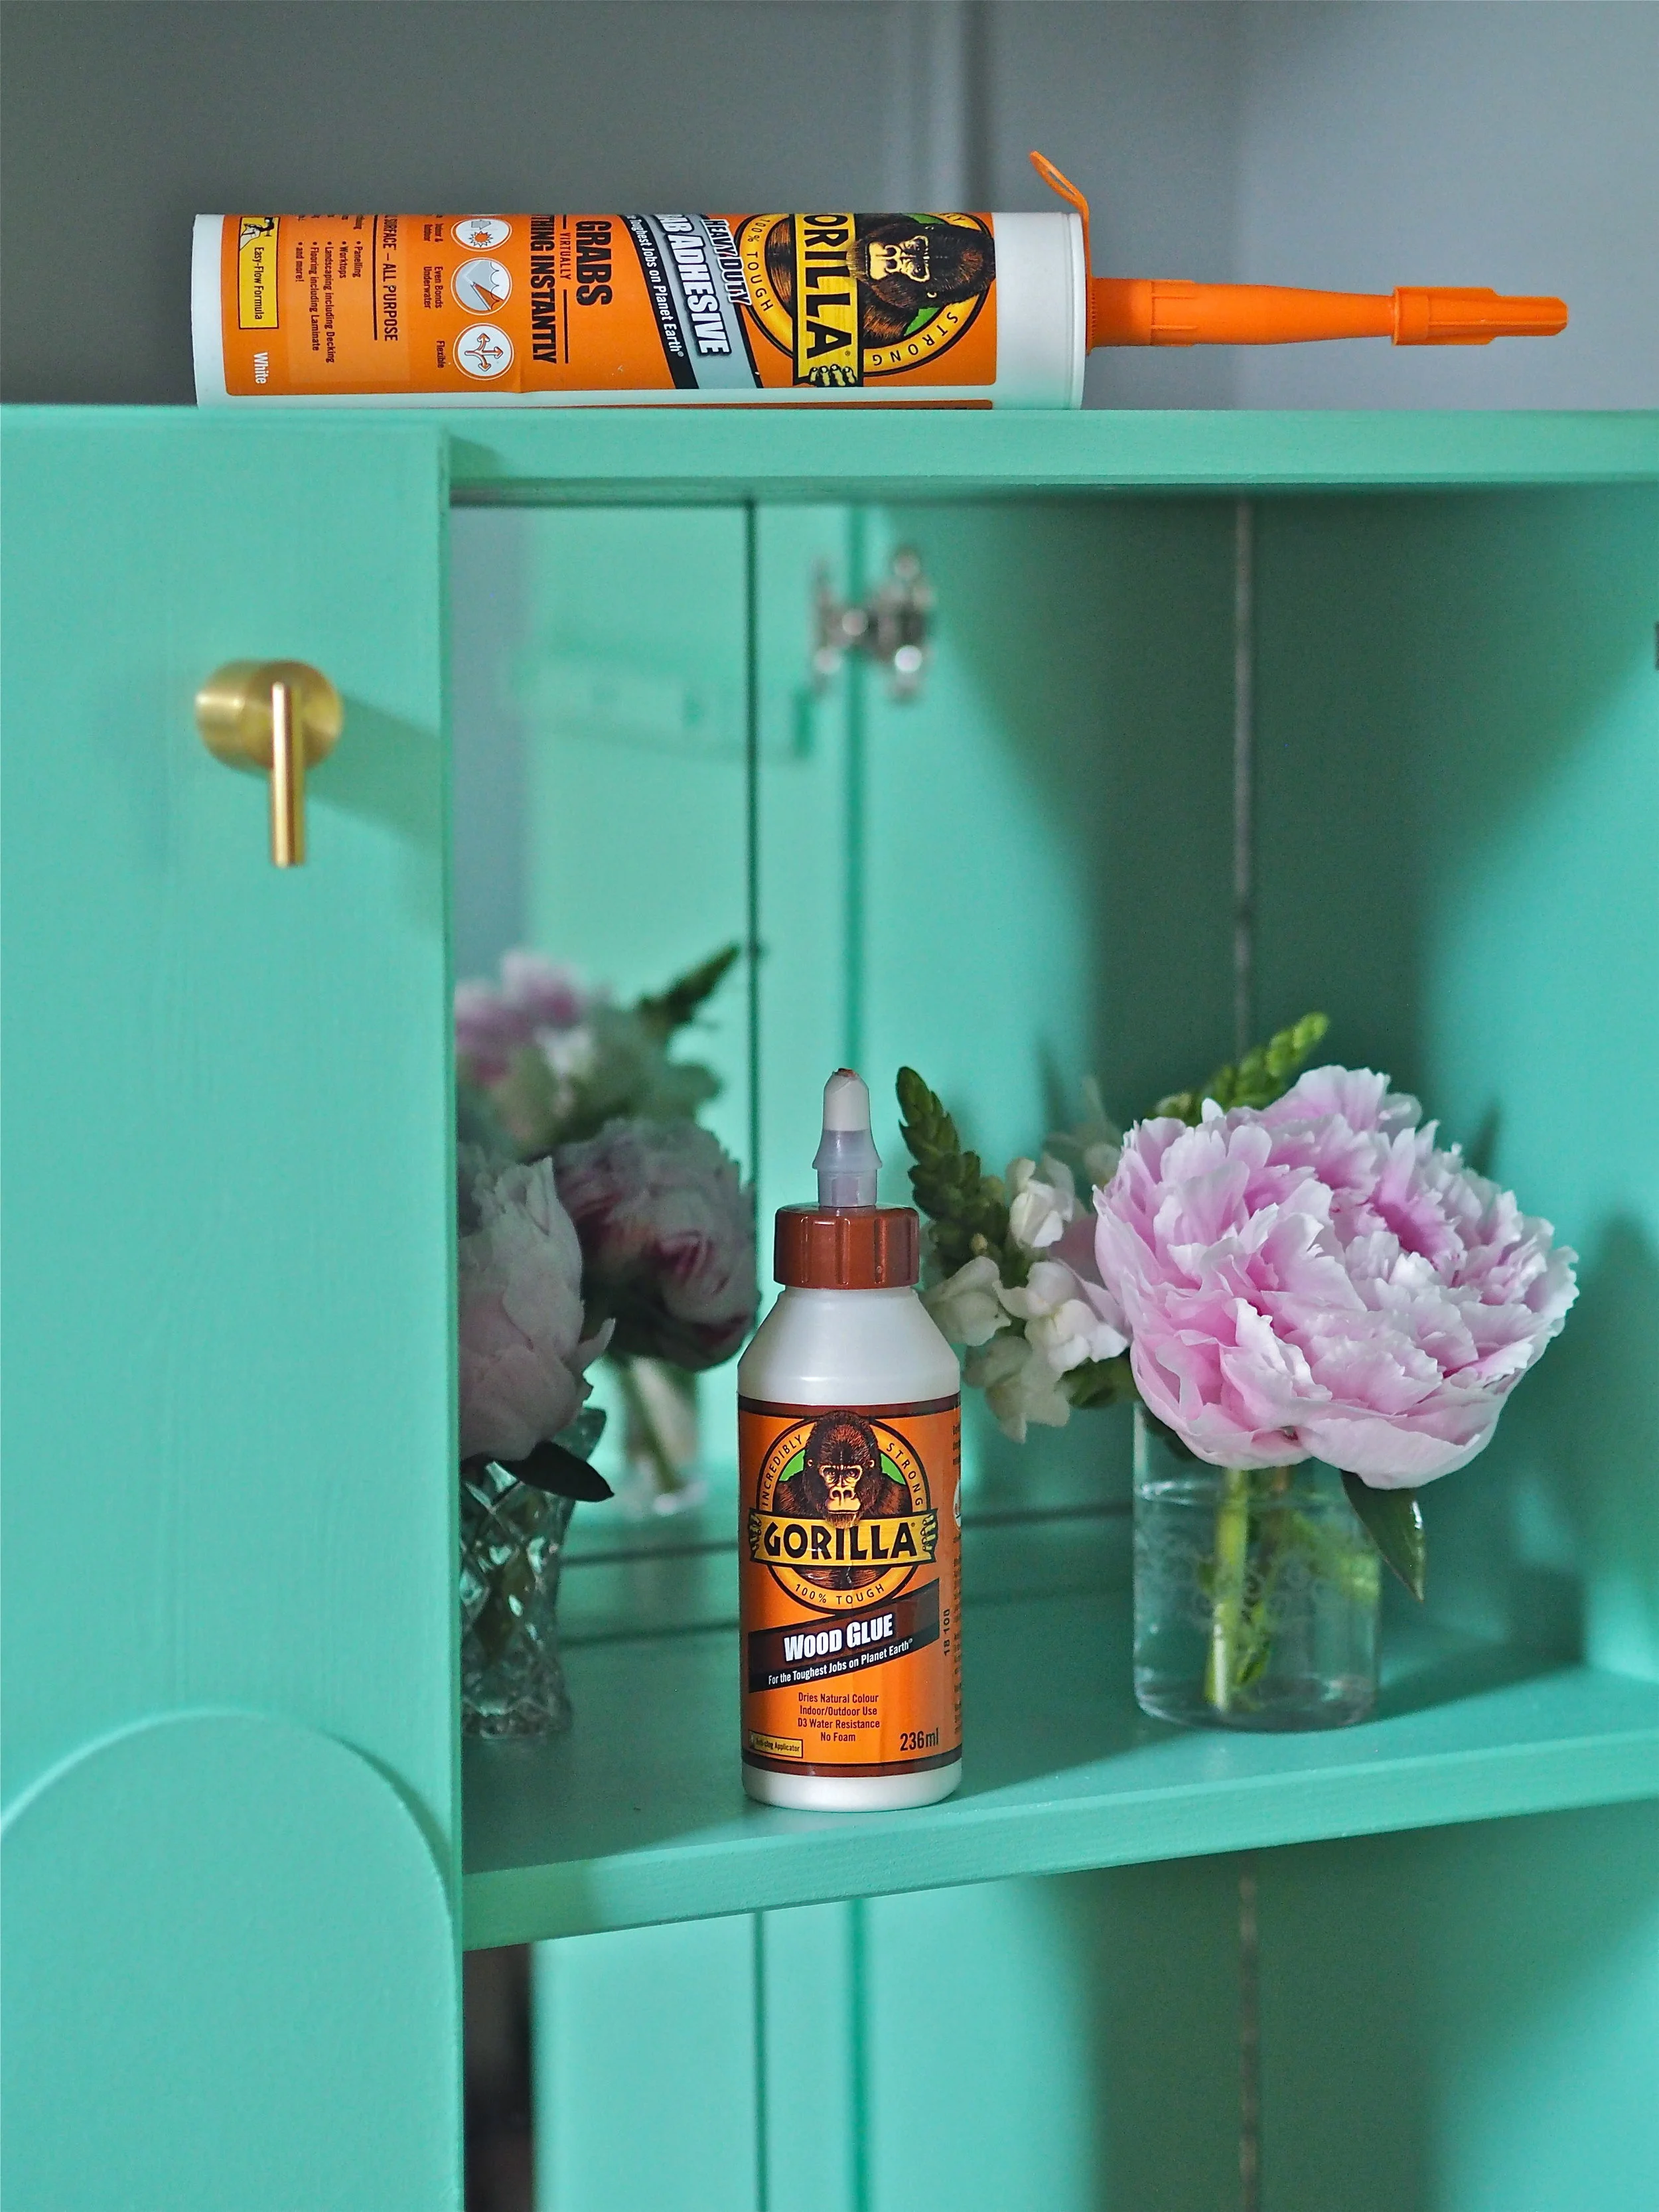
Using Gorilla Wood Glue, I applied a generous amount to the back of each MDF arch, then pressed them down firmly onto the doors of the IVAR. As the arches were so wide and flat, I placed a stack of wide and heavy vinyl records on top of the the panels for 30 minutes while the glue set, rather than use a clamp:

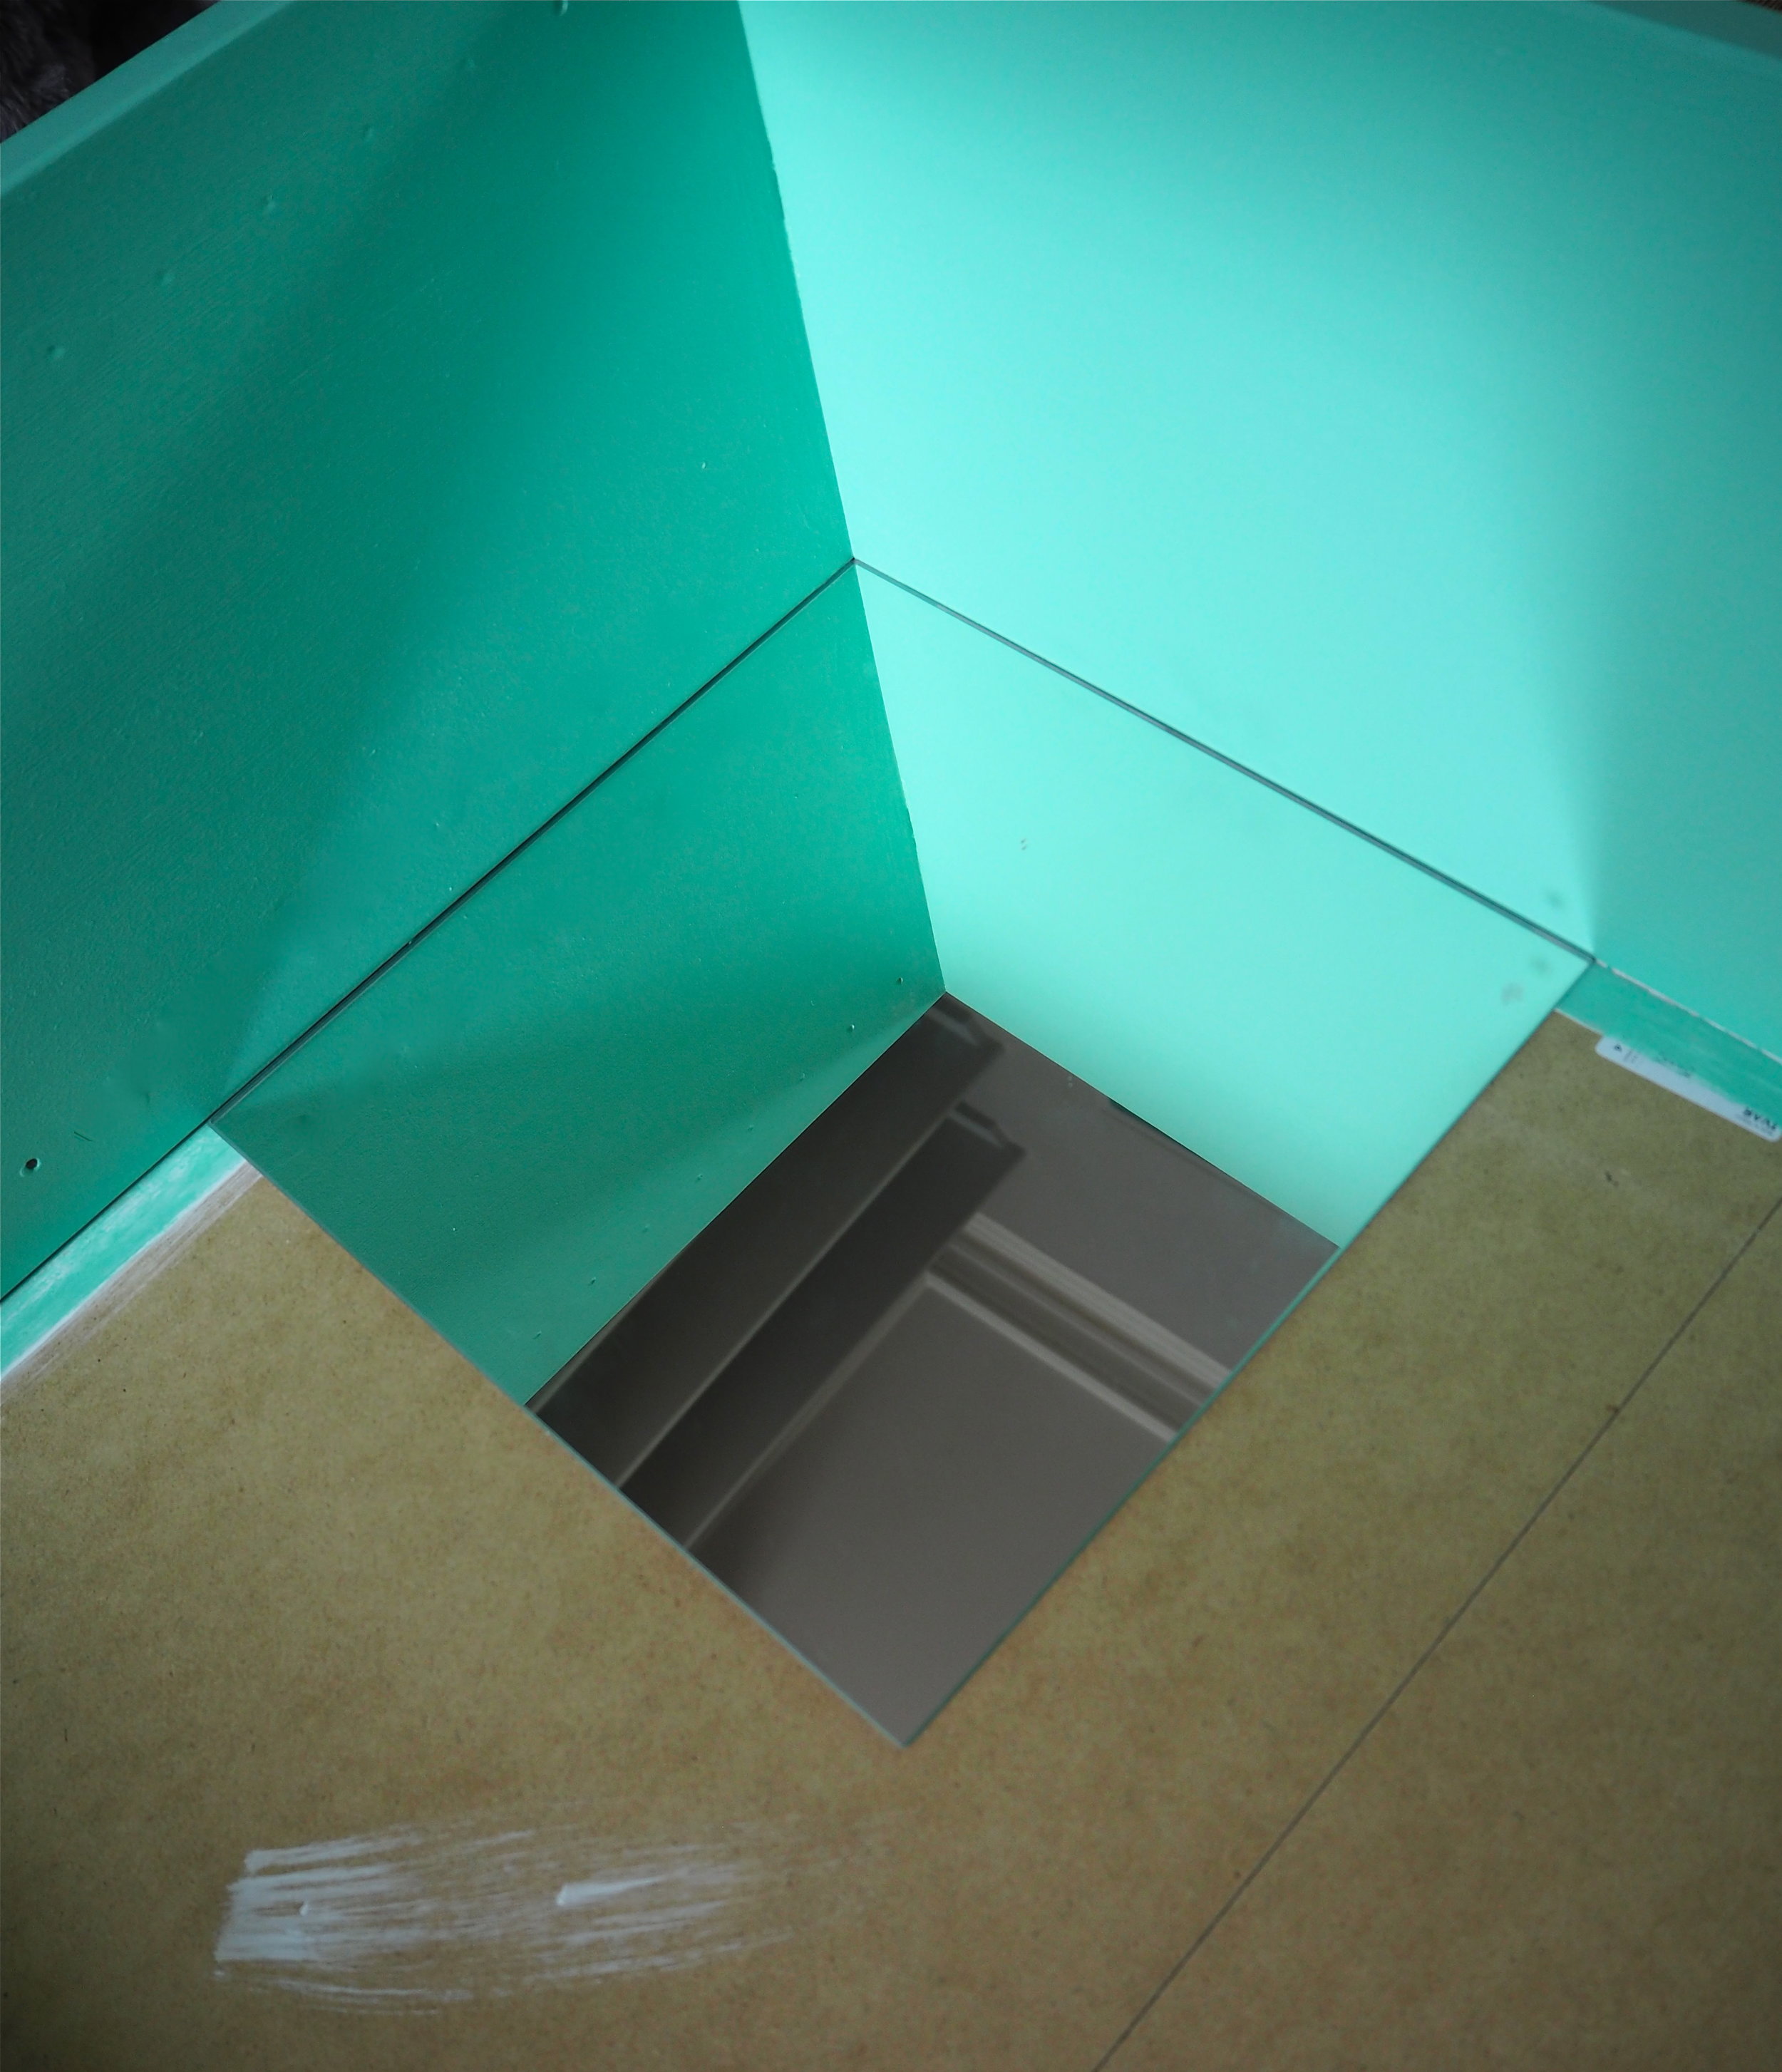
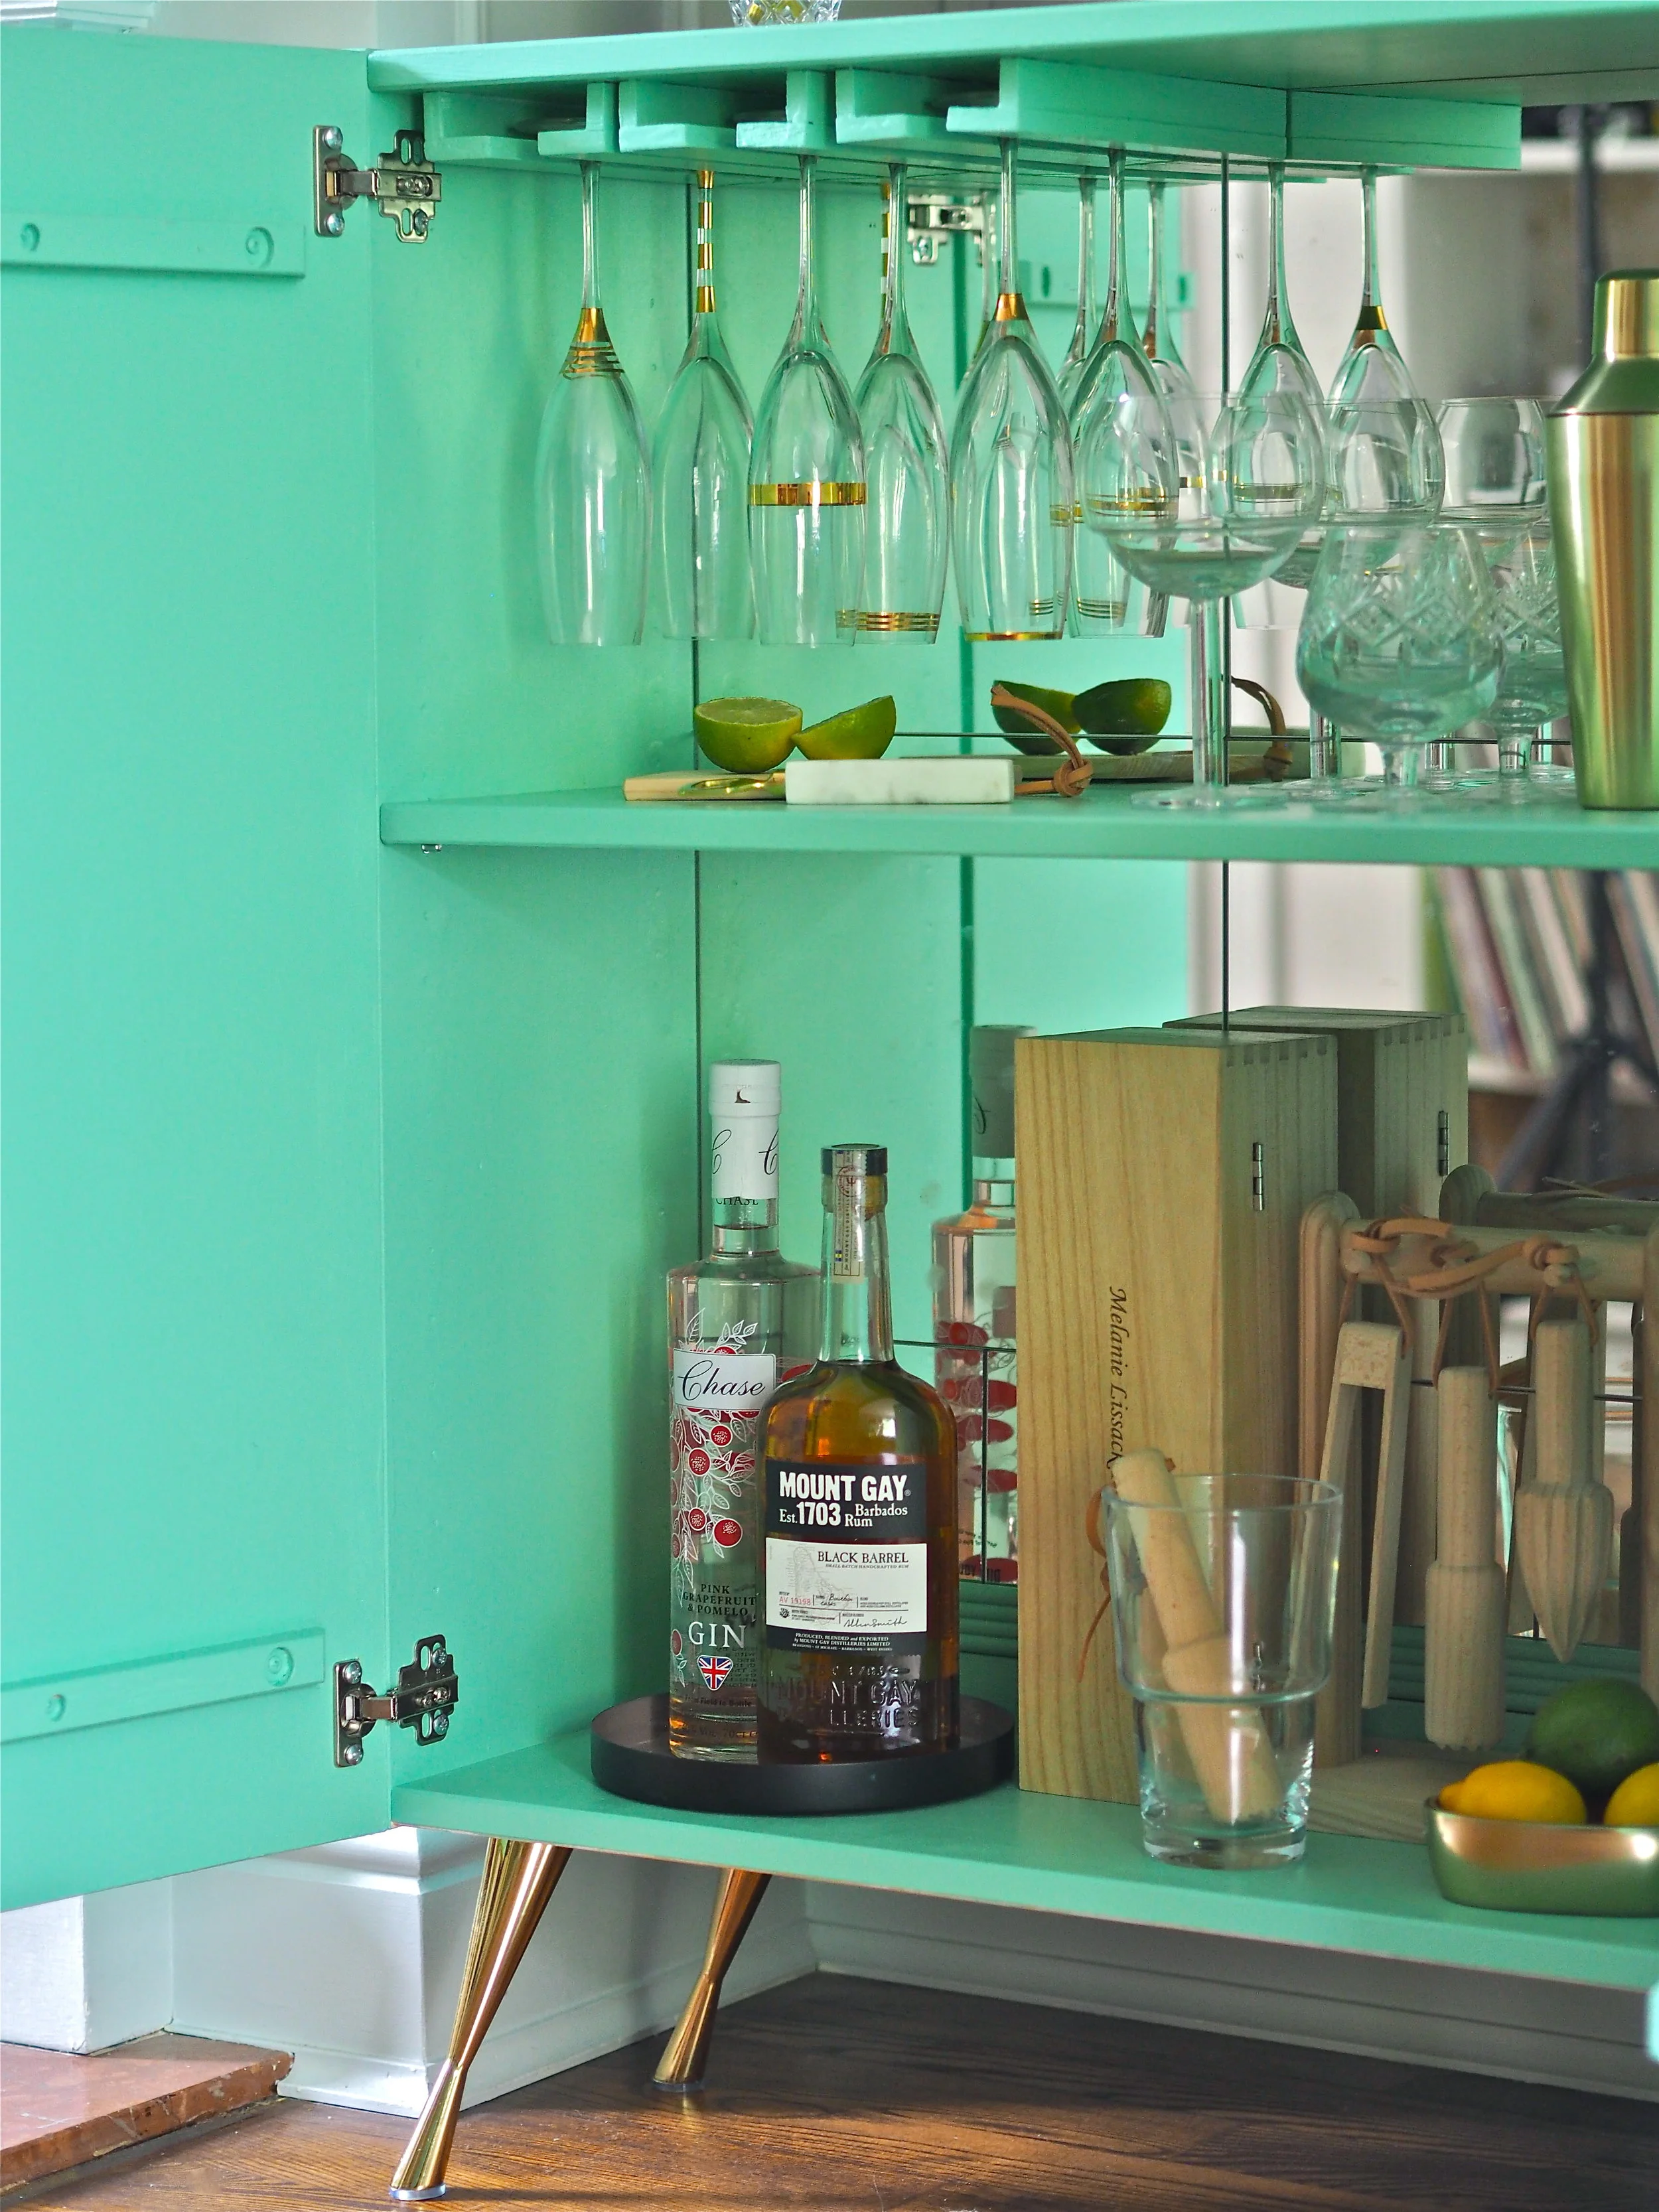
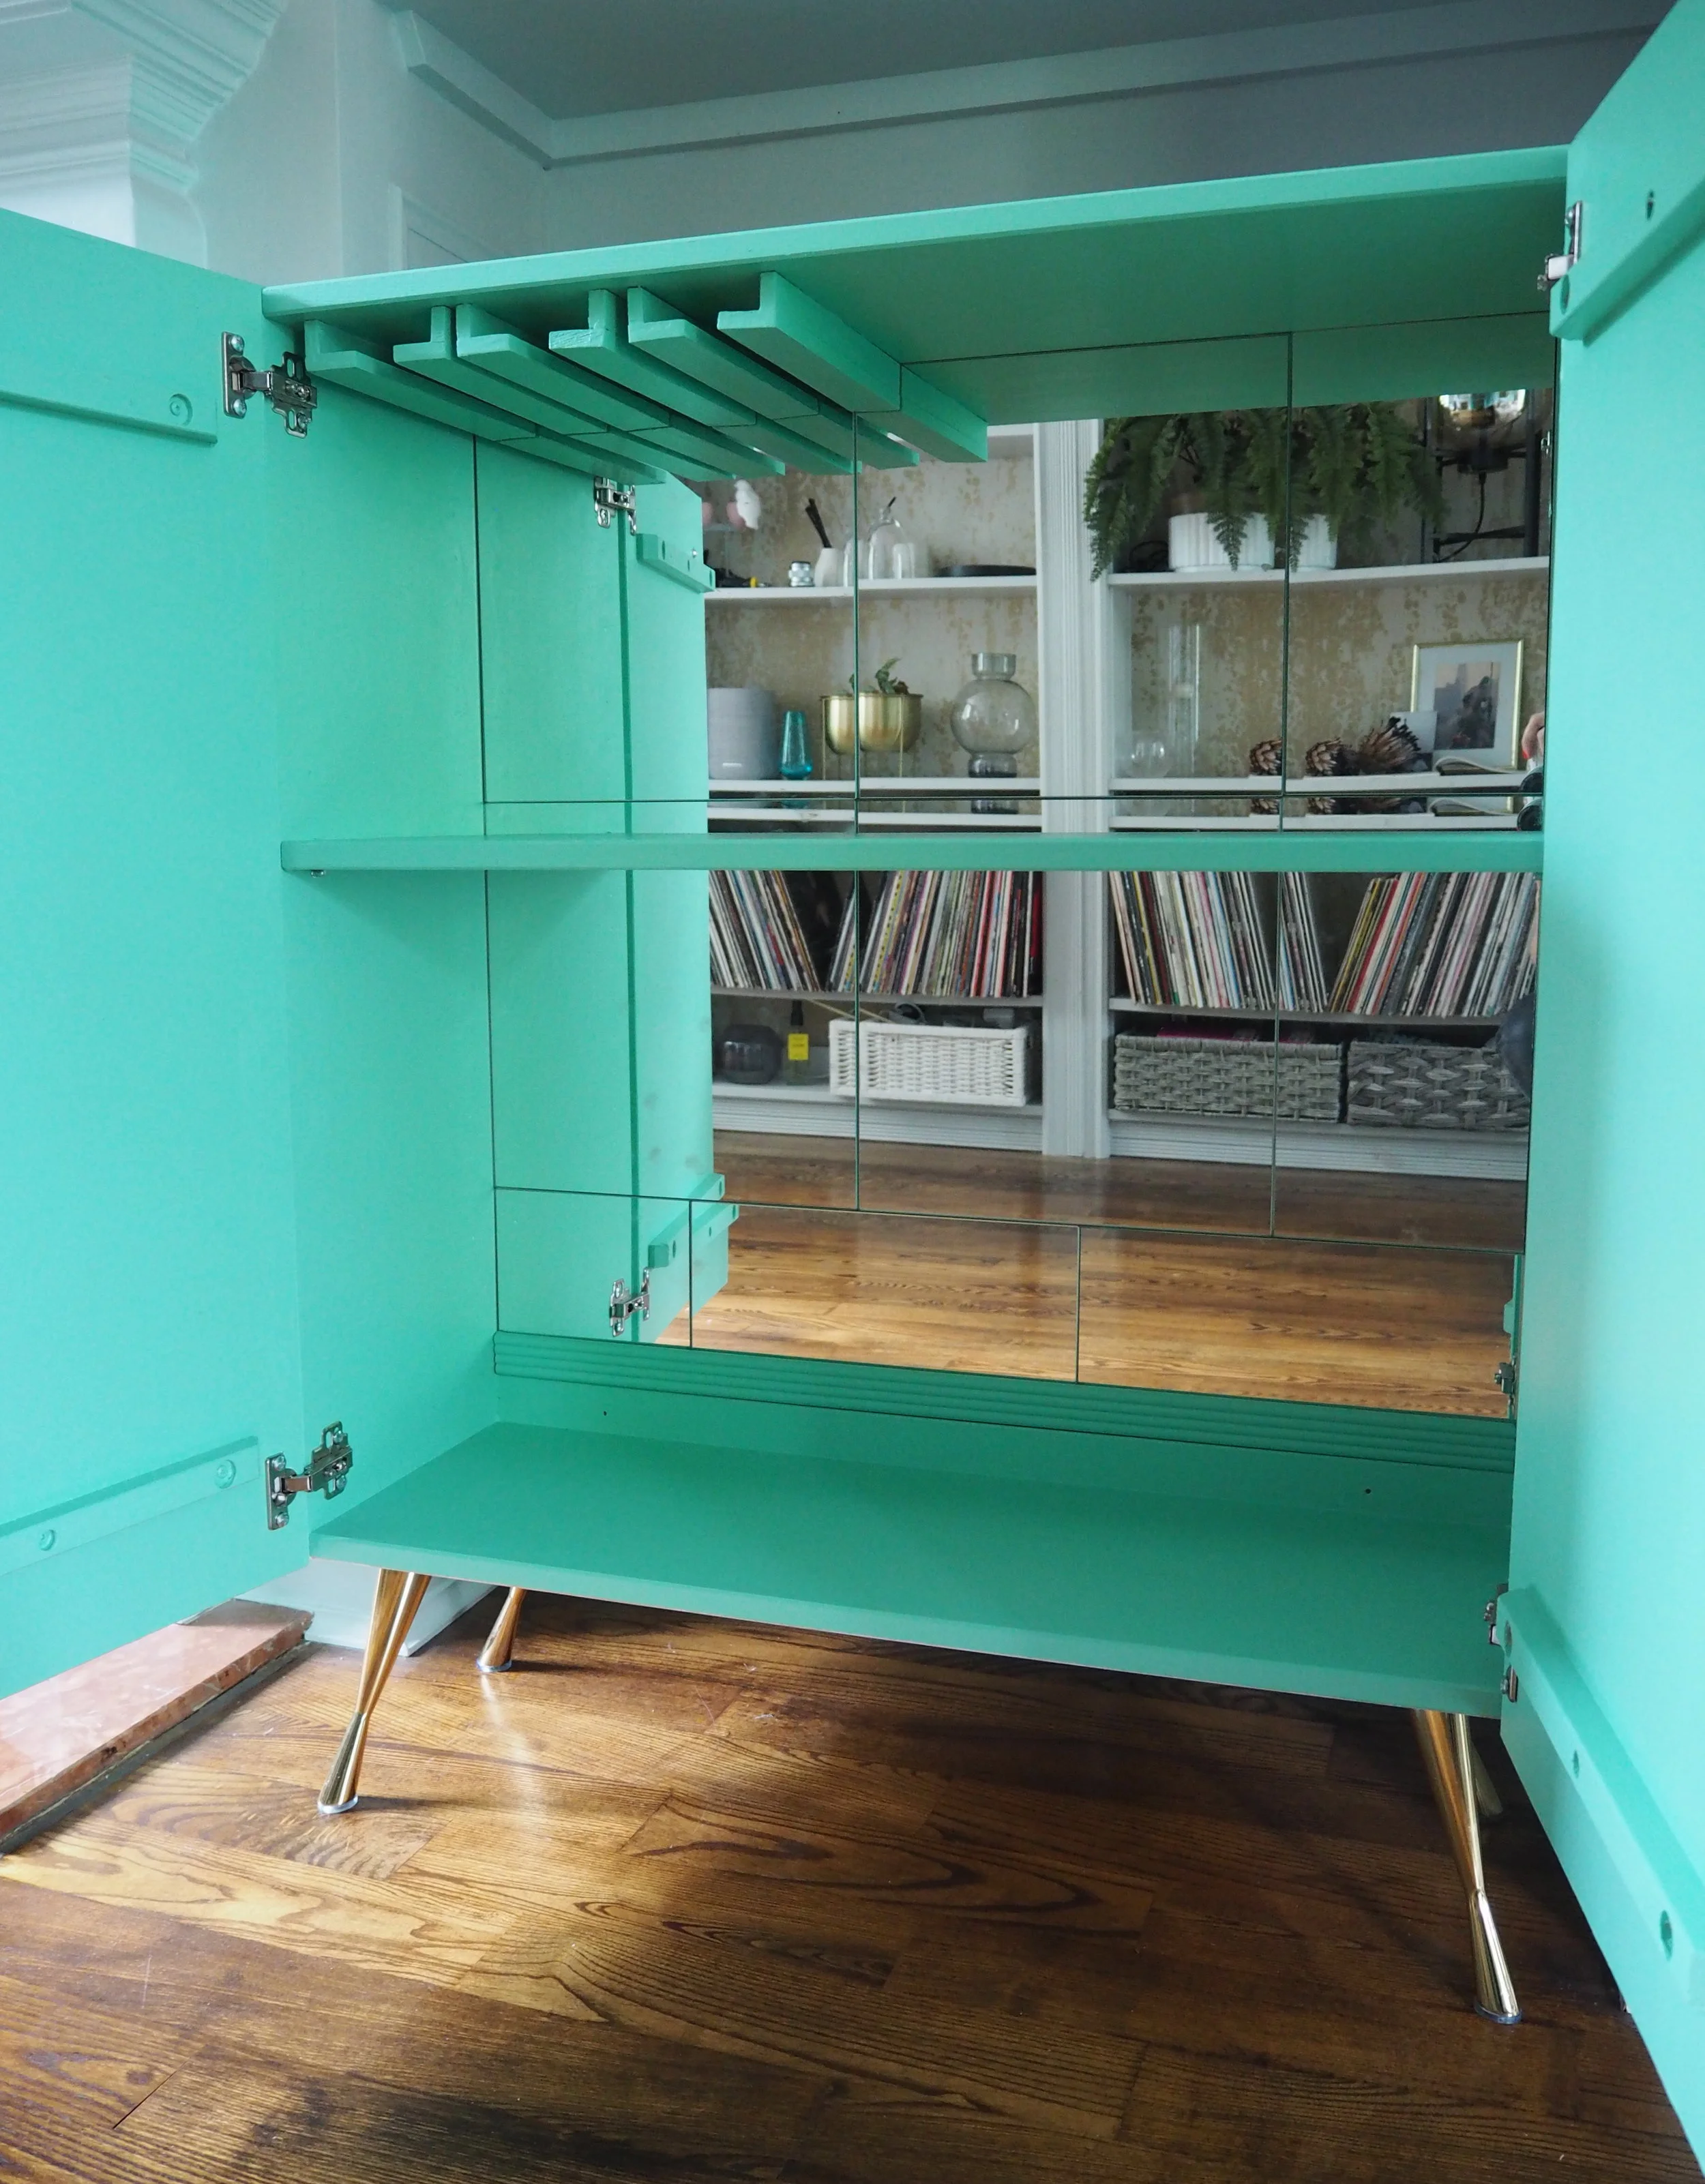
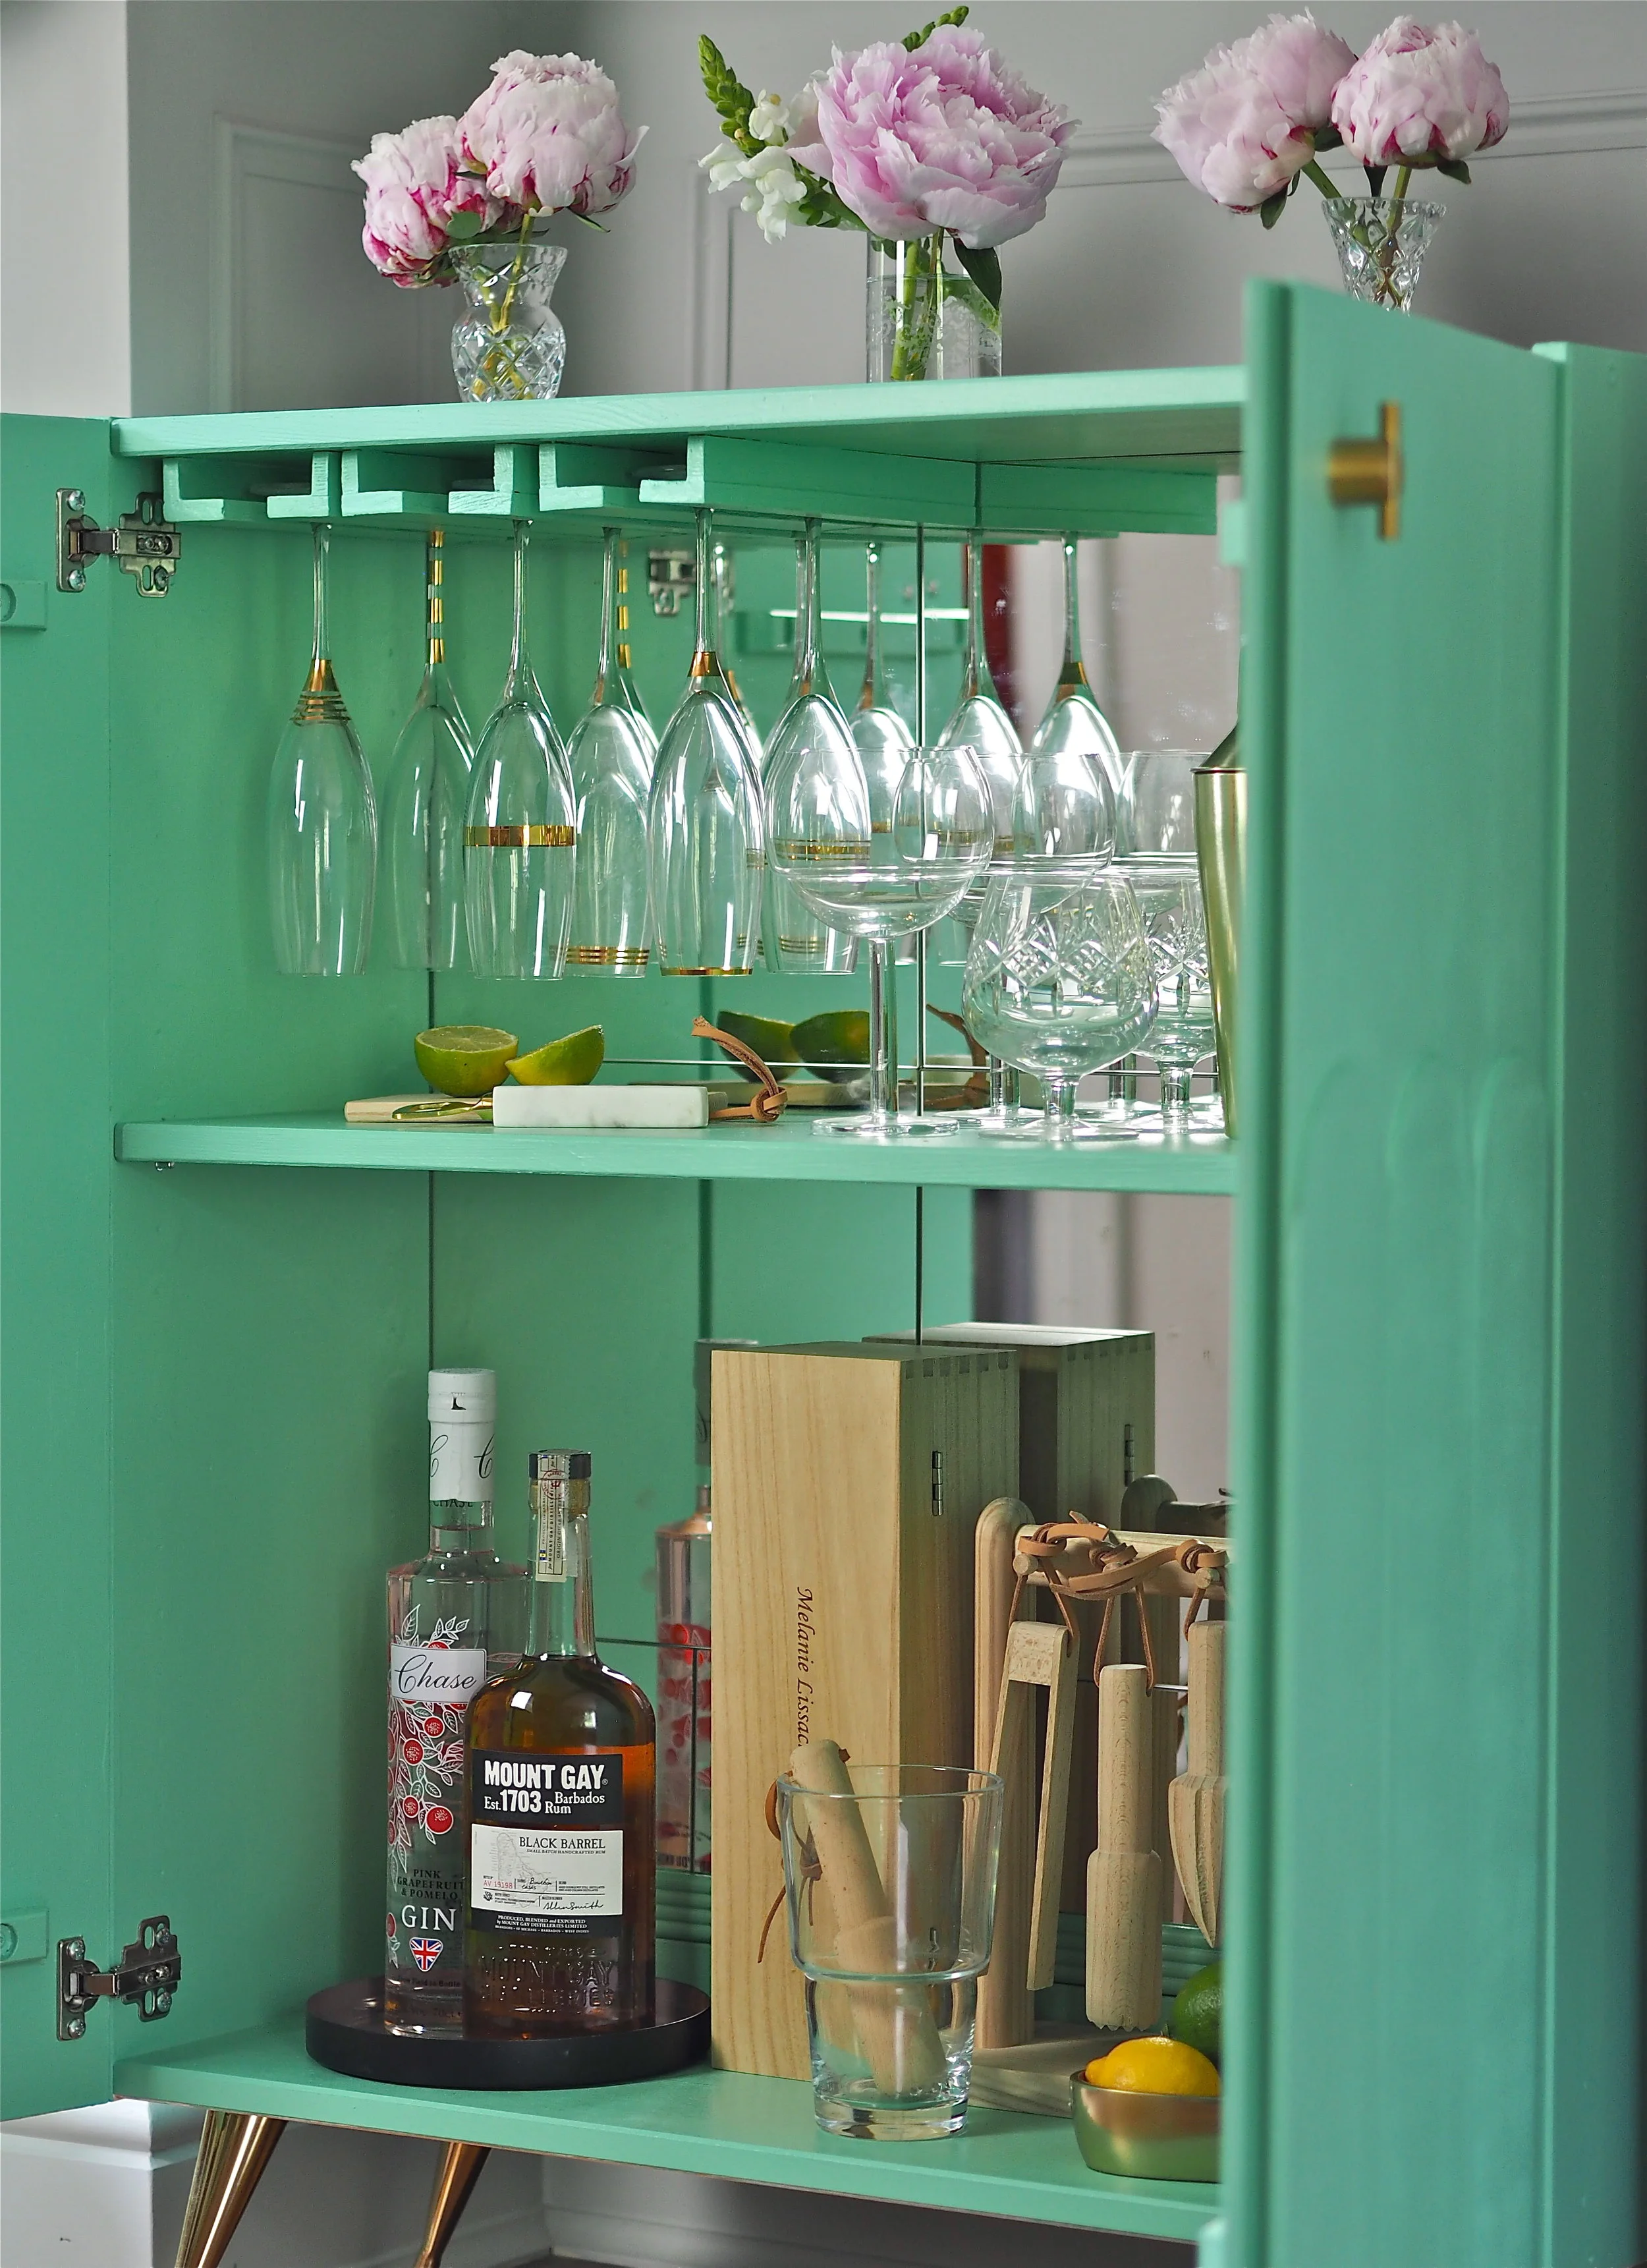
As LOTS mirrors are 30x30cm in size, I used a manual tile cutter to cut any mirror to size and cover the entire back panel of the unit. A tile cutter worked perfectly, but do remember to wear protective safety glasses when cutting.
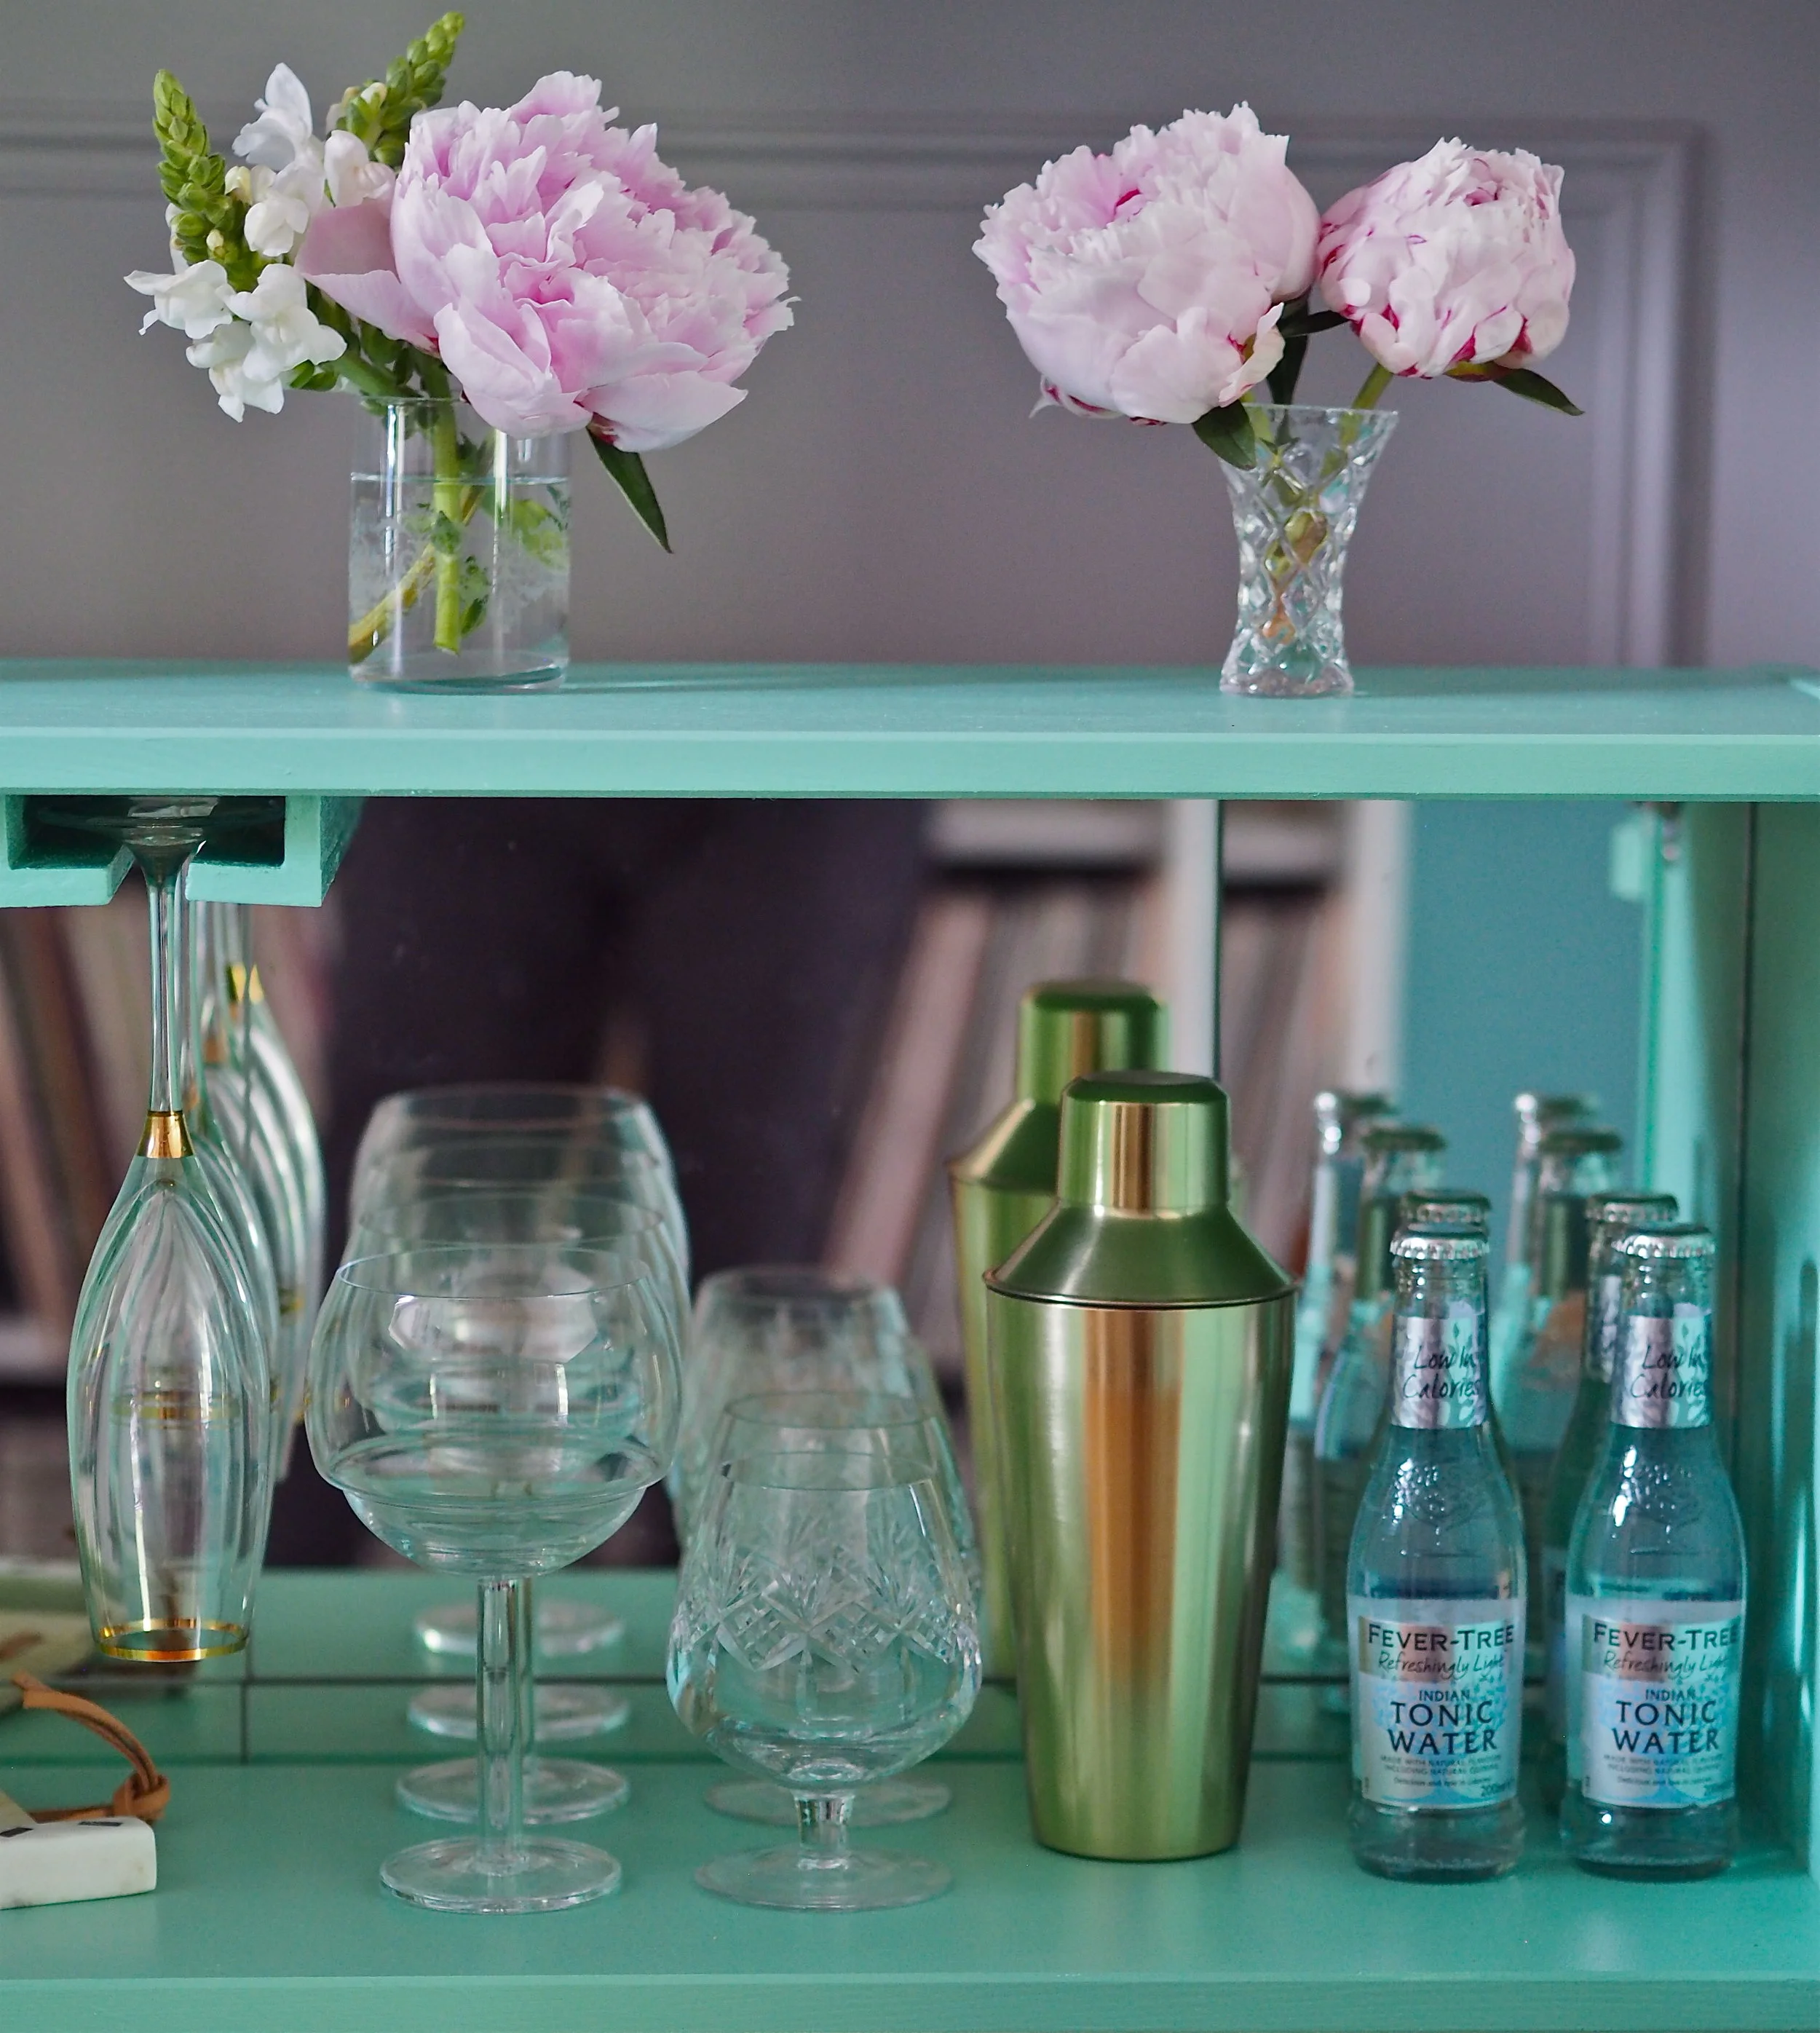
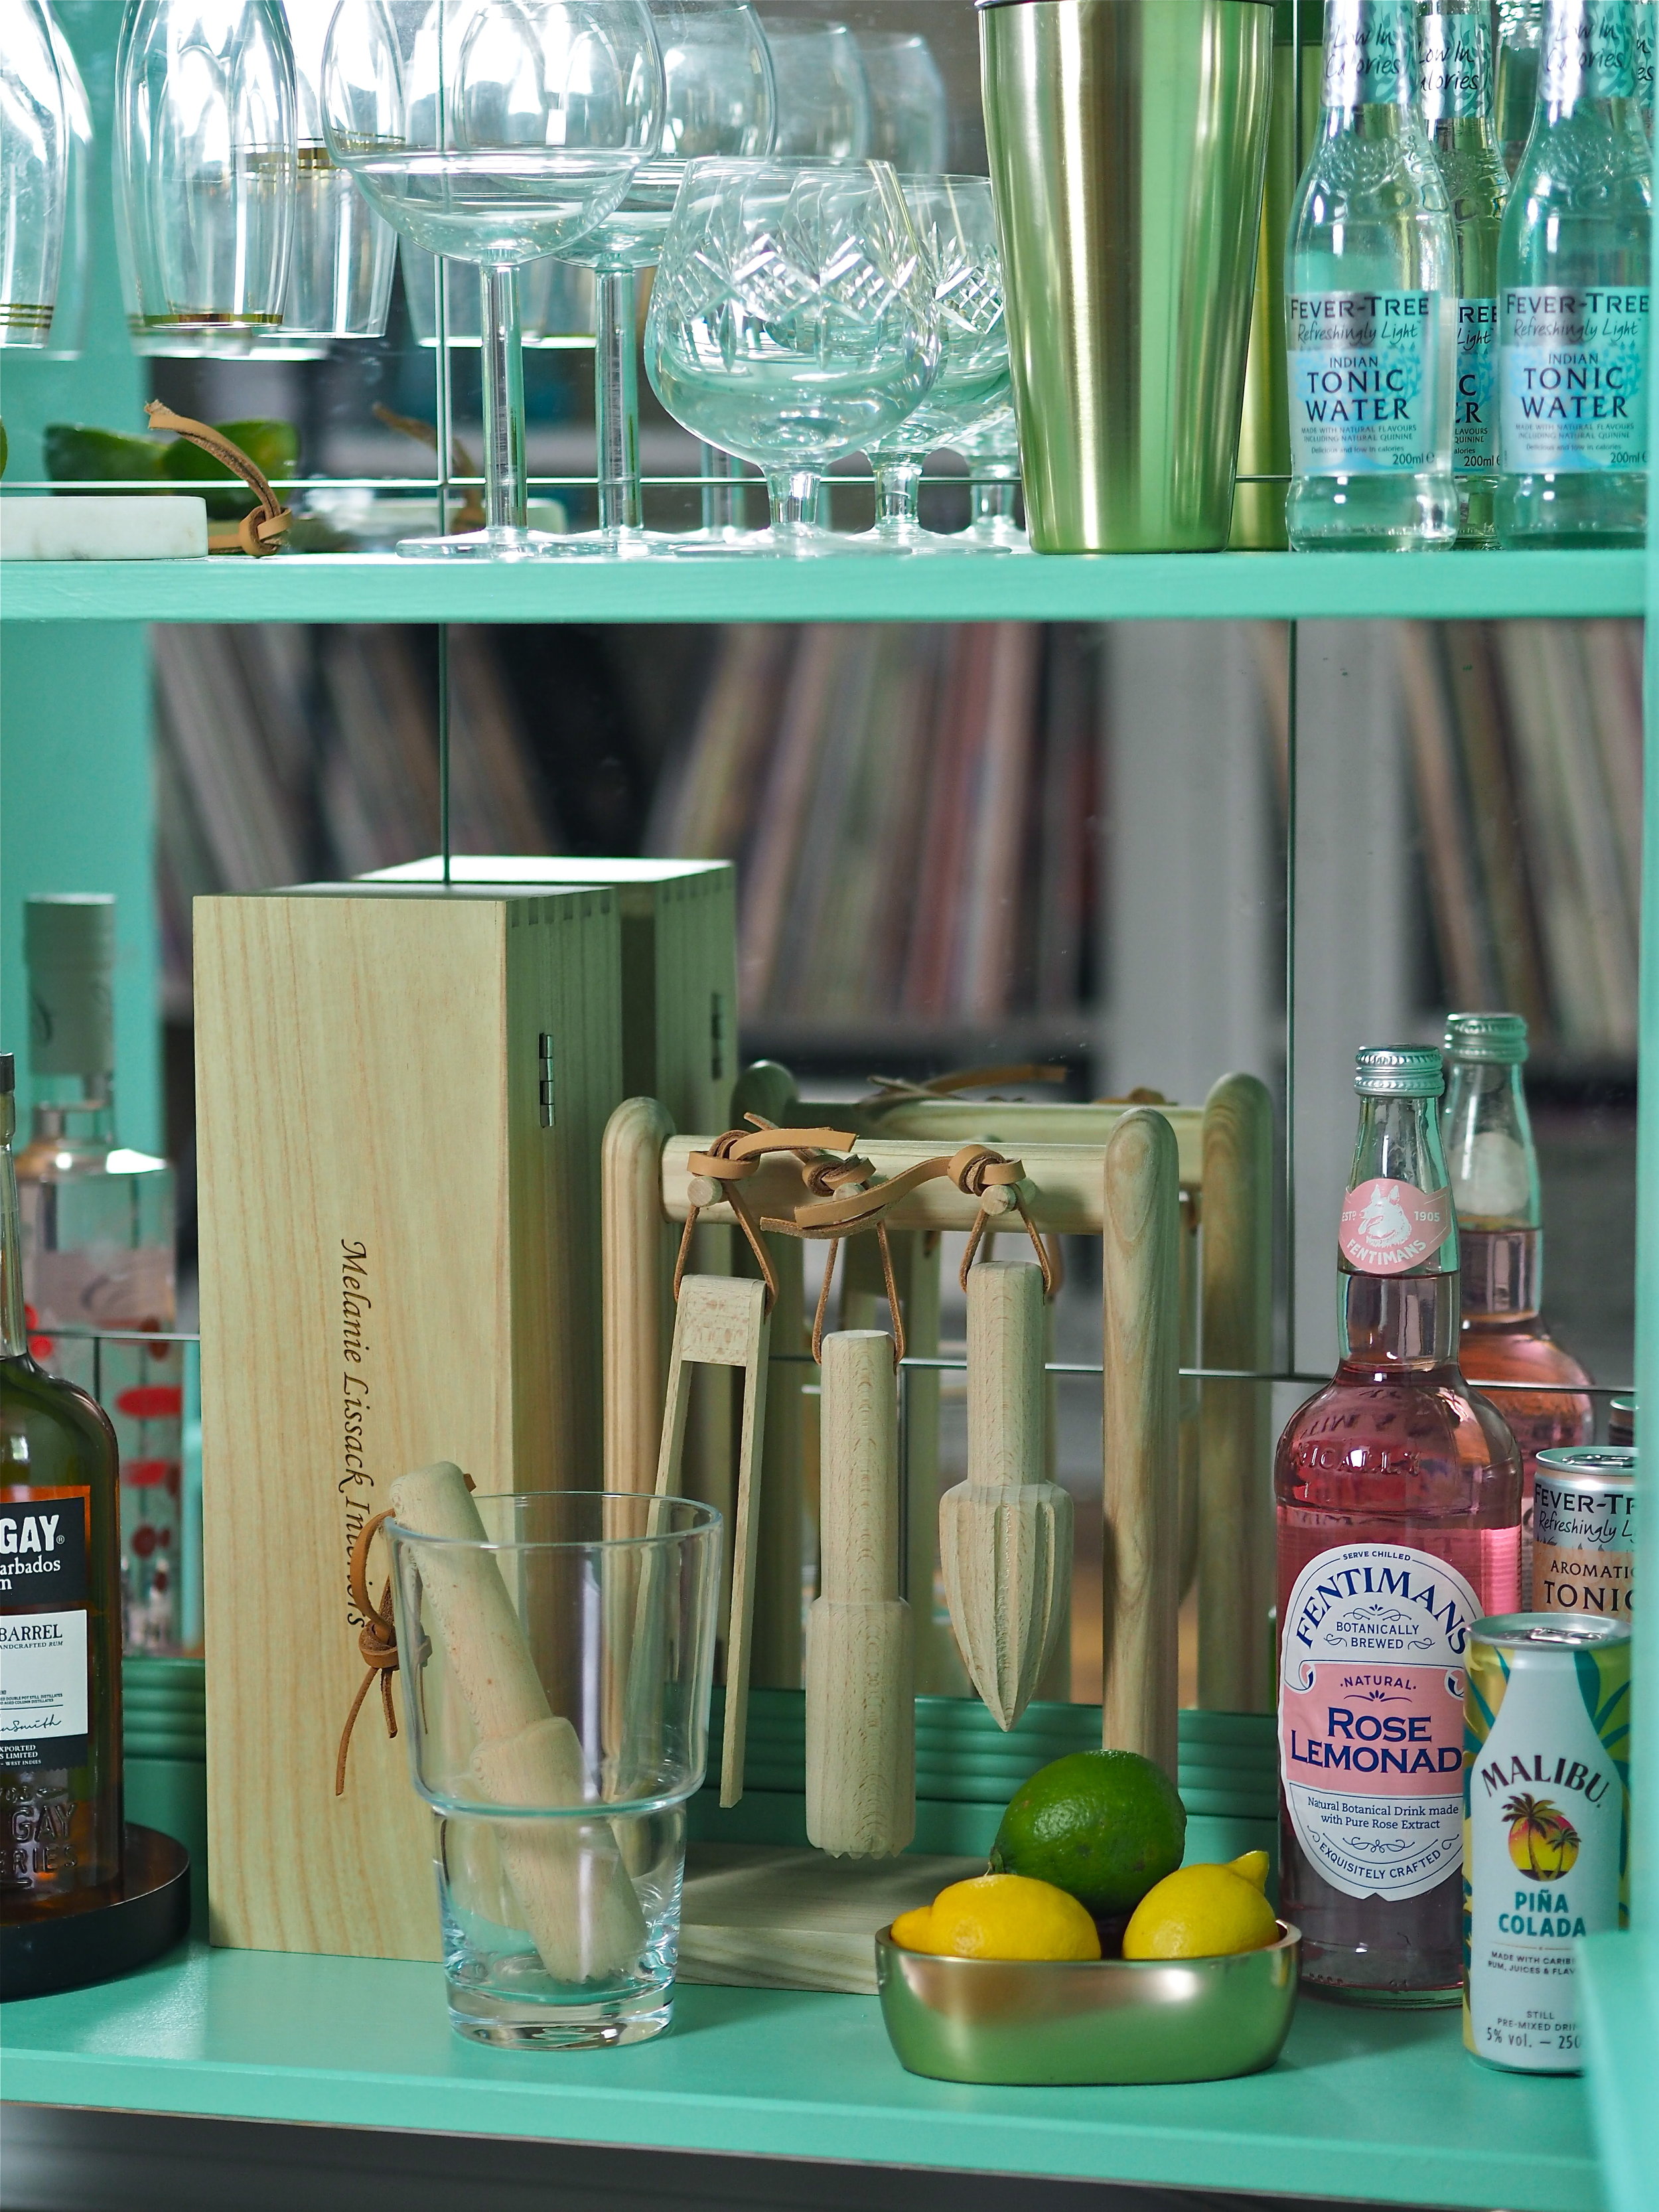
I then placed in the unit shelf, hung the doors and added some gold furniture legs and door handles. Finally, I attached the champagne glass hooks that I had previously created using the Gorilla Heavy Duty Grab Adhesive (I used the Grab Adhesive rather than the Wood Glue as the unit had been painted so I was not bonding a wood surface). Using a base of a champagne glass to measure the distance between the hooks, I applied them to the inside of the unit using a generous amount of Grab Adhesive, wiping away any excess glue after application with a wet cloth.

I’m delighted with my DIY drinks cabinet. It’s a stylish and functional piece of furniture for the summer months and cost me a fraction of what I would have paid for one on the High Street.
Paint Colour: ‘Green Vertider’ - Little Greene Paint Company water based eggshell
Primer: M&L Paints bare wood primer
Brass Handles: Swarf Hardware
Furniture Legs: Heritage Upholstery
Sprits in Personalised box: Kindly gifted by Farrar & Tanner for this project
Champagne Glasses and Cocktail Making Sets: LSA International (previously gifted)
Gold cocktail shaker: MADE.com (previously gifted)