How I Created My Ikea Billy Bookcase Shelving Hack
As part of my Revamp Restyle Reveal Sitting Room plans I wanted to get rid of an old display cabinet that was not making the most of the space and create what looked like bespoke bookcase shelving. I had long admired the many amazing Ikea Billy Bookcase hacks that are all over Pinterest, so being on a tiny budget and for the love of DIY, I set about making my own version!
Even though I have seen some amazing Billy Bookcase hacks online, I did not follow what anyone else had done in the past, deciding to work out how to build mine myself as I went along. The reason for this was that I only had a certain amount of wall space to work with and I already had an idea in my head of how I wanted it to look.
The wall width that I had to work with was 175cm and as the Billy Bookcase is 80cm wide, I knew I had space for two of the bookcases. I purchased two of the cheapest versions of the Billy available for £35 (in white, the wood-effect ones are more expensive) as I was going to prime and paint the bookcase in the same colour as the walls to make it look like it was built for the room, rather than the fact it was really two cheap flat-packs!
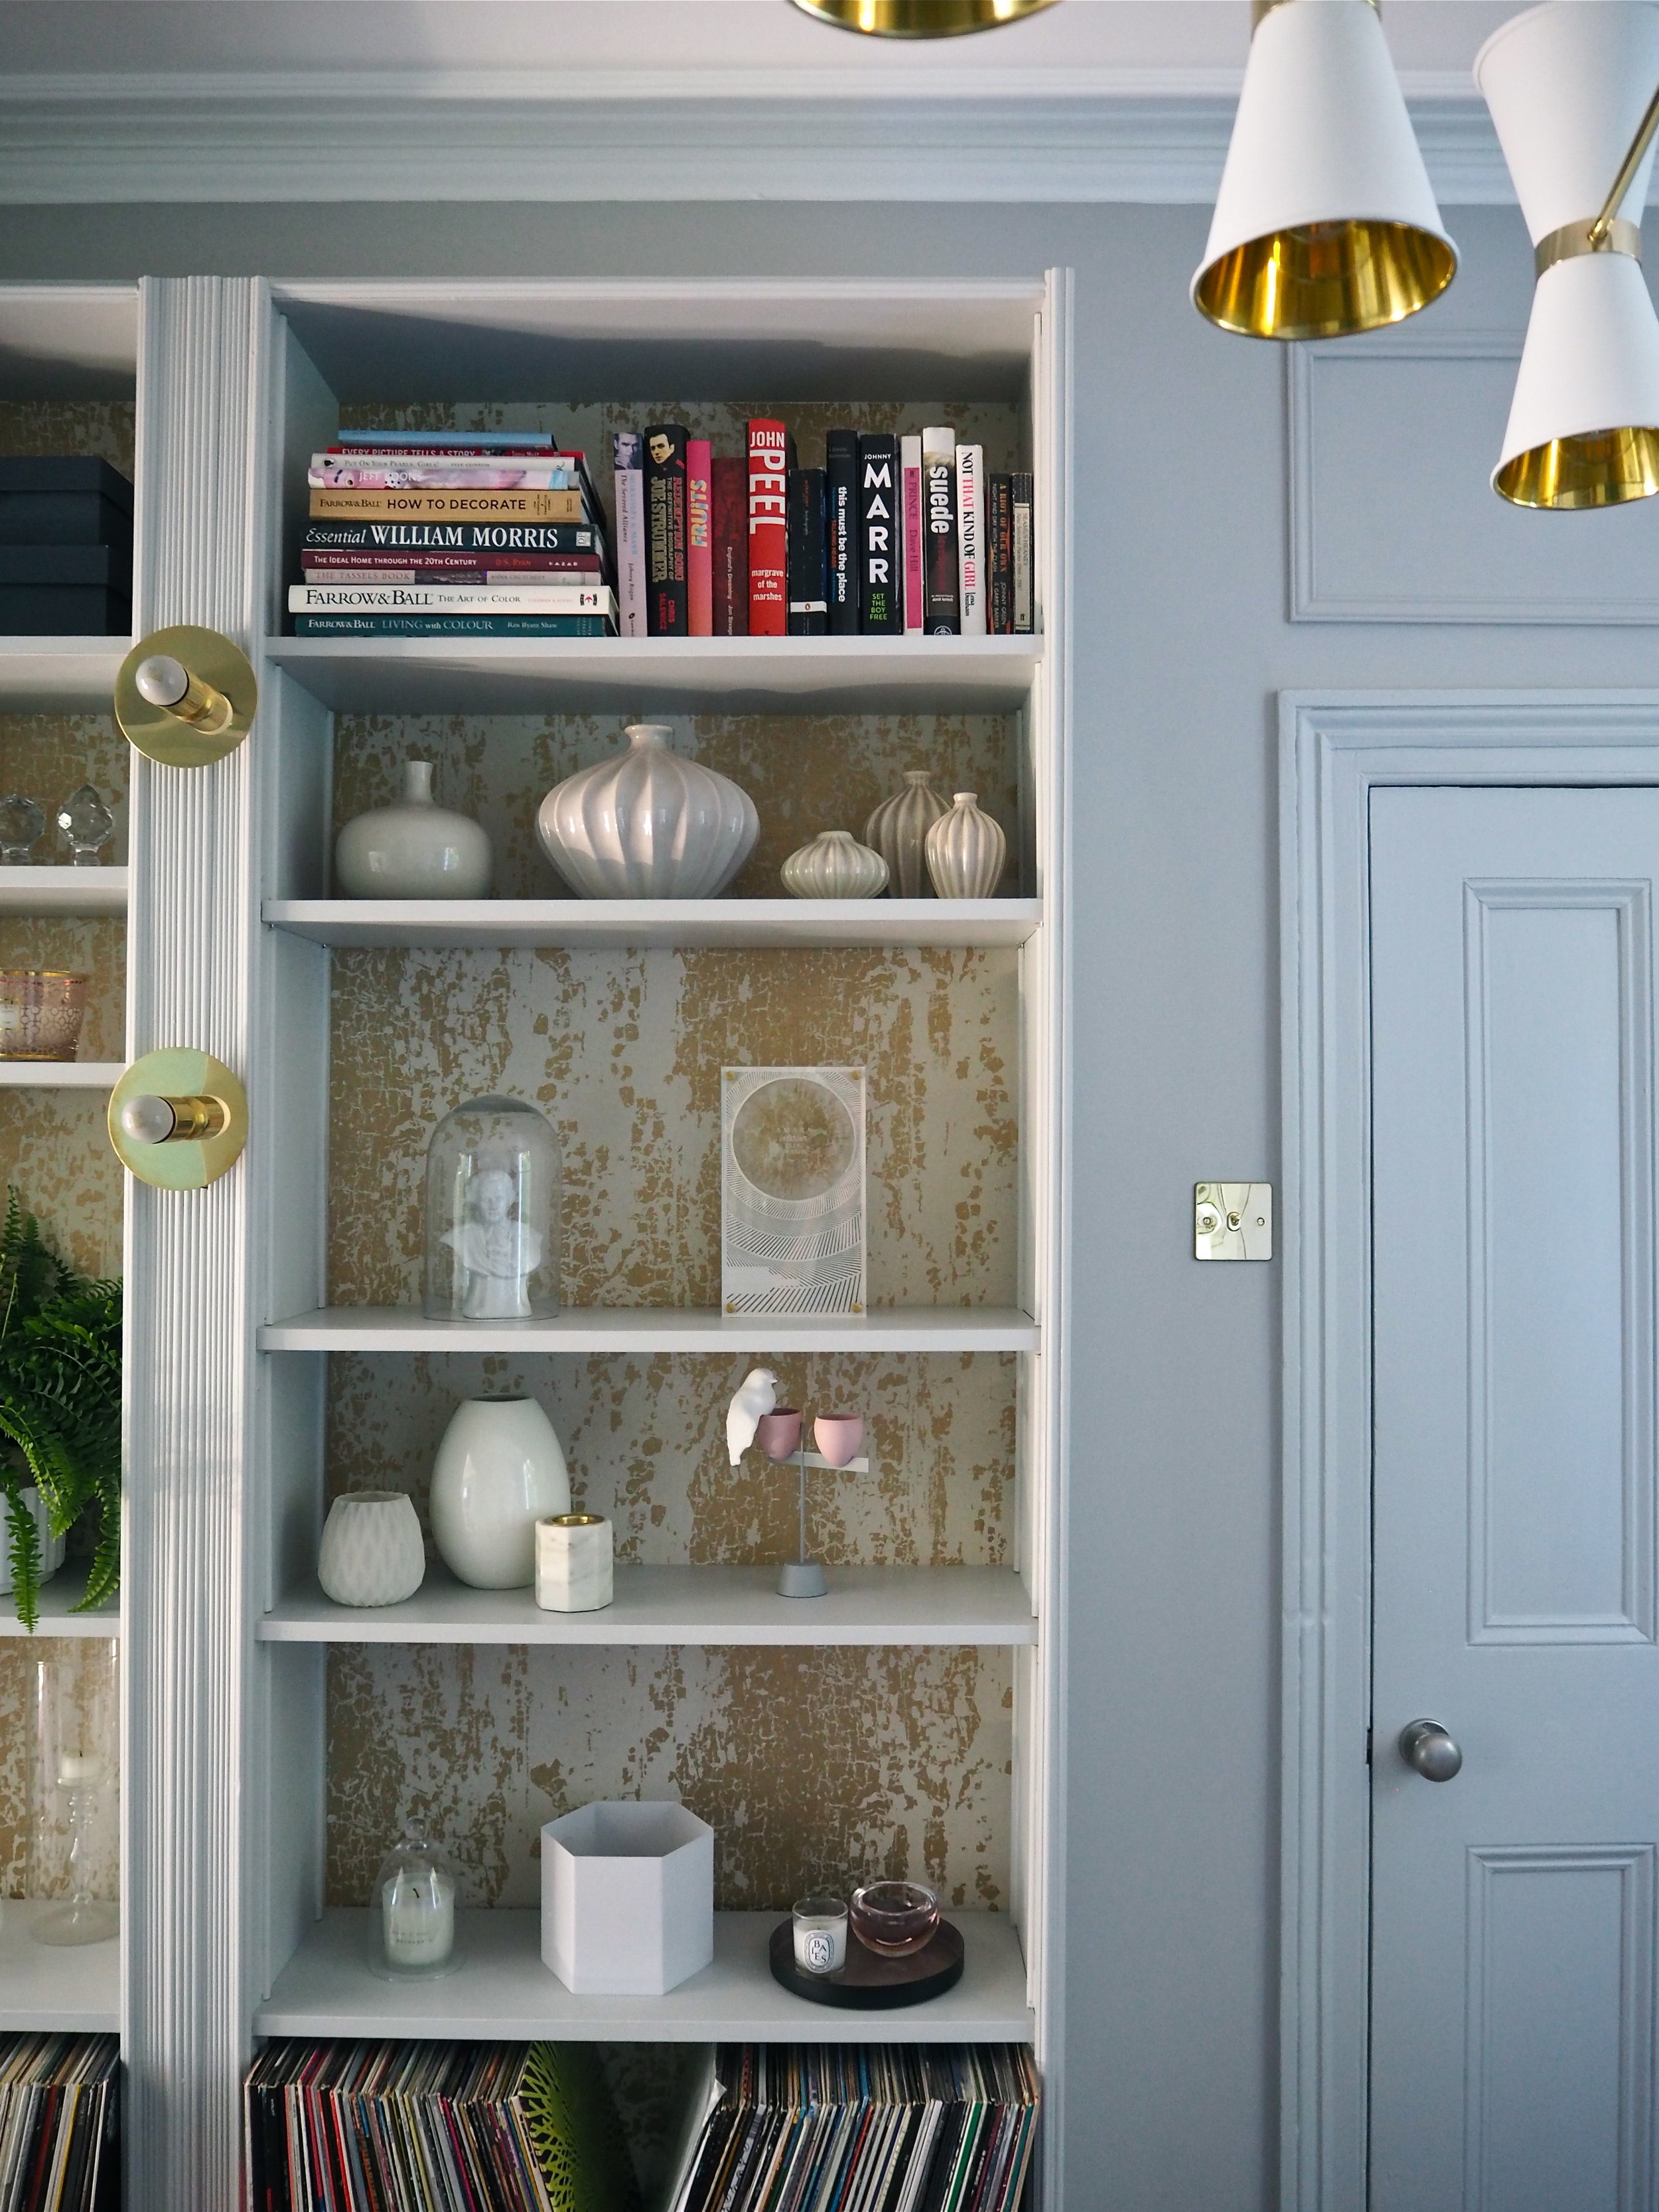
As the ceiling in this room is really high and I wanted to make the most of the wall space, I also purchased two of the 'Billy Height Extension Kits' to get in another level of shelving. The total cost at the Ikea checkout for what I required for this hack was £100.
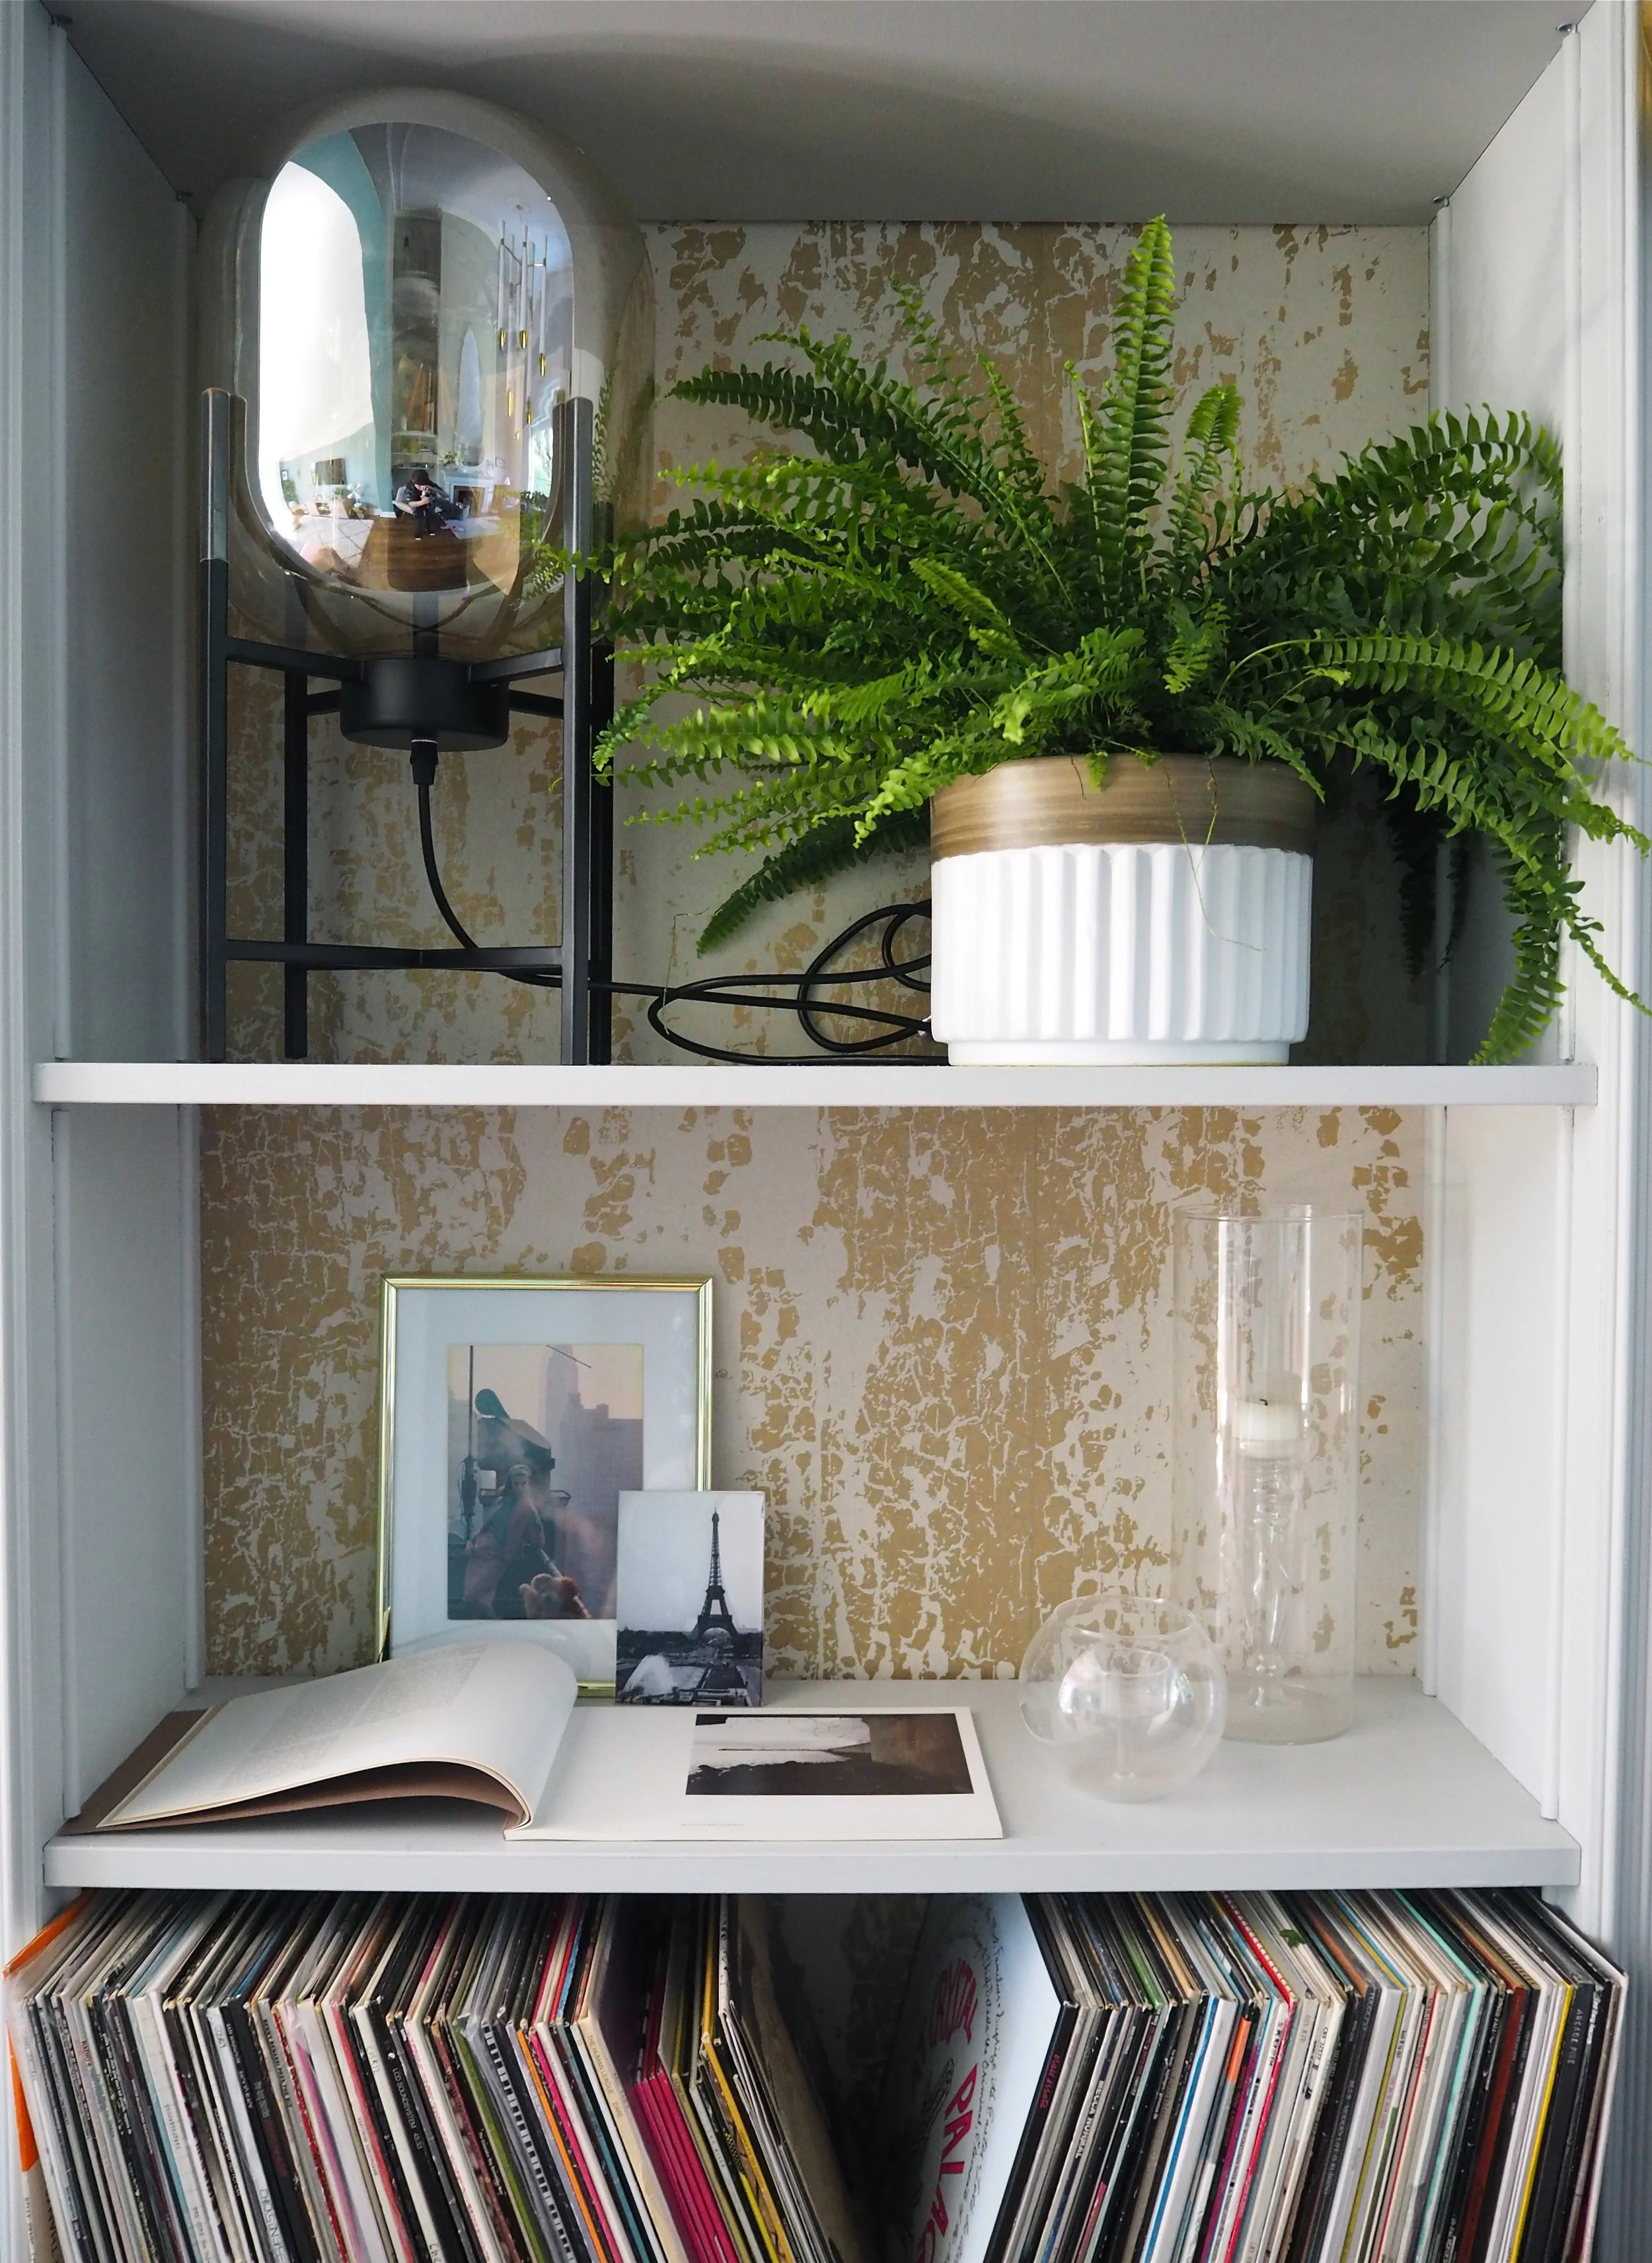
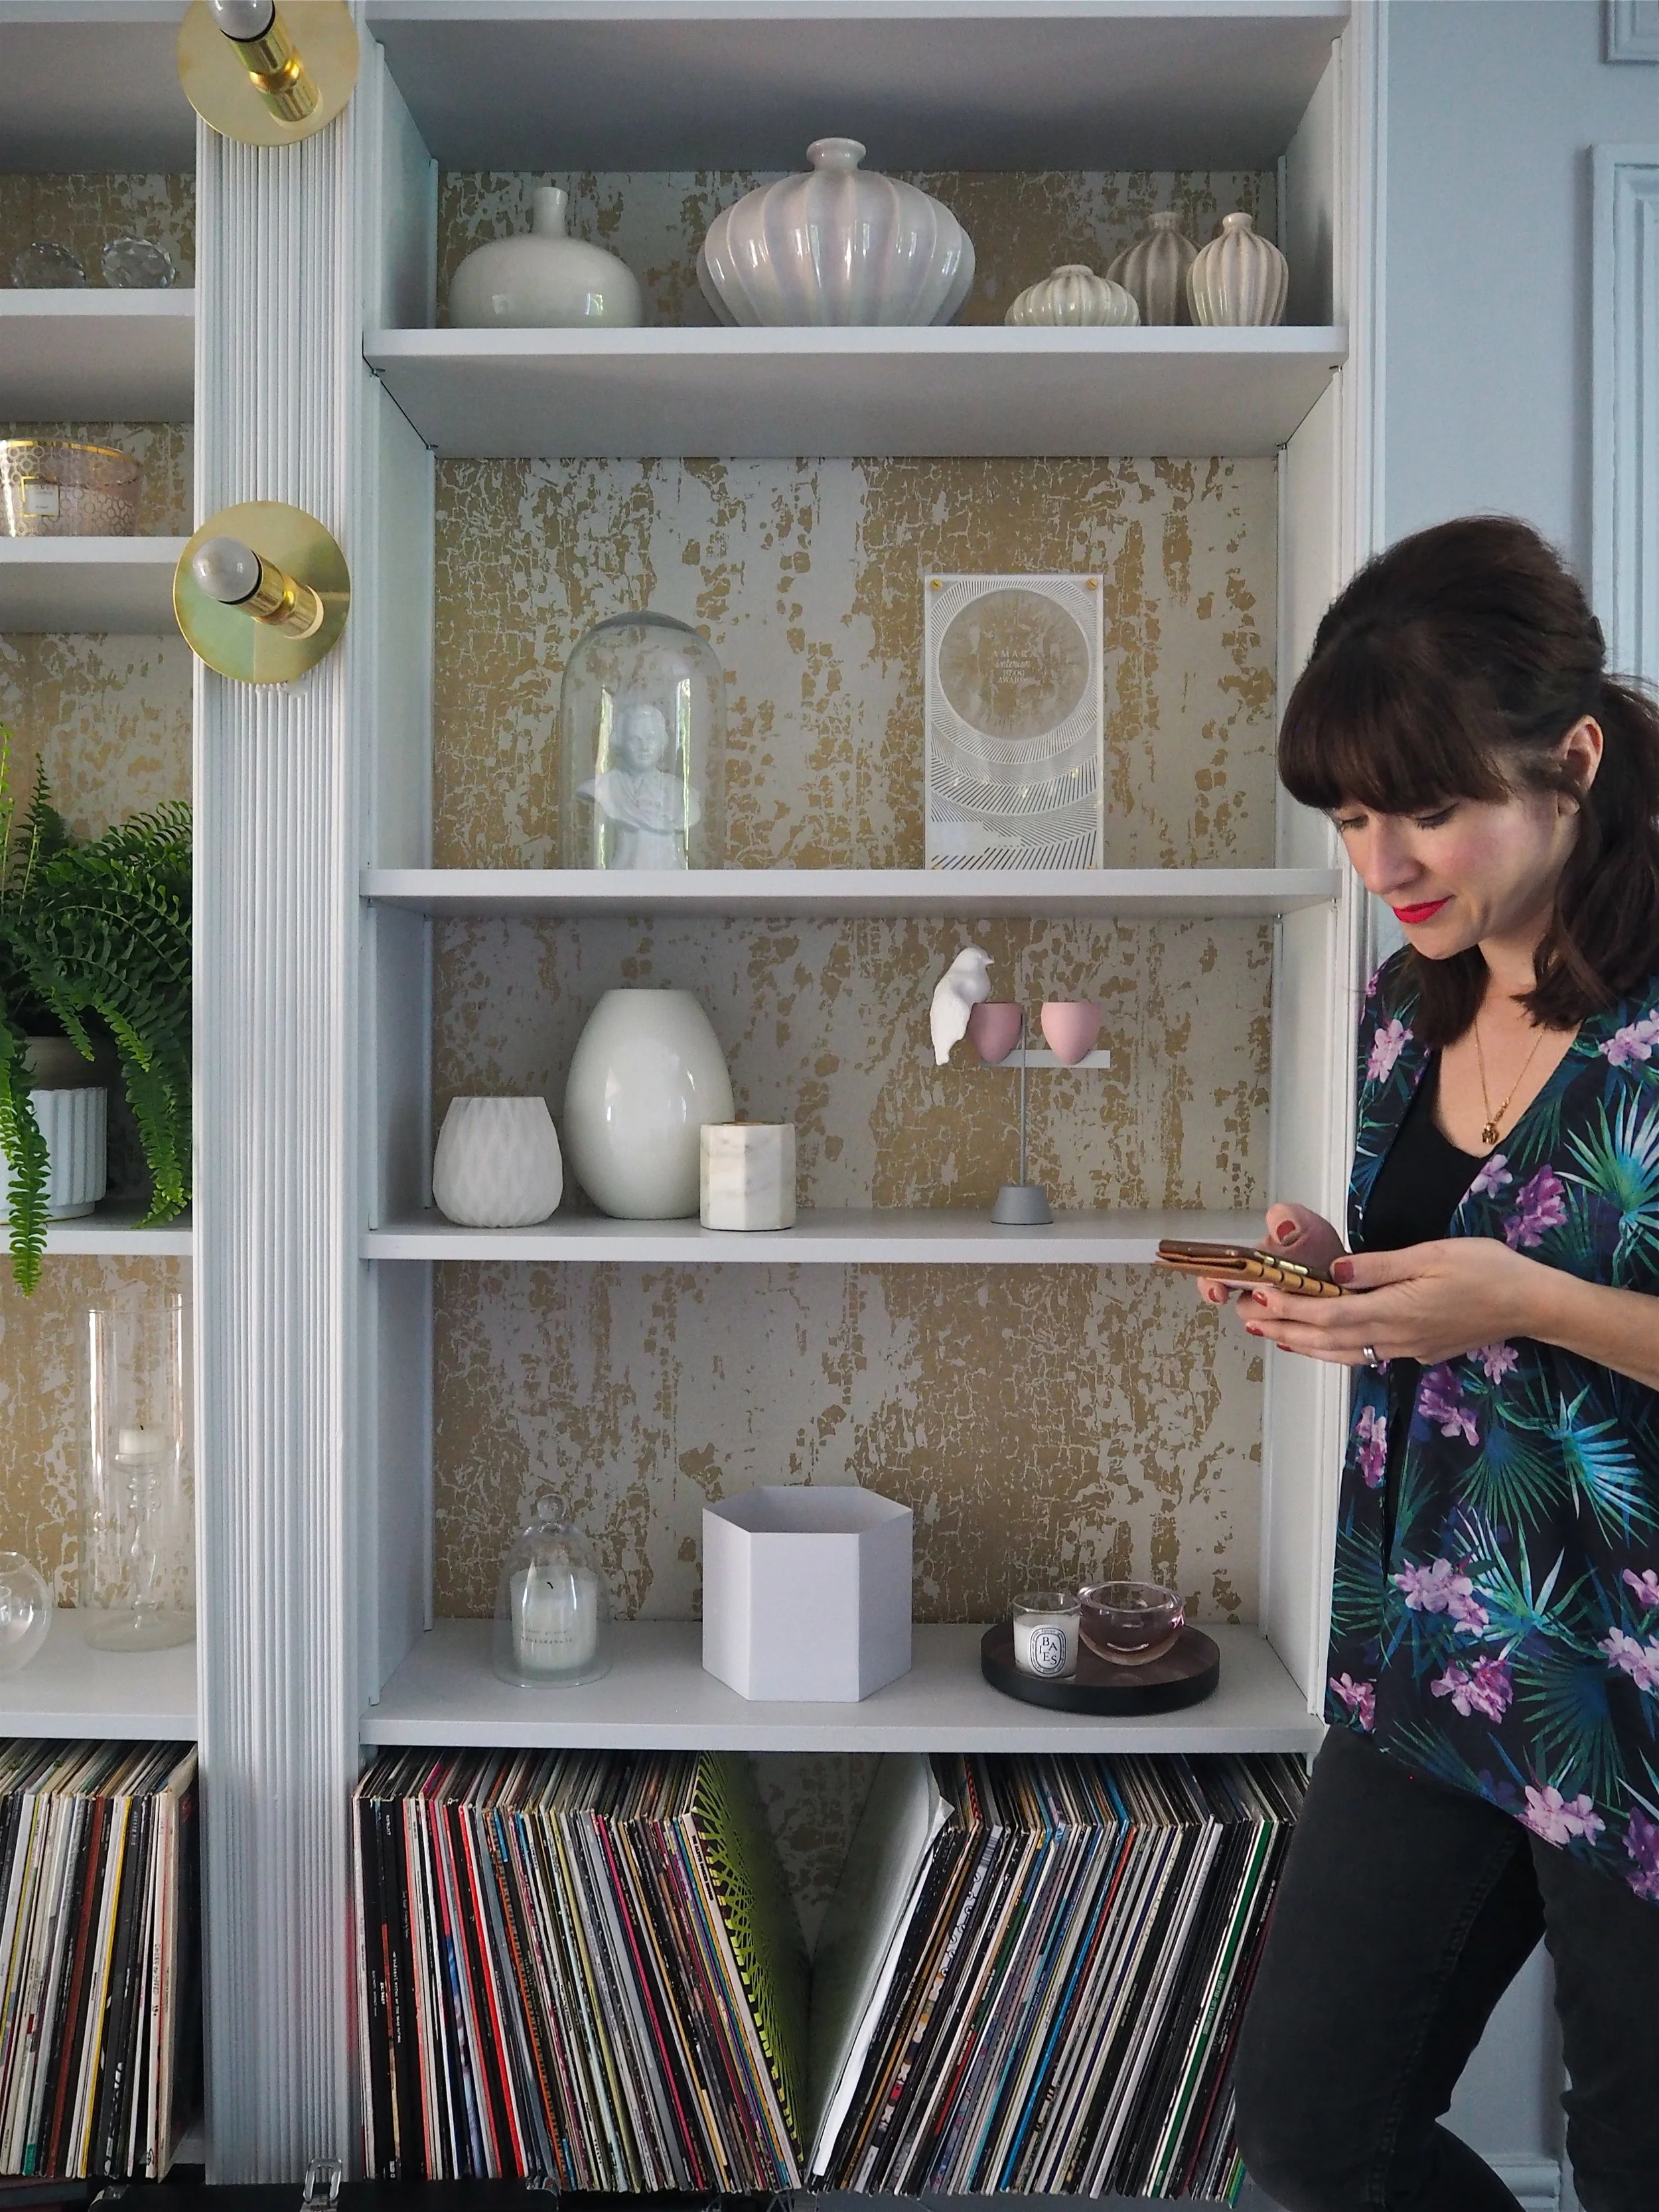
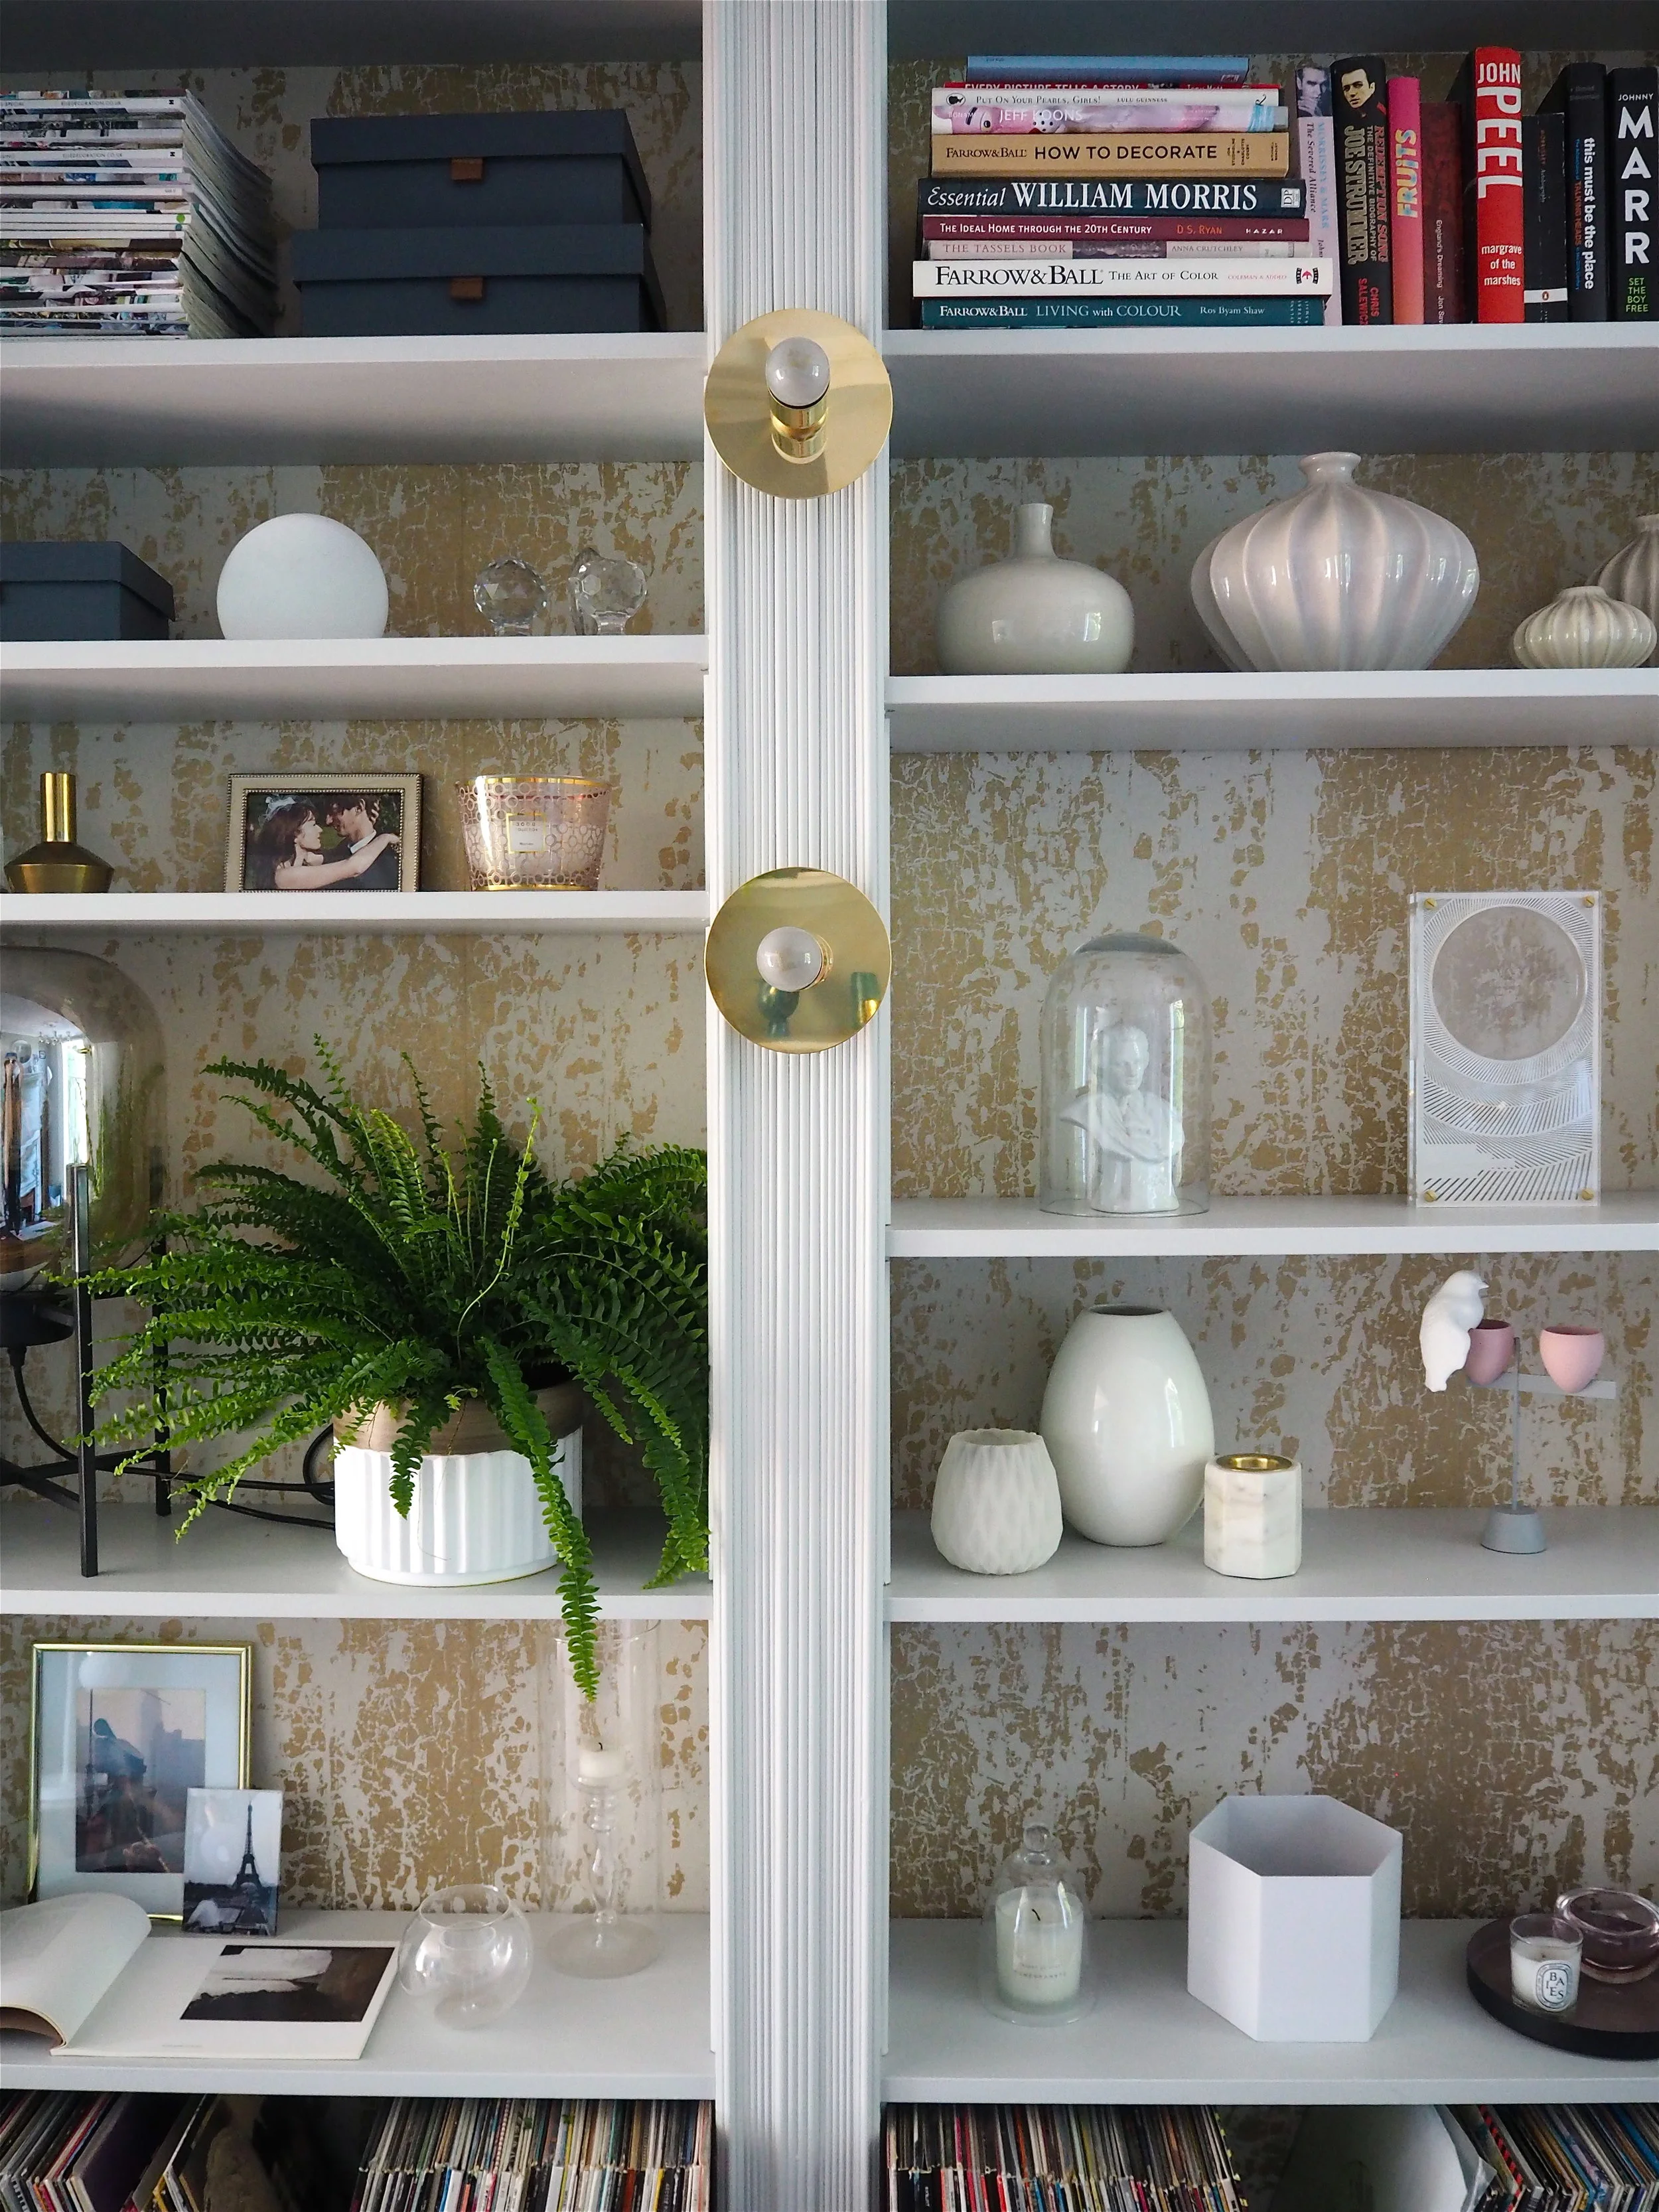
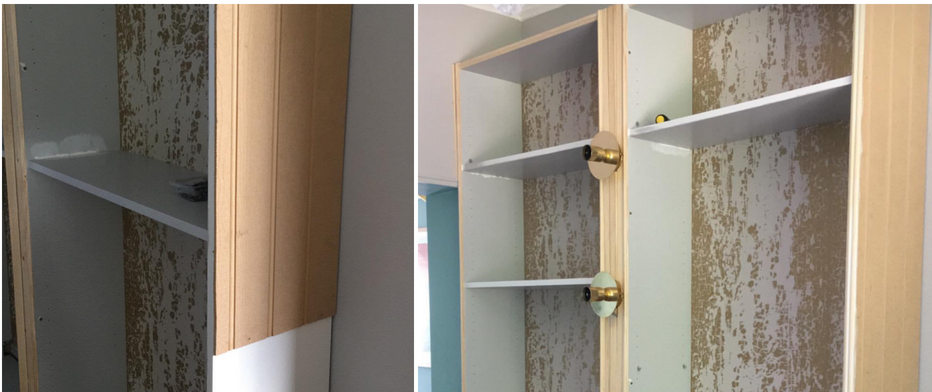
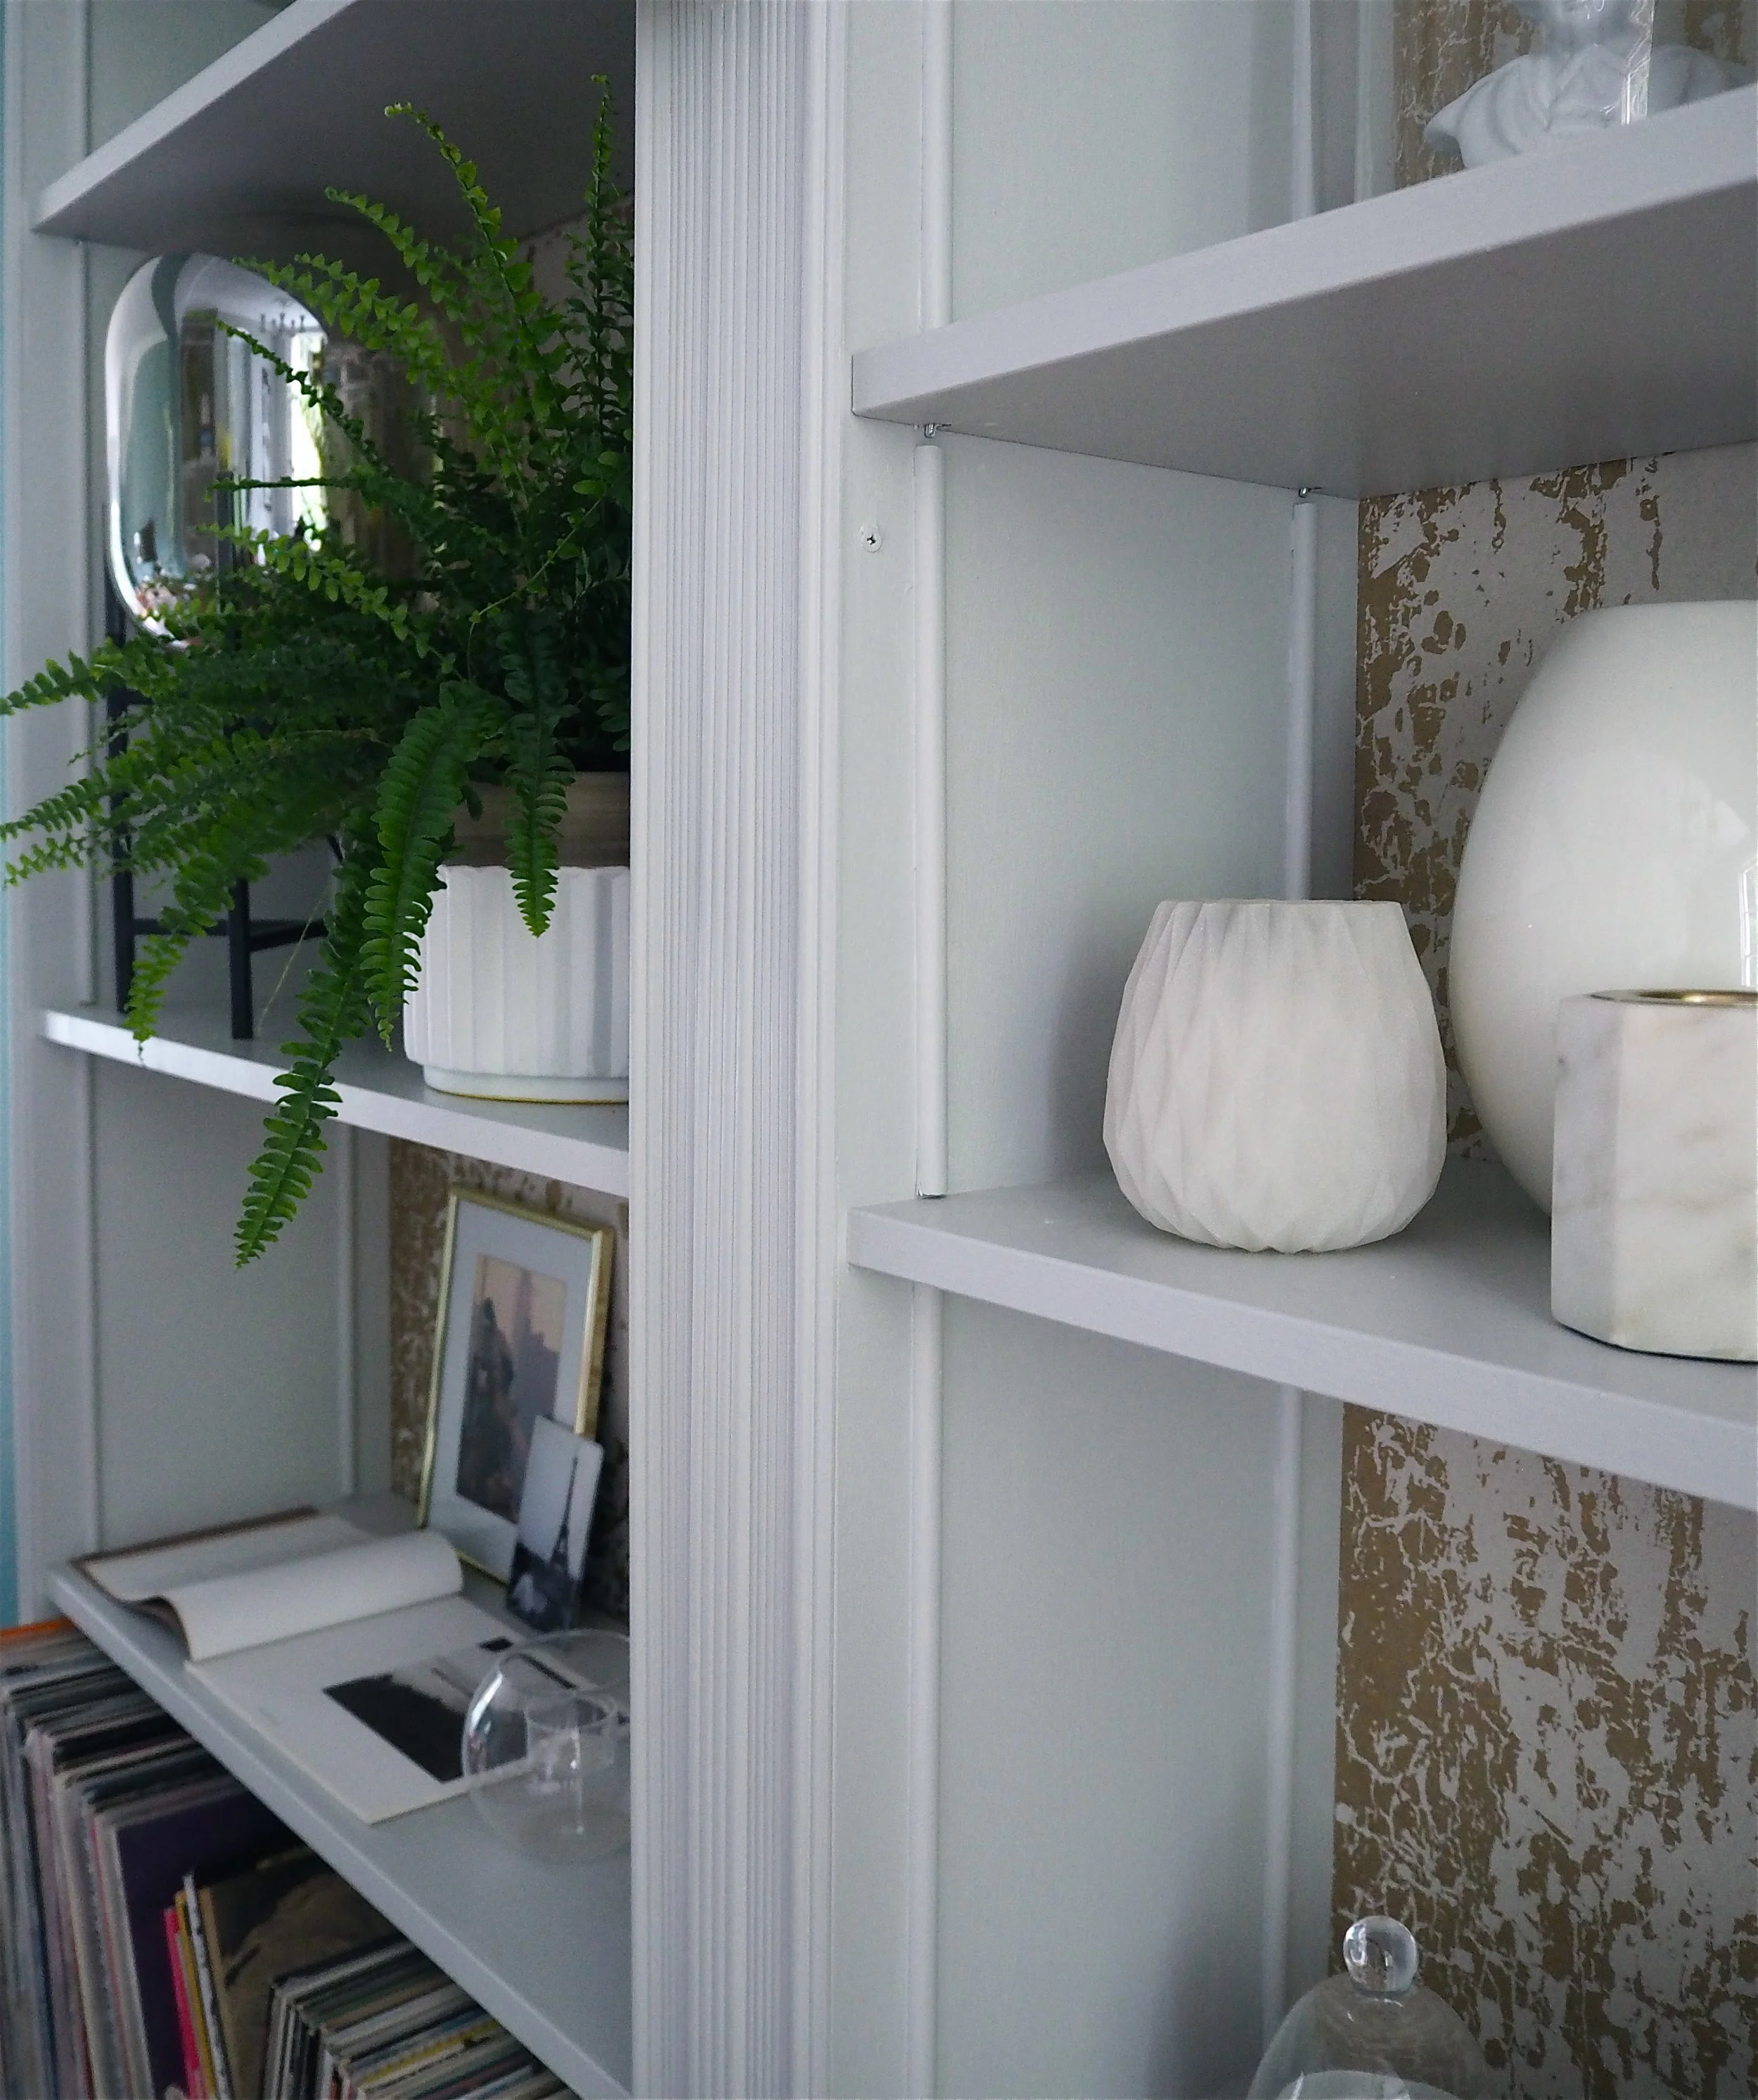
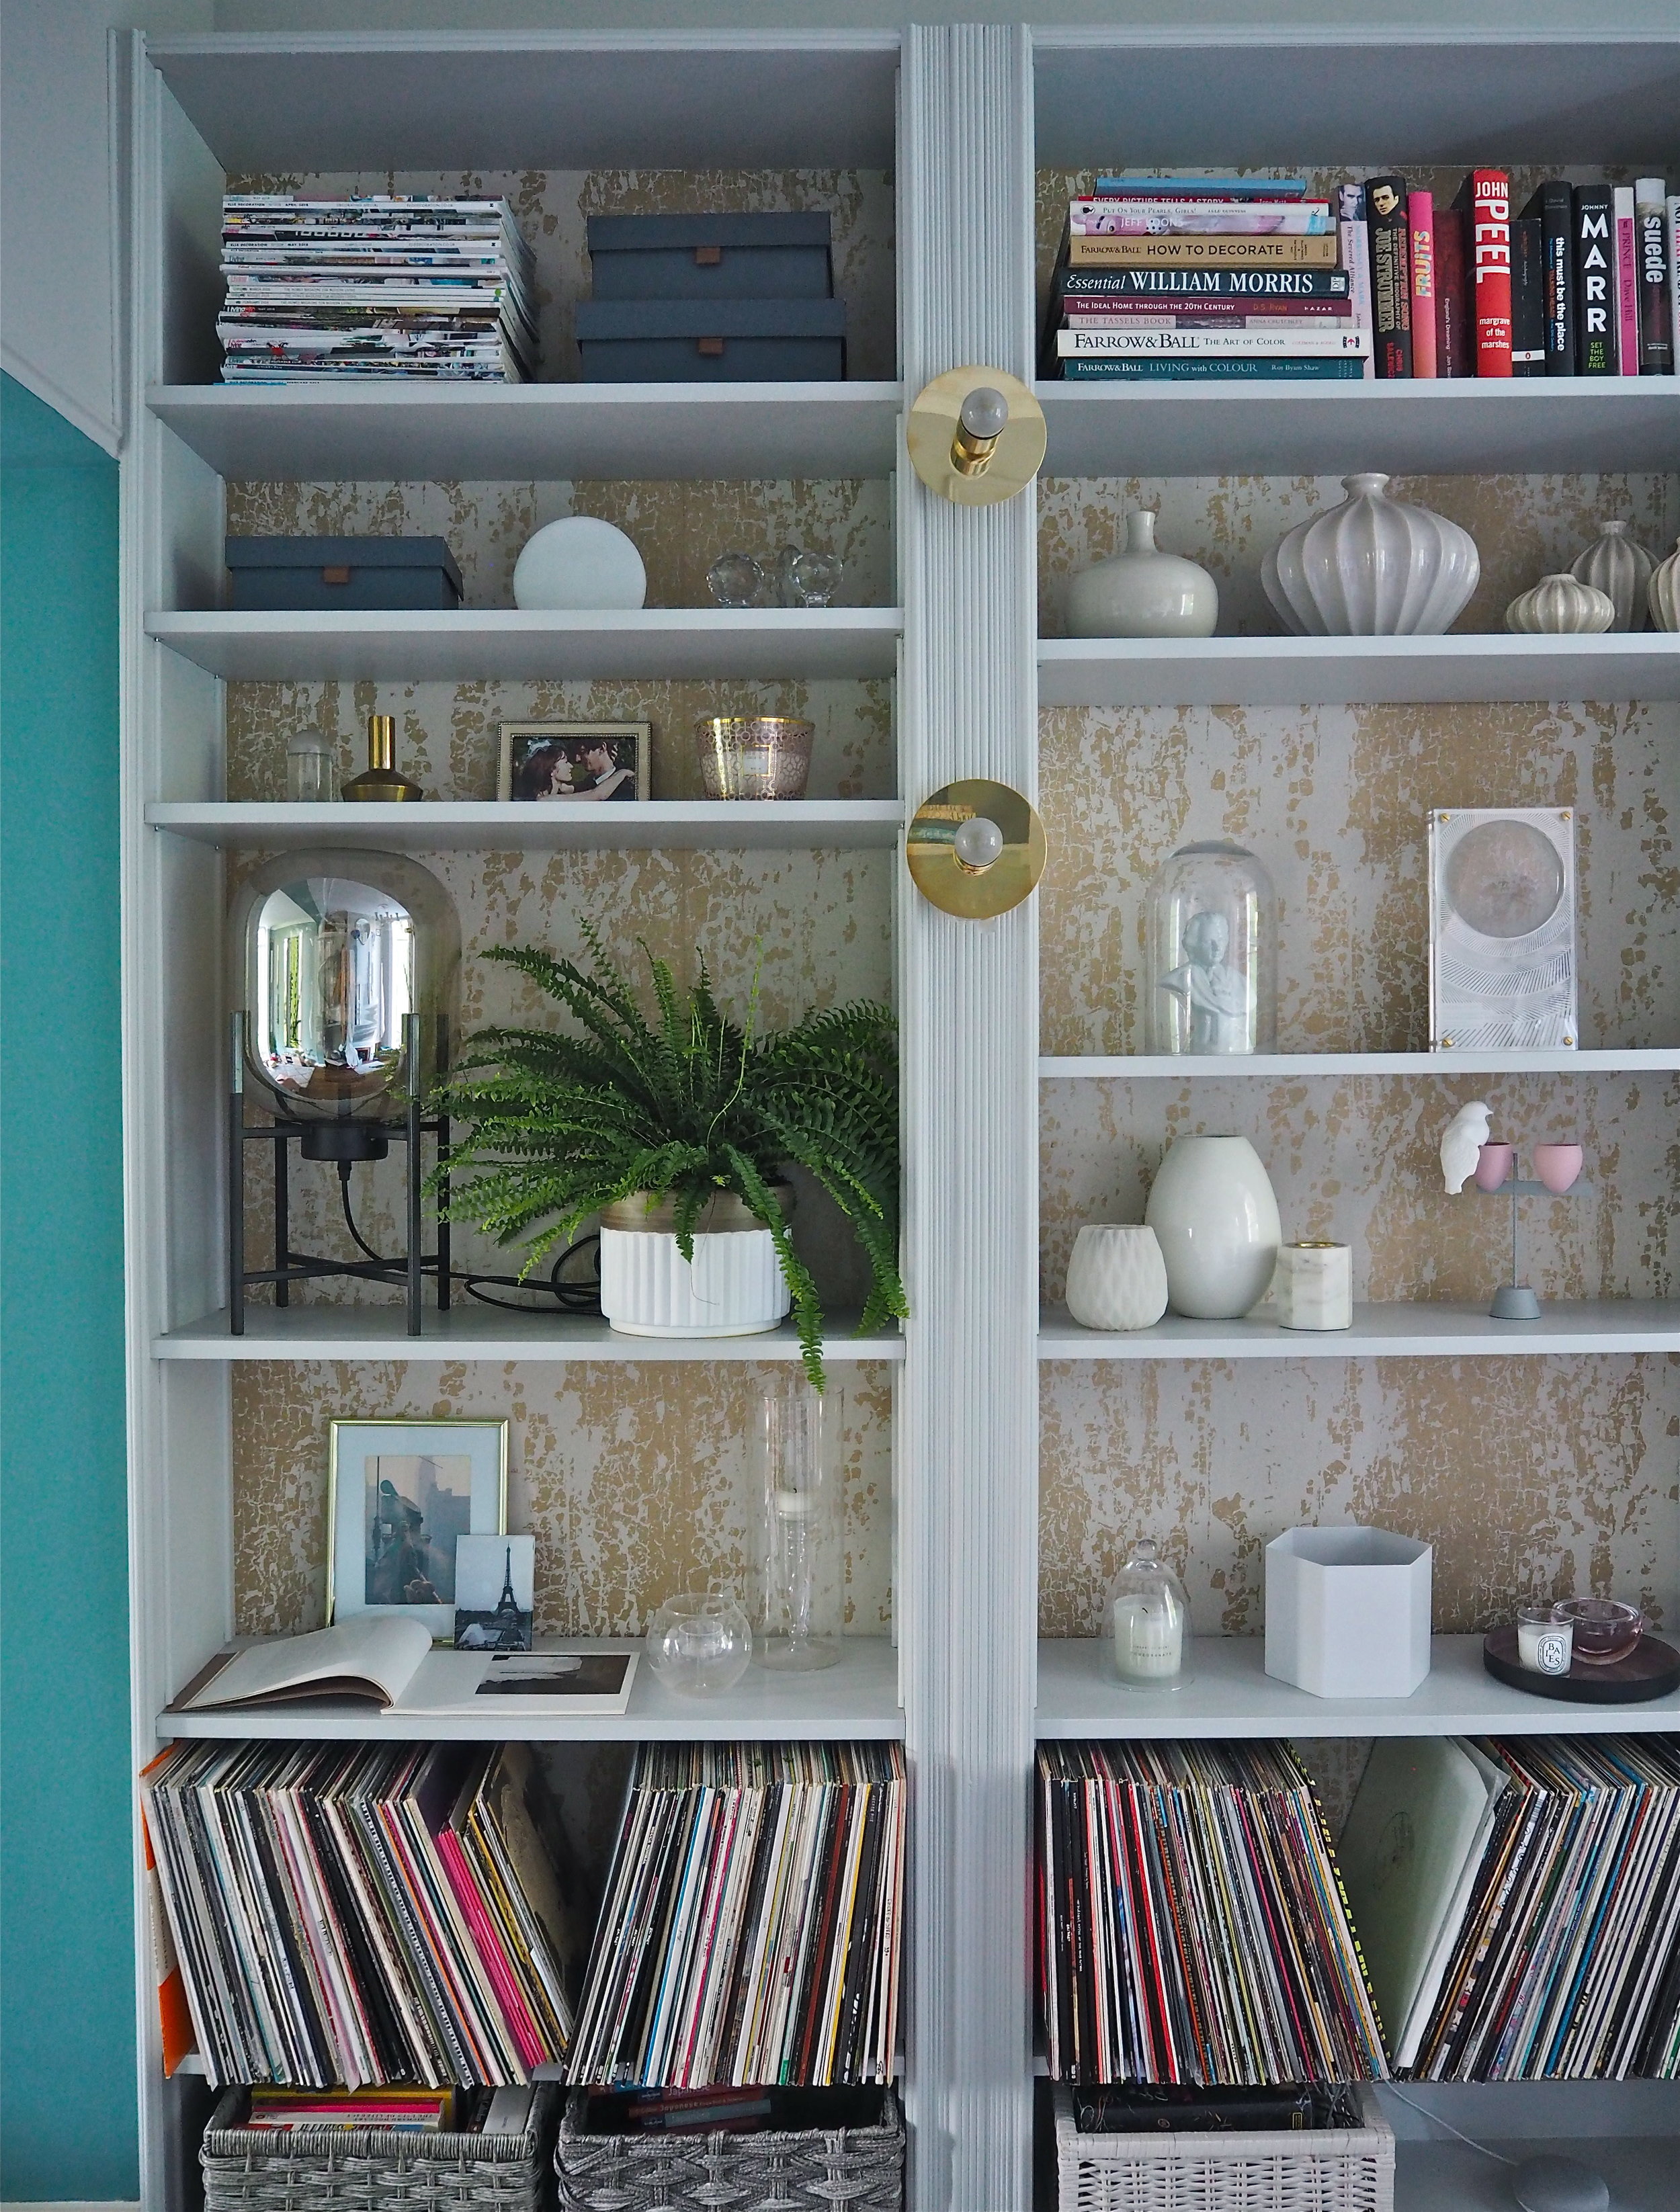
At this point, I knew the bookcase was definitely going to have two things - some wall lights down the centre of the bookcases and the back of the units wallpapered in a cracked-gold wallpaper design by Harlequin via Style Library. I set about building both of the Billy Bookcases (without height extensions at this point) up until the point where the shelving needed to be added in. So basically it was just the outer structure, middle strengthening shelf and the backing board.
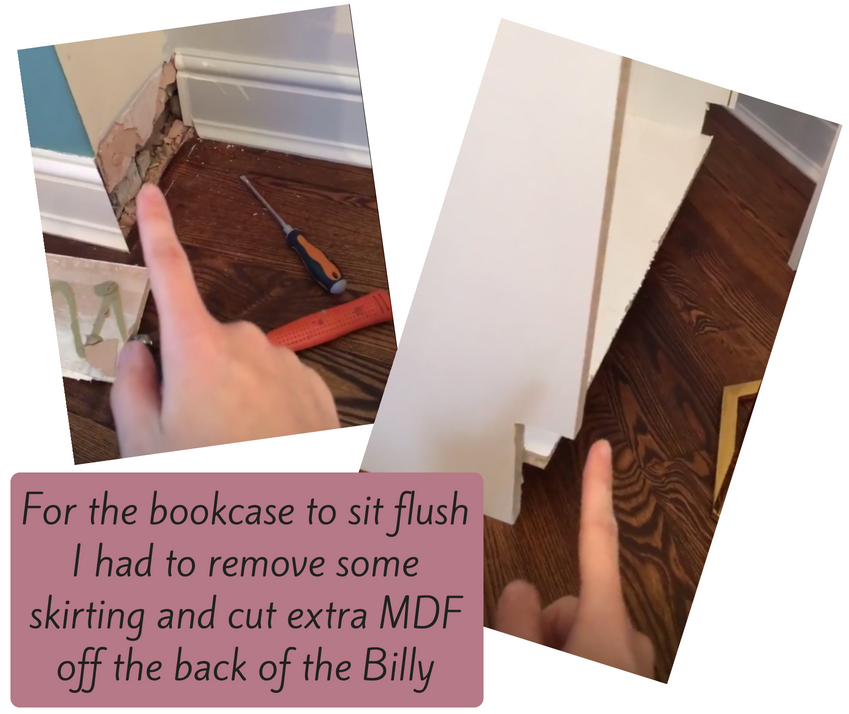
When I placed one of the bookcase structures against my wall I could see that the base skirting on my wall was too high and the bookcase did not sit flush against it. To get over this I removed part of the skirting against the wall where the bookcase would meet and cut out a bit of the back end of the Billy with a saw so the bookcase sat flush.
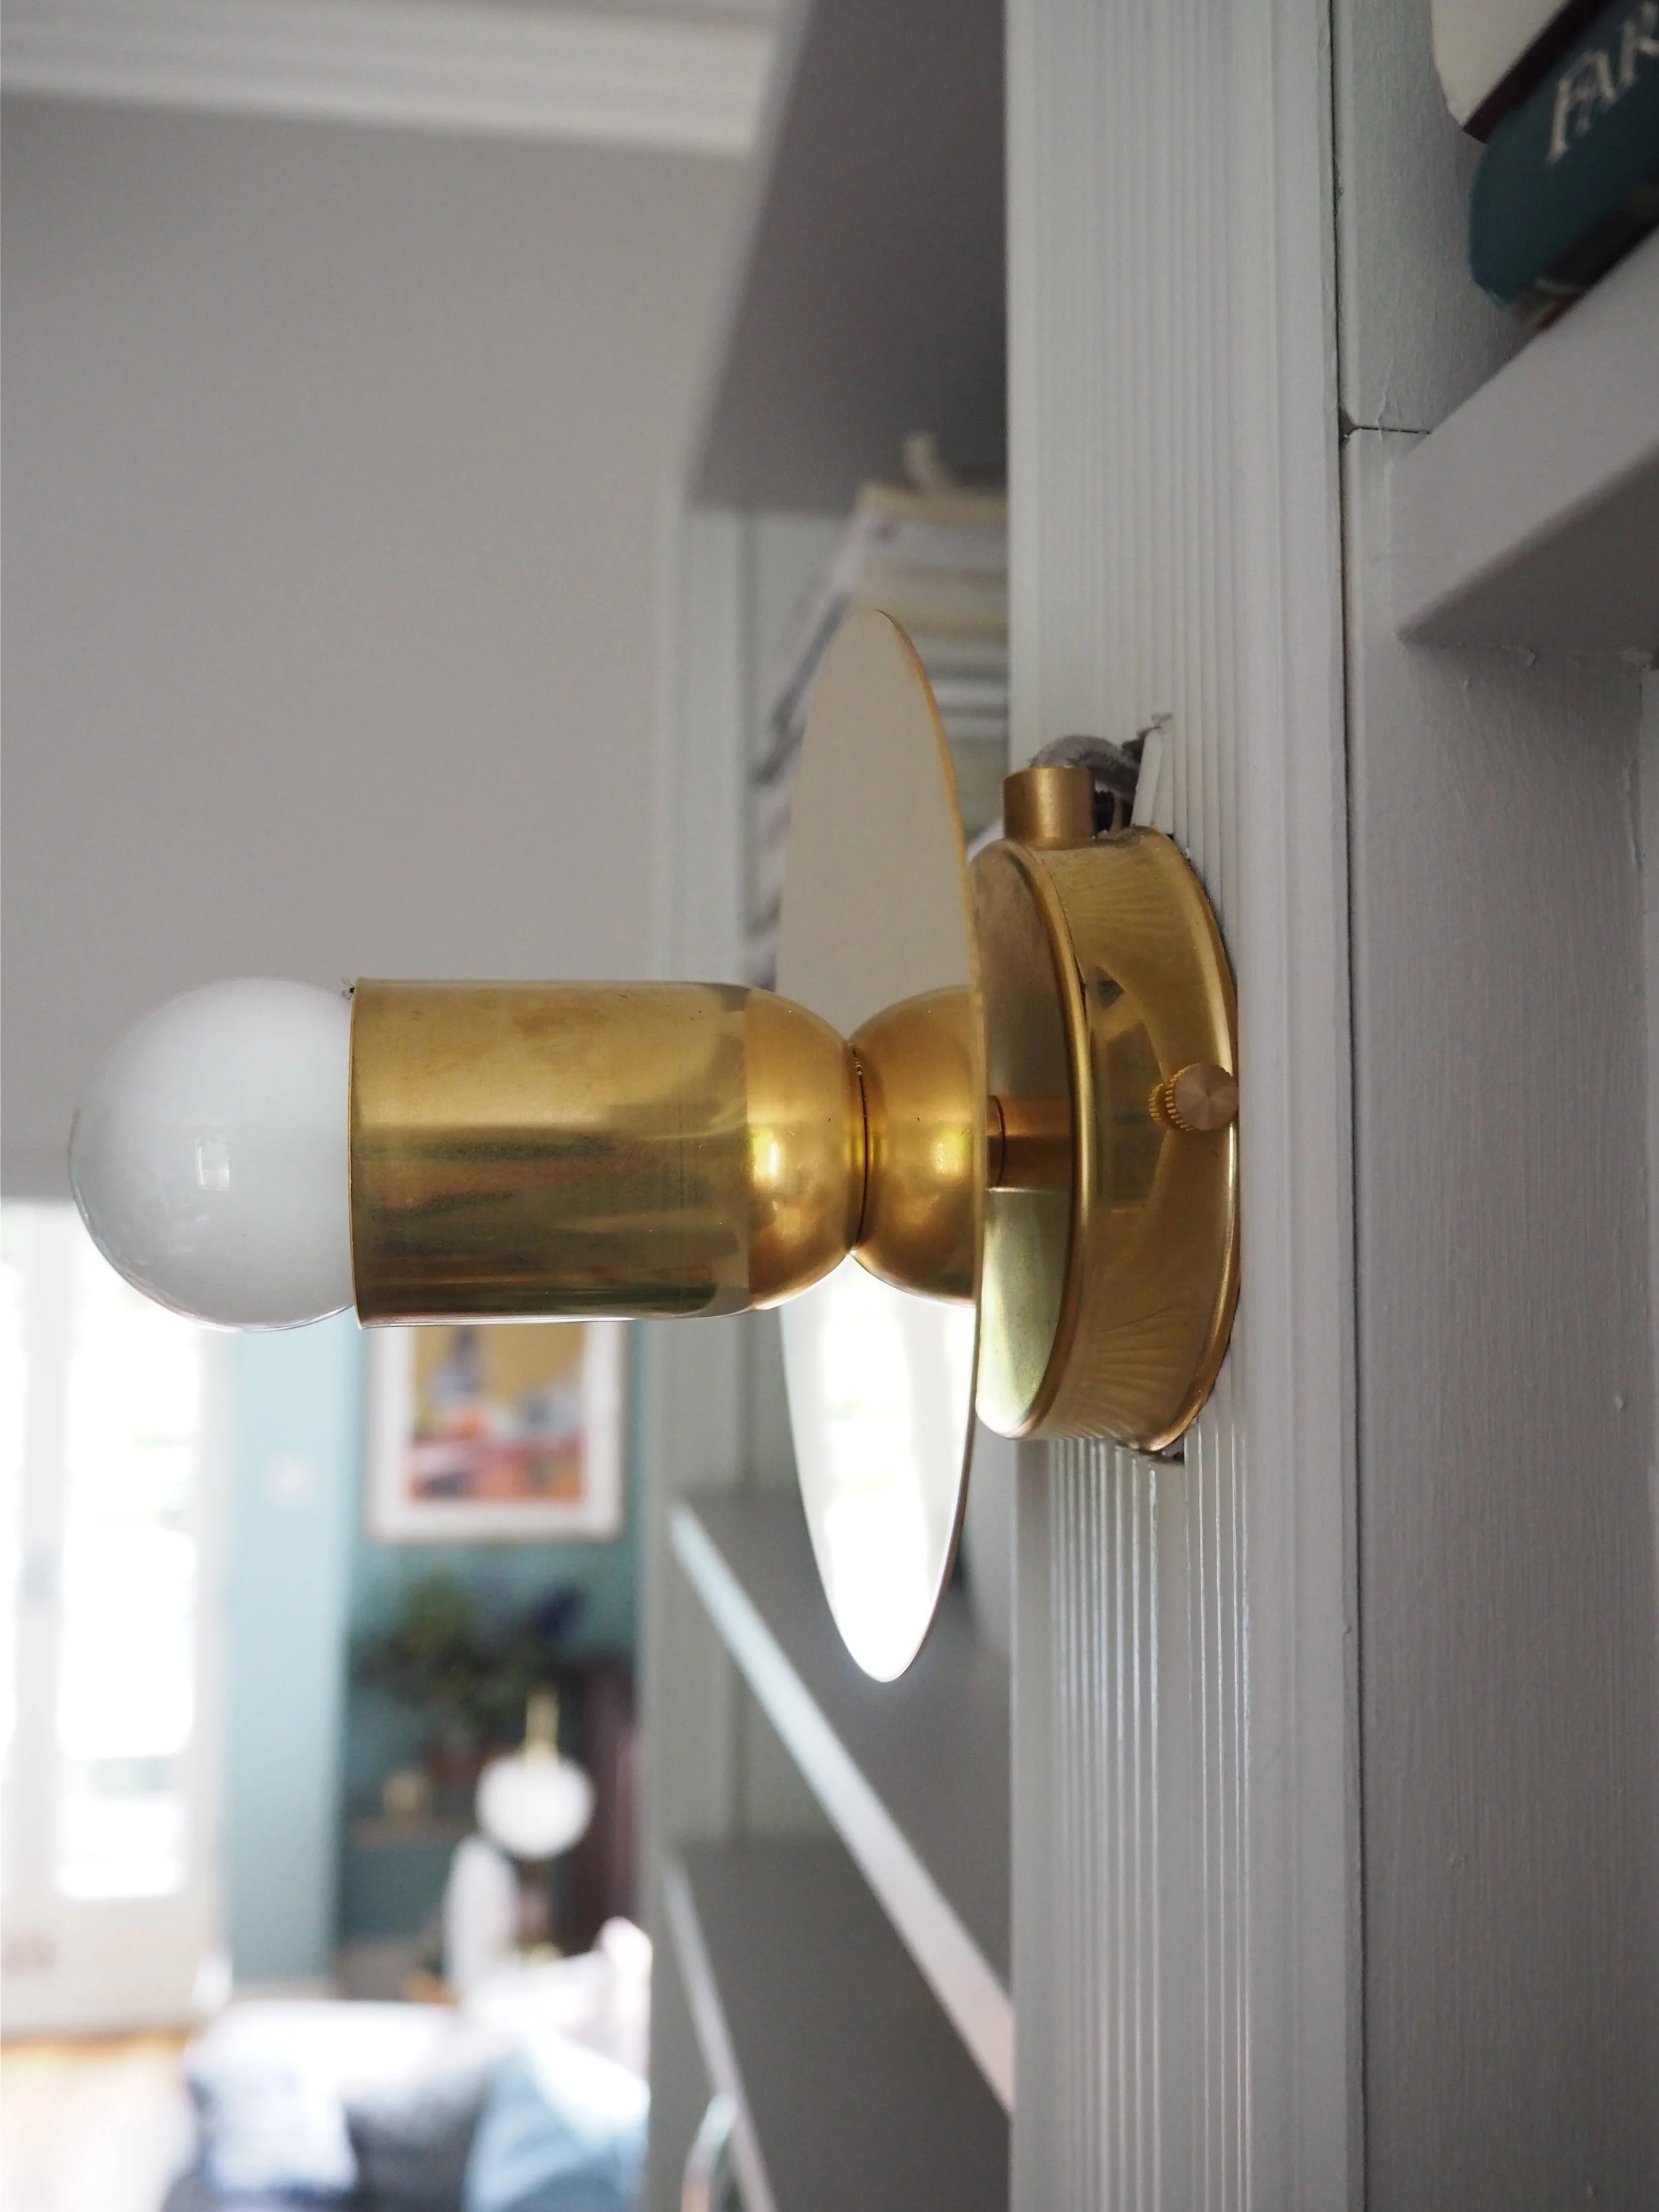
Once they sat against the wall nicely I needed to make sure they were in the perfect position to be secured into the wall with raw plugs and screws. I was going to be adding in these gorgeous plug-in wall lights by Spark & Bell so I added in a piece of timber the width of the lights between the two bookcases going up to the position of where I wanted the bottom light to be placed. This timber would help secure the bookcases together, while also providing a base for the decorative moulding I was going to be adding on top. So, I now had my two basic Billy bookcase structures with the central timber, which I then secured to the wall for safety and as per the Billy Bookcase instructions. I then wallpapered the backing board of the shelving unit in Eglomise by Harlequin to give the bookcase a different look. Just a note here - I did try and wallpaper the boards before they were inserted into the bookcase but this was a disaster! The paper ripped when sliding in the board, so instead, just paper once the back is on the bookcase.

I built the two height extensions units then papered them while they were on the floor for ease, then secured them on top of the Billy bookcases.
At this point, I needed to make sure that the lights I was adding in the centre of the bookcase were threaded in before adding more timber in the centre going up to the top of the bookcase. The lights were made bespoke and I asked for a really long cable with the switch way down near the plug. Before screwing the bookcases to the wall I had threaded through an electrical extension bar so that the lights could be plugged in around the back of the bookcase. Where I had cut out the back of the Billy to sit against the skirting, I added a piece of wood in an upright position to hide the cut marks and disguise the extension bar. I did this simply by using a mega-bond adhesive glue to hold the wood in place and then caulking it:

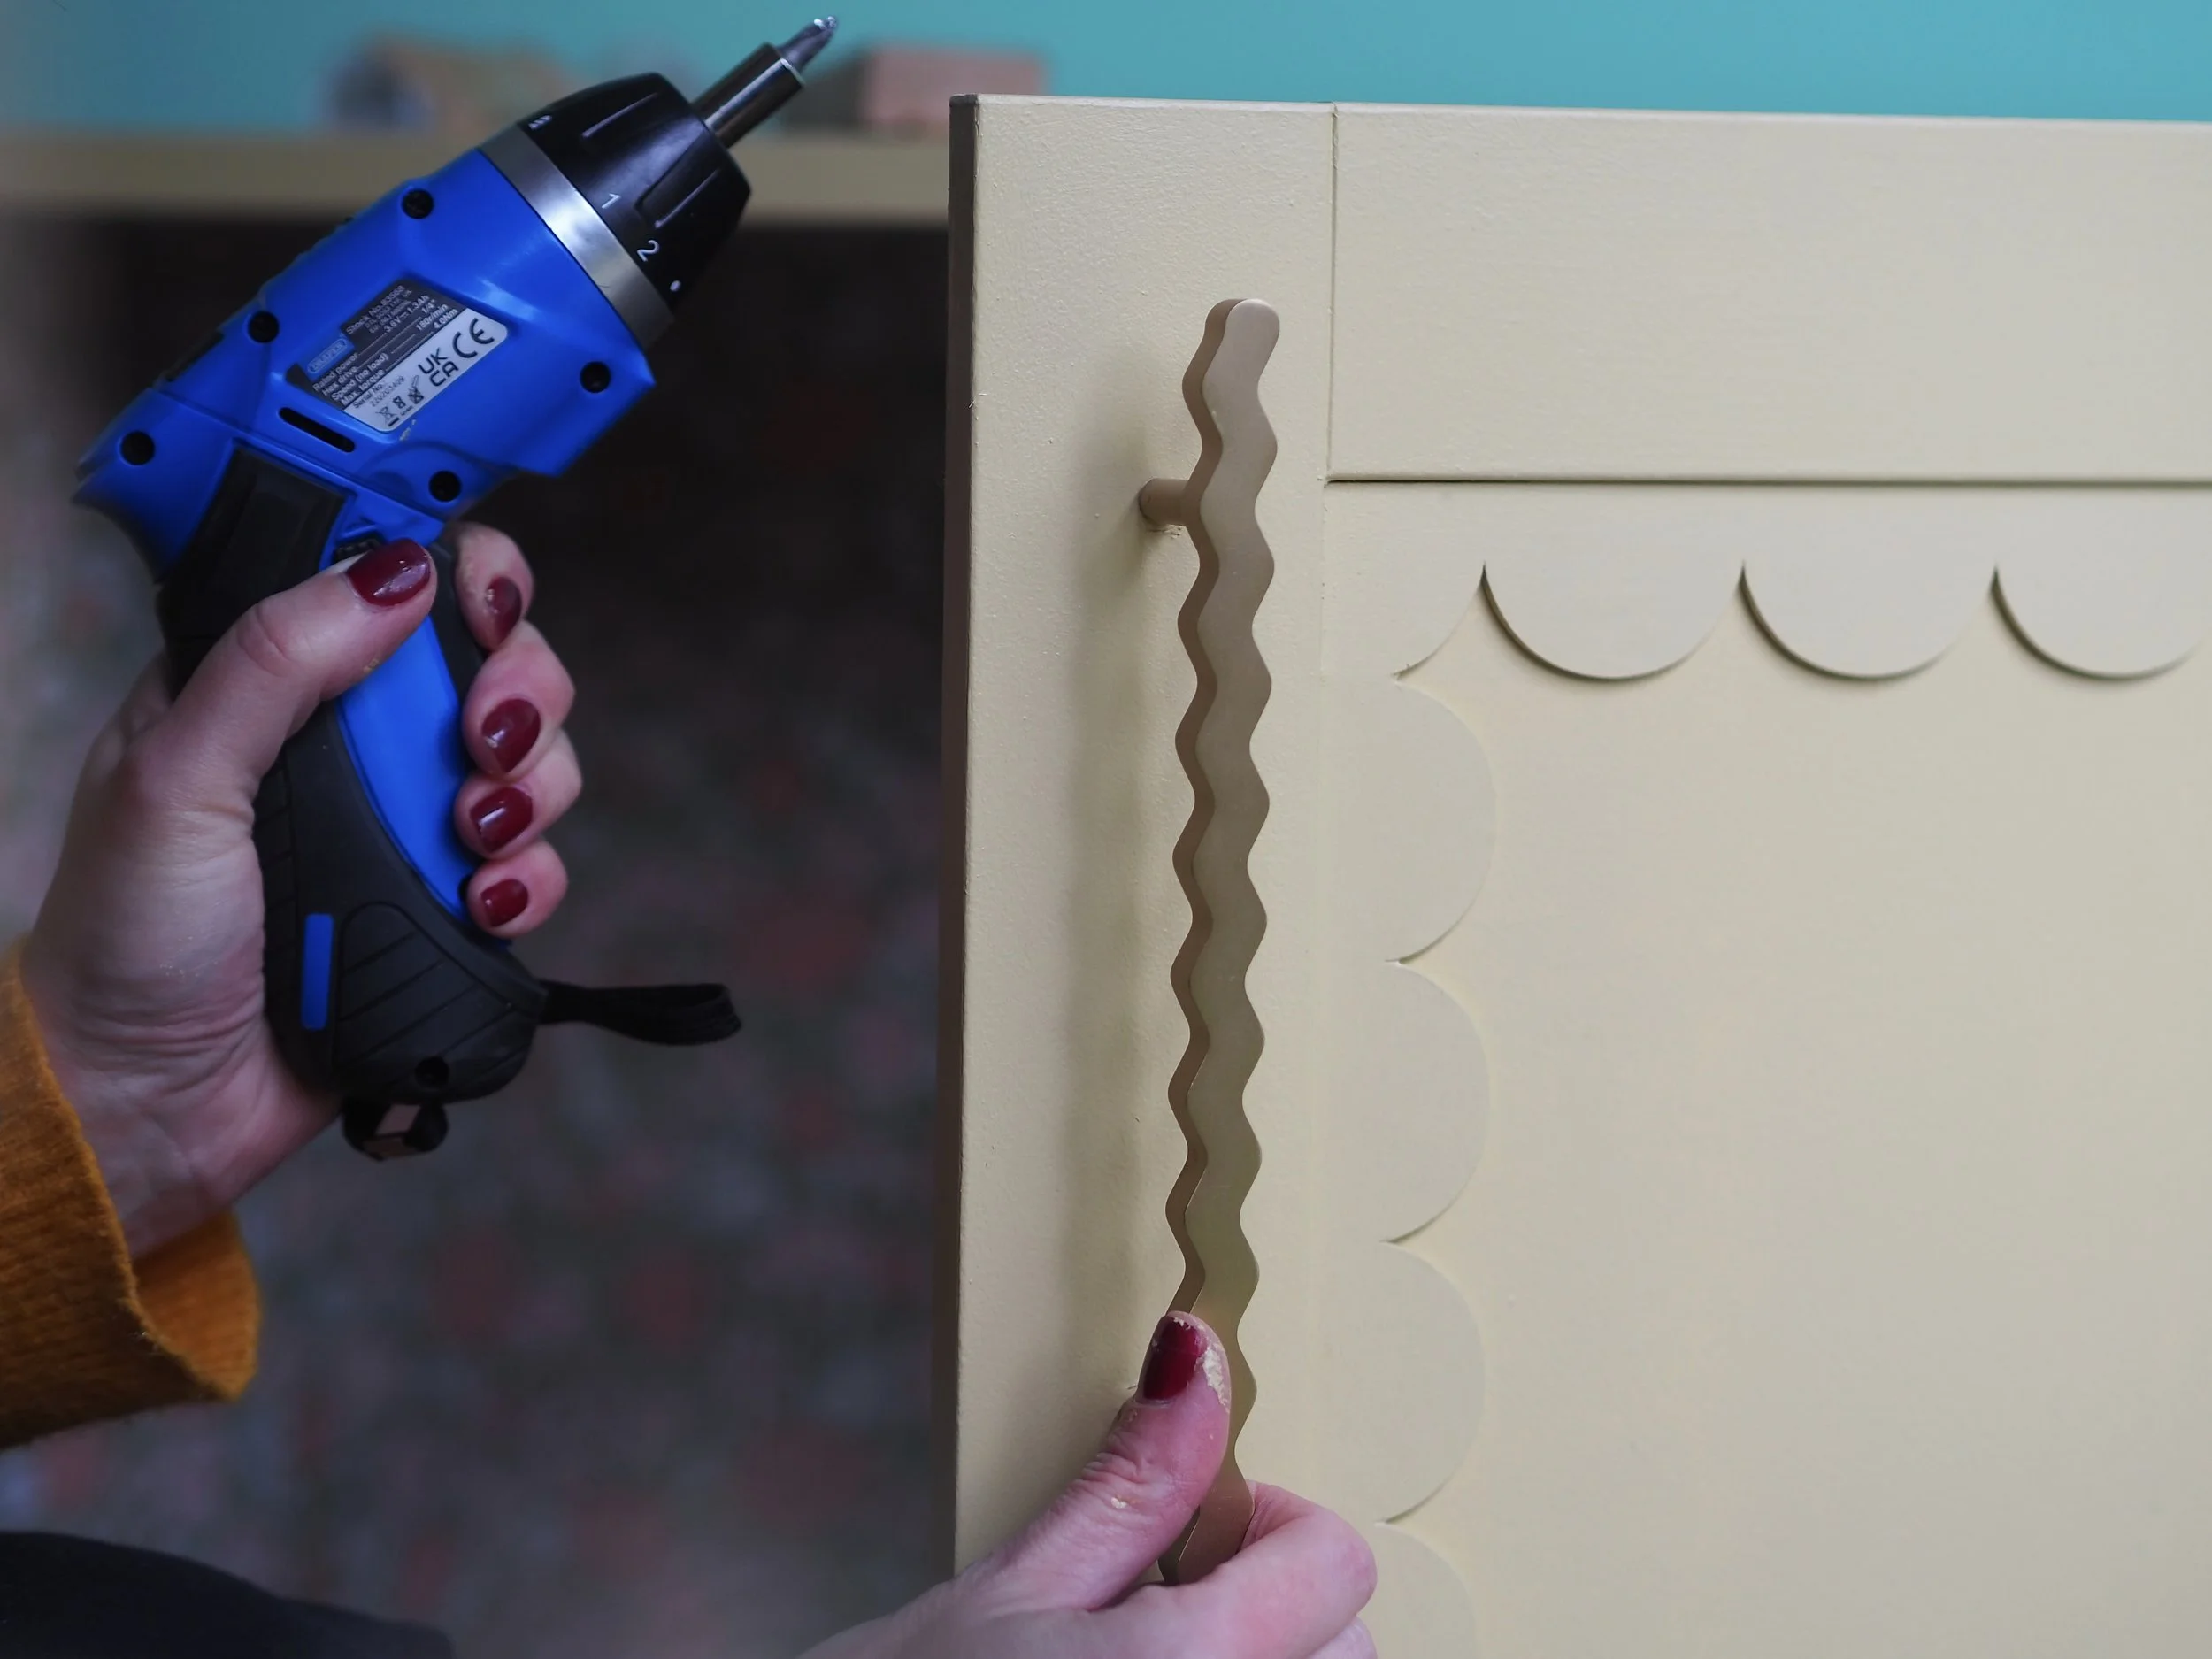
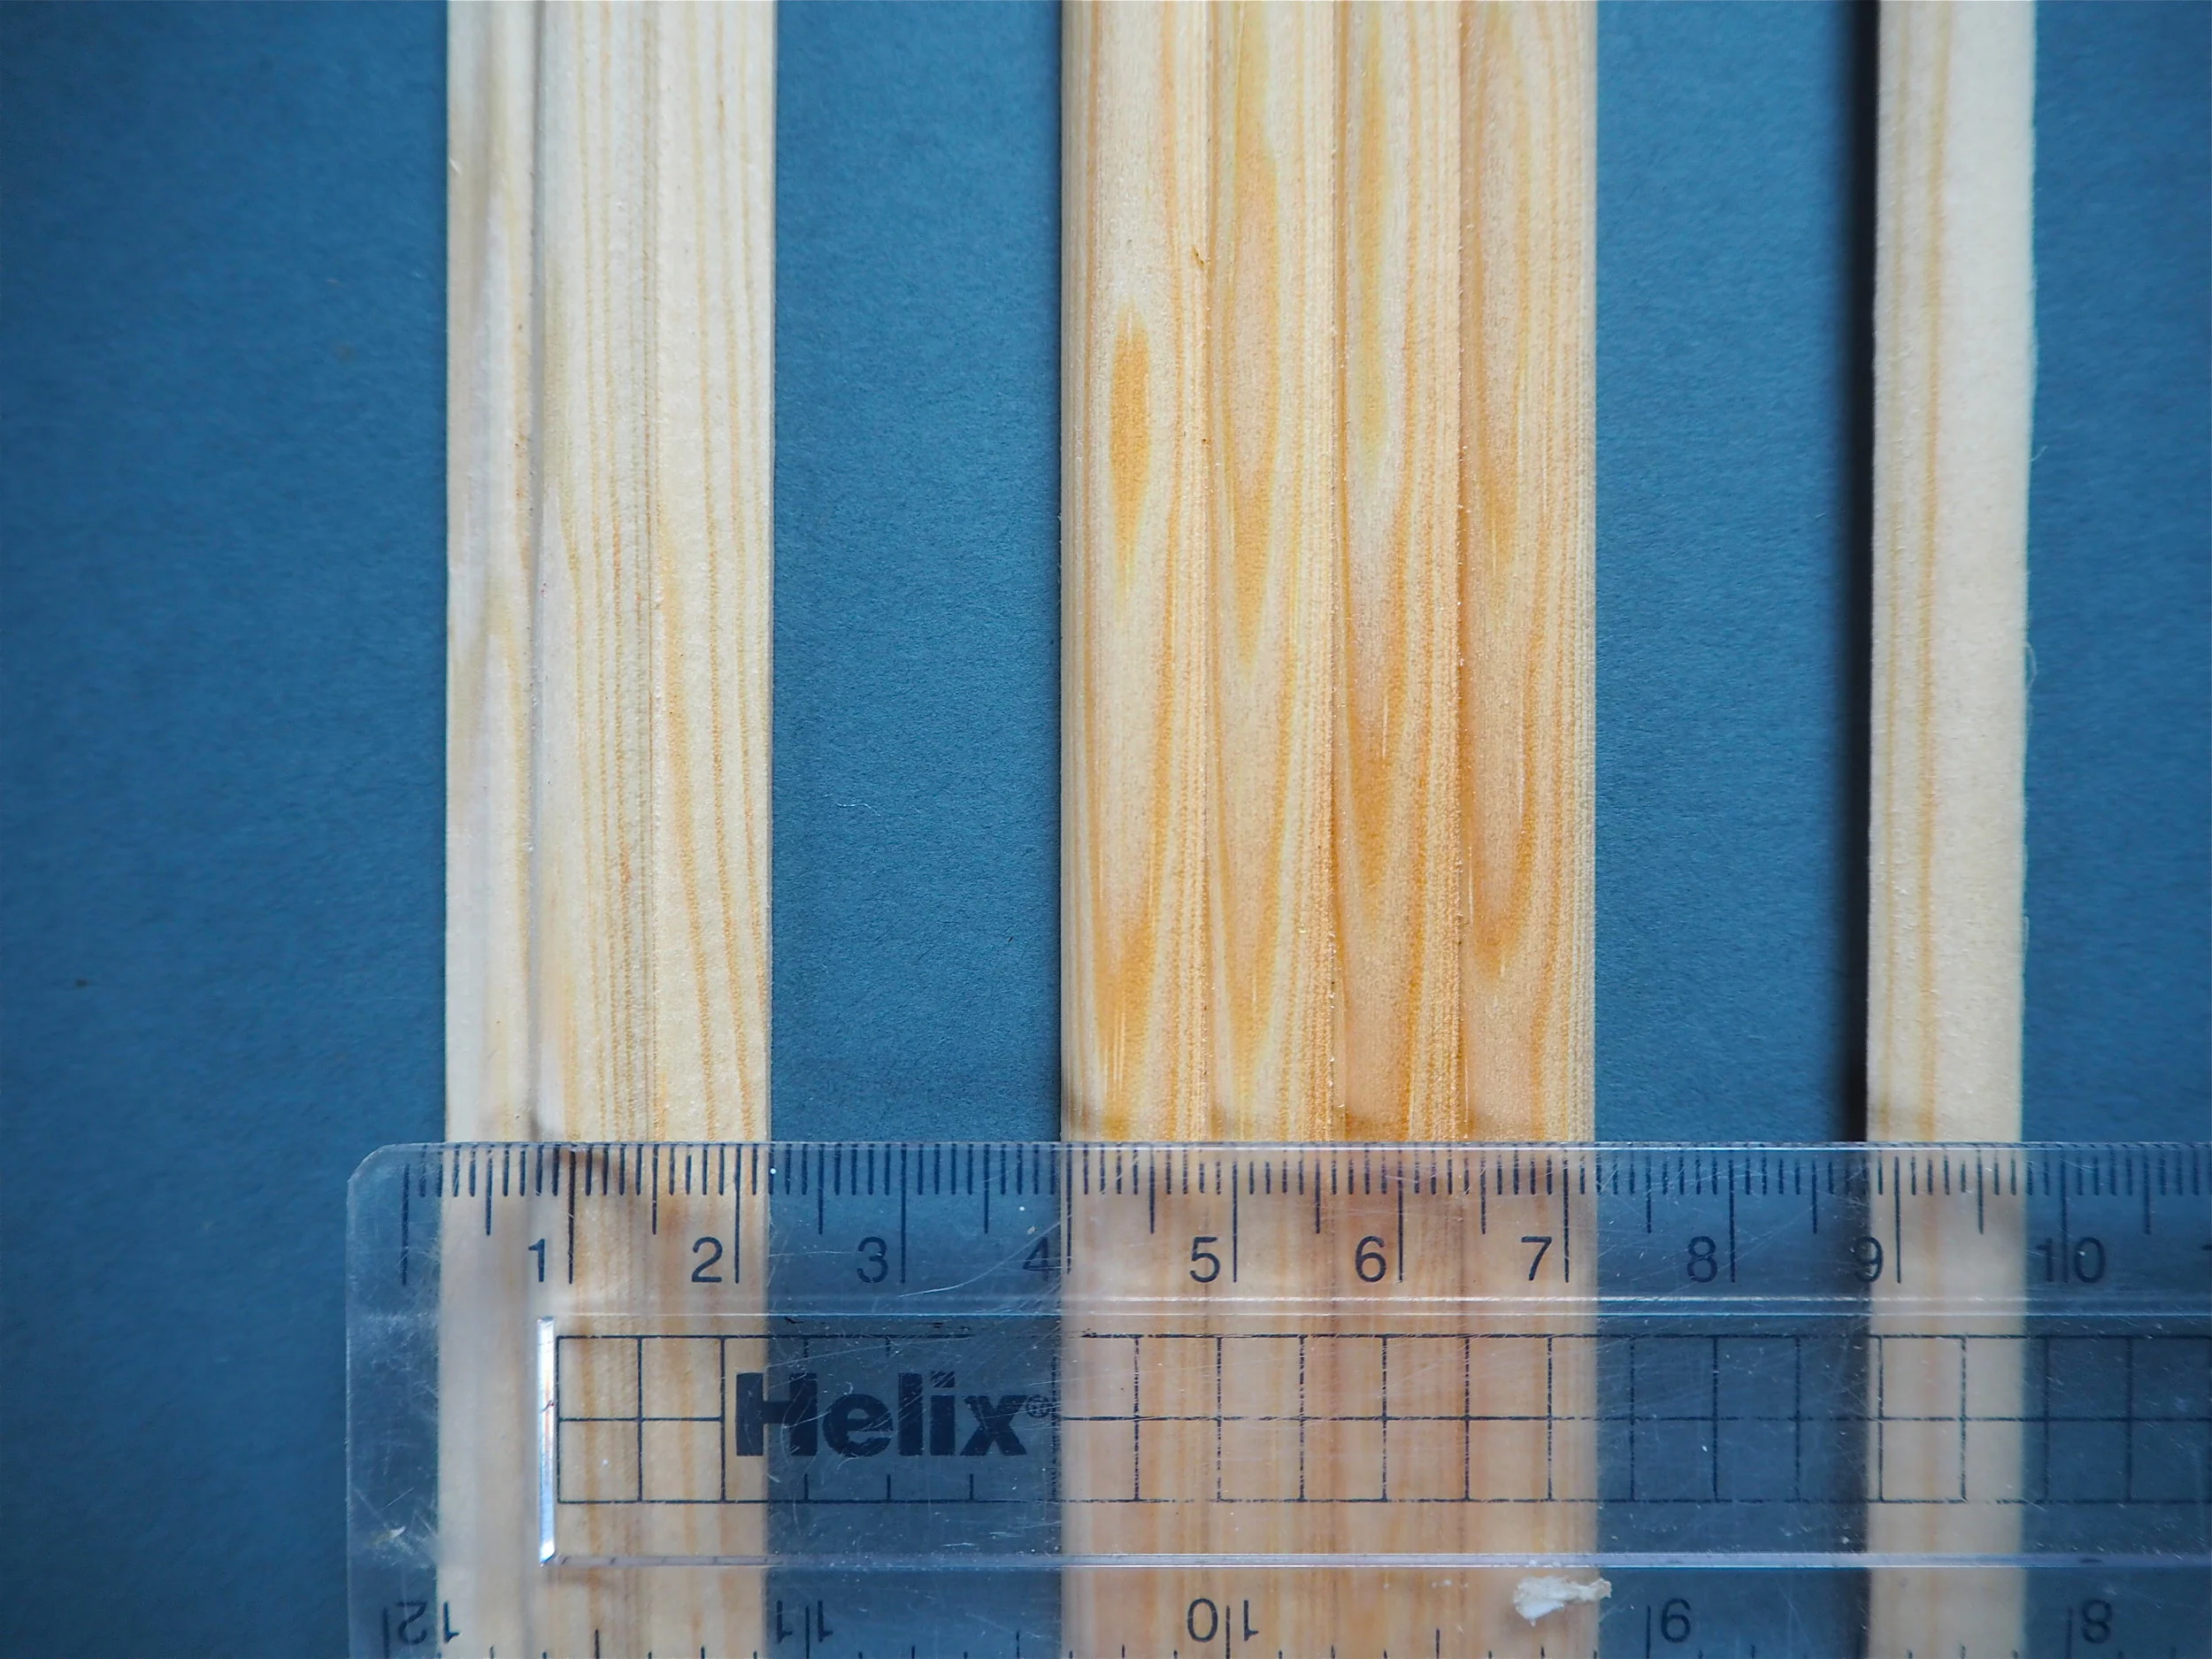
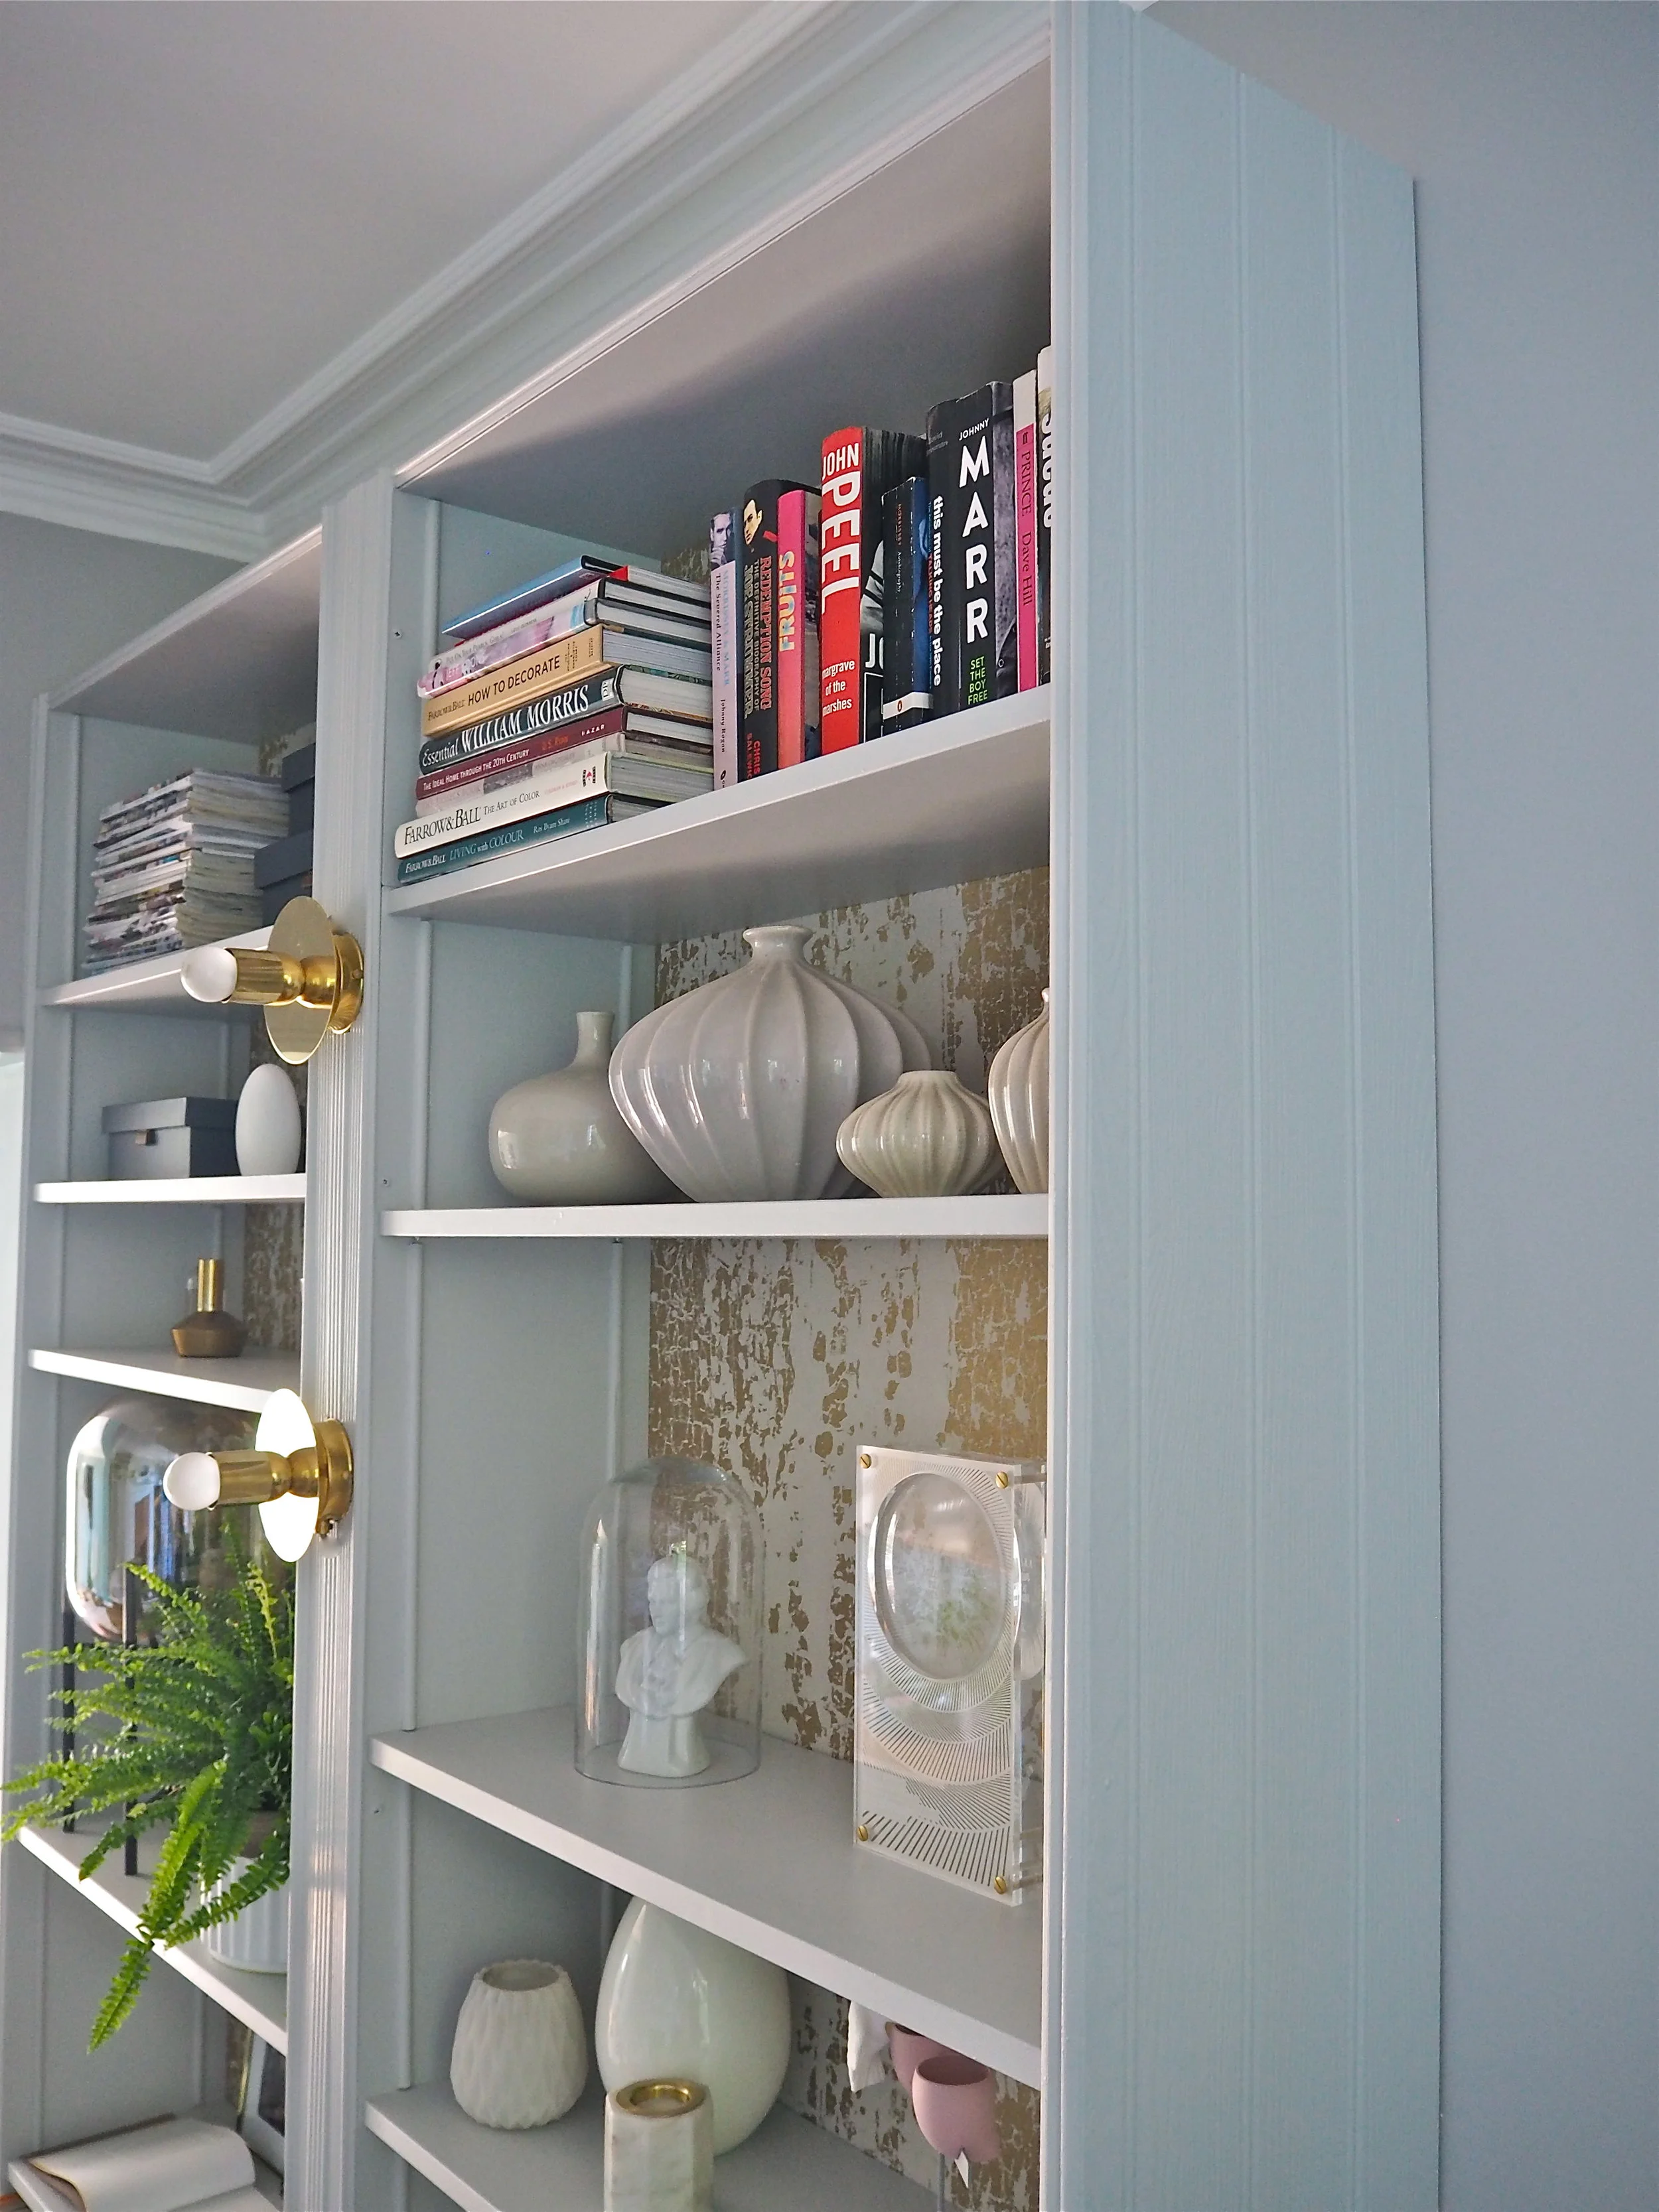
The main structure of the bookcases were now built, wallpapered, and had a central timber bar down the middle with the lights threaded through. I added in the rest of the shelving and then it was time to 'pimp up' the bookcase to look detailed and bespoke. I did this by using a number of decorative mouldings and beading, all of which I purchased from Wickes DIY stores for about £2-£7 each. I used trim number one in the picture below at 2cm width for the edges of the bookcase at the front. I used the second 3cm ridged moulding down the central timber bar in the middle and along the bottom of the bookcases. The third, 1cm width-wide moulding I used to disguise multiple shelf holes down the inside of the Billy.
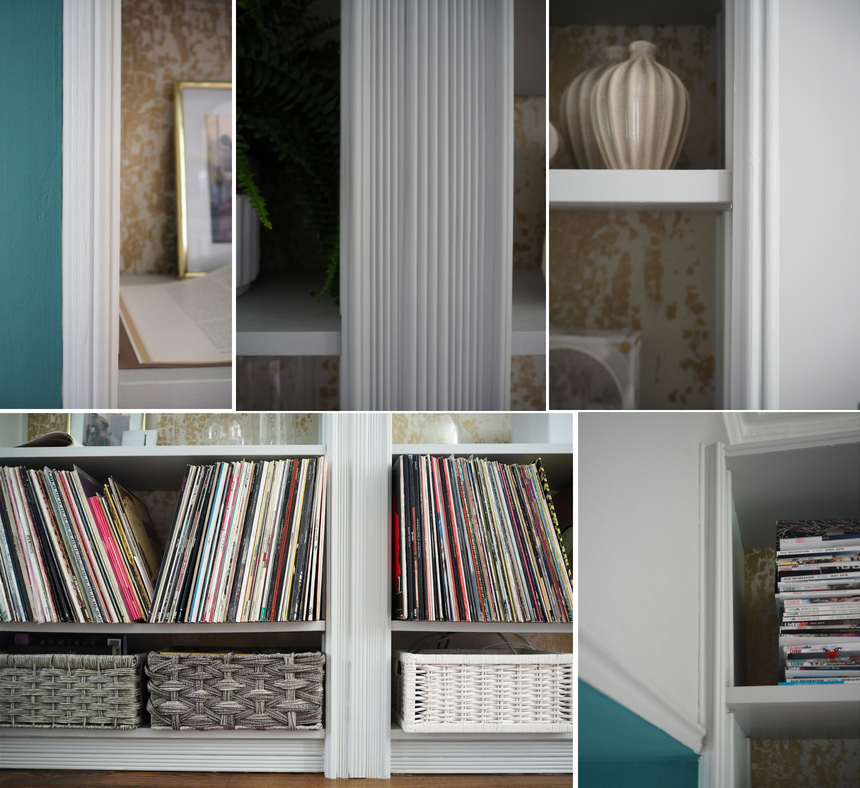
I simply measured the moulding to size, cut it with a handsaw and then stuck them on and around the bookcase with heavy-duty mega-bond adhesive interior glue. I also used the moulding to cover any gaps between the wall and the bookcase so the bookcase looked like it was built into the wall and was not freestanding.
On the sides of the bookcase to give it more interest I cut to size thin MDF tongue and groove panels which actually come with a double-sided heavy-duty tape which you use to affix to your surface. I then used A LOT of decorators’ caulk with a gun to fill in all the seams and the gaps between the moulding joins and the bookcase, smoothing away excess caulk with my finger.
Just a quick note about the central lights. They were secured into the central timber and I glued moulding around the tiny hole that was left to feed through the cable. As the lights have a disk-like feature this hides the cable and the hole when looking at the bookcase face-on.
The Billy Bookcase has all these ugly tiny holes on the inside which gives you the option to choose your own shelf height. However, once I was certain about where I wanted my shelving I did not want these little holes on show. To get rid of these I cut more moulding to size with a handsaw and glued it over the top of the holes, caulking the edges.
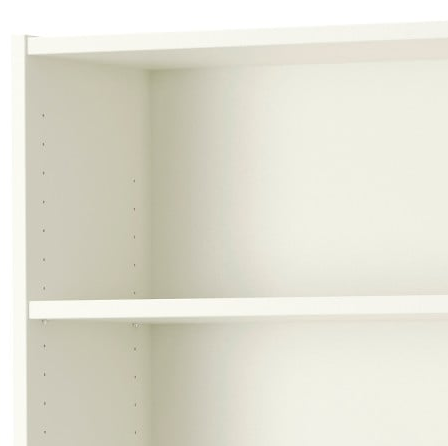
Plain Billy image courtesy of Ikea.co.uk.
Making sure the wallpaper at the back and the light fittings were completely covered with protective cling-film, I then gave the whole thing 2 coats of Earthborn Paint Multi-Purpose Primer and then 3 coats of durable eggshell paint (this is 'Cats Cradle' eggshell by Earthborn). I left the shelves for about 3 days for the eggshell to really harden before styling them up.
I was supplied the primer, paint and wallpaper by the sponsors of Revamp Restyle Reveal, but the moulding came in at about £75. The lights were £130 for the two. All-in-all this hack cost me under £300, which for the amount of storage I now have is a pretty good deal!
If you have any questions about my hack or want to leave your feedback, let me know in the comments section below!