How To Fix And Repair A Large Hole In Your Wall
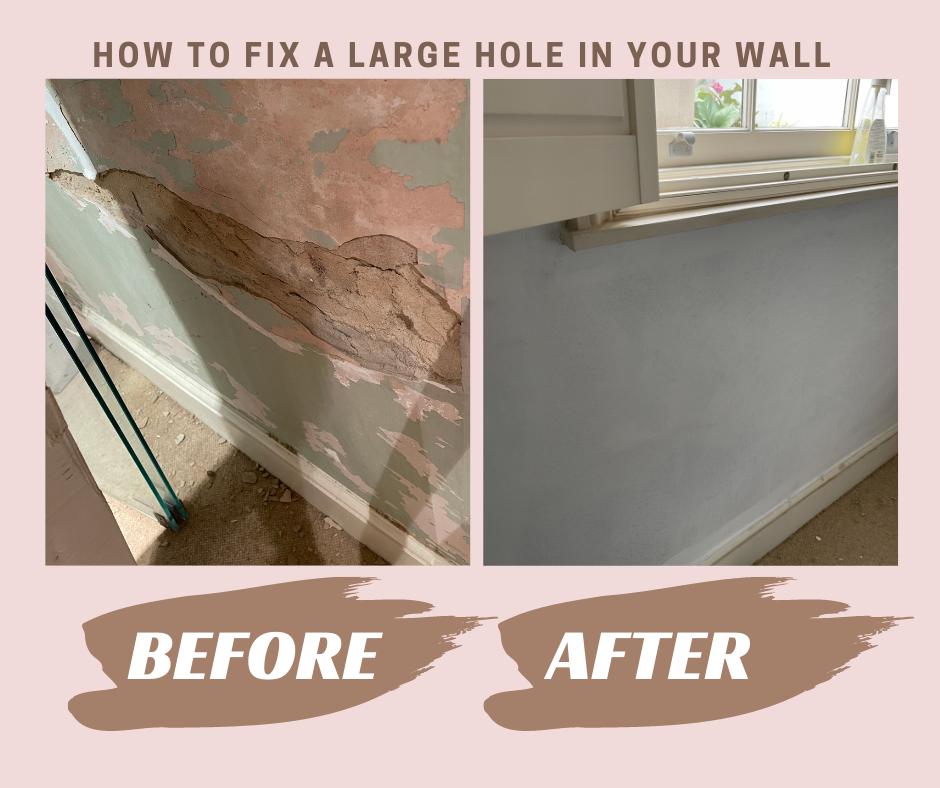
Although I’ve always been confident enough to fill small drill holes and general wear and tear in my plastered walls, the huge size of the hole to be repaired in my home office absolutely terrified me. It was 80cm wide, sandy, broken and crumbly. It looked terrible. This wall had previously encountered water damage from the window sill above it, and even though the cause of the water infiltration was fixed some time ago, the interior plaster had just caved. The discovery of the large hole was made when I removed wallpaper in this room (to be honest, the wallpaper was the only thing holding the wall together!) When I removed the paper - a lot of plaster came with it. A few small taps on the walls with my hand and the remaining plaster dropped to the floor! I really didn’t want to spend much money redecorating this room - even if I expected I probably would have to call in a professional plasterer to fix this situation, I wanted to at least try and DIY it myself first. As it turns out, after a bit of research and buying some recommended products, I managed to fix the wall in a couple of days! I’m delighted with the end result - the wall now is strong, sturdy and smooth. If you want to try this out for yourself in your own home, this is my easy step-by-step guide to how I did it…
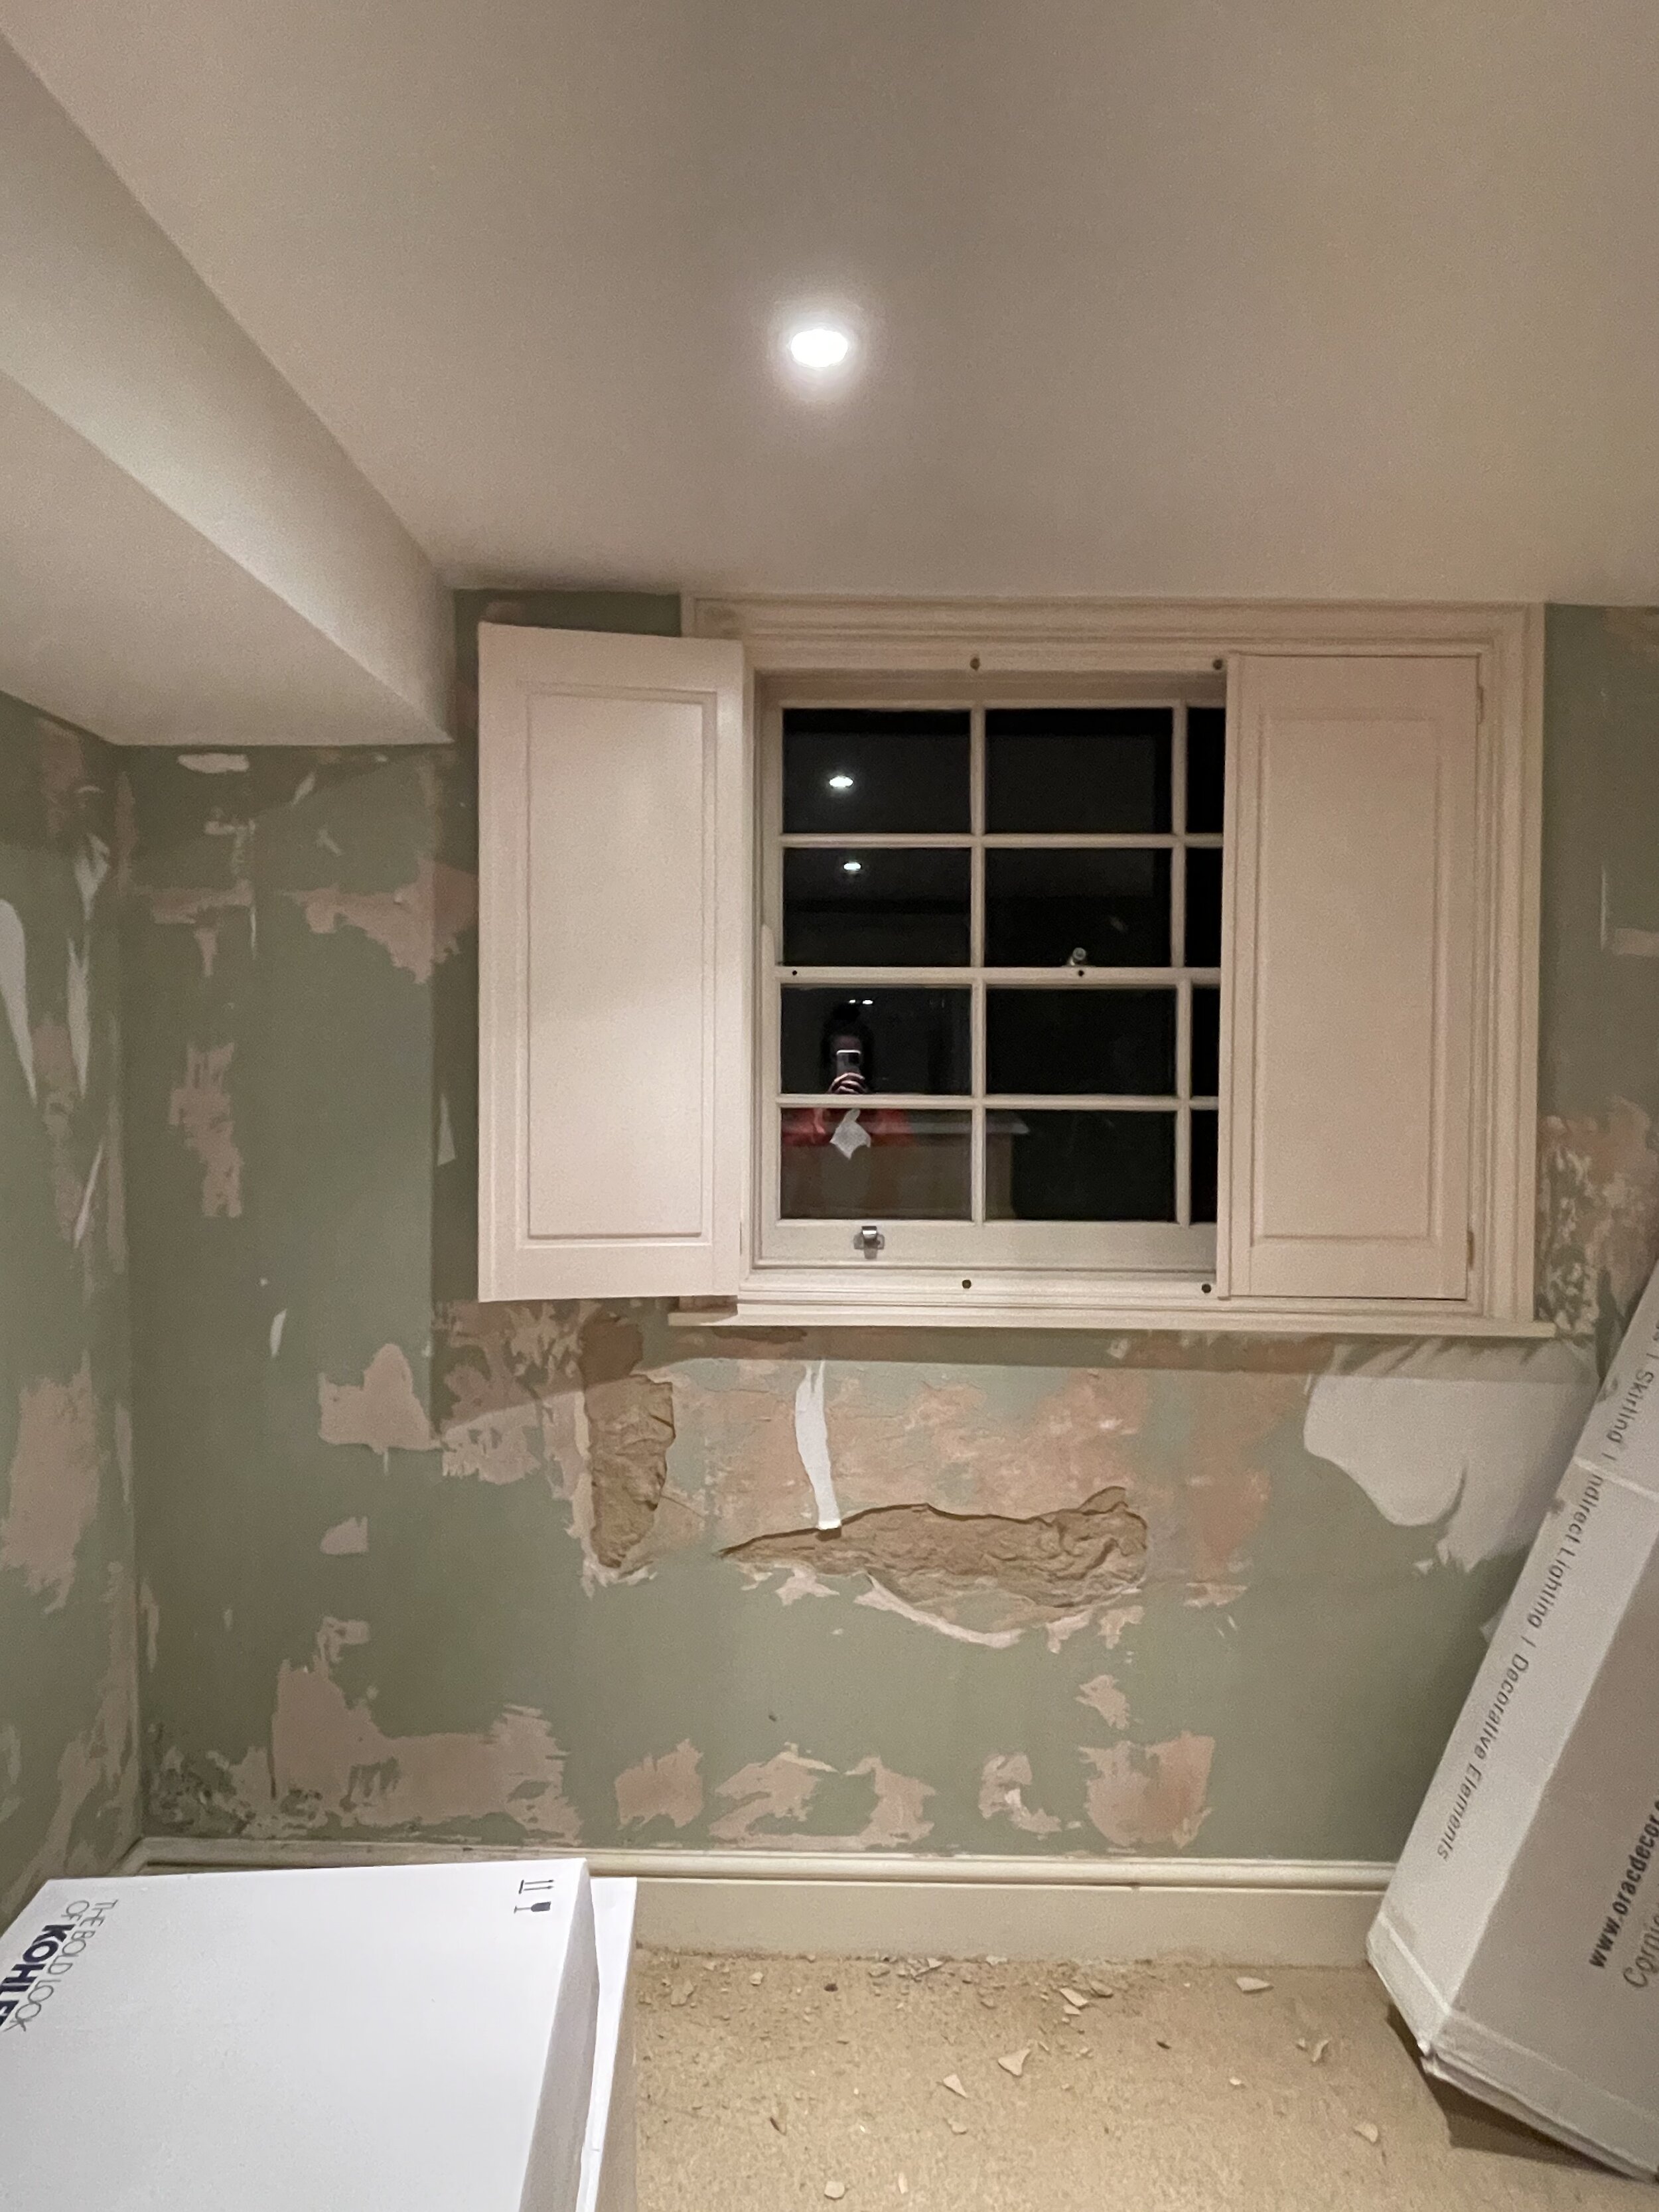
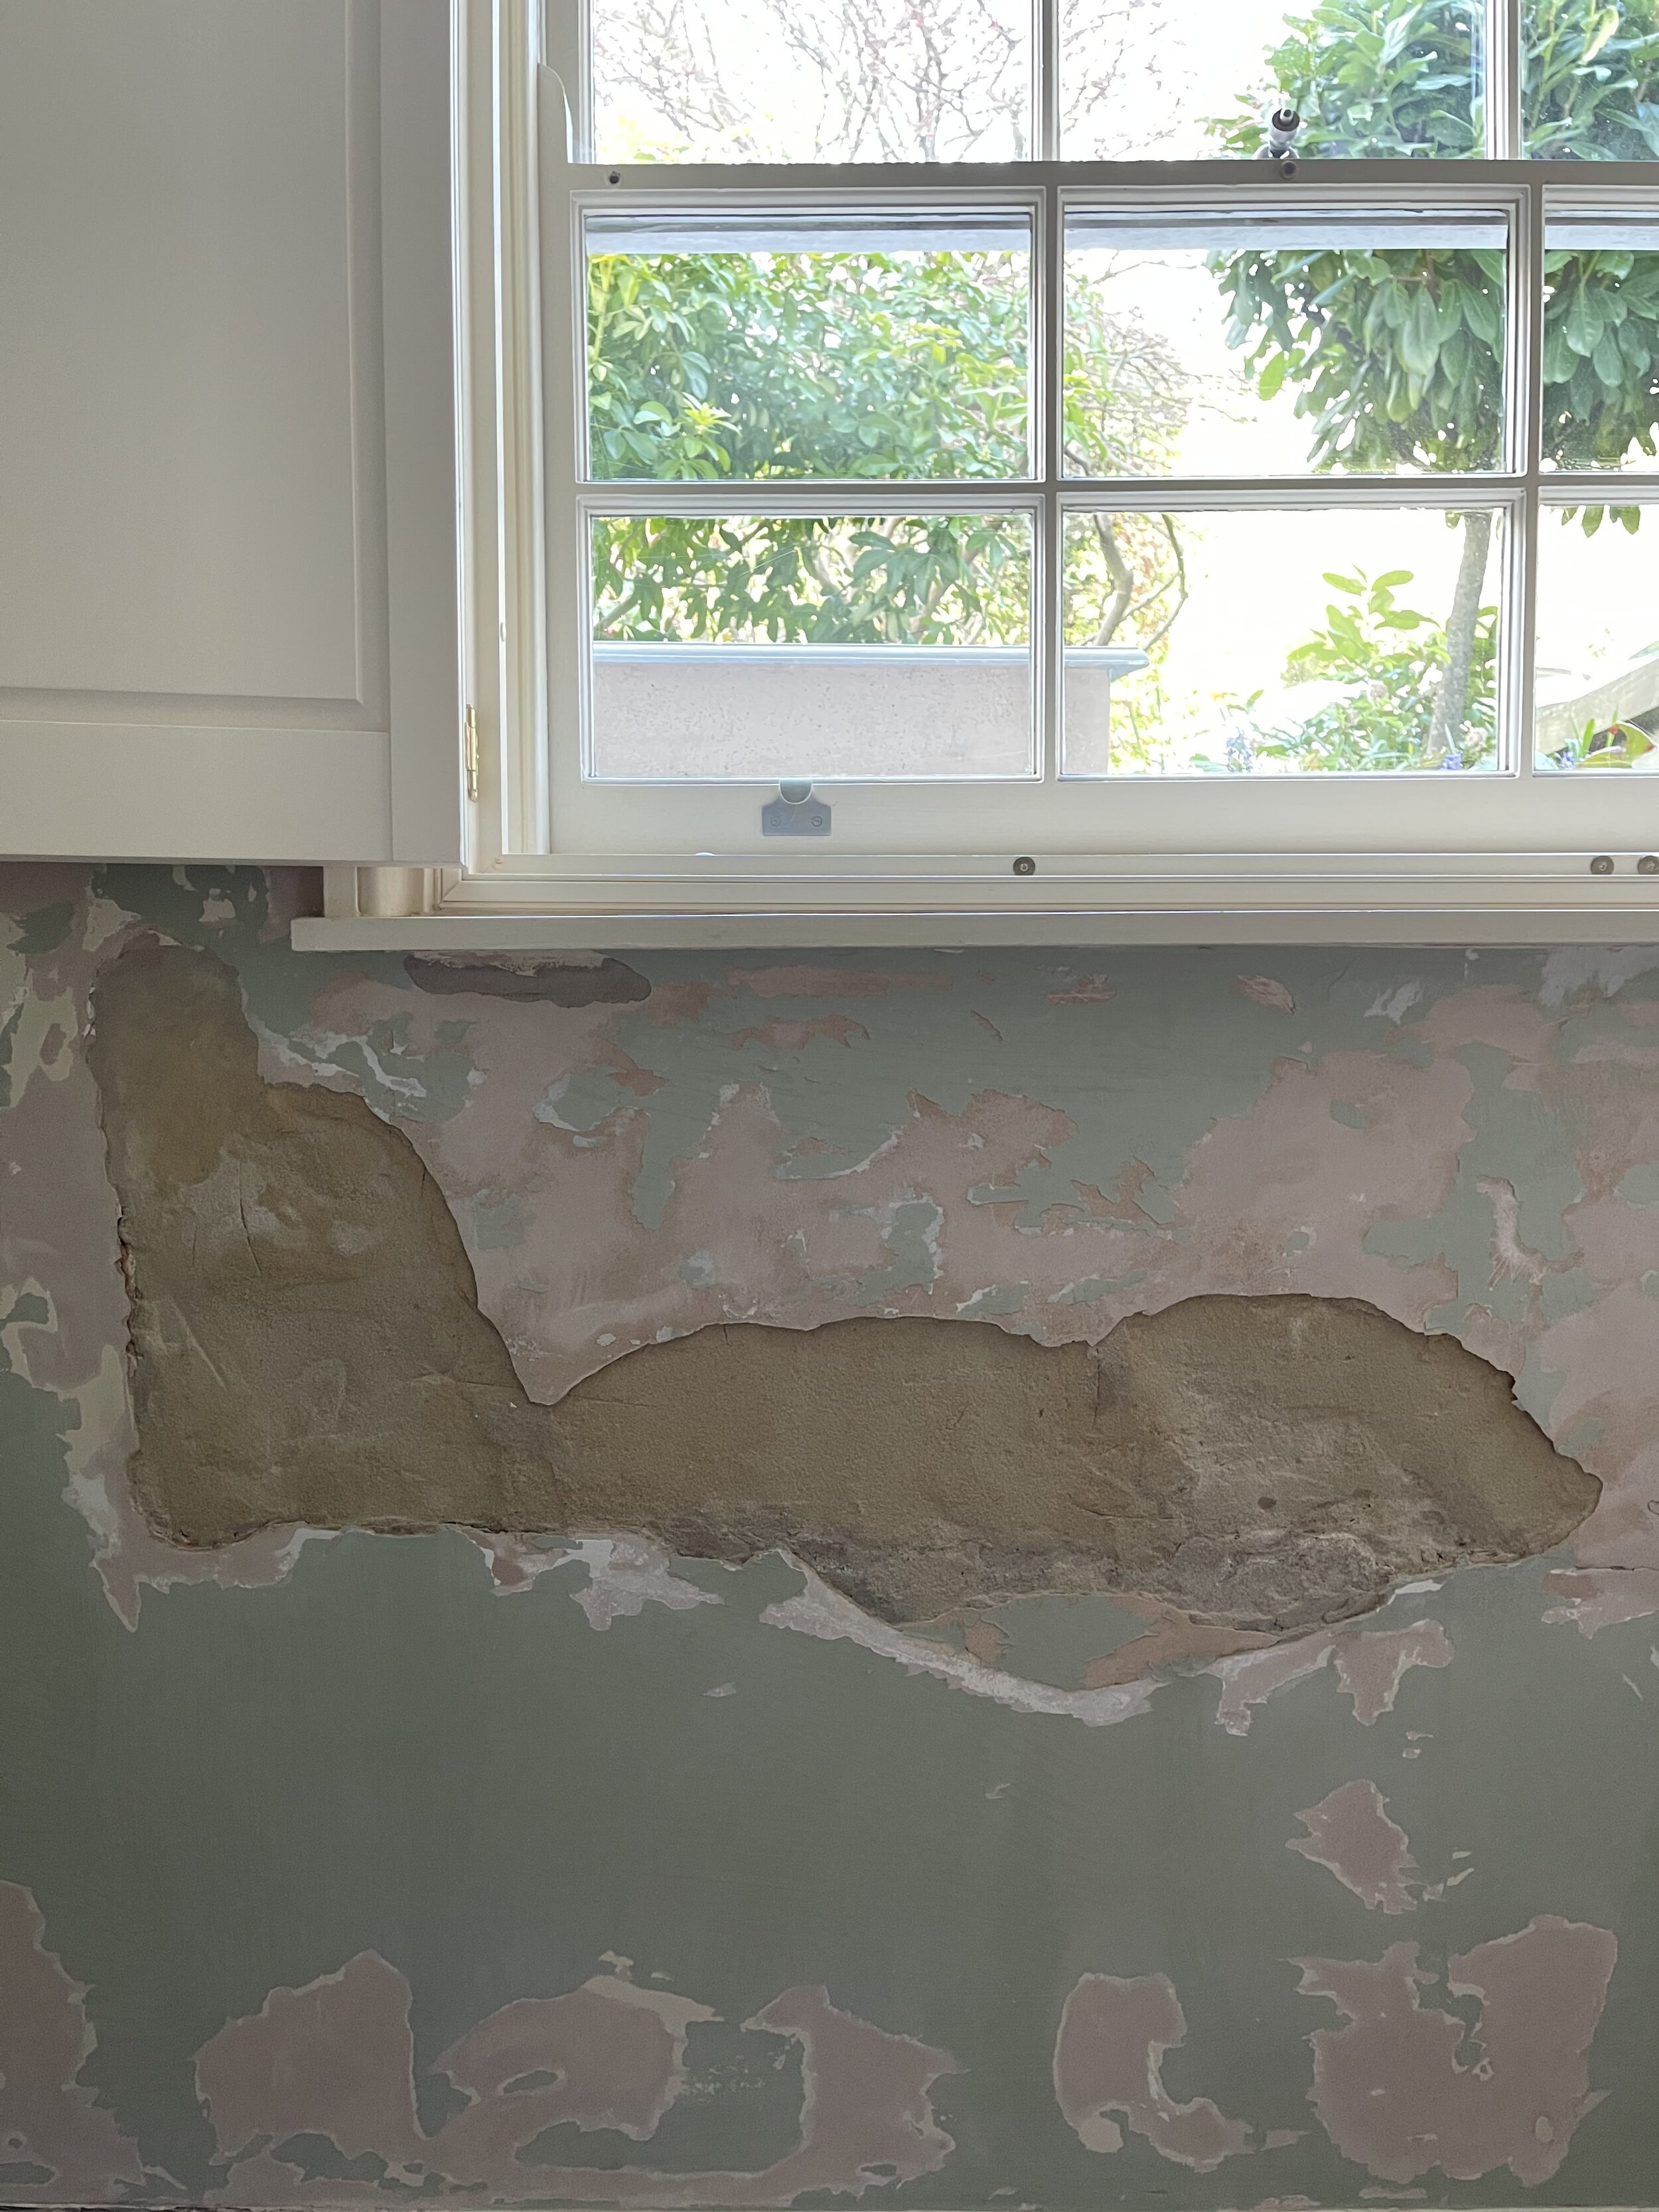
The discovery of the damage once I had stripped the wallpaper in the room.
It's important to note that before you try this method, you make sure that you have rectified the cause of the initial damage in the first place. Make sure you have no leaky gutters or overflowing drains and that any foundation wall repair has been carried out. Also take a moment to check for any signs of house levelling or structural movement, as issues like uneven floors, sticking doors or cracks may indicate deeper problems that should be resolved before cosmetic repairs.
Step 1: Use a scraper tool to get rid of everything loose
I used a basic scraper tool to just get rid of all the loose plaster and everything that didn’t feel secure in and around the hole. Don’t dig plaster and wall out - just gently run your tool over the top and the edges of the holes to remove detached particles. You want to start with a good, secure base when you begin your repair.
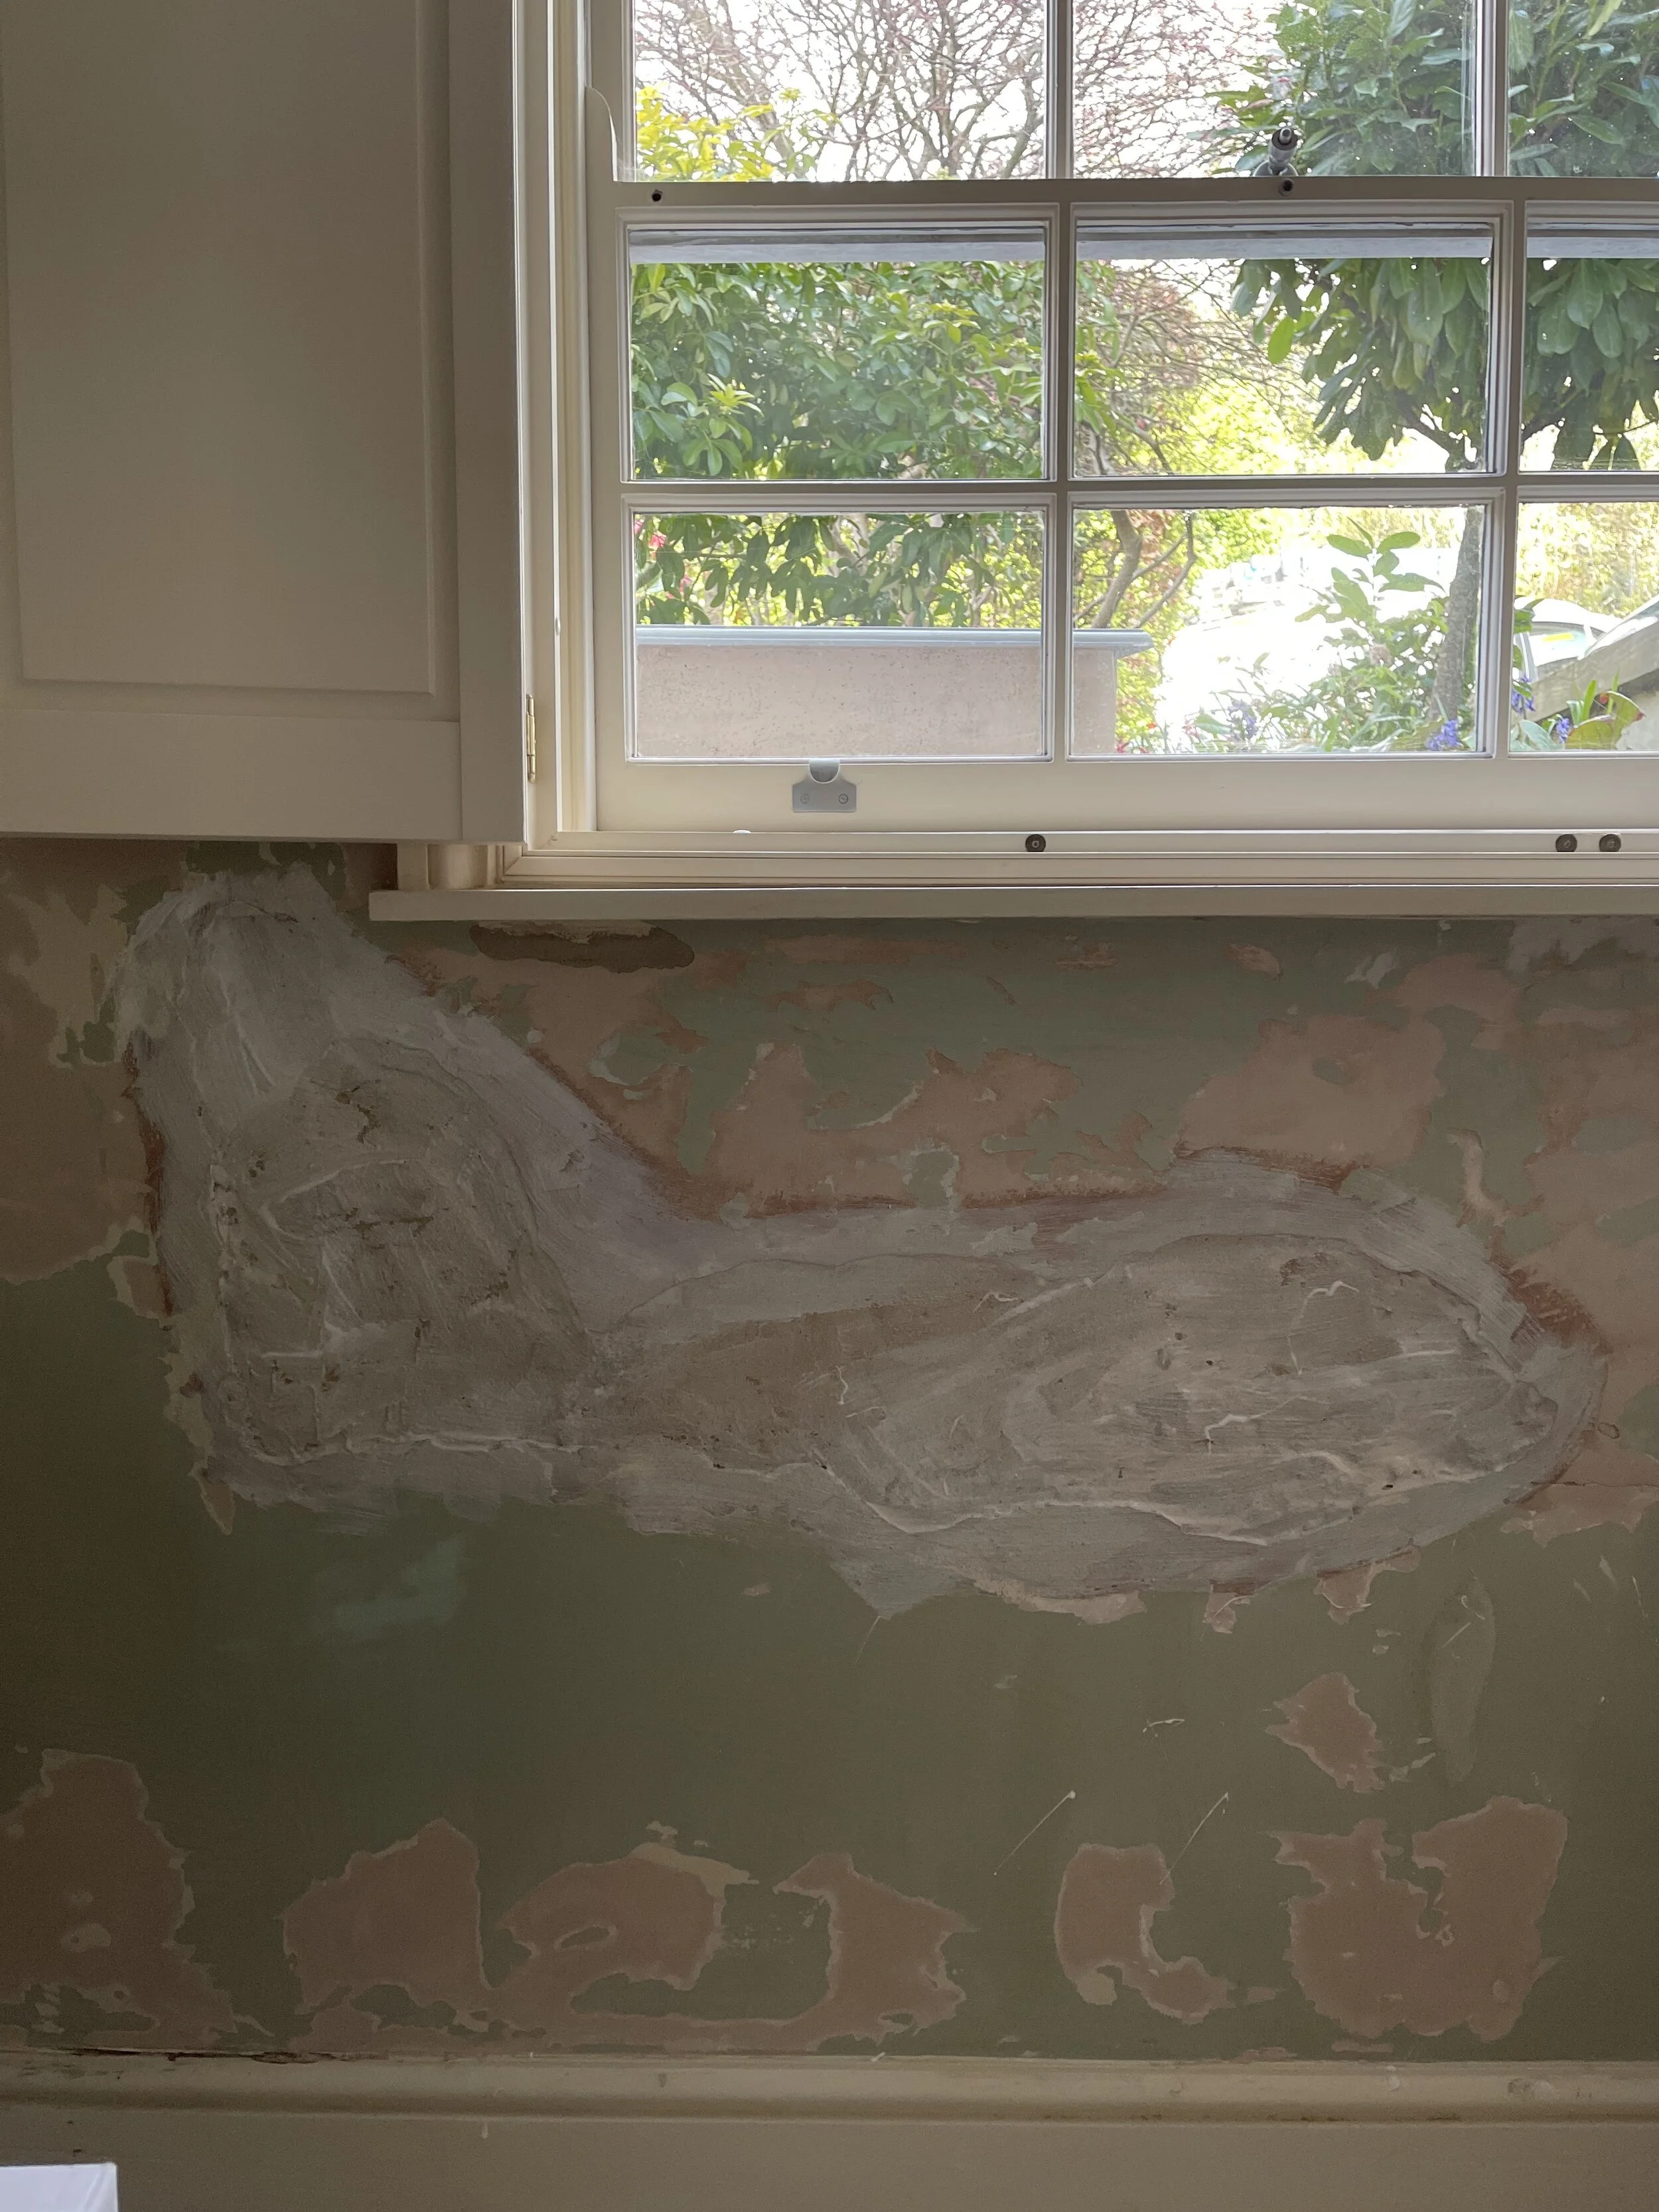
How the wall looked once all the flaky, crumbly plaster had been removed with a scraper tool.
step 2: Apply a PVA bond with a paintbrush
You next need to apply a bonding agent that is ideal for priming unsound and porous surfaces prior to plastering and painting. I used Ever Build PVA which I decanted into a washed-up yogurt pot and applied with an old paintbrush. I just used one generous coat in and around the hole.

I used Ever Build PVA Bond to prime my unsound surface area.
The PVA Bond applied and left to dry. I left it overnight so that I knew it was completely ready for the next stage of repair.
Step 3: Apply One Strike Filler
Ever Build One Strike Multi-Purpose Ready To Use Filler was my ‘magic product’ to repair this giant hole. I’ve used lots of other fillers and plaster repair products before, but I’ve found them heavy and slumping in wide or deep areas in need of restoration. I also found some products were difficult to get a smooth surface on application (resulting in air holes, or the filler breaking off and falling out). One Strike was different in that it has a consistency of whipped cream or shaving foam - it just glided onto the wall! I used a plastering trowel to apply one thick coat of One Strike (which I left overnight to harden), then I applied a thin skim coat on top the day after.
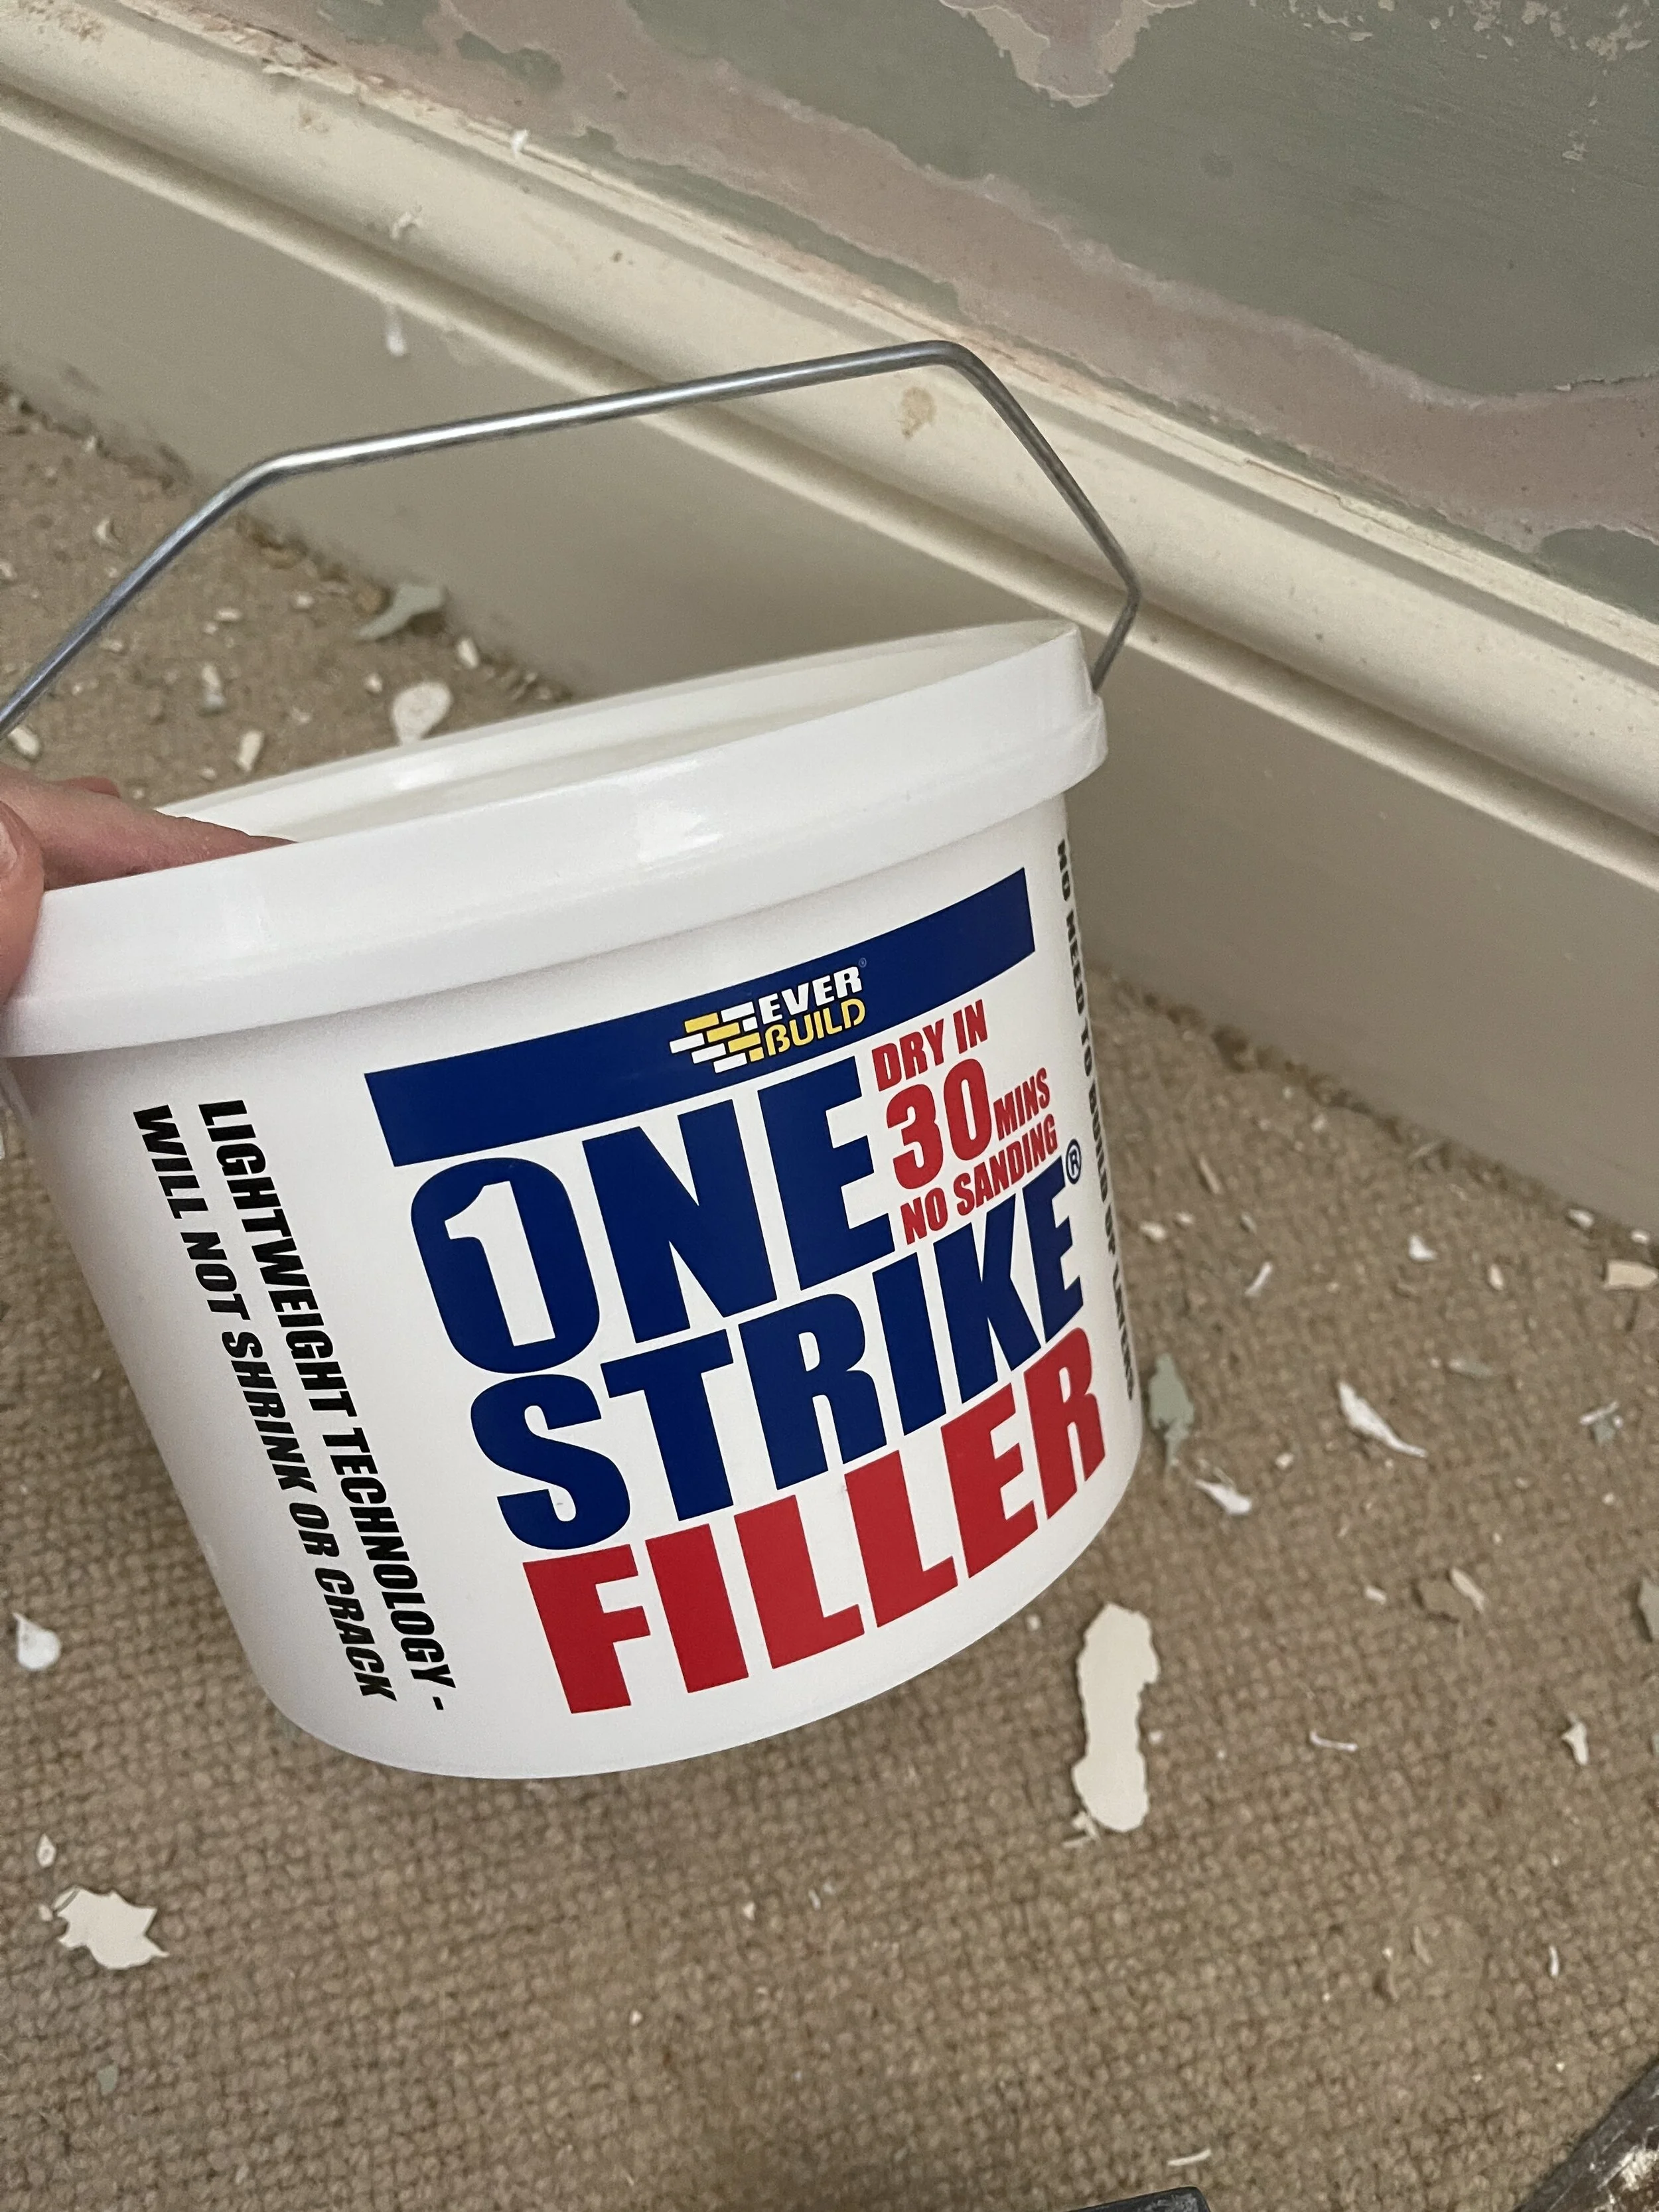
I used Ever Build One Strike Filler to rebuild my wall.

After the first coat of One Strike.
Step 4: Sand Back
It says on the tub of one One Strike that you do not need to sand after application, but as a DIYer as opposed to a professional (and the hole itself being huge), I found I did need to sand to achieve a level surface. I used an electric palm sander with a fine grade sandpaper (if you do not have one then a sanding block will do the trick). I just sanded back until the filler and the wall were level and there were no lumps or bumps. After sanding, if there were any pitted or problem areas, I added a bit more One Strike and sanded again.
Step 5: Prime
Before you paint or decorate you’ll need to prime your wall and cover over the filler so there is no mismatch in colouration when you apply your topcoat. My walls needed a good prime as they were uneven where old paint had been removed from removing the wallpaper, so I used Ever Build Fill Coat to even out the walls and block any stains. If your walls are even everywhere else and in good condition, you can use any general wall primer.
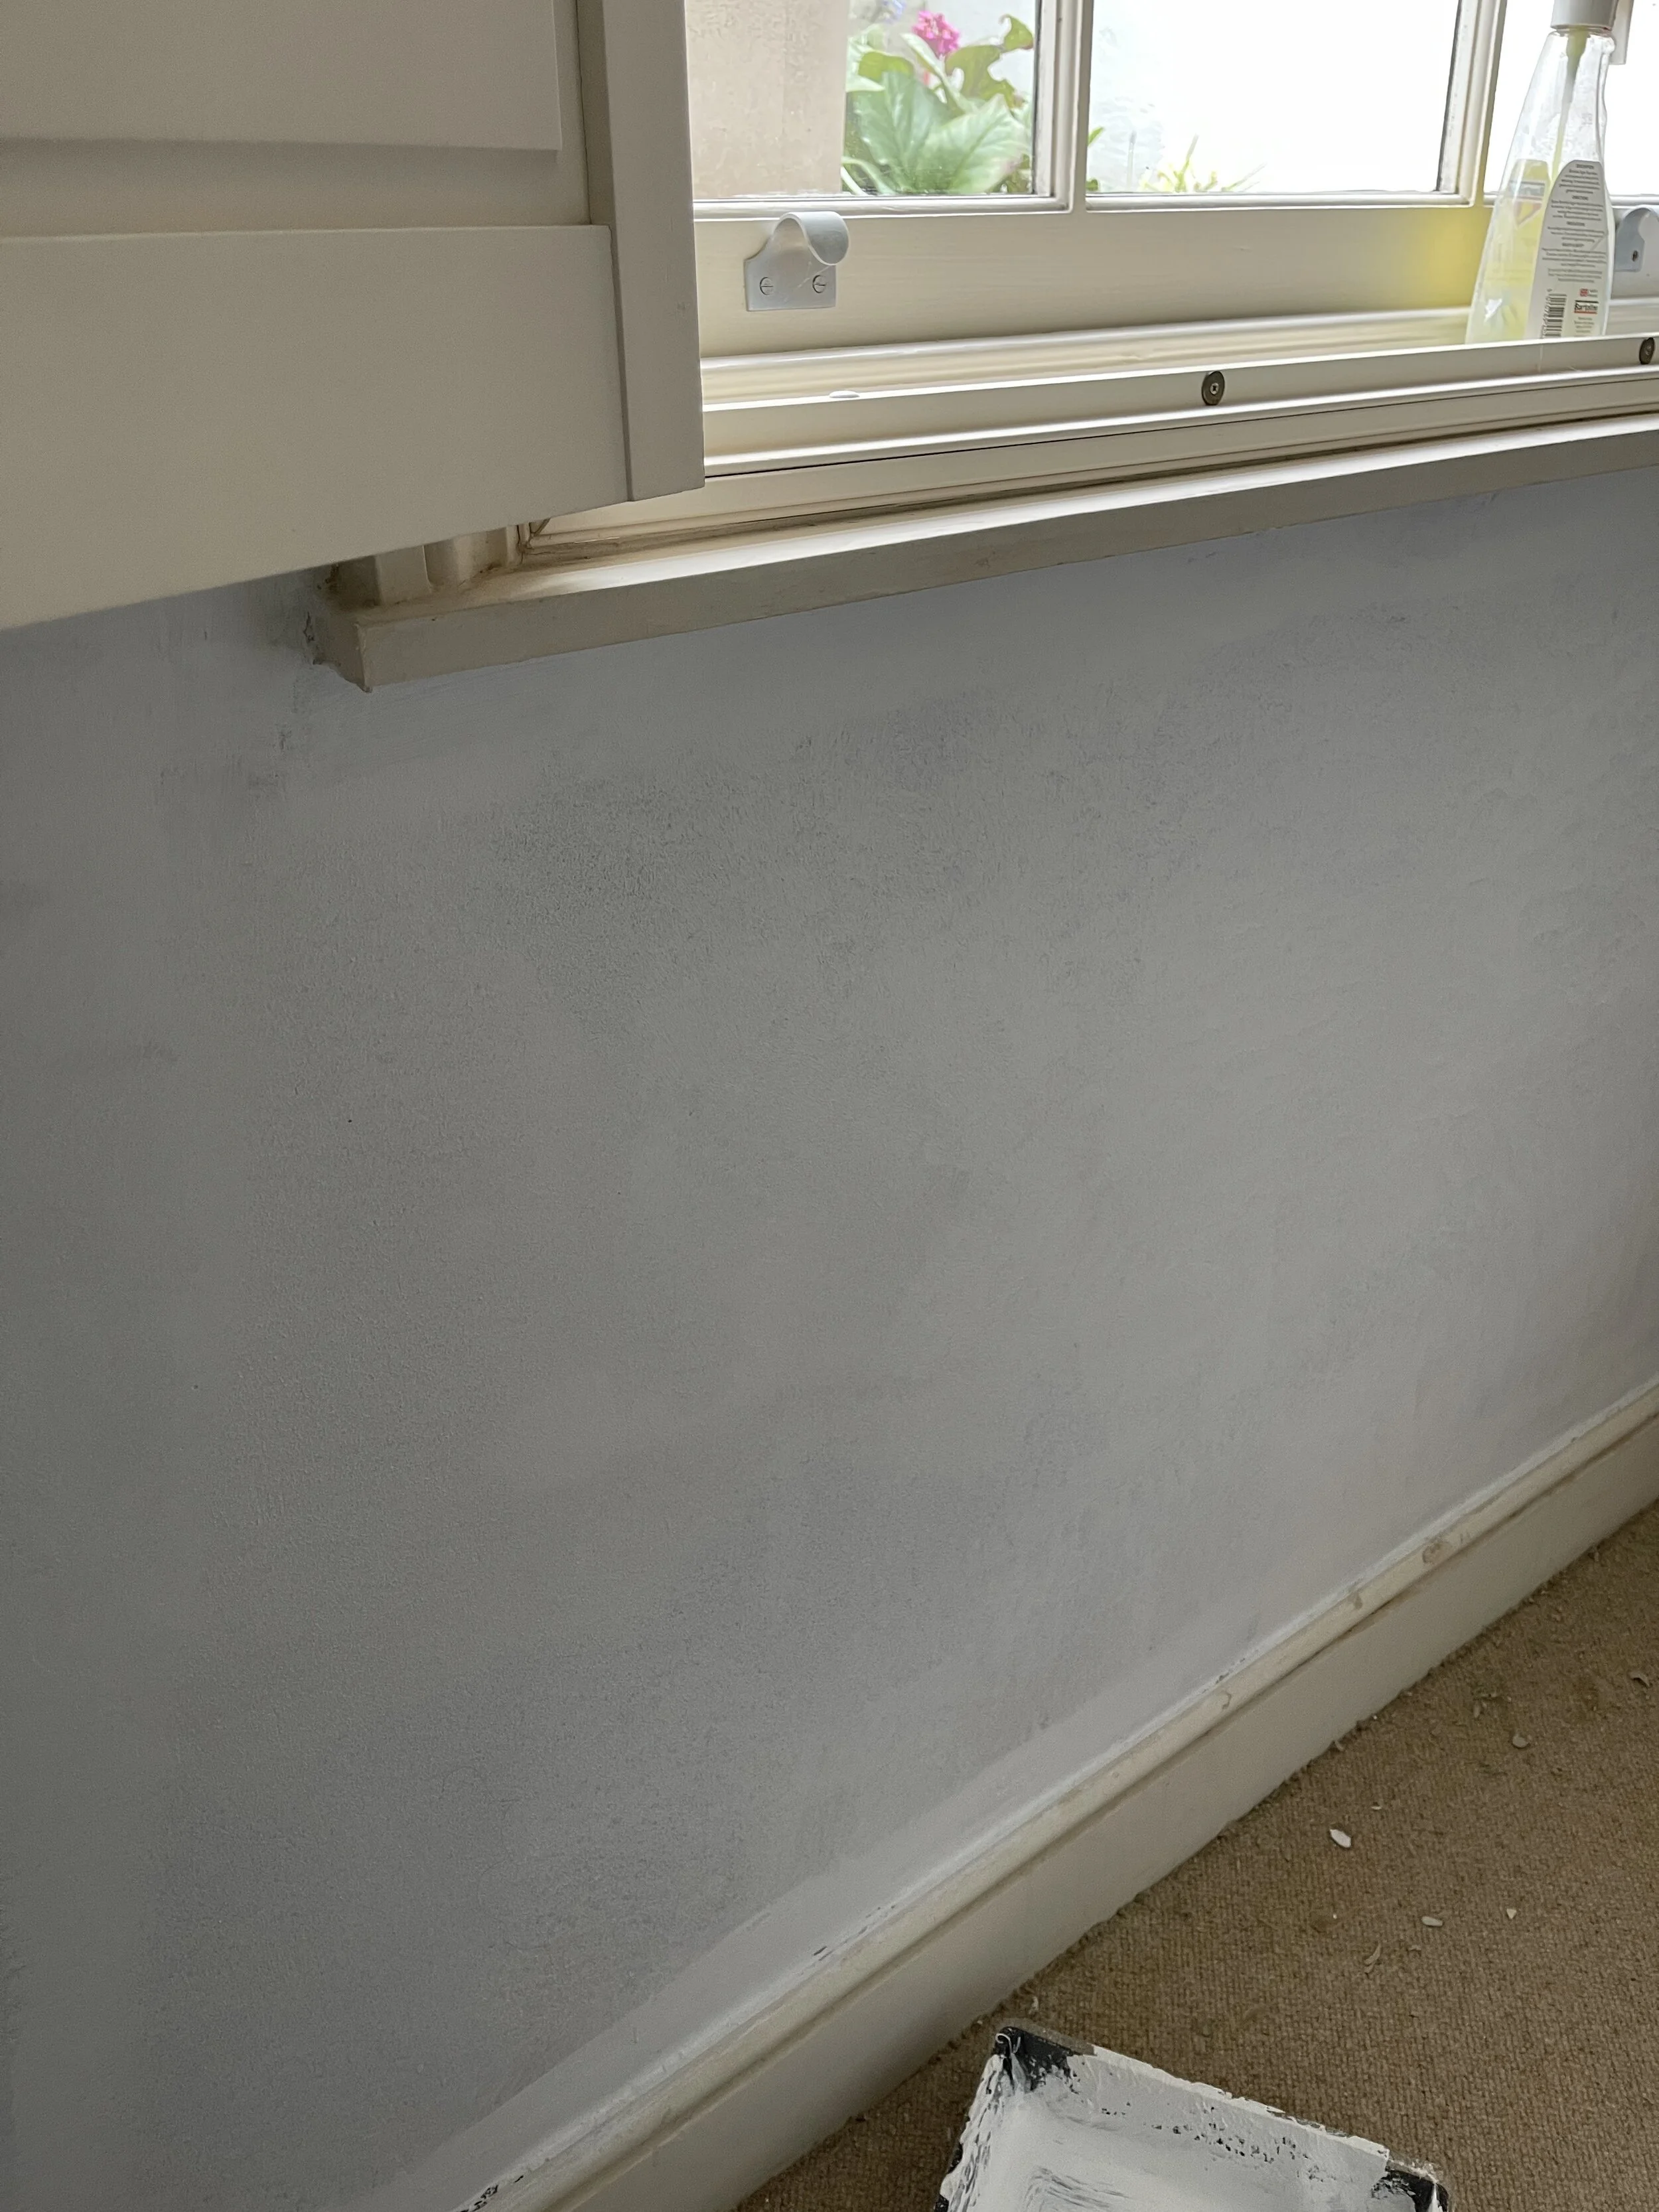
The wall all filled and primed!
And that was it! I was so pleased with the end result and I’m so glad I attempted to DIY it first. Now my wall is now ready for painting. Stay tuned to see the full reveal of this room up on the blog shortly!