Make This Pom-Pom Cushion For Less Than A Tenner!
Longed to experiment with really dark or bright colours in your home, but can't pluck up the courage? Seen an expensive fabric or wallpaper that you love, but just cannot afford to use it to paper a room or upholster a sofa? Of course you have! This happens to me ALL THE TIME. I obsess about it until I work out a way to add it into my home somewhere!
Over the past three weeks i've shared with you 3 DIY tricks that I have used to incorporate wallpaper and fabric that I can't afford, and how I've added pops of strong colours I love, without the worry that I'm overspending or making a large decorating mistake. I'll show you how easy it is and how you can do it too....

The end result of my crafted pom pom cushion! Arm chair by Swoon Editions.
Part 3: Create your own budget-friendly cushions with plush fabrics to add texture and layering in your home
Whenever I read an interview with a interior designer that I love, the thing that I pick up most from them is that texture and layering are key when it comes to styling a room. Texture comes from using different fabrics- wool, velvet, sheepskin; and laying means dressing the room to be visually stimulating. The easiest way to add texture and layer your room is with the home furnishings, so we are talking cushions, rugs, throws, curtains and so on....
Cushions are amazing as they can change the dynamics of an interior scheme, but are completely non-committal. You know how you can wear a different style outfit each day depending on how you feel? Well cushions act like your sofas clothes - you can add and remove them depending on how you want your room to look that day. Cushions also provide the ideal opportunity to add a fabric/print that you love, but can't afford to add much of in your home (like getting a sofa re-upholstered in a House of Hackney print, or curtains made in Sanderson fabric, which can cost from £50-£100 a metre!) You can buy cut offs, samples and fat quarters on Ebay and at fabric warehouses of expensive fabrics and make your own cushions, which is EASY! Trust me - you don't have to own a sewing machine, you don't even have to be an expert sewer, it's literally all about sewing a few straight lines together.
If you don't fancy sewing your own cushions from scratch, then buy a cheap cushion cover from Ikea and add texture to it, like creating this super fun pom pom cushion above! First thing you'll need to create this cushion is a pom pom maker. I brought a pack of four size pom pom makers from Amazon for £1.97 including delivery. Admittedly, it came with no instructions so I was like WTF? How does this work? So i've created the little picture guide below on how to use the bizarre little item:

Open up your pom pom maker so it makes an 'S' shape. Start wrapping your wool around the top part of the S (the more wool you wrap, the fluffier the pom pom). Once the top part of the 'S' is covered in wrapped wool, close this section and start wrapping the wool around the second 'S' section. Once finished, close the second part of the pom pom maker and cut the thread to your ball of wool. With a sharp pair of scissors, cut between the middle of the wrapped wool where the join of the pom pom maker is. Take an extra piece of wool and wrap it around the join of the pom pom maker and pull it tight into a knot, so your pom pom wool pieces are secure. Unclasp of the green 'S' shapes of the pom pom maker and pull the pom pom maker apart in the middle. Pull out your pom pom and reshape it and trim it if needed.
Attach your pom poms to the cushion cover with a needle and thread. Just thread through the cushion cover out into the pom pom and back in again until the pom pom feels secure. Add in a cheap cushion pad and there you go - mega texture and layering for under a tenner!
If you do want to have a go at making your own cushion covers, the tools that you need for a bog standard 50cmx50cm cushion are:
Just over a metre of your desired fabric (upholstery fabric is best as its more durable and looks nicer, but a basic cotton fabric is also fine). If purchasing one piece of fabric it will need to be at least 110cm in length and 55cm wide.
Needle, thread, scissors.
Inner cushion
41cm zip
HOW TO MAKE A CUSHION COVER:
Cut your fabric into two 55cmx55cm squares.
Lay them with the outer print face down on each other.
Attach them together with pins around the edge of the material.
Using what is called a 'back stitch' (where you sew so there is no gap between the stitches), sew in a straight line for the three sides of the square cushion cover near the edge of the material, meeting at the corners.
For the fourth side, attach in the zip. This is the most difficult bit as you have to make sure you sew the zip the right way round! Pin the zip edge with the zip facing away from you. Sew down one side of the zip, unzip the zip then do the same the other side.
Turn the cushion cover out the right way and insure your inner cushion, zip up your zip and there you go, your own home crafted cushion!

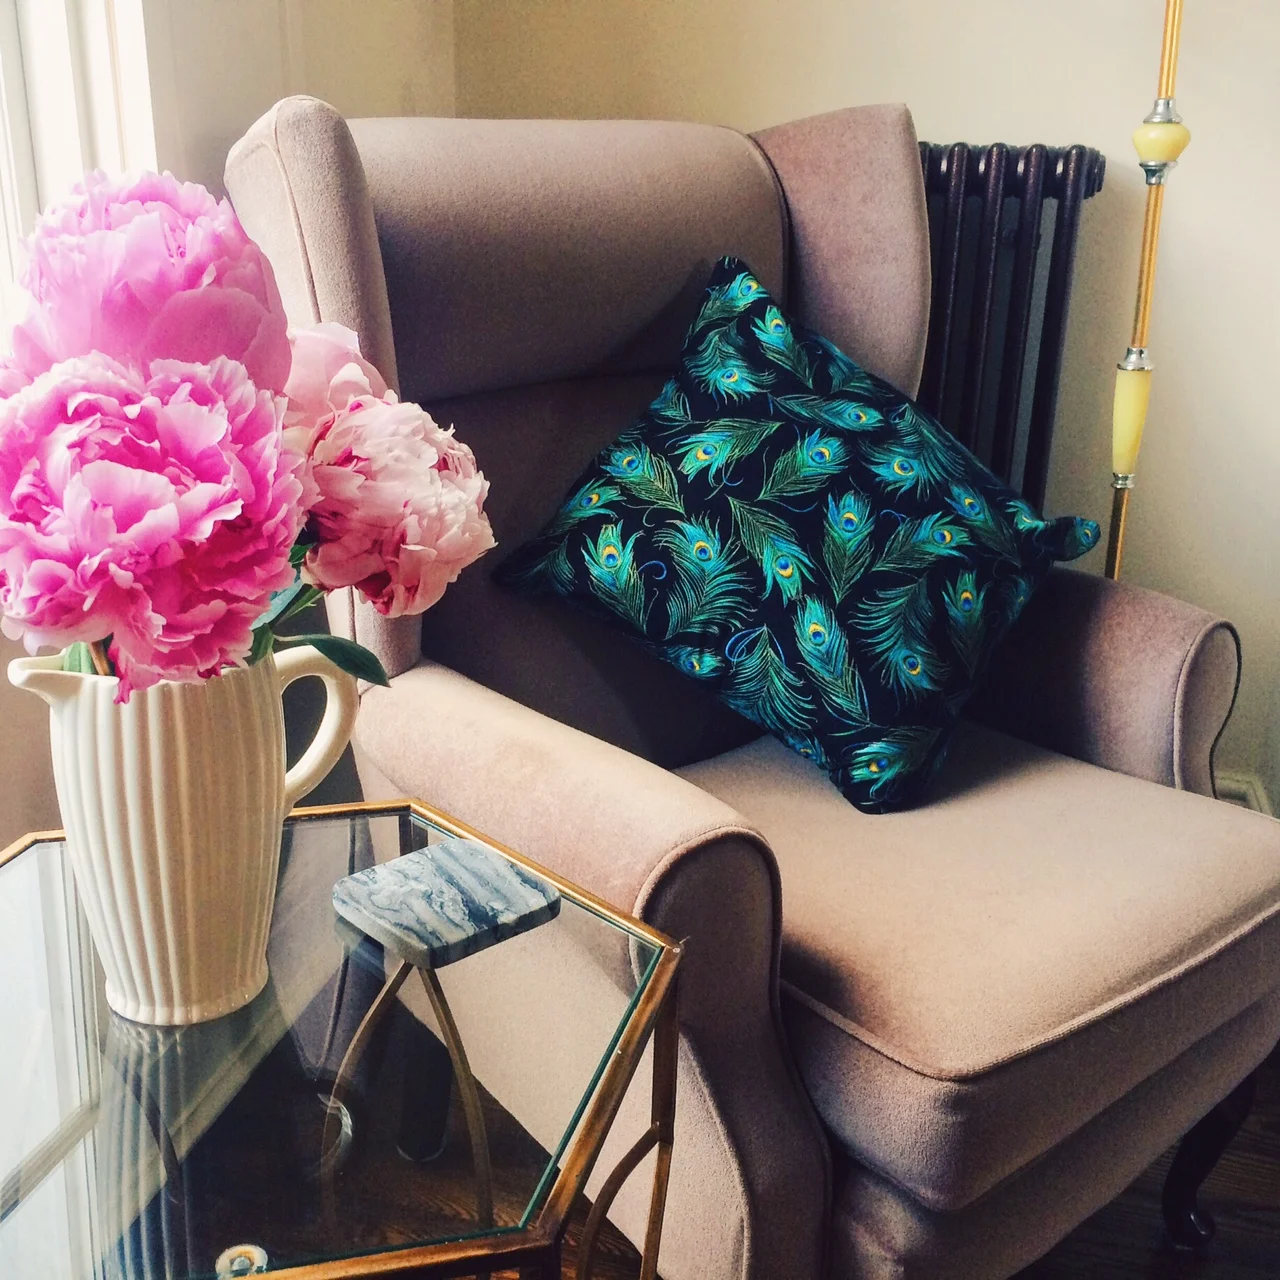
And here is my peacock cushion that i created on my reading chair at home!