DIY Large Brass Trim Circular Mirror

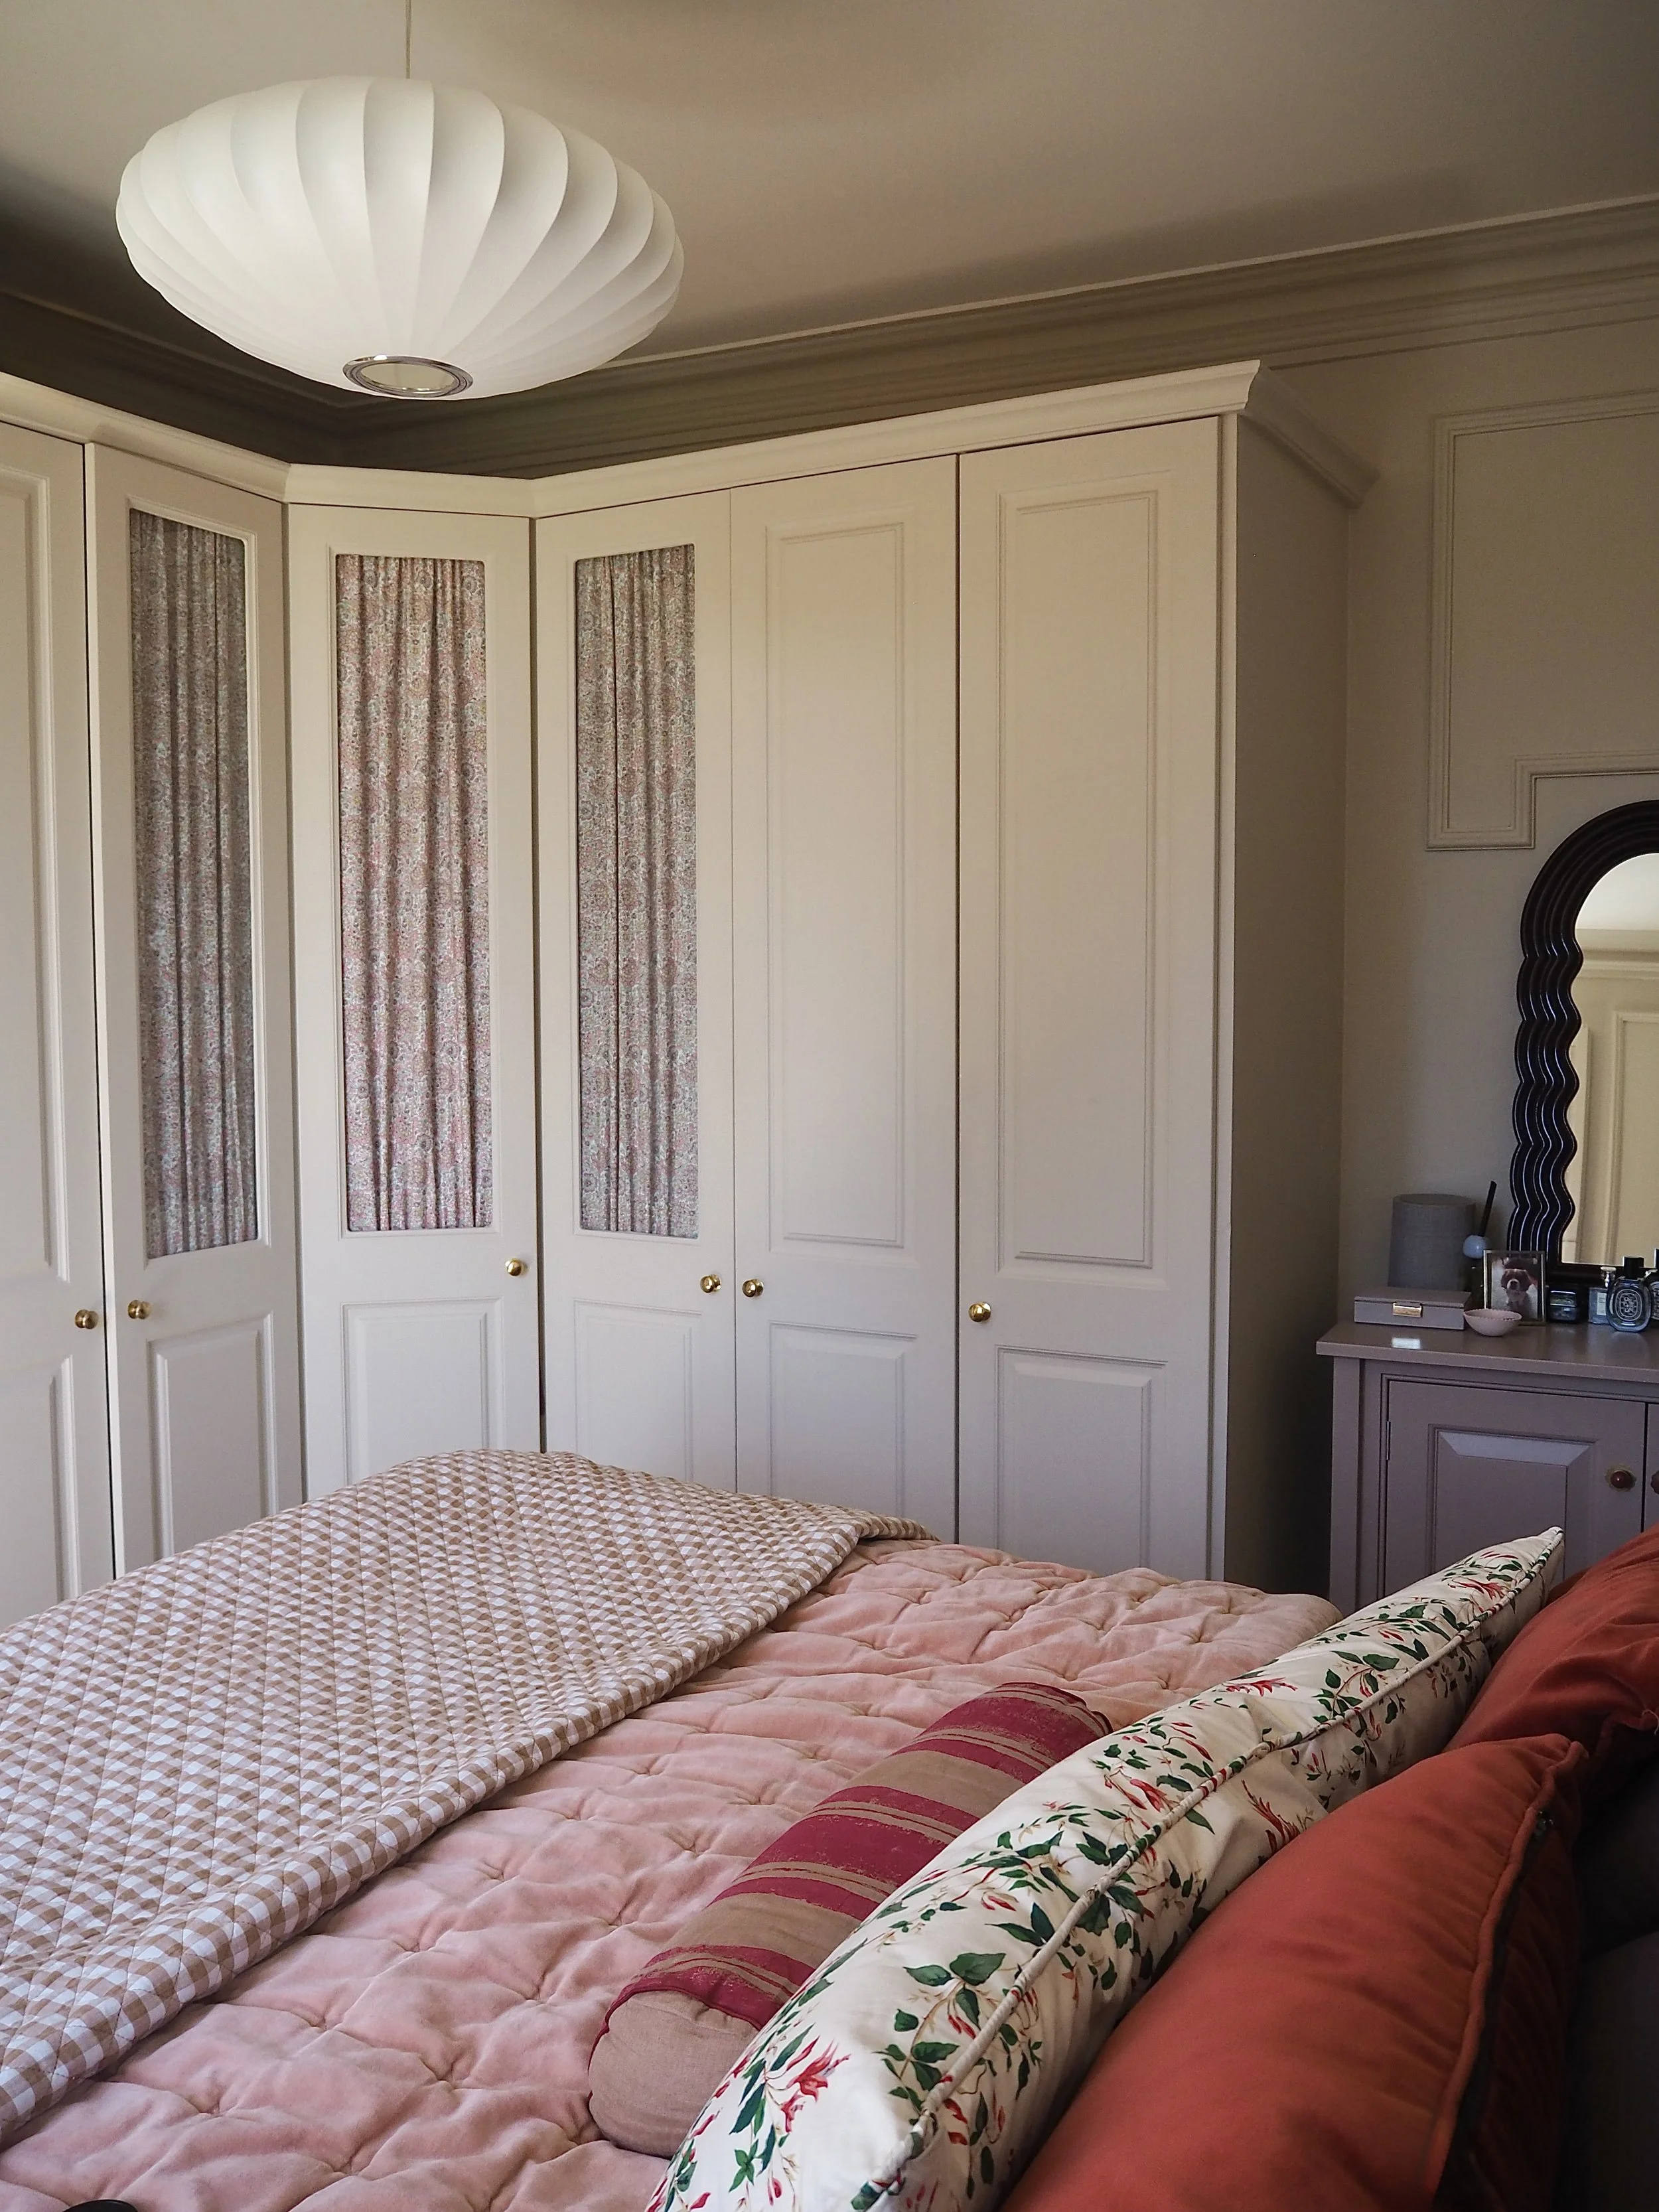
After the Revamp, Restyle, Reveal bedroom reveal, I've had loads of questions about where my new large brass-trim dressing table mirror is from. The answer is it's actually a DIY job and it cost me £9.37 in total! So, today on the blog I am going to tell you how I made it.

I really wanted a large round gold-edged mirror, but every time I looked for one the price was just too expensive. The 'Patsy' by Habitat was the obvious choice, but at nearly £200 it was out of my price range for this budget bedroom upgrade. So, I did what I always do when I want something but cannot afford it - I set about working out how I could make one similar.
First off, I had to source a really large round mirror. I found there were two avenues for this. The first was good old Ebay. Loads of people sell off mirrors that came as part of dressing tables, or just old mirrors they want to get rid of. The key is to type in 'large circular unframed mirror' in the search box. What you are looking for is a mirror that has no trim or frame. 60-80cm in diameter is perfect. Do a search for mirrors being sold nearest to your location as people mostly do 'collect in person' for large mirrors for obvious reasons. Keep an eye out when out and about as you may also find them sat for roadside trash pickup. I got this 75cm diameter, perfect condition mirror below from someone a 20 minute drive away from me for a fiver:

Alternatviely, go to your nearest large DIY store and locate a large unframed mirror. These basic unframed mirrors are sold just as single items. Some come with pre-drilled screw holes and some come with back fittings, so decide what you would prefer before purchasing. Prices seem to range from £10-£25 for a 60cm diatmeter mirror.
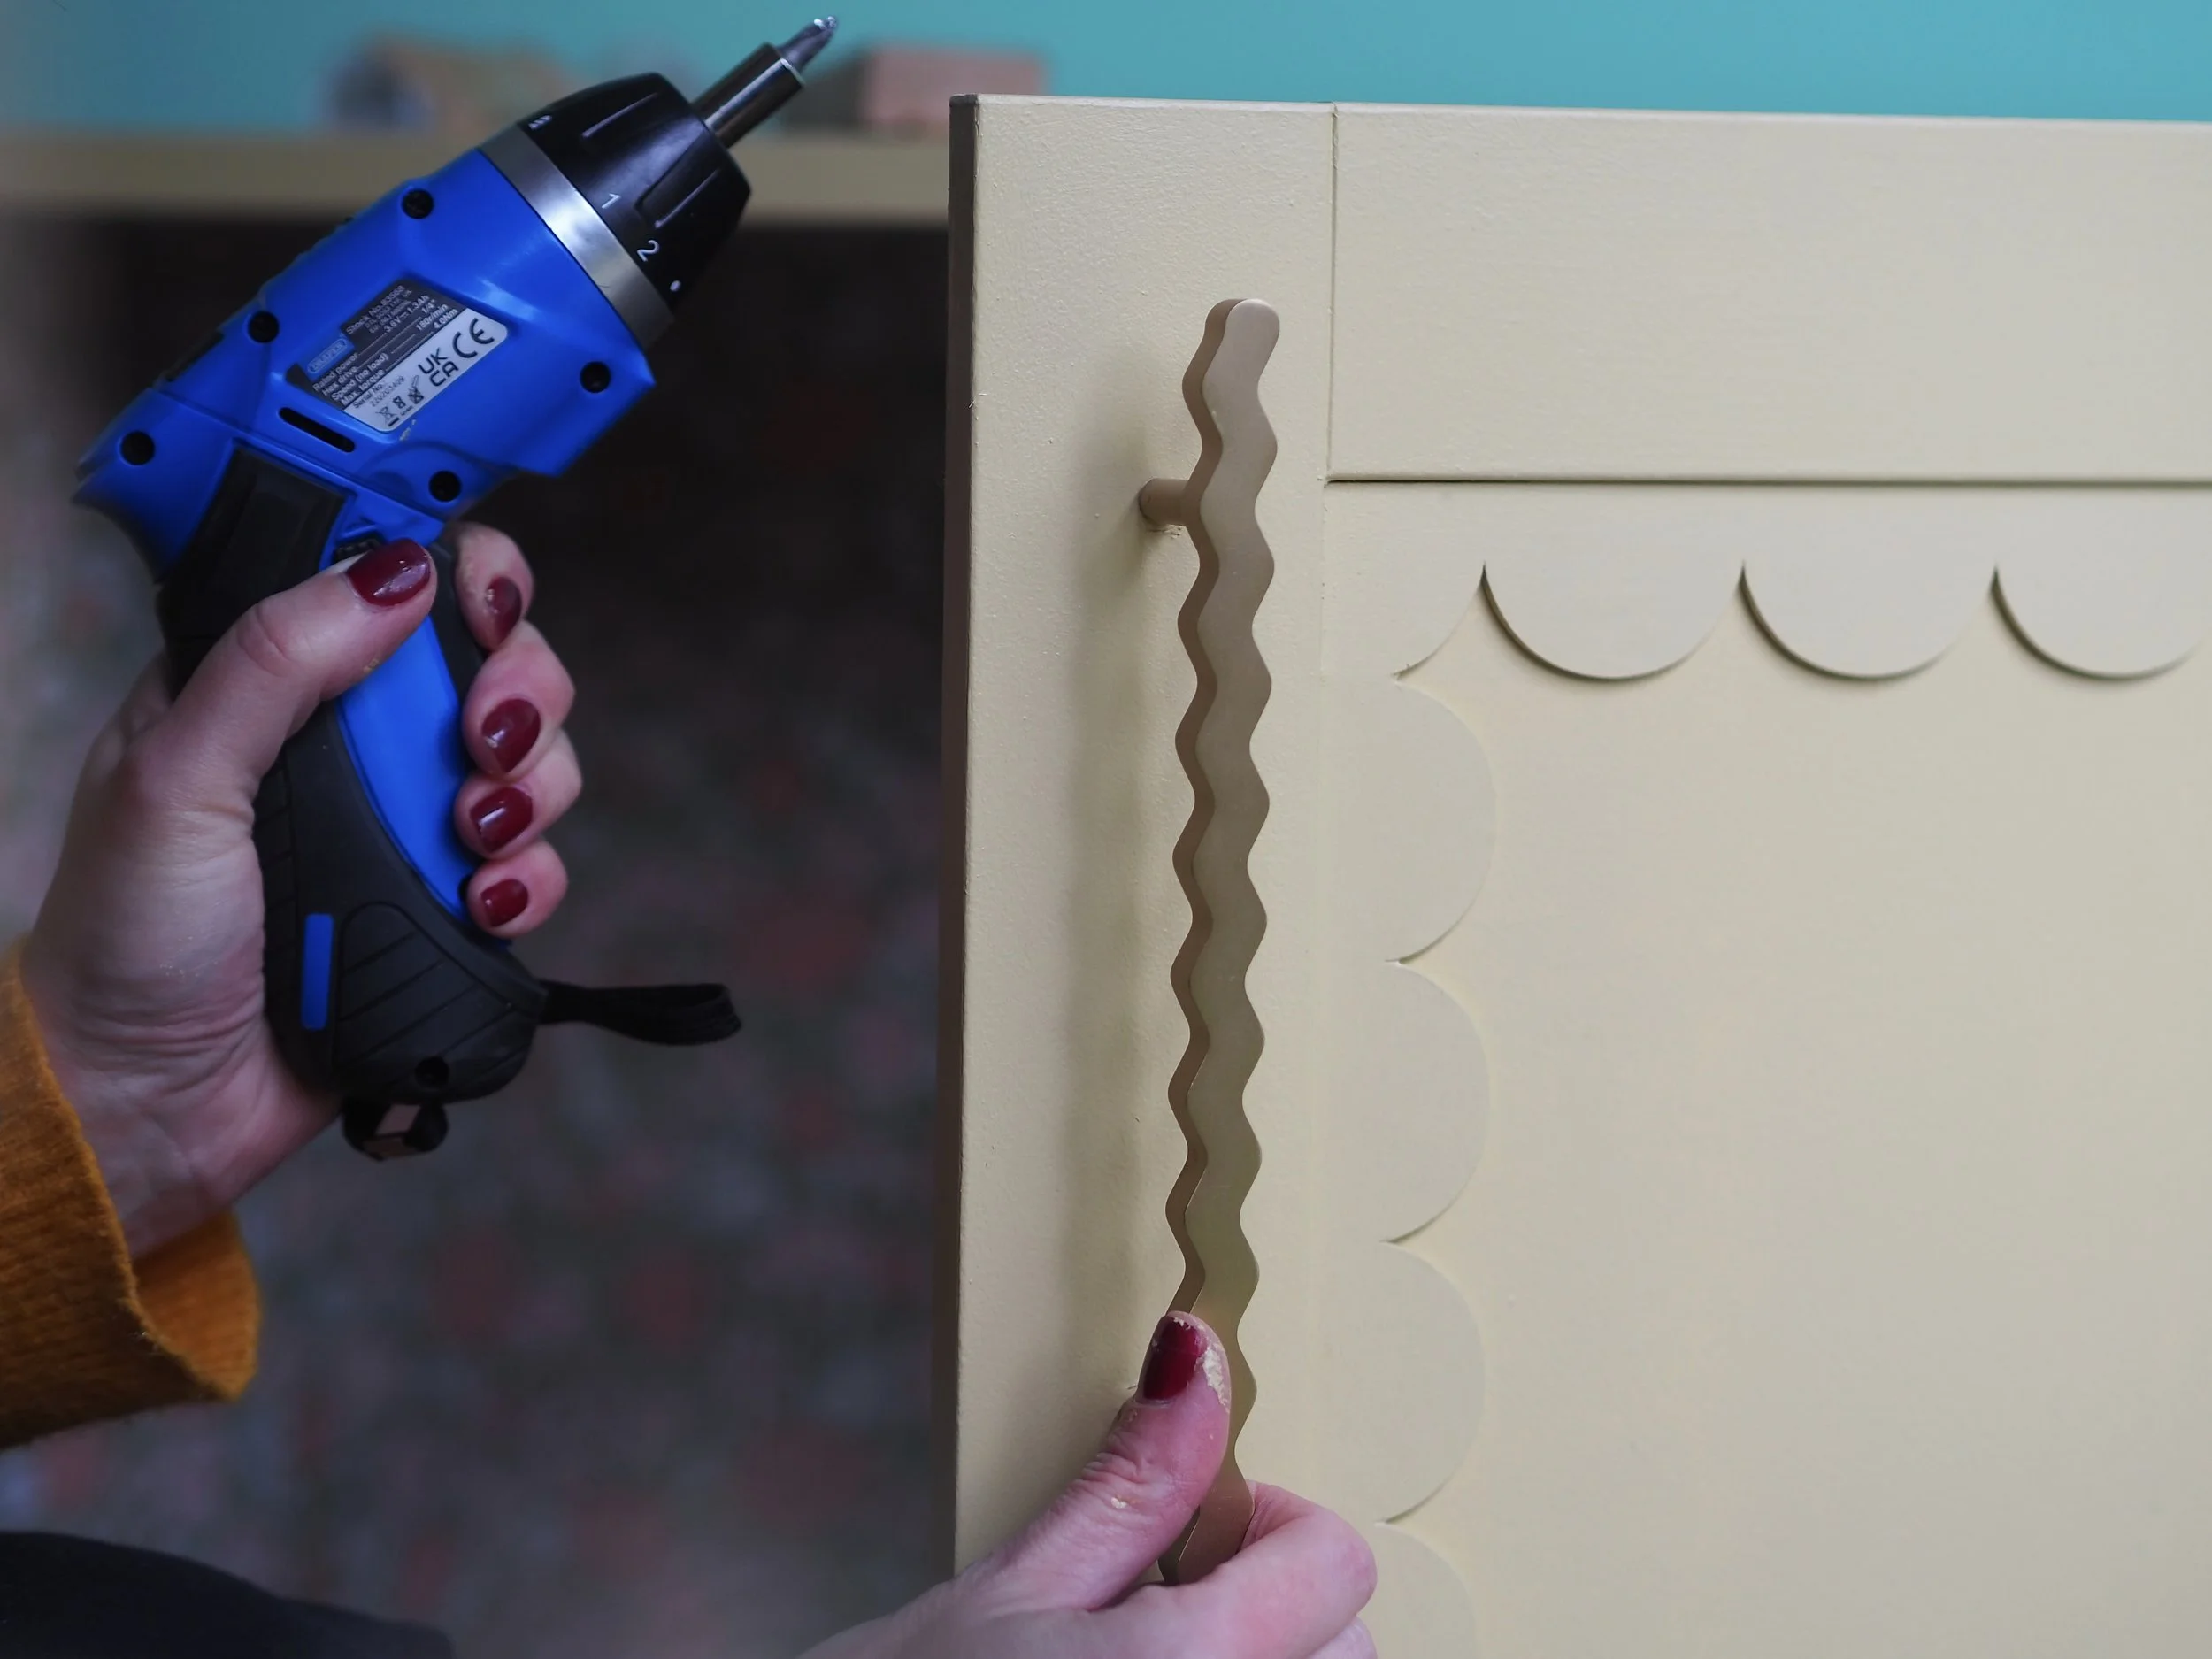
So, what about the brass trim? Well, being from Essex, I am pretty clued up in the knowledge of what boy racers do to 'bling' up their car. This plastic brass trim that I am holding below is actually a car interior decorative gold strip. The black bit you push in the crevice of your dashboard and around the gear stick to give it a golden edge! I bought 5 metres of this stuff for £4.37 off Ebay.

Rather that sticking it in my car, I used a good quality, clear, very high-impact superglue and glued the black part around the side edge of my bargain mirror.

I don't have any photos of this part as it was quite tricky and very hands on! I put a little bit of glue on the black strip one piece at a time, pressed it on the side of the mirror and held it for about 5 minutes until it bonded well. I then carried on all the way round the mirror. Once the decorative strip met with the other end I snipped away the excess and then left the glue to bond properly over the next few hours.
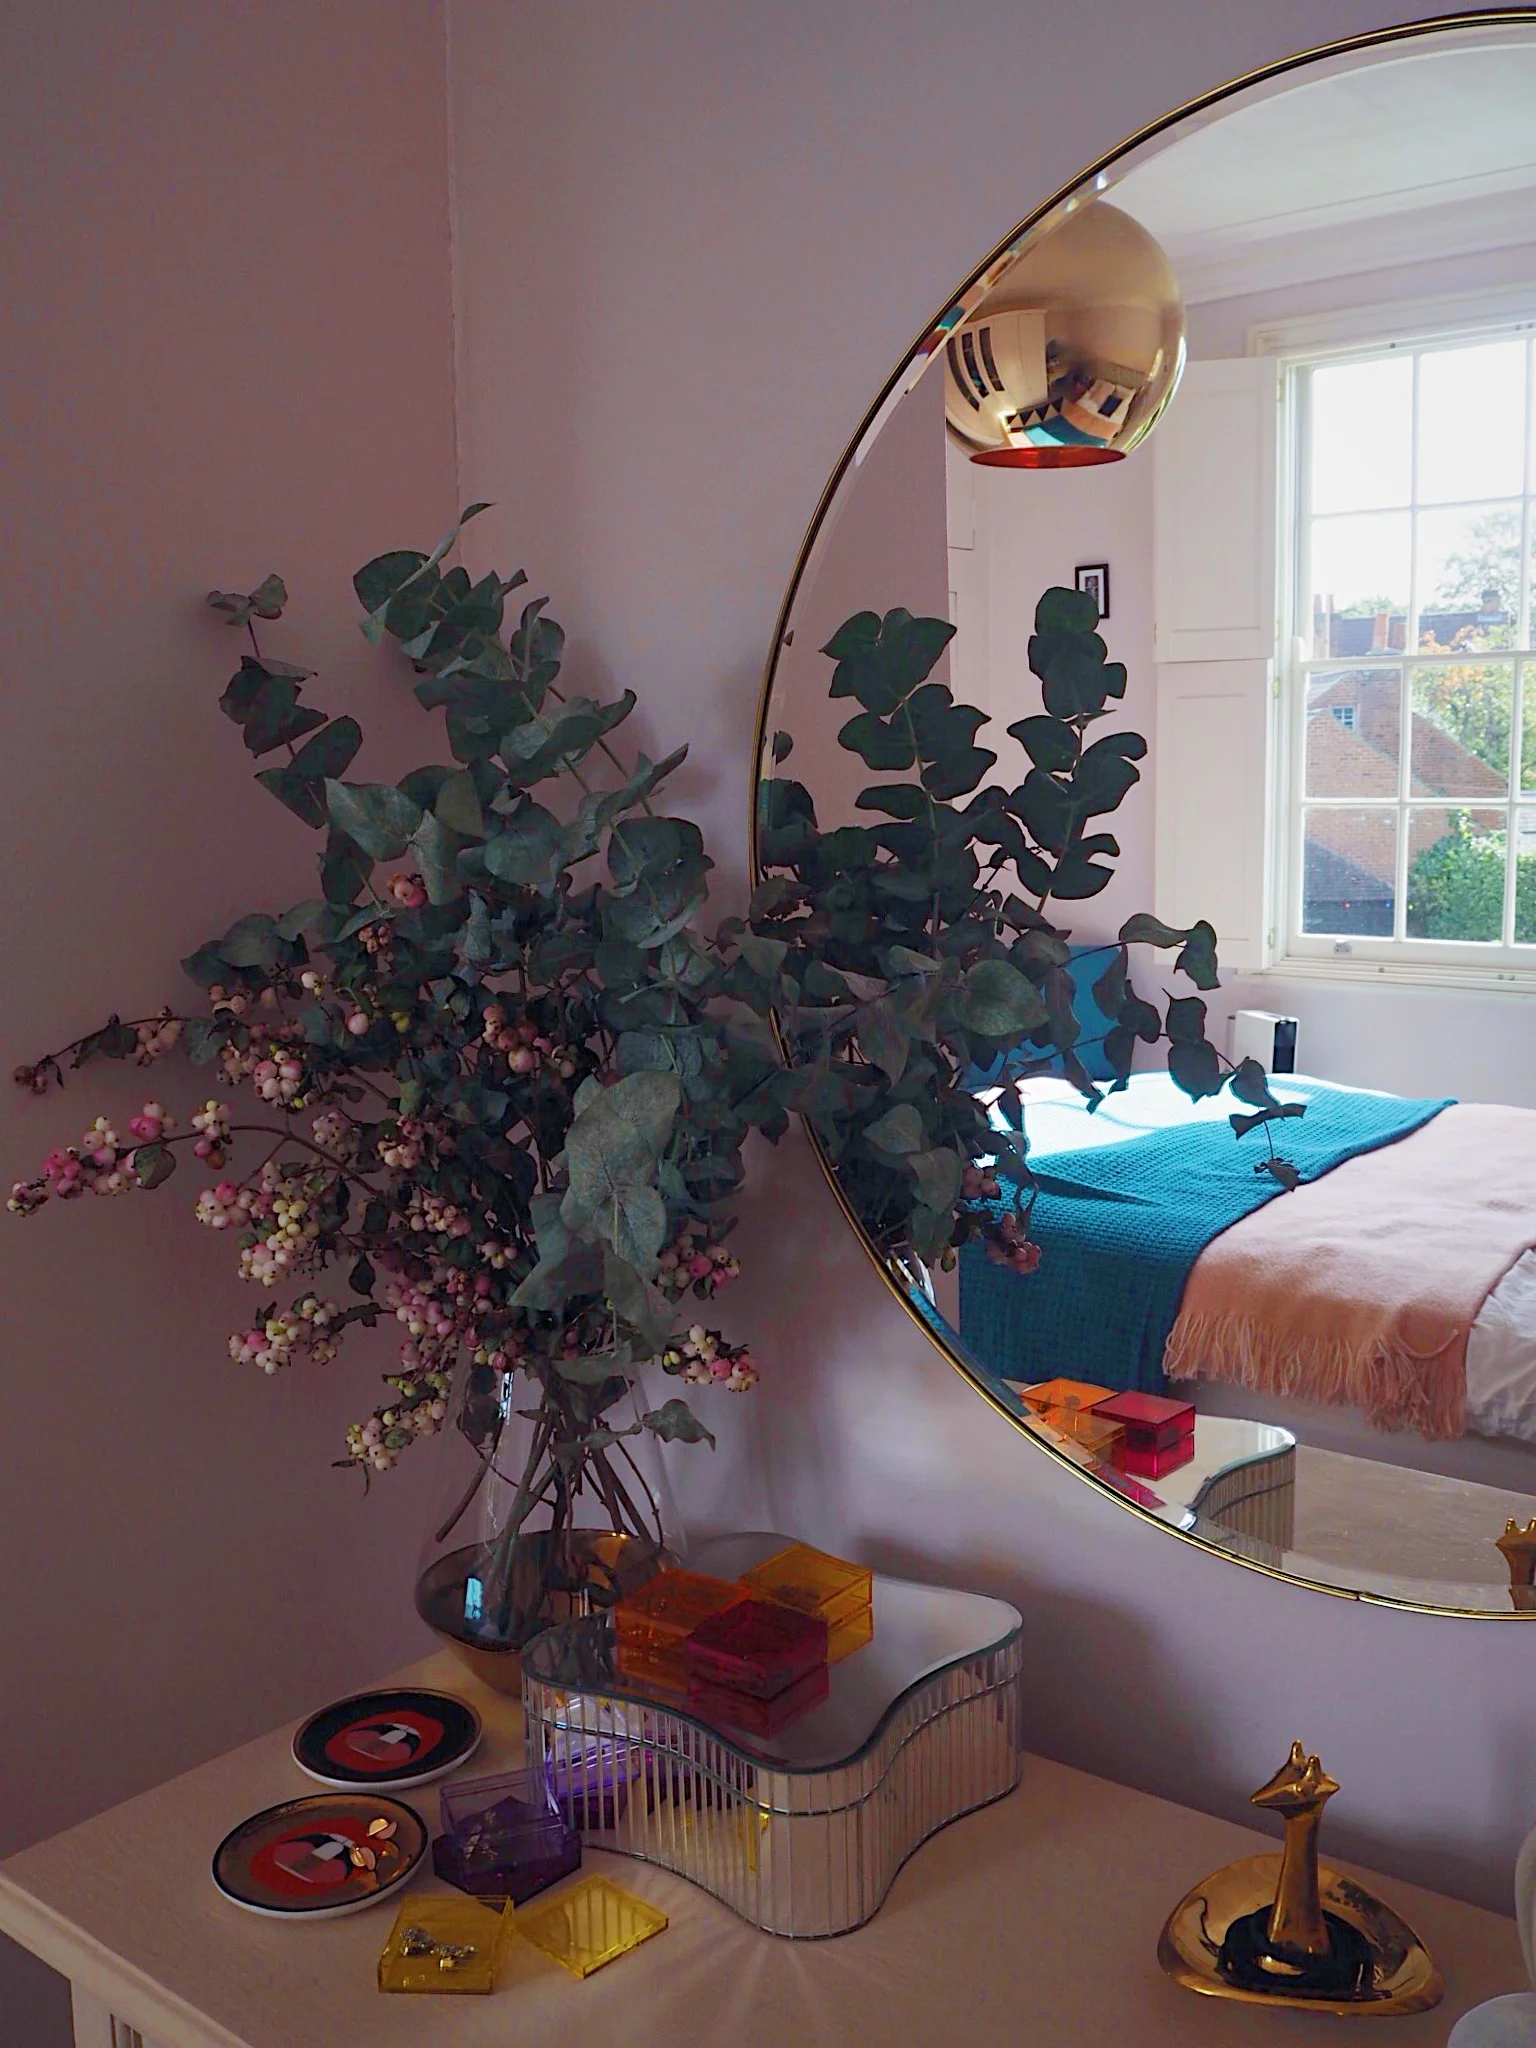
I then stuck my mirror on the wall with a mega bond adhesive (so basically it is never coming off) and I love it! It's not going to look as great as the £200 mirror but for under a tenner, I'm not complaining.