
How to Paint MDF Furniture: A Step-by-Step Guide for a Professional Finish
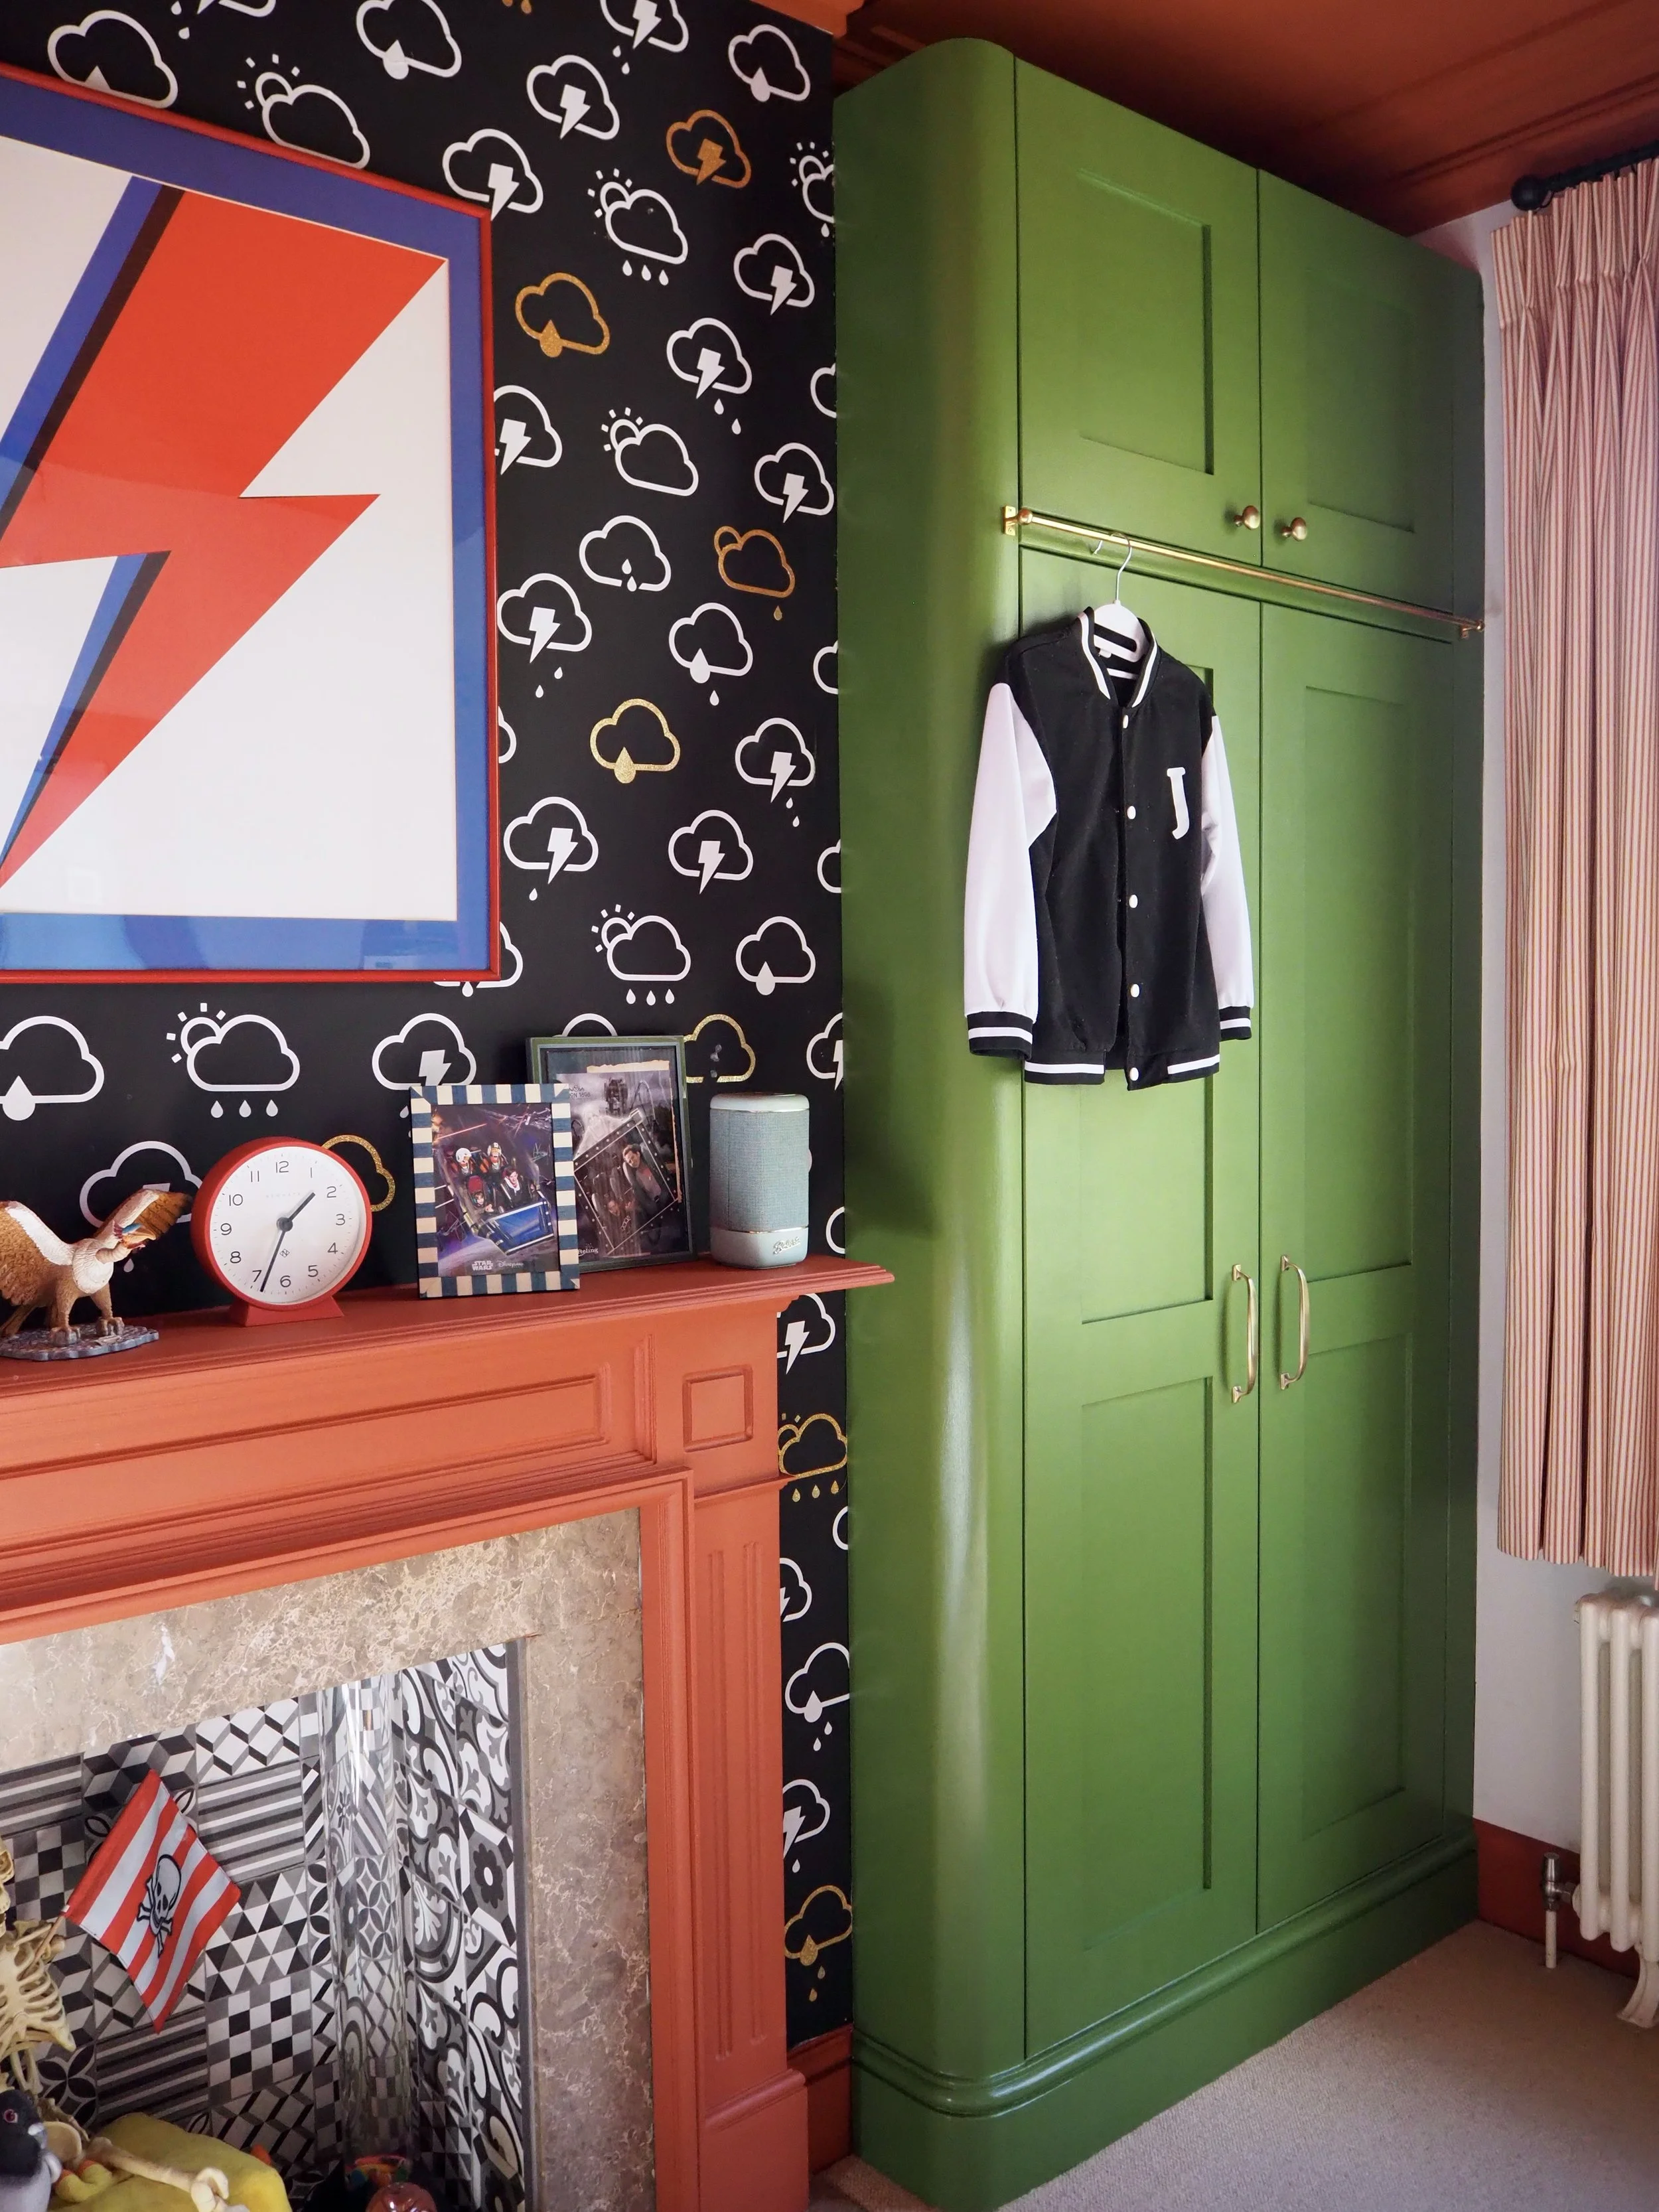
I’ve recently had a built-in MDF wardrobe installed in my son’s bedroom, built by a local carpenter. To save money, I opted to paint the unit myself. However, painting MDF isn’t as simple as painting most other surfaces, as any cut or routed edges expose the fibre layers that make up the construction of the MDF (medium-density fibreboard).
MDF is a more affordable option than natural wood as it is manufactured from both hard and soft wood fibres (including sawdust and wood chips) that are compacted and bonded together with a gluing agent. This results in the MDF board edges being quite porous, as the fibres absorb a significant amount of paint and swell to create rough and unsightly edges.
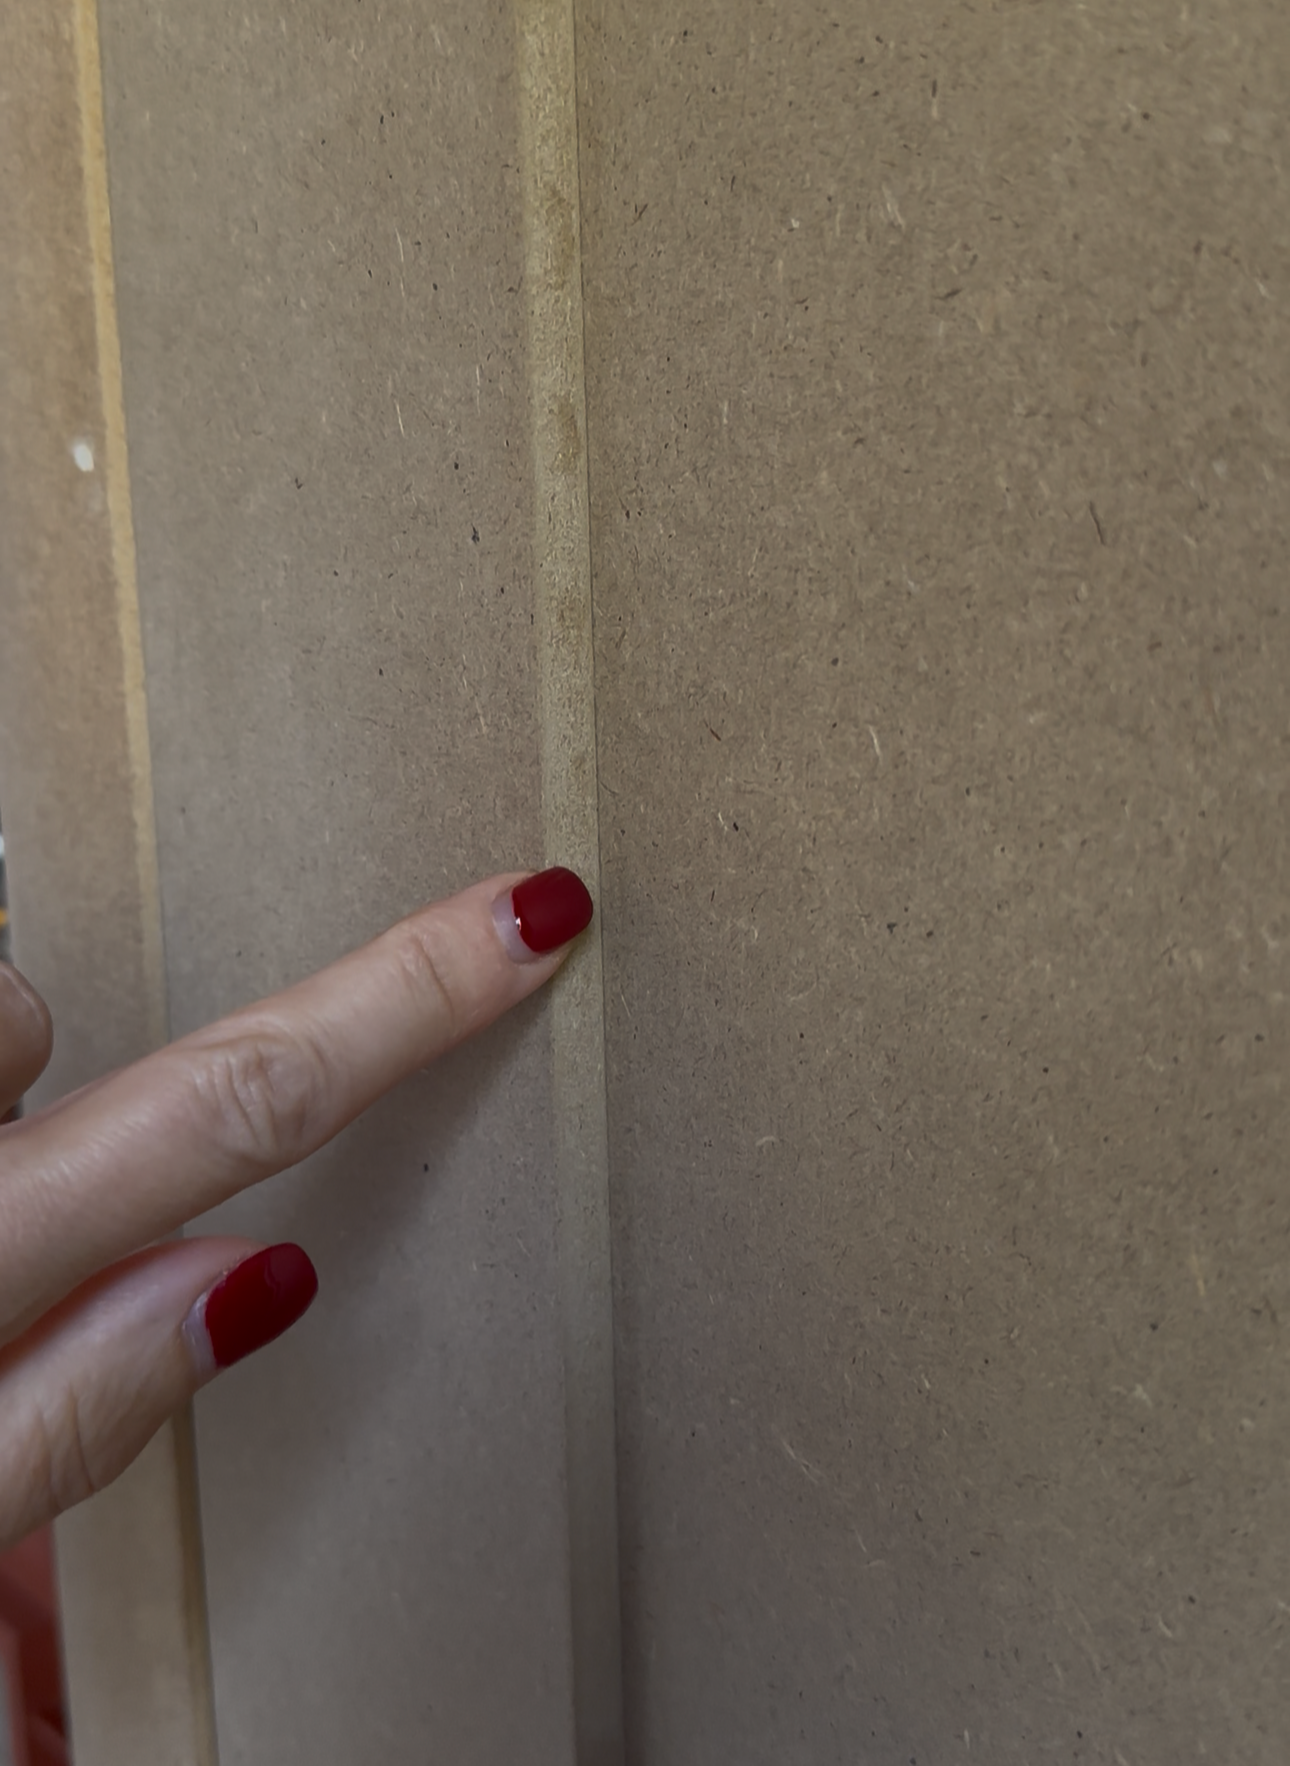
The porous edges of cut MDF.
If you’ve recently had some MDF bookshelves or alcove cabinetry installed that you need to paint, the good news is that there are only a few extra preparation steps that you need to follow to get the best possible finish on your new MDF furniture.
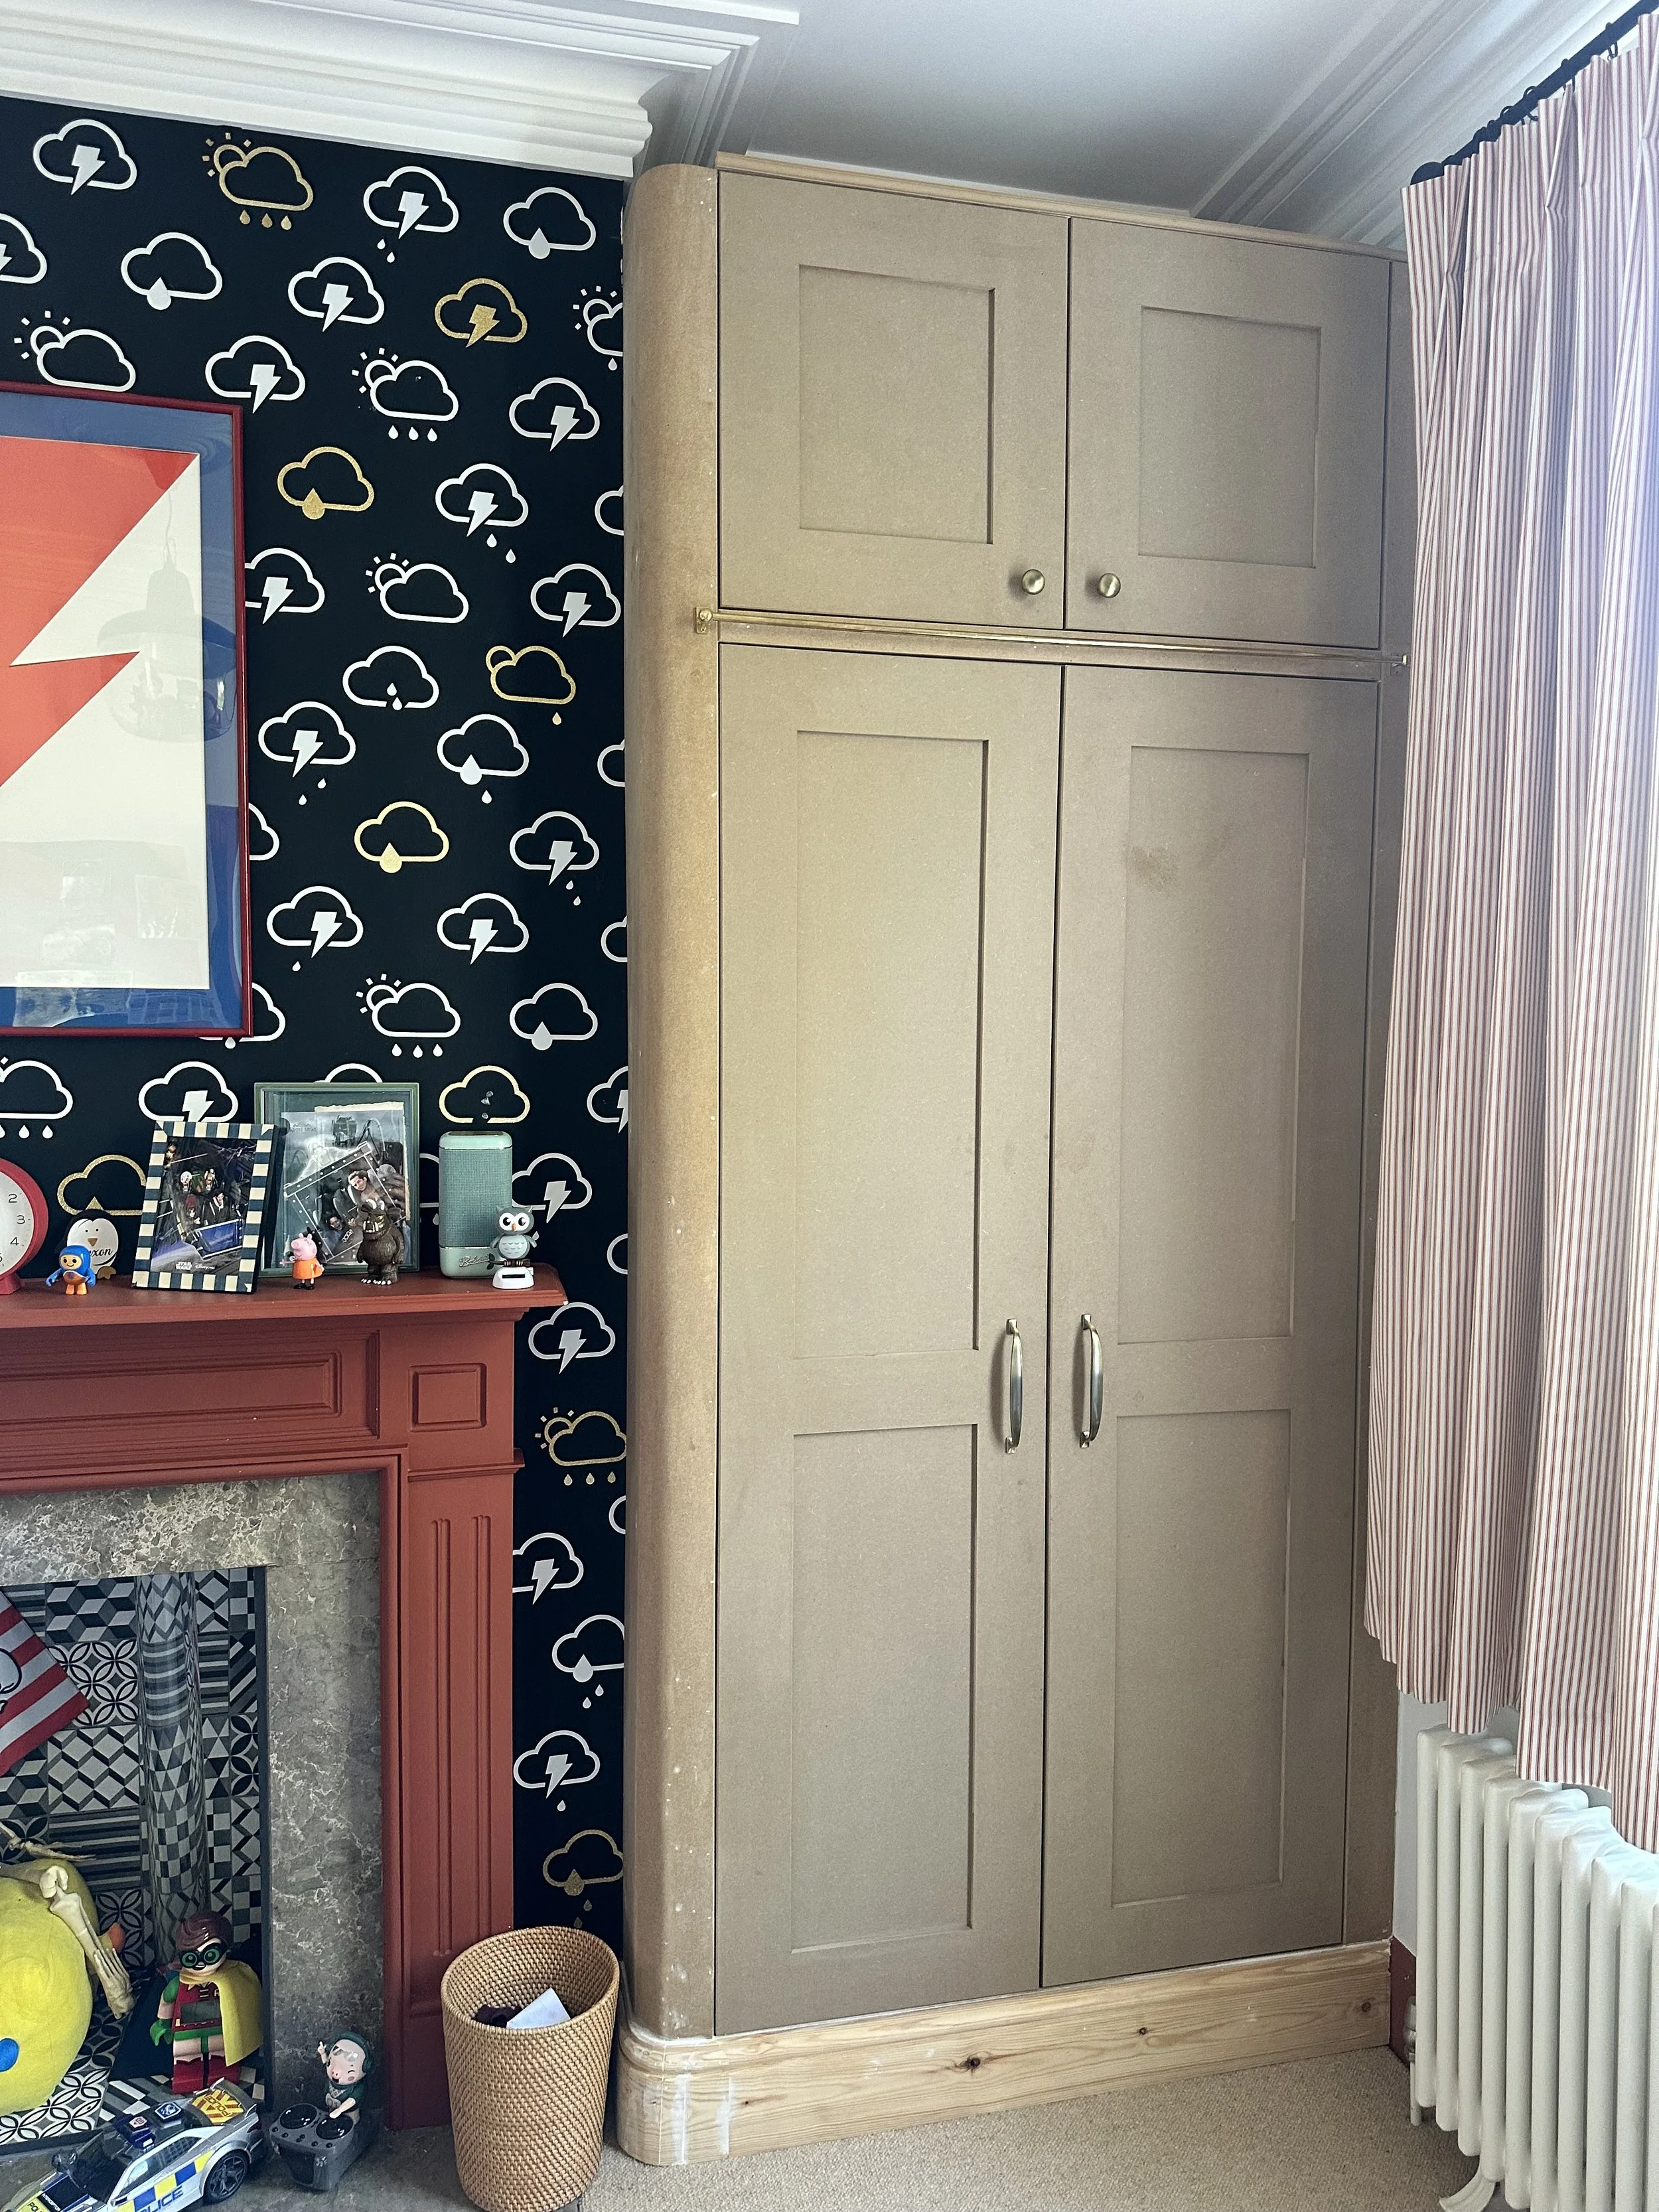
Here is what I did to my son’s wardrobe for a perfect paint finish on MDF, listed step-by-step:
Cleaned the whole unit with a damp microfibre cloth
Even if your carpenter cleaned up after themselves, woodwork is a messy business and chances are that there is still a fine layer of sawdust over your built-in. This dust will present itself in your paintwork if you don’t wash down your unit properly.
Using a damp microbe cloth, go over your unit a couple of times, making sure that any debris is wiped away and pay extra attention to any corners. Ensure the MDF is completely dry before moving on to priming.
Check and fill any holes
Go over your unit and make sure that there are no dents in the surface or unfilled screw or nail holes that have been missed, as any dips will be highlighted once you get your colour on. Use a ready-mixed wood filler or an all-surface filler and a filling knife to apply a thin layer over your indent, then wait for the filler to dry. Once hard to the touch, use a fine-grade sandpaper (120 -150 grit) to smooth down your filler for a perfectly flat surface.
Buy the right woodwork rollers for the job
Painting any wood, including MDF, means that you’ll need to use some low-pile woodwork rollers to enable you apply the right amount of paint and spread it thinly, creating no air bubbles or built-up paint layers. I’ve been using Harris woodwork rollers for years and these are my go-to.
If possible, it’s also a great option to spray paint MDF for a super smooth finish. I took my wardrobe doors outside and sprayed them with my Wagner paint sprayer, but I would not advise using a paint sprayer indoors if your furniture is built-in due to the paint particles that will travel in the air.
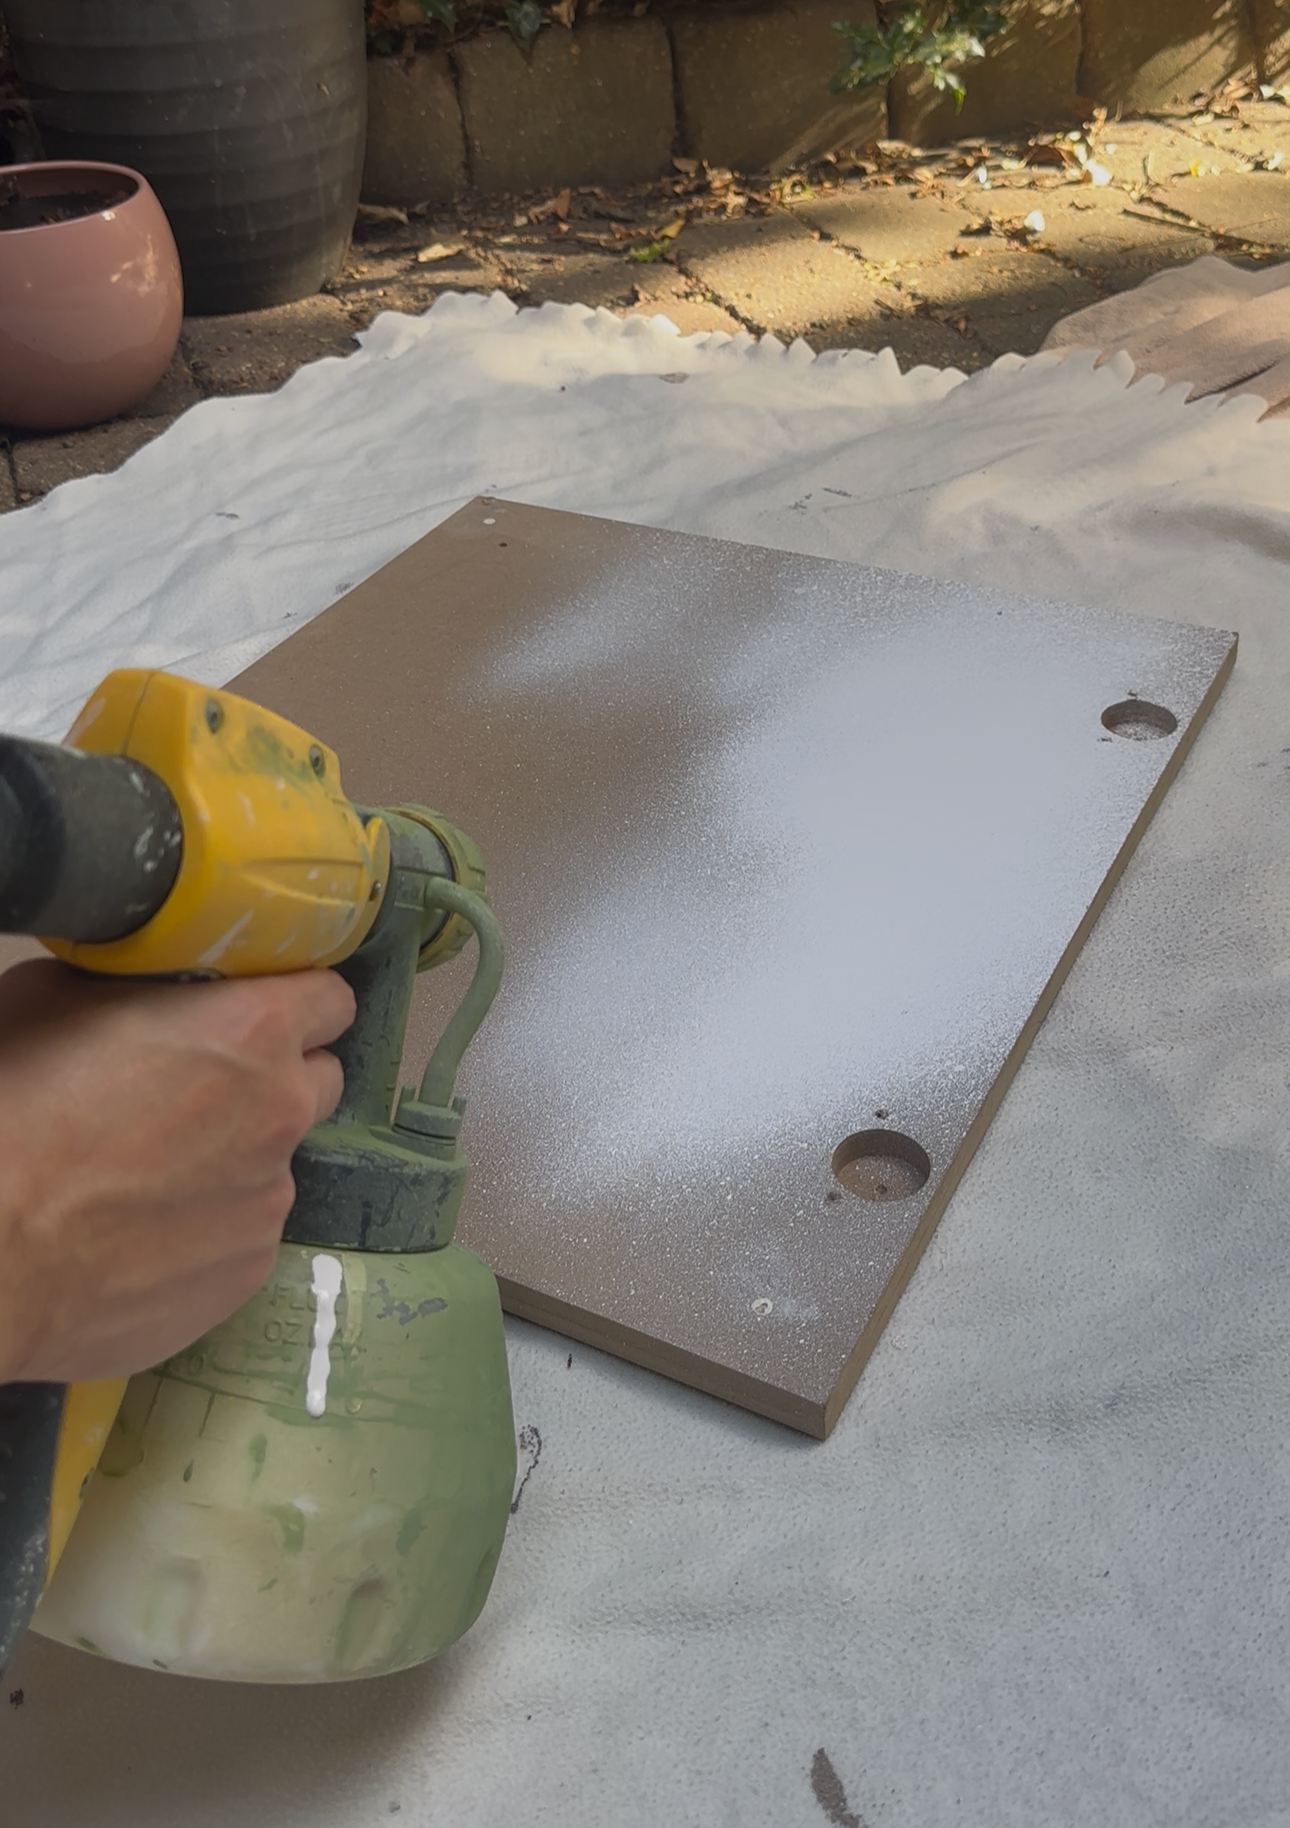
I used a paint sprayer on the doors.
Apply a MDF sealer to any exposed edges or use a MDF-sealing Primer
Before painting, the exposed MDF edges will need to be sealed so that your paint isn’t completely absorbed by the fibres and it adheres to the MDF edges. You can use a simple MDF sealing agent for this, but I prefer to save time by using a primer that is suitable for sealing MDF, as well as preparing the unit for painting without extra surface-level sanding.
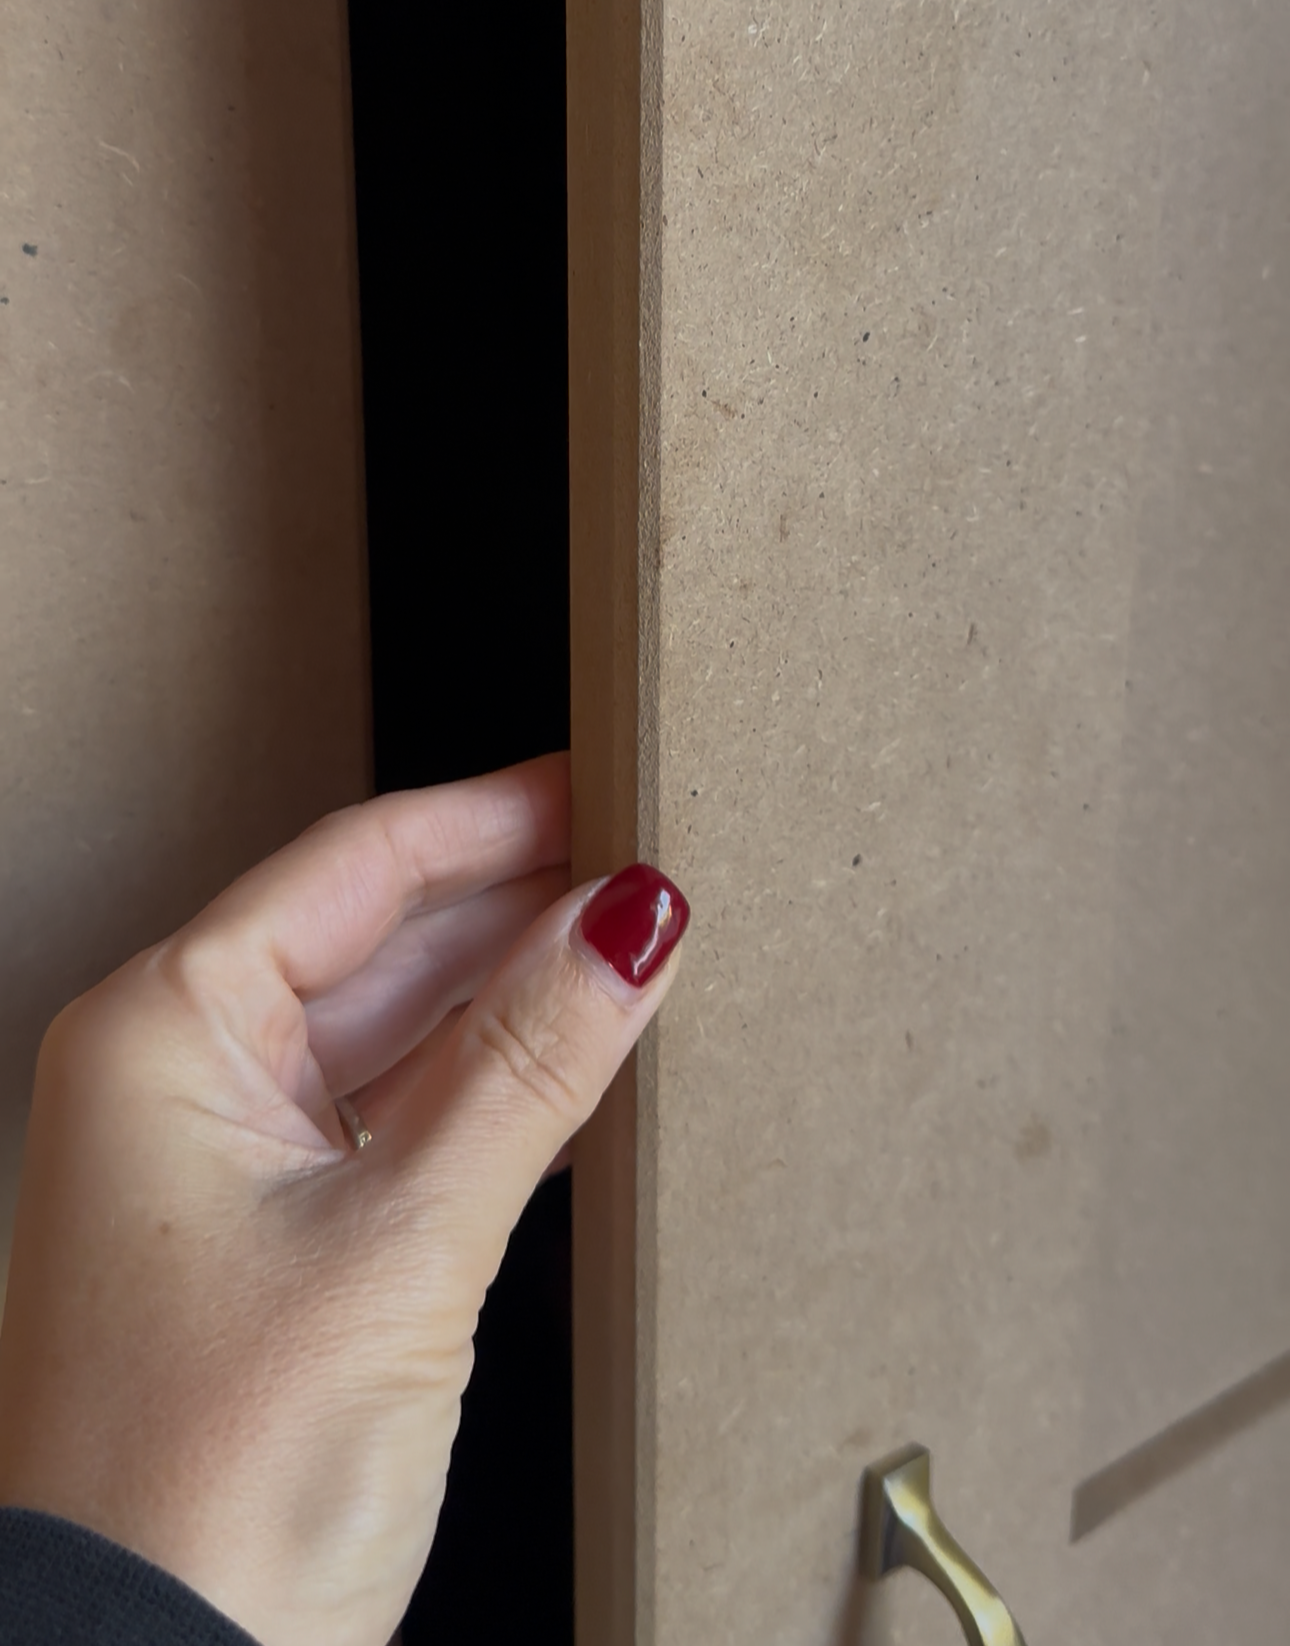
Routed MDF edges that will absorb paint if not sanded back between primer coats.
Zinsser’s BIN AQUA is a water-based primer that seals MDF edges, as well as adhering paint to MDF without an initial key to the flat surface. It is also a stain blocker and surface primer, so it’s a great ‘all-in-one’ if you are painting MDF furniture.
Sand back edges well with a sanding block
When you first apply your primer to cut edges of MDF, the fibres will absorb the primer / sealer and your surface will raise up and become quite jagged. Therefore, it’s really important to sand back your MDF edges after every coat of sealer or primer, and between your top coats of colour. A sanding block is great as you can get a good grip on it, and I would advise a grit of 240 for this job.
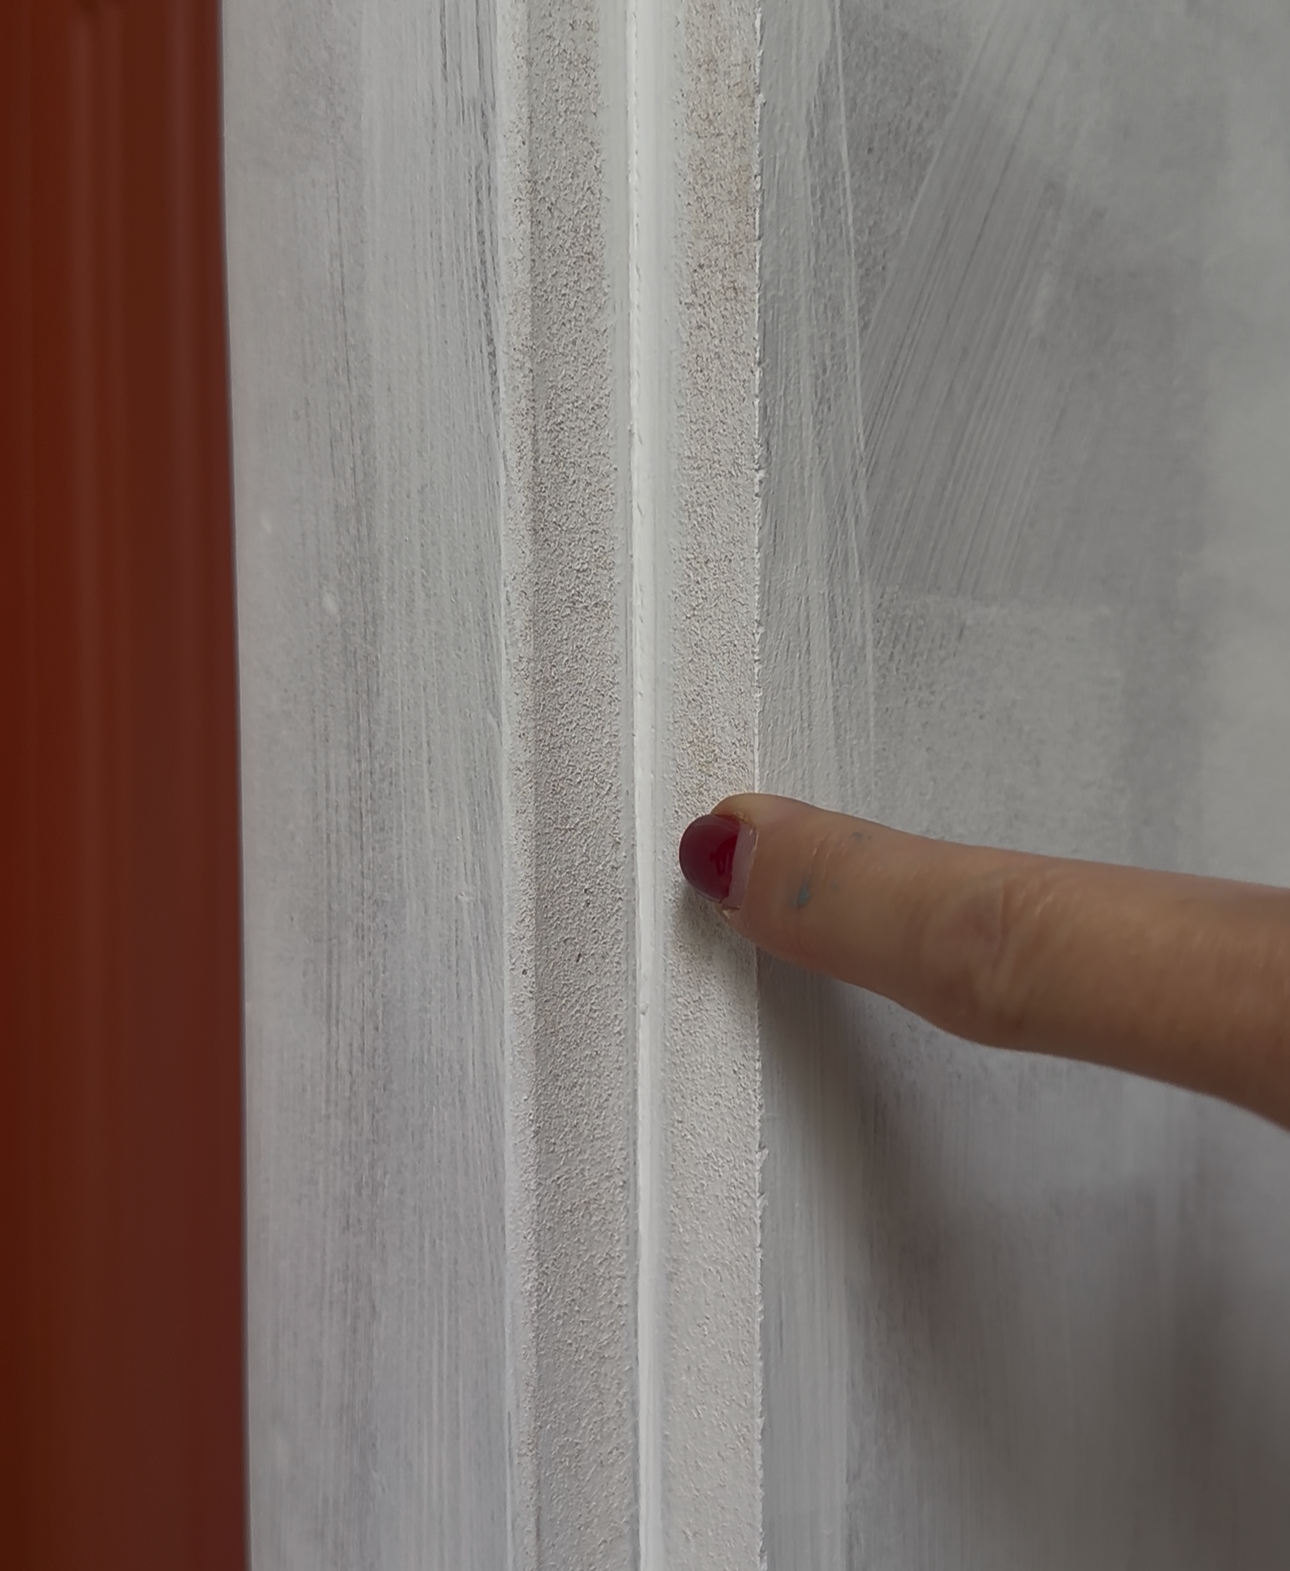
You can see how the fibres have absorbed the primer and have swollen for a rough edge.
Use your sanding block in an up and down manoeuvre to smooth down the raised fibres, then clean between each sand with a clean and damp microfibres cloth. Once your sealing primer has had two coats, you may not need to sand any further, but keep an eye between your two top coats of paint just in case.
For a piece of furniture, you’ll want to use a hardwearing paint to stand the opening and closing of the doors or placing items on any shelving.
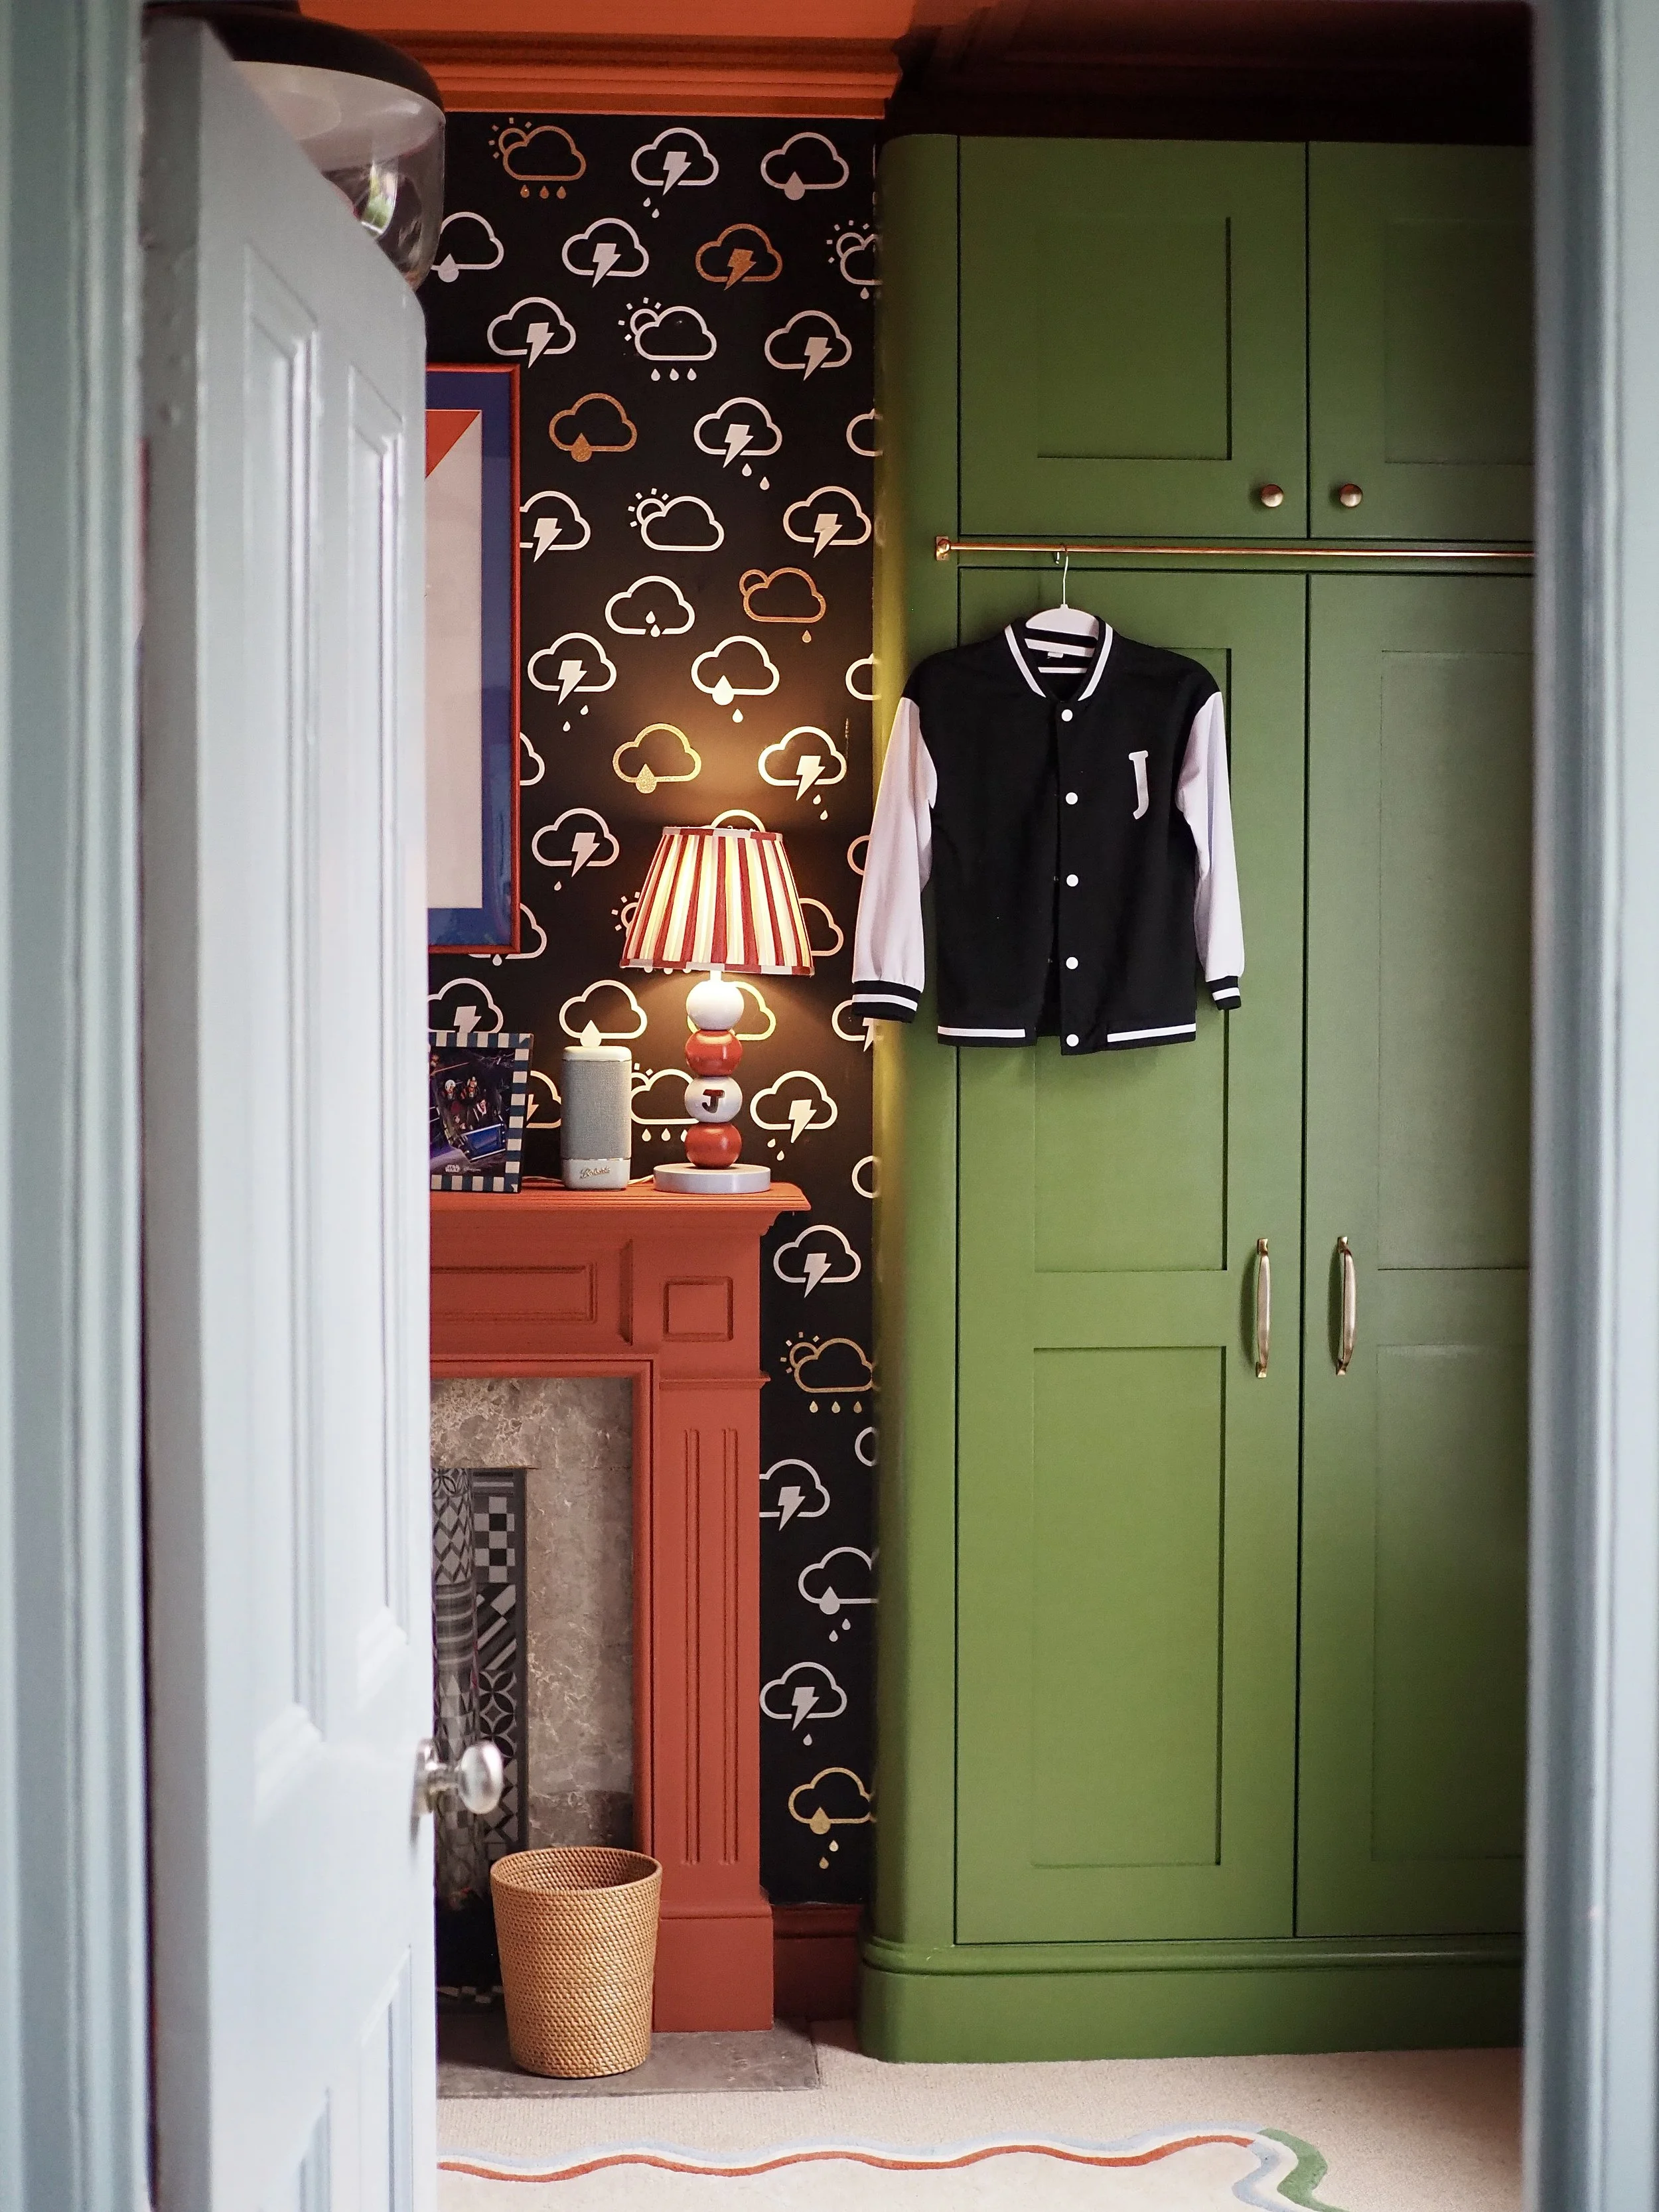
For my son’s wardrobe, I used Little Greene’s satinwood paint (in the colour Hopper), as I wanted a nice sheen to highlight the curved detailing at the side. Satinwood is incredibly durable and perfect for furniture and units, however, if you are not a fan of a more glossy look, eggshell paint is almost as durable, but I would advise using a high-quality make (such as Little Greene or Paint & Paint Library), so that you do not need an extra top coat of protective varnish.
Apply at least two coats of paint to your MDF furniture using the low-pile woodwork rollers and a high-quality paintbrush that will avoid leaving paint strokes or discarded bristles in your paintwork.
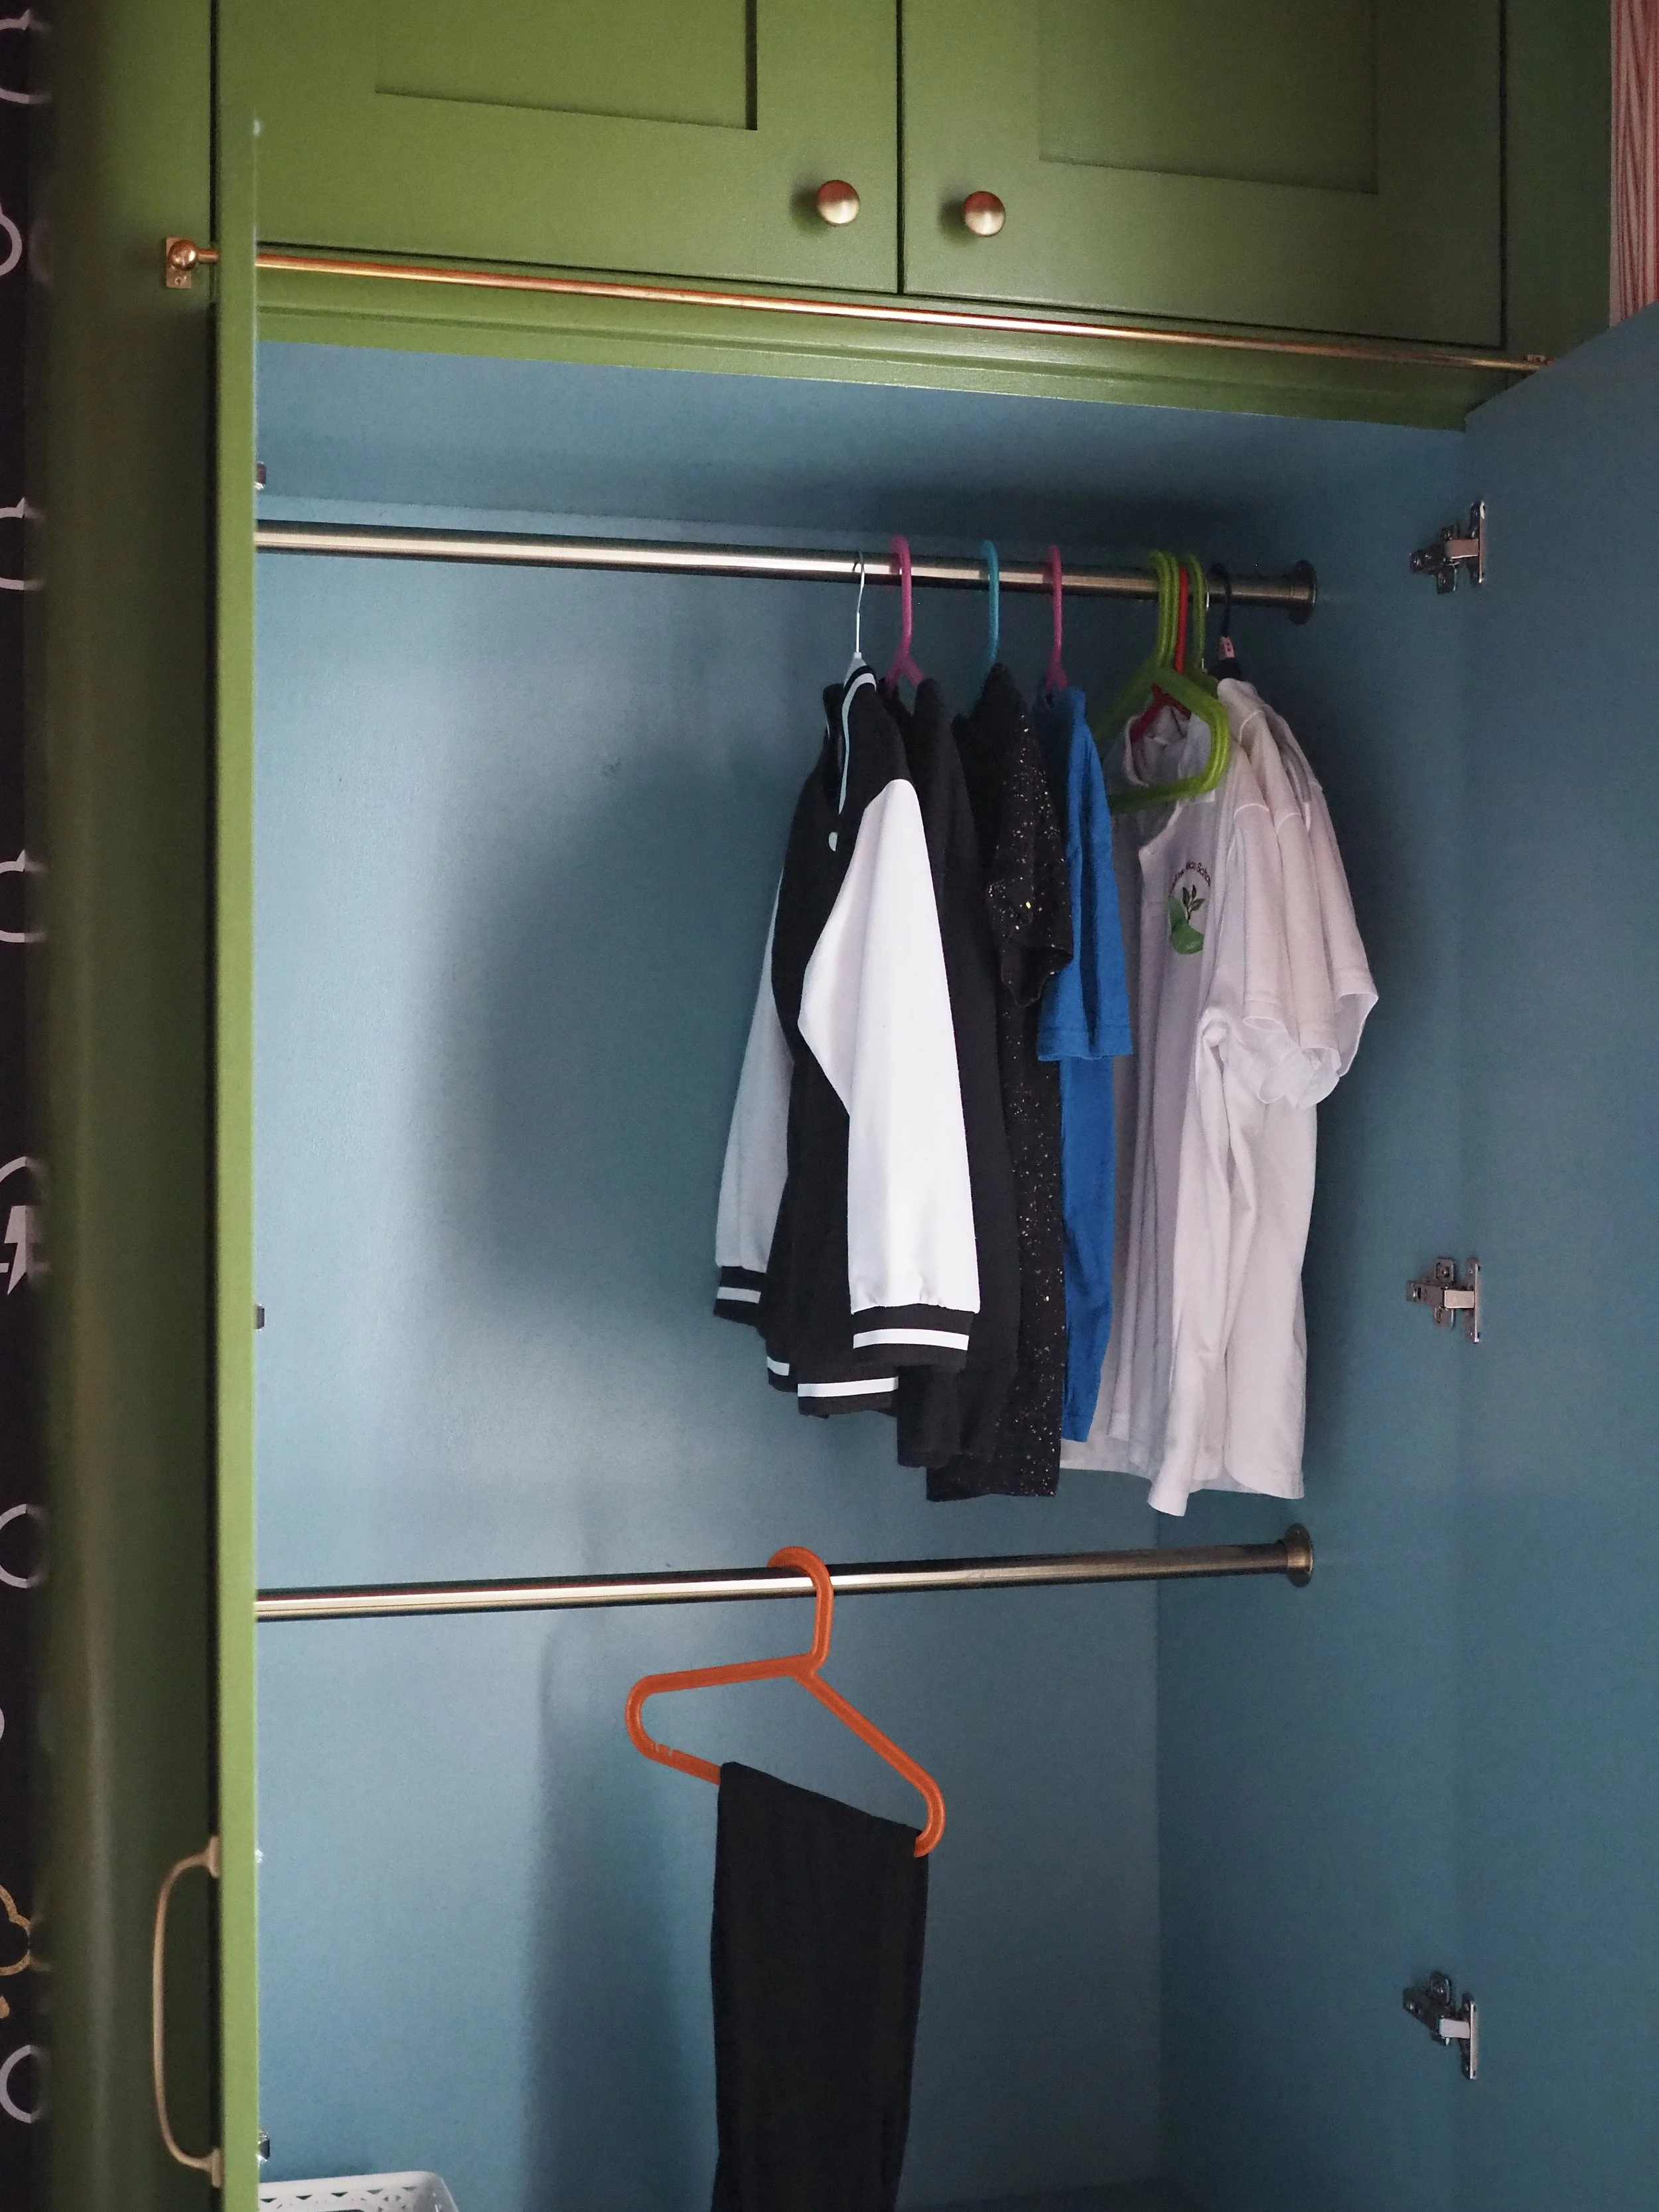
Once your furniture is touch dry, it is important to leave it at least three days to a week to cure for water-based paint (this is especially important for shelving or bookcases where you will be placing heavy items). If you don’t leave your paint to fully cure (harden fully), you’ll find that your heavy items will stick to the new paintwork and potentially damage it.
In conclusion, painting MDF is quite simple, but you just need to pay extra attention to cleaning, sanding between coats of primer or sealer, and using the right tools for the job!
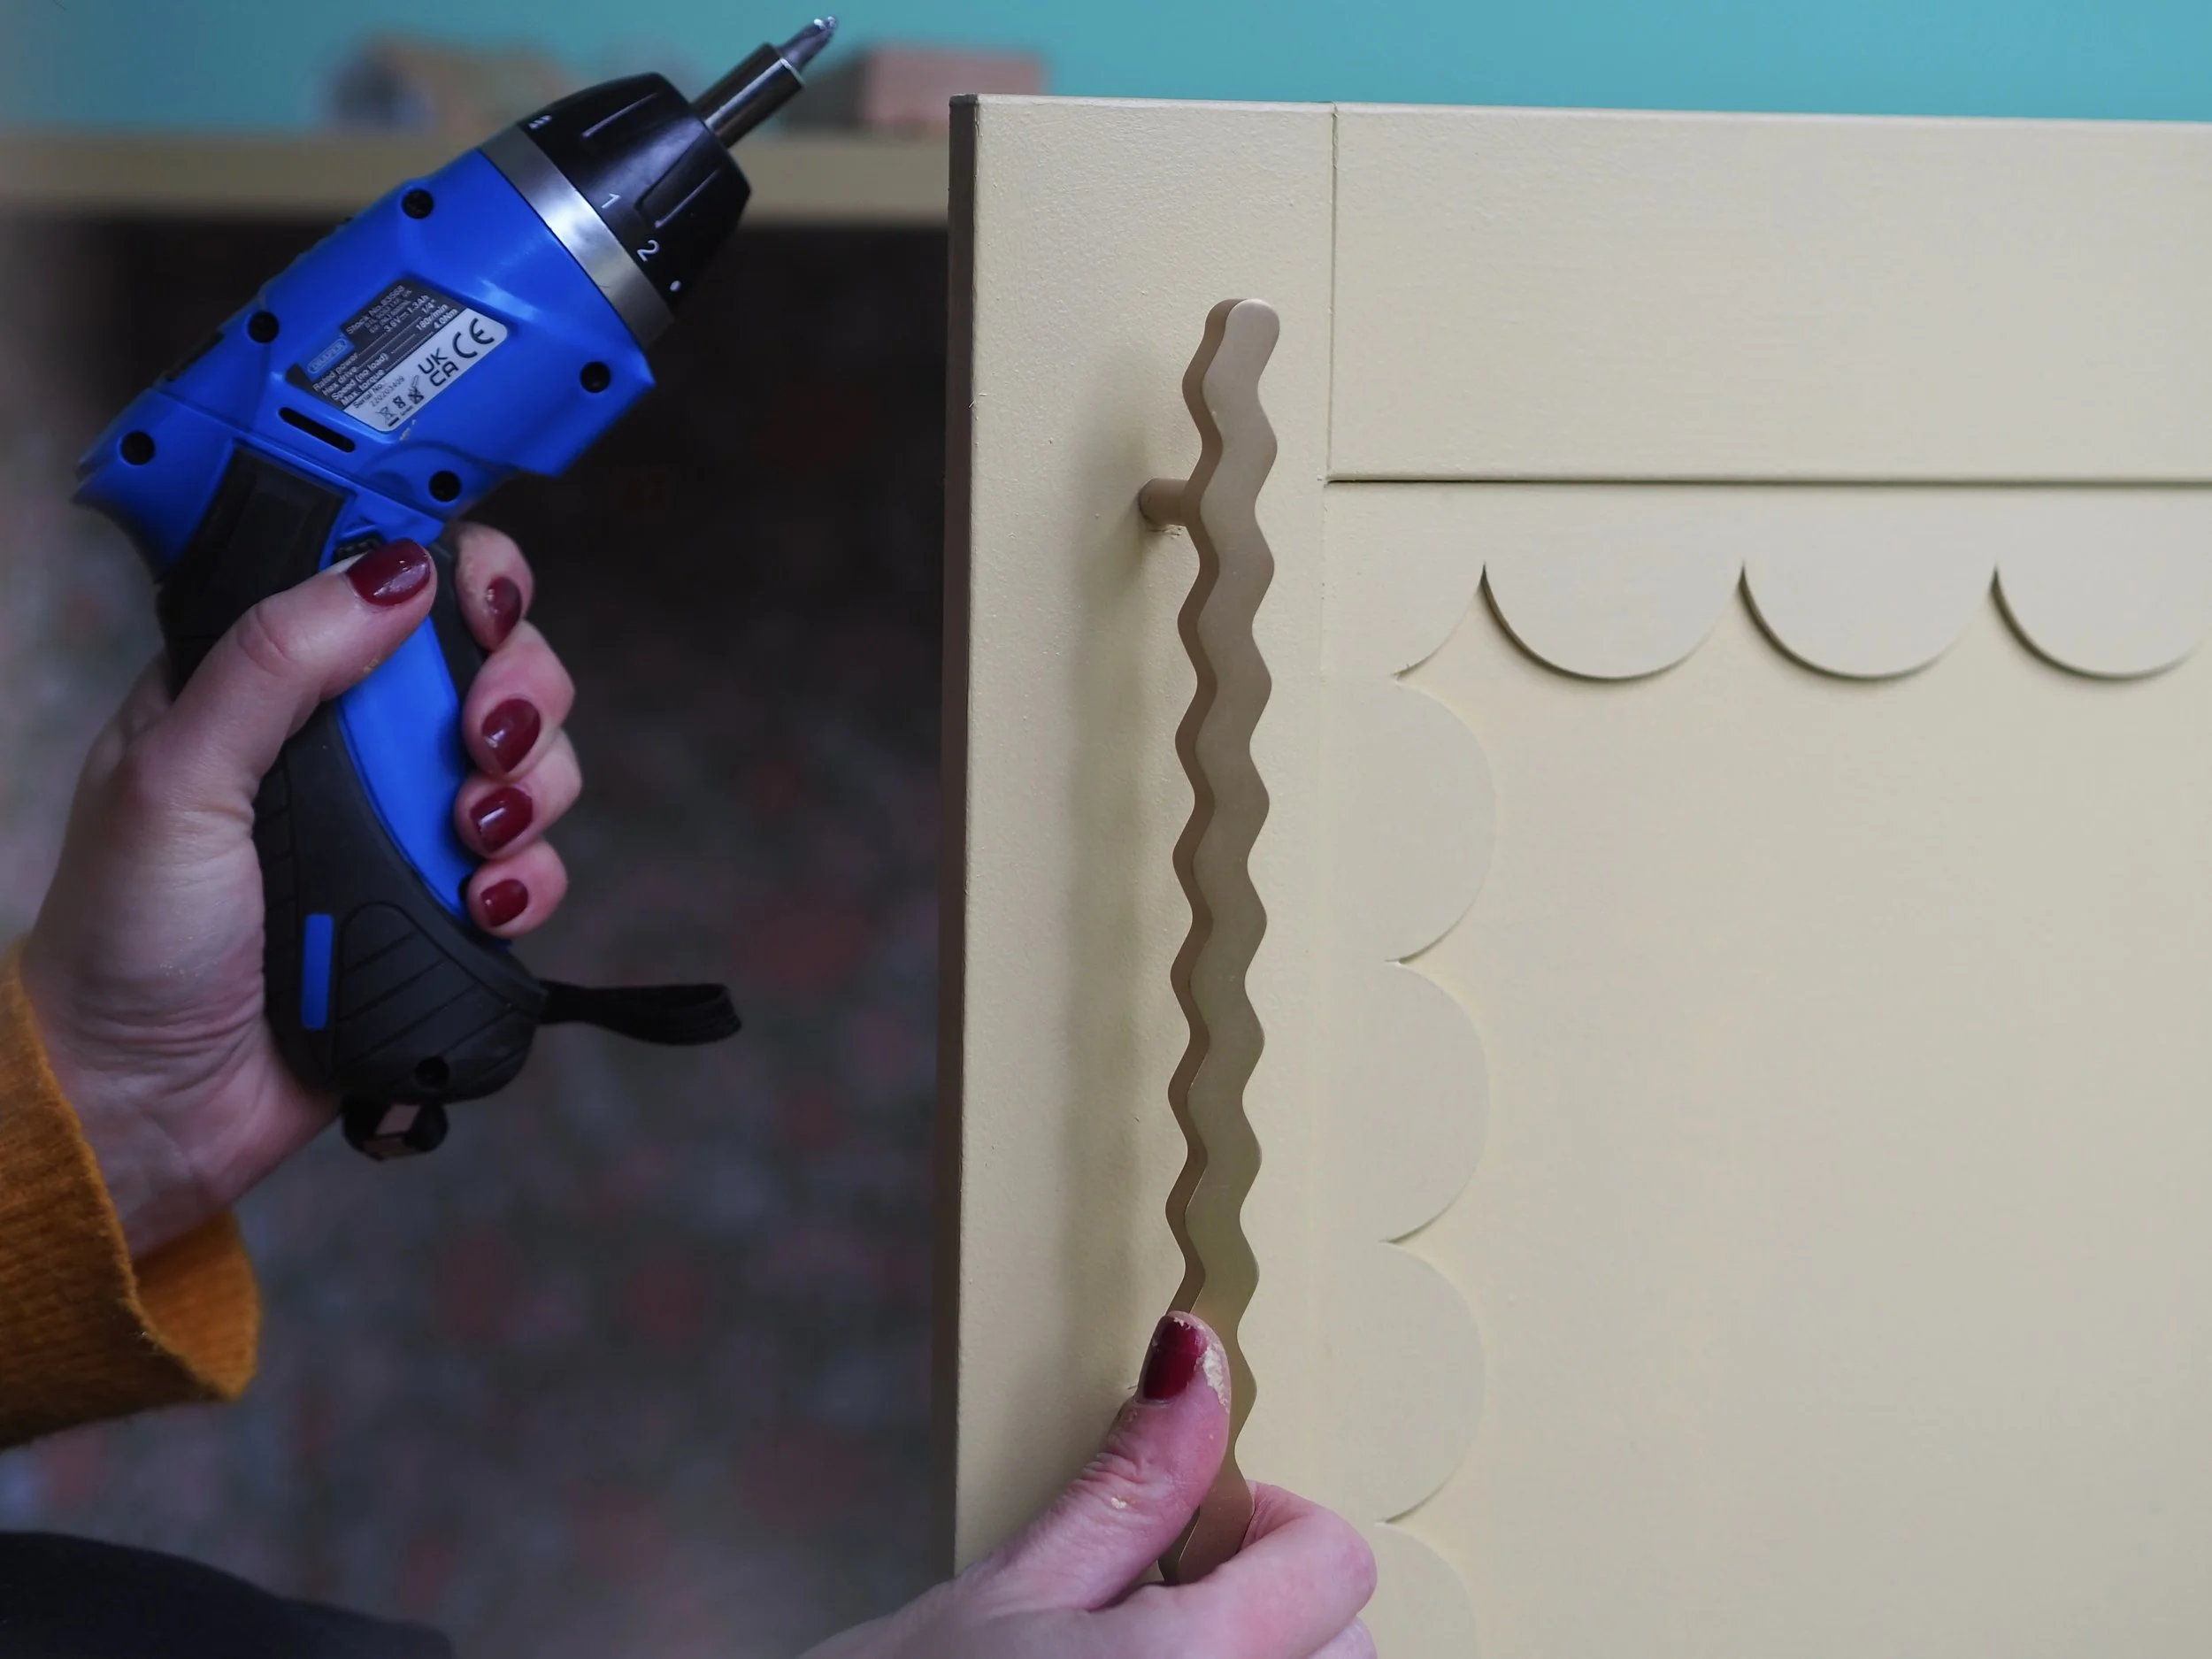
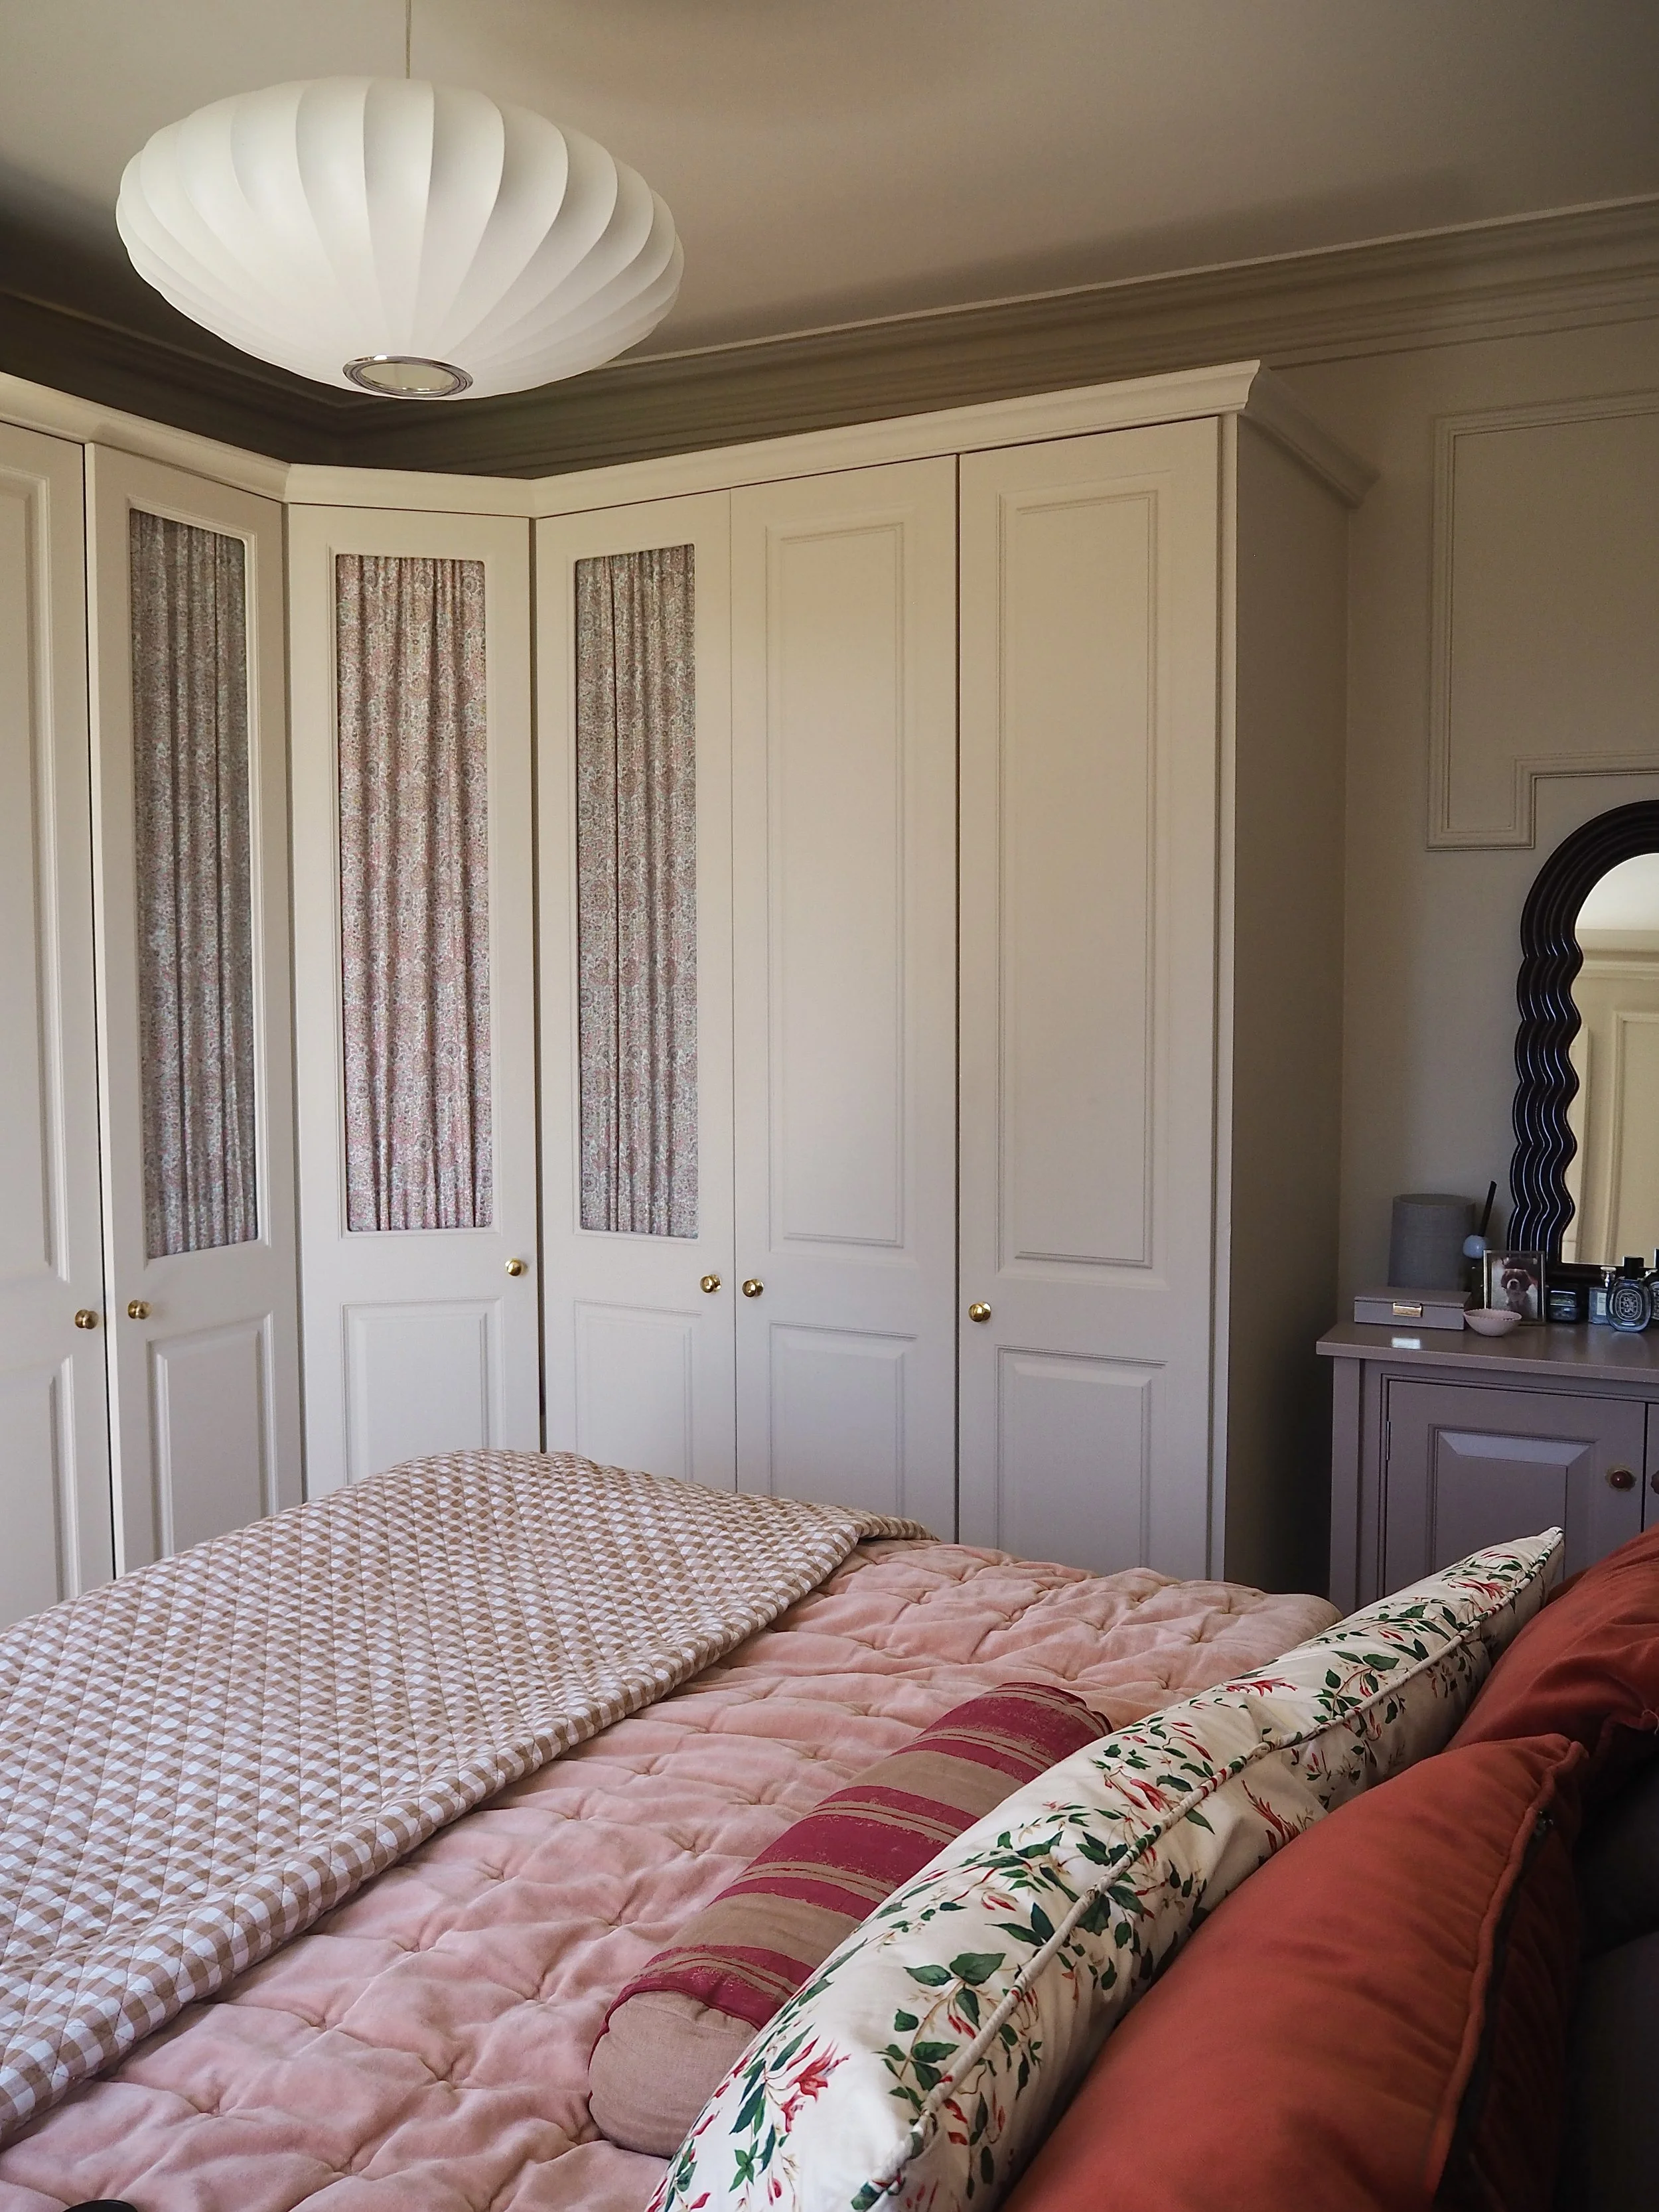
Follow my guide to how I painted this built-in wardrobe…