
Small Garden Room Makeover: How I Transformed My Summerhouse Step-By-Step
At the start of the summer I had a small outbuilding placed in an unused corner of my garden. It was something that I had wanted to do for a long time, as this dark corner was unloved and I desperately required more storage space for various DIY tools and crafting materials that I had accumulated (and we had no space left for our house). I did a bit of research into garden rooms available and purchased a 9’ x 9’ corner summerhouse that was installed in just one day.
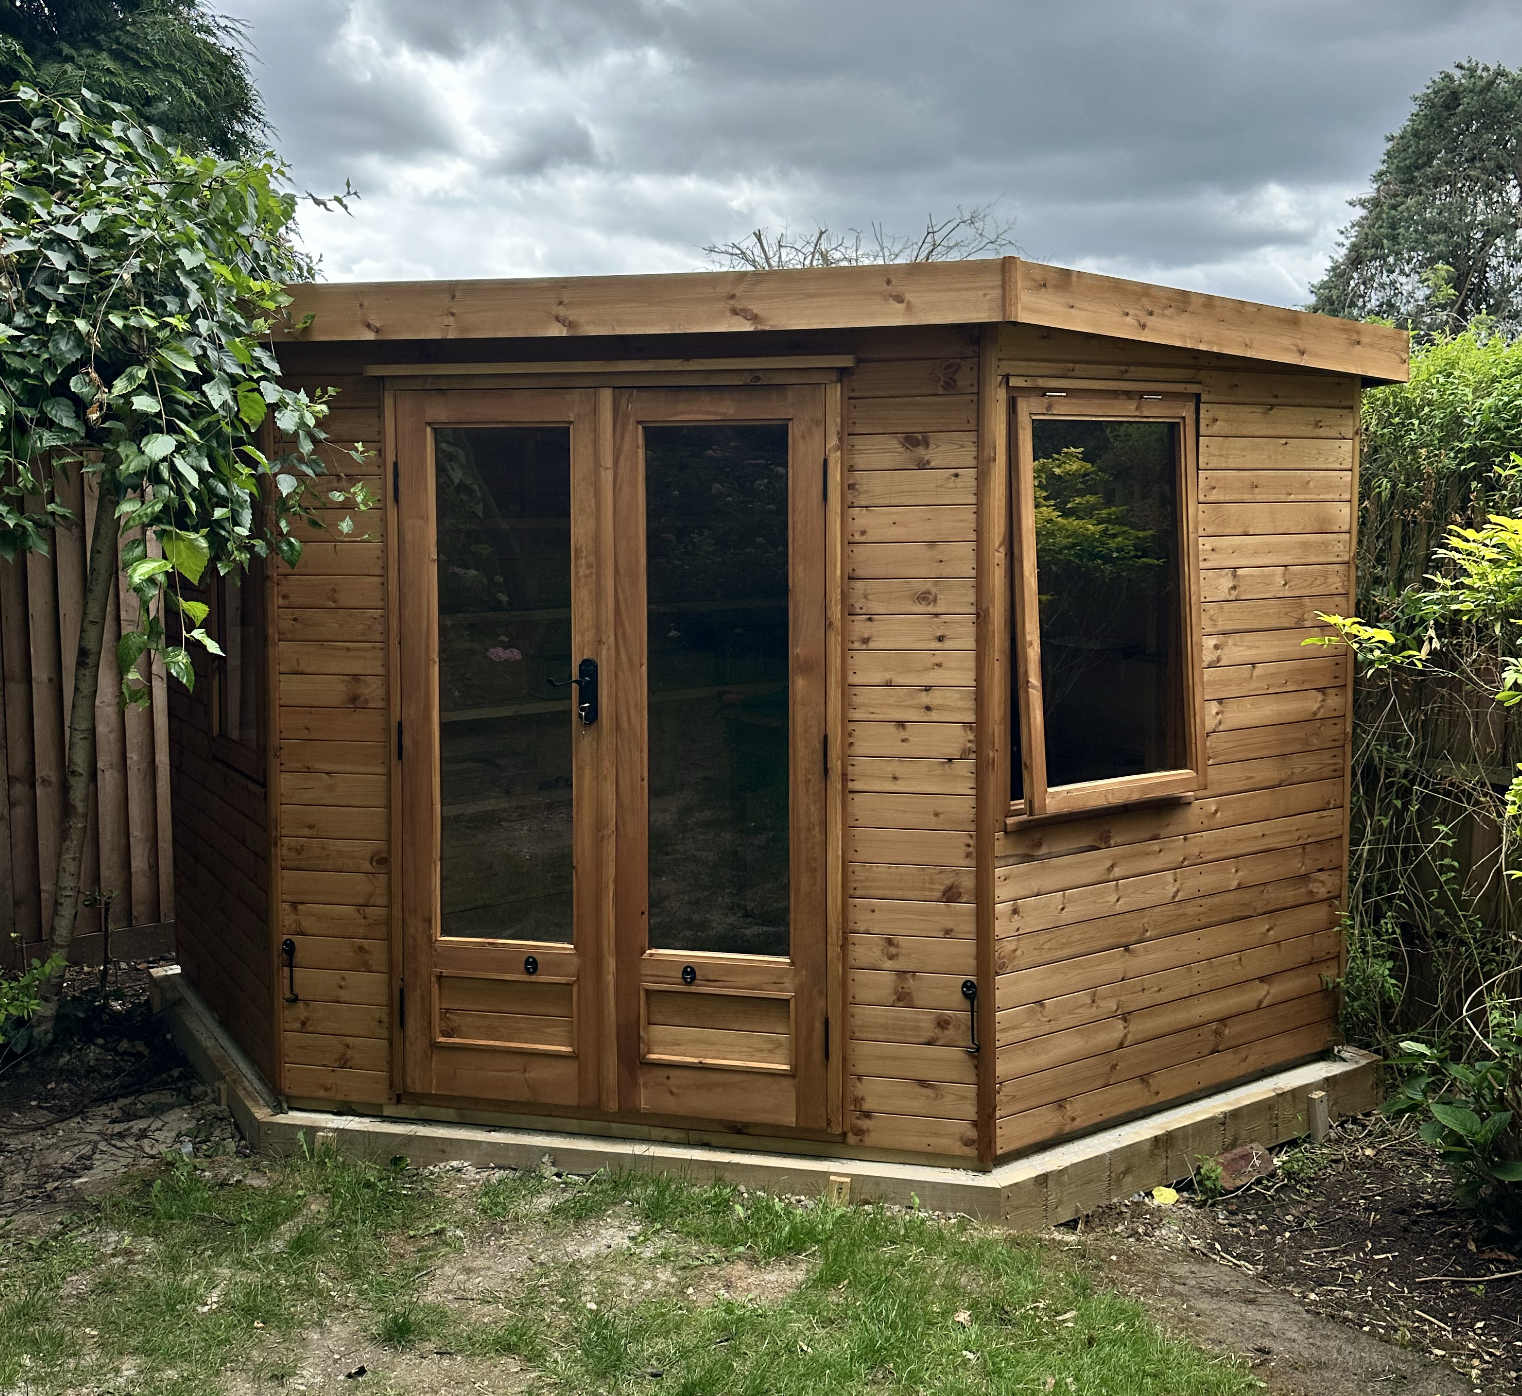
The outbuilding when installed.
With double doors and windows either side, I knew that this basic wooden box could be transformed into something more practical and aesthetic with just a little bit of DIY work. My aim was to create more storage space inside without the garden room looking cluttered, while also designing a space with a bit more colour and cheer that reflected my preferred decorating style. The aim was to have a garden room that I actually wanted to spend time in, rather than just filling it with overflowing belongings.
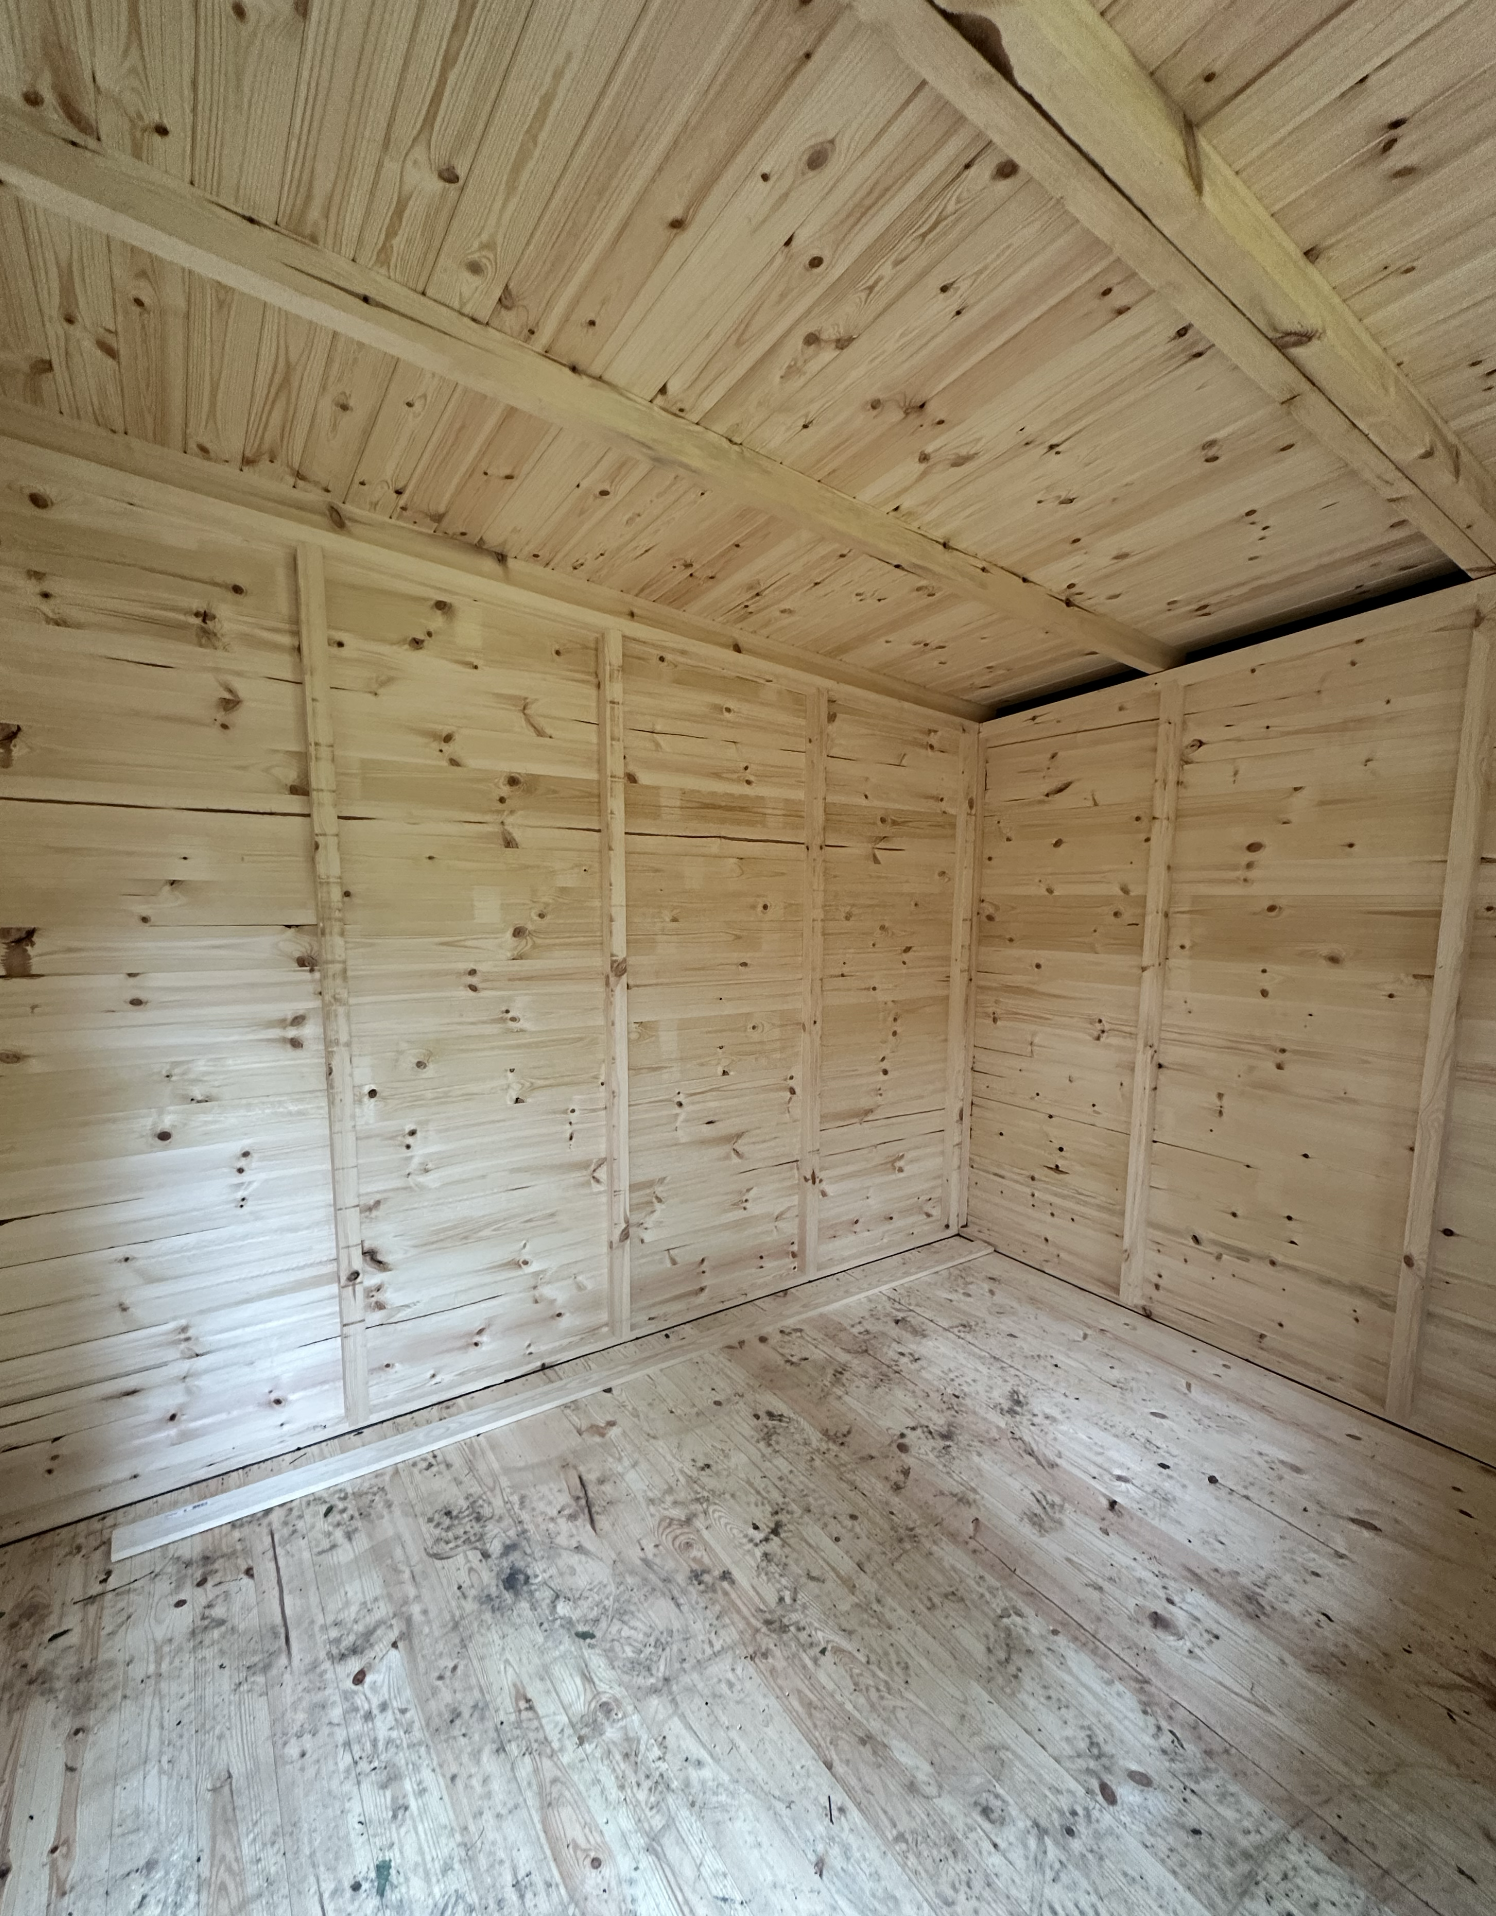
The bare inside.
To start, I worked out what I needed to store in here, what could be displayed and what needed to be ‘hidden away.’ I then thought about how I could brighten it all up.
Here are seven things that I did to transform my outbuilding from basic to bespoke:
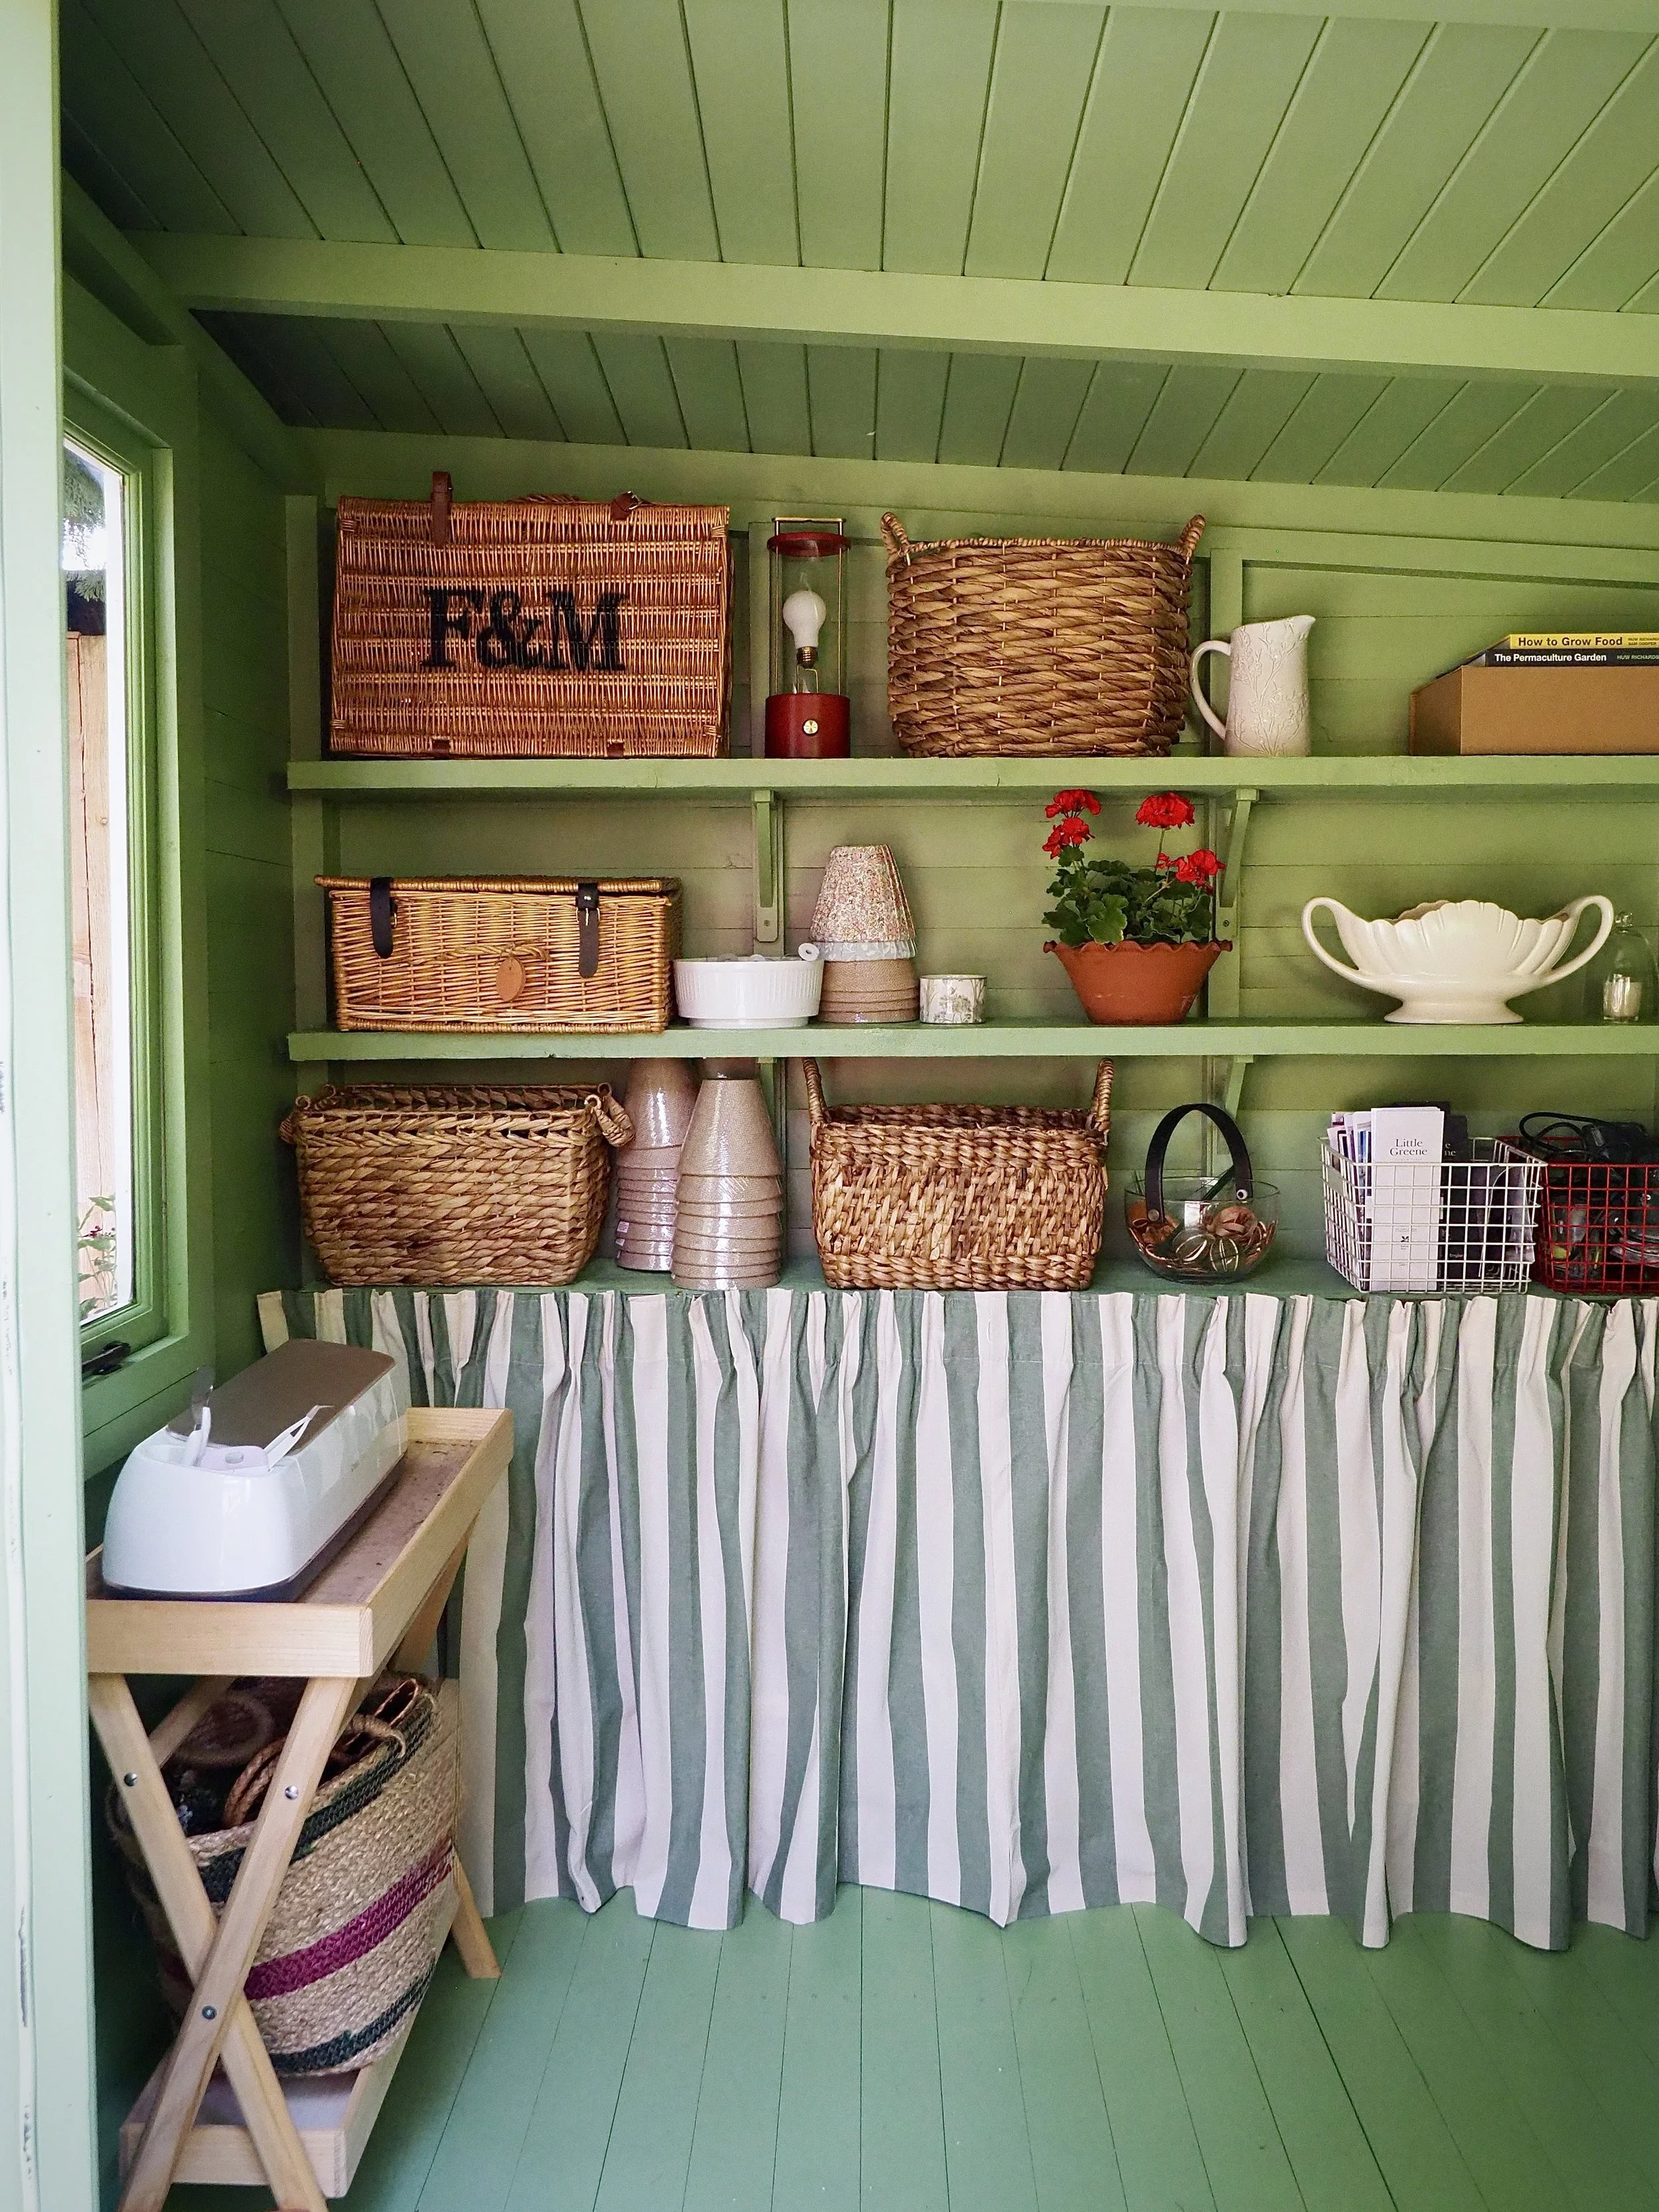
Added lots of budget-friendly shelving
I wanted all the items to be stored in here to be organised and easily accessible, so the first thing I did was order 4 scaffold boards and a number of strong wood shelf brackets to run along the back wall. The two corner walls were 260cm in length within this outbuilding, and I found that scaffold board planks were long enough to run the length of the wall as they came in 3m lengths. I simply chopped 40cm off each plank and erected them the same distance apart.
For the second wall, I used a few thin pieces of stripwood to create a ‘paint tester pot’ section. As a serial decorator and huge lover of experimenting with colour, I had collected a number of tester pots of the years and they all required an allocated place.
I used a very strong glue adhesive to secure each small shelf down the wall as I wanted a ‘clear run’ for the tester pots. I then used slightly thicker planks and shelf brackets to install a number of shelves alongside to hold vintage vessels full of paintbrushes and screwdrivers (items that had been uncategorised and scattered around various parts of the house).
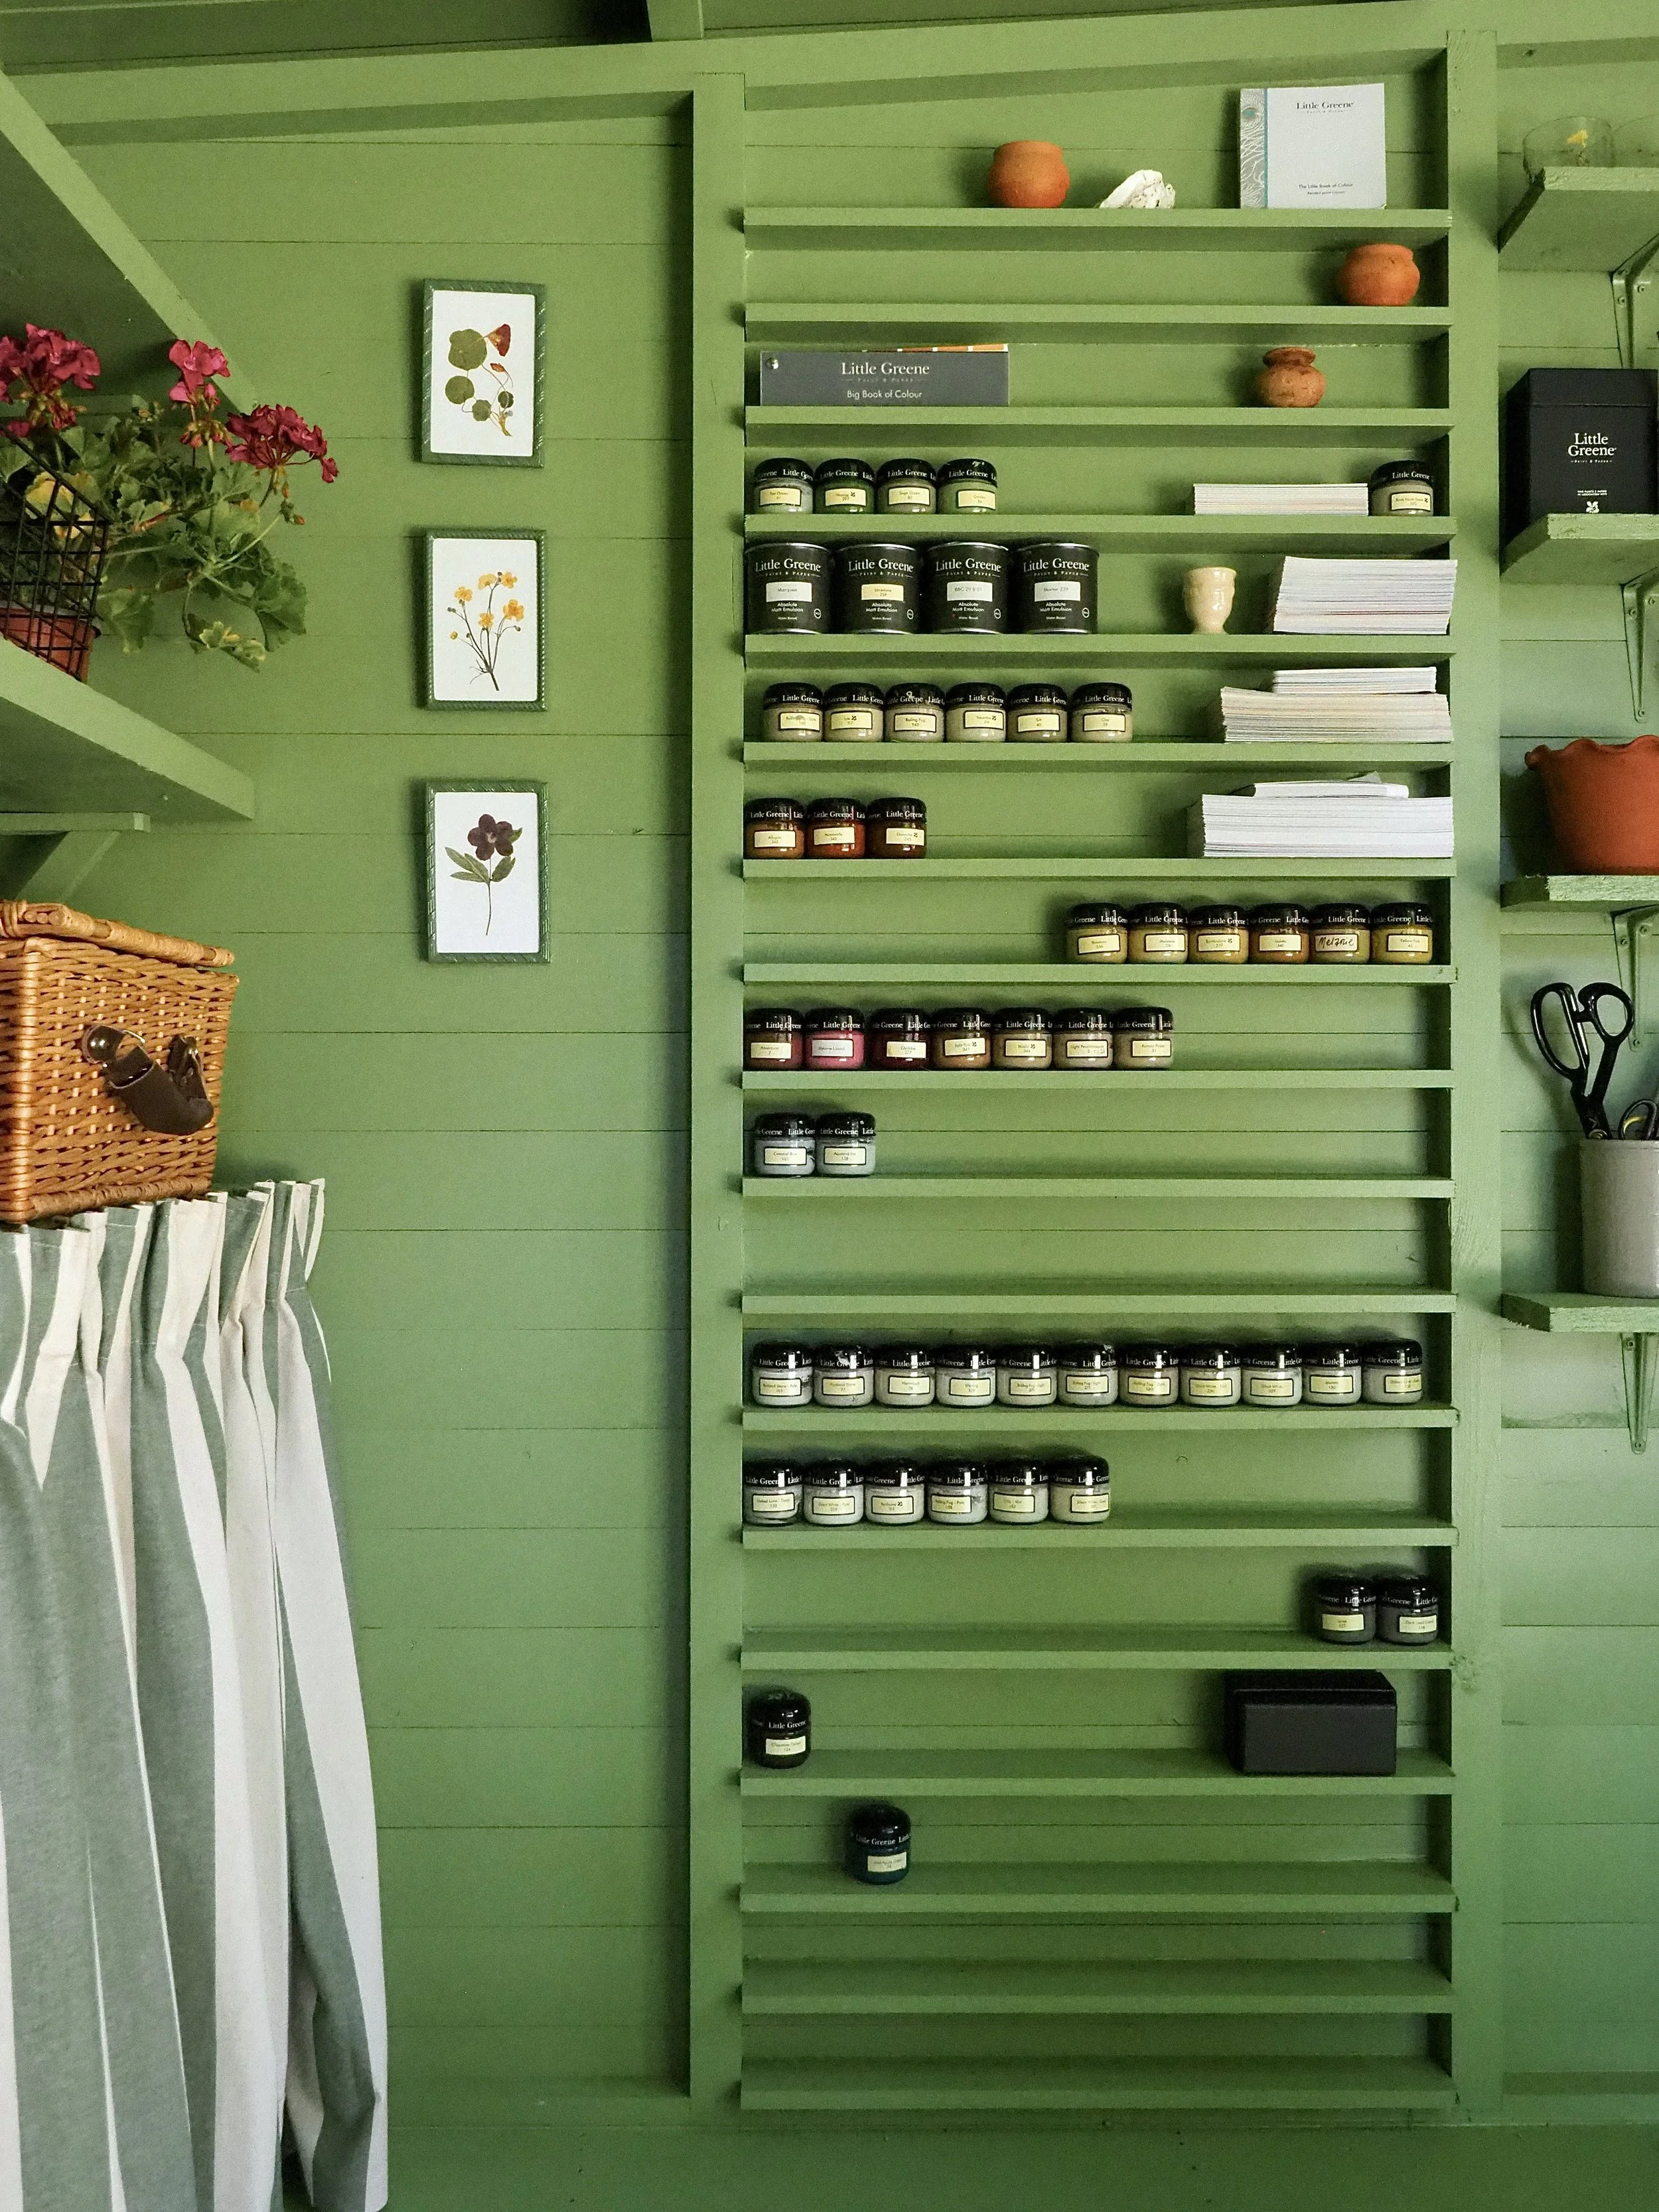
My DIY tester pot paint shelves.
While wood has gone up in price significantly, cutting down and installing basic planks of wood from DIY stores saved me a lot of money compared to buying ‘pre-made’ shelving. I painted all the shelves in the same colour as the walls so they blended in.
Hemmed budget-friendly curtains to create a practical yet aesthetic skirt
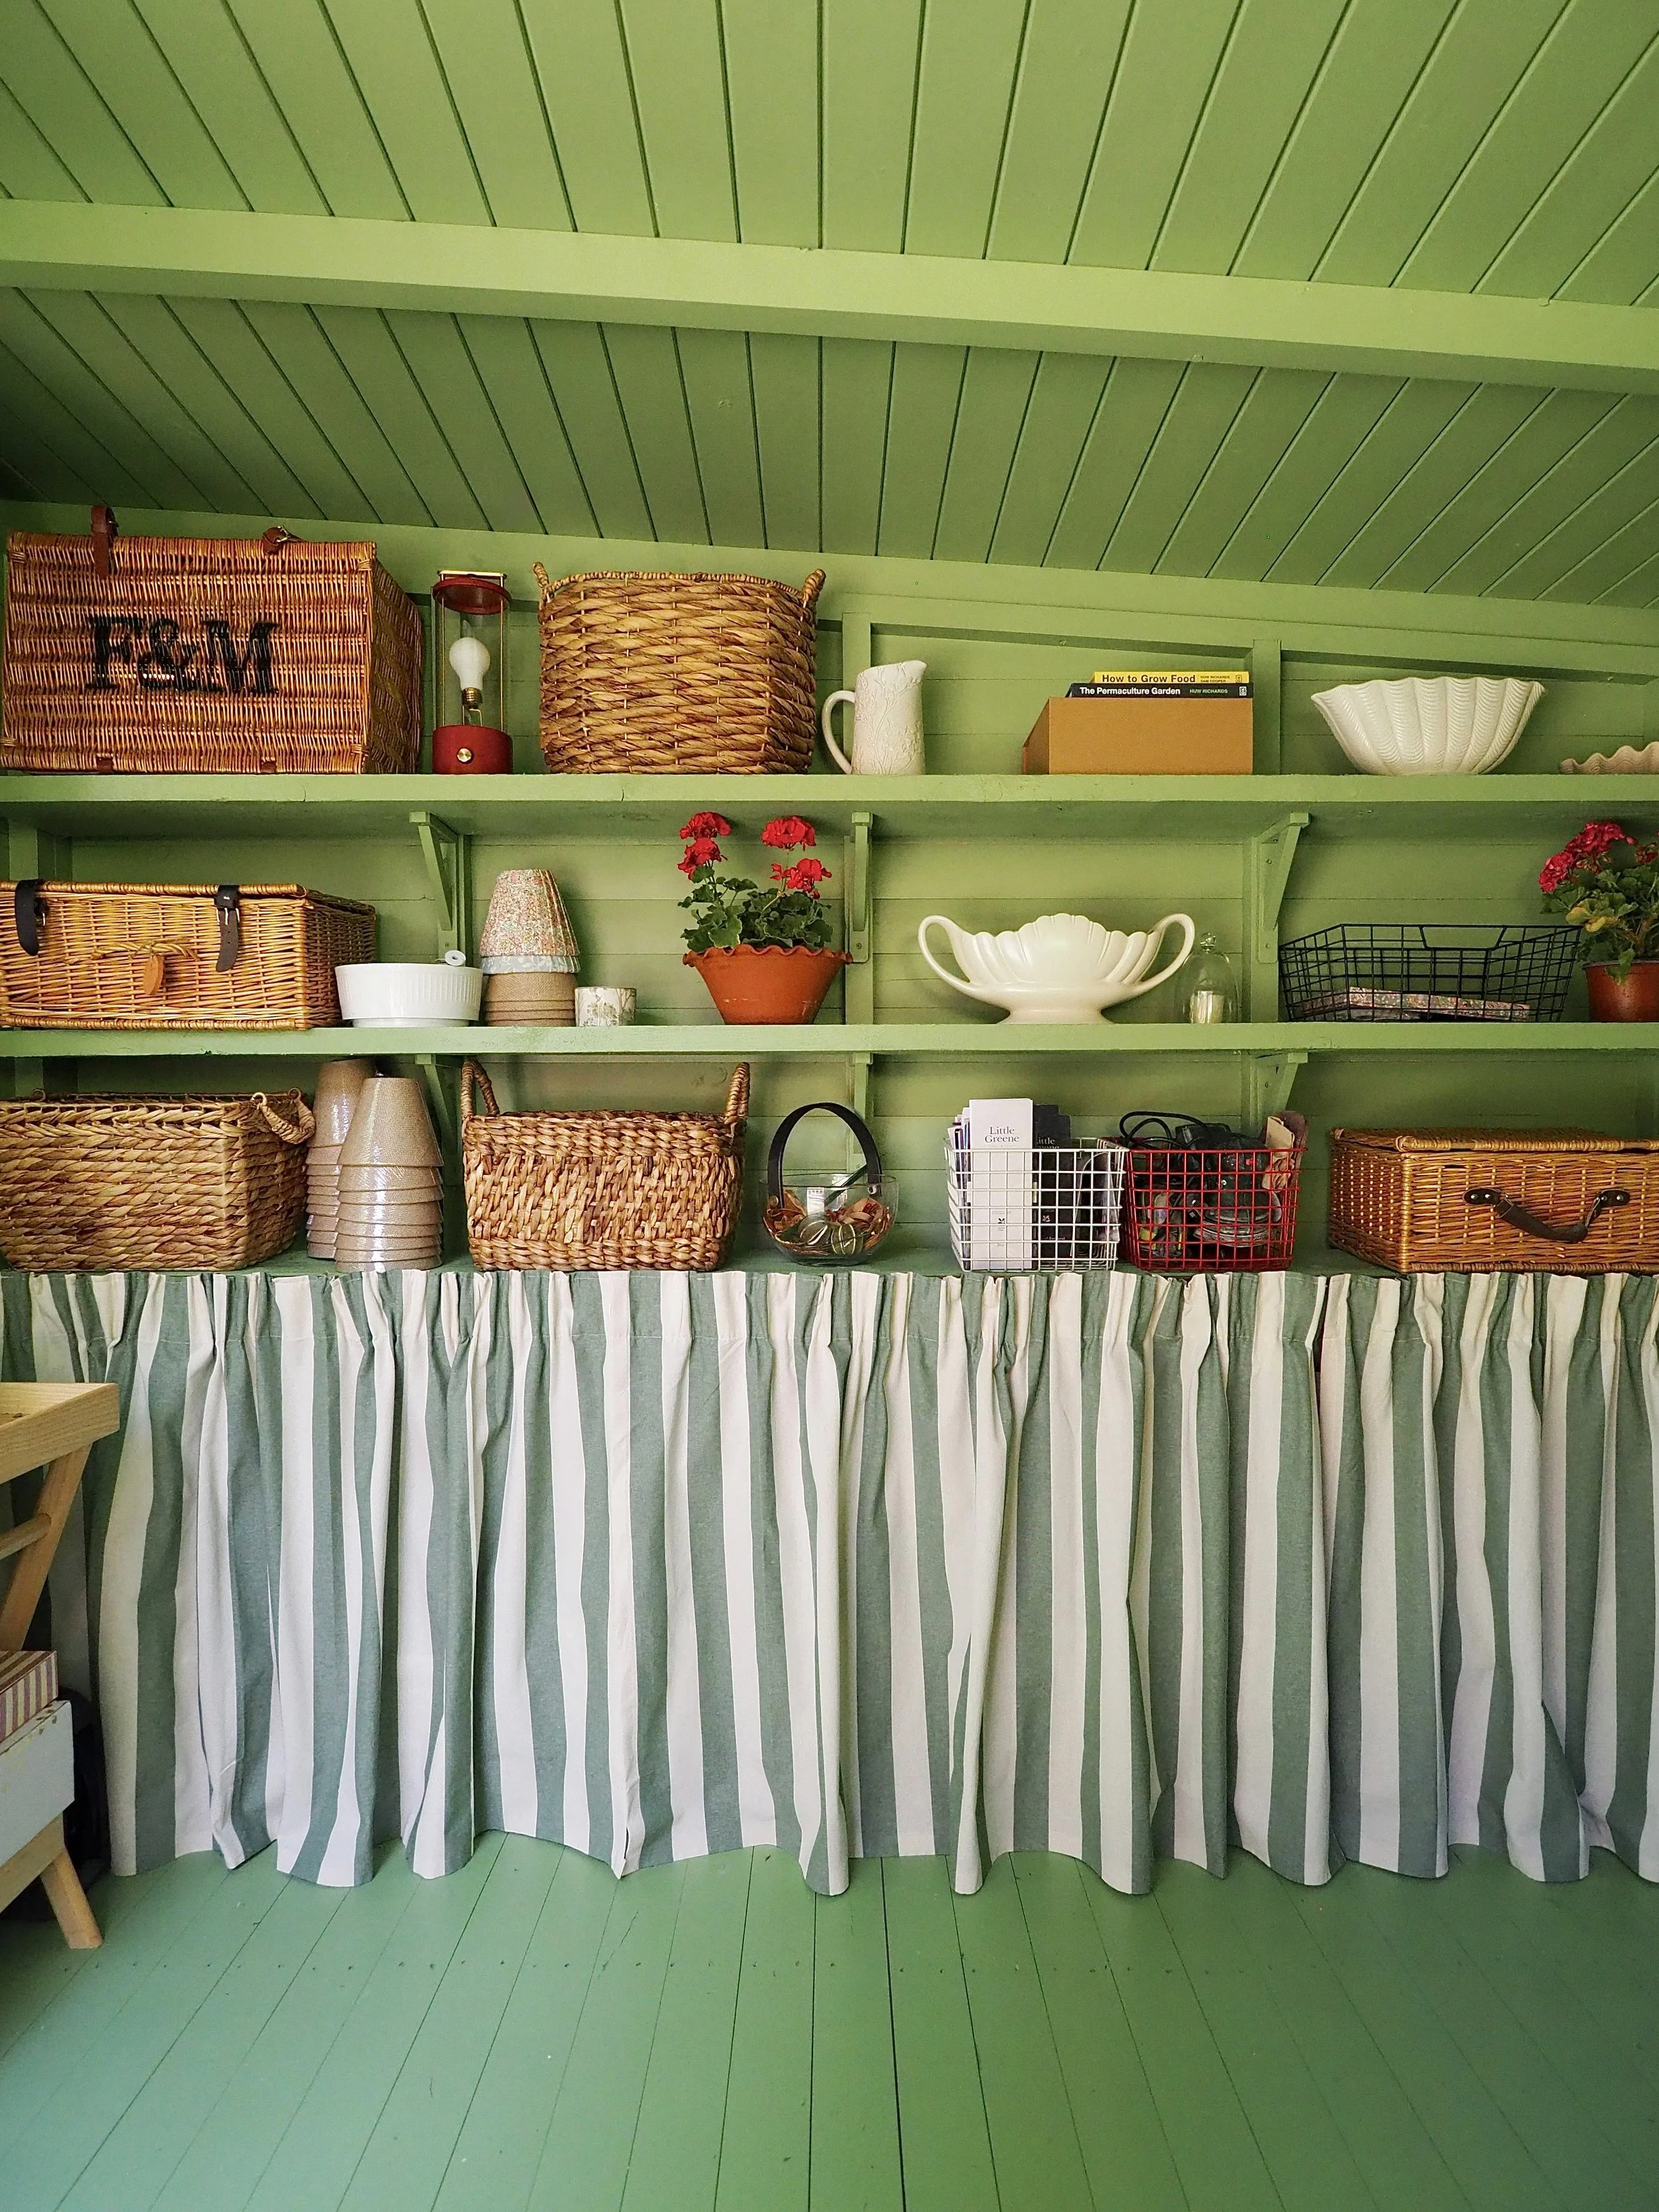
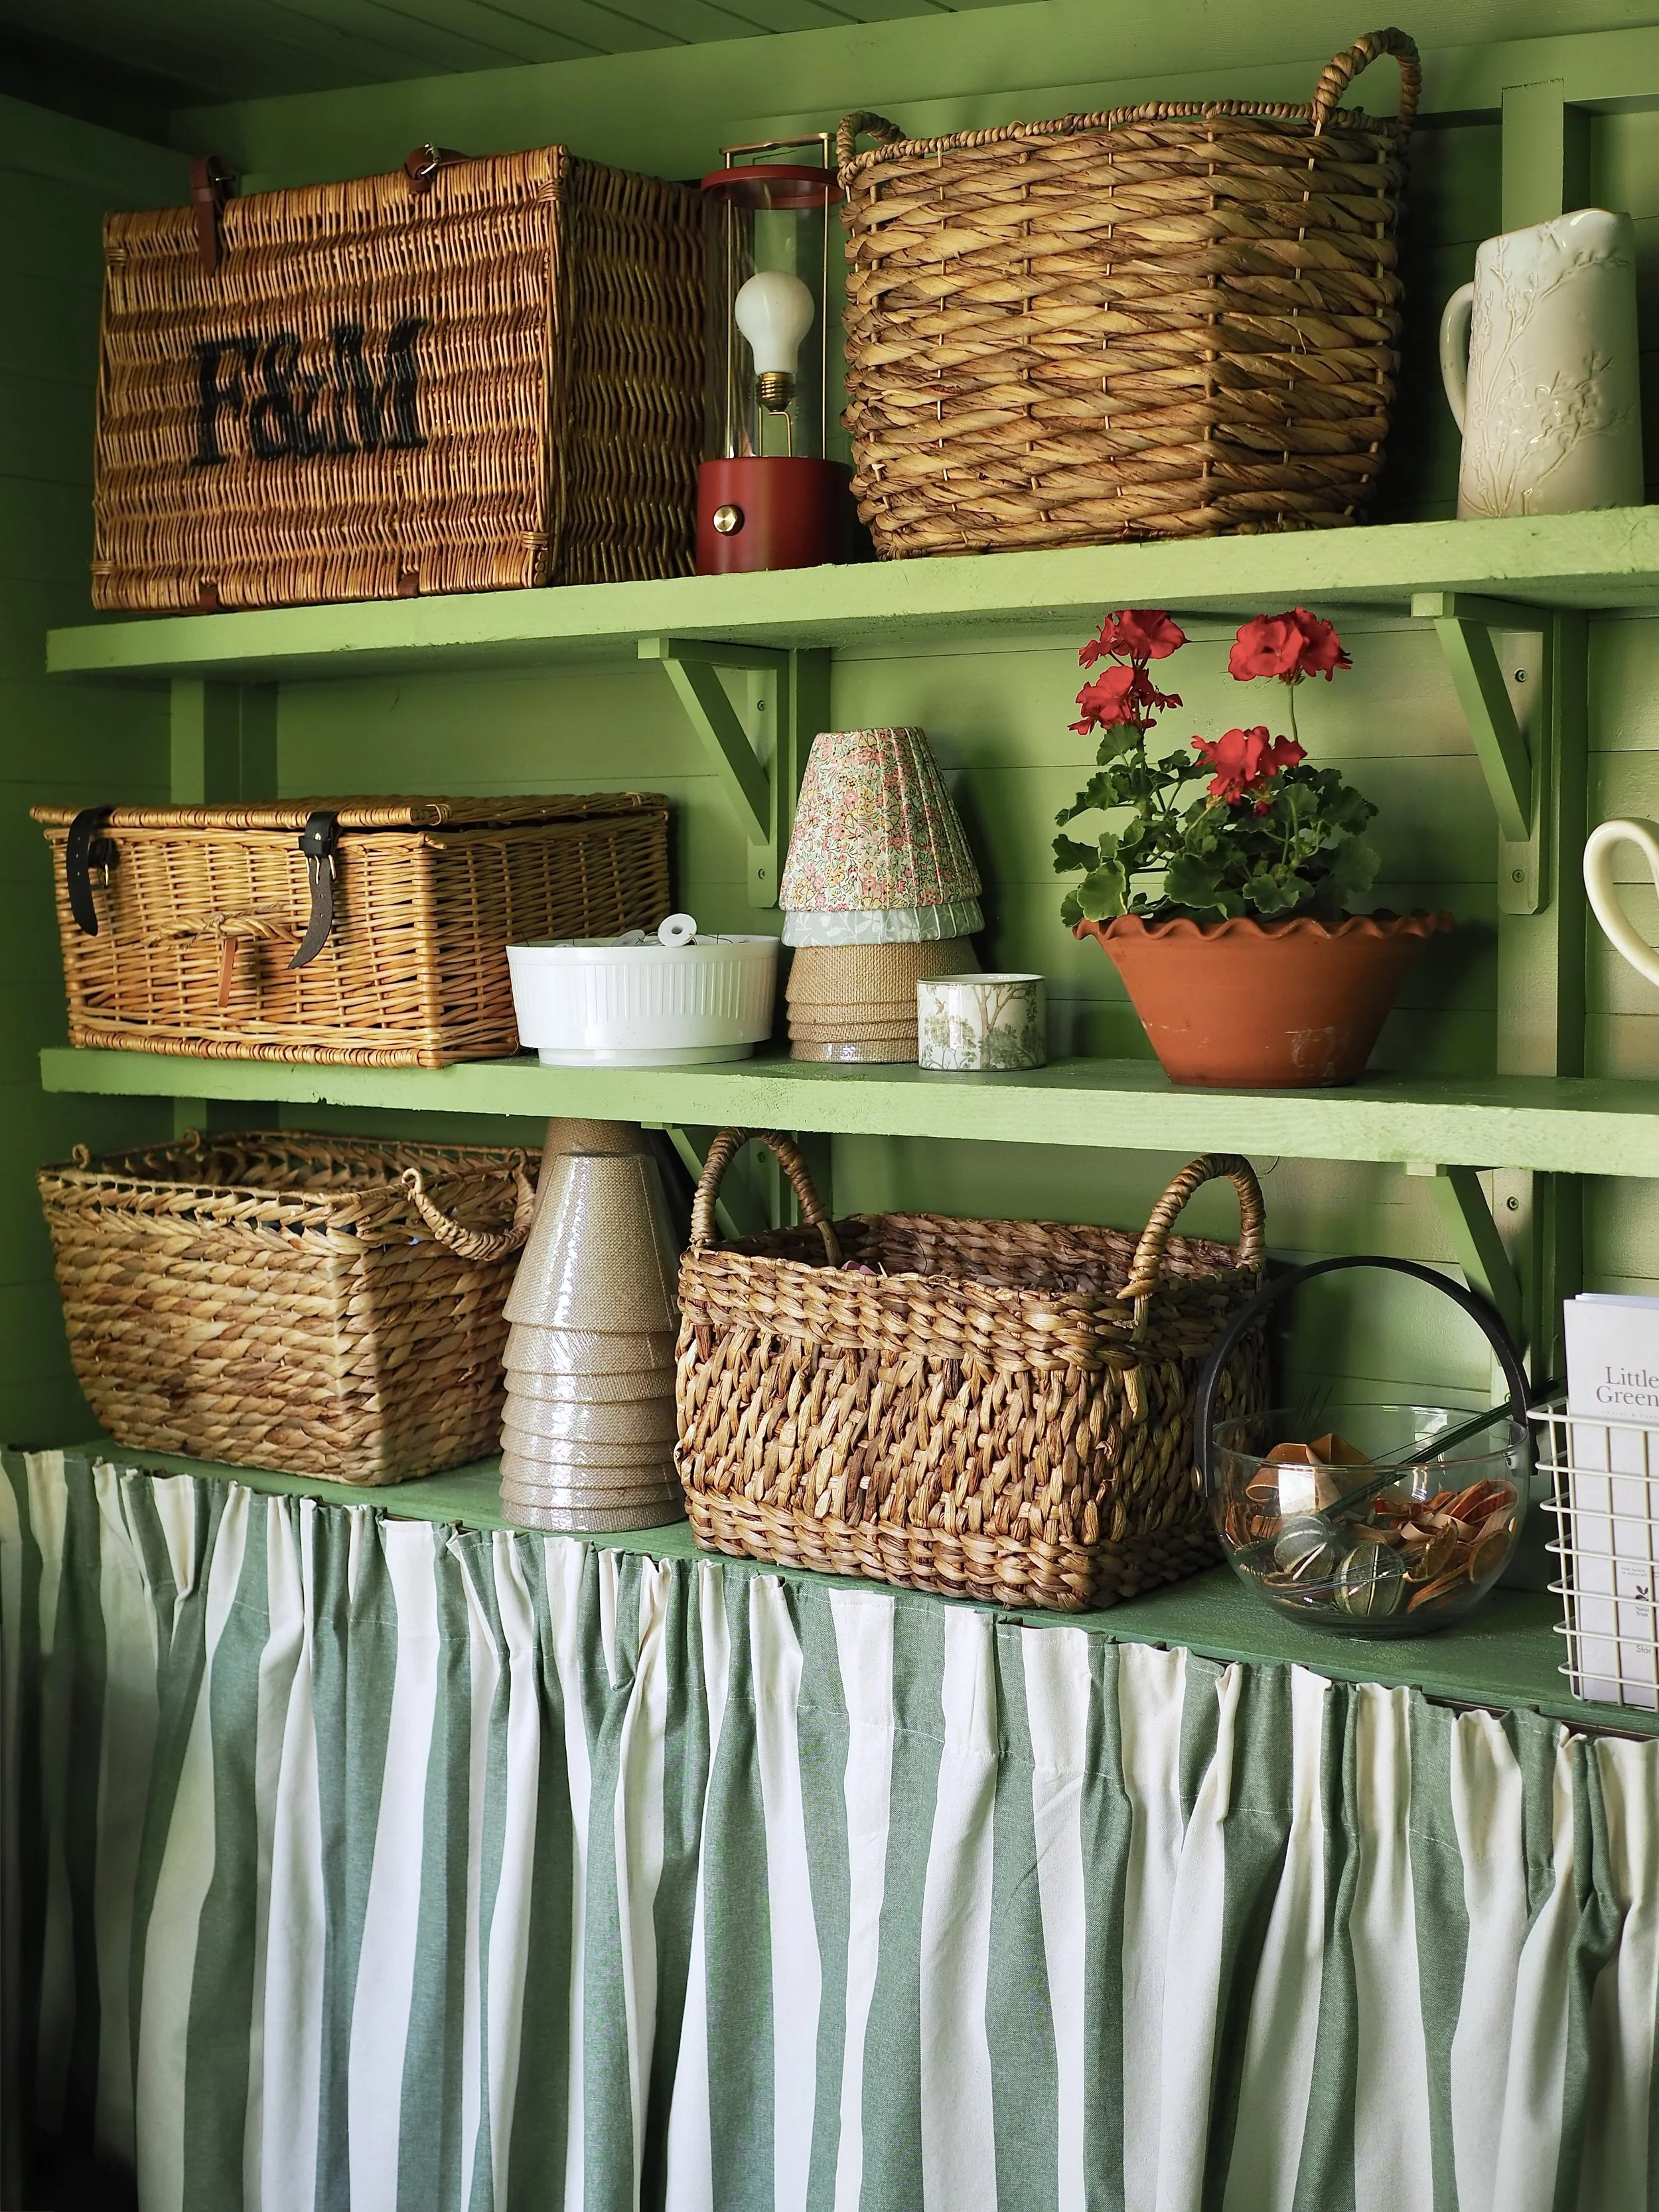
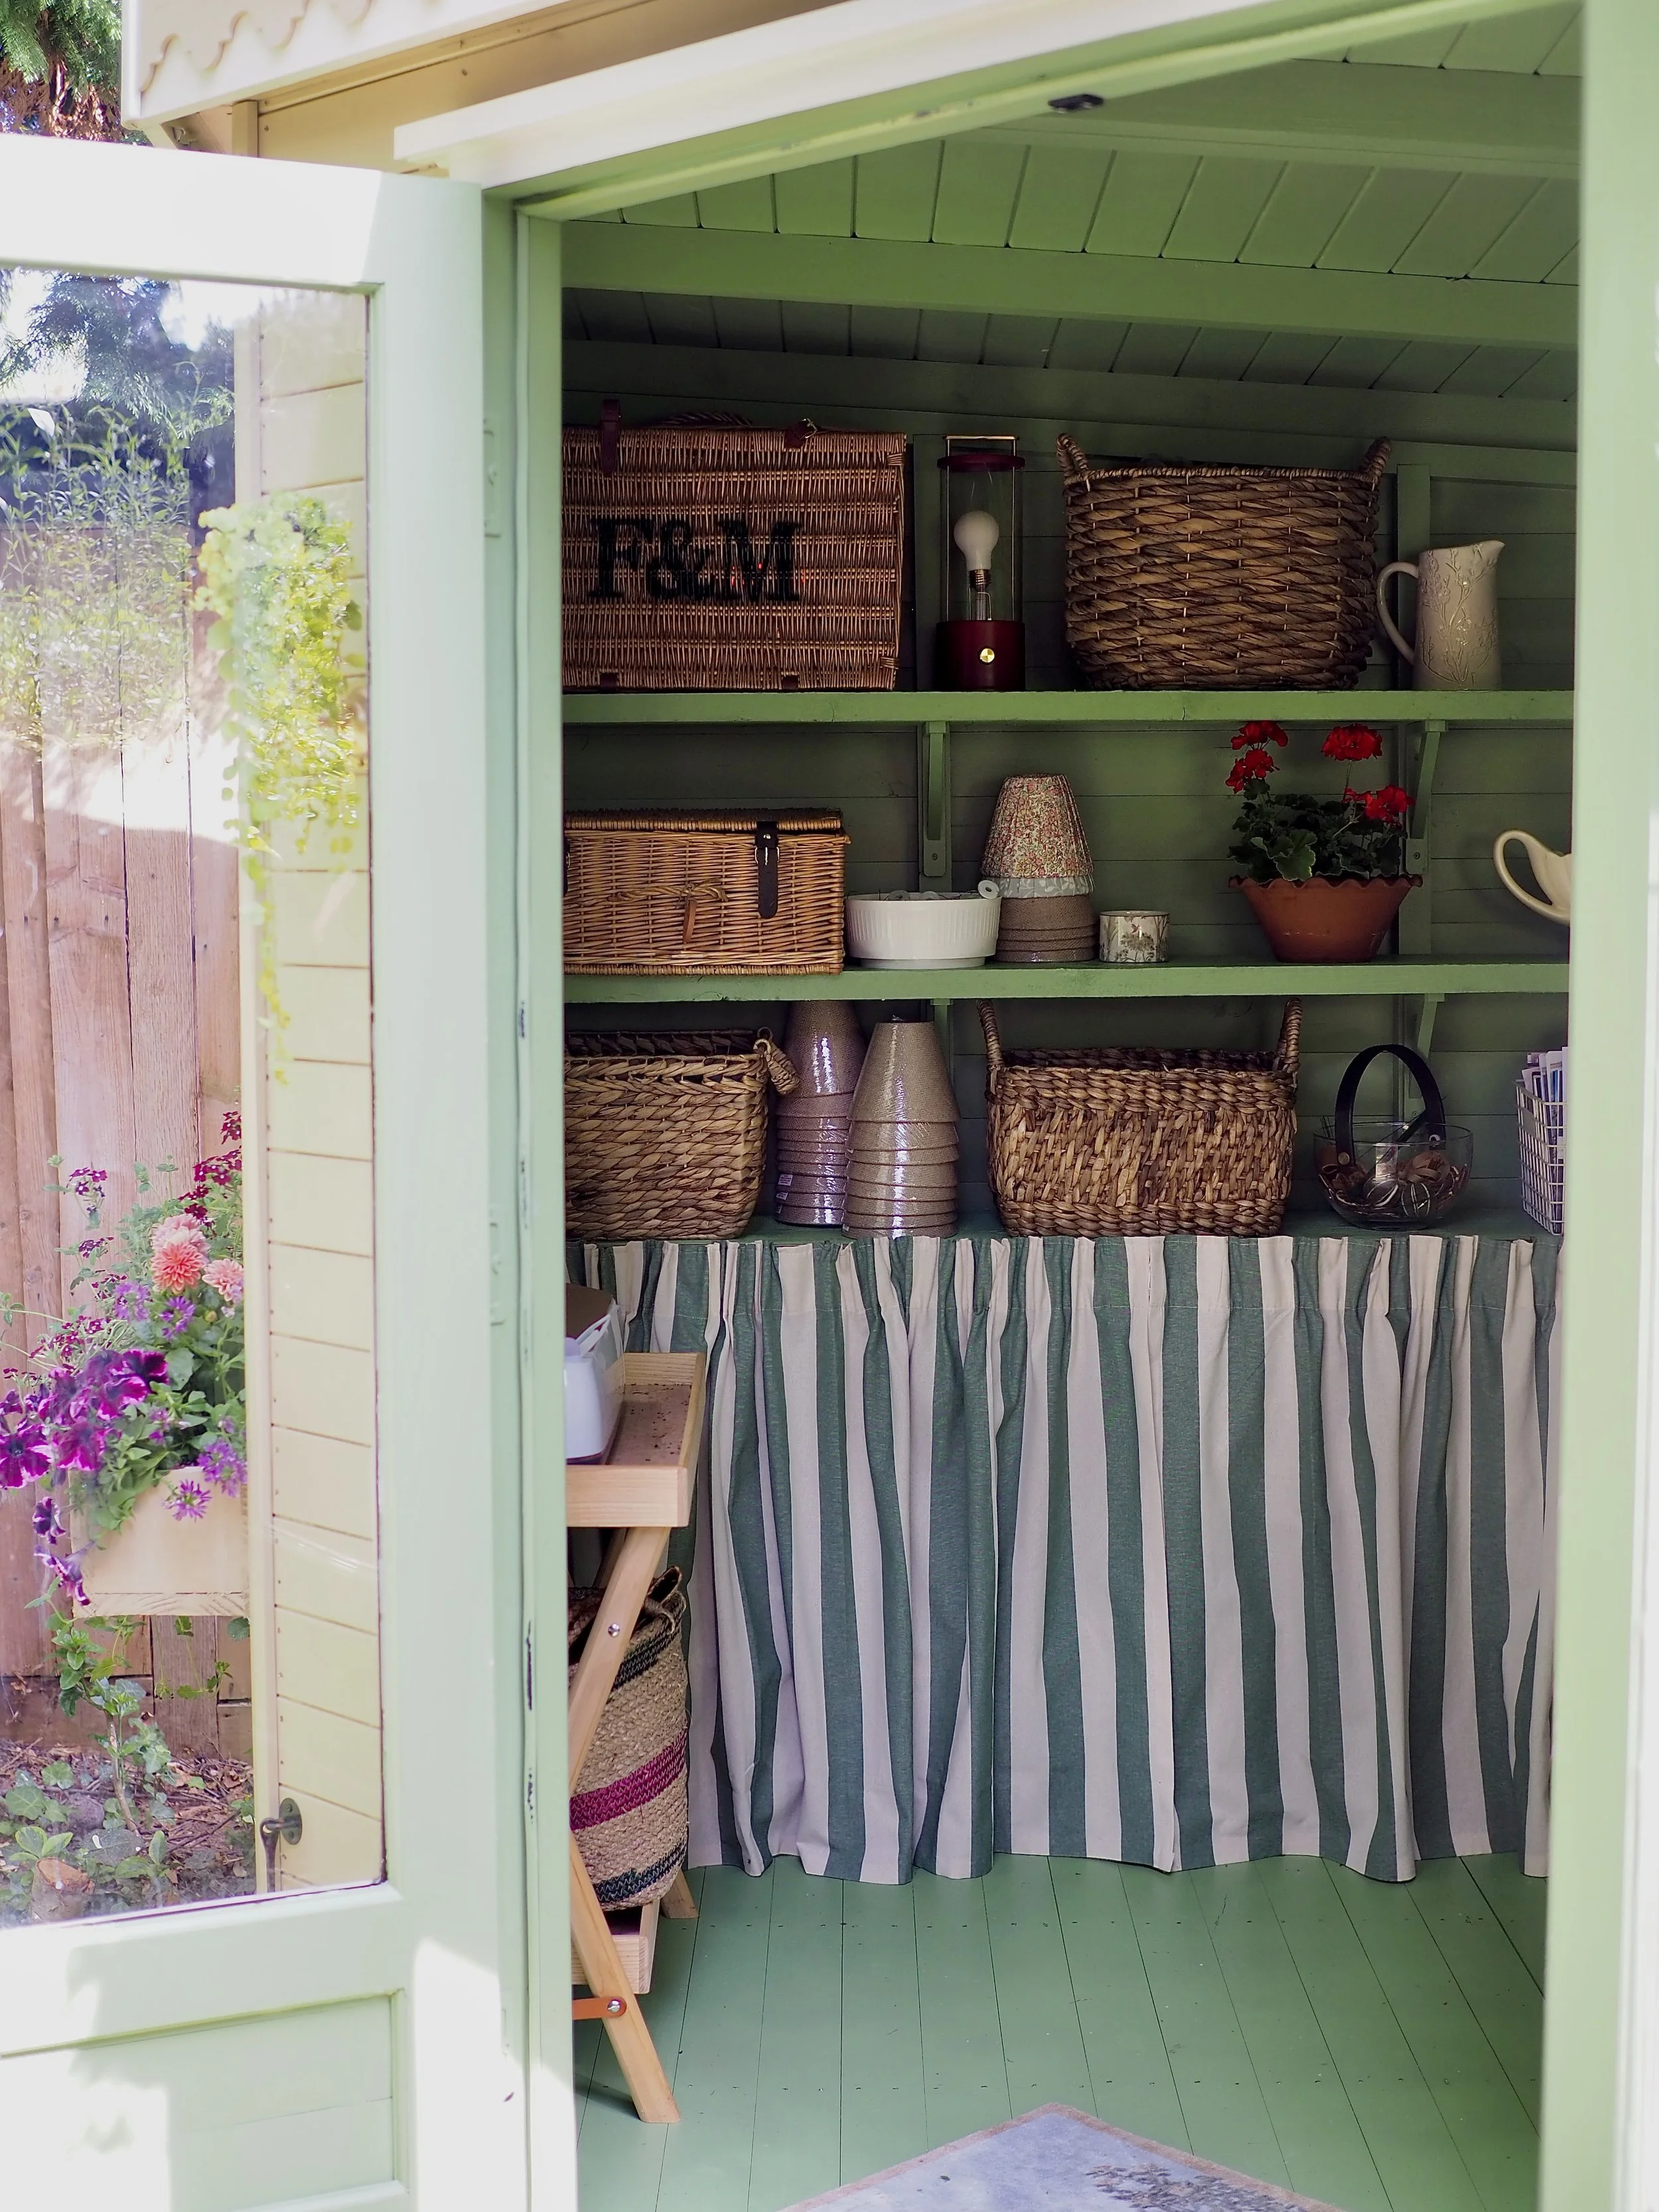
Fabric skirts are very on-trend at the moment; installing one the full run of the bottom two scaffold shelves not only added texture and detail to my outbuilding, but it hid all the items that I didn’t want on display.
I purchased two sets of budget-friendly green deck chair striped curtains from Dunelm, along with a 300cm curtain track in antique gold.
I cut down the track with a saw to the 260cm length of shelving, then hemmed the curtains at the bottom with hemming web and an iron. These curtain panels can now be easily pulled aside to obtain the less stylish items hidden behind them.
Painted the inside and the outside in contrasting colours
I was very excited to paint my garden room as being a space that I wouldn’t be spending all my time in (unlike a bedroom or a living space), I knew that I could be adventurous with the colour. I really wanted to use green on the inside - a colour which not only connected to the garden, but brings a lot of warmth and joy. I chose ‘Garden’ by Little Greene Paint Company - a vivid pea green that I was going to pair with rustic terracotta pots and botanical prints.
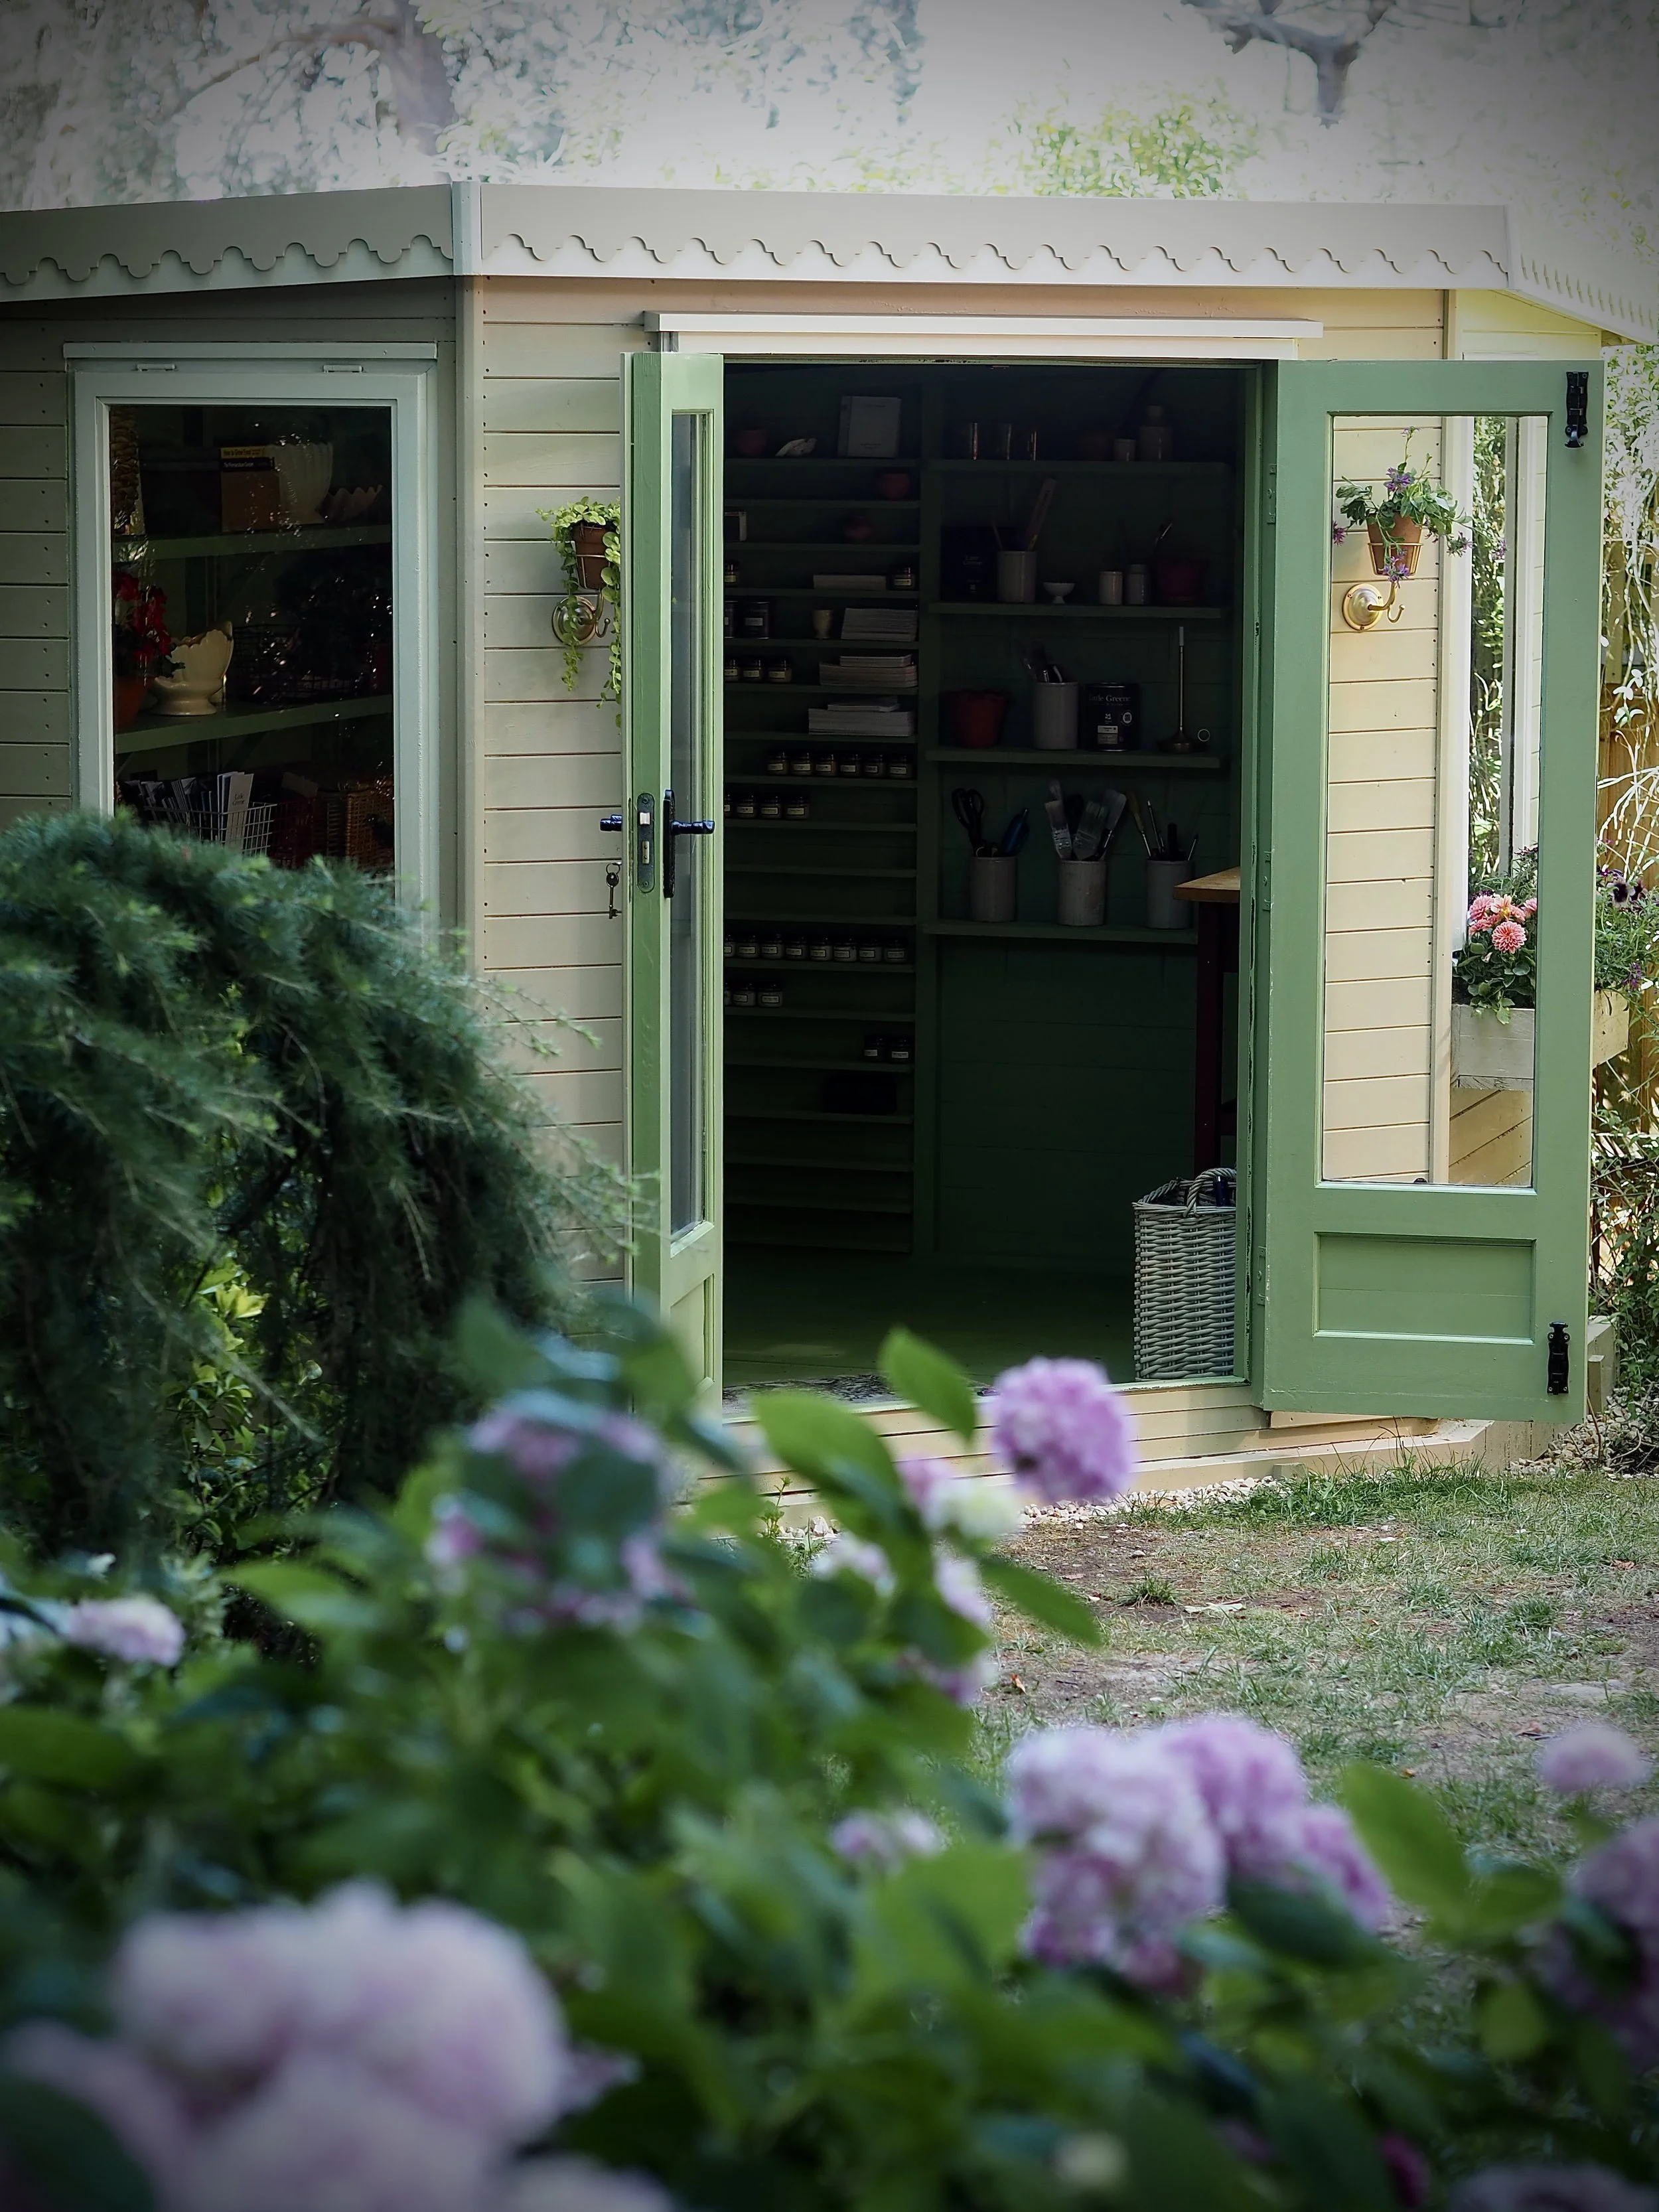
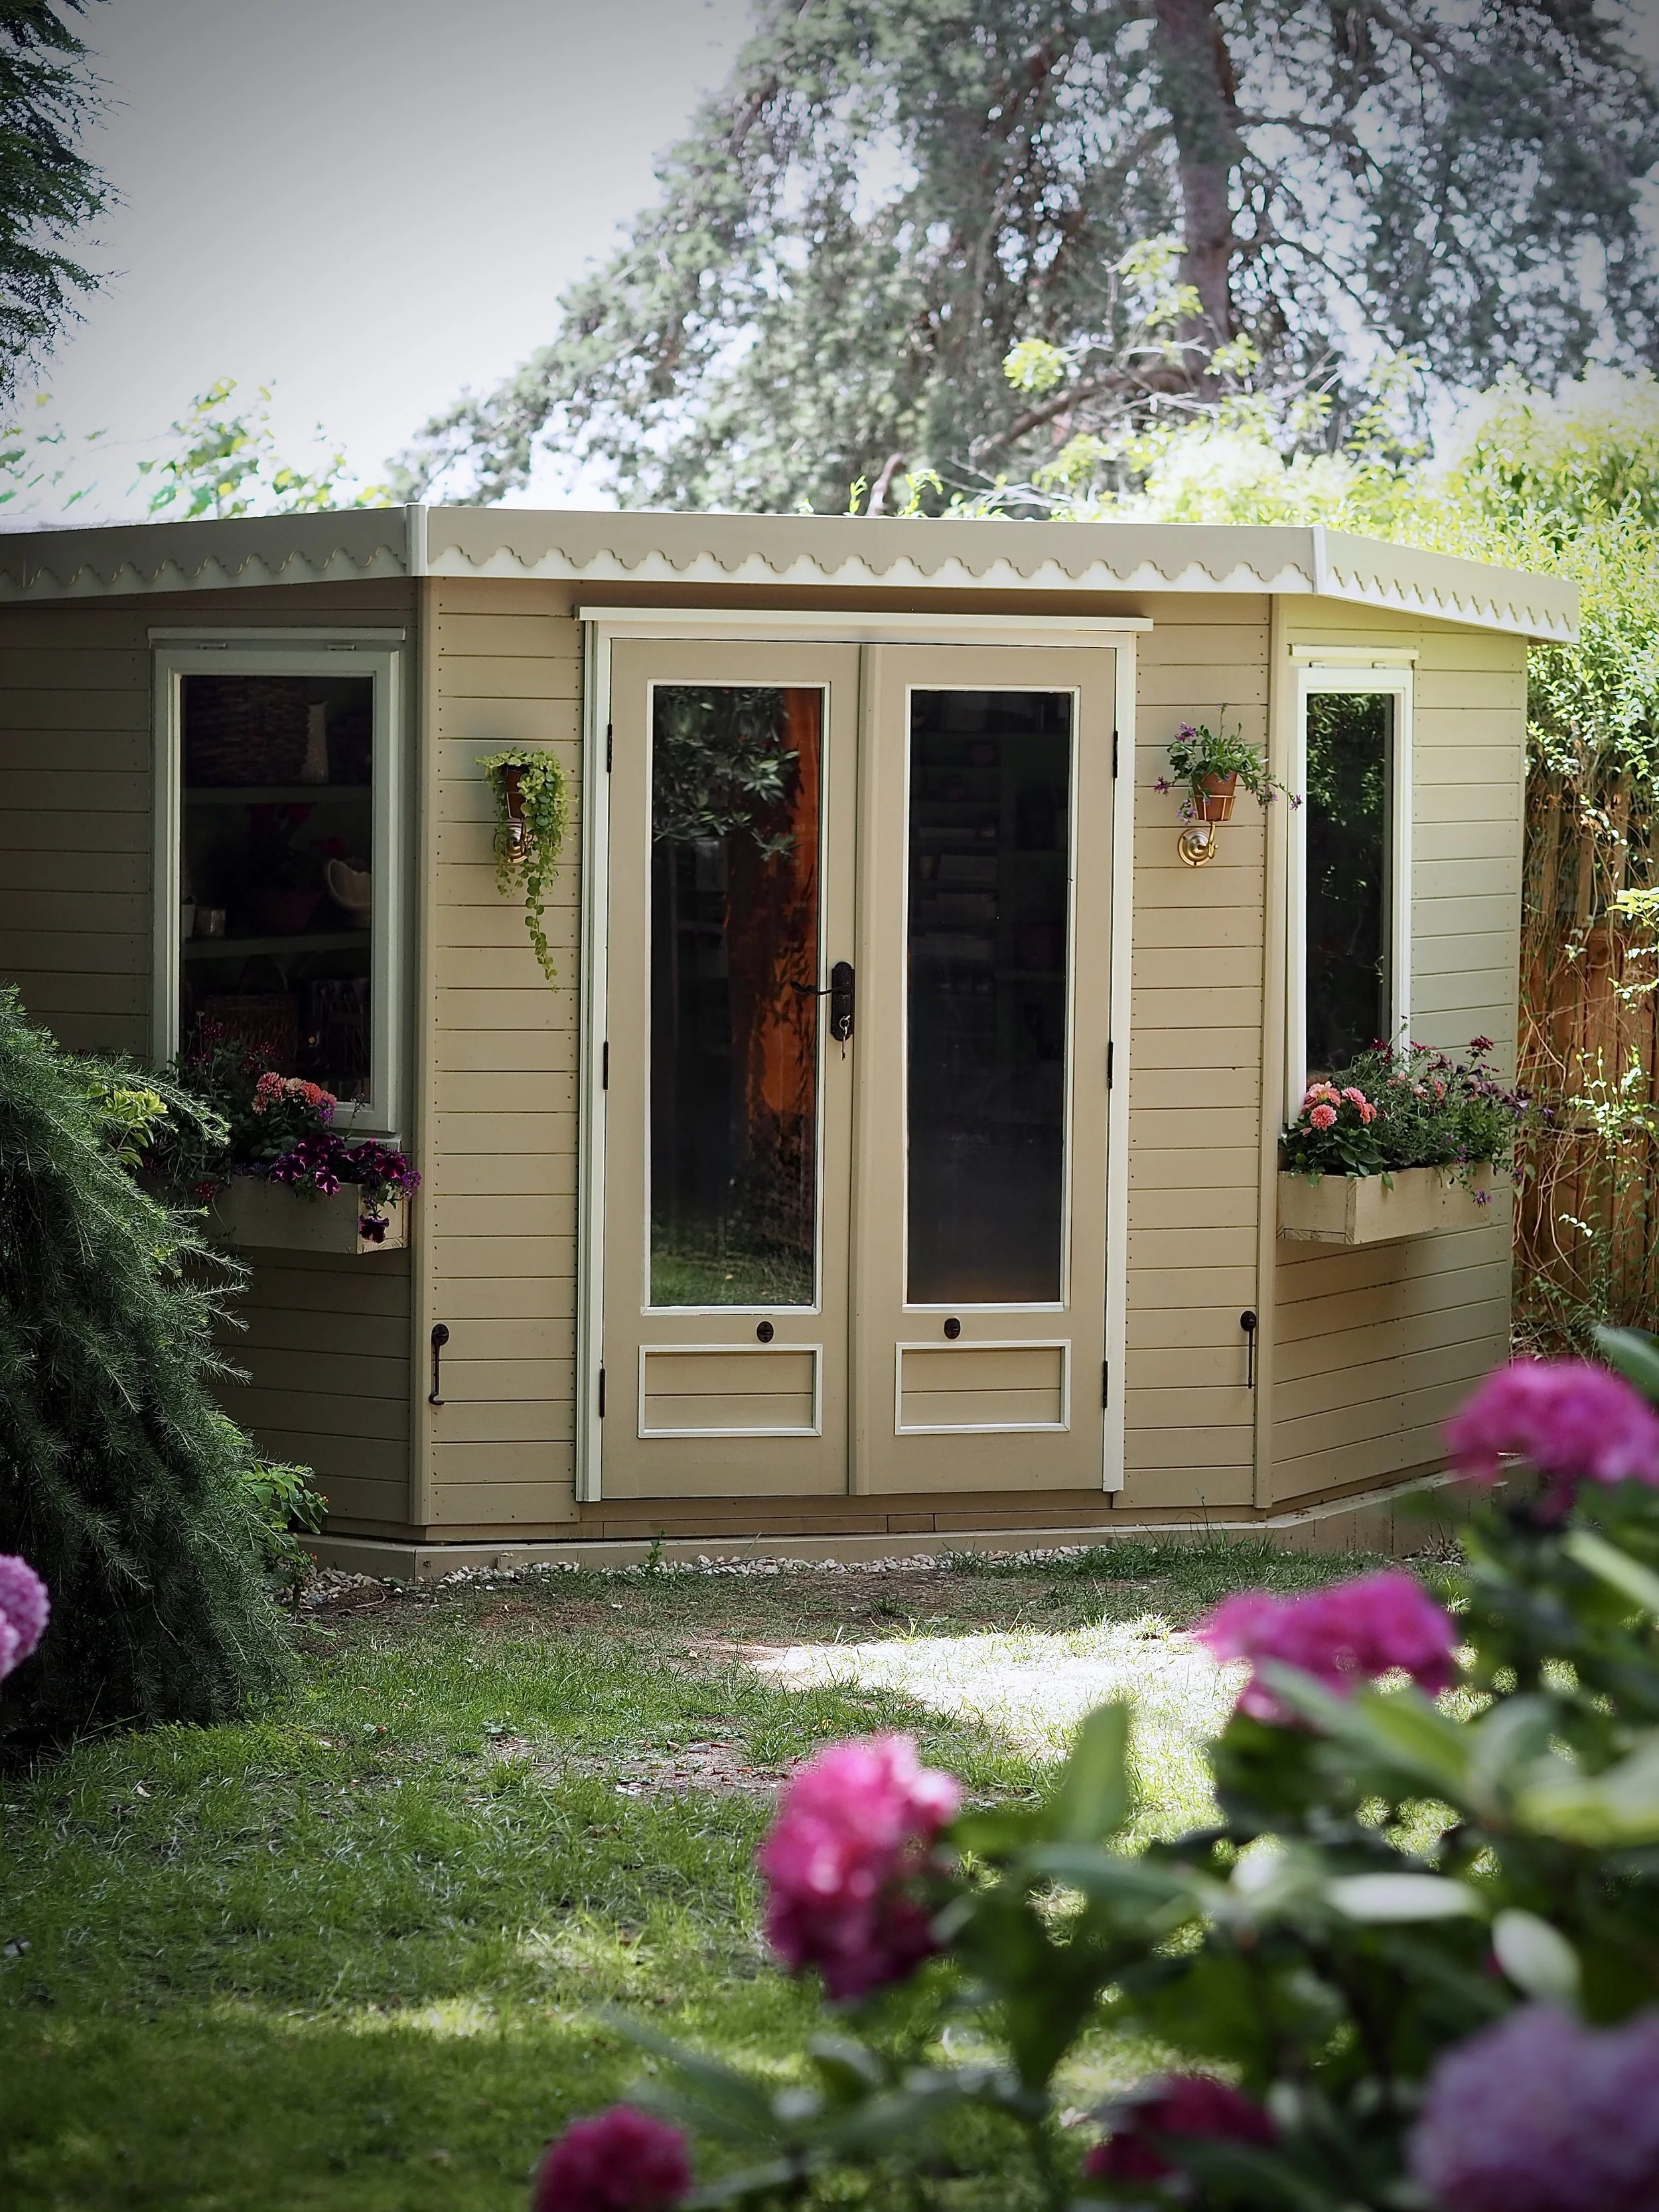
For the outside, I wanted something that was a bit more calming and suited the garden. I’ve always been a huge fan of brown-based taupes within external spaces and chose ‘Lute’ by Little Greene for the external walls, while highlighting the window and door frame using ‘Travertine - Mid’ (a white with a creamy undertone). I think the green and taupe work so well together and the outbuilding looks really nice with the doors open where you can see the colour combinations alongside each other.
Added decorative external trim
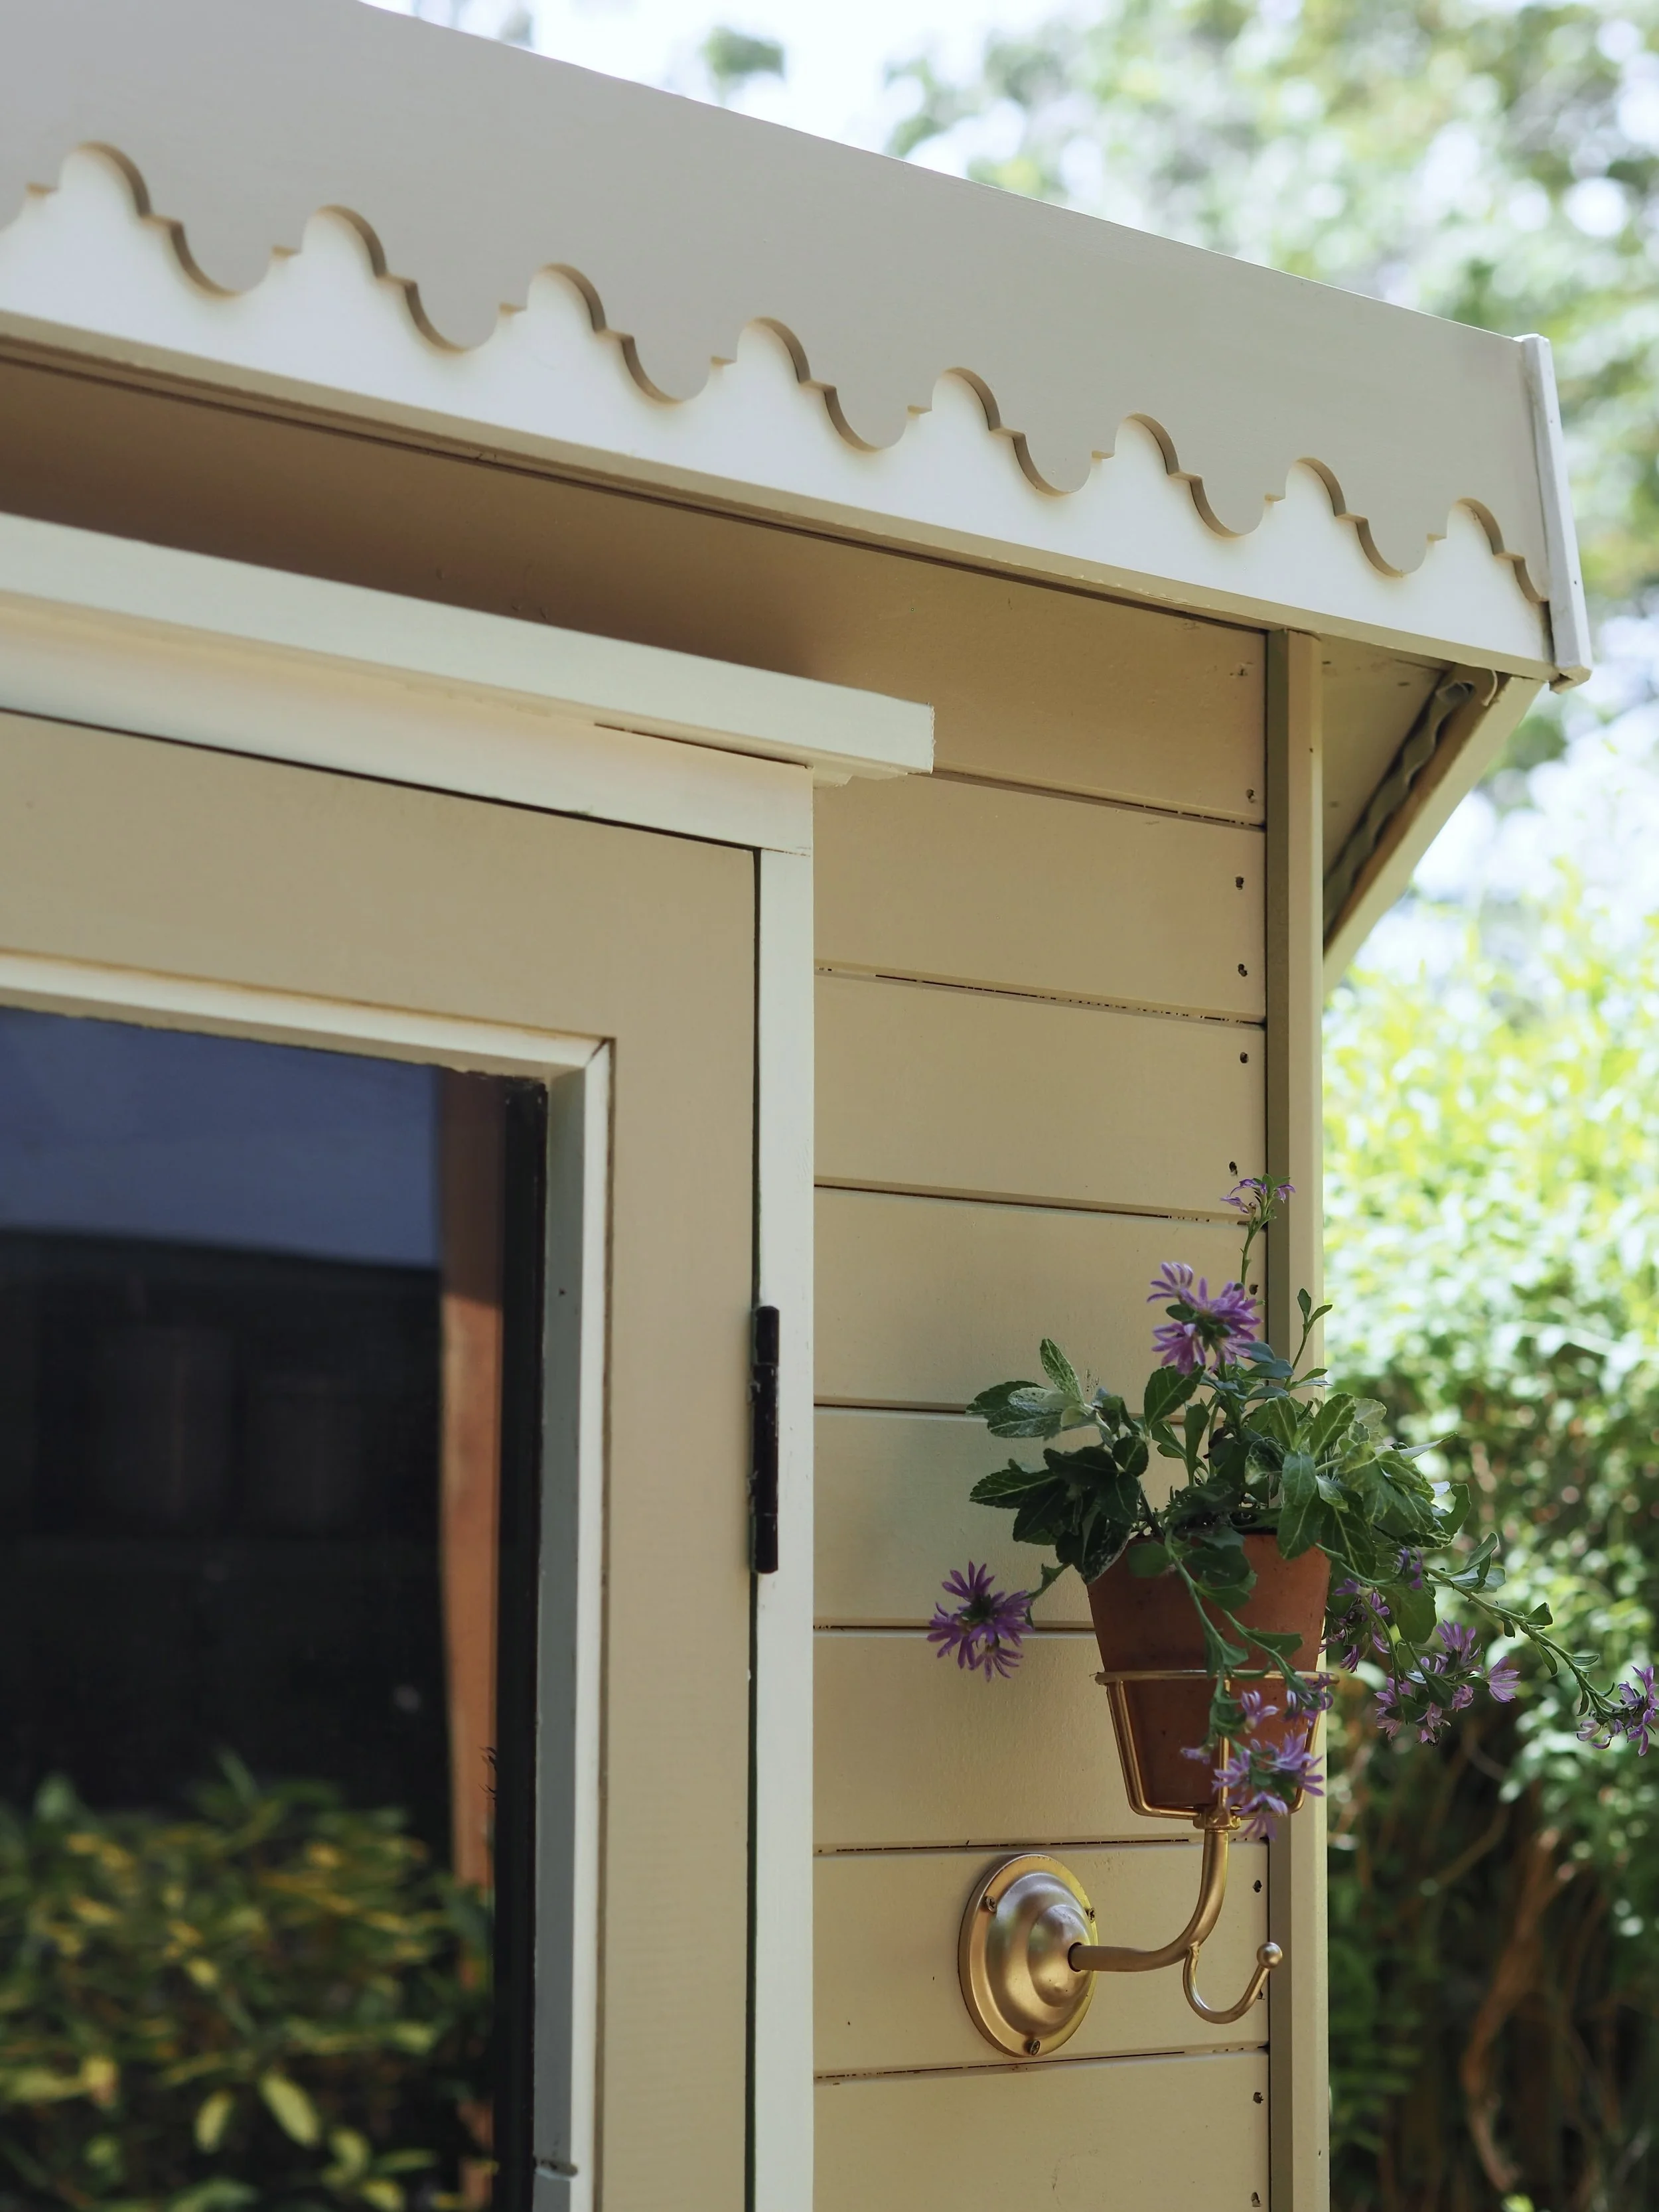
I’ve always loved decorative trim on outbuildings, but I wanted to steer clear of overused scallop shapes. Instead, I asked Camilla Hampton Interiors to do a bespoke cut of her ‘India’ trim in MDF that is suitable for being used outside. She also cut this in a bespoke size to fit the plank around the top of the shed, and I stuck it on with exterior wood glue. It was really easy to do and I think it makes the outbuilding look a lot more expensive and elegant than it did before.
Made my own window planters
With two windows, I thought that making a couple of window boxes would elevate the overall look of the garden room. Using a couple of wood planks left over from shelving within the shed, I cut the planks a few cm wider than the windows and screwed them together. I then drilled through some drainage holes in the bottom, lined each planter with black bin bags, screwed them into the shed and added some bedding plants.
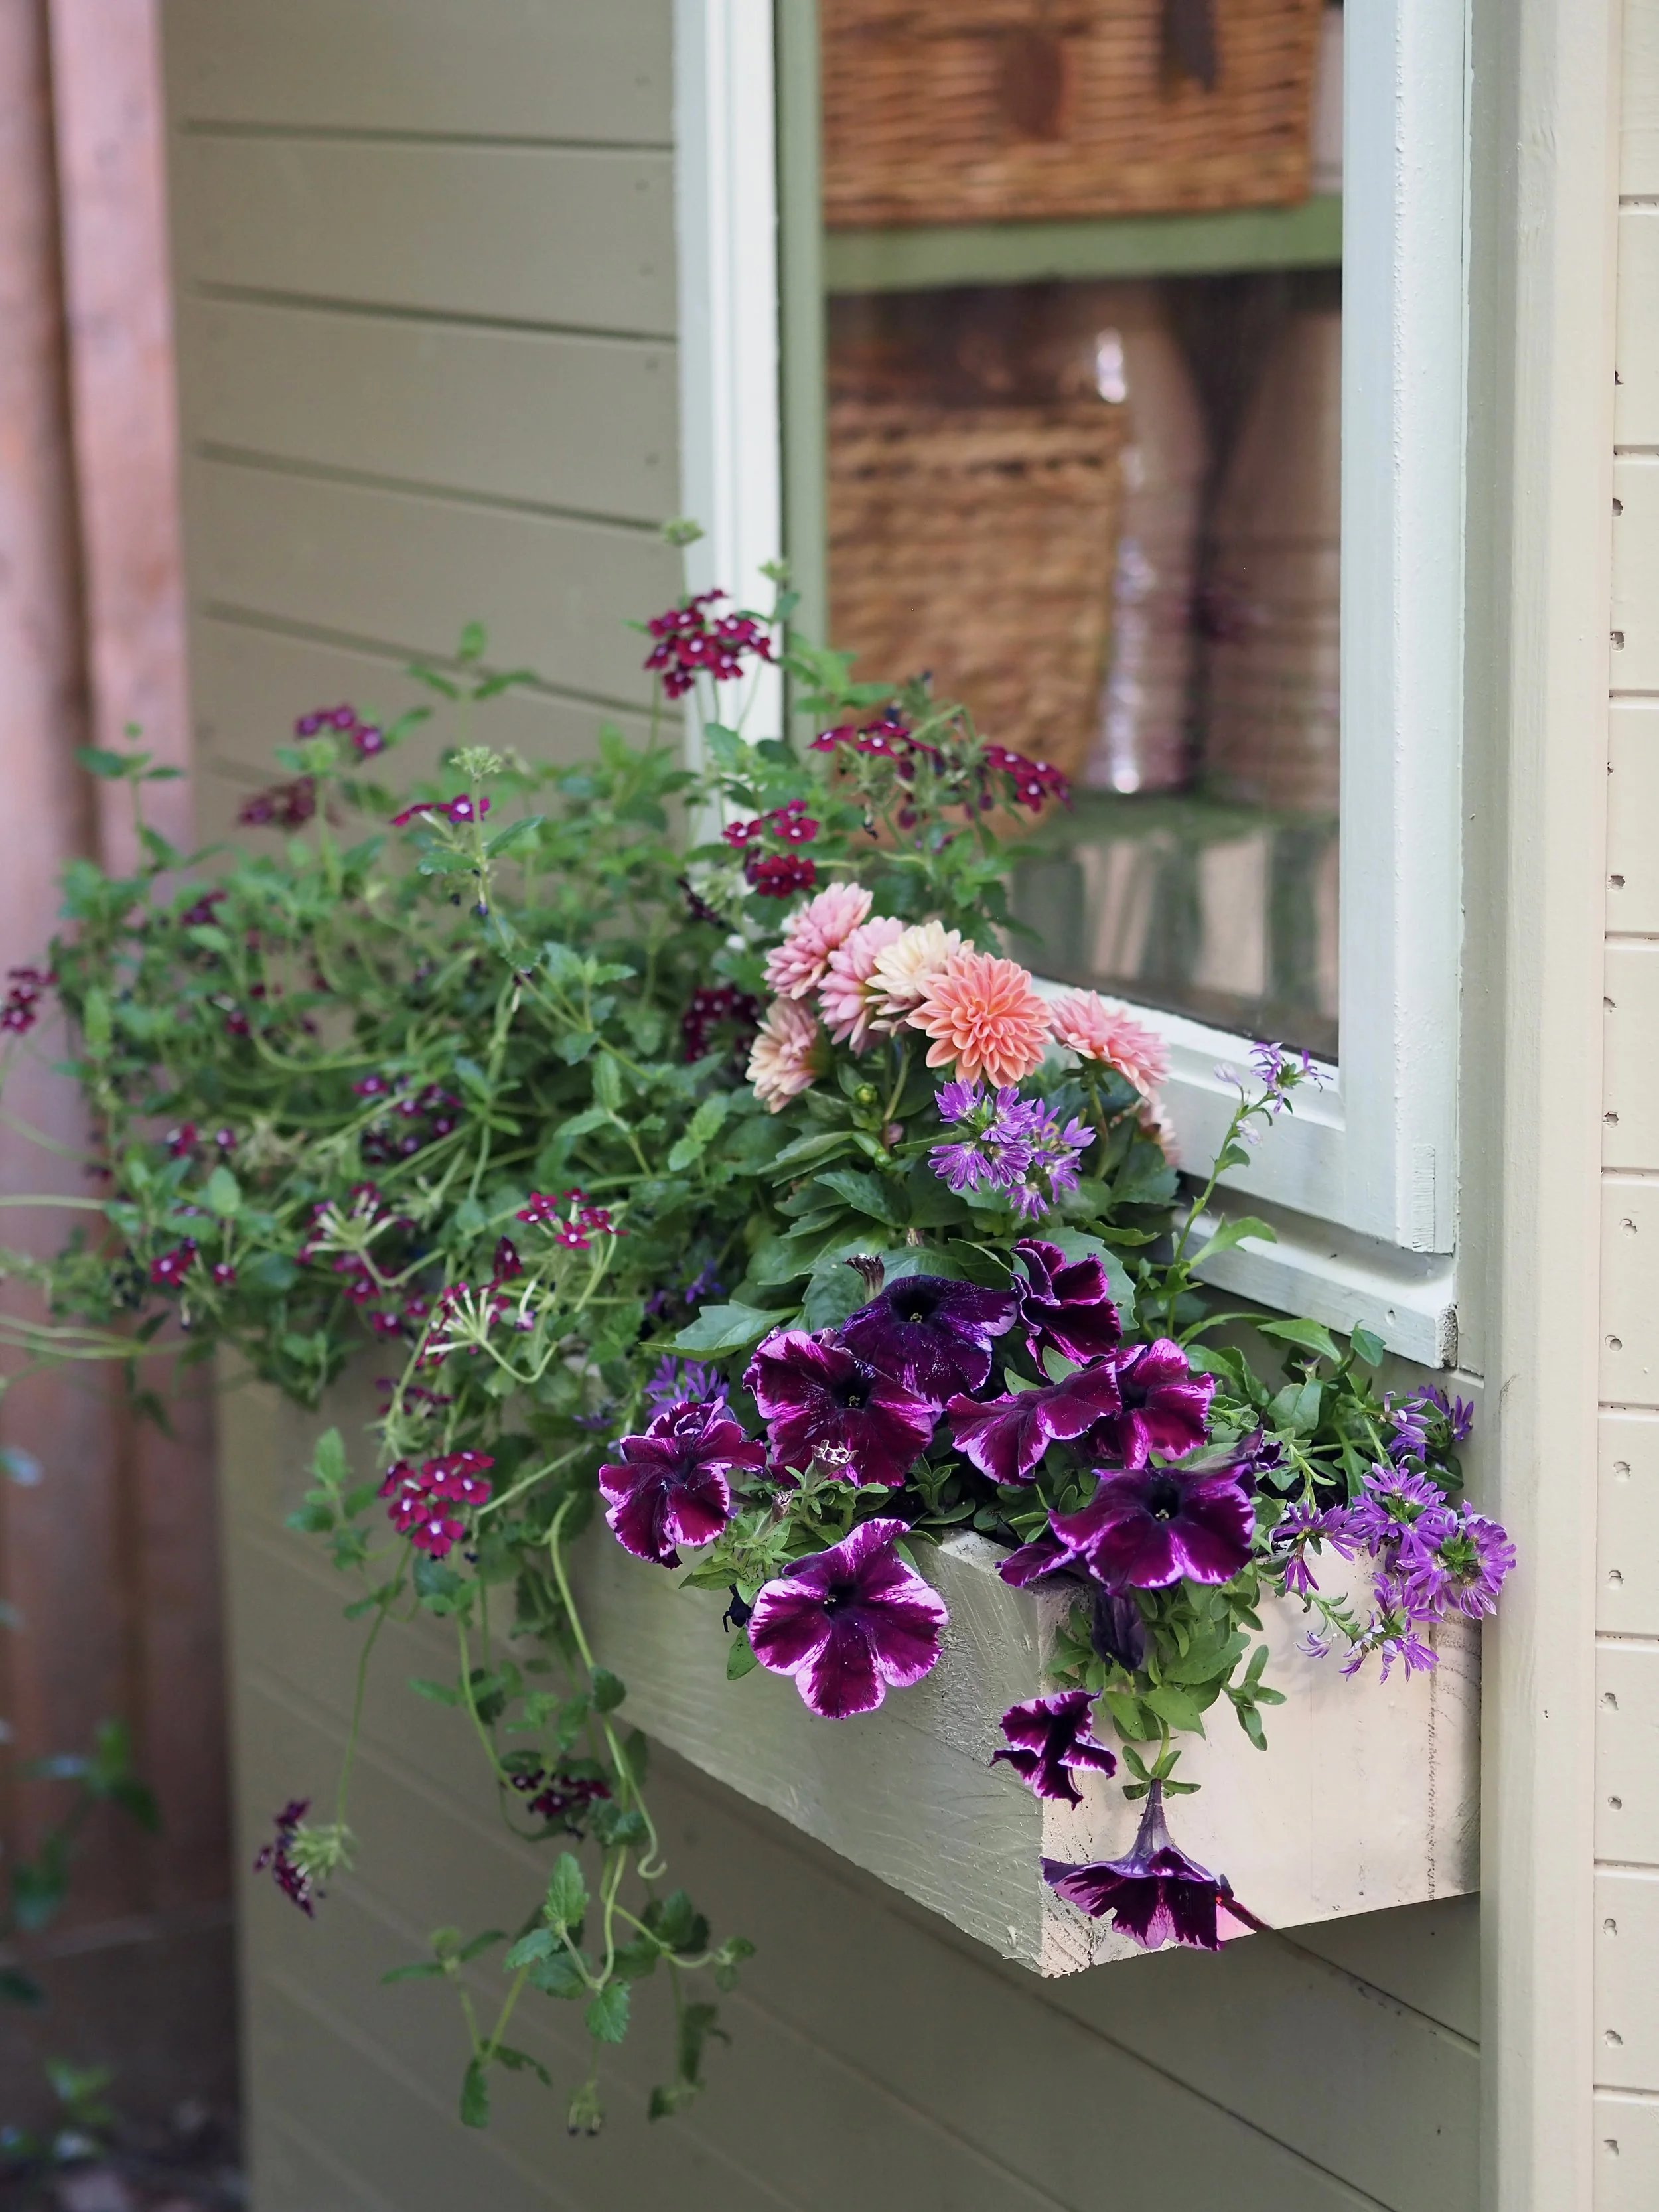
DIY window boxes.
Put up gold plant pot holders rather than external lights
While a building like this would look great with a couple of external lanterns either side of the doors, it actually doesn’t have any electricity! I did contemplate installing a couple of wall lights and then adding those bulbs that can be turned on by a remote, but I knew that I would never use them (plus, it would be expensive to do just for aesthetic purposes). Instead, I used some brass plant pot holders via Amazon to add some symmetrical decor. I think they look really nice and add that ‘final touch’ on the outside.
Styled with wicker baskets and vintage pieces
I knew that the green interior would benefit from natural materials and some small vintage decor pieces styled against it. I also needed to categorise items such as ribbons, threads and small tools, so I purchased a number of wicker baskets from Homesense to collect everything together and used cheap old clay pots to allocate everything else. I teamed the baskets with vintage white mantel planters (which fitted the scaffold boards a treat!) and framed botanical prints and red geraniums.
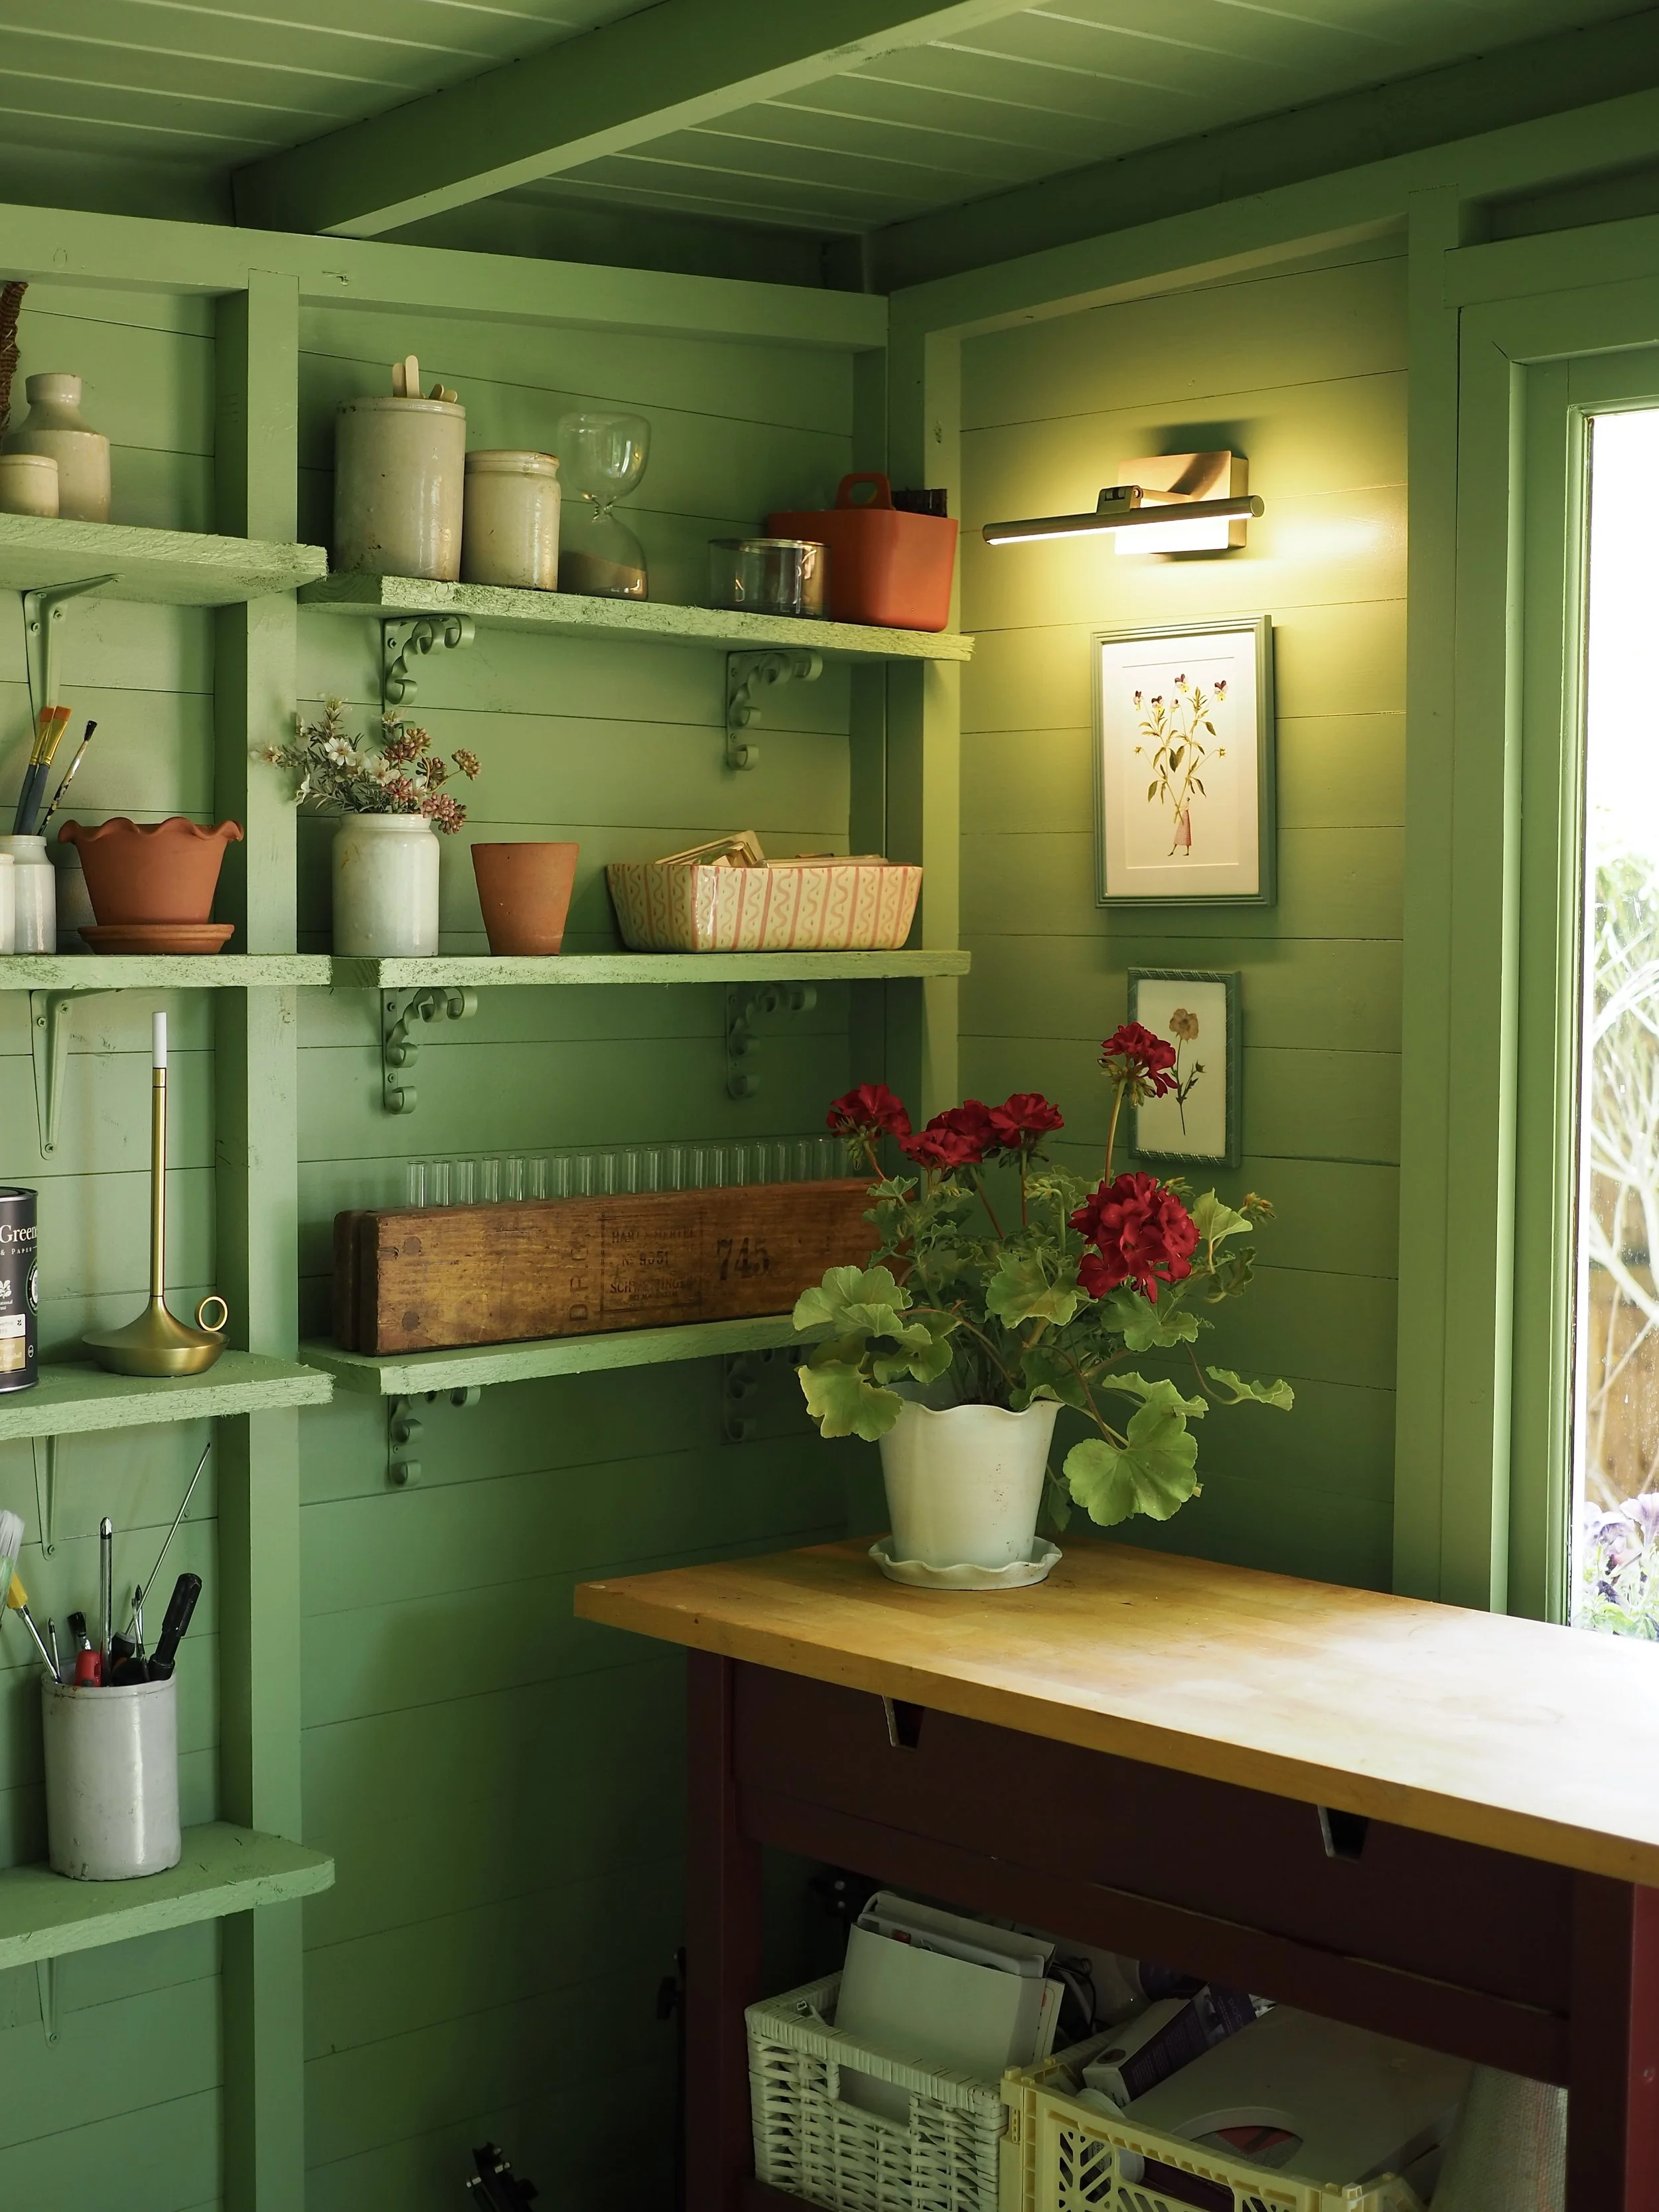
I’m so happy with the final outcome! I love to craft in here and it all just feels a bit more ‘me’.

Before and after of my garden outbuilding makeover!