
How To DIY A Cheap As Chips Picture Ledge
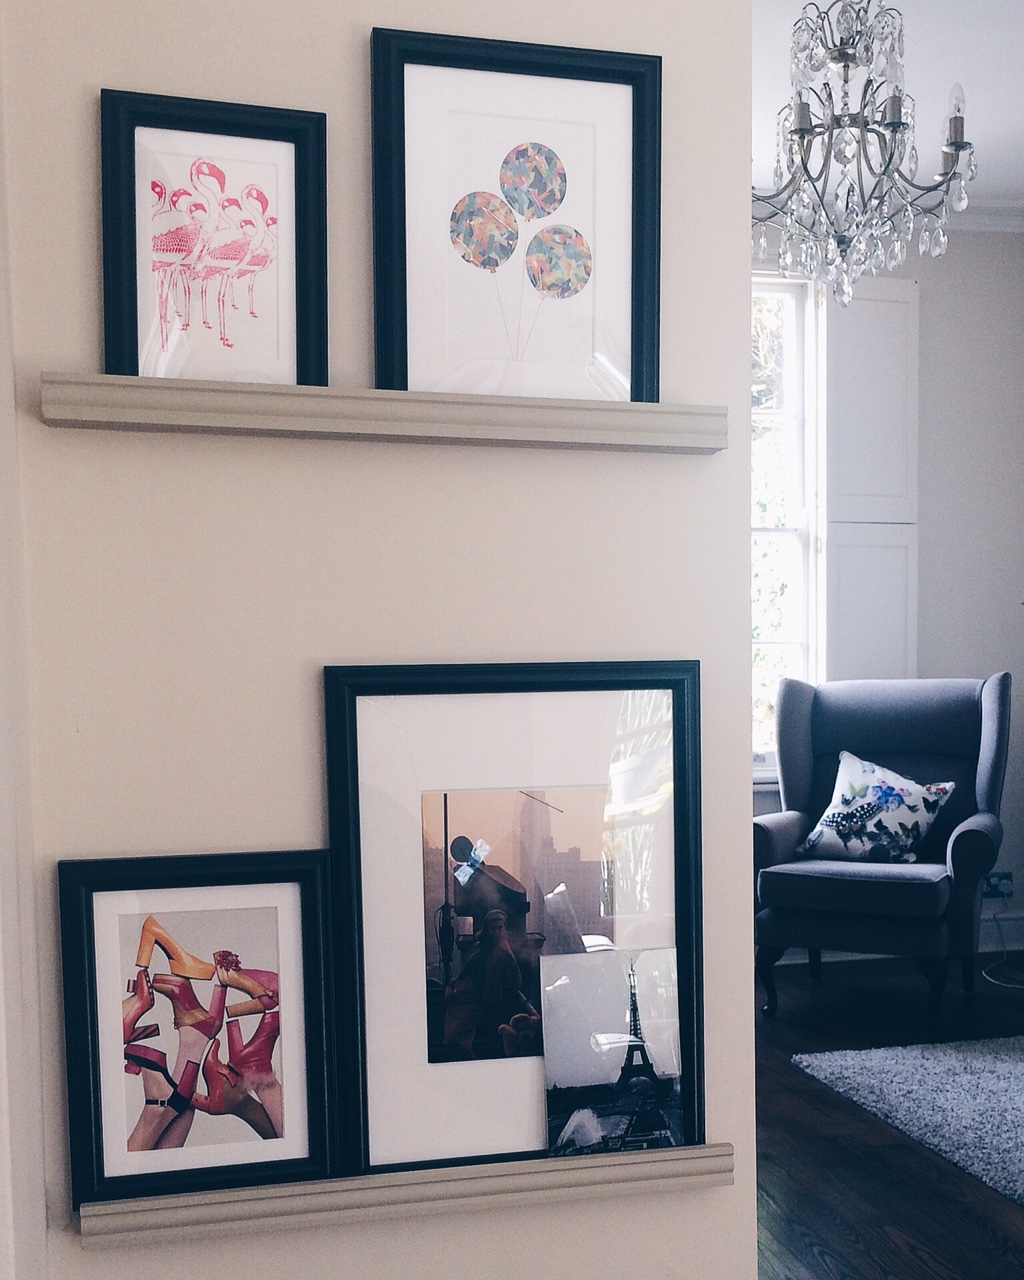
My DIY picture ledges at home, painted in 'Fawn' by Farrow & Ball. These are 'Marietorp' frames with mounts by Ikea.
A favourite interiors trend of mine in recent years has been display shelving - shelves that are erected in the home not for functional use for storage (such as a book shelf) but for display. Often hashtagging online as a 'shelfie', shelves are used to support art, photos, magazine covers, ornamental objects etc, in a casual display.
Display shelves for photos and art cannot be your bog standard basic flat shelves - the shelves will need to be raised at the front to stop the propped-up artwork sliding down and falling off. You also do not want the shelves to protrude out too much, which would look peculiar when you are displaying thin items.
Of course, you can Google 'picture ledge' to purchase a display shelf for photos and art from places such as Ikea and B&Q, but I want to show you how you can cheaply DIY a picture ledge and easily mount it on your wall without the usual drilling fuss. By DIY-ing a picture ledge you can also choose the length, colour and style of the ledge.
To DIY a picture ledge like mine, you will need:
MDF Moulding
Tape Measure and Pencil
Handsaw (or if you do not have one of these, a sharp kitchen knife will do the job)
Sandpaper
Paint of your choice & small Paintbrush
No More Nails glue
Cheap MDF moulding is available in most DIY shops, this is what I use for my DIY ledges. MDF moulding (also know as beading) can be found in the wood & timber department and is usually used for skirting boards, staircases or for decorative paneling. The moulding I used below came from Homebase and was £3.99 for around a metre which made two ledges.

Measure the length that you would like your picture ledge and then cut the moulding to size. Lightly sand the cut edges until they are smooth.
Paint the ledge a colour of your choice (do not paint the side that will be attached to the wall). You only need a small amount of paint so any left over paint you have already is perfect. If you want a particular colour, you can cheaply buy a sample pot which will contain more than enough paint for your ledge. This is a good time to experiment with colour - if you've been lusting after a particular dark or overly bright colour, but have been too scared to paint your entire walls with it, add it into your home by painting your picture ledge with it.
Once dry apply some No More Nails glue to the side of the ledge you are going to attach to the wall, position it, then hold it in place for a few minutes until it holds by itself. If you are not confident on positioning the ledge so it is straight using your eye co-ordination only, download and use a Spirit Level App on your phone, or you could measure where the start and the end of the picture rail should be by using a tape measure from the bottom of the wall upwards. For me, I always tend to use my eye co-ordination only - I have never found any house I have lived in to not be built wonky one way or another! No More Nails glue also gives you a 5 minute grace period to re-adjust before it properly sets.
Wipe away any excess glue with kitchen roll or an old cloth, then leave for 12 hours before putting anything on your ledge.
For ideas on what you can display on your picture ledge, you can pick up really cool postcard prints from gifts shops in places like the V&A. Birthday cards from shops like Liberty or Paperchase (I love Letterpress cards) are beautifully printed and embossed and cost a couple of pounds each.
You can cheaply frame and mount your prints with ready made frames from Ikea, high street card/gift shops, DIY stores, or if you need a particular size frame which isn't 'standard', from online websites like Ezeframe. These online framing sites let you order custom frames but keep down the cost by offering acrylic glazing rather than glass. You can also opt out of extras like backing and fixtures.
Don't forget to tag me in (@melanielissackinteriors) so I can see your #shelfie!