5 Amazing Upholstered DIY Headboard Ideas For A Bedroom
5 brilliant DIY headboard ideas for your home…
Read More
5 brilliant DIY headboard ideas for your home…
Read MoreMeet 8 inspirational women who started up their successful home and garden businesses as a result of COVID-19…
Read MoreNext week (from May 3rd - 7th, 2017) is London Craft Week. Now in its third year, this annual event is all about celebrating creativity and craftsmanship, with 230 events happening over the space of the week in the city. Last week I attended one of these events, the launch party for Heal's Modern Craft Market, and instantly navigated towards the stand hosted by Shoreditch Design Rooms. Based in East London, Shoreditch Design Rooms are successful upholsterers who offer training classes to the public ranging from leisure classes (where you can work on your own piece of furniture), to accredited courses for a diploma qualification in upholstery.
Read More
My mother-in-law recently asked me to cover an old headboard in her guest bedroom and add in tufted buttons (that trick which creates the plush diamond pattern effect). I'd never upholstered a headboard before, but spurned on by how well my pink velvet bedroom bench came out, I watched a few YouTube videos made by an American upholstery company, made notes, then went about sourcing the items required to do the job.

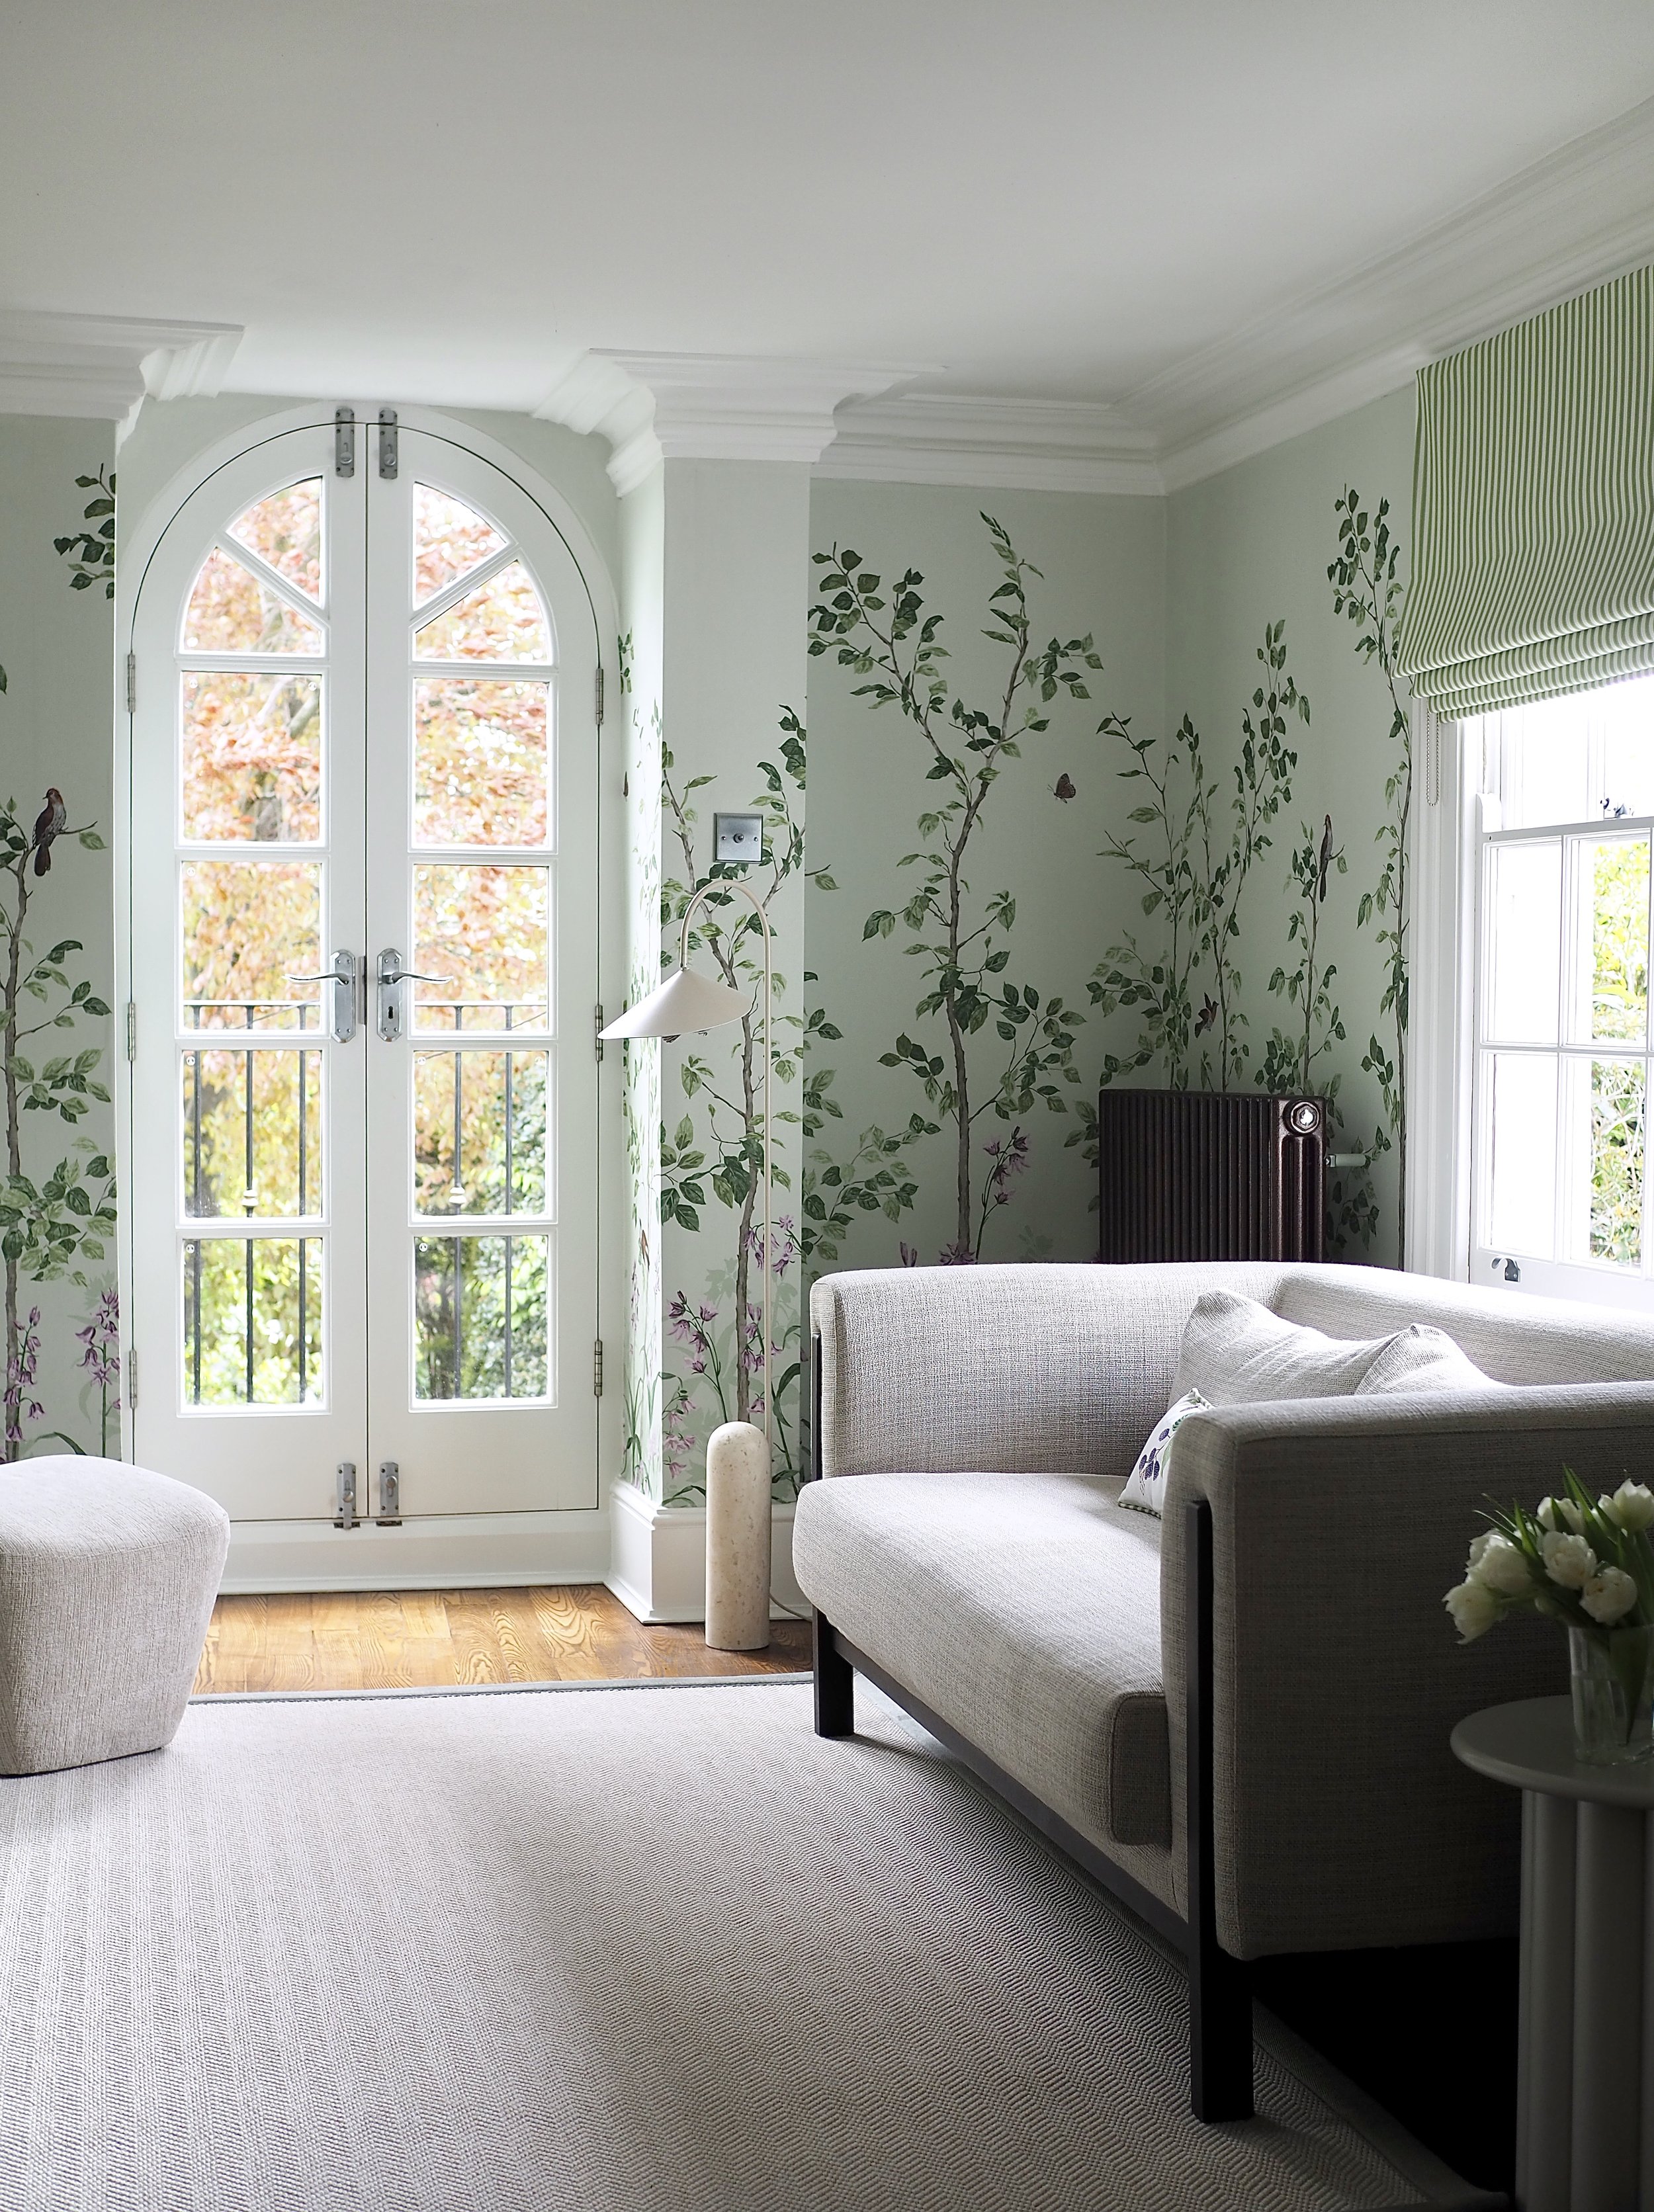
This wallpaper is called Azul by Harlequin.
To upholster a headboard you need the following:
Upholstery fabric big enough to cover the front of the headboard and be wrapped around the back (around 10 cm from the headboard edge.)
A staple gun and staples
Self-cover buttons. I brought mine from Hobbycraft.
Scissors
Tape measure and ruler
pencil
Really strong thread (not cotton thread).
Large needle
A drill

The headboard it in it's original form. The colour was nice but the fabric was old and stained.

How the headboard looks now.
First off I laid my fabric face down on the floor, placed the headboard upside down on top, then made sure that I had enough fabric to pull round the edges to the back of the headboard.

Pulling fabric over onto the headboard so that it's taught, I used the staple gun to staple it in place:

Once the fabric was stapled in position, I checked for any loose areas of fabric and pulled and stapled them down so the headboard looked tidy. Double check there are no loose or lumpy areas, then cut away any excess fabric:

Turning the headboard face-forward, I used a tape measure and a ruler to mark where I would like the buttons to be positioned to create the diamond tufted effect. I measured the headboard length-ways from the top of the headboard where I wanted the buttons to start, then divided the area in half. I then marked where the 2 buttons would need to sit and worked down the headboard. The key here is to get your measurements right. Each button should be the exact distance apart, both side to side and up and down from each other. The best way to imagine this is as if to place a grid over the headboard:

Work in a grid pattern when measuring where to place your buttons. Each button should be the exact same distance apart. Please note that this image is an example of how to think about spacing your buttons rather than pattern choice (you can choose lines or a diamond pattern).
I then carefully used a drill to drill a hole through the headboard where each button should be. You have to take great care here to apply pressure right away so your fabric does not get caught in the drill and tear.
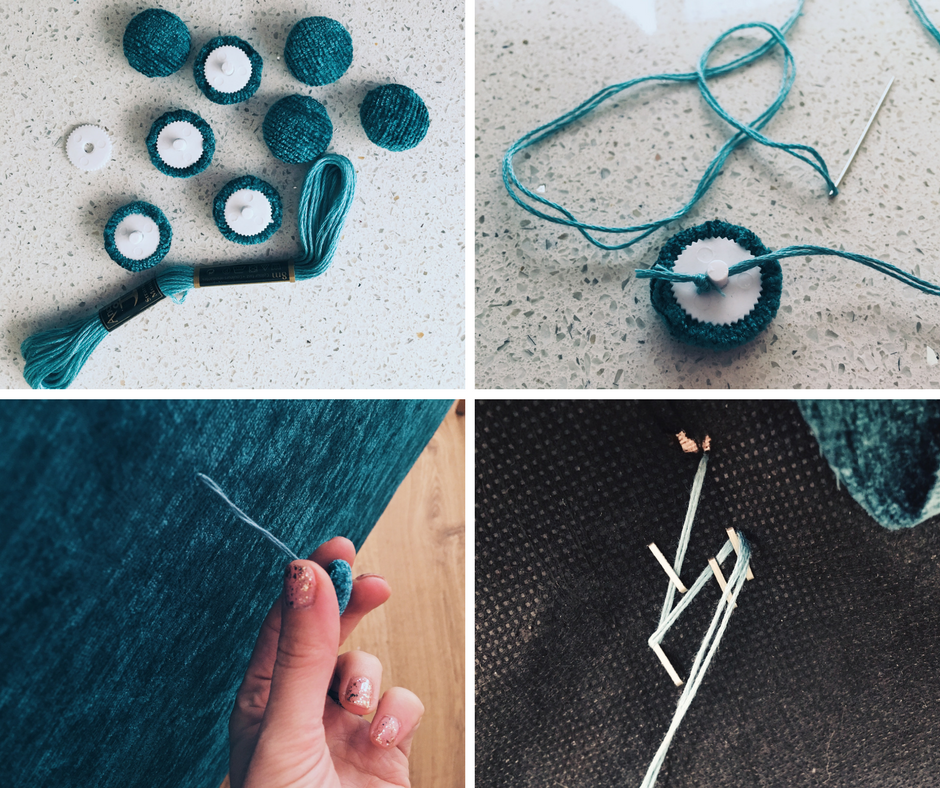
Take a snap button, remove the top and then cut a circle of your headboard fabric a few millimetres bigger than your button head. Fold and tuck the fabric around the button head, then snap on the base. Push any loose pieces of fabric into the snap button using the tip of scissors. You can find detailed instructions on doing this here.
Thread your needle, then push your needle through the drill hole you have created on the headboard. Put your finger on the button and slightly push it down, pull your thread tight with your other hand, then staple the thread in place at least 3 or 4 times with the staple gun. I zig-zagged the thread as I stapled it to secure it better. Repeat this for all your buttons!

Ta-da! One reupholstered headboard with tufted buttons.
Upholstering this headboard was actually quite easy. Next I'm thinking of trying a chair. Have you re-upholstered with success? If so let me know in the comments section below....
I have to admit I spend a fair amount of my time online just saving images of pink and gold chairs and sofas. Seriously, if you follow me on Pinterest and look through my boards it's all full of pink and gold decor. Blush pink in interiors has been huge for 2016, and as the metallics trend continues to thrive blush pink and gold has been featured a lot in furniture and homeware by brands such as West Elm. The new Tom Dixon designed resturant Bronte in London is also awash with dusty pink chairs and a candy pink concrete bar. I LOVE pink and gold together, but seeing as I wasn't going to be able to convince my husband that we needed to replace our perfectly fine sofa with a pink number anytime soon, I decided to bring a bit of pink & gold in the bedroom by DIY-ing a pink & gold bedroom bench from scratch.
Read More