How To DIY A Gold Mesh Metal Wire Notice Board
I'm delighted to say that this post has been shortlisted in the Pinterest Interior Awards category for Best Workspace Idea!
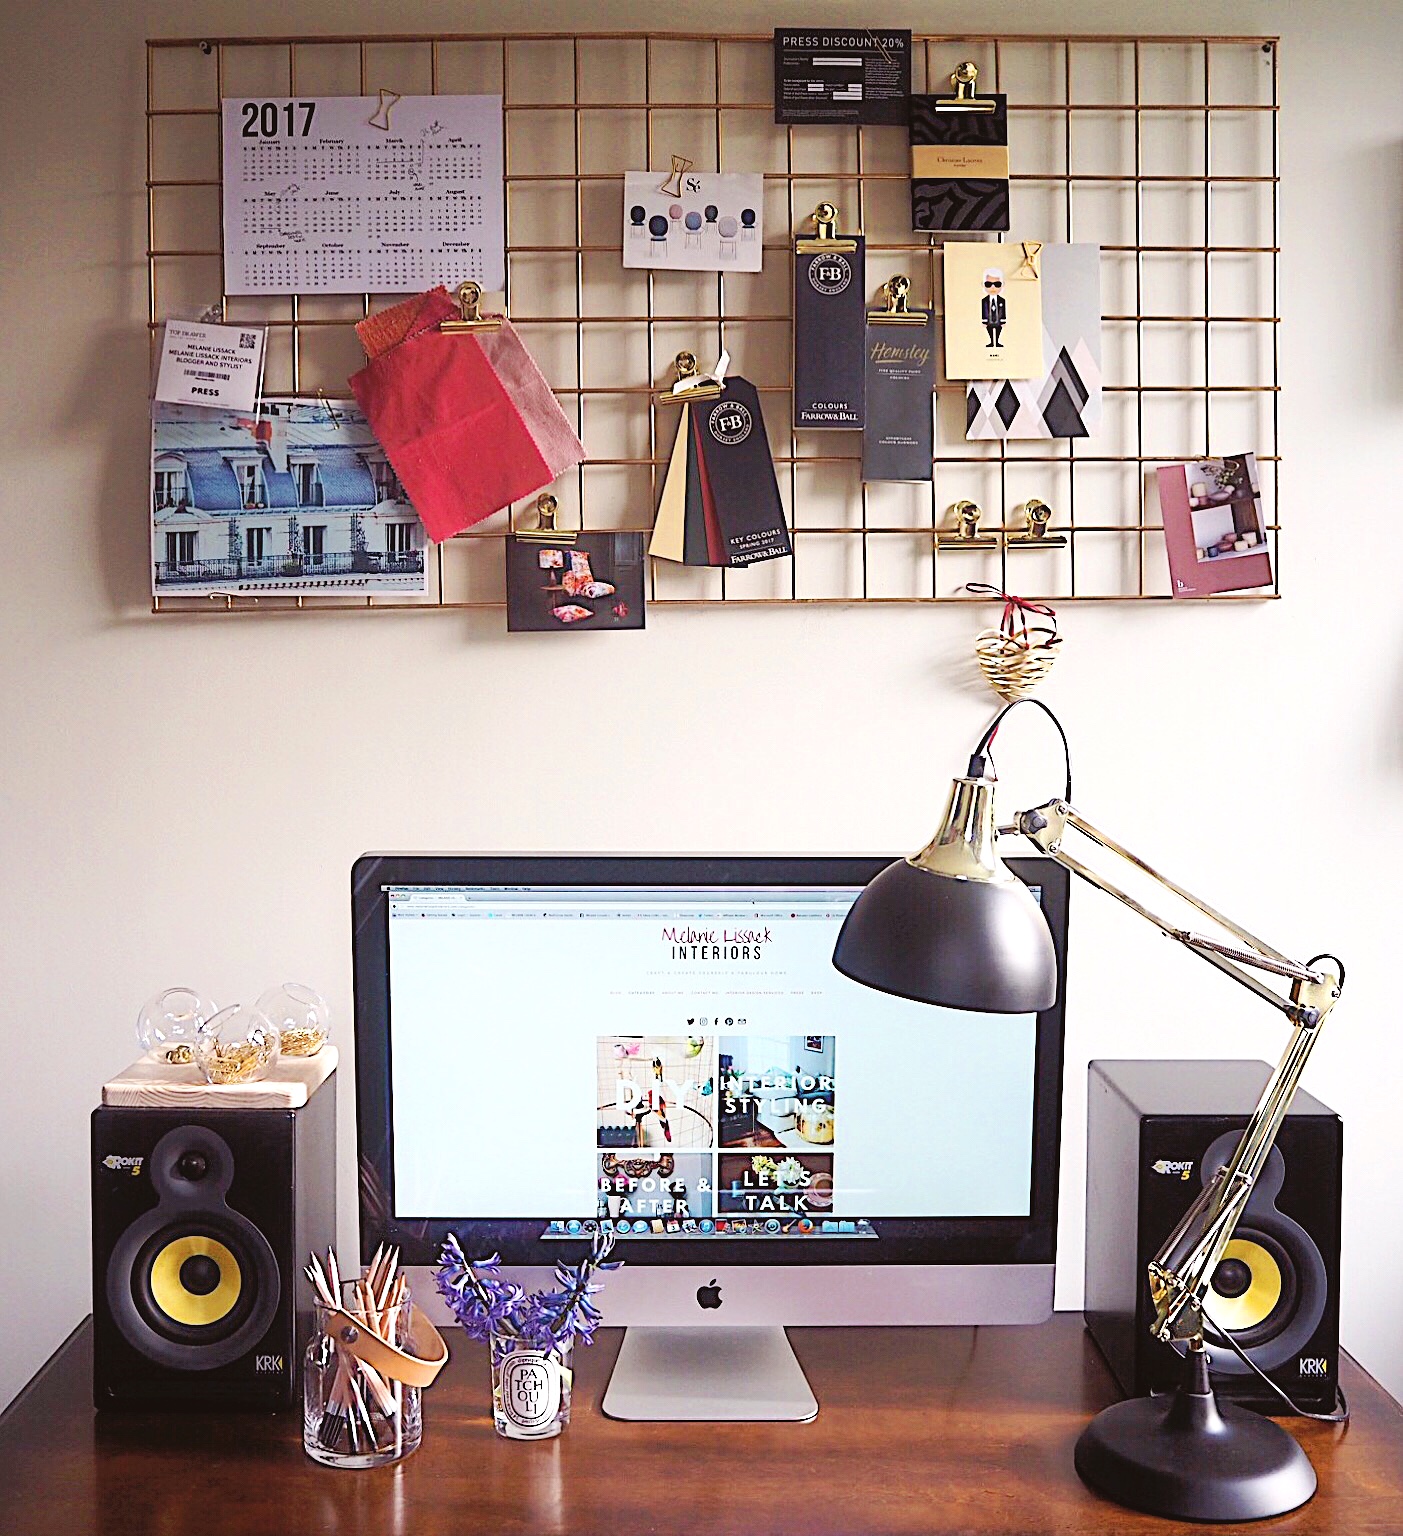
I'm currently revamping our home office as it has turned into a complete disaster area. The home office had belonged to my husband until this blog came along, then, unfortunately for him, I intruded on this room as well. One of the problems that I caused was that I had paint charts and fabric samples strewn everywhere, and whenever I needed to find one of these quickly, it was in a pile somewhere, either on the floor or on the desk. I'm considering using a durable aluminum plate to create a clean, custom look with an industrial edge while keeping things organised.
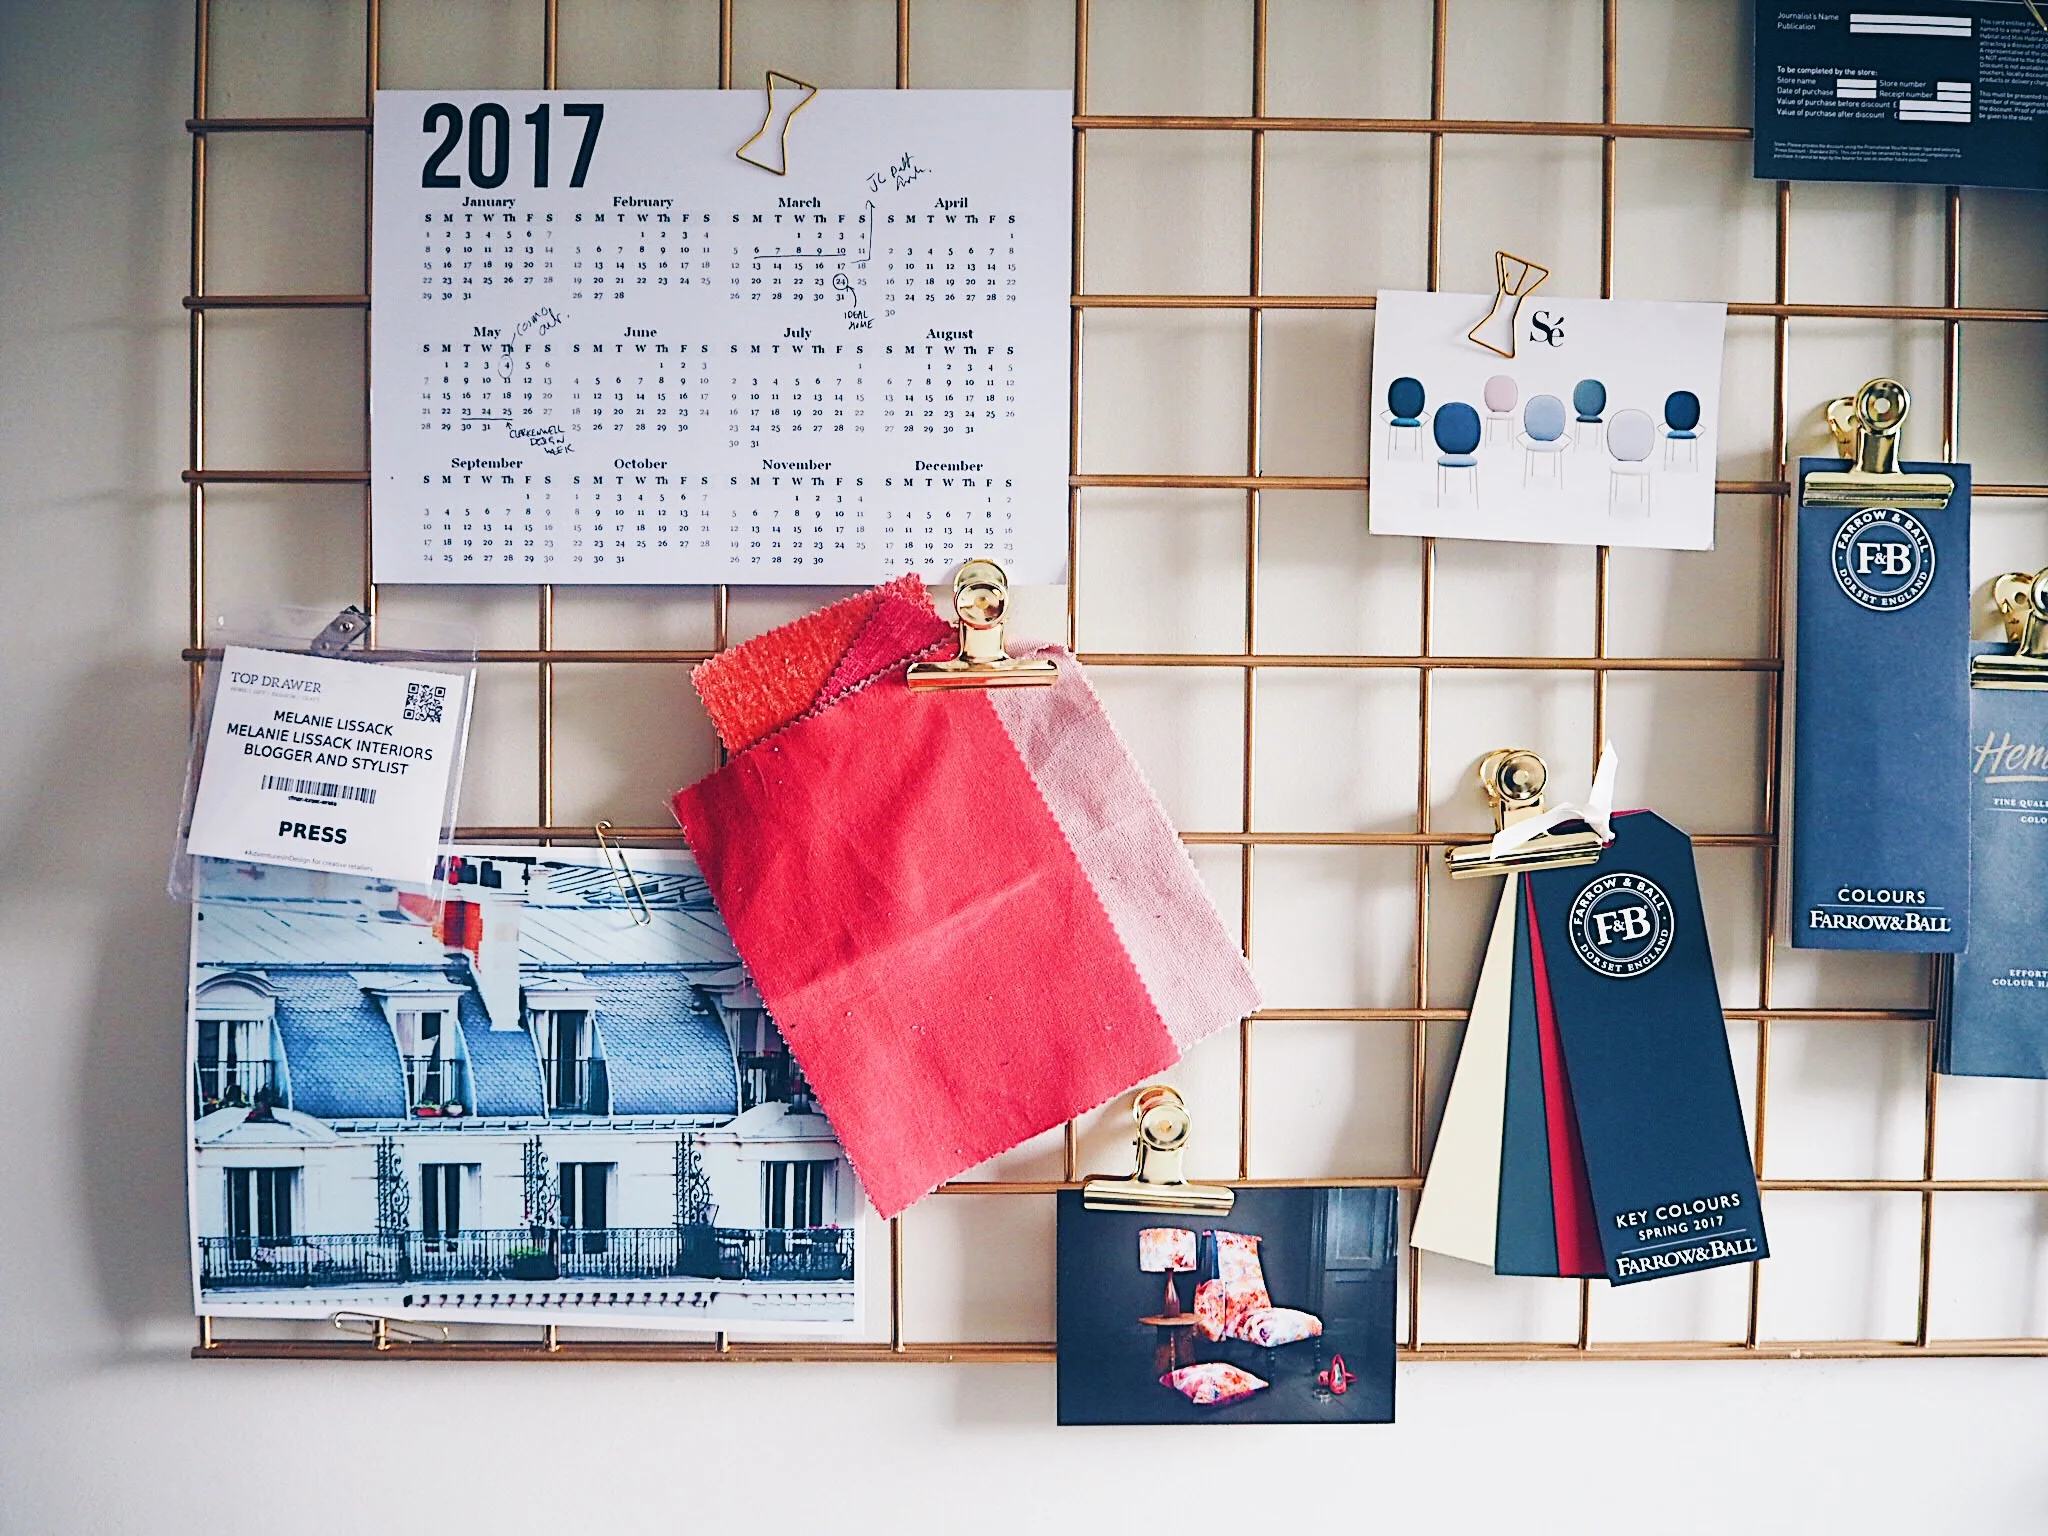
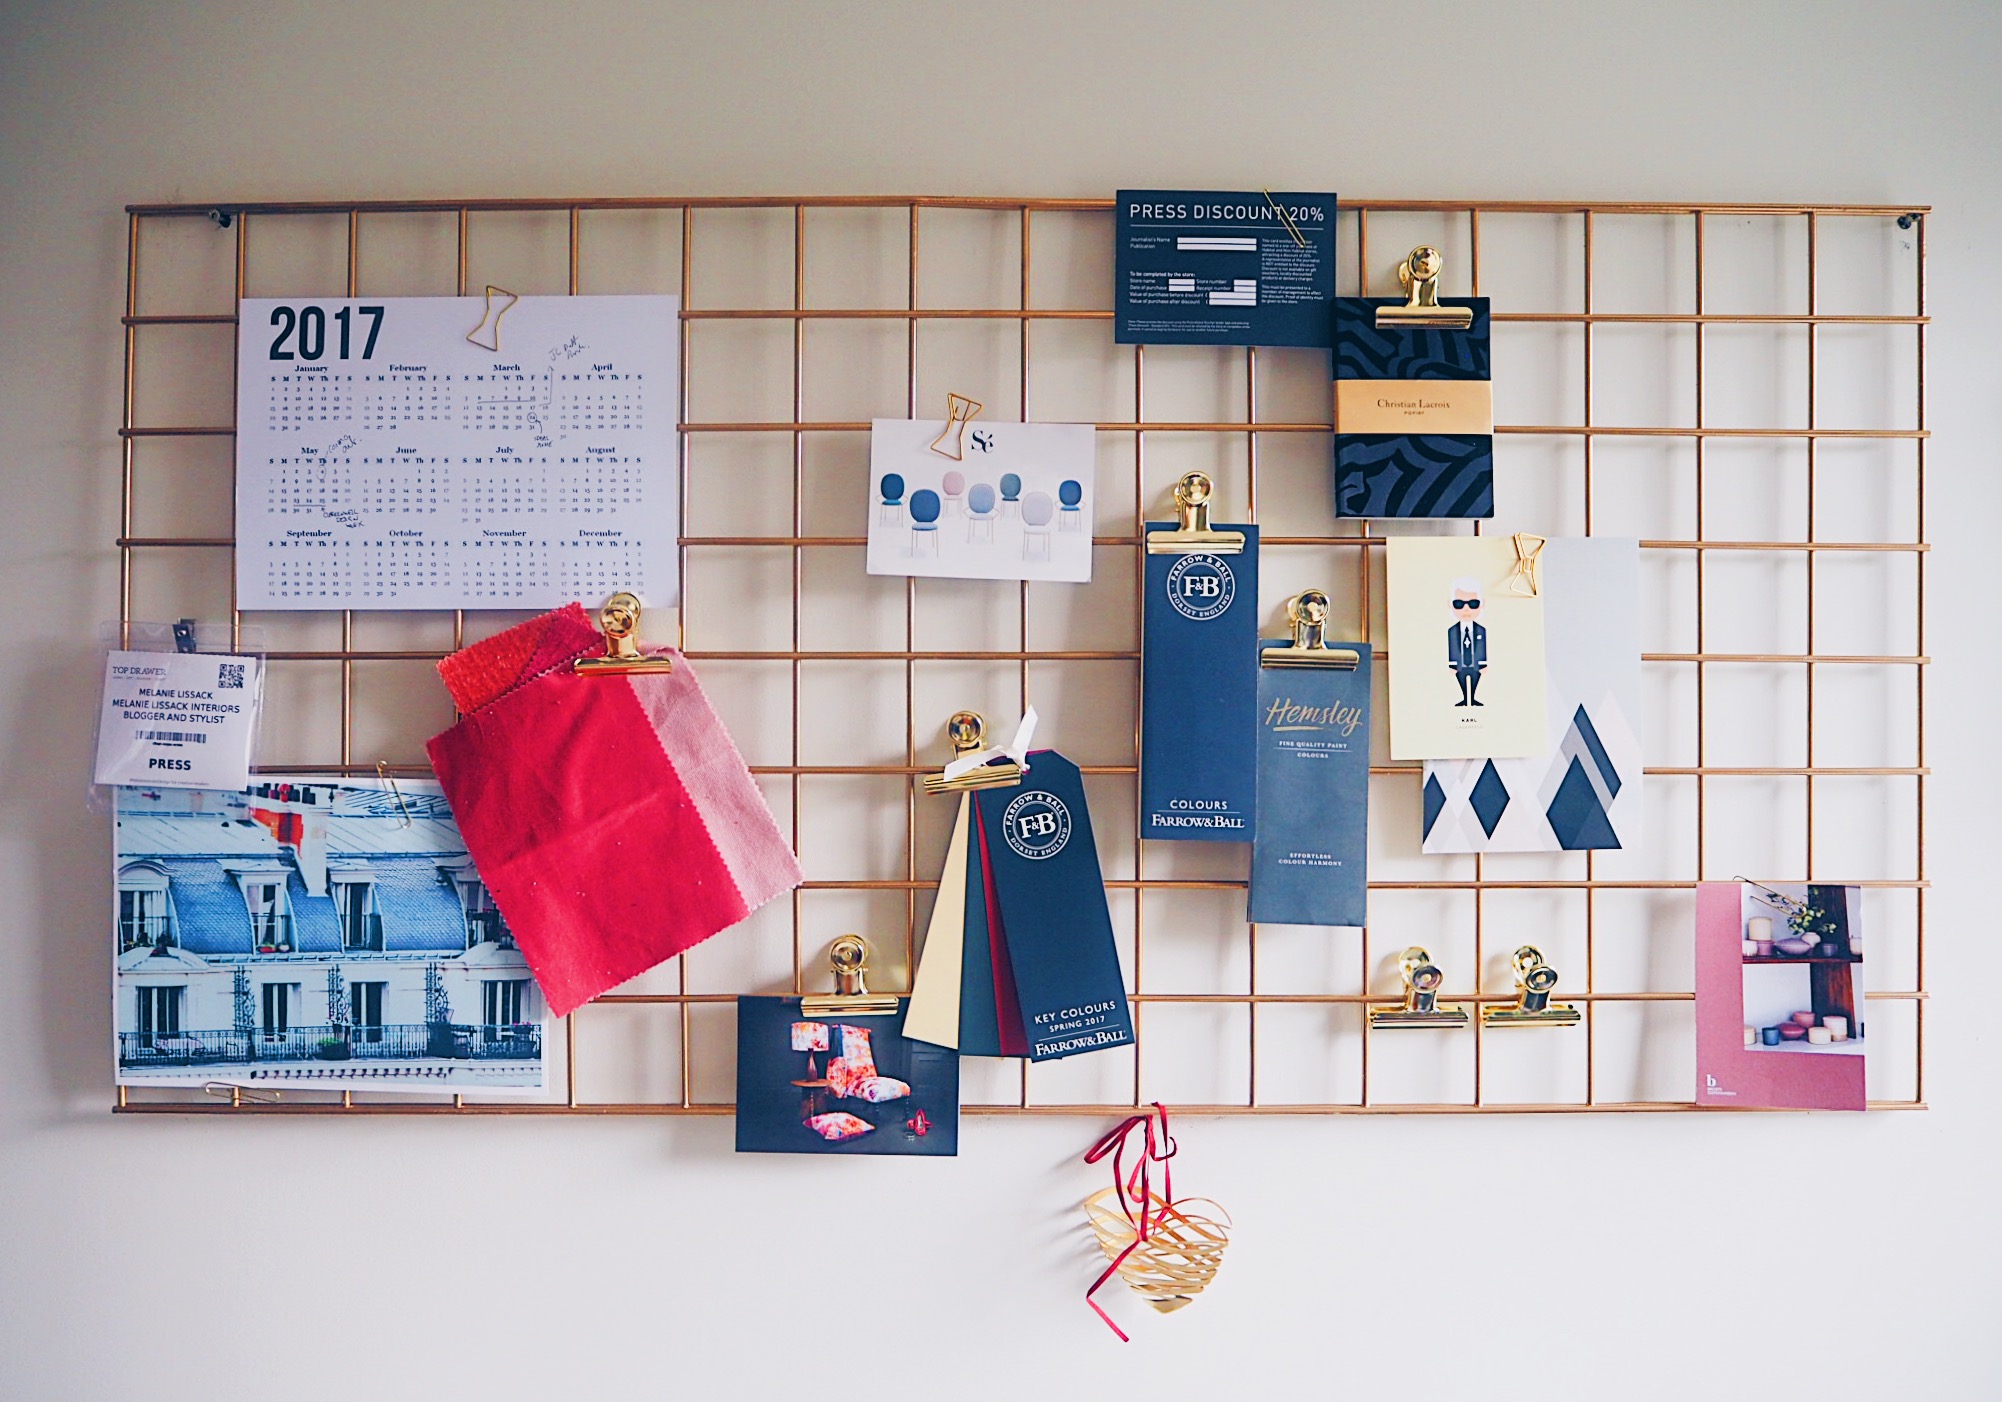
This Paris print is by Rachel Carr and is available to purchase from her Etsy store
I needed a notice board where I could pin all these often required bits and pieces. Not a fan of cork, I lusted after one of the on-trend gold wire notice boards available from a selection of lovely online home ware retailers for £45 onwards. The trouble was I wanted quite a large noticeboard, and I did not want to part with the best part of fifty quid for one.
I knew there must be a way of creating something very similar, and for cheap! I set about investigating and found that a grid wall mesh panel (which are used as part of shop fittings) would provide the strong metal structure that I needed for my own office memo board.

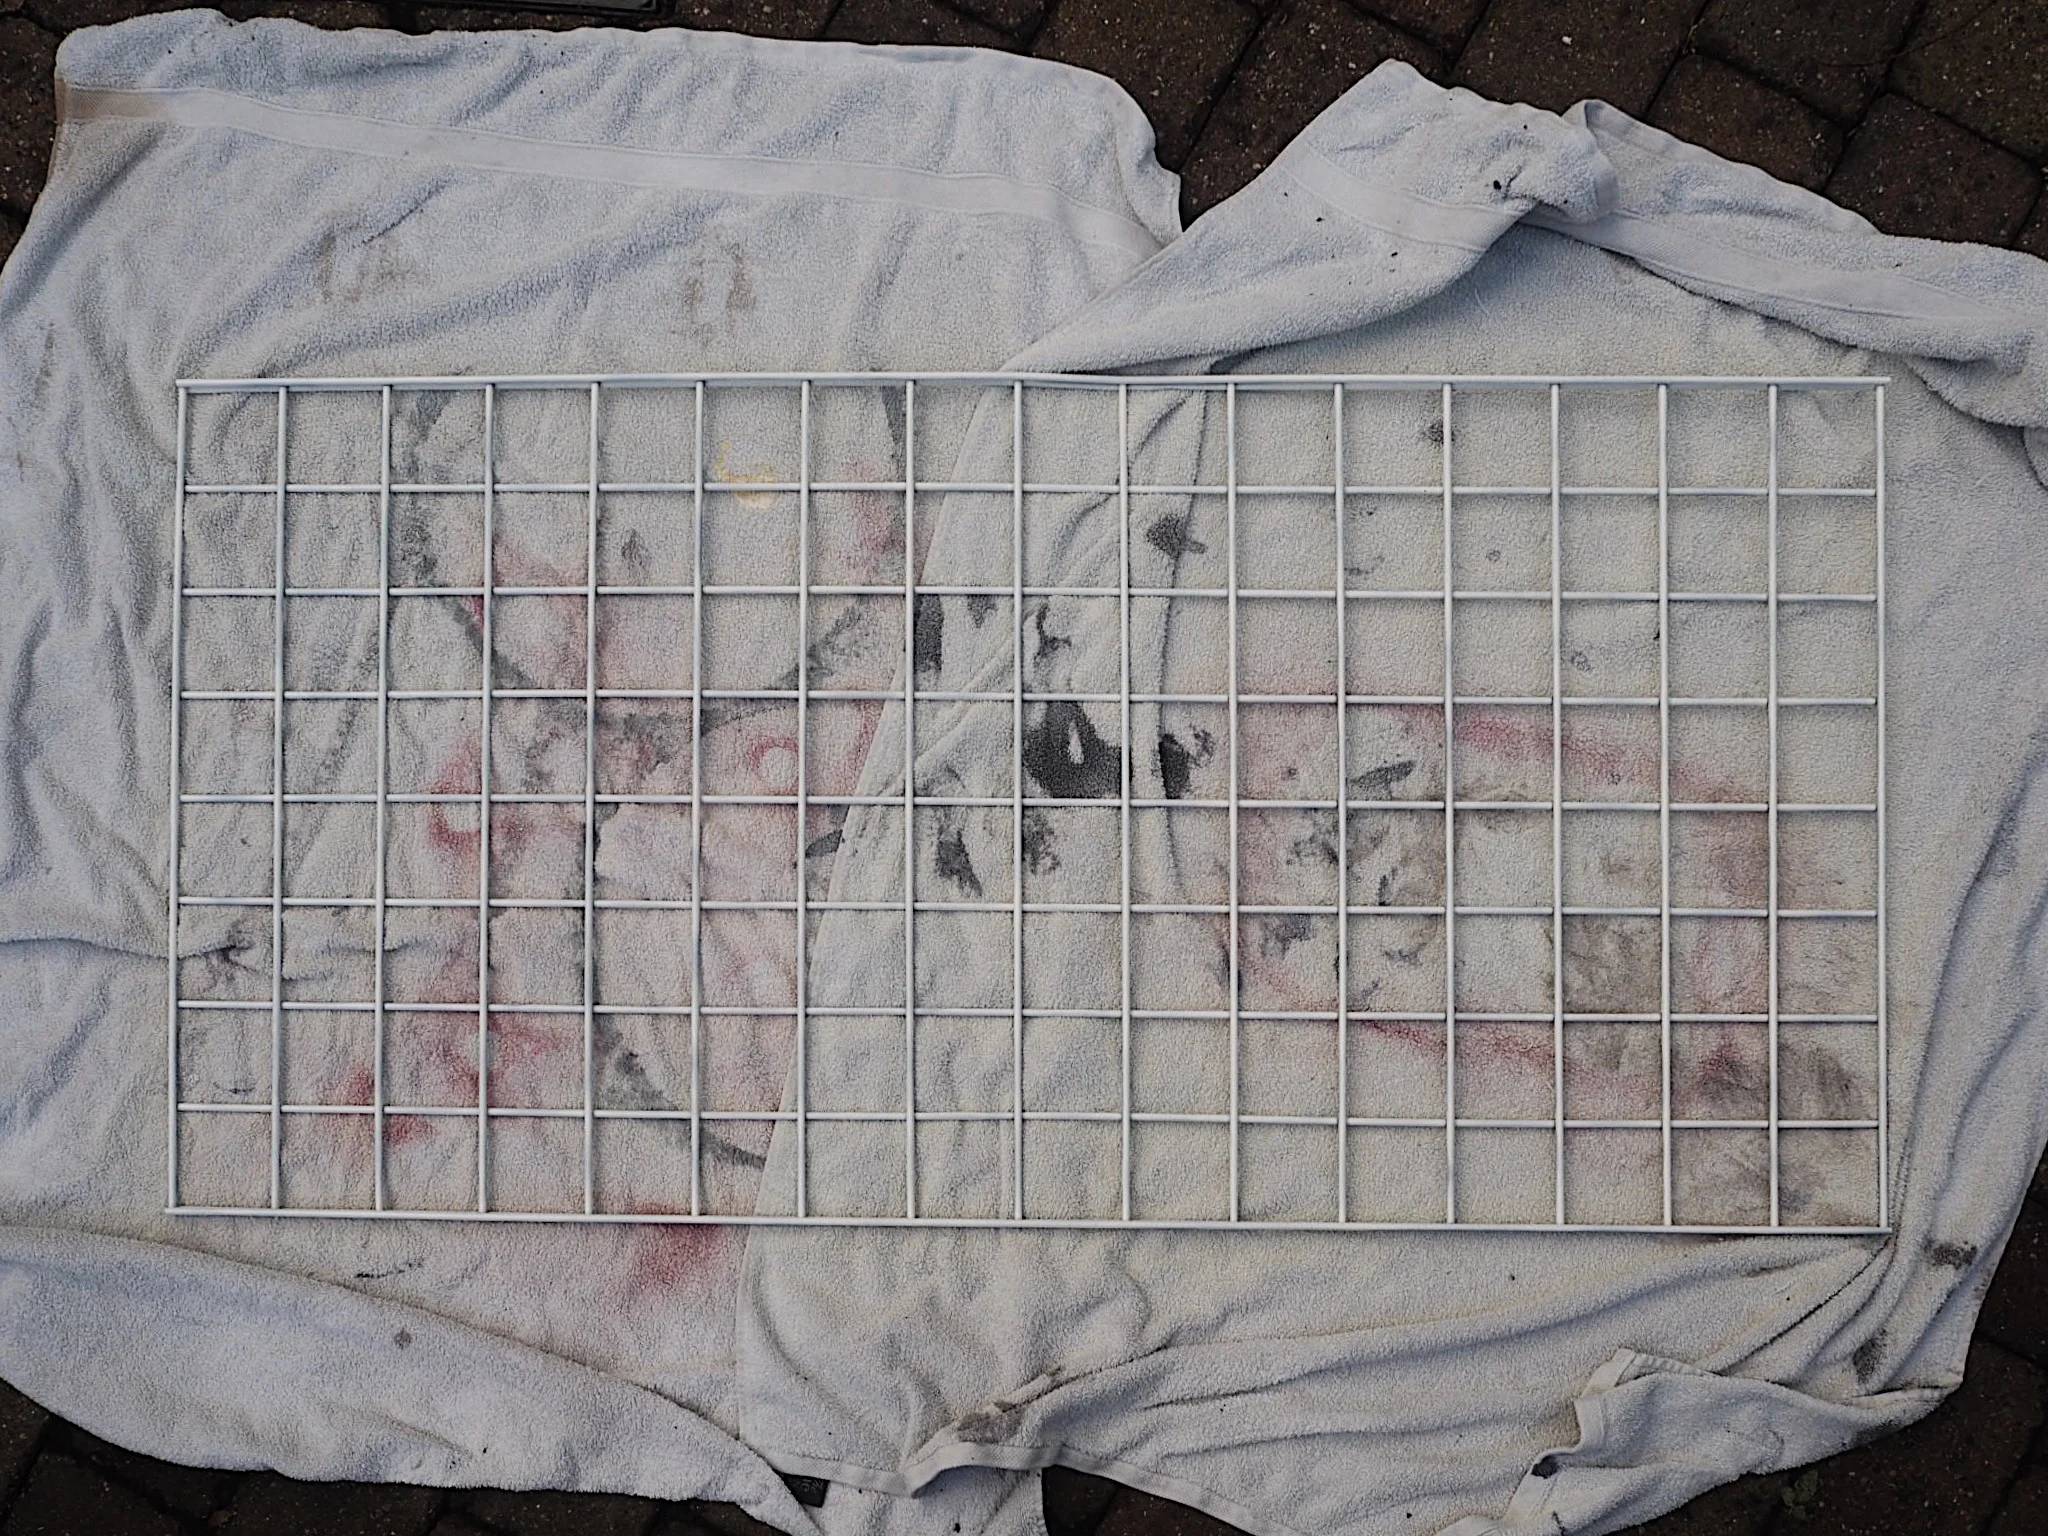
I visited a number of DIY and building warehouses and stores, but found the best way to purchase a grid wall mesh panel was on Ebay. I purchased a 5ft x 2ft chrome panel for £6 (plus £6 postage). If you are savvy, you can get old grid wall panels for next to nothing - after shop clear outs or shut downs these panels often end up in the skip!

How the grid wall mesh panel arrived.
One I had my grid wall panel, it was time to change it from chrome to a shiny gold! For this I used a metal primer and brilliant metallic spray paint from Mano Mano (who by the way are super supportive of female and novice DIY-ers - unlike some other DIY companies that I won't mention.)
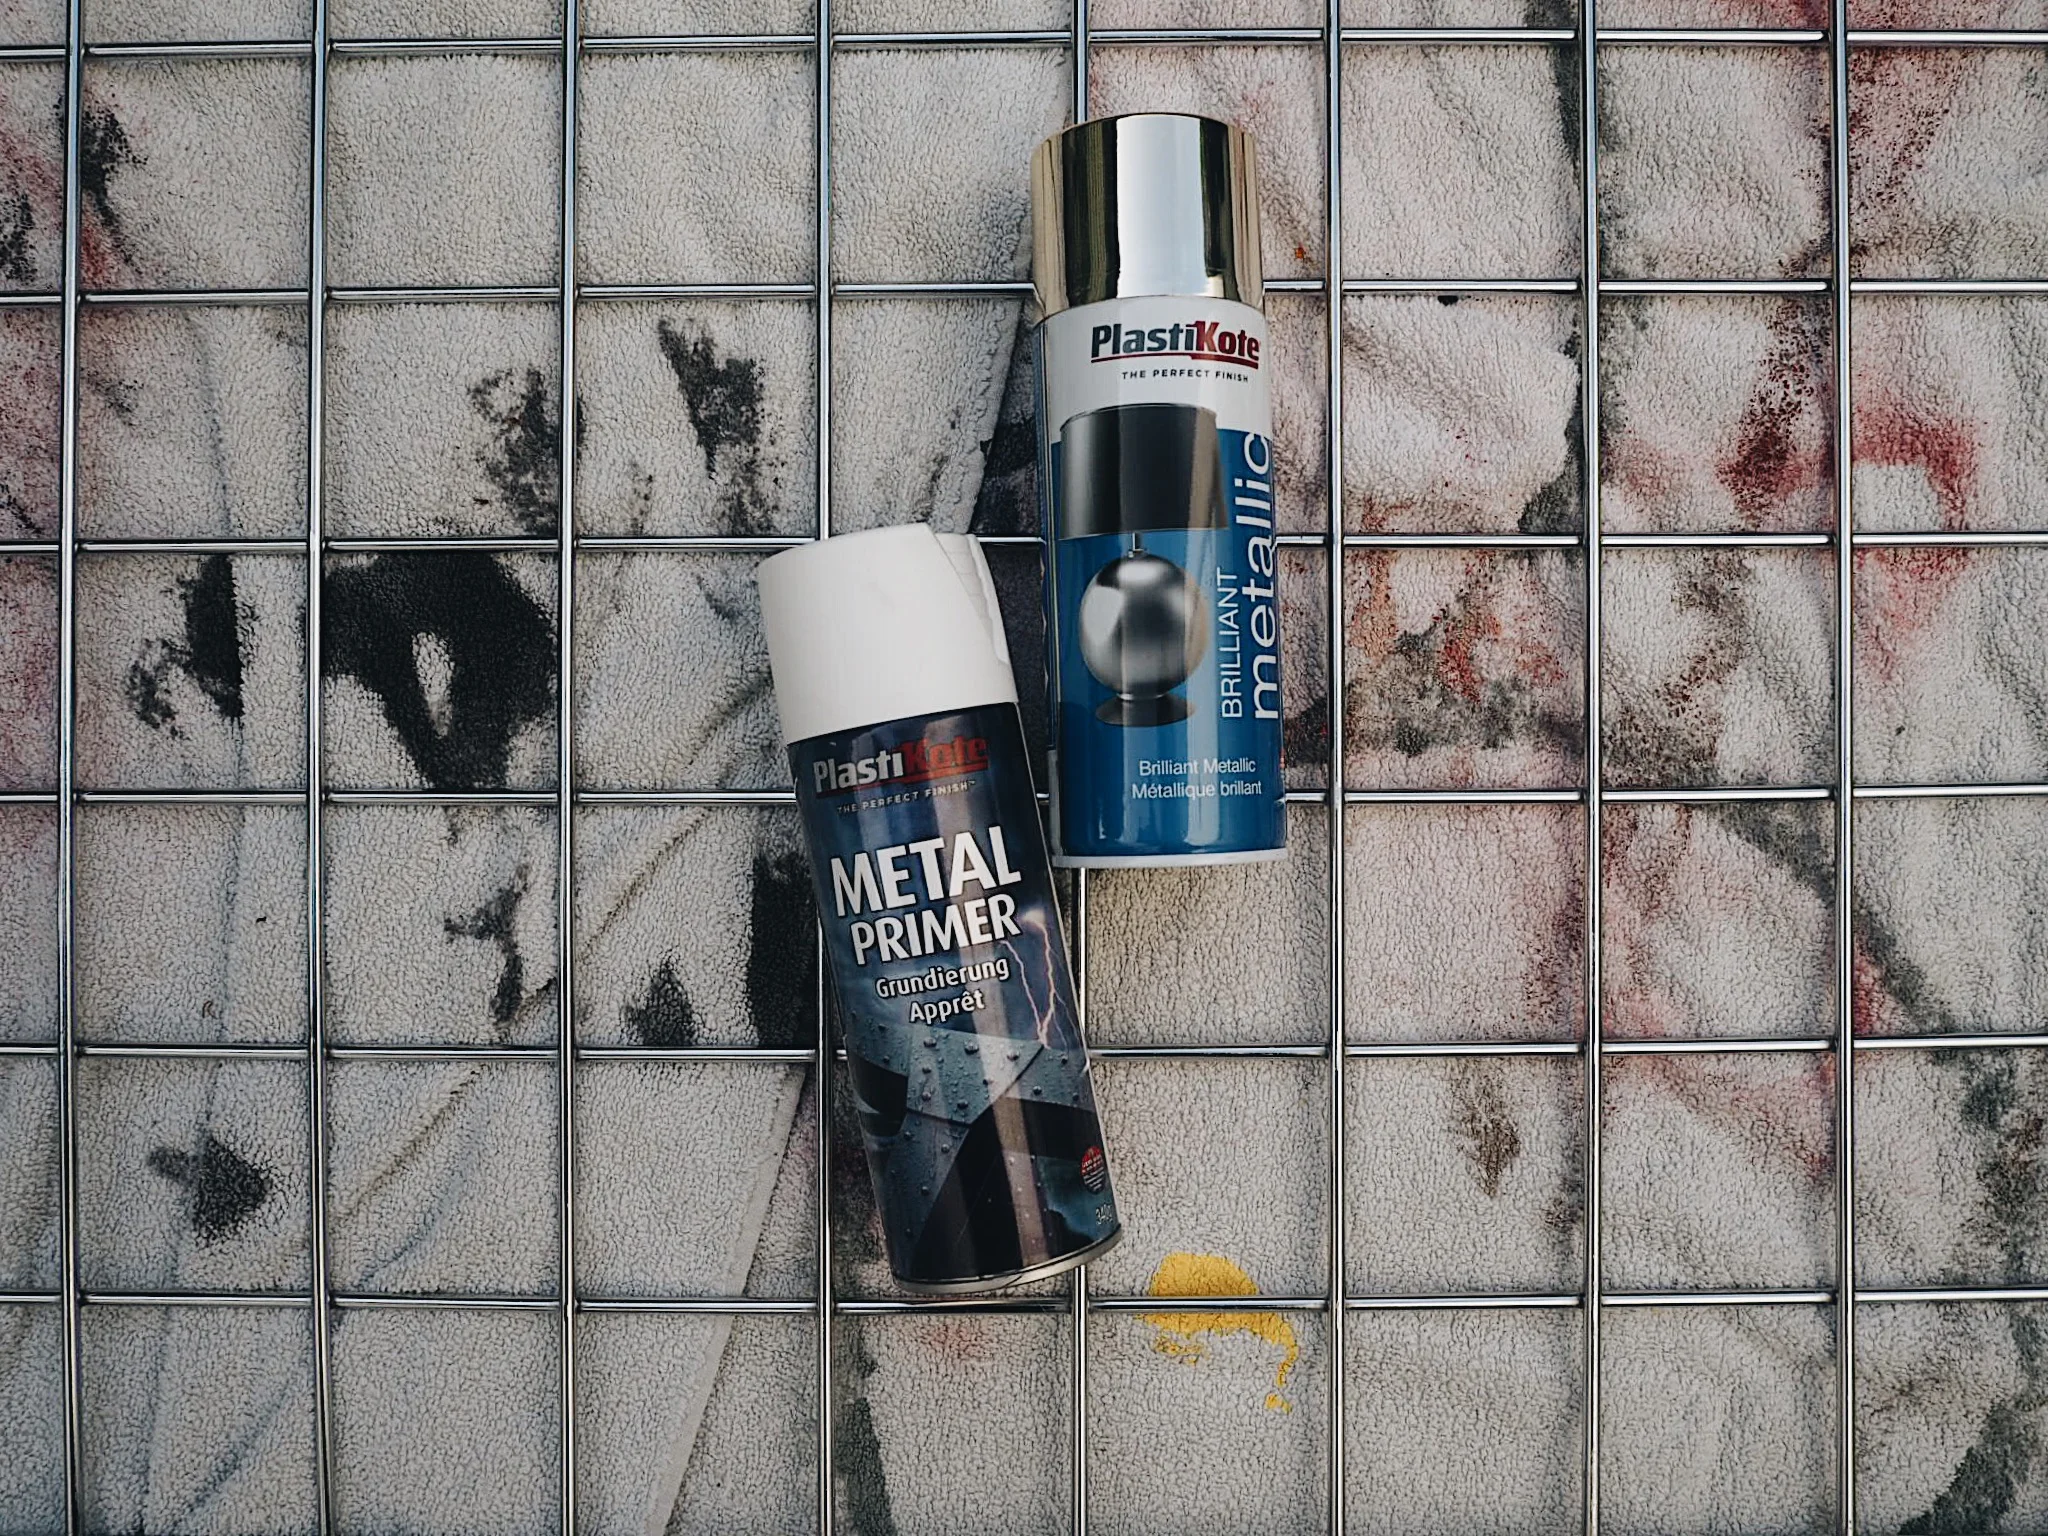
Making sure that my grid wall panel was clean and dry and free from dust, dirt and grease; I laid it on some old towels outside and sprayed one side with the metal primer. A metal primer is important as it provides a good base for your gold coat colour, as well as providing extra adhesion so your gold spray paint does not chip.
I left this without touching it for a good few to dry thoroughly so that it would not be tacky when turned over and coated on the other side. I then gave the second side of the grid wall panel a full coating, making sure that none of the side areas of the mesh were missed.
I let my metal primer dry overnight, then the next day gave the grid wall panel two coats of the gold either side.

Once dry, I measured where I wanted my gold memo board to go, then drilled in two screws into the wall to hang the panel on. Before you drill in the screws, use a good spirit level to make sure the screws are the exact height as each other so your panel hangs straight. The grid wall panel is large and heavy so use long, thick screws and wall plugs. I used gold screws to match the panel, as the screws are visible on the wall.

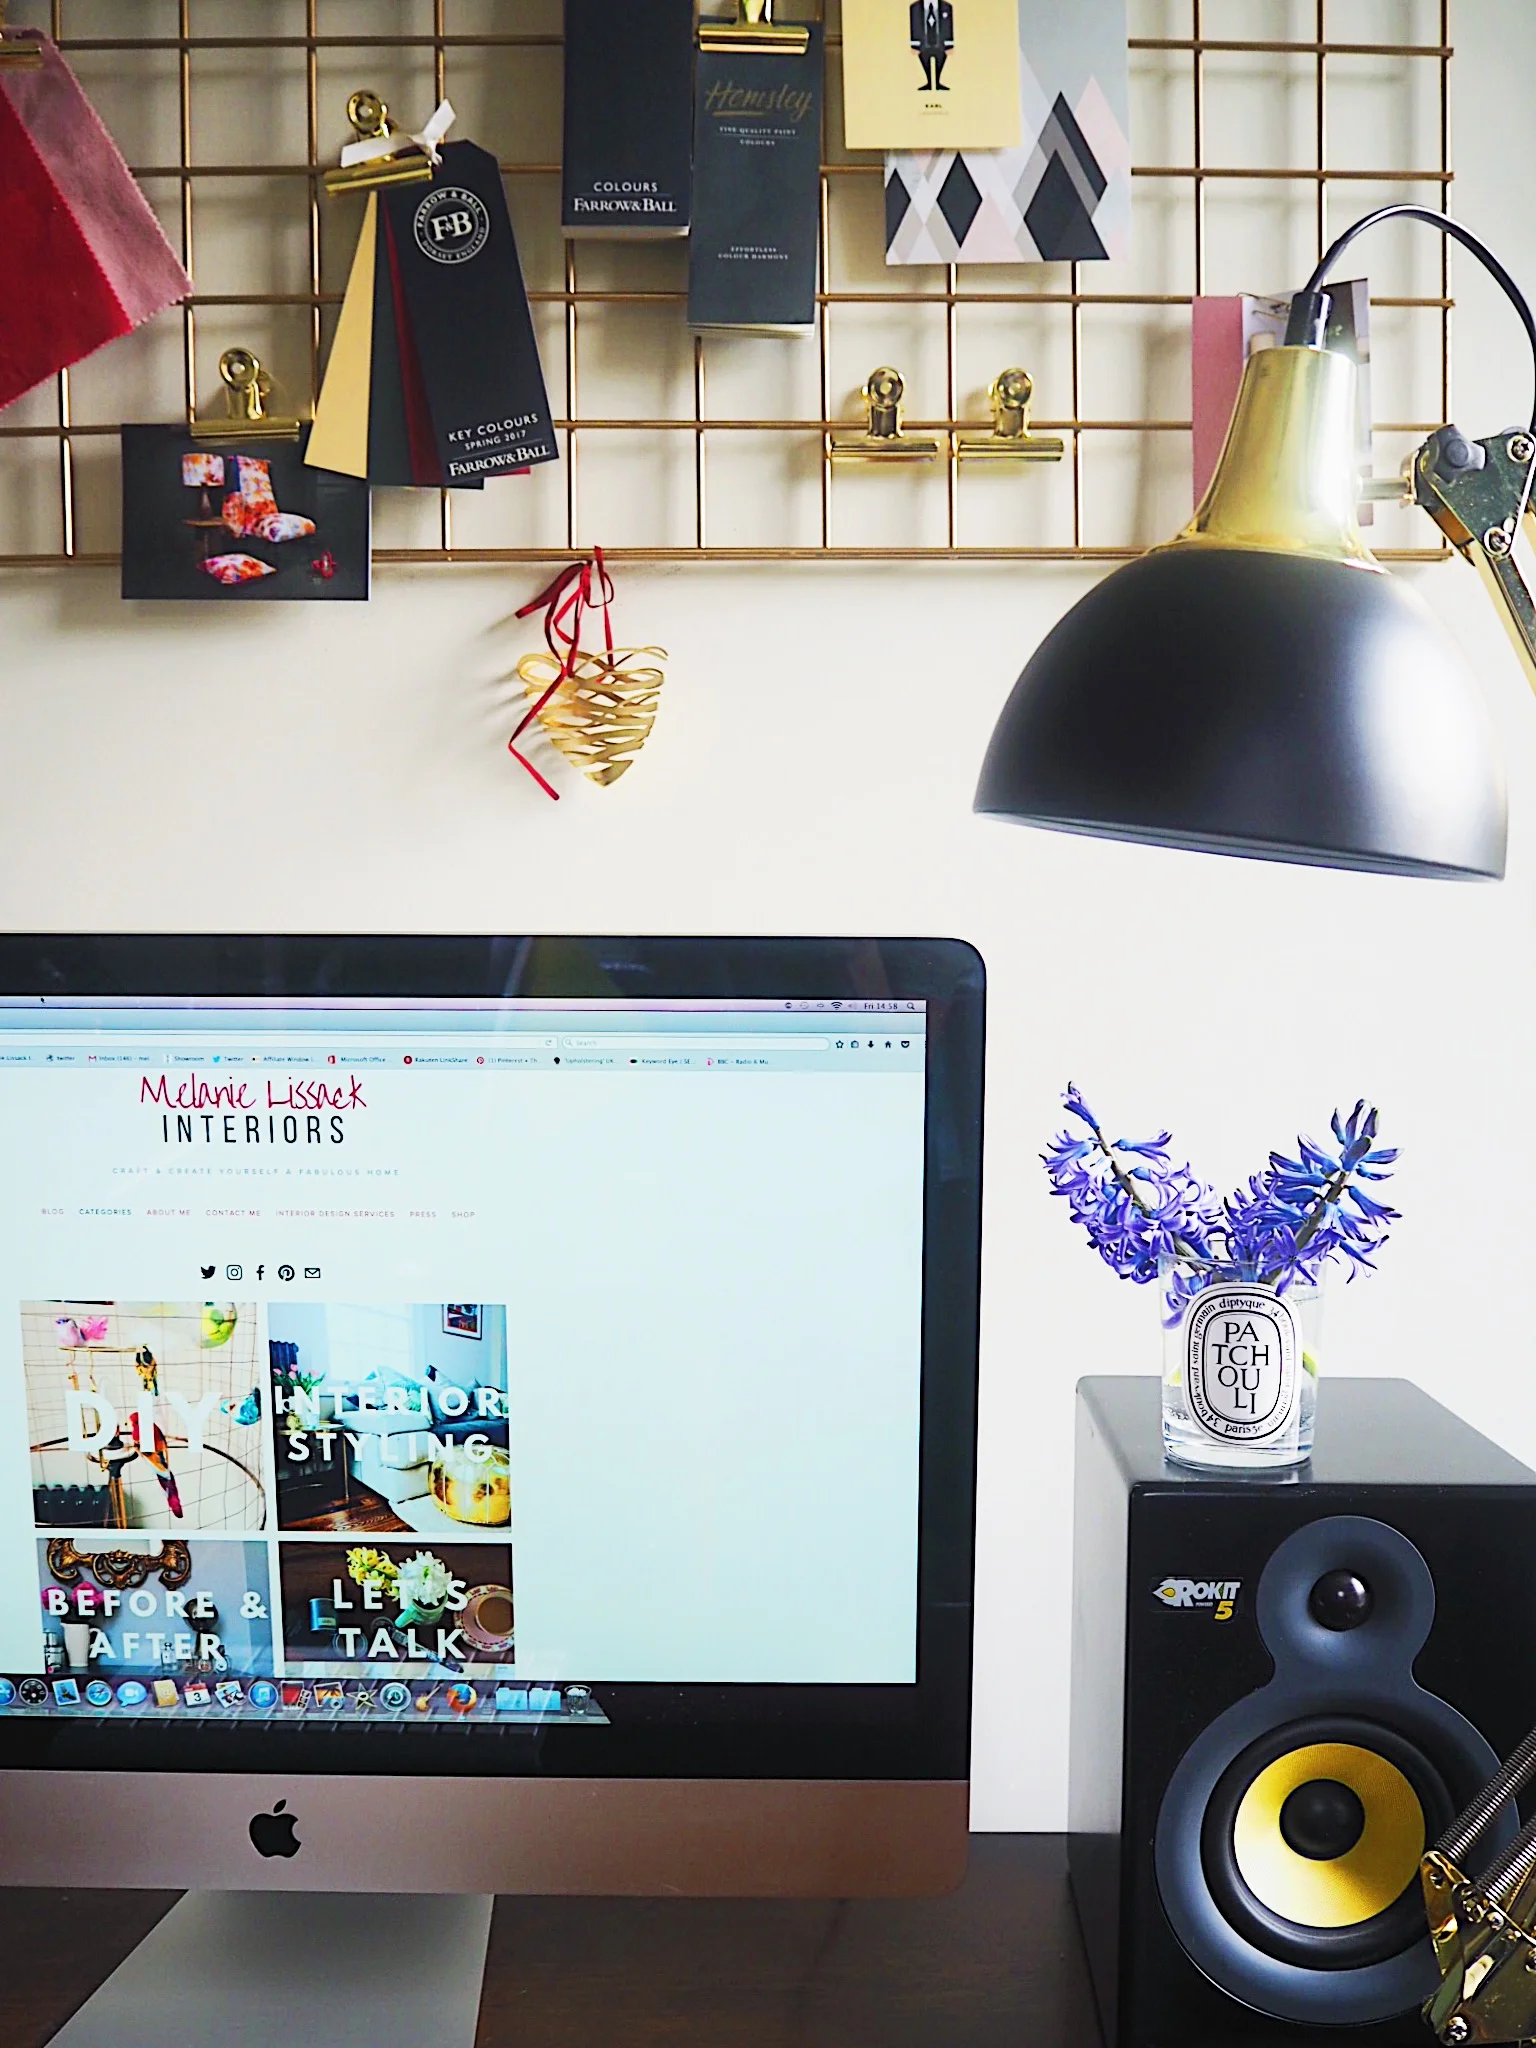
This Karl Lagerfeld postcard is by Image Republic,
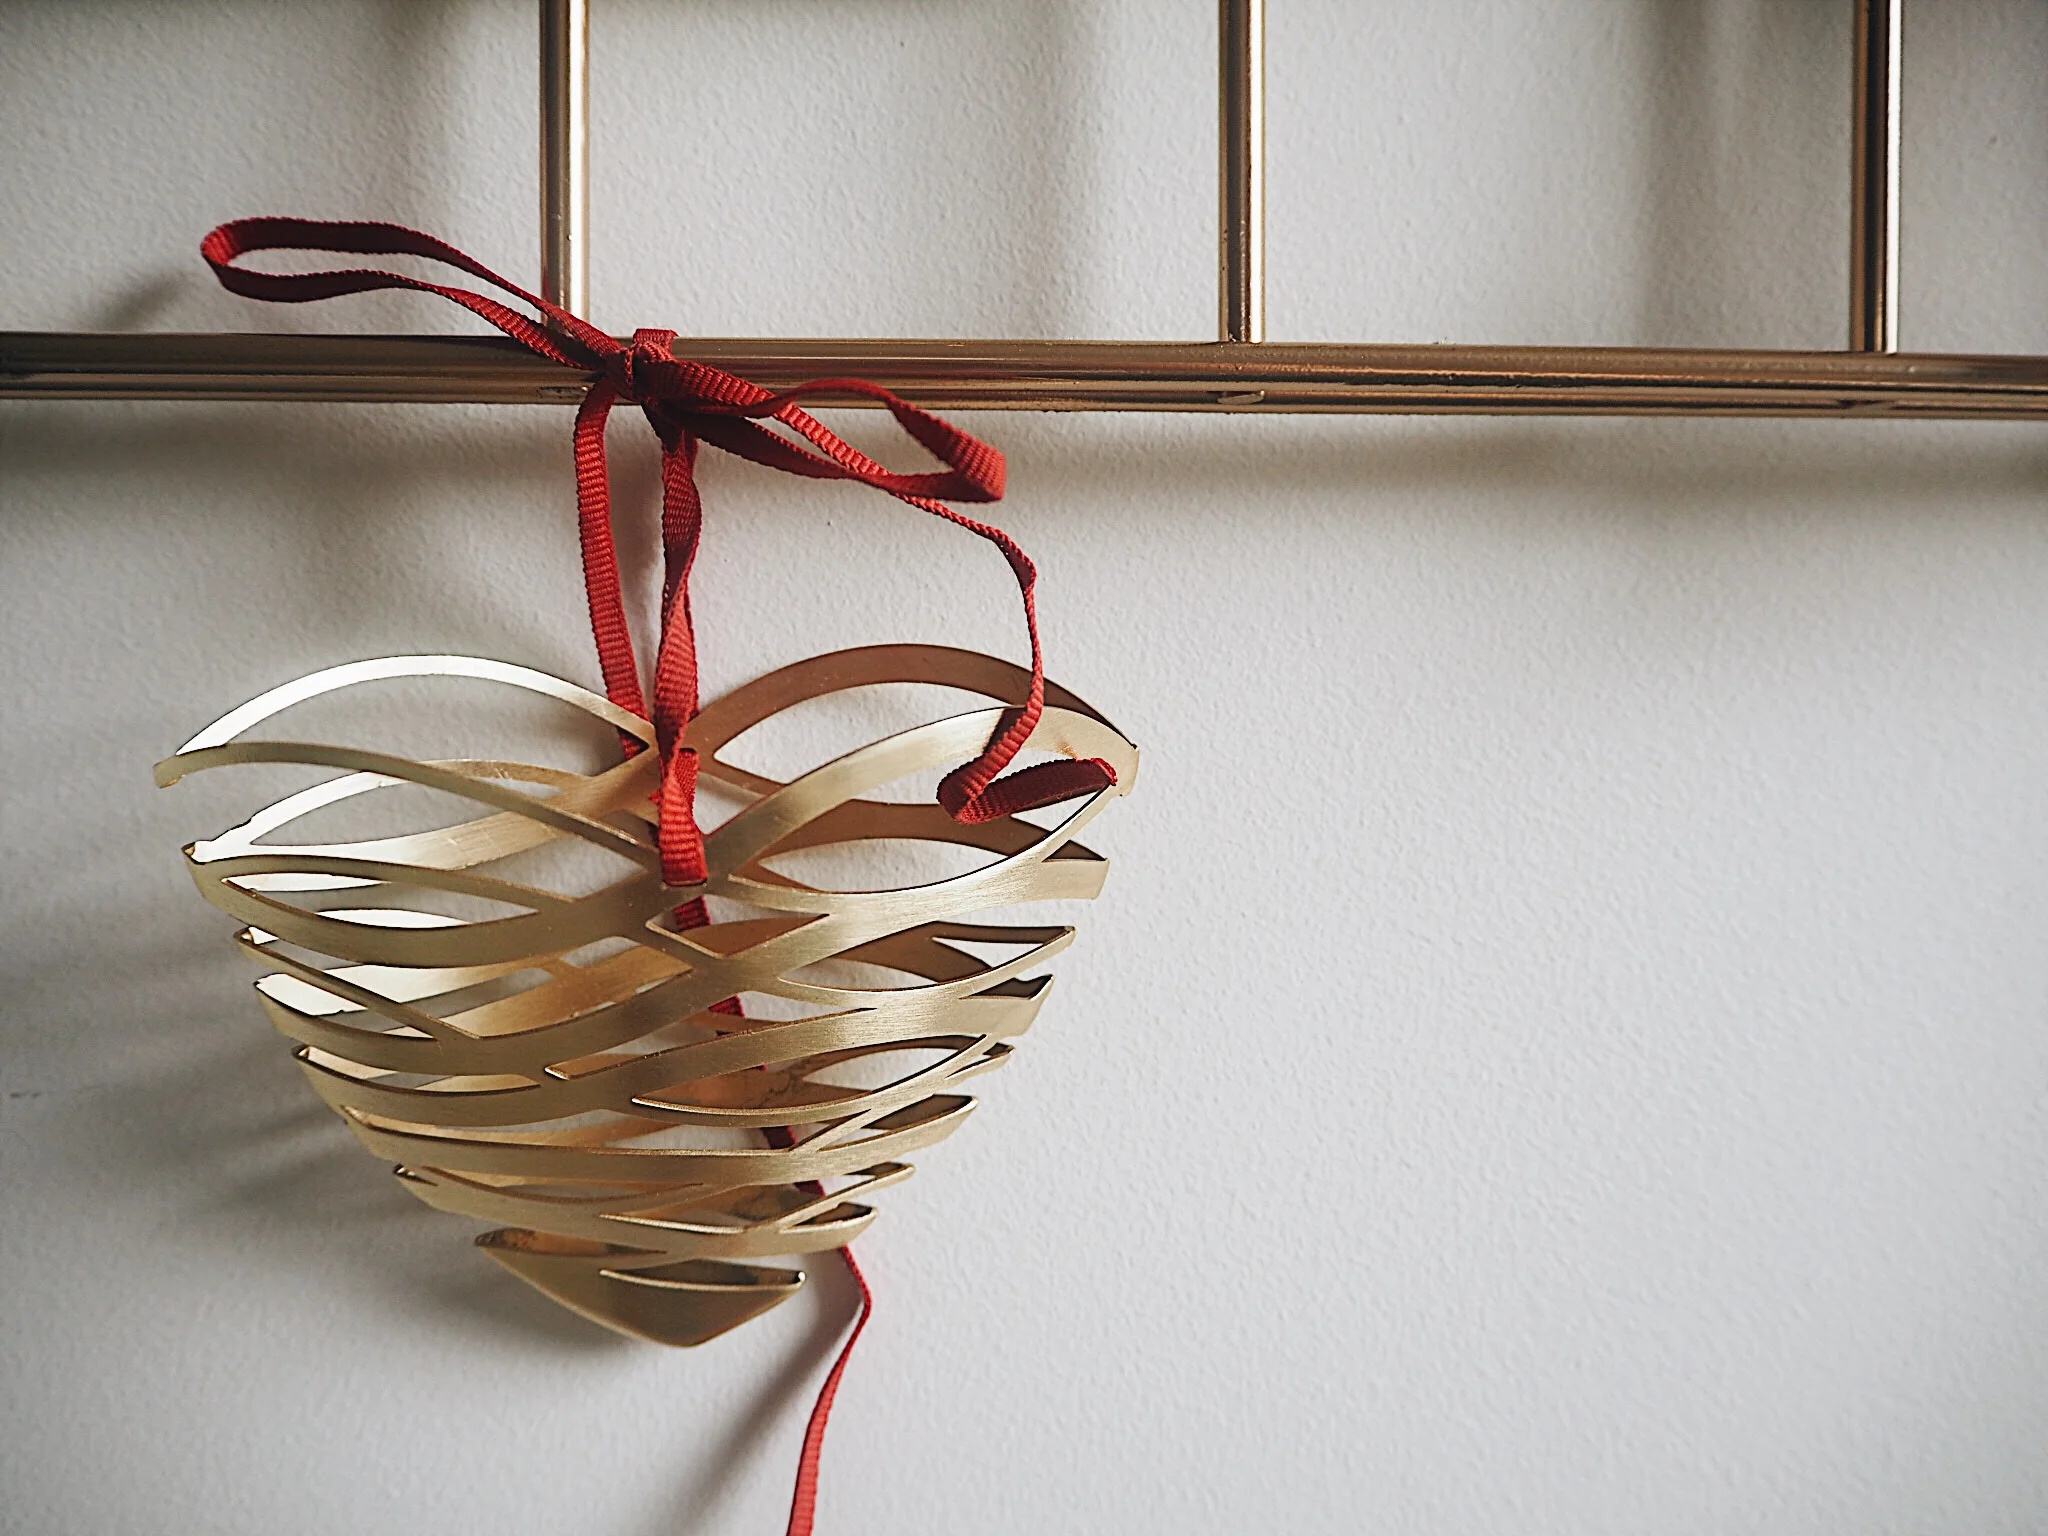
This hanging heart deocration is by Seletti
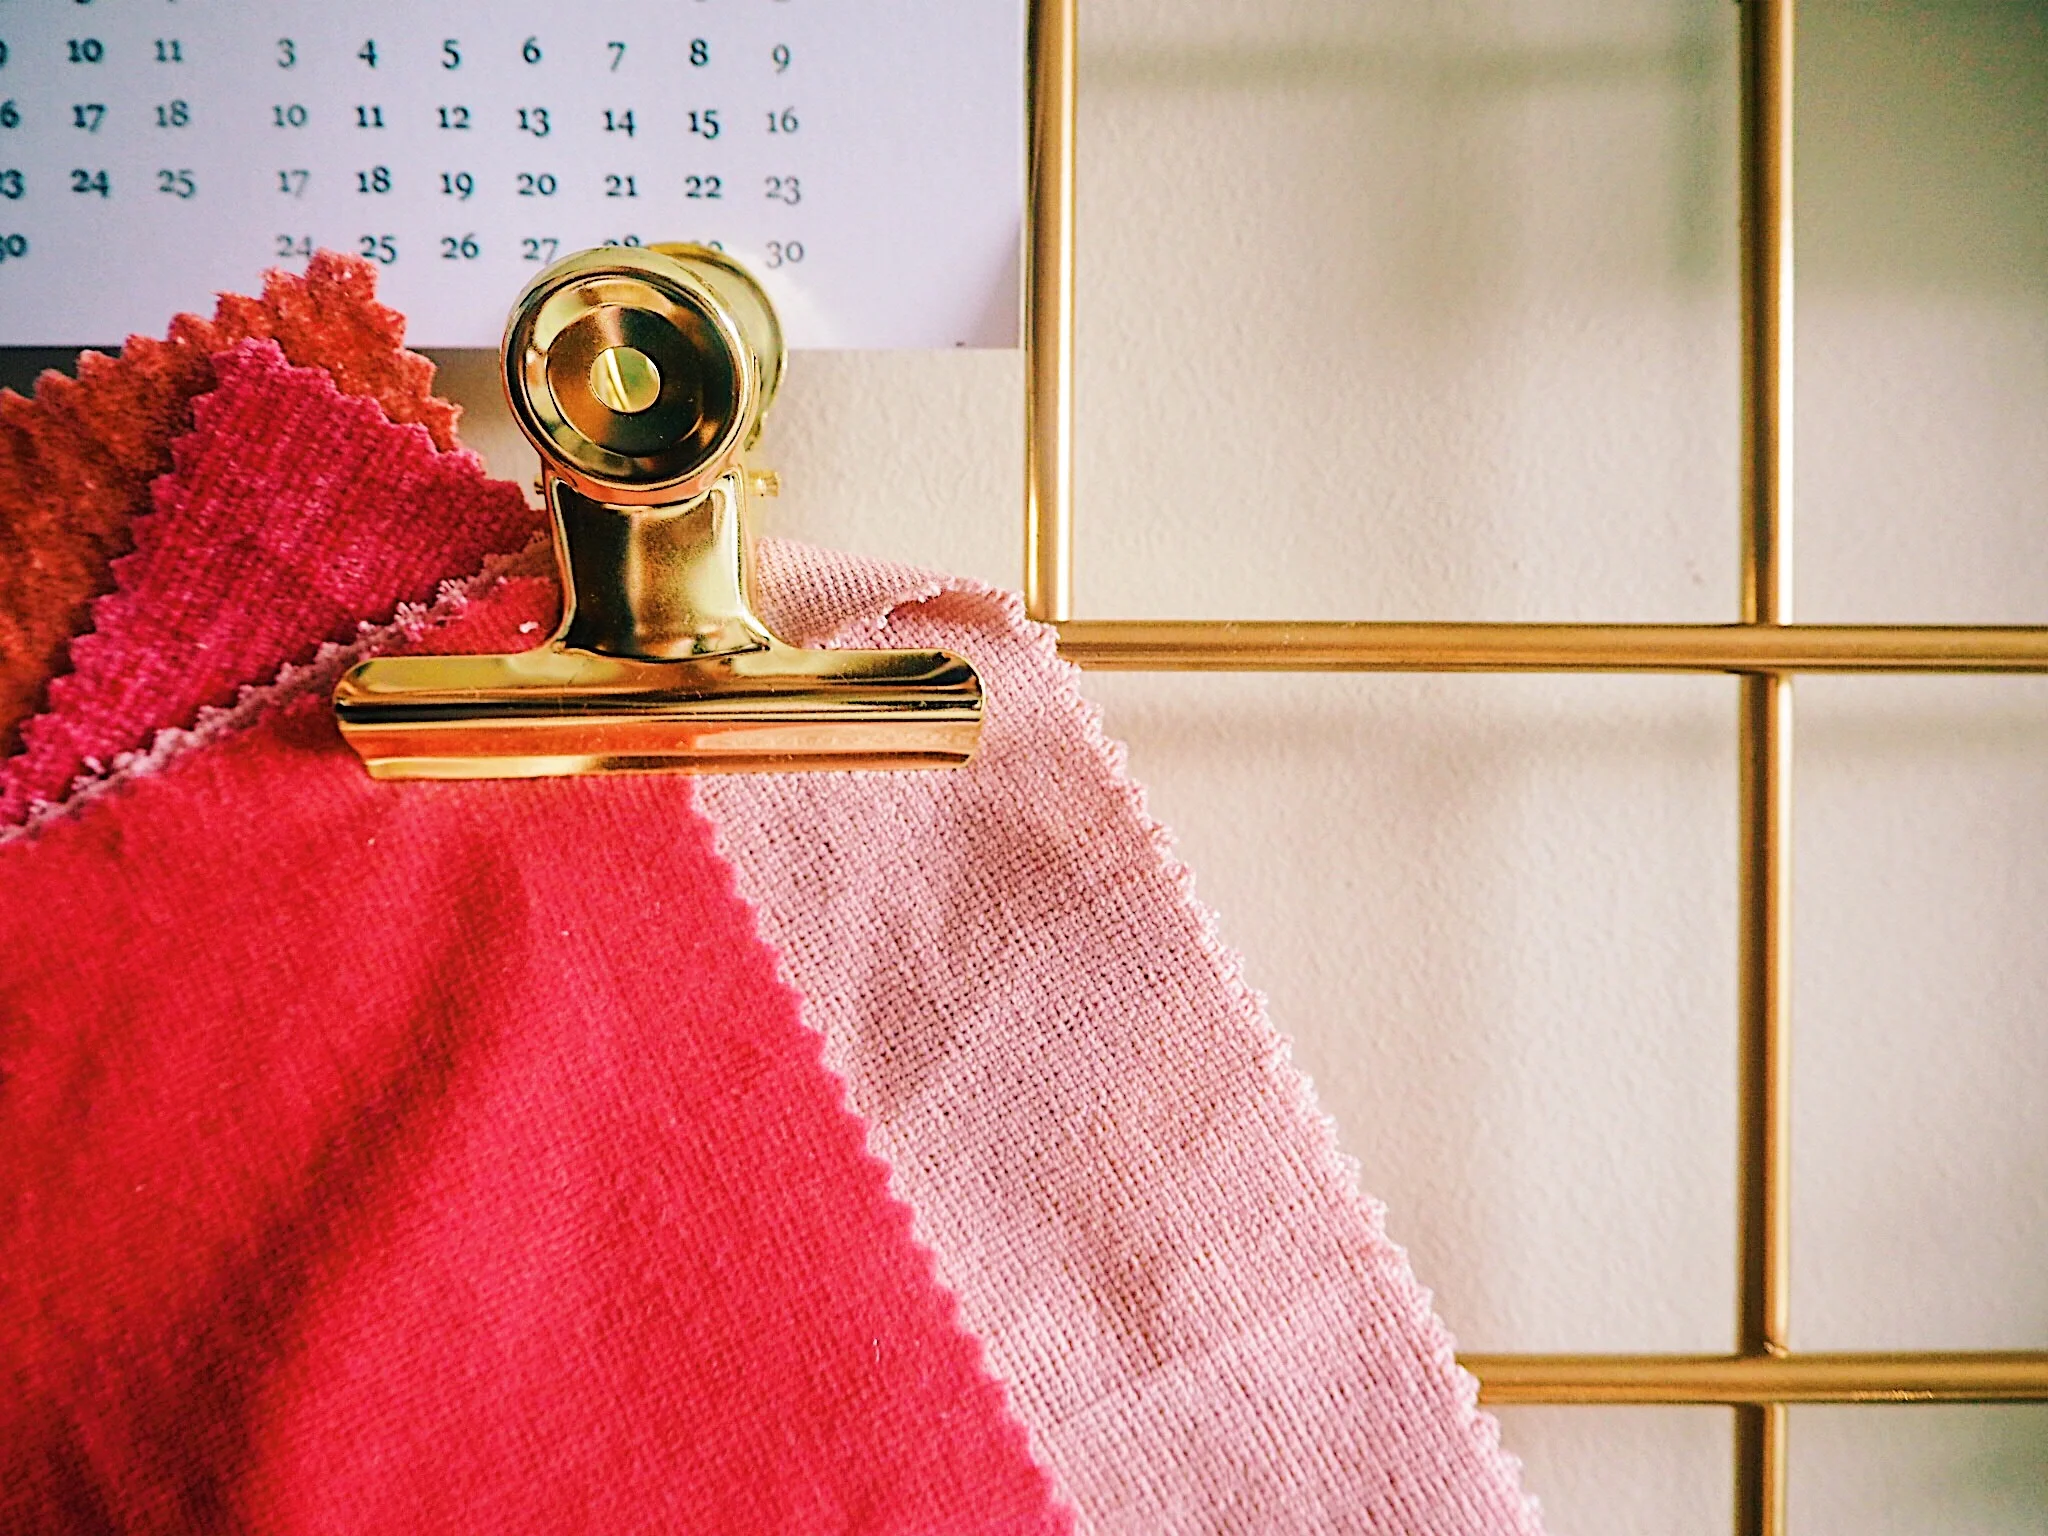
To hang my bits and pieces on my mesh panel I brought large gold bull dog clips. These gold clips are from Sainsbury's and cost £2 for two.
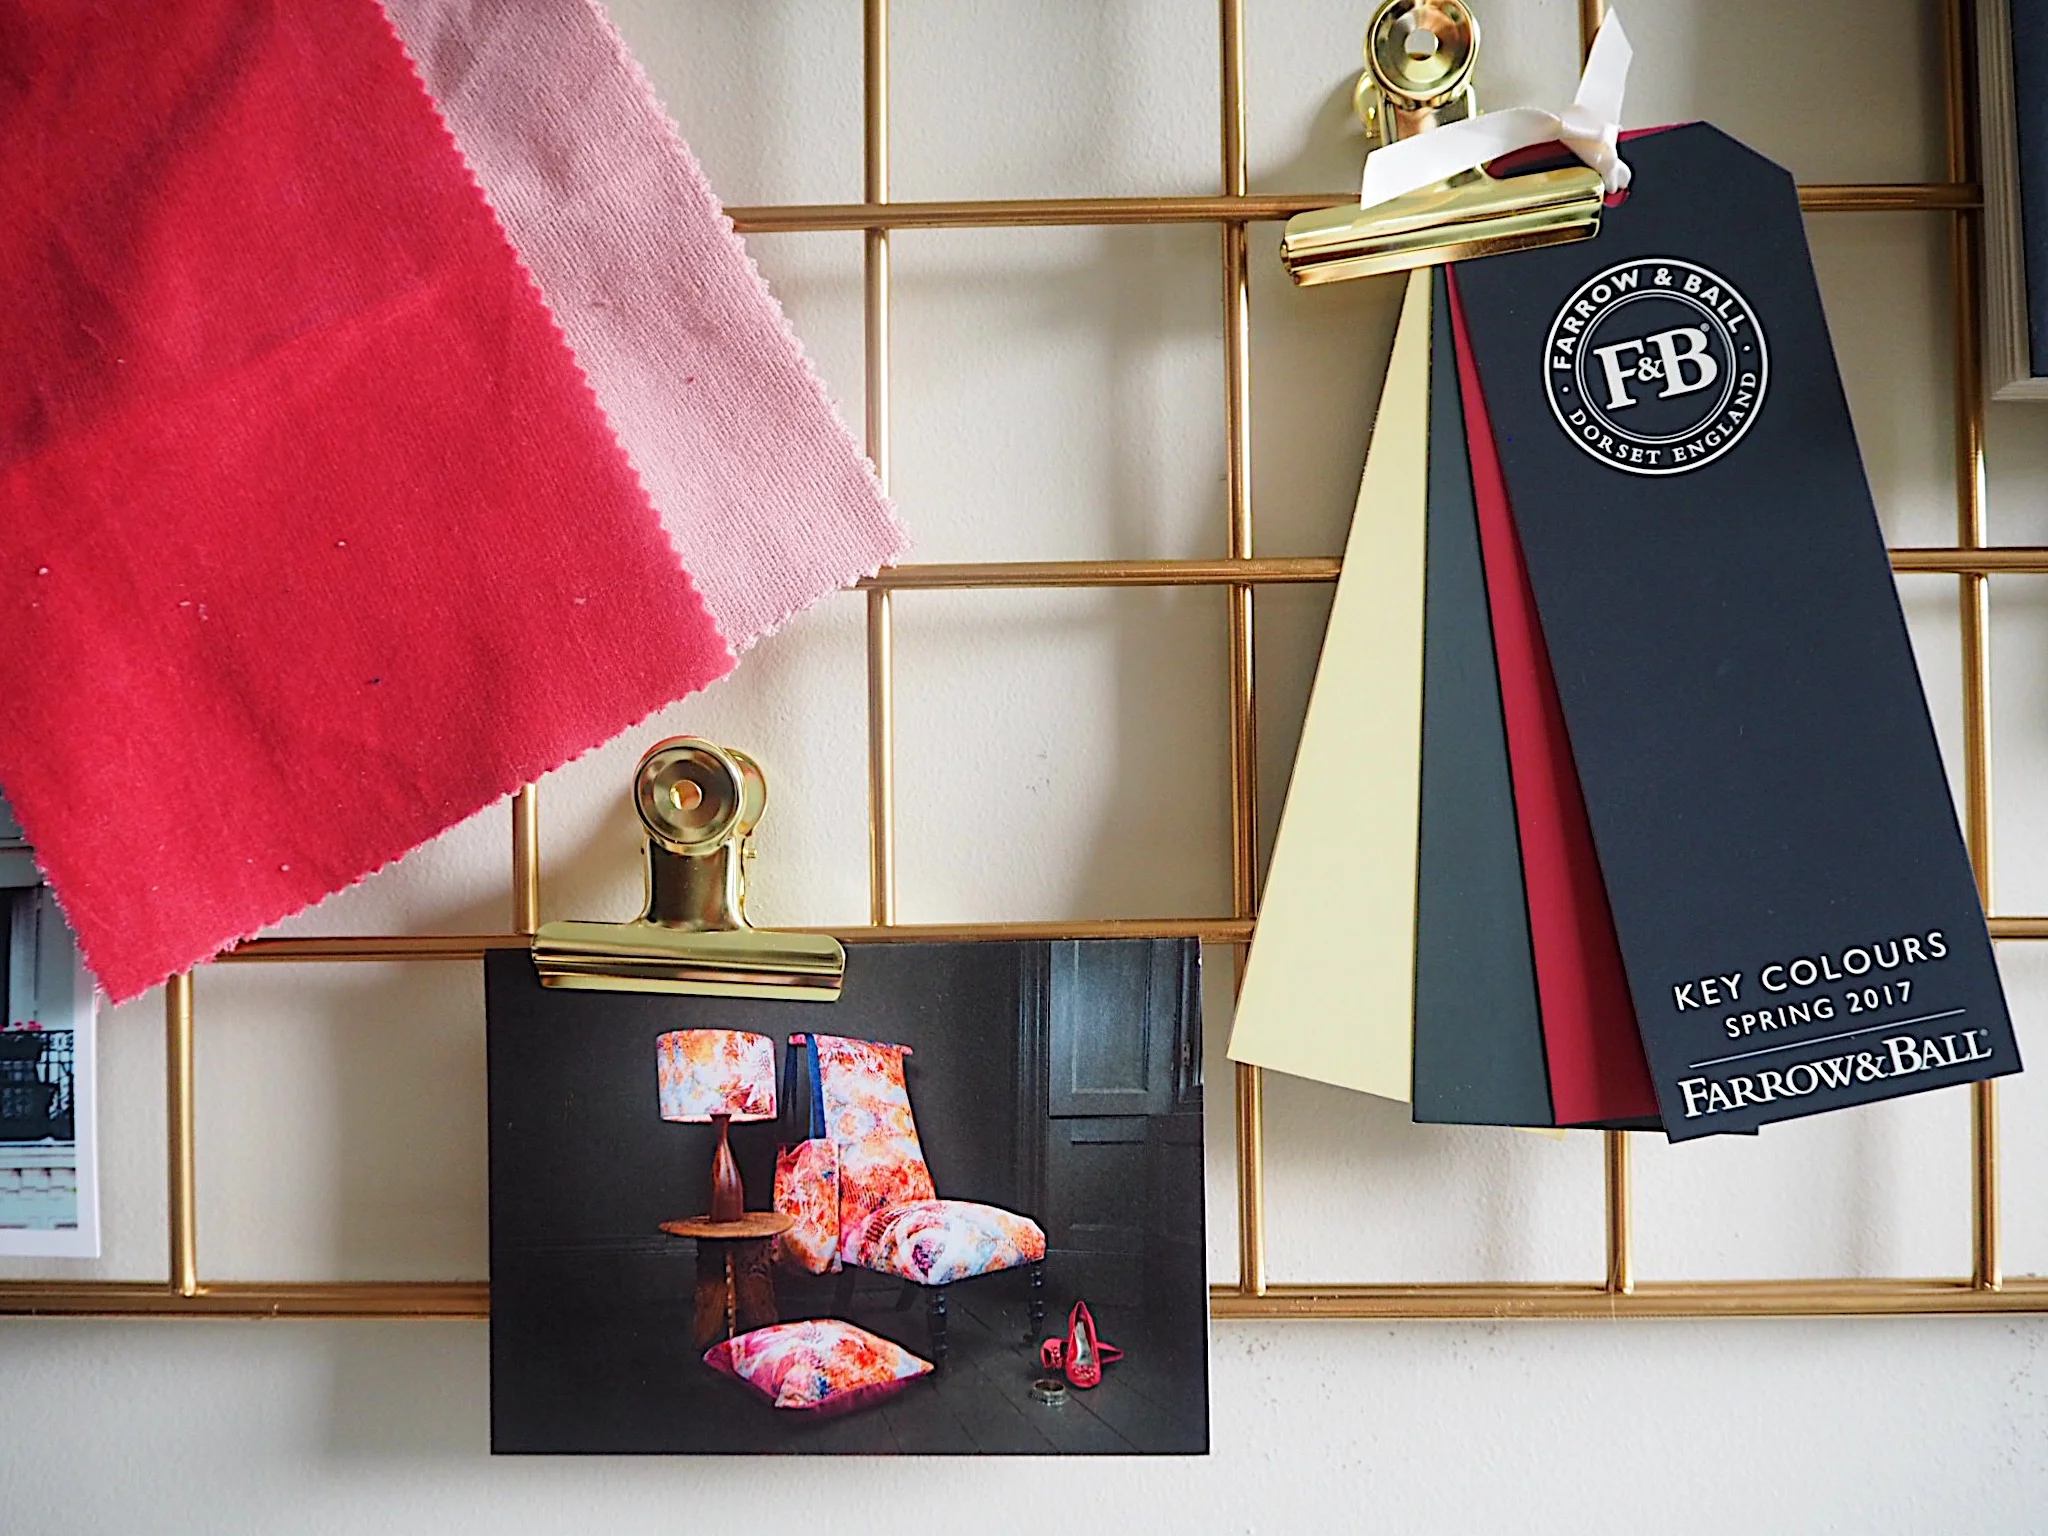
My Mairi Helena postcard hangs pride of place.
I'm so pleased with my memo board! It was really easy and cheap to make. The scary part was making sure that the screws are the same height so the memo board hangs level, but if you are thorough with your measuring you won't have a problem (and you'd have to do the same thing for a memo board you purchased anyway!)
What do you think to our new office memo board? Is it something that you'd now consider DIY-ing than buying? Let me know in the comments section below!
*Thanks to Mano Mano who supplied the spray paint for this post