
A Beginner's Guide To Tiling: How To Tile A Small Area Of Your Home
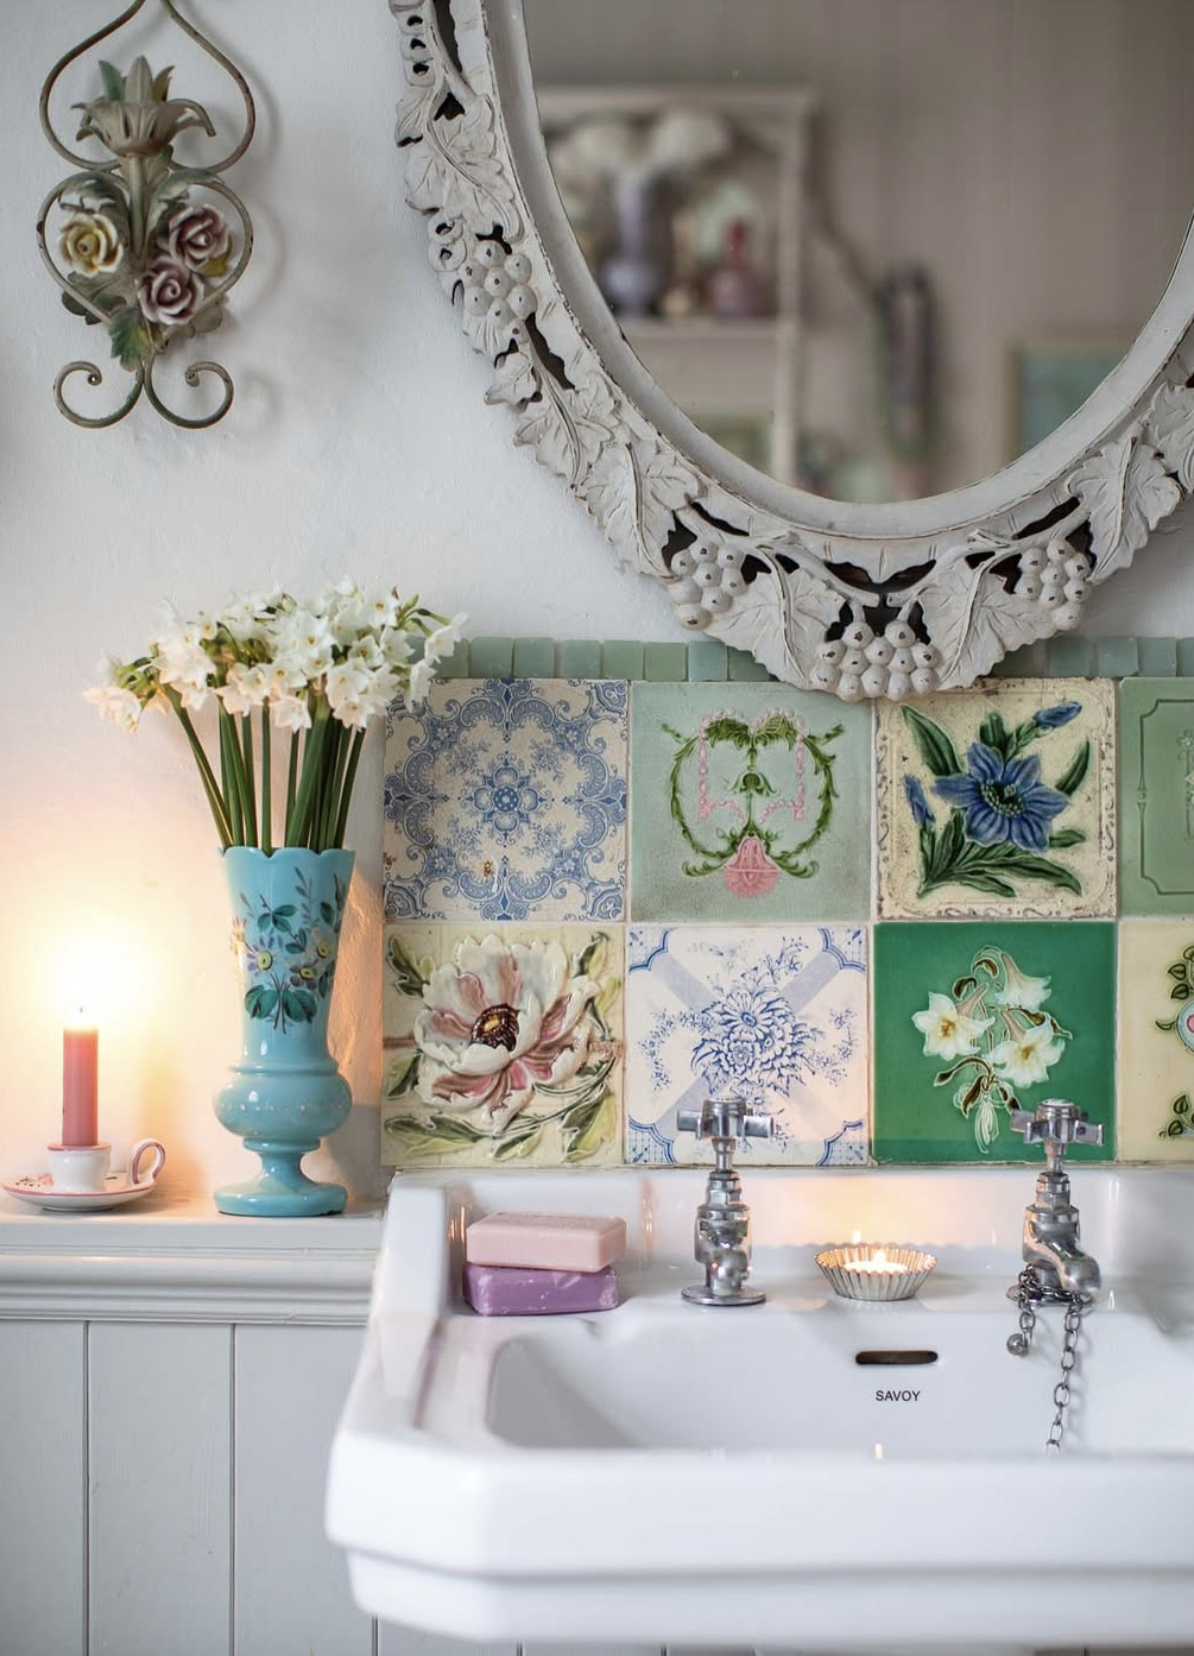
Image credit: Tamsyn Morgans
Have you ever fallen in love with a tile design and wanted to incorporate it into your home via tiling a fireplace hearth or a compact splashback in your bathroom or kitchen? Small tiling projects are actually easier than they look and it’s a great DIY project for a beginner!
All you need in order to complete a small tiling project in your home is the following:
Tiles! Smaller wall tiles are better to start with as a beginner. I’m particularly into Delft tiles at the moment to bring a decorative element into the home. It's always worth visiting a reputable tile shop that offers design advice and support that can help you with this, such as Tile Studio Esher.
Tiling primer to guarantee excellent adhesion to the wall (this one is a spray product so easy to apply).
Scraping tool and sugar soap
Spirit level
Manual tile cutter or a scribing tool (tile nippers if you need to cut around pipes or create curves)
Damp cloth
Grout sponge
Aluminium ruler
Grout finisher (optional)
Grout sealer (optional: for really wet spaces)
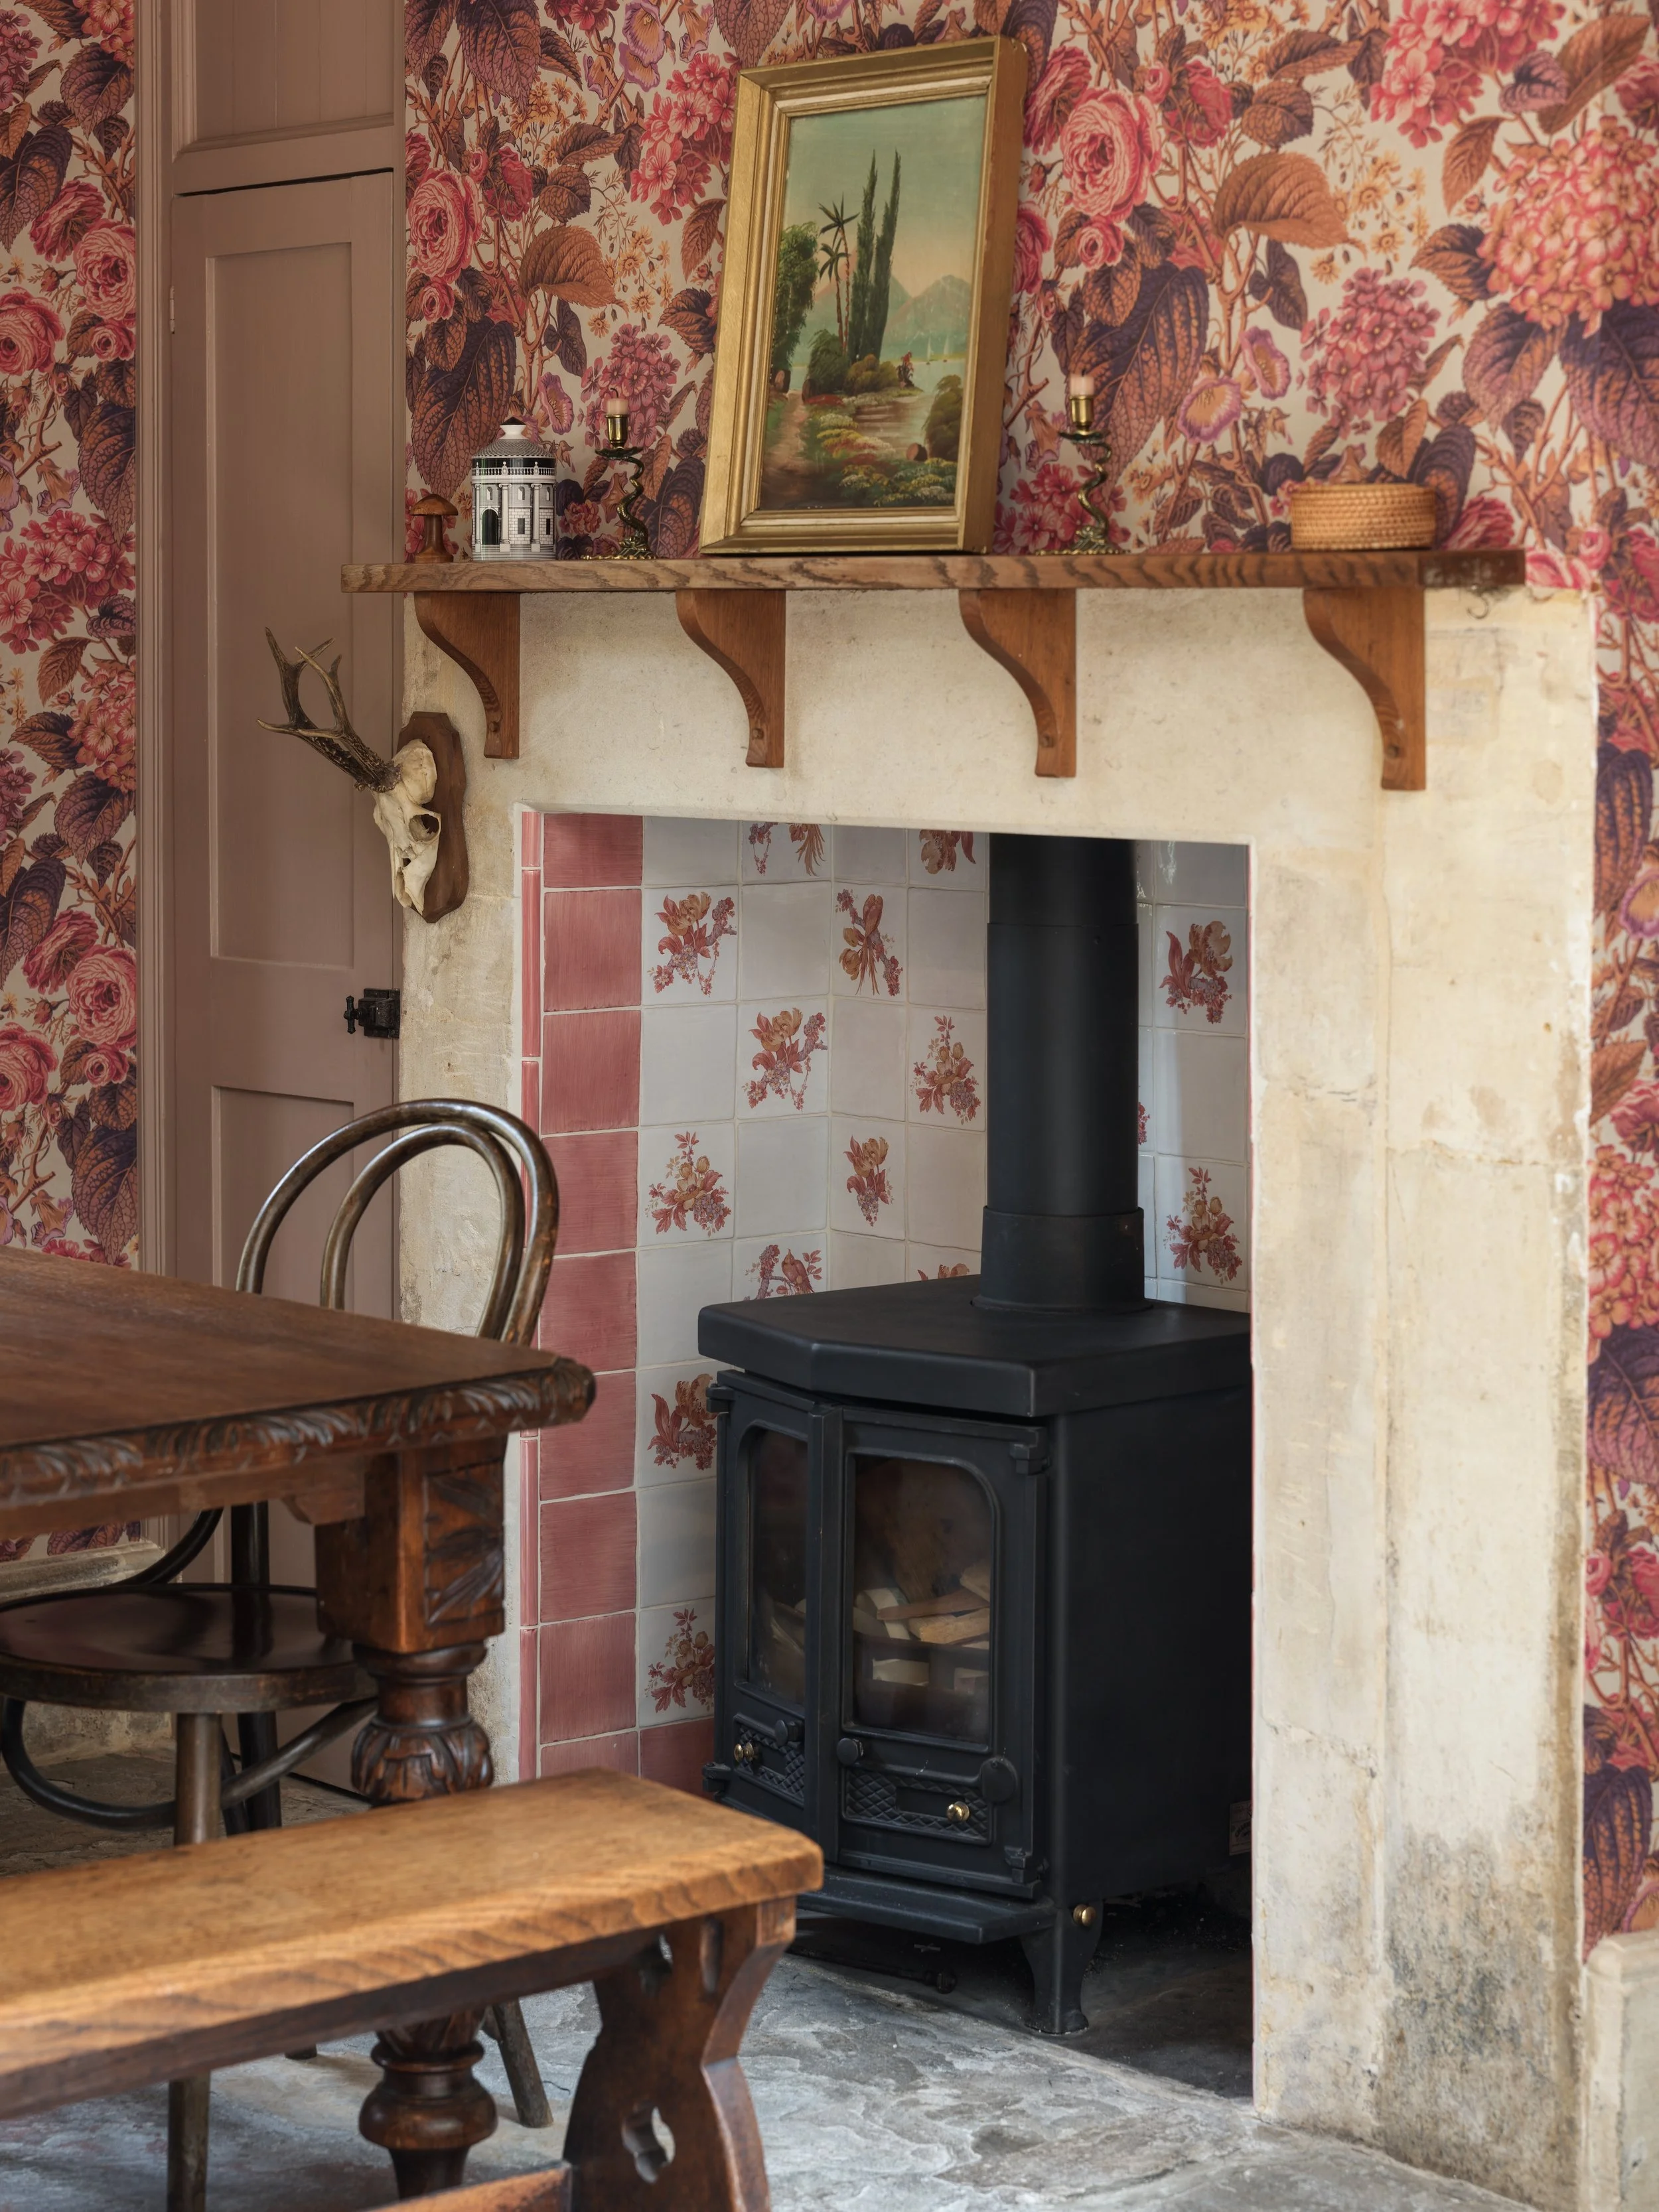
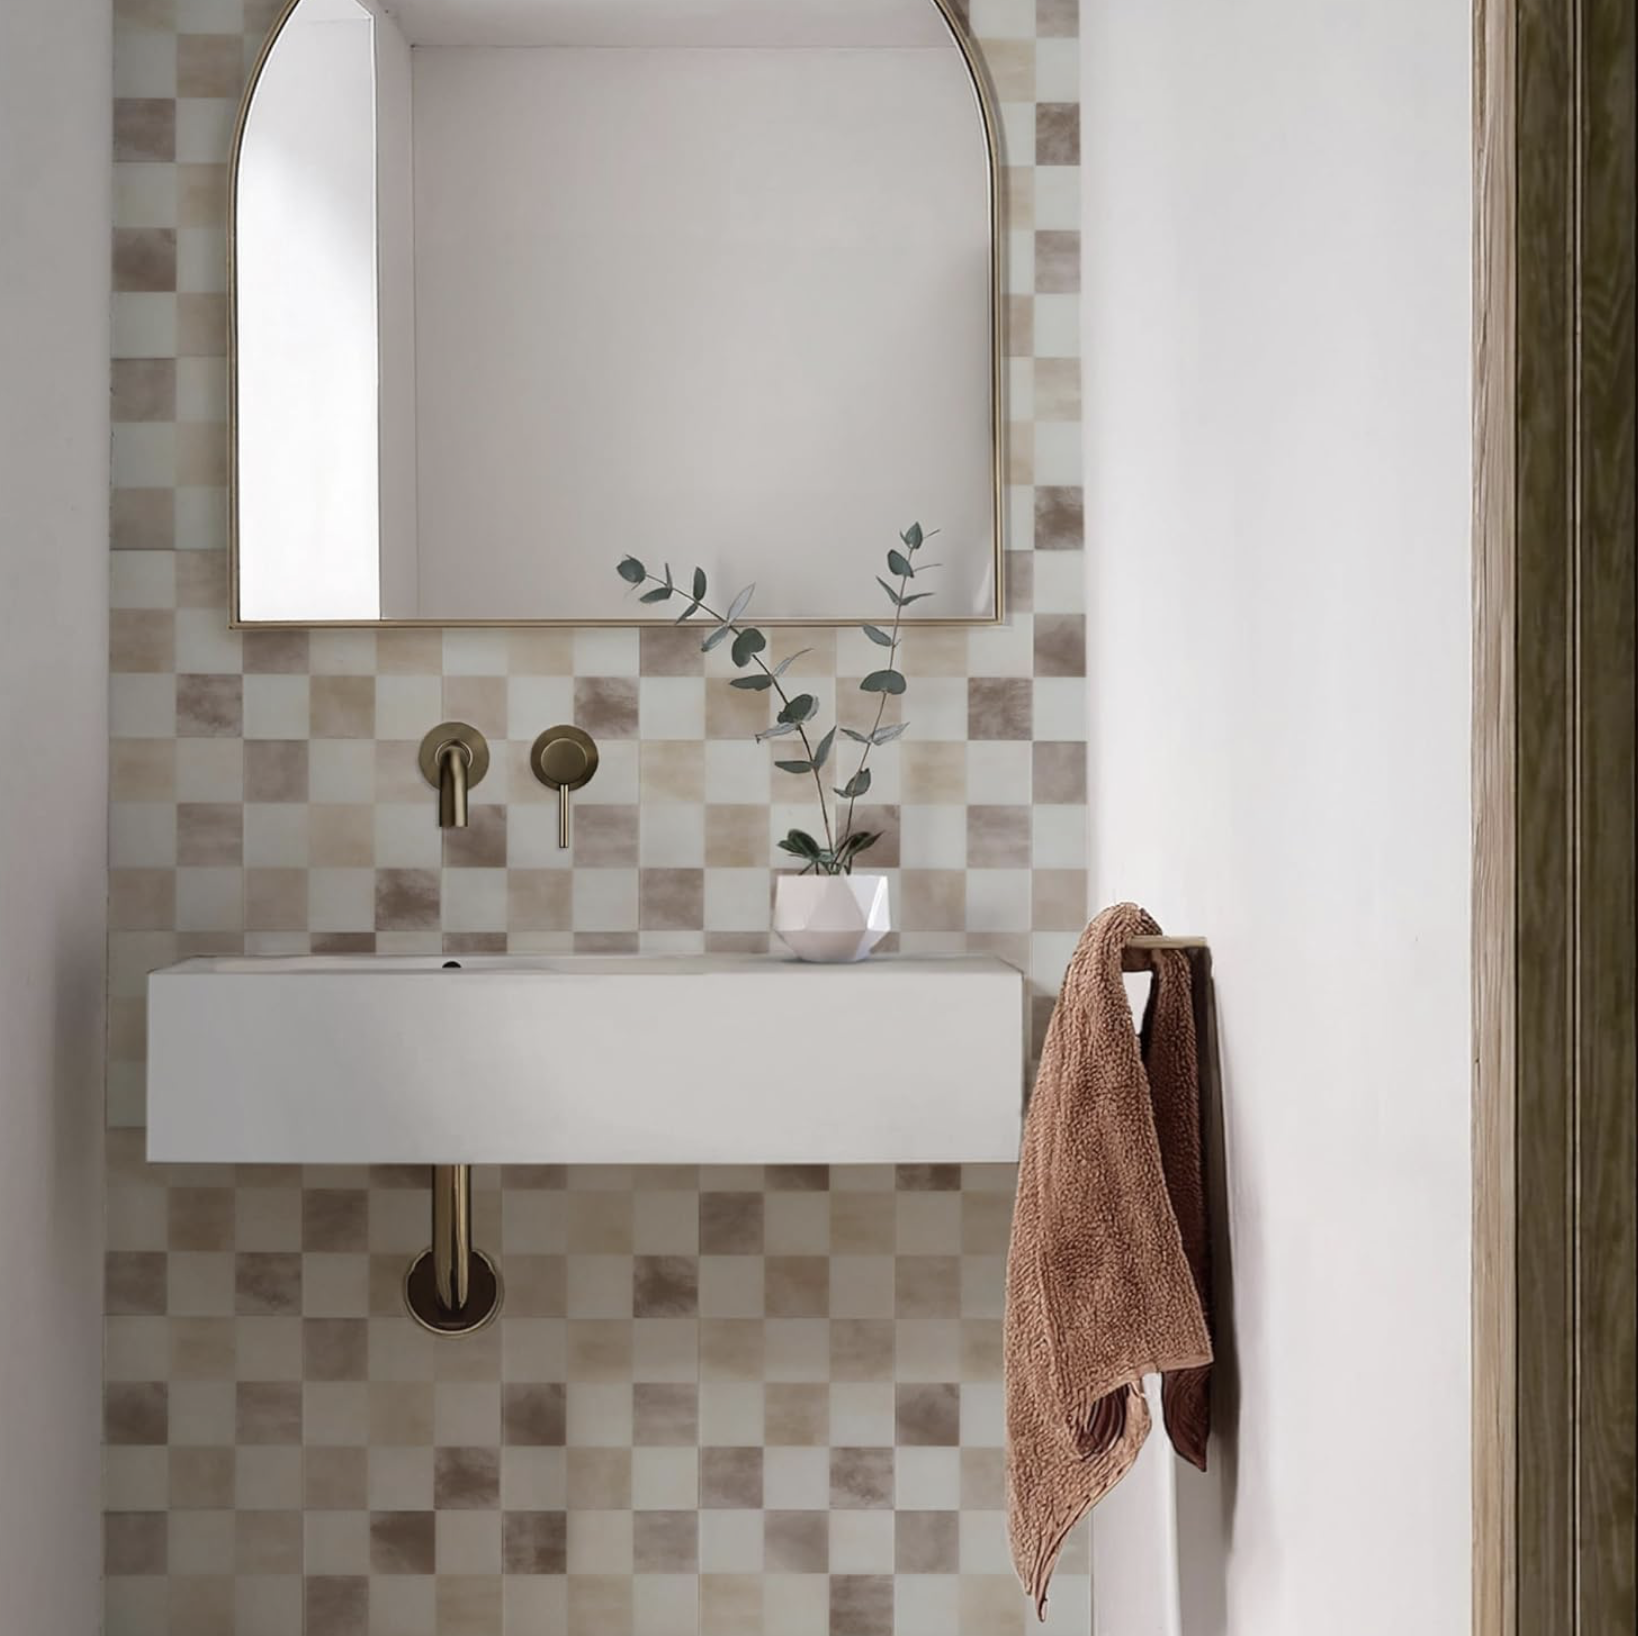
Image credit: Ca Pietra X Divine Savages
Step 1: Make sure the surface you want to tile is clean, dry and even
Regardless of the area you are tiling, you’ll need to prep the surface first. A fireplace surround or hearth will probably contain lots of loose particles from the chimney that if not removed, might result in your tiles coming away from the wall. If you are titling a small area behind a sink, you’ll need to make sure that it is completely dry before starting, as trapped water will push your tiles away from the wall as the water tries to escape.
Make sure that the area upon which you will be applying your tiles is completely clean and has no debris or grease. If the surface is uneven, use a scraping tool to rid it of any lumps or bumps and use sugar soap to rid the area of any grease and dirt.
Apply a couple of coats of tiling primer to seal the surface so that the tiles adhere as much as possible before applying your adhesive.
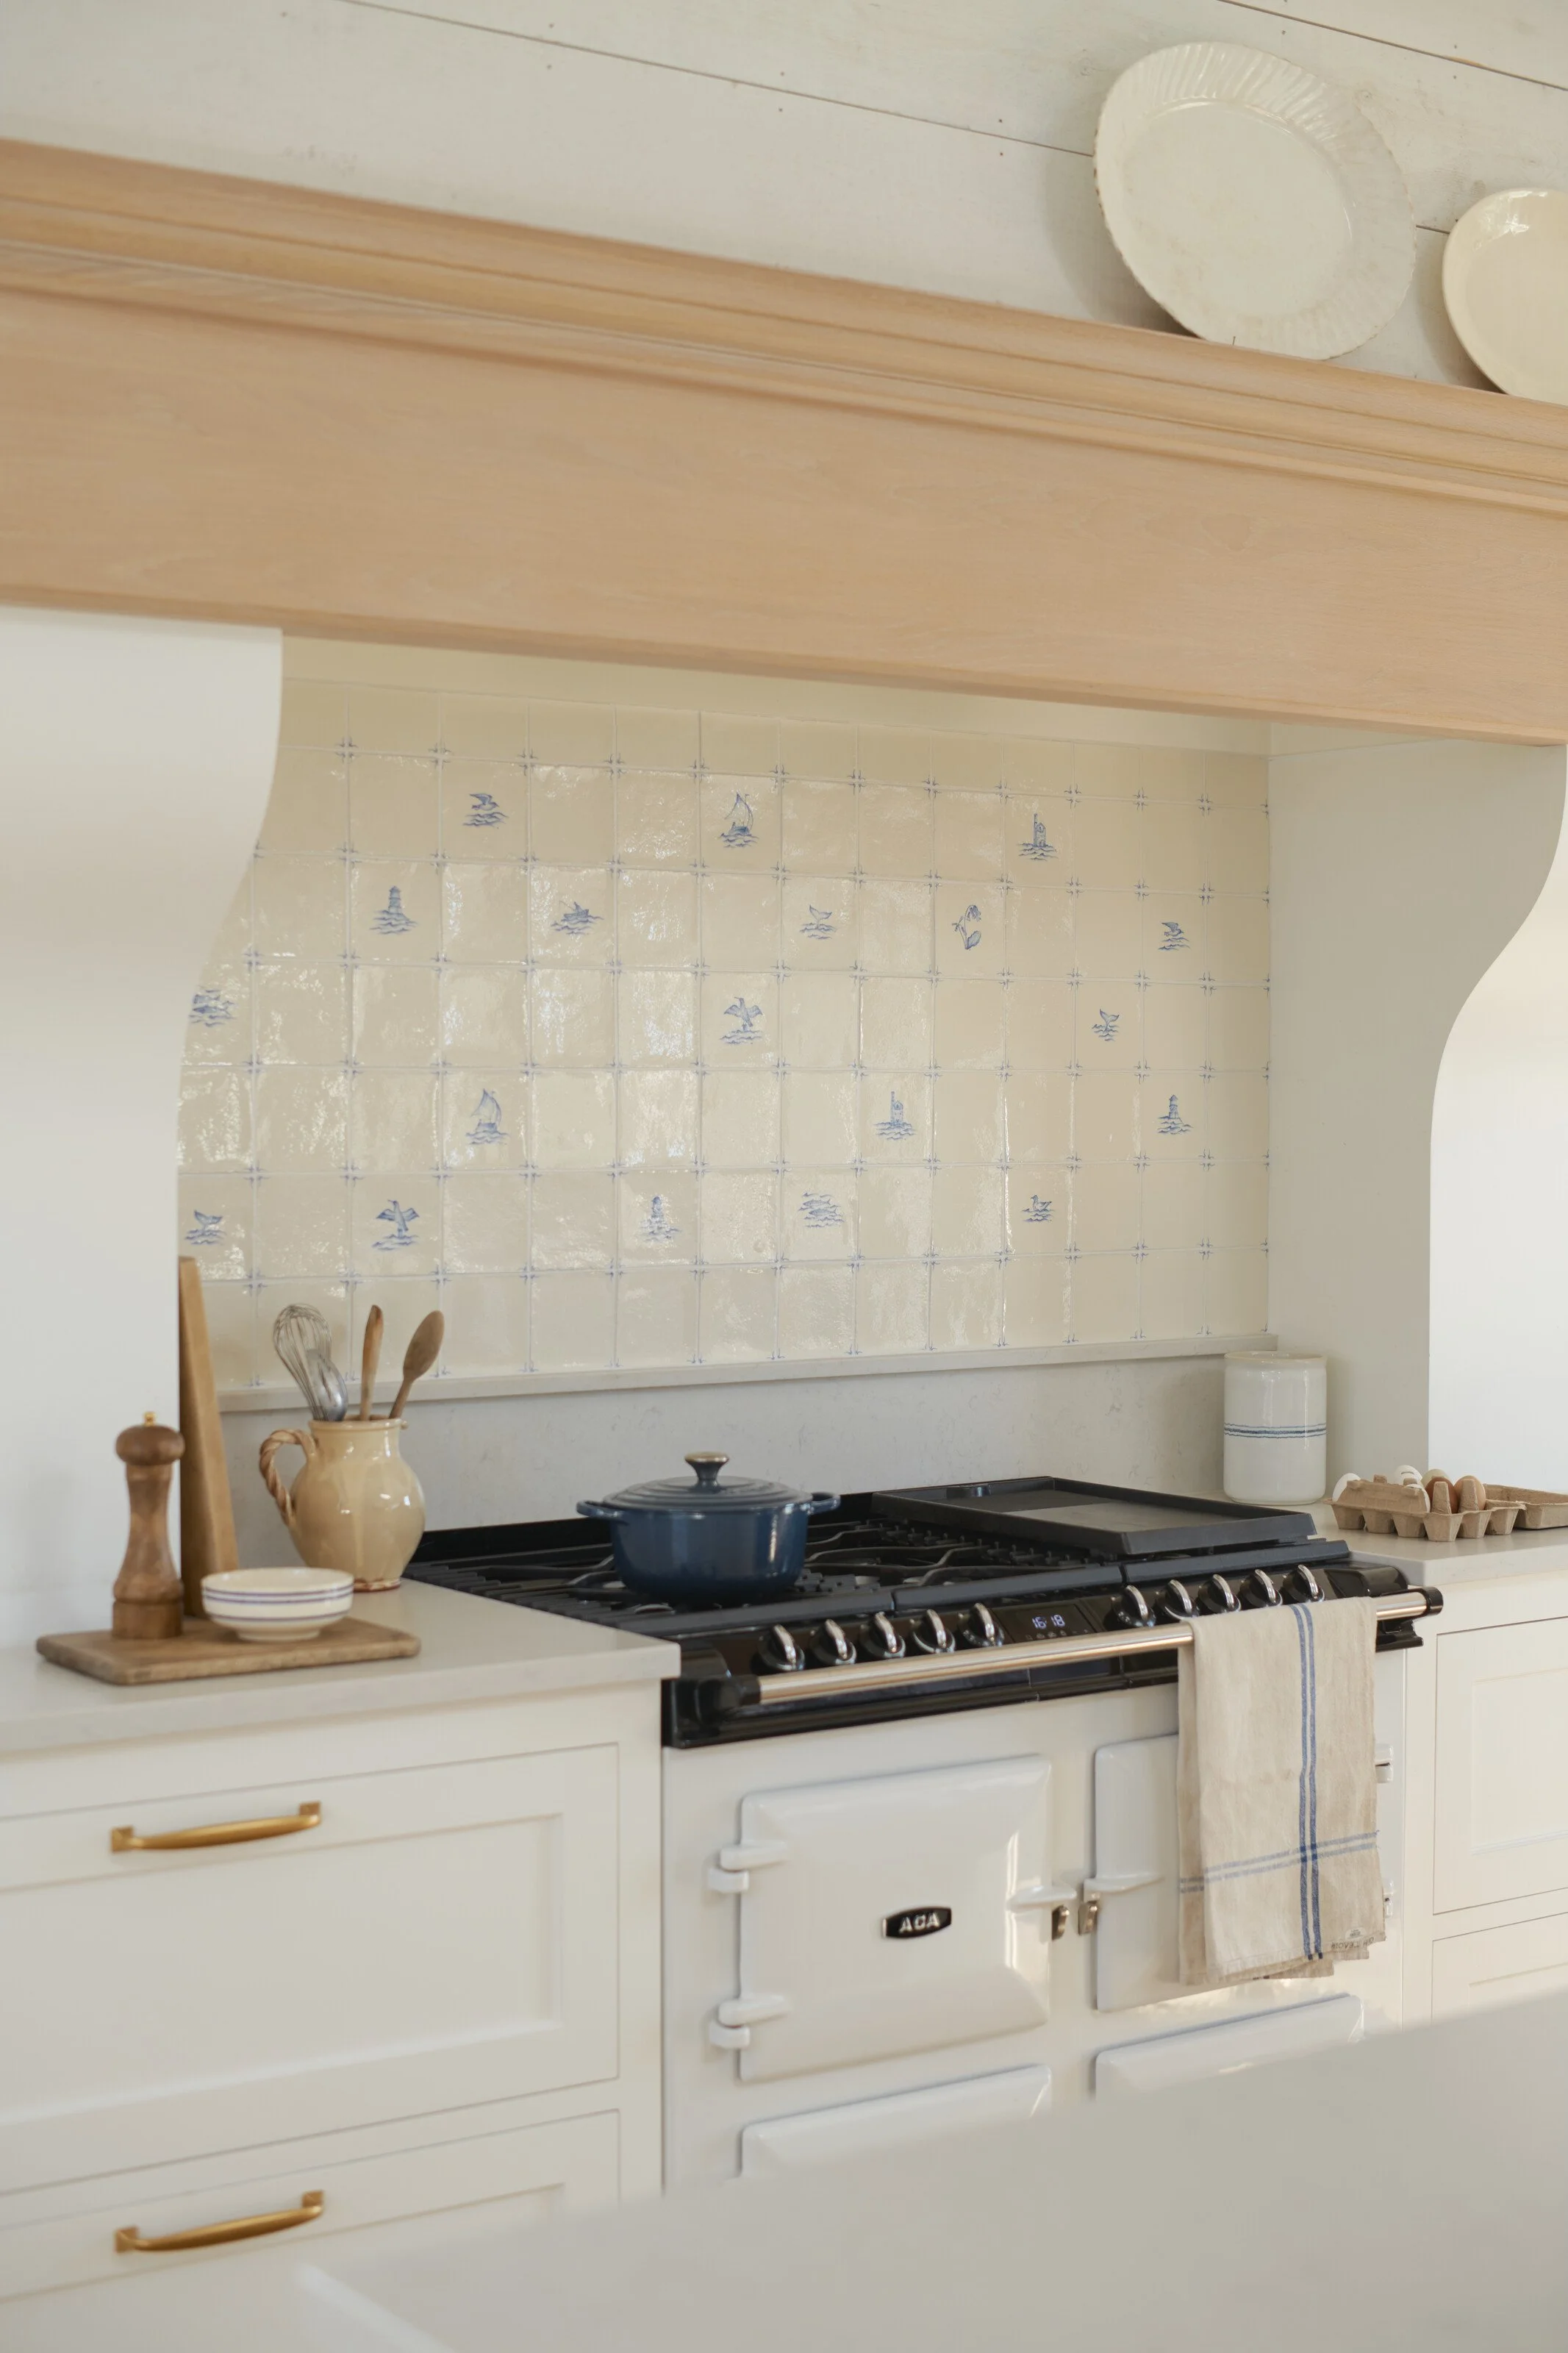
Cornish Delft Collection by Marlborough Tiles
Step 2: Think about how you want to lay your tiles
Before you start, plan your tile layout on the floor, creating an arrangement and a tile laying pattern. If you are using multiple colours or patterns, this is especially important so you are happy with the final result.
There are a number of tile laying patterns that you can opt for depending on the style of tile that you have chosen. Grid and brickwork are the most common, with diamond, herringbone, staggered and basketweave favoured by designers.
Measure the width and height of your surface area and make sure that you have enough tiles to complete the job. It’s always best to buy more tiles than you think you will need, just in case of any chips or marks you might discover along the way.
Unless you are lucky, it’s likely that your tiles won’t just slot into the area that you are tiling without some of them requiring being cut down to fit. Consider the part that will be seen the most and decide what will be most appealing aesthetically. For example, If you have space for 5 rows of tiles and one half row (where all the tiles will need to be cut in half to finish off), do you want to see those cut tiles at the top or the bottom?

Image credit: Annie Sloan
Step 3: Apply your ready-mixed adhesive
For small jobs, I always purchase an instant grab, ready-mixed adhesive where you can use as much as you need and then put the lid back on for another day. Mixing your own from powder can lead to you mixing more than you need for a small job and it can be messy and annoying.
Use a tile trowel to gently apply a 3-5mm layer of adhesive for smaller sized wall tiles. Don’t apply too much in one go, as it will probably dry out before you’ve had a chance to get all the tiles on the wall! Slow and steady wins the race when tiling as a beginner.
Hold a notched trowel at a 45-degree angle and comb the adhesive to create a ridge effect that will improve the tile's suction and bond.
Step 4: Ensure that you start tiling in the bottom centre of your surface area
This step is important! In order to get a symmetrical layout, you’ll need to make a mark in the middle of your surface area (use an aluminium ruler for an accurate measurement) and work outwards either side. Also, start at the top and not at the bottom! Otherwise, you’ll find your tiles will slide down the wall with nothing underneath to support them.
Press the tile down gently enough to stick to the adhesive without pushing it all out around the edges of the tile, then give it a little wiggle to attach as much as possible.
You’ll then need to use tile spaces to ensure the same padding distance between each tile. Typically, 2-3mm spacers should be used for smaller decorative tiles. Simply slot 2-4 spacers between each tile so that your tiles align. You’ll also need to use a spirit measure all the way through the process to make sure each tile is applied level and not wonky!
If it’s all getting a bit messy at this point, gently wipe away any excess adhesive on your tiles surface with a damp microfibre cloth.
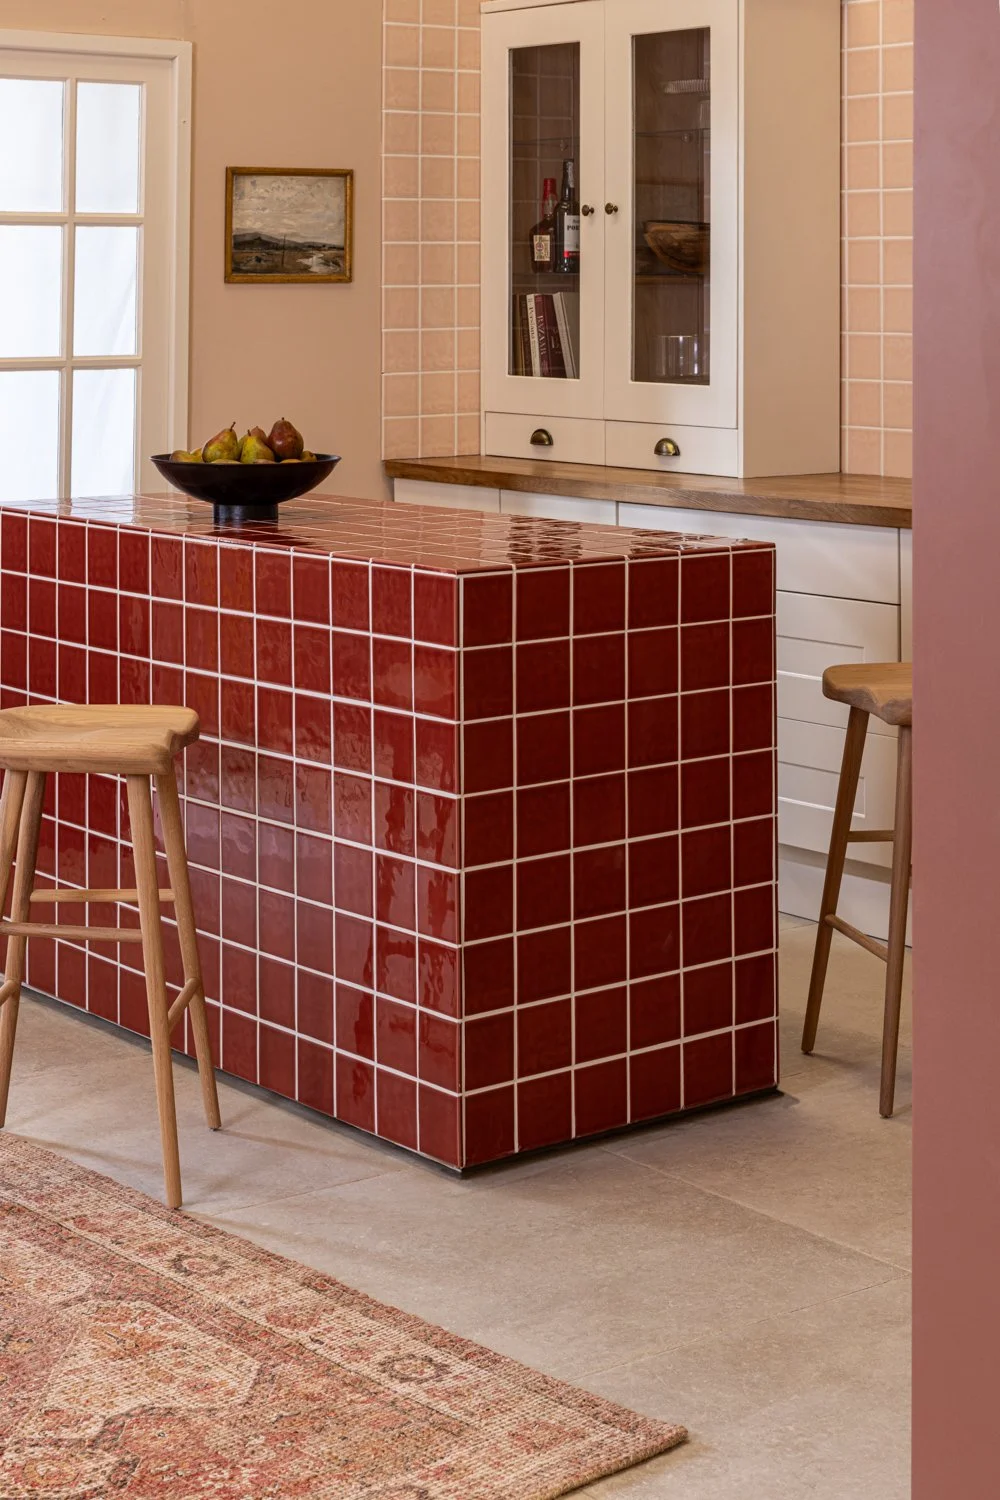
A great project would be tiling a small table or even a kitchen island. Buy these burgundy tiles via Marlborough Tiles.
Step 5: Cutting tiles down
Cutting down tiles to fit the space that you want to apply them is definitely the worst part of tiling as there is always the fear that the tile will break in the wrong place. However, once you have the knack of using a manual tile cutter or a tile scribe, it gets a lot easier.
Measure where the tile needs to be cut, marking with a pencil. Gently score the tile with your cutting tool or scribe, creating an indentation that will enable you to snap the tile in half (think of it like folding paper and then tearing down the line). For curvy areas around pipes, tile nippers can manually create circular tile cuts.
Step 6: Grouting
Leave the adhesive to set your tiles overnight, then pull out the spacers and you’ll be ready to grout the gaps between each tile. Buy a pre-mixed grout in a tube for a small space to avoid waste and keep down costs and apply it with a small grout spreader (a float is for larger areas). Work the grout into the joints in a diagonal motion, scraping up any large drops of grout on the tile surface as you go. Grout will harden after 20 minutes, so again, apply little and often.
Once all the grout is applied, use a damp sponge to wipe away any excess on the tile's surface. Use your finger to add more grout and/or smooth it down again if required. Once dry, you can polish up your tiles of any powder or residue.
The six key DIY tools every home should own…