
5 Simple Steps to Apply Tile Stickers: Save Money With This Easy DIY Home Upgrade!
Luxor Beige/Ivory, Self Adhesive Wall Tiles via Amazon
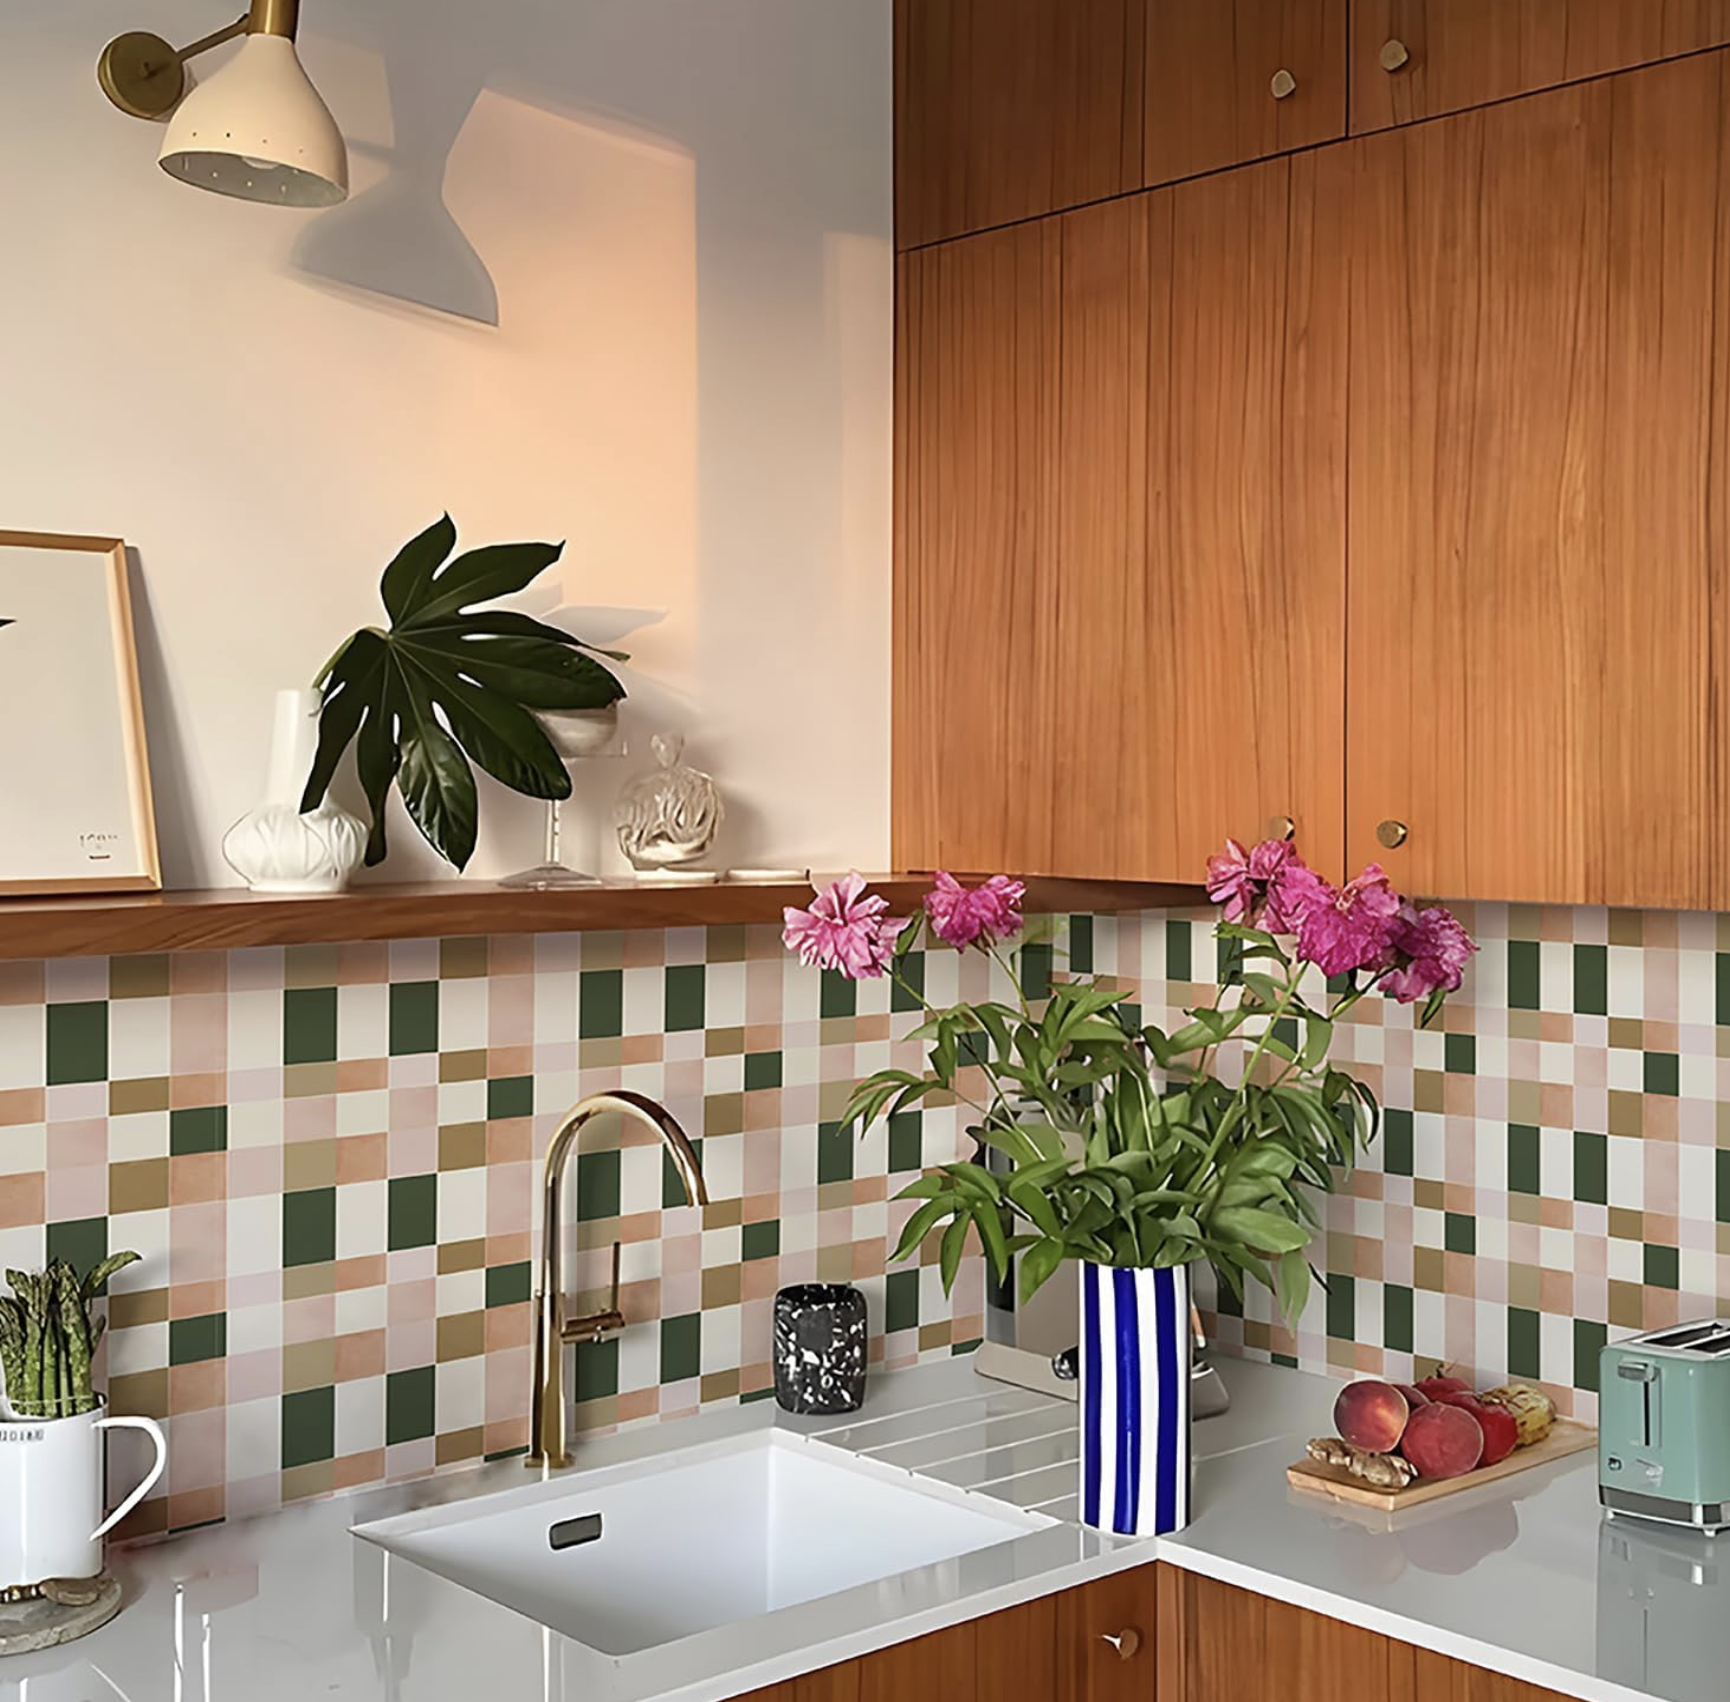
A recent TikTok video of a kitchen upgrade using inexpensive tile stickers recently caught my eye when scrolling one evening; I could not believe the end result - it looked like the creator had spent a fortune on a stunning emerald green ceramic tile splashback! It made me realise just how much the market has moved forward with budget-friendly, damage-free products suitable for renters, or for those who cannot afford major home renovations and revamps. With building costs spiralling out of control, these temporary solutions offer a fast, affordable, creative way to design a home that reflects your taste and style - all with minimal effort!
Self-adhesive floor and wall tile stickers can completely transform a kitchen, bathroom, or a laundry area into fresh, modern space without the dust, mess, or high cost of traditional tiling.
Alwayspon Tile Sticker, Pink Sage Green Self Adhesive Stick on Tiles.
Why Choose Tile Stickers?
Tile stickers are thin, durable sheets made of vinyl or similar materials, printed with decorative patterns. They’re water resistant, heat-resistant (depending on the brand), and easy to clean. You can find them in countless designs - from on trend checkerboard to bold Moroccan prints - making it simple to match any interior style.
Budget-friendly - much cheaper than replacing tiles.
Quick installation - no need for grout, glue, or specialised tools.
Low mess - no demolition, dust, or debris.
Reversible - many types can be removed without damaging the surface beneath, making them perfect for renters looking for an instant glow-up.

Emerald green wall tiles stickers via Amazon.
5 simple Step-by-Step Guide to Applying Tile Stickers
Step 1: Choose the Right Stickers For Your Project
Measure your existing tiles, floor, or the flat surface area where you plan to apply your tile stickers carefully, then choose peel and stick tiles in a size best suited to the area that you are working with. Many tile stickers are designed to fit standard tile sizes, but custom sizes are also available from some manufacturers.
Tip: Always buy a few extra stickers in case of mistakes or future replacements.
Step 2: Prepare the Surface
The key to a smooth, bubble-free finish is proper preparation.
Clean thoroughly: use warm soapy water or sugar soap to remove dirt, grime, and grease.
All the surface to dry fully: any moisture will prevent the adhesive from sticking well.
Smooth out imperfections: if applying over existing your tiles, make sure that any that might have chips or cracks are filled with an all-purpose polyfiller, then lightly sand down once dry.
Step 3: Test First
Before applying stickers one after the other, test one tile to see how it adheres and looks under your lighting. Make sure that you’re happy with the texture, finish and fit before removing it.
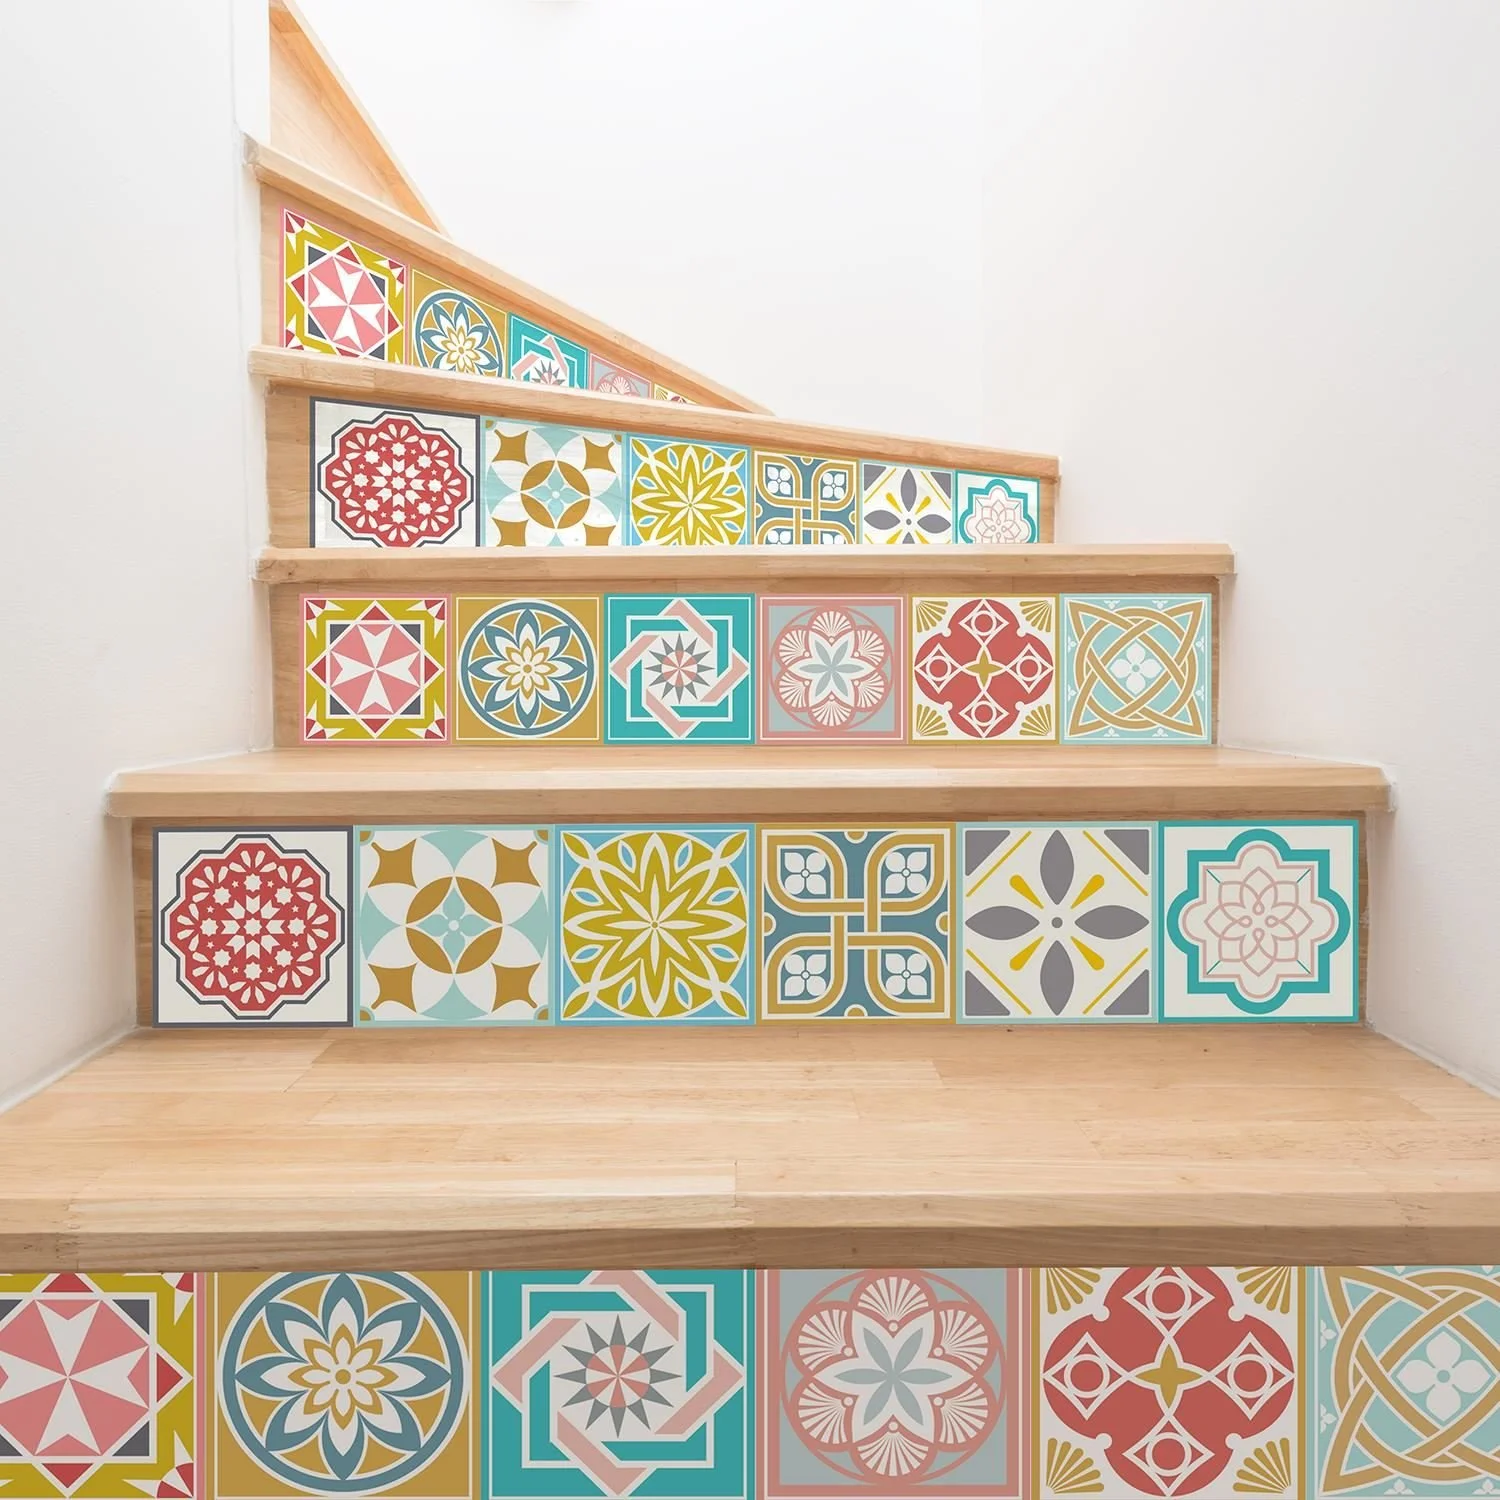
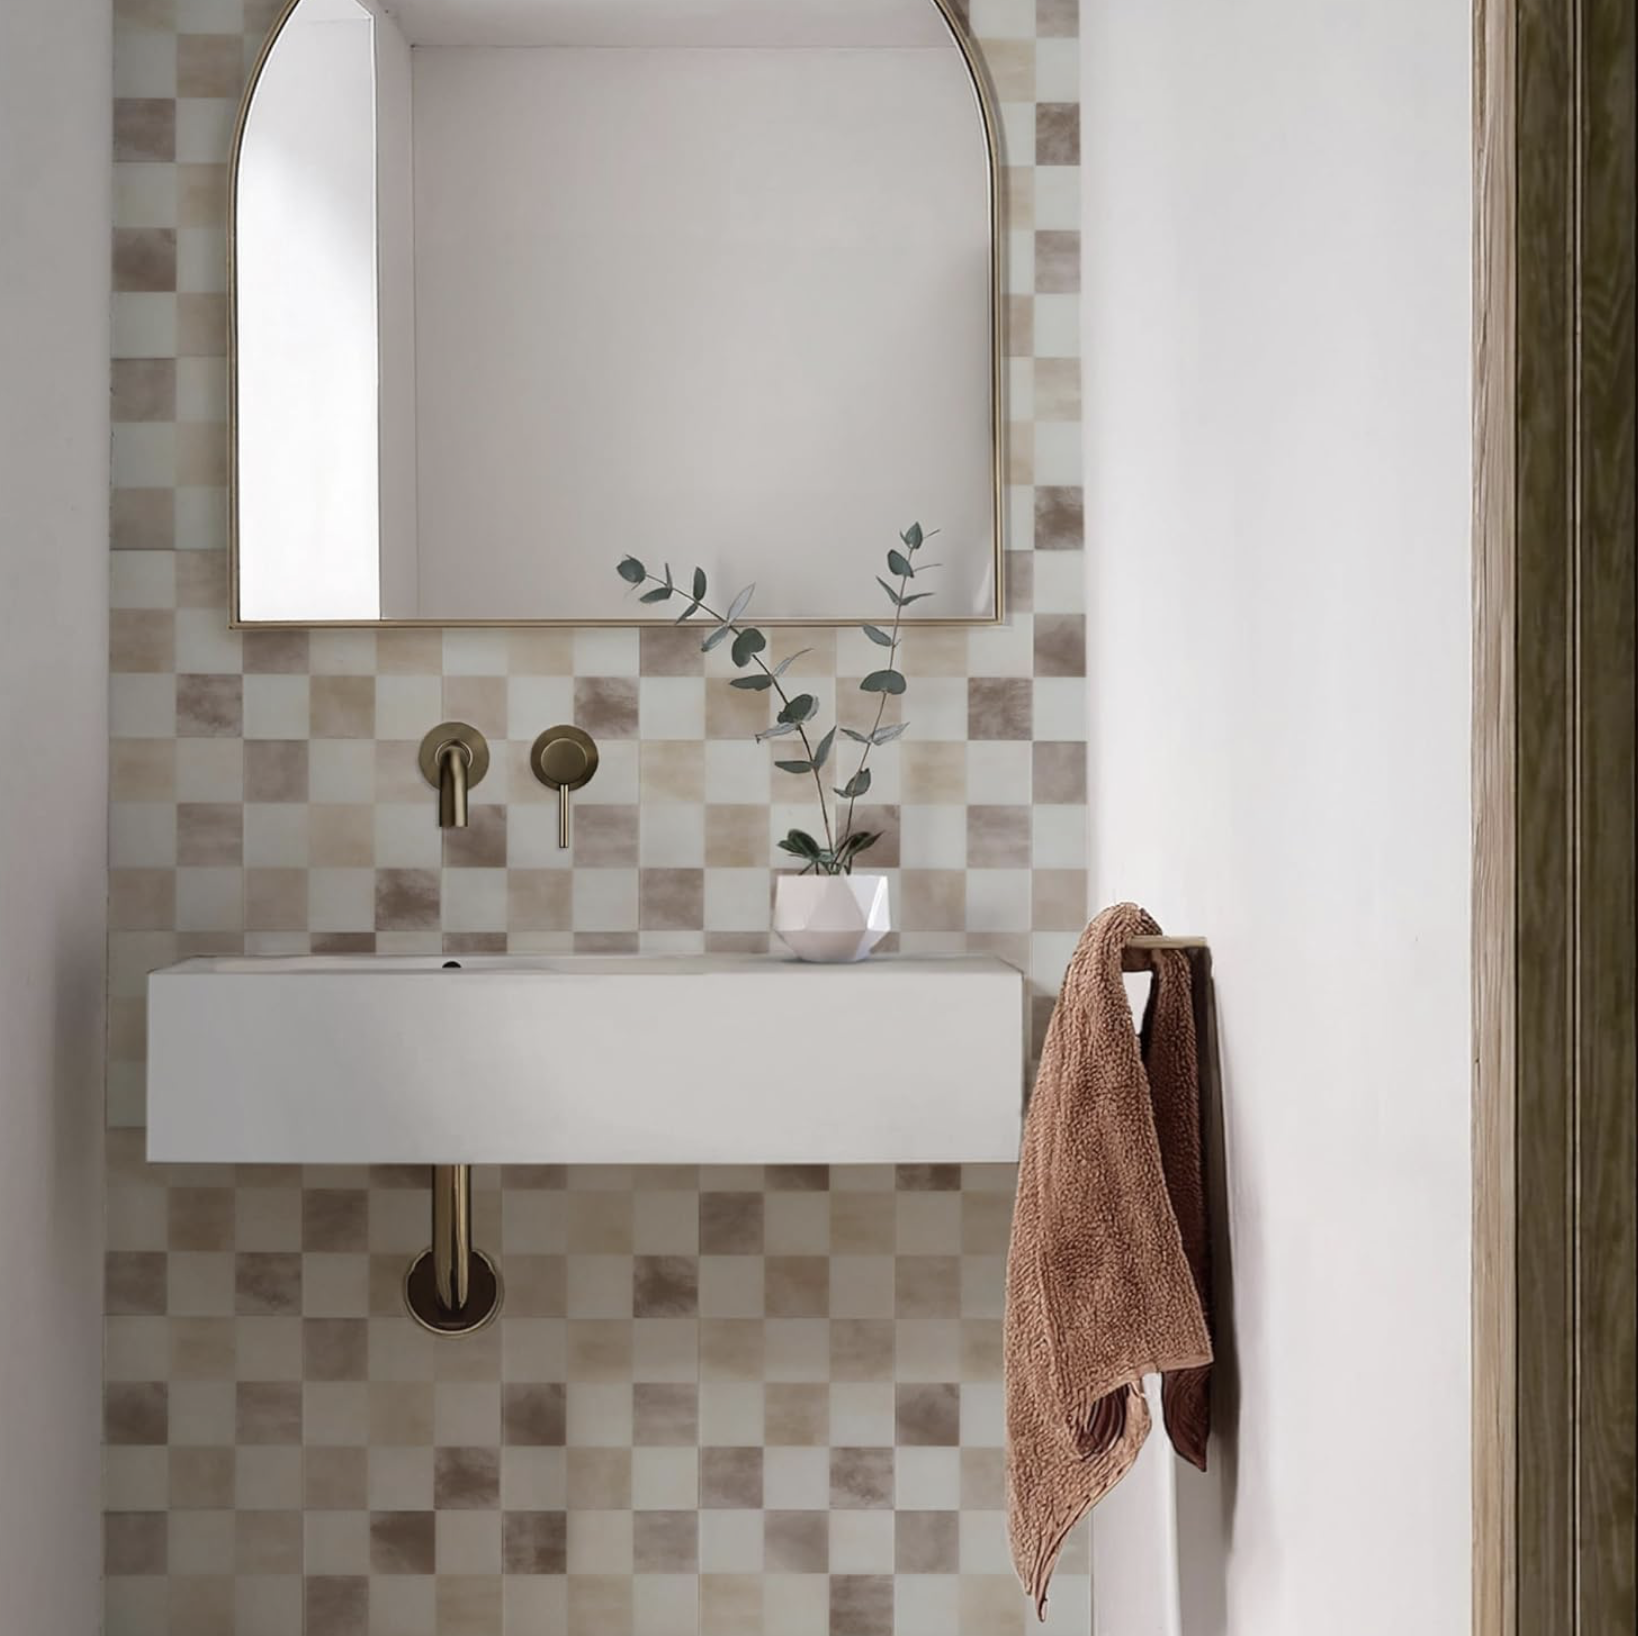
Image credit: Wayfair
Step 4: Apply the Stickers
Use a spirit level and a pencil (or a laser level if you have one) to make sure that your first row of stickers will be applied in a level, straight line.
Make a mark in the centre where your first sticker should be applied then work outwards for a symmetrical application.
Peel carefully, removing the backing paper from the sticker without touching the adhesive too much.
Position the sticker over the tile or on the surface area the best that you can, making sure edges and corners line up exactly.
Press and smooth - use a squeegee, credit card, or clean cloth to smooth out air bubbles from the centre outwards.
Continue across the surface, working slowly for accuracy.
Trim where necessary - in corners, around sockets, or near edges, you might need to trim stickers. Use a sharp craft knife and a ruler for clean cuts.
Image credit: Kitchen-Wraps
Step 5: Care and Maintenance
To keep your tile stickers looking new you need to follow a couple of small rules:
Avoid abrasive sponges or harsh chemicals like bleach that will damage the surface of the stickers. Instead, wipe them clean with a damp cloth or mild cleaner.
Prevent any prolonged exposure to direct heat, unless the stickers are heat-resistant.
Design Tips for a Modern Look
Try geometric patterns: bold hexagons, checks, chevrons, or diamond prints can make a strong style statement, especially in small areas like splashbacks.
Mimic natural materials: Marble, stone, or wood-effect stickers can bring the appearance of texture without the high price tag.
Use colour! As tile stickers are removable, you can experiment with bold colour choices (like pink and red) without concern.
TIP: Some stickers aren’t suitable for very wet areas like inside showers, so always check the product specs before purchasing.
Pink and red tile stickers via Amazon.
With careful preparation, precise application and a bit of creativity, you can completely change the mood of your bathroom, kitchen, or utility in just a few hours. The best part is if you ever want to change the style again, you can simply peel off the stickers and start afresh.
If you love home makeovers and want to take your passion a step further, why not dream big? Some people have actually managed to win a house through exciting instant win competitions and creative house competitions. Imagine transforming not just your tiles, but an entire home that could be yours!
The six key DIY tools every home should own…