How To Hang A Large Mirror
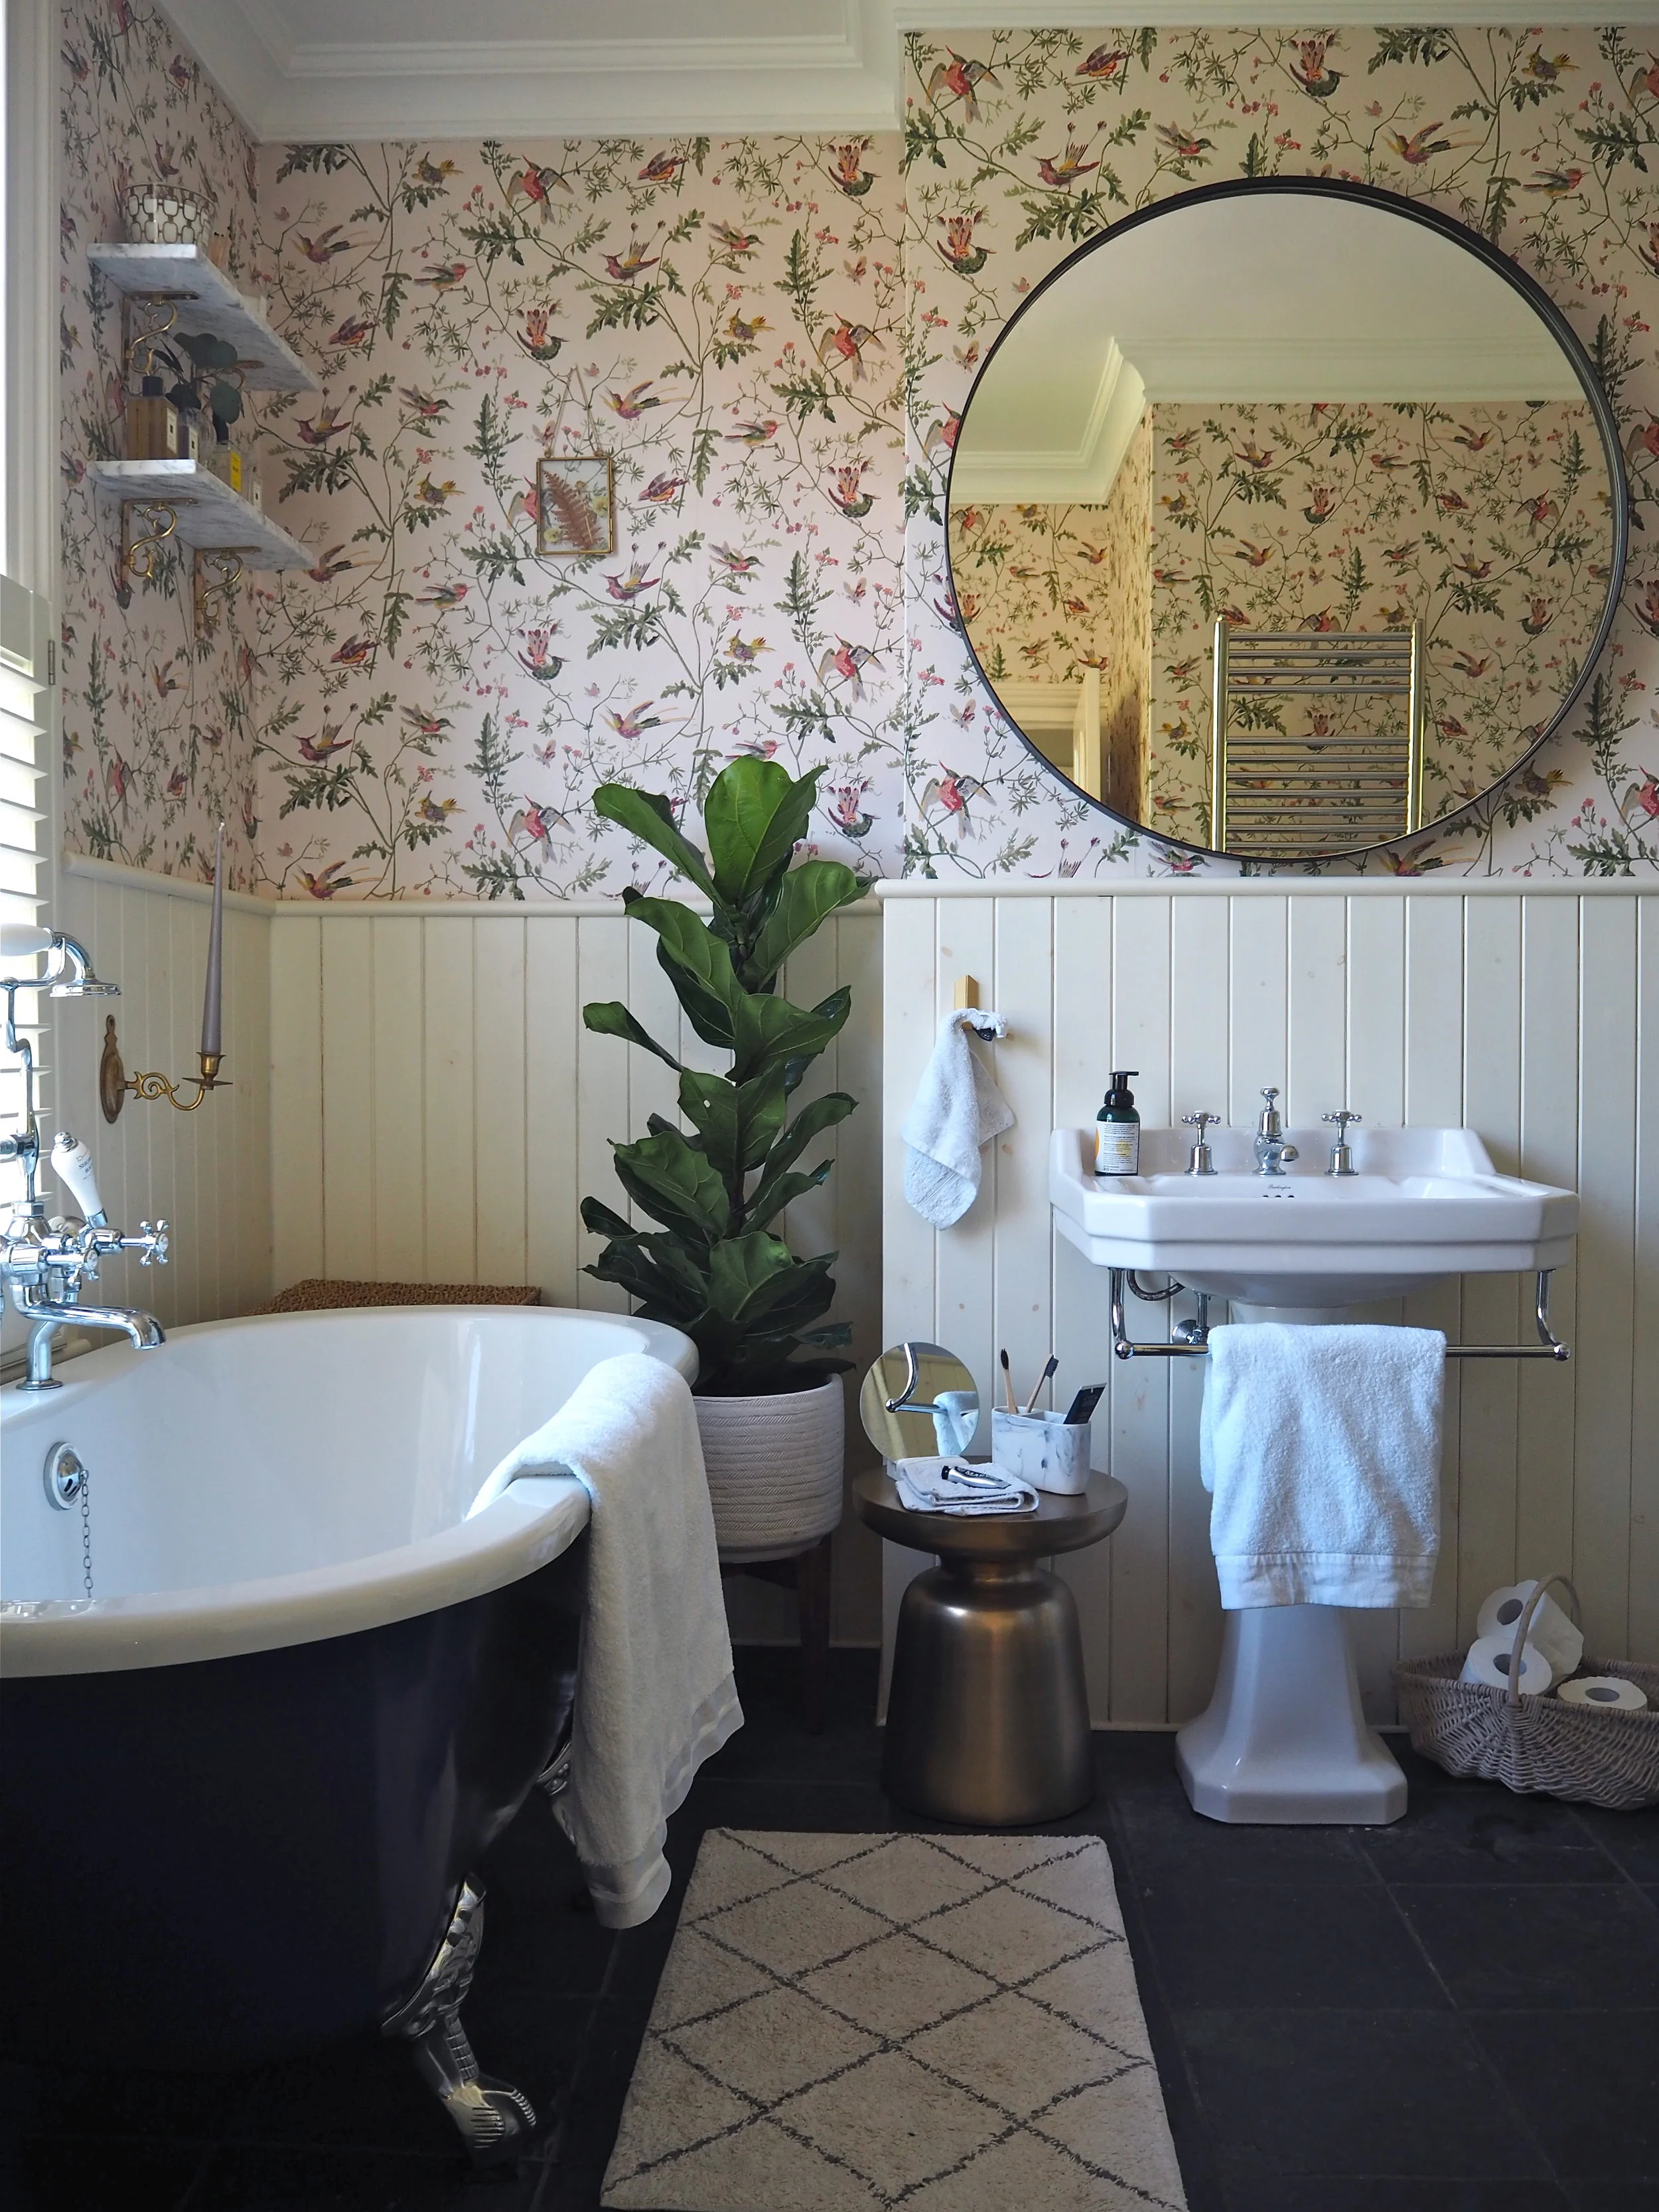
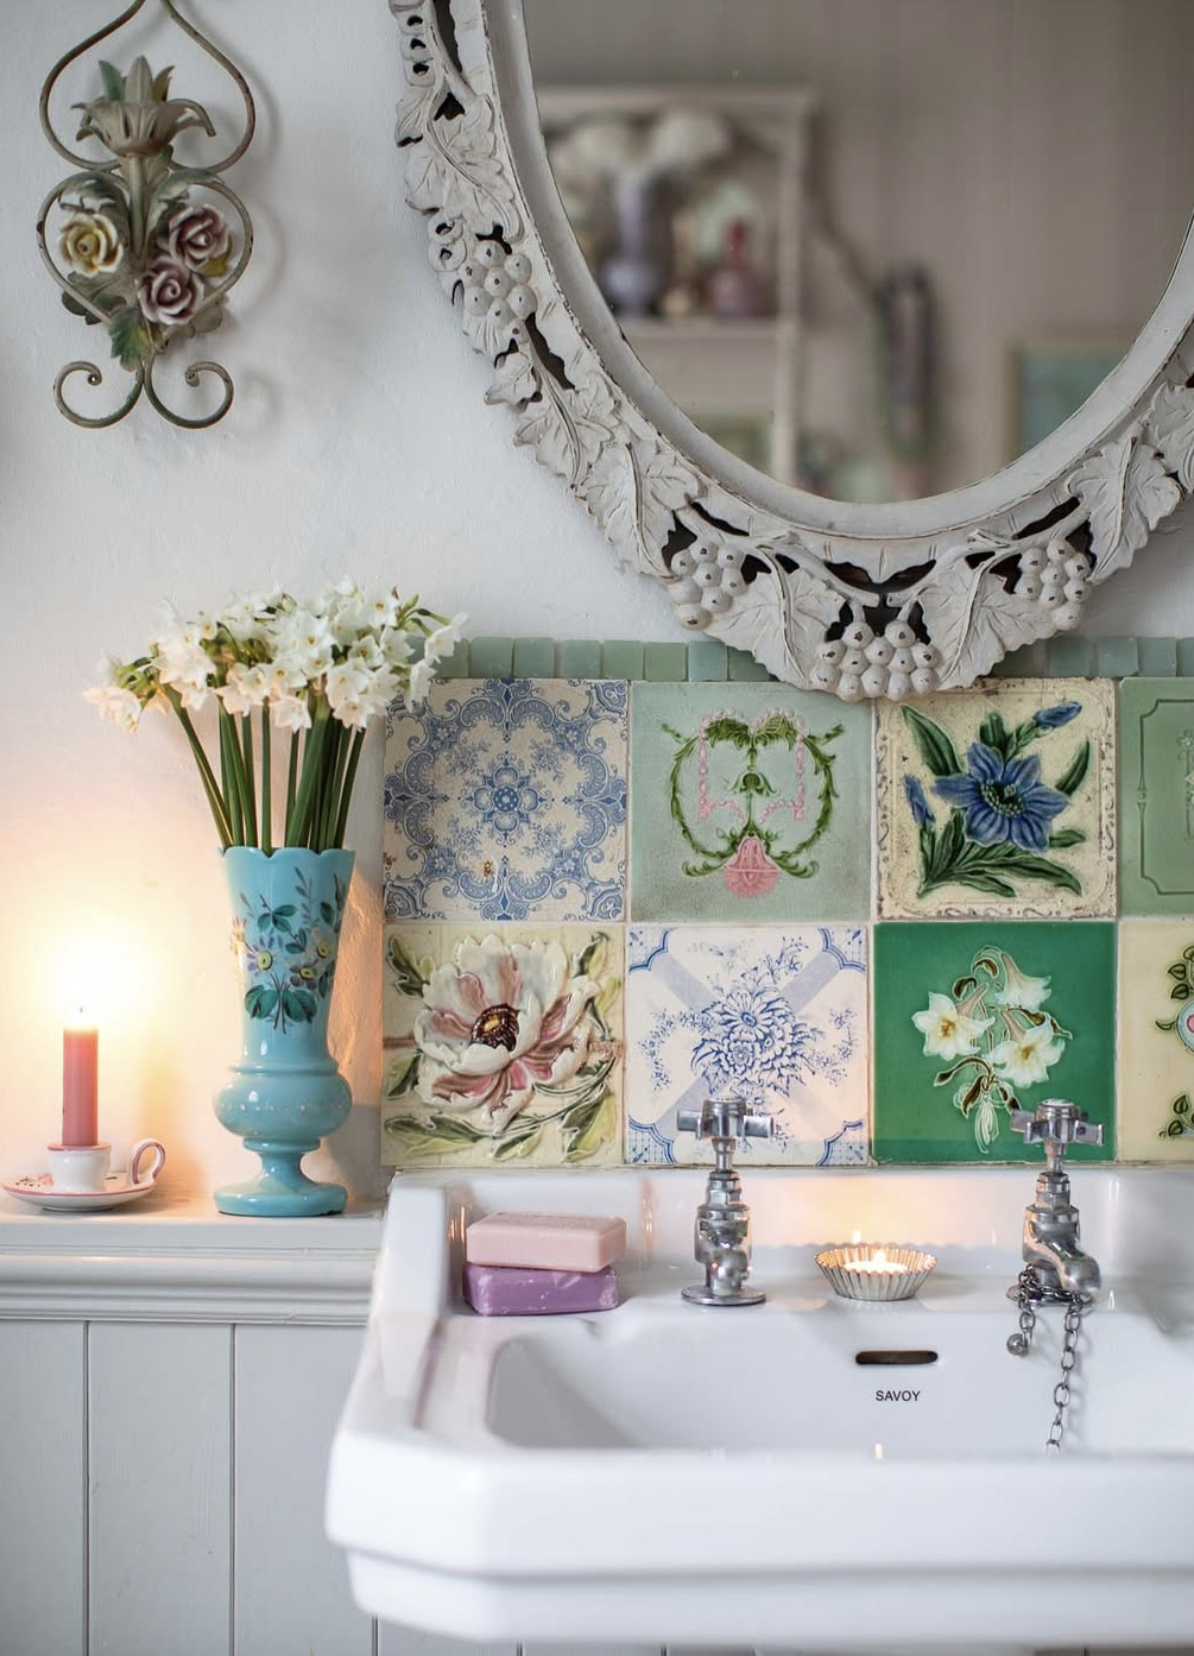
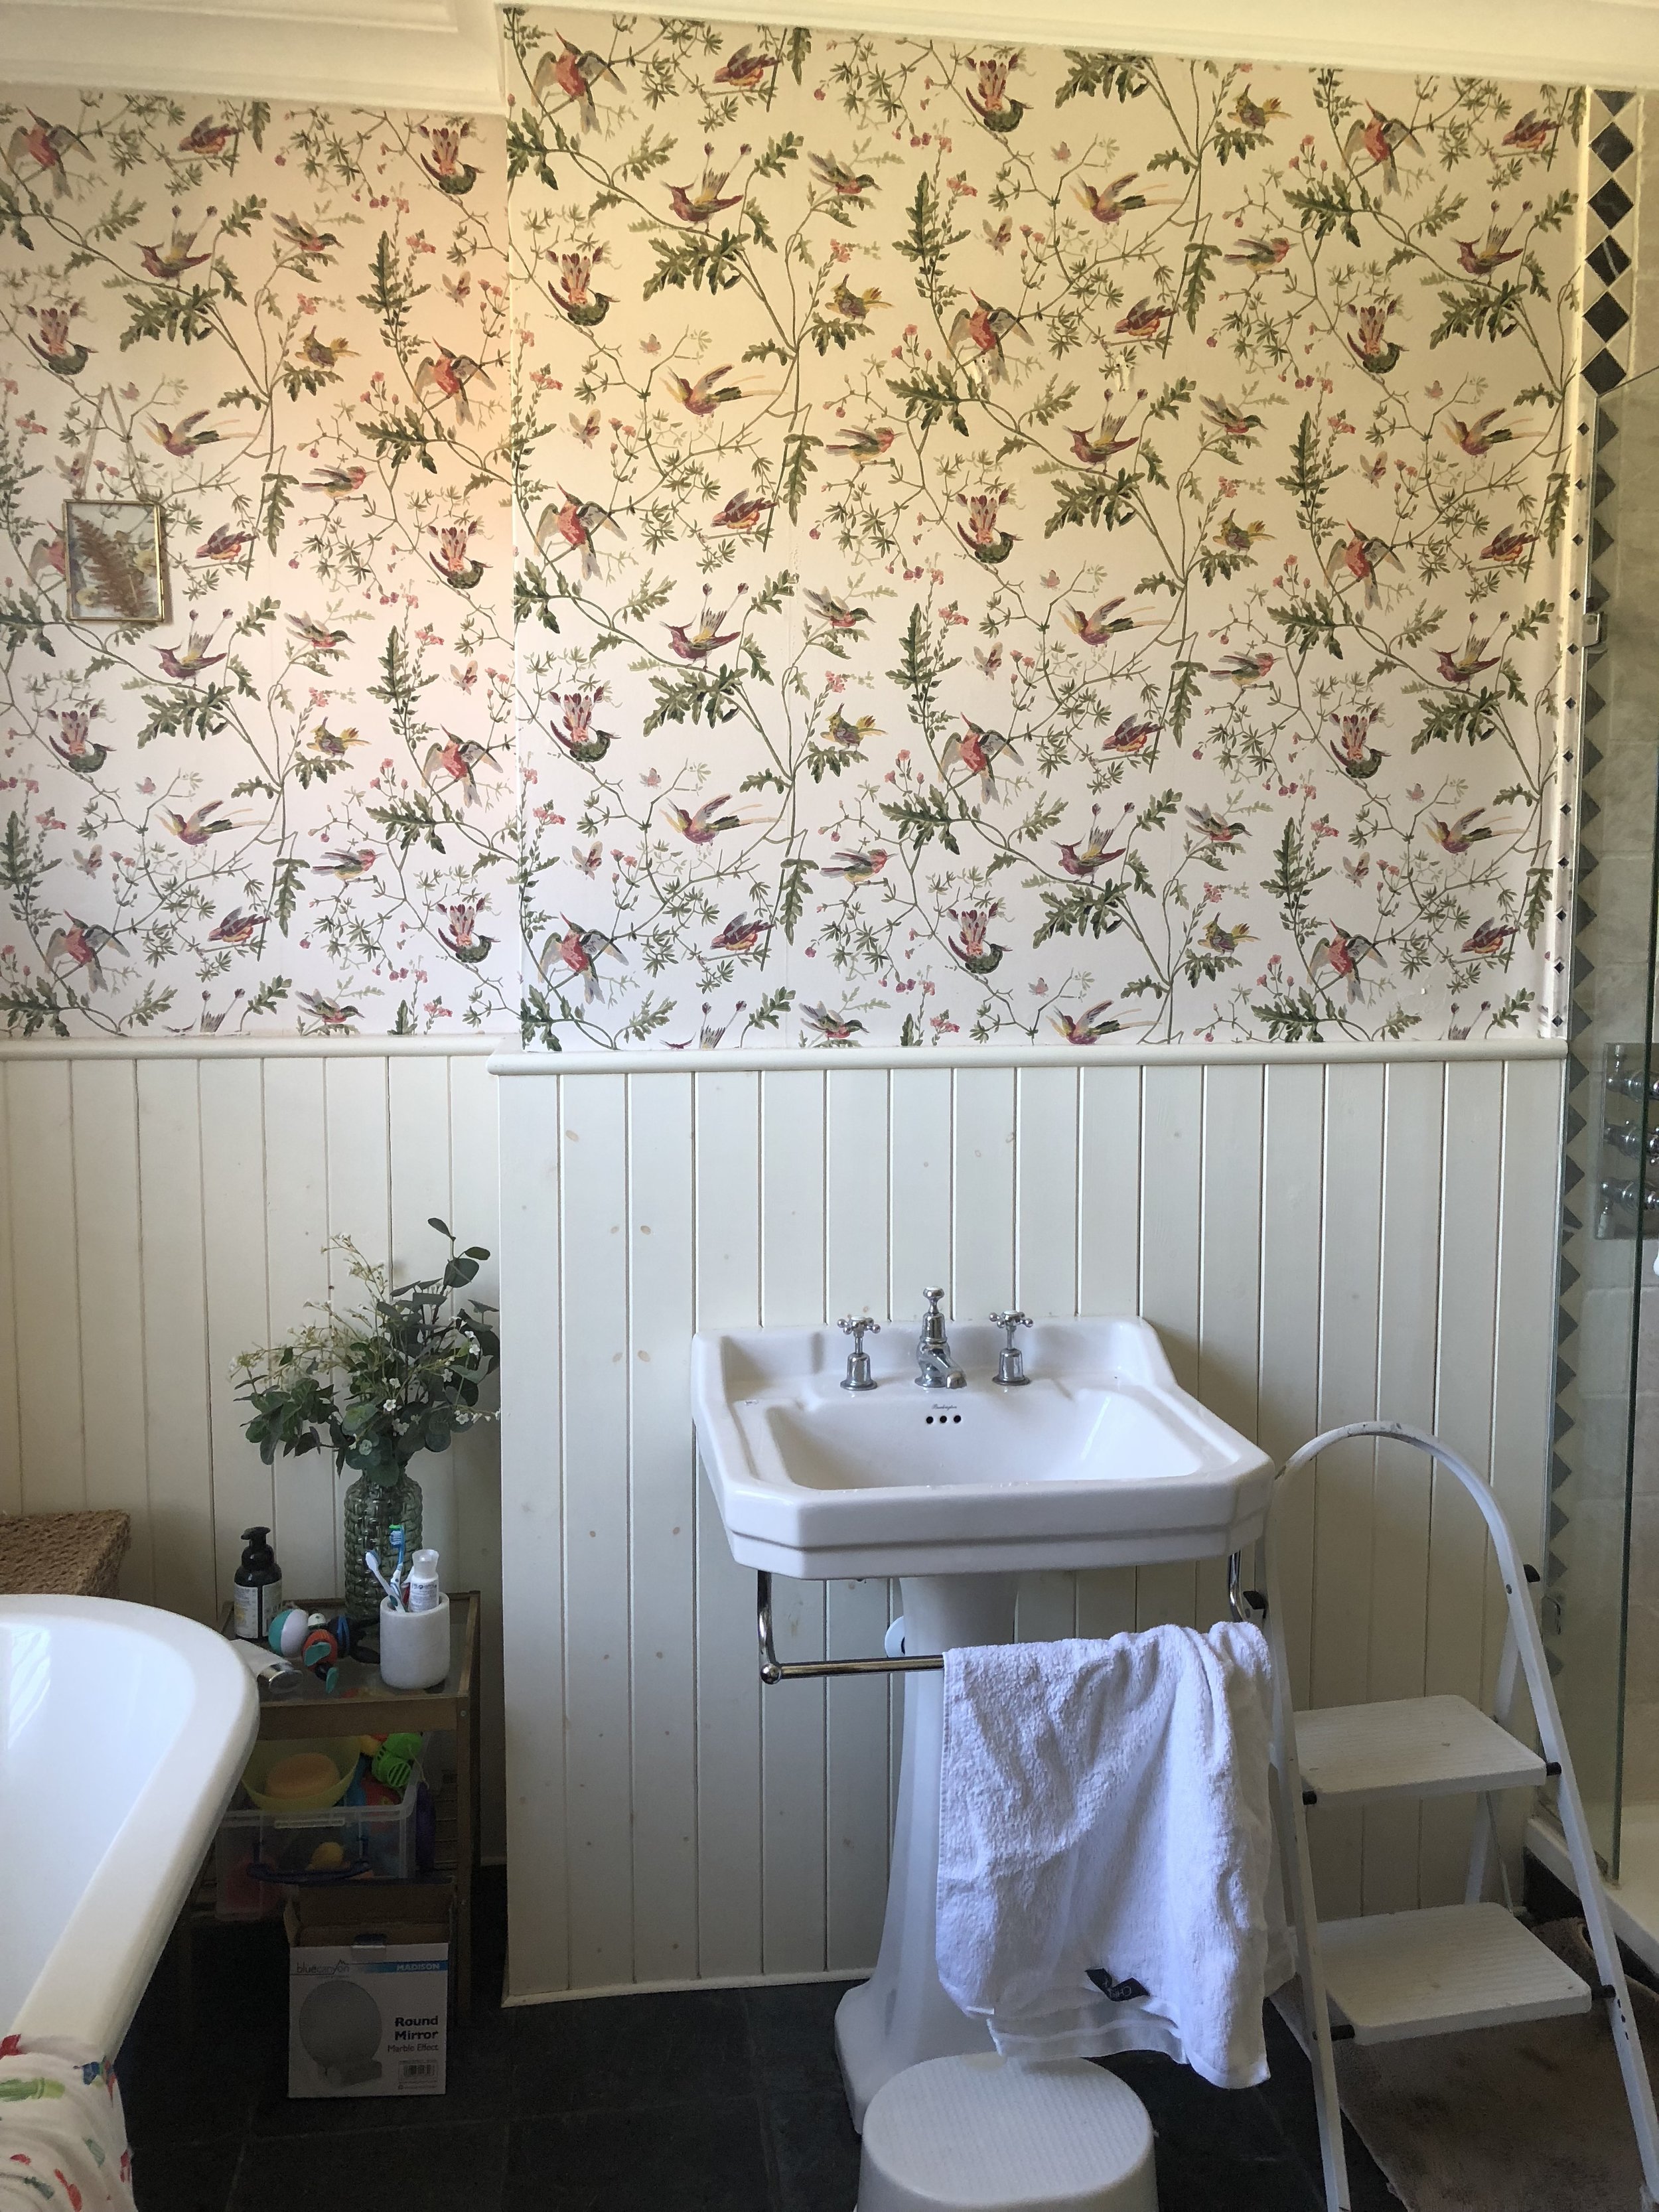
For the past 6 months, I’ve been completely obsessed with circular mirrors! I’ve replaced every non-circular mirror in my home with a circular one, and I’ve loved the effect it creates in the room. The round shape is so pleasing on the eye and it feels more of a contemporary design to whatever I had there before. In my last blog post, I talked about how circles in the bathroom are a trend that is here to stay, so I was delighted when online bathroom suite retailer Soak.com gifted me their Iris bathroom mirror to hang in my home.

Soak.com do such a nice range of bathroom furniture and accessories as well as fixtures and fittings. Along with the Iris mirror they also gifted me this gorgeous mini round mirror and toothbrush holder, which is from their ‘Marble’ range. The Iris mirror is such a show-stopper as it is a huge 100cm in diameter. It feels wonderfully modern with its bevel and powder coated steel frame, as opposed to your usual gold or copper edge. It was hanging this Iris mirror in my bathroom that gave me the idea to document it in this DIY post. This mirror is very large and very heavy and it is important to hang it the correct way. If it falls off the wall it can cause considerable damage (to you and the room it is in!) It is also important when hanging a mirror like this to hang it right first-time. Unlike a small picture which you can faff about with getting it in the perfect position, it would take a lot of effort to re-position a mirror like this if you hang it in the wrong place.
All large mirrors have different ways of being hung, but there are a few general rules to consider when hanging something as large and heavy as the Iris. First of all, you’ll need the correct tools. These are the tools that I use when hanging a large item on the wall in my home:
YOU WILL NEED:

Spirit Level / Screwdriver Set / Electric Drill / Cable & Stud Detector / Hammer / Tape Measure / Long Screws / Raw Plugs / Stepladder / Pencil


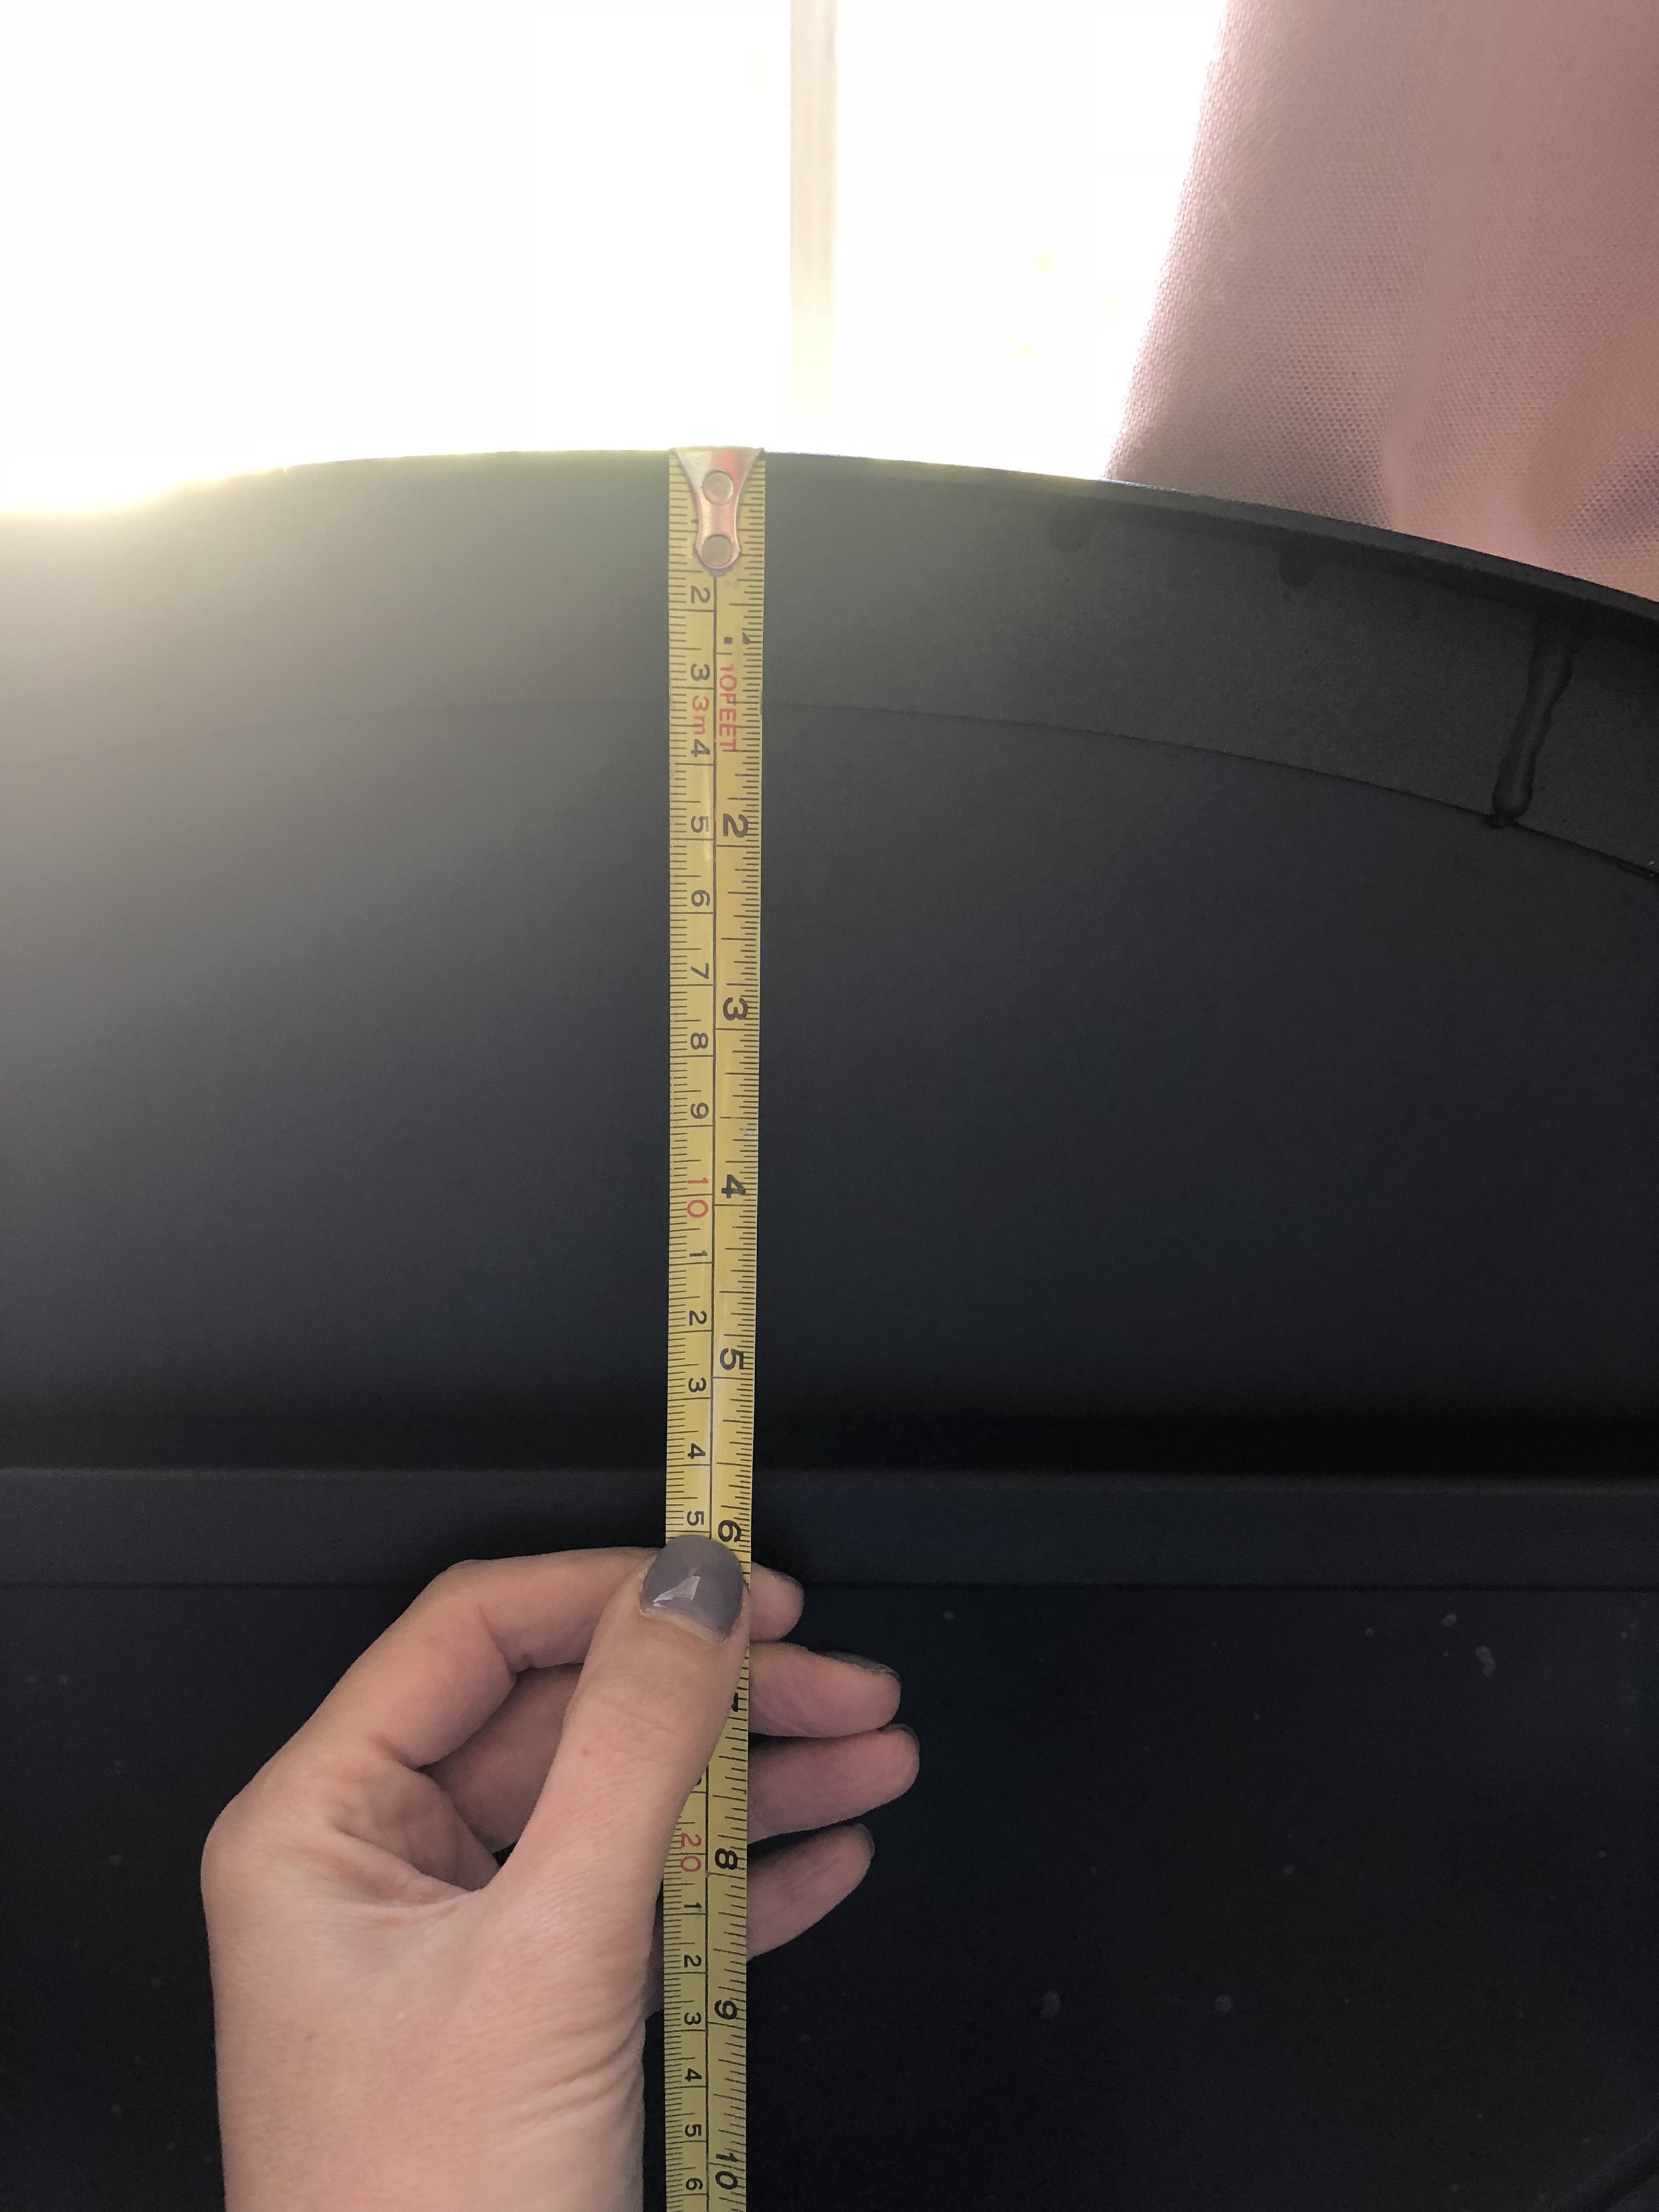
The first and most important part of hanging something large & heavy on the wall is to measure correctly. Even though I knew the dimensions of the mirror, I did double check with a tape measure to make sure that it was 100cm in diameter as a first step.
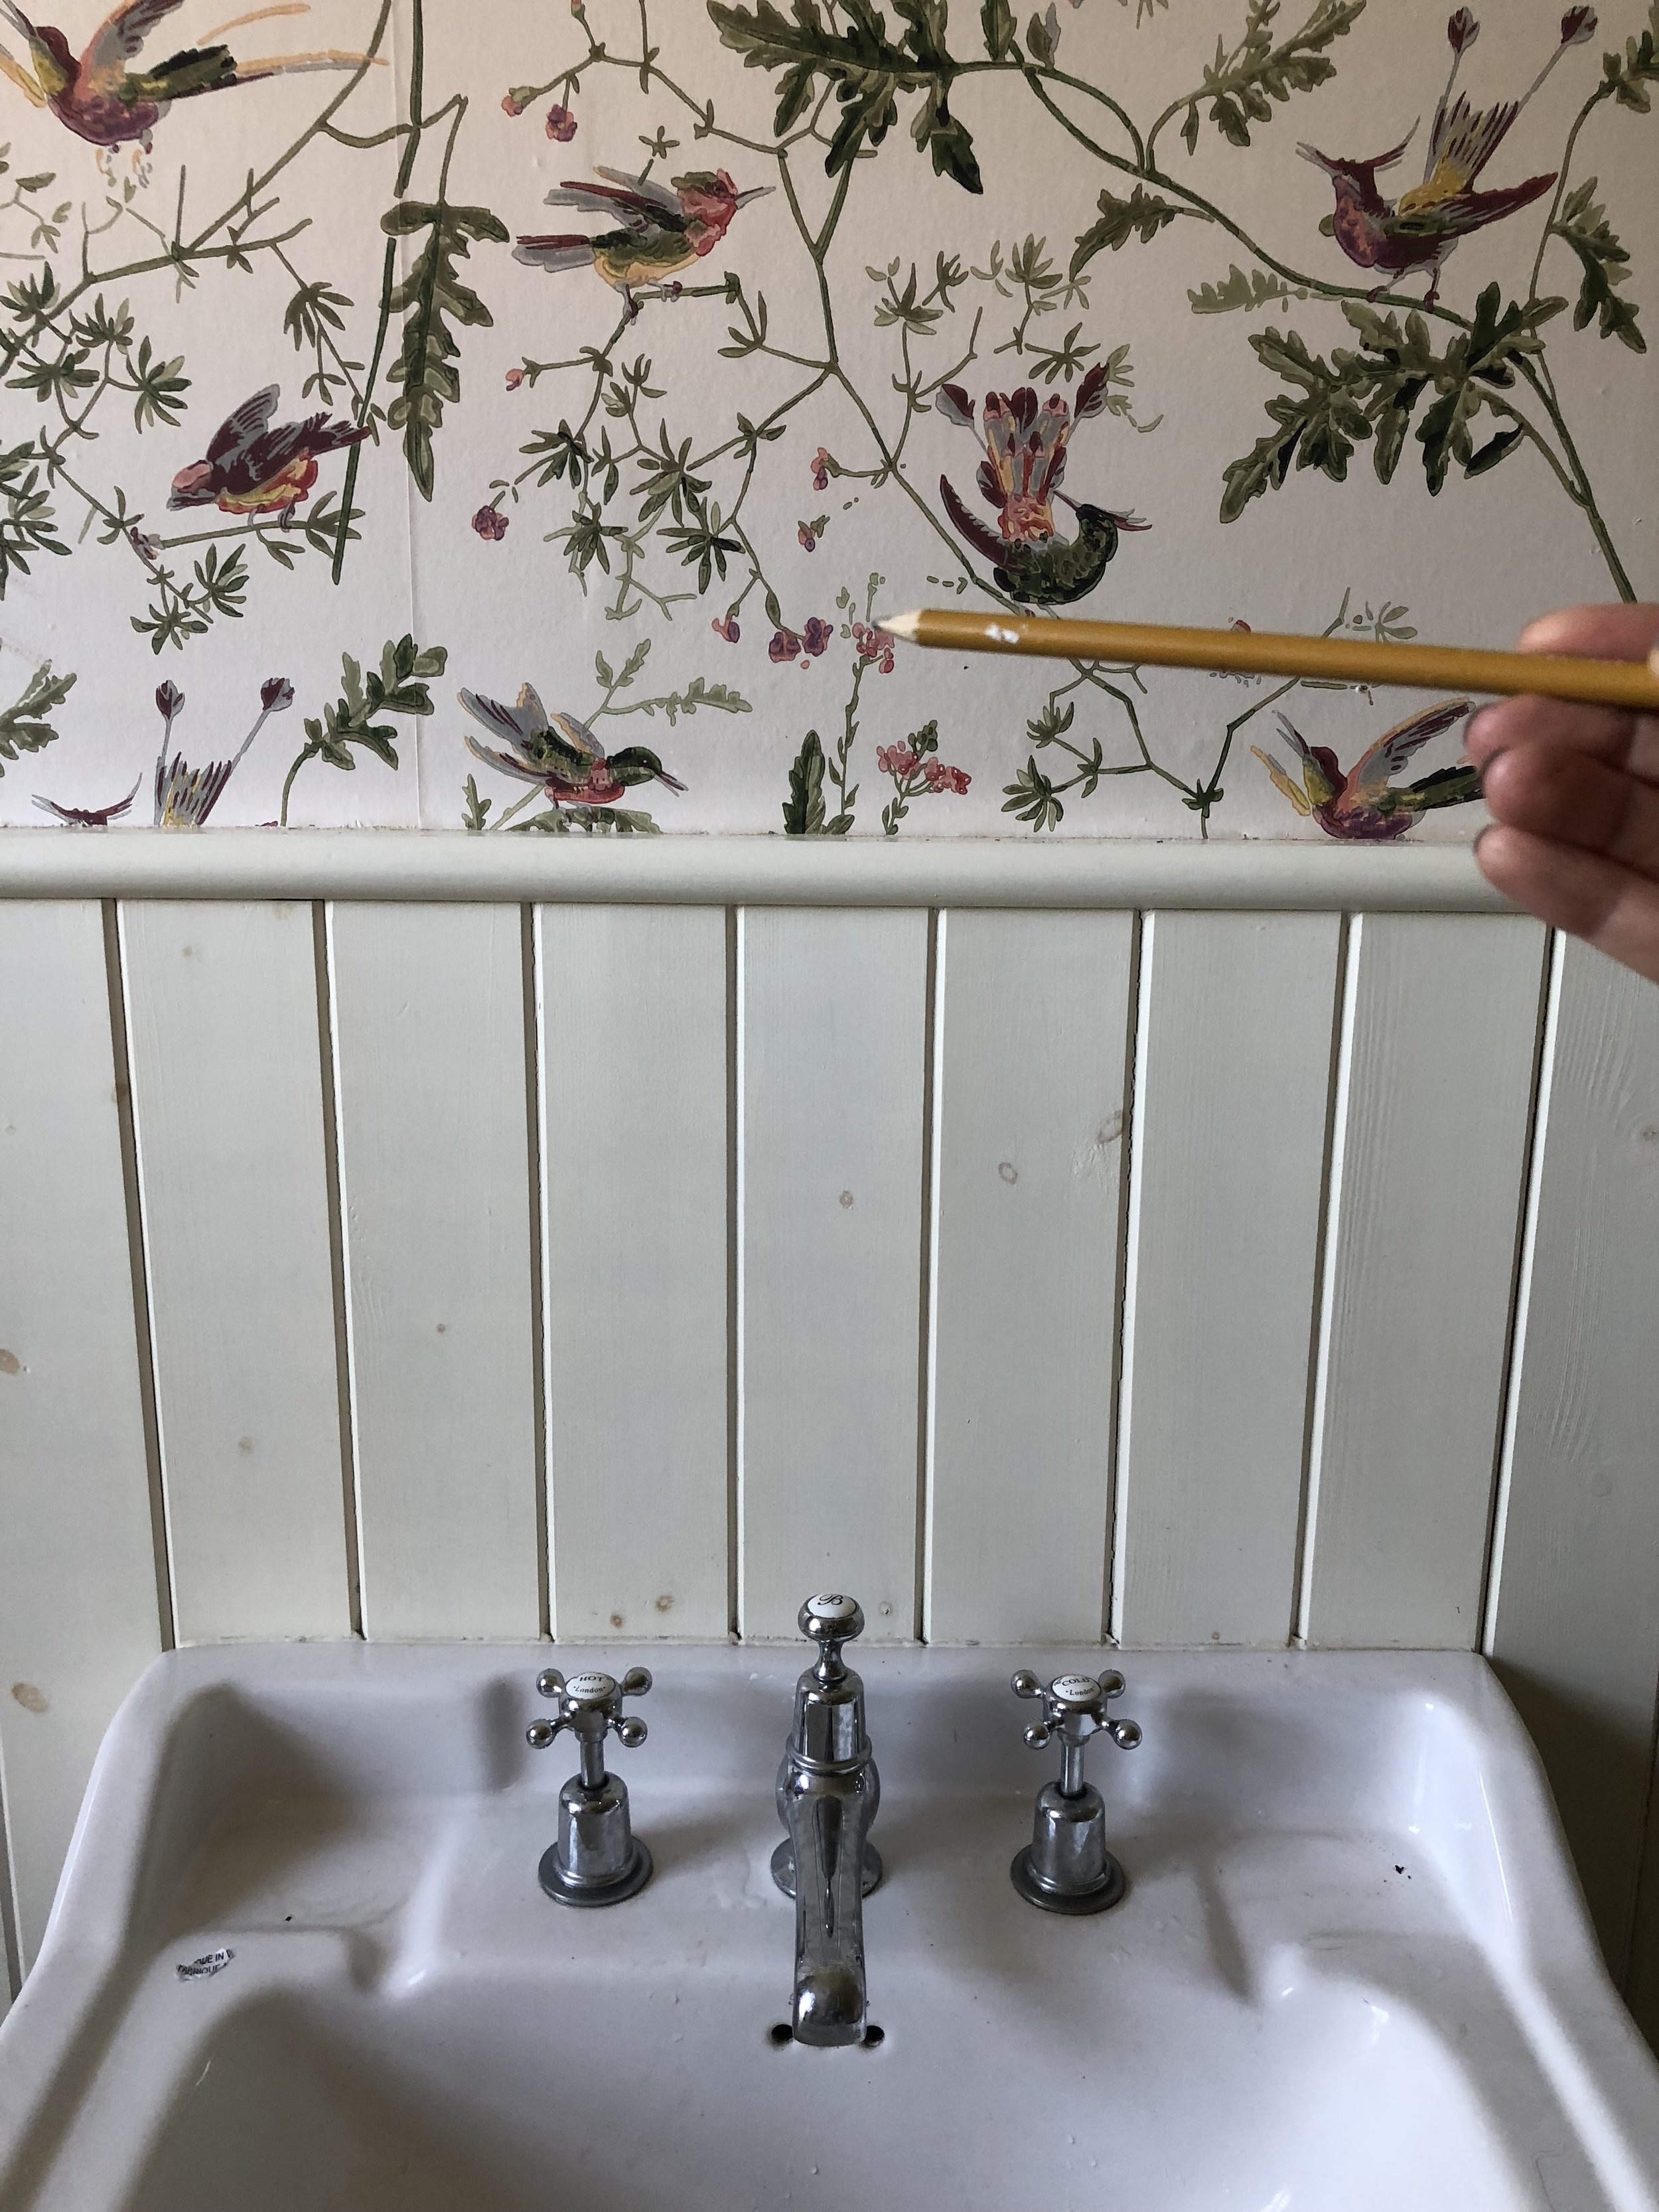

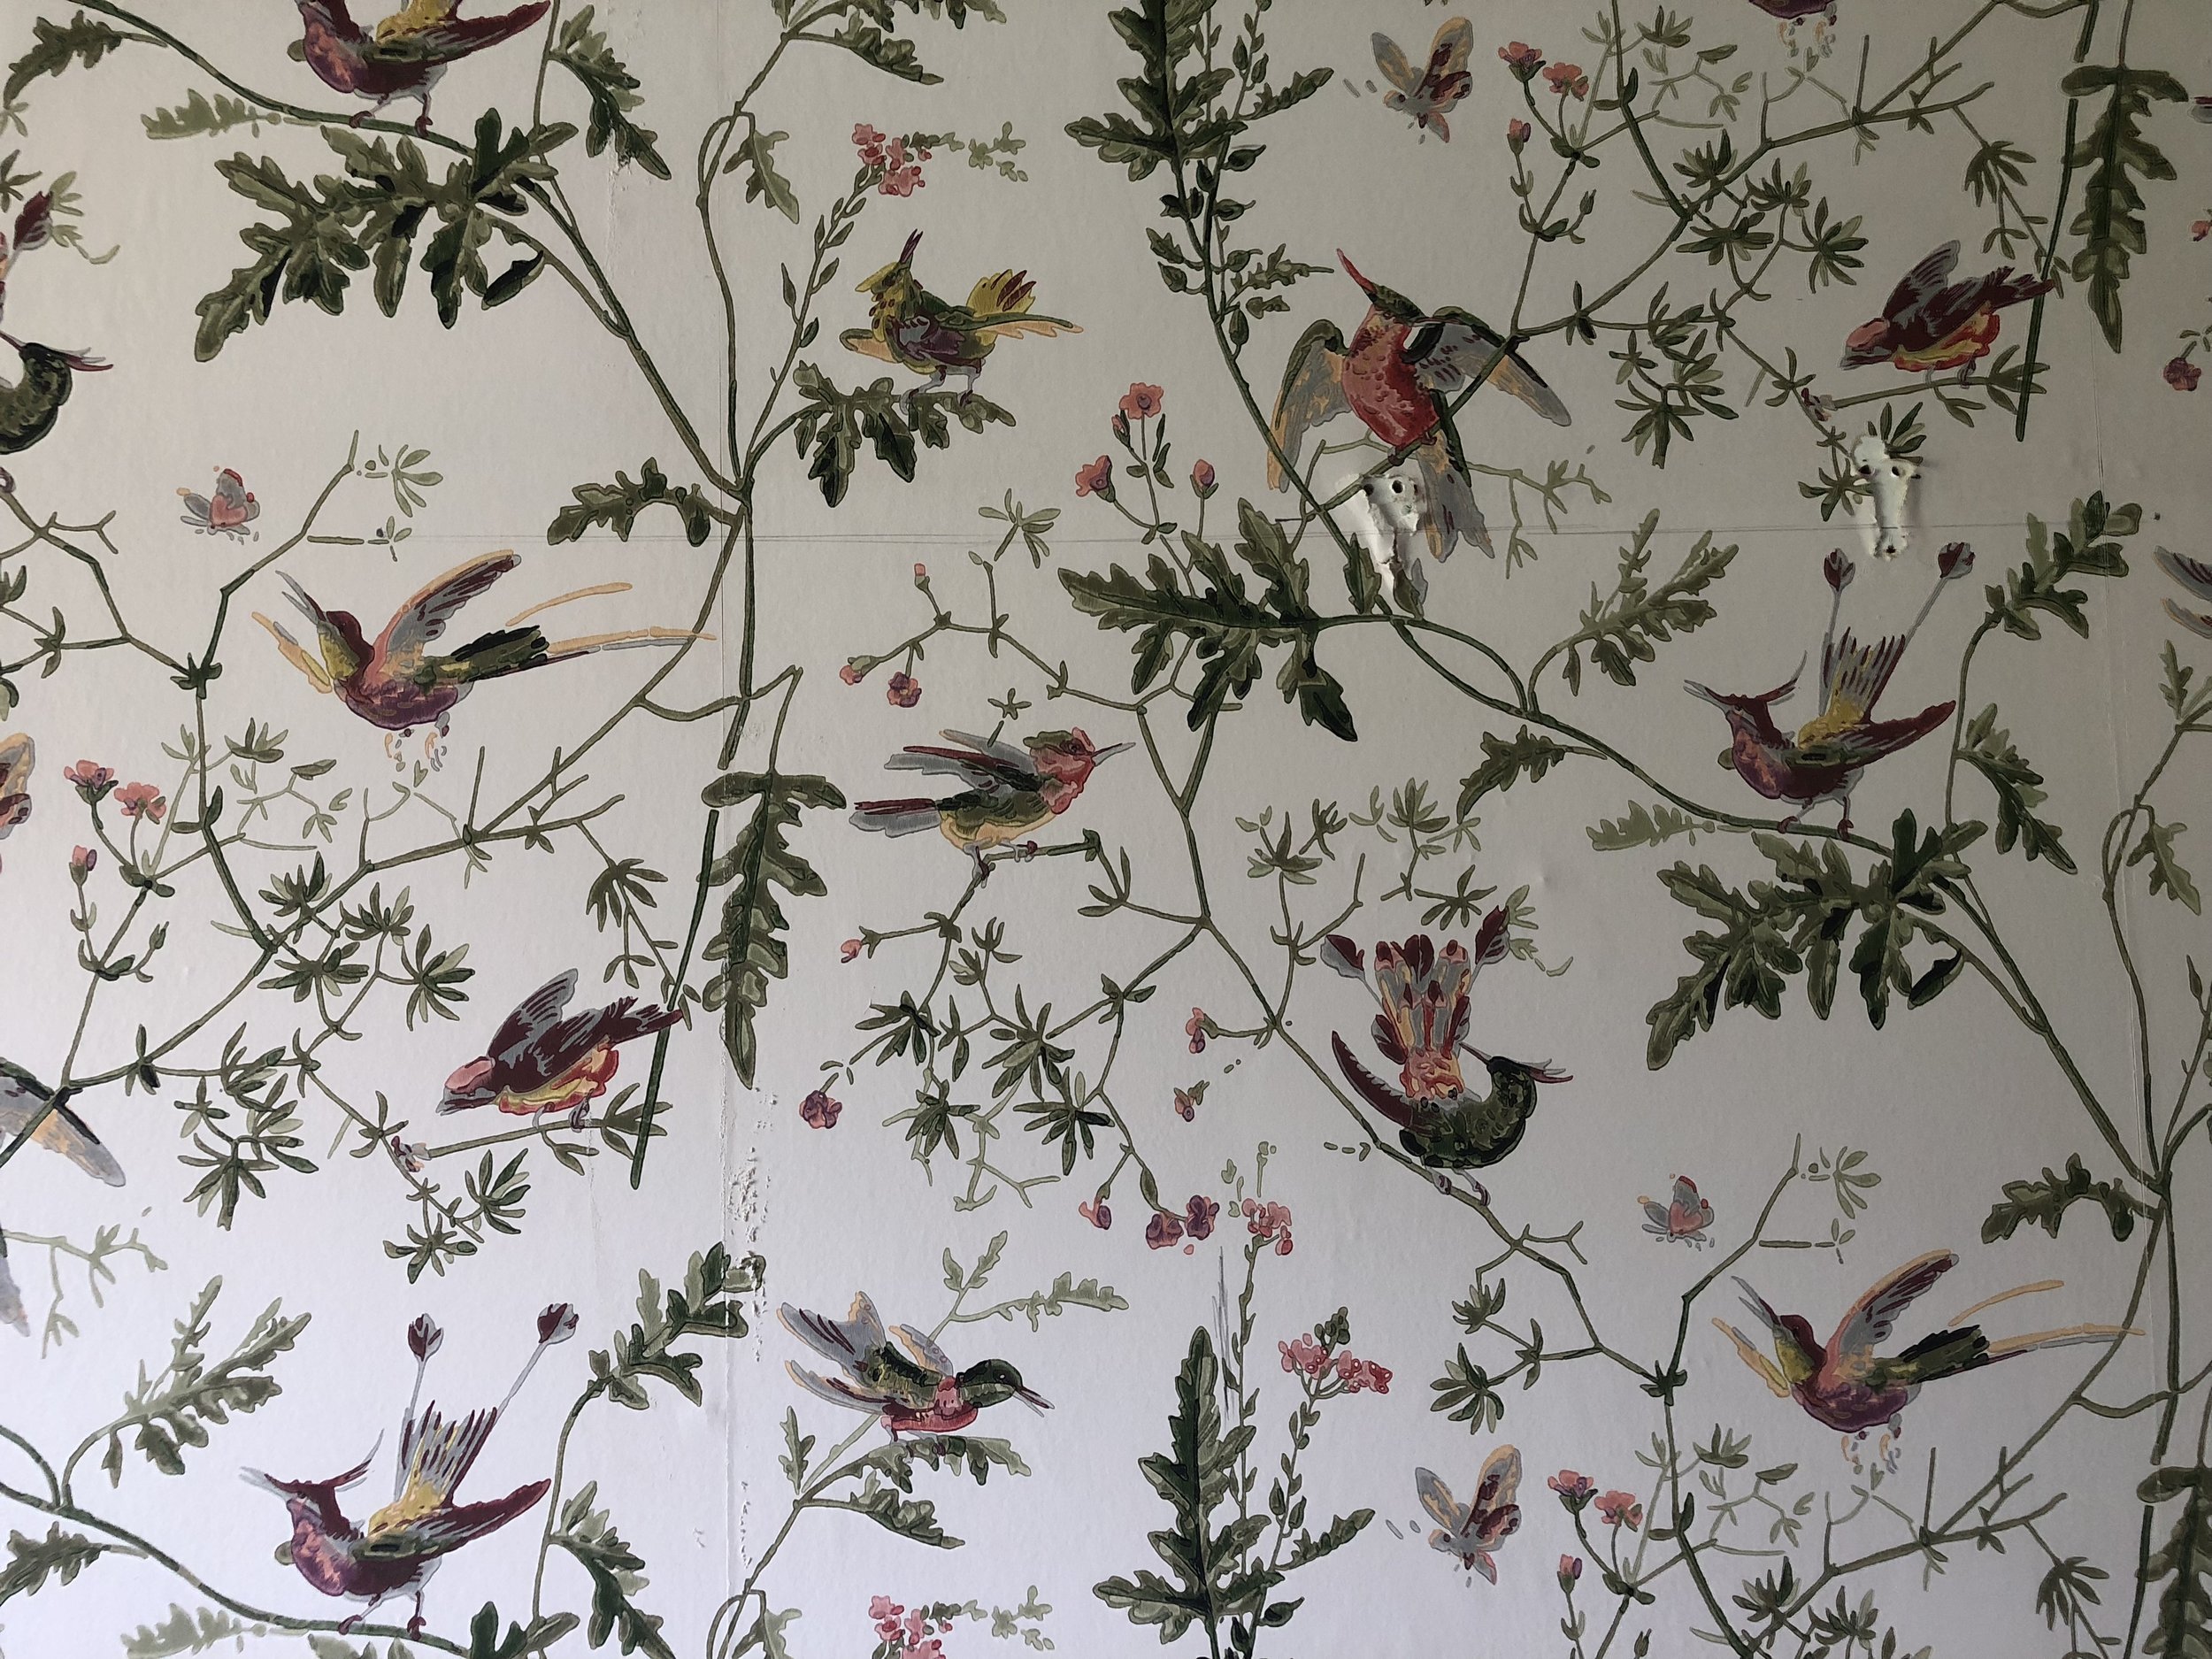
Looking at the wall where the mirror was to be hung, I had to decide on my ‘central point’ for the mirror. The central point would be my starting point for marking out where to affix the mirror to the wall. As my mirror was to be hung above a sink, the tap is my indicator of where I would need my mirror to be centrally placed. If it was too far right or too far left of the tap it would look asymmetrical. When hanging your own large mirror, look at where you want to hang it and think about any factors which would dictate where it should be hung. For example, are you hanging it above or opposite a bed? The middle of the bed should be your central point to where the centre of the mirror should also exist.
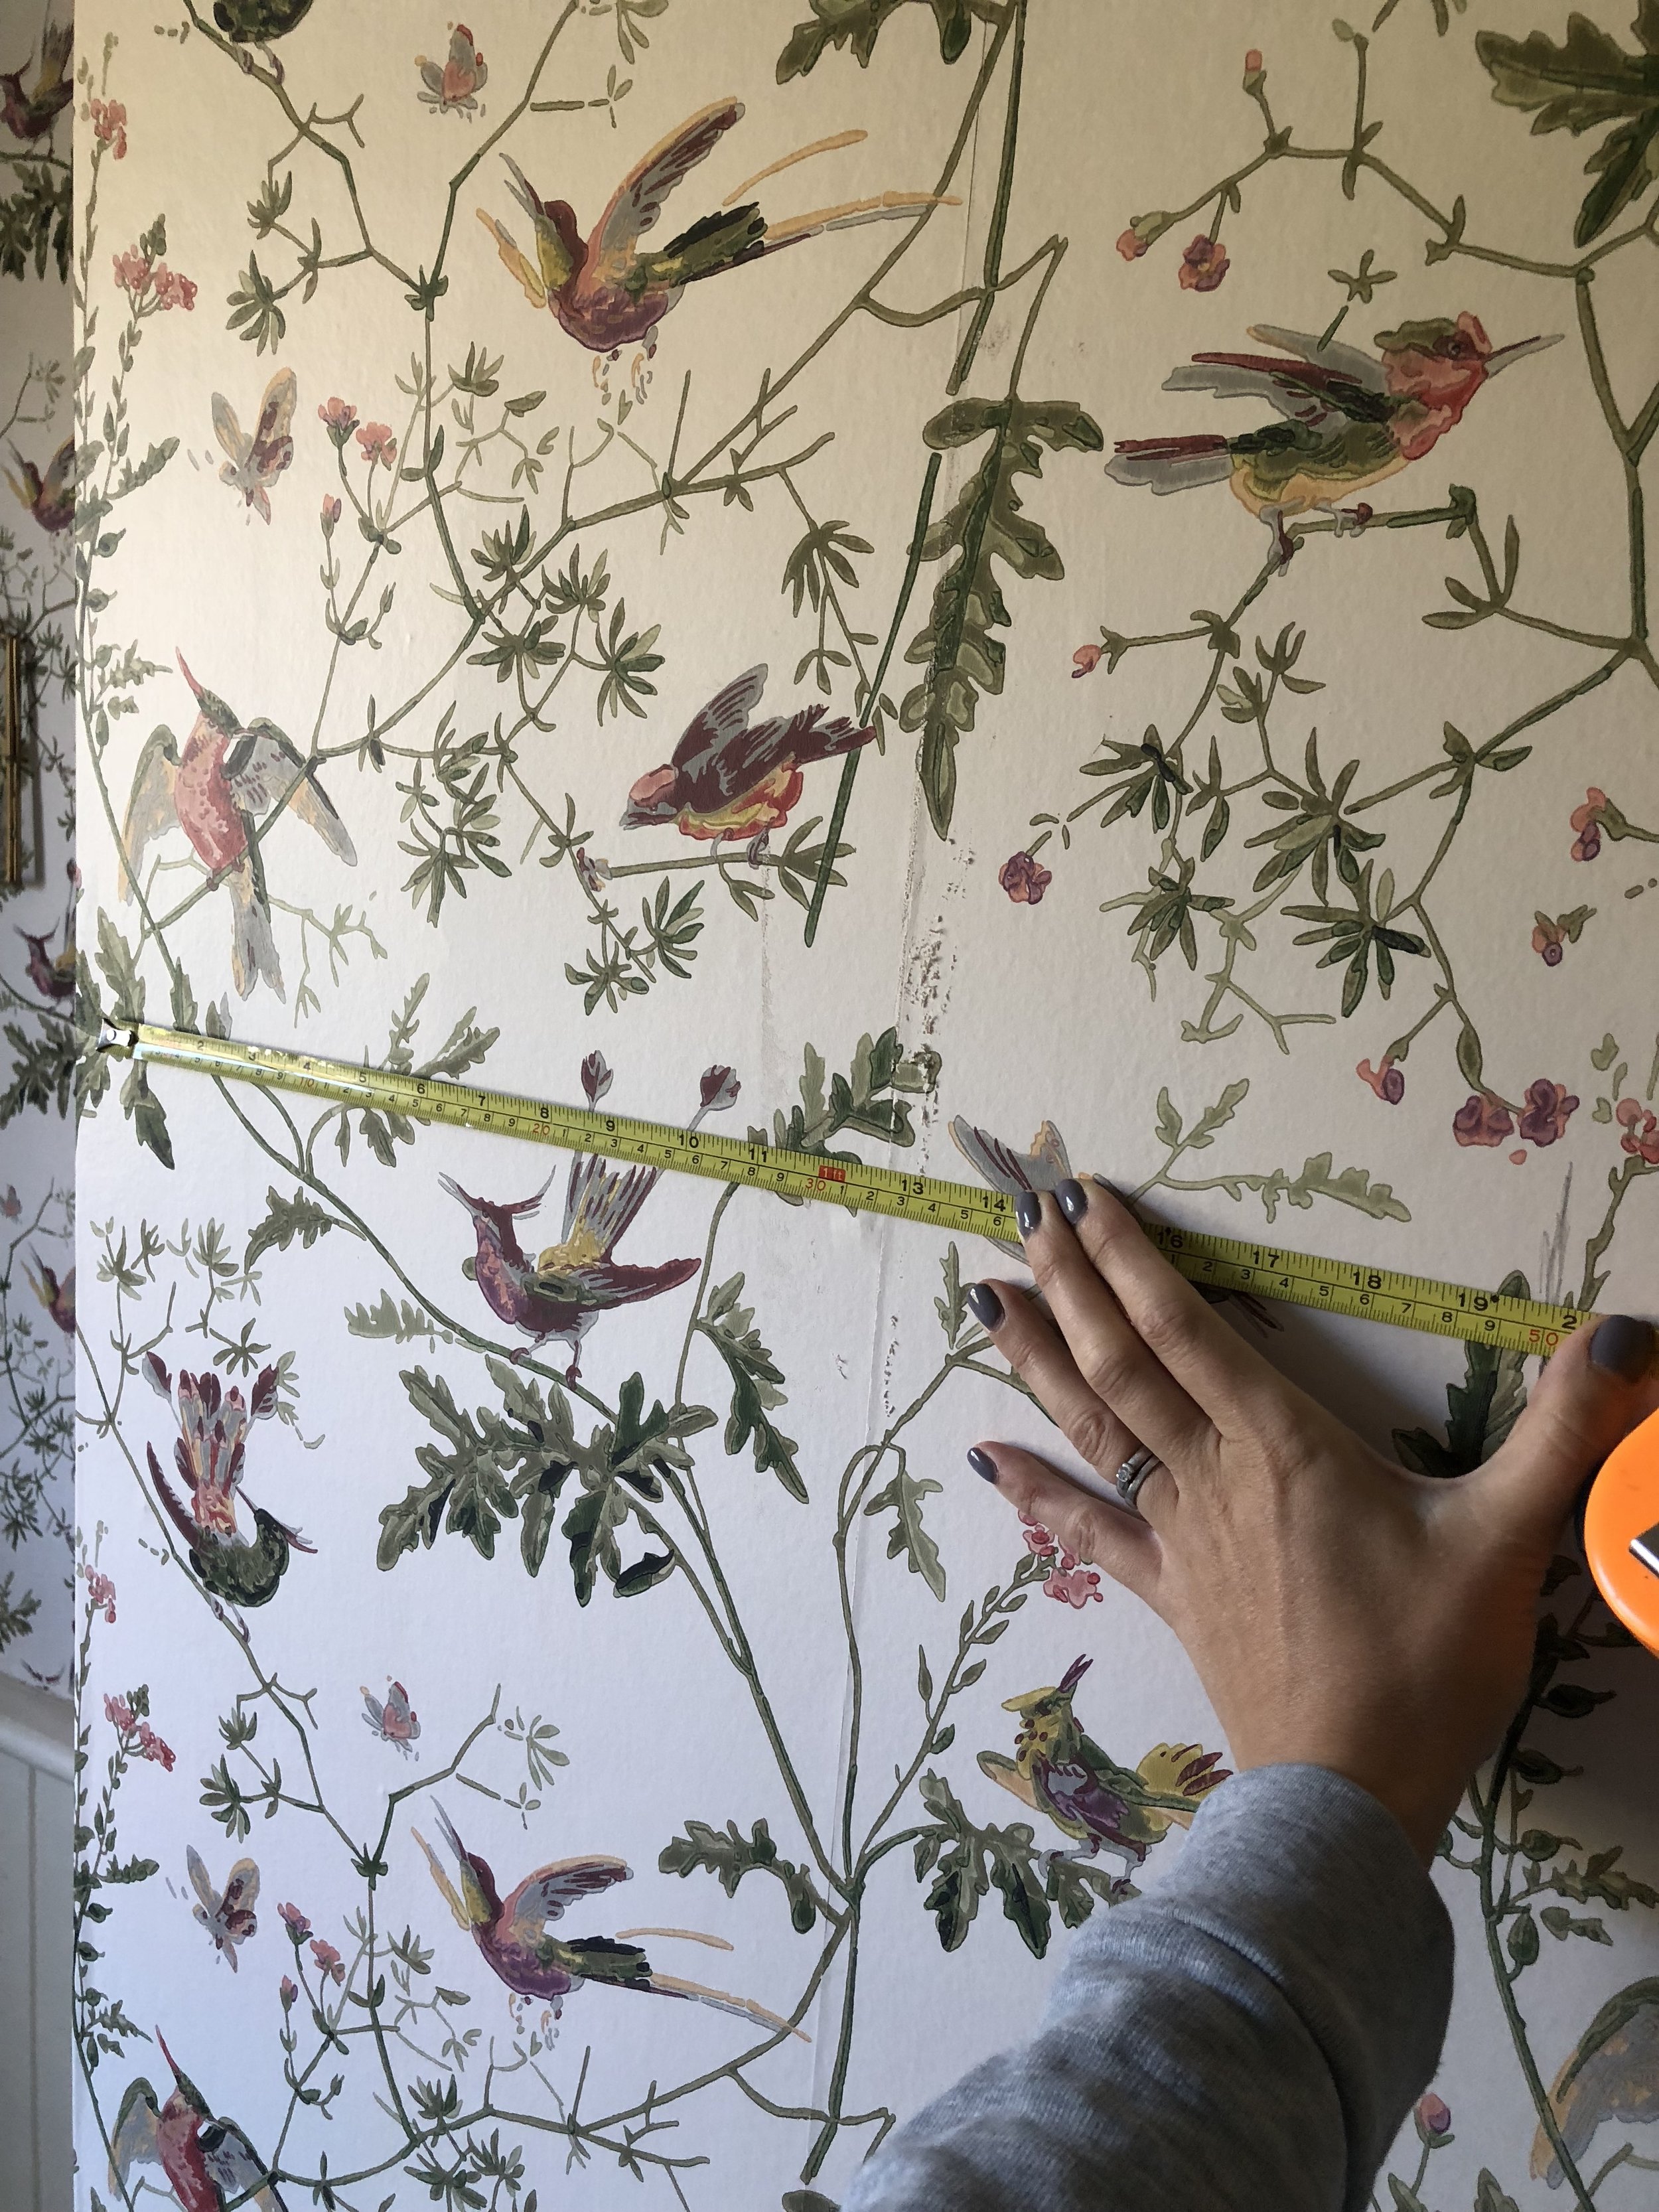
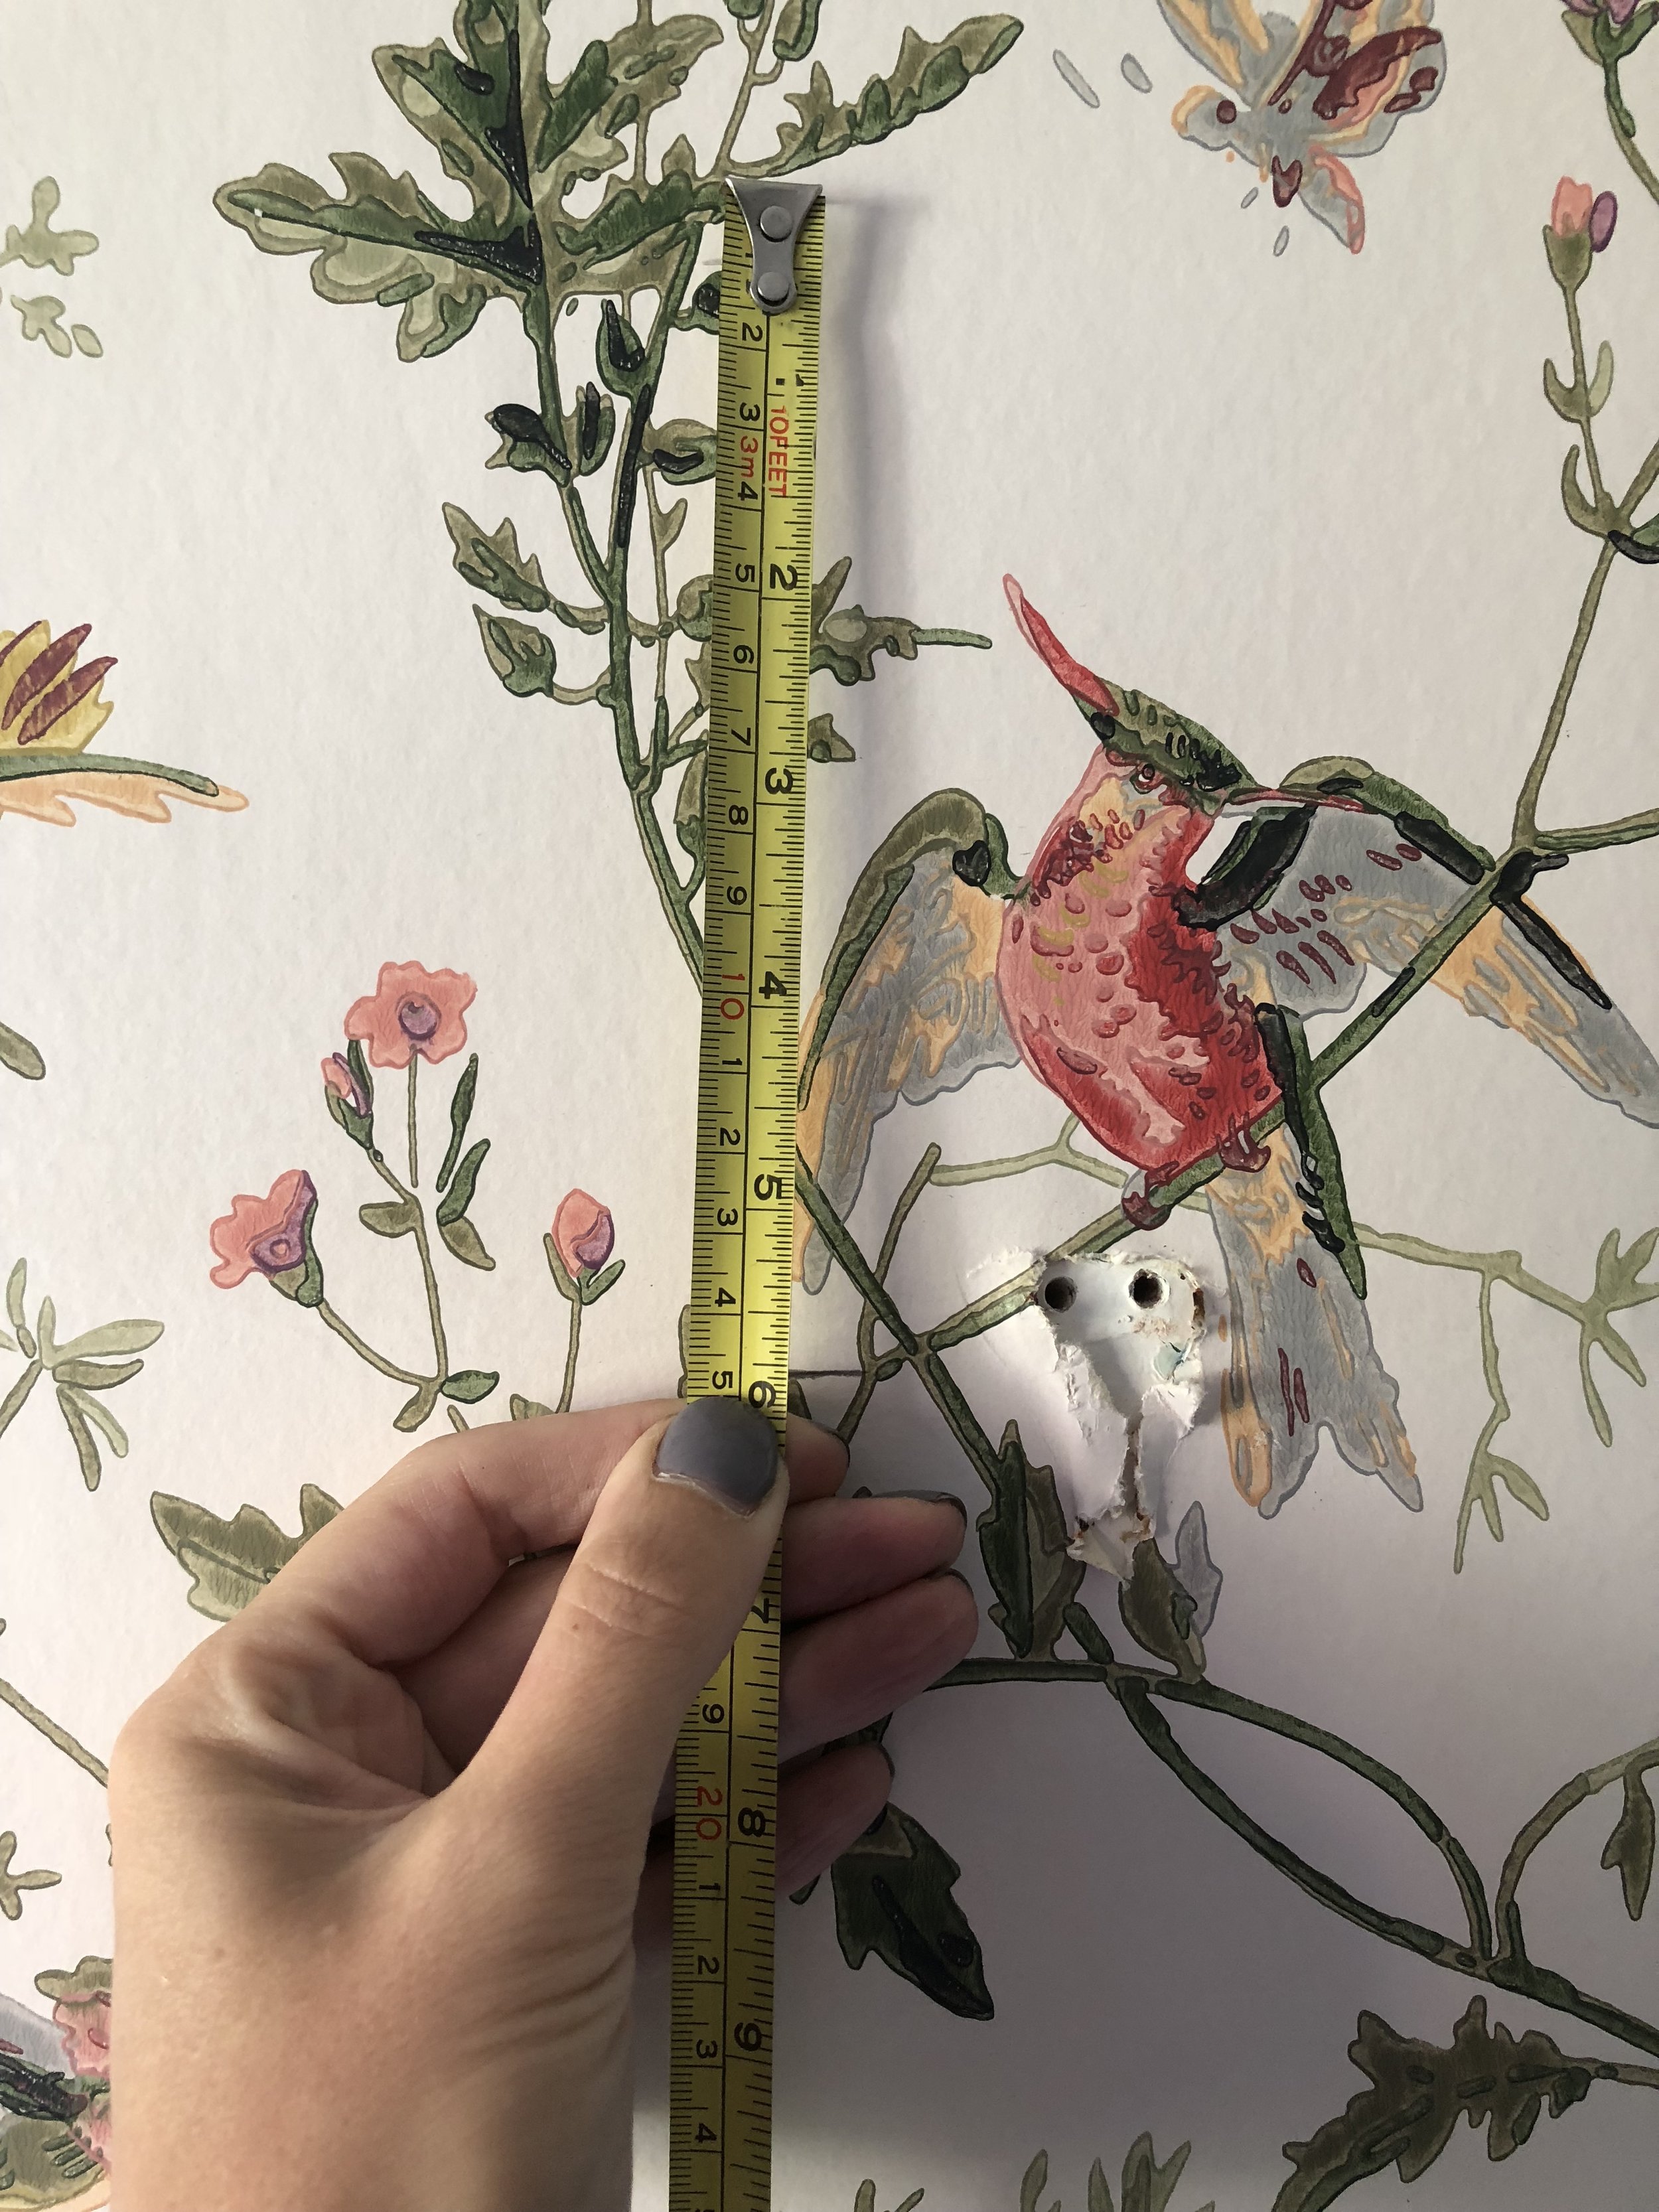

Based on the position of the tap, I made a mark on the wall and measured out 50cm each side of the mark. I then marked the wall at these points as they would show me where the ends of the mirror would meet the wall. This was particularity important for me as I had to make sure the left side of the mirror did not hang over the edge of the wall. I then marked where I wanted the base of the mirror to start and measured up by 100cm. I now had five markings on the wall - the central point, plus where the top, bottom and each side of the mirror would end. I then stepped back to look and make sure that this is exactly where the mirror should be positioned.
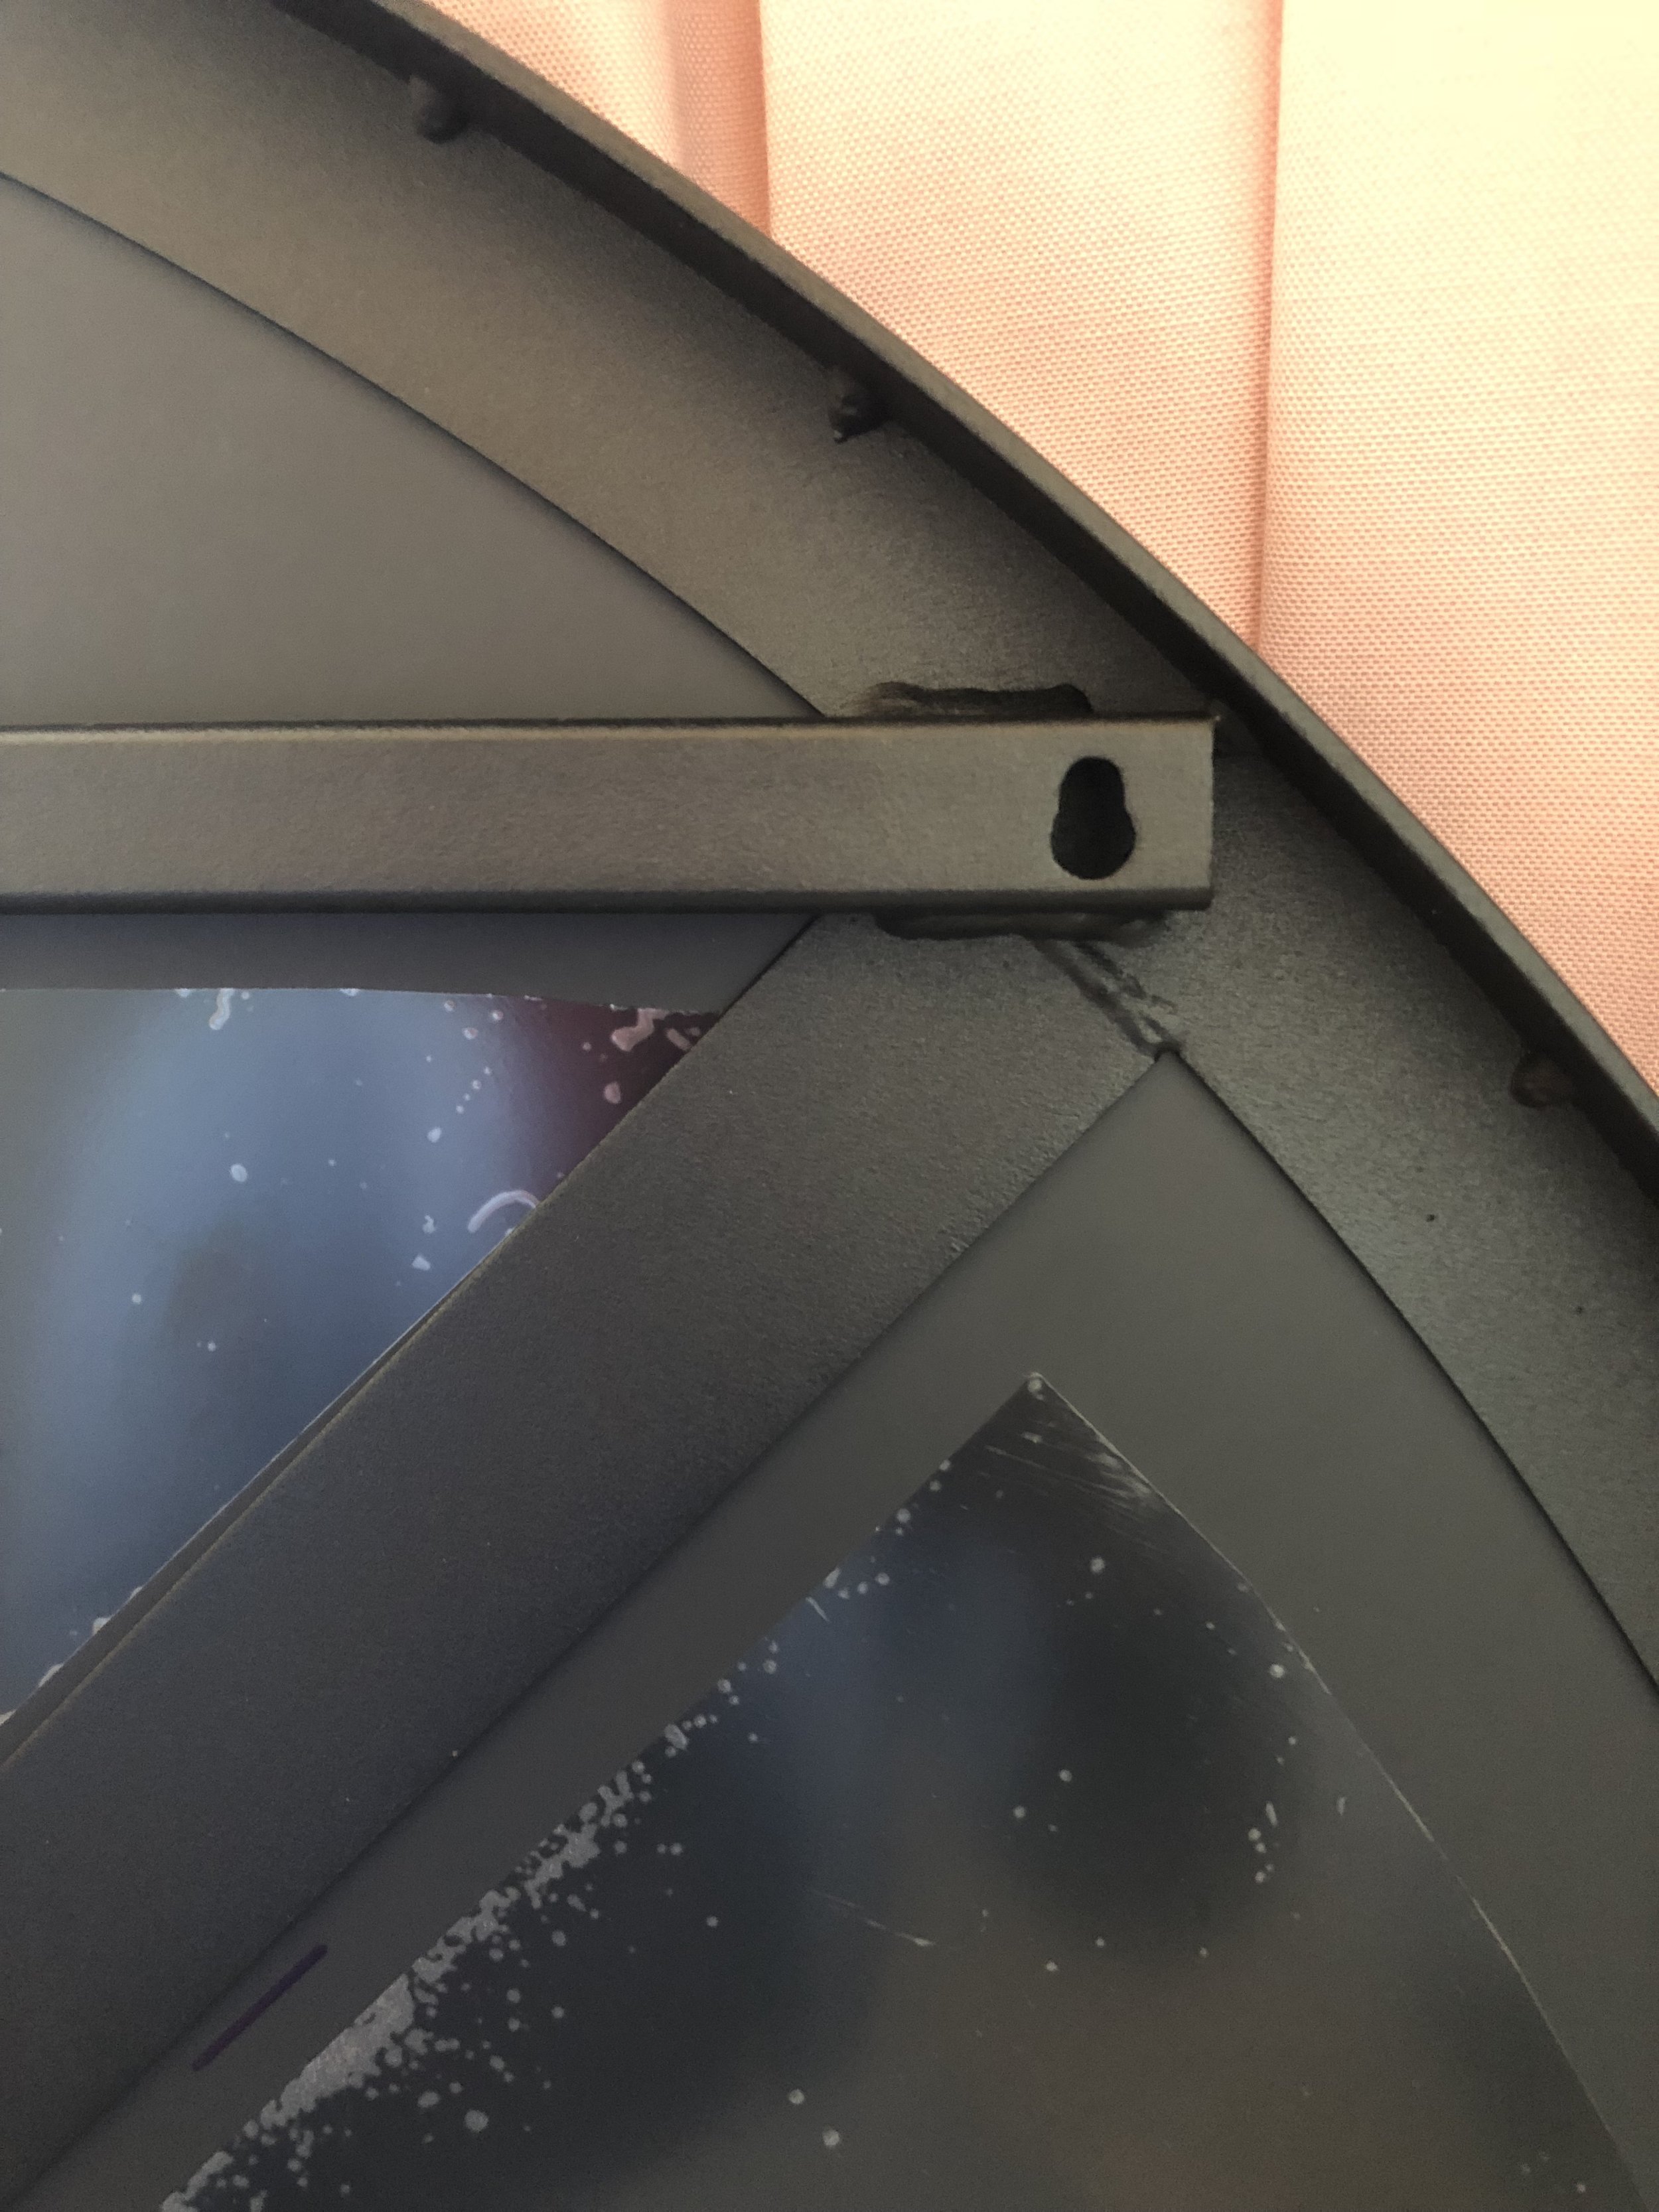
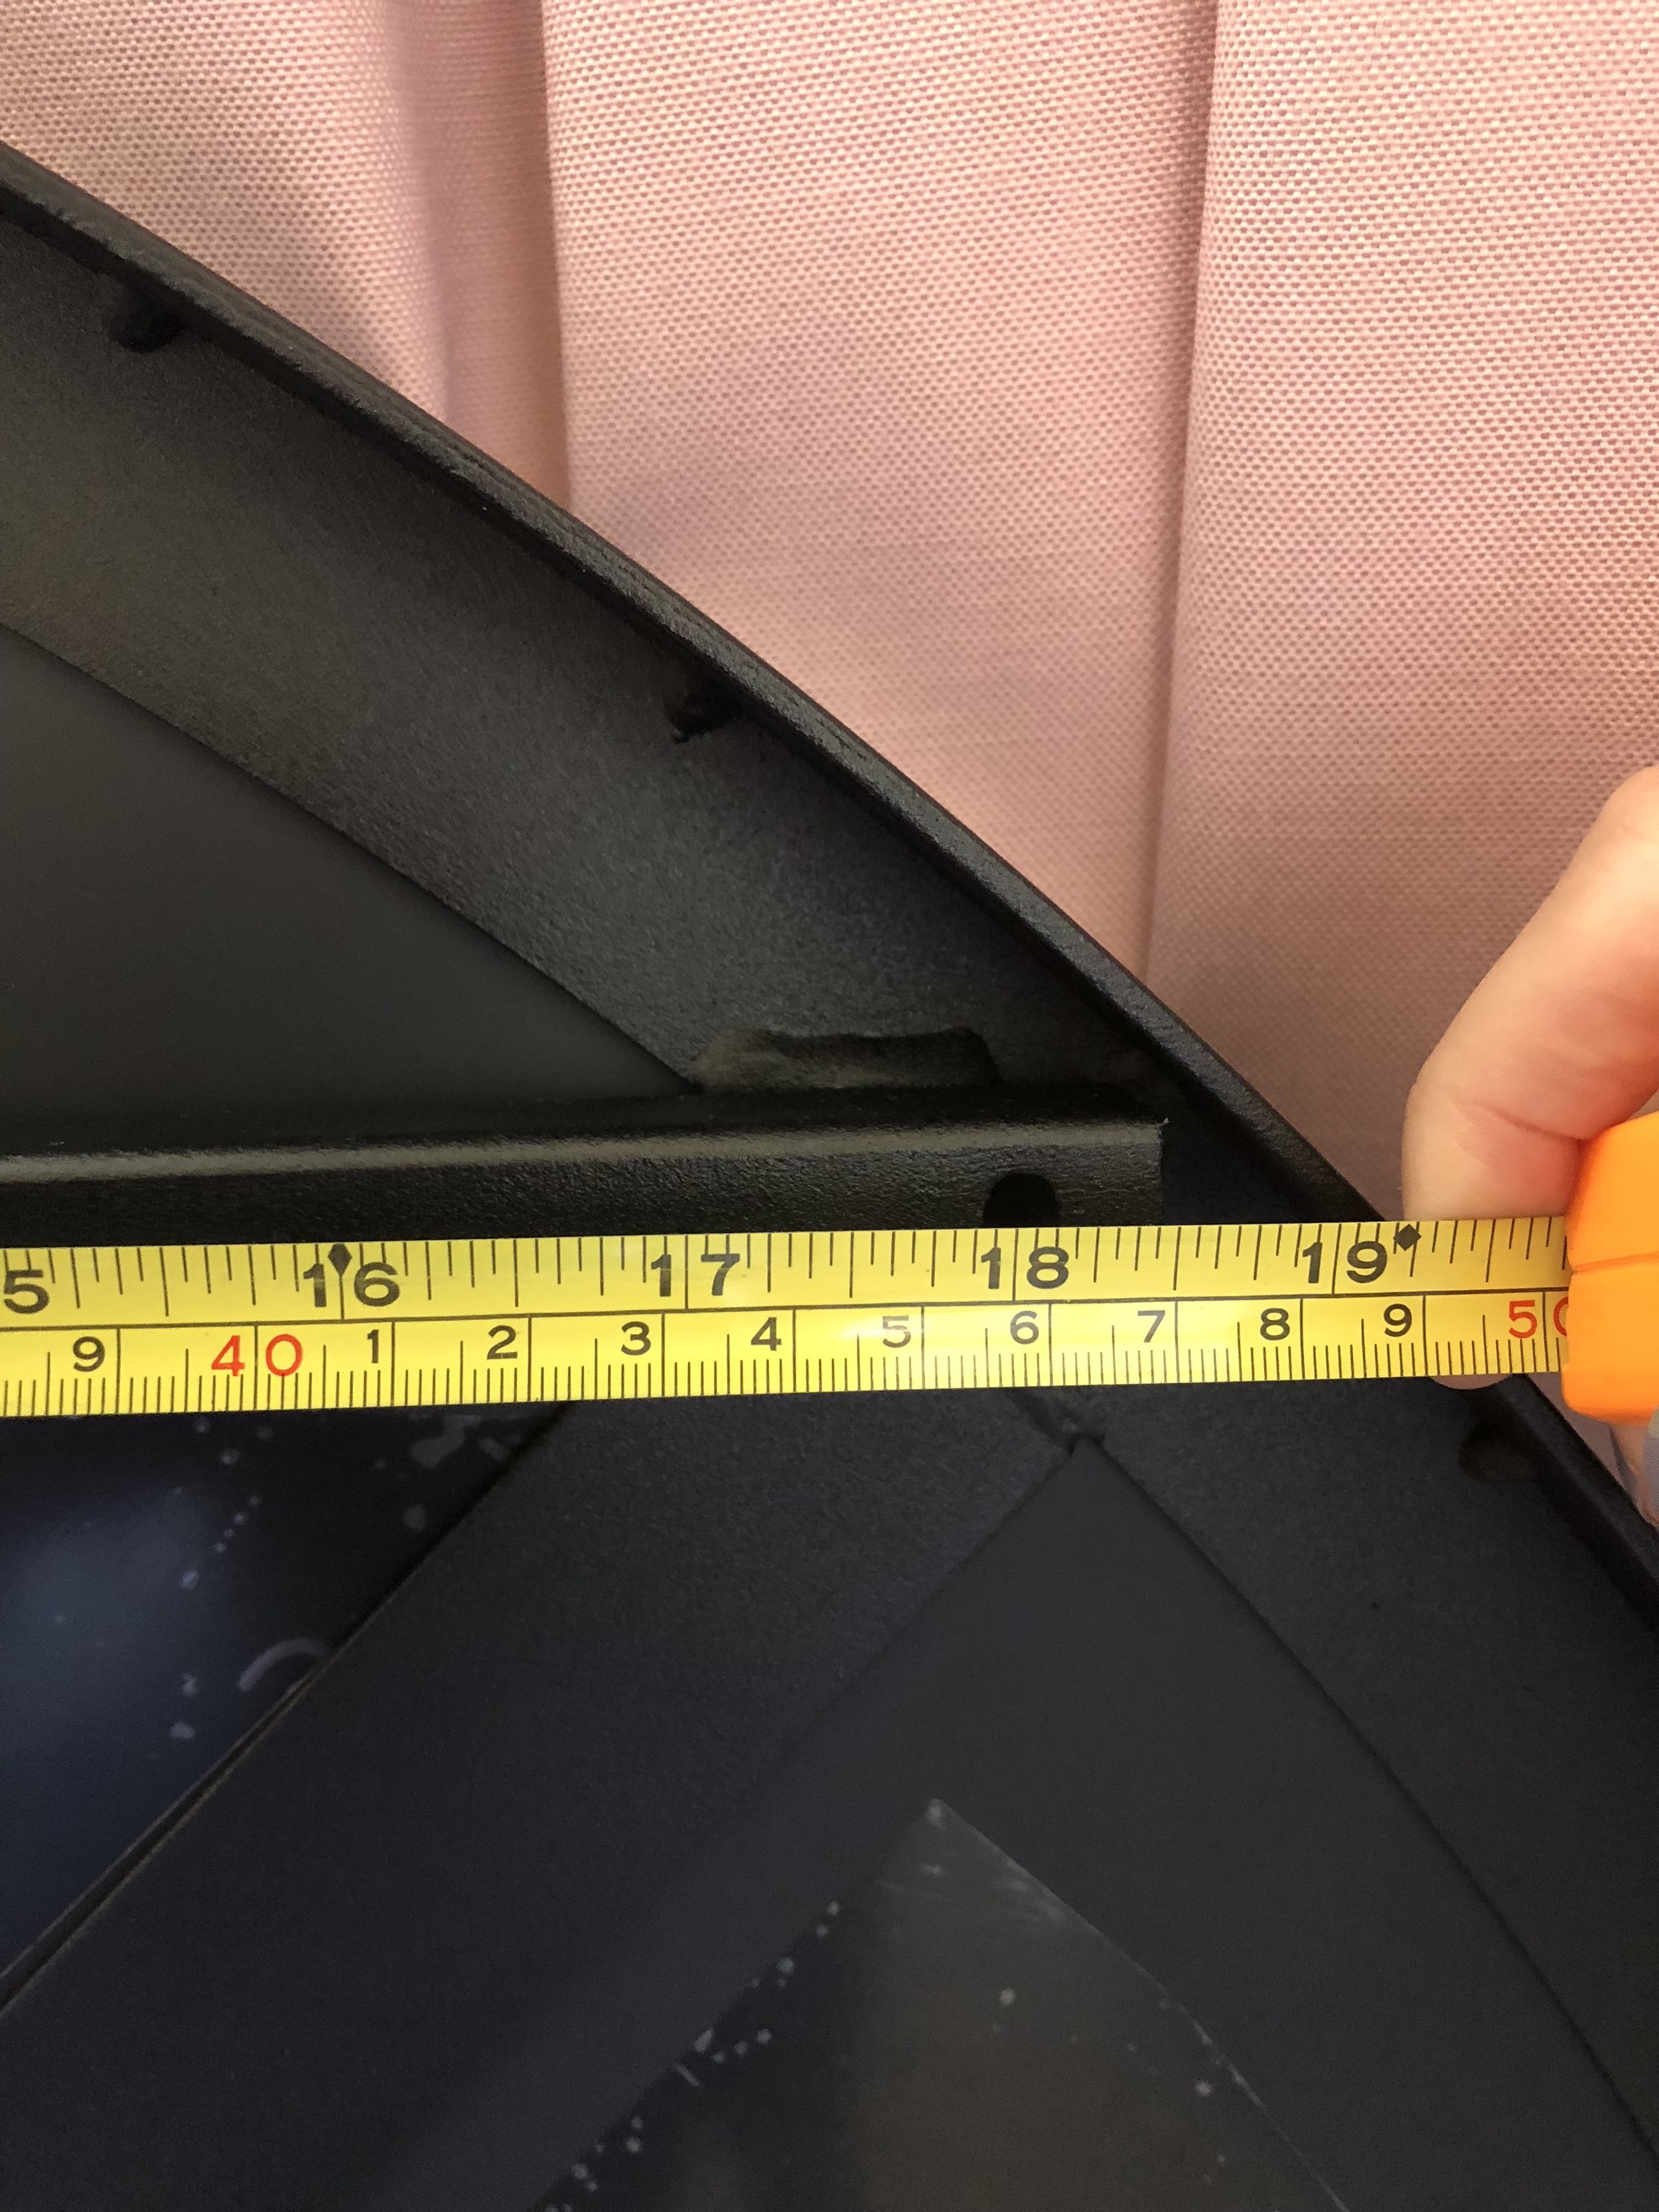

The Iris mirror is hung to the wall by being positioned on two screws heads embedded in wall with raw plugs. Other large mirrors may come with separate fixings that you attach to the wall first, but it will always involve adding screws into the wall perfectly positioned. The key is always to measure, measure then measure some more! You do not want to be making multiple holes in your wall. Instead, measure the distance between the screw holes, measure from the top of the mirror down to your fixing area and measure from the bottom up. Then on the wall measure from your top/bottom/side marking points to where your affixing points need to be. Measure as many times as possible from every angle and distance until you are 100% certain of your hole markings.
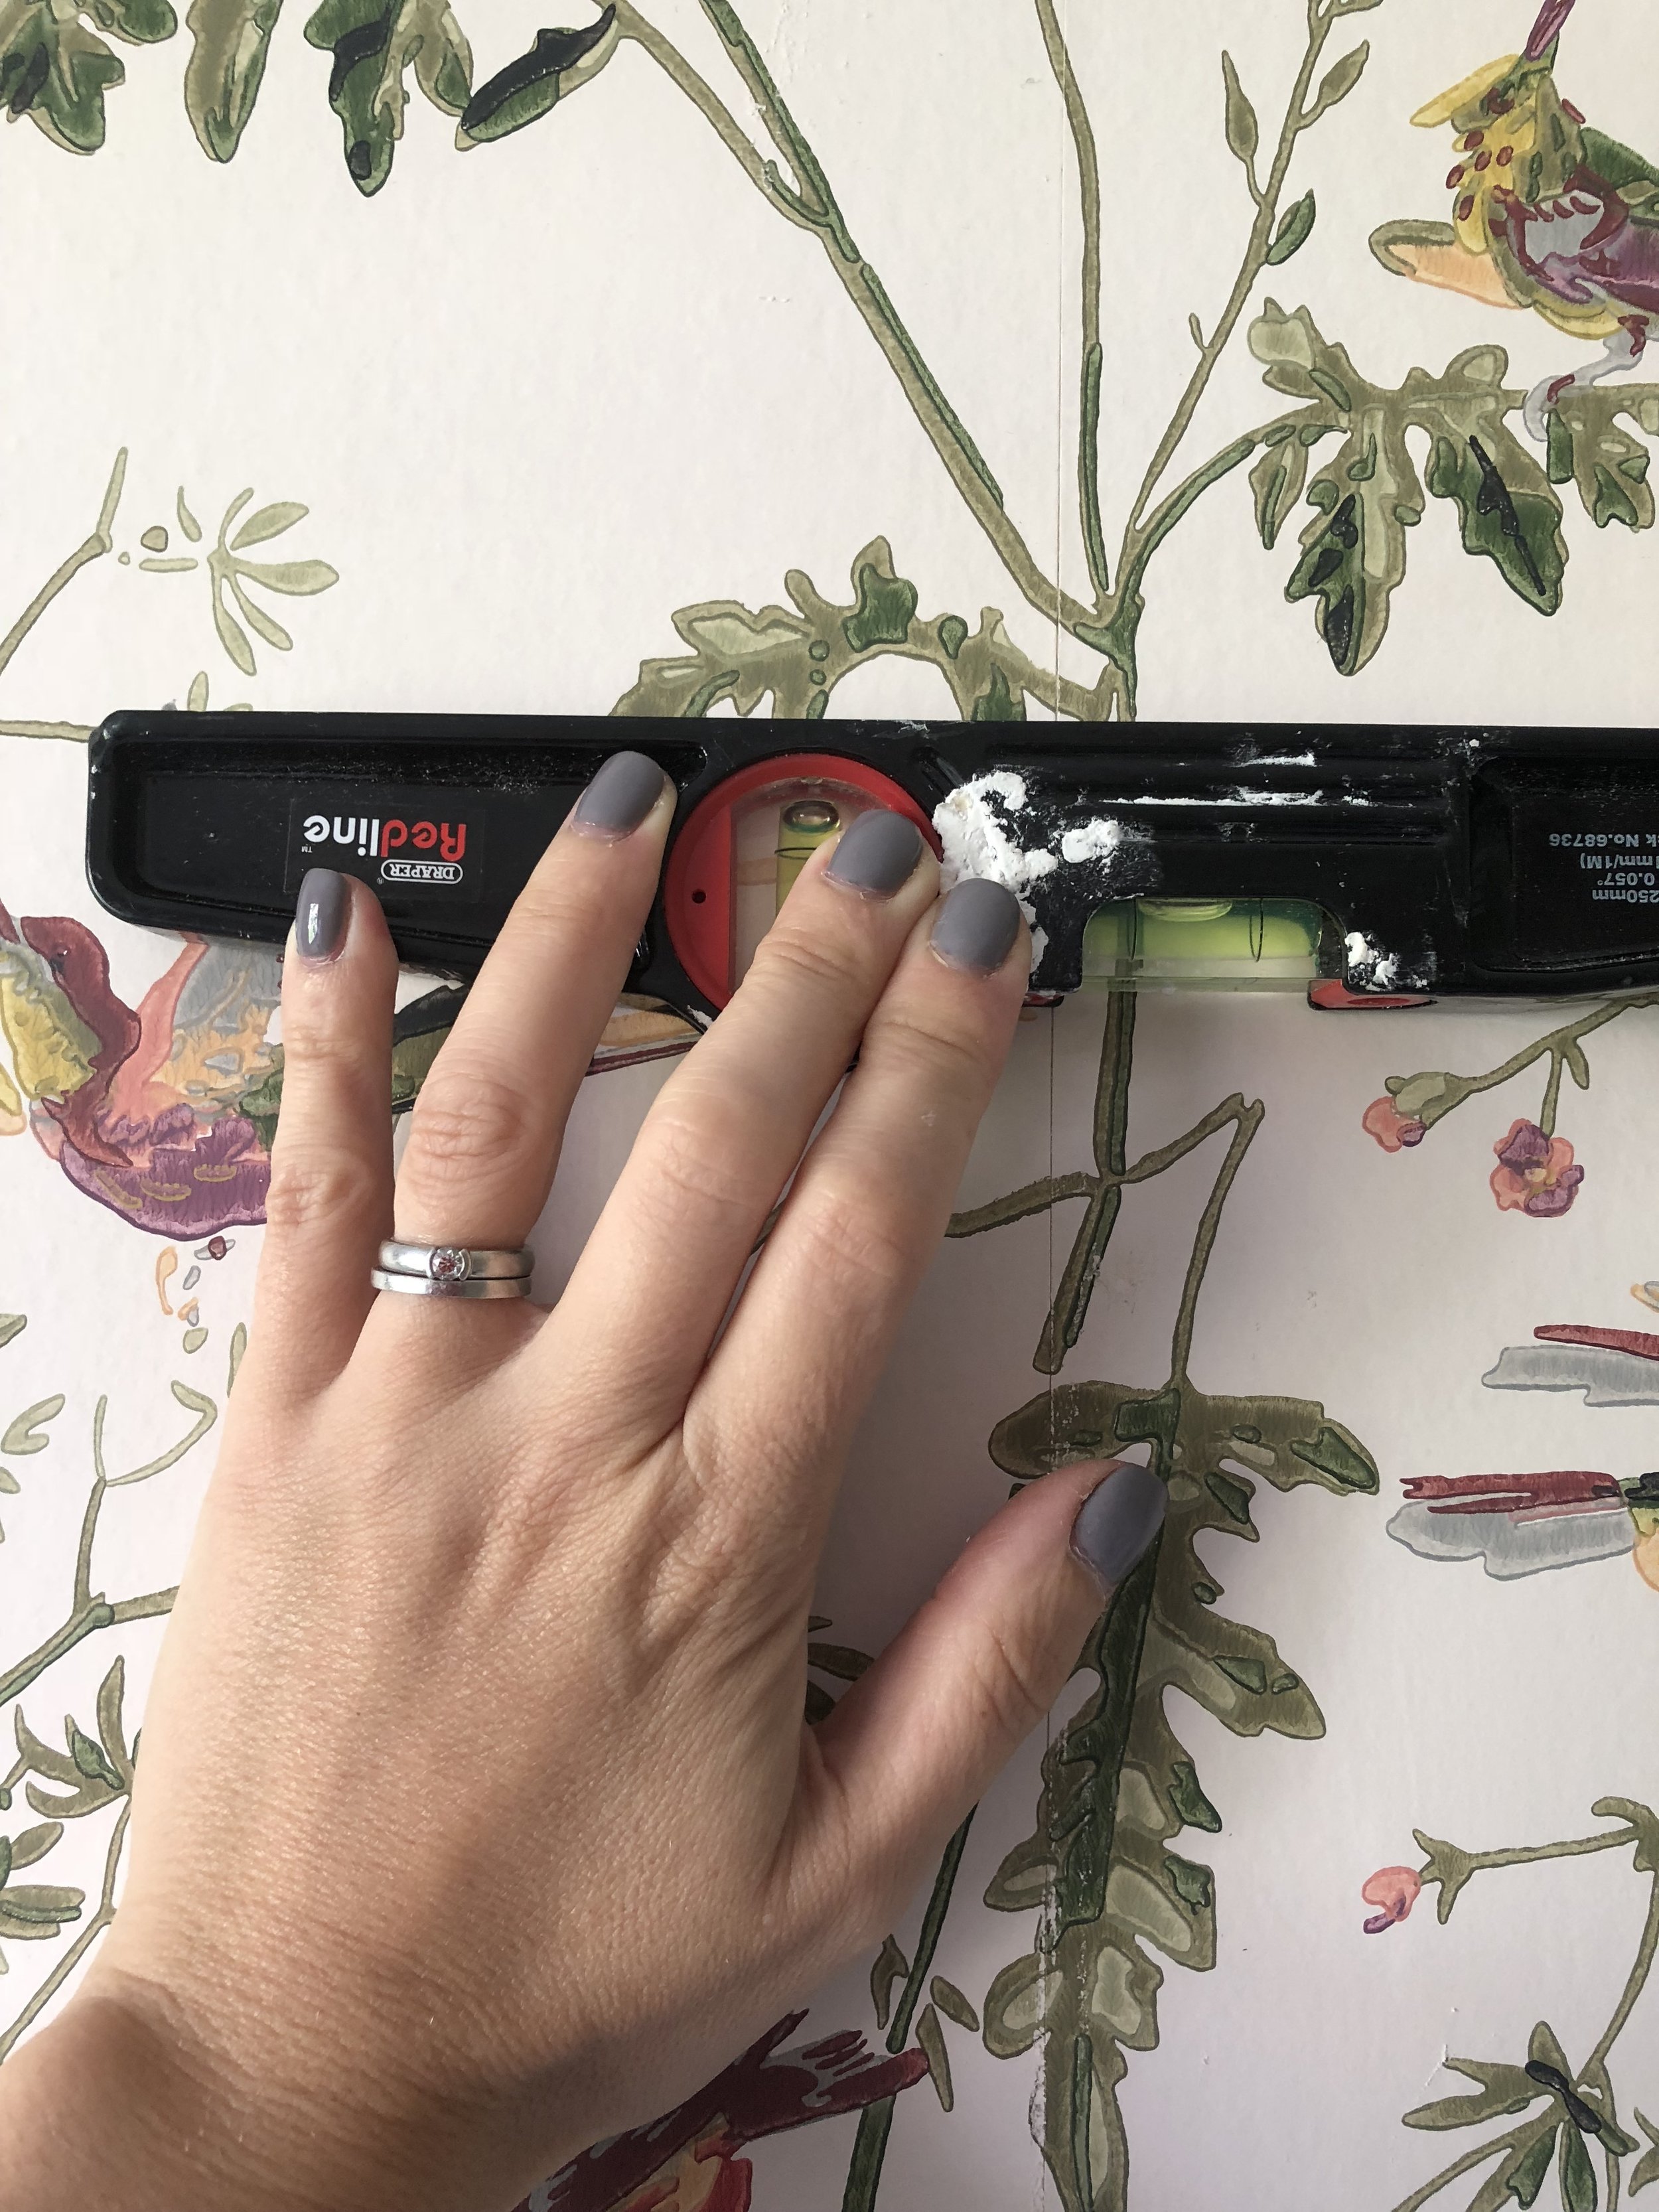


You then want to make sure that your mirror is hung level. To do this use a spirit level and draw a line between your screw hole markings. Is the line completely straight? If not, you may need to move some markings up or down.
Once you are certain of your markings it is important to use a cable & stud detector to make sure that you are not drilling into any electrical cables or pipes. These handy tools give a green light if it is OK to drill in this area.

The next part is to consider your fixtures and fittings. Most wall mirrors and large items come with fixtures and fittings but I never advise to use these. Instead, get the right fixtures and fittings for your type of wall. Find out what your wall is made of - is it brick? Concrete? Or is it a stud wall? You can generally find out what your wall is made of by tapping it - is it solid? Hollow? The type of wall will decide the right type of fixtures and fittings you should use. For brick walls, some heavy-duty raw plugs are what you need (and are what I have used here). However, if you are looking to hang a heavy item on plasterboard, it may be that you need to use wall anchors in the stud of the wall - seek professional advice if you are unsure.
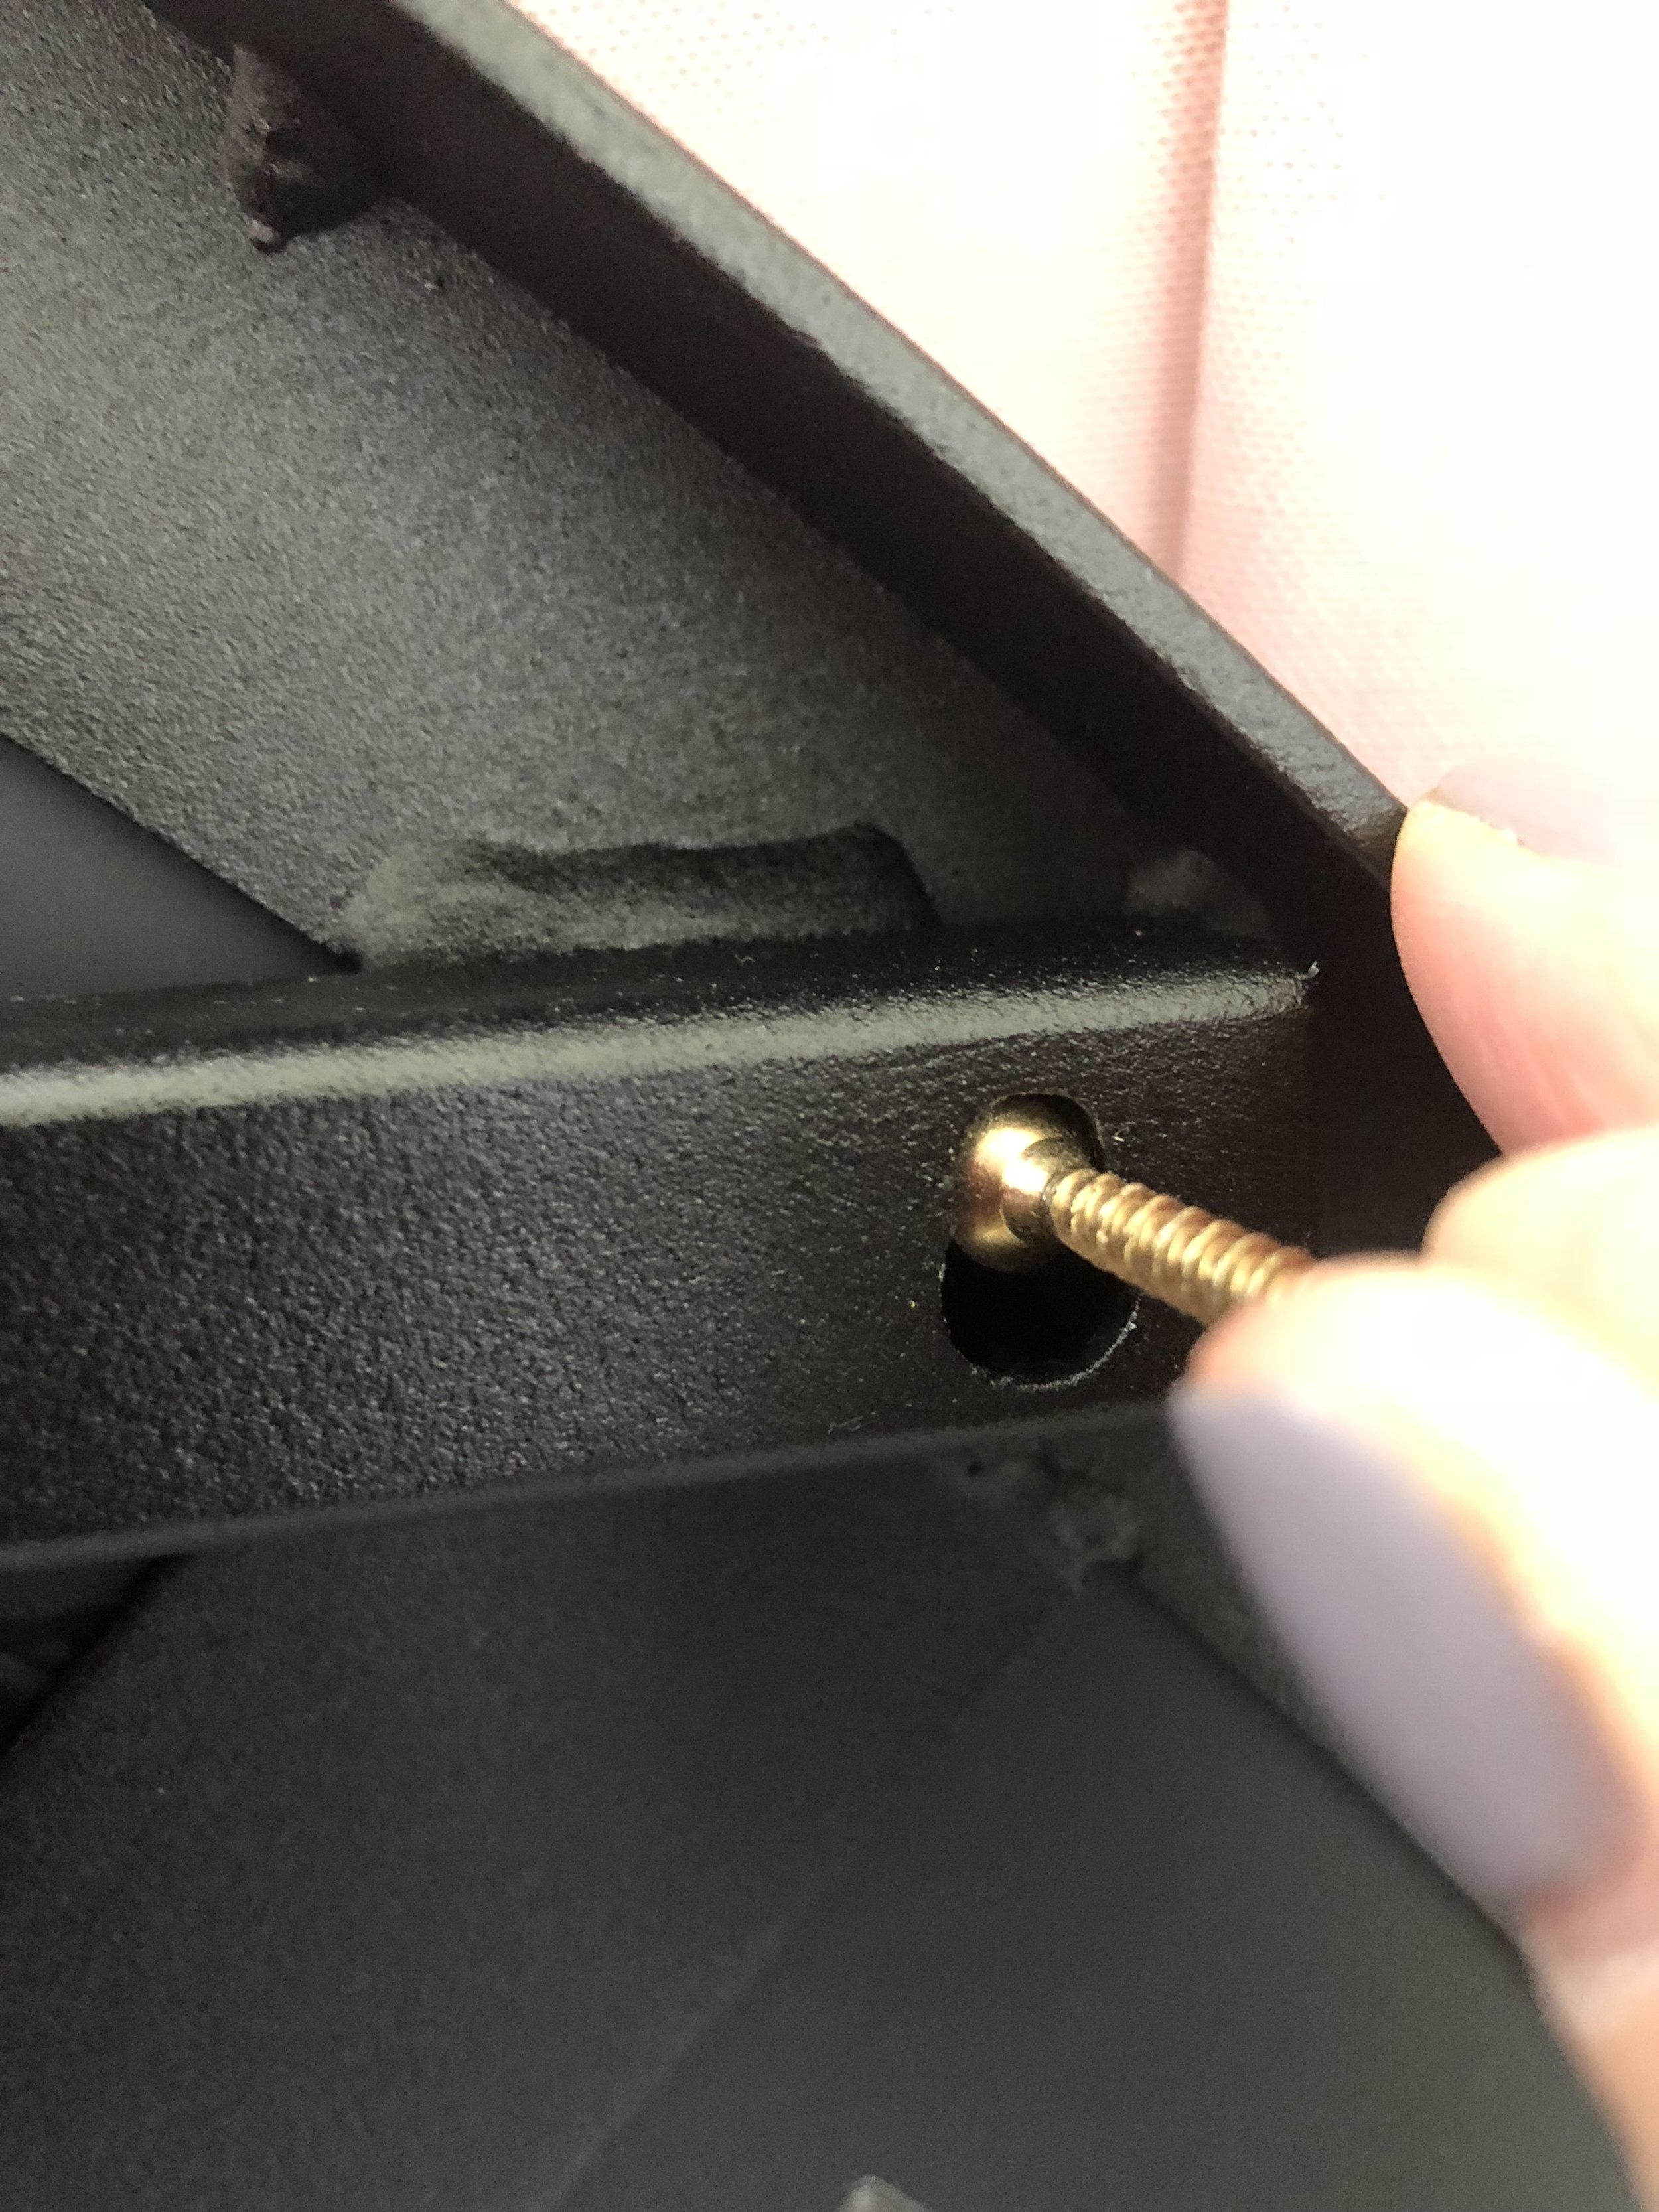
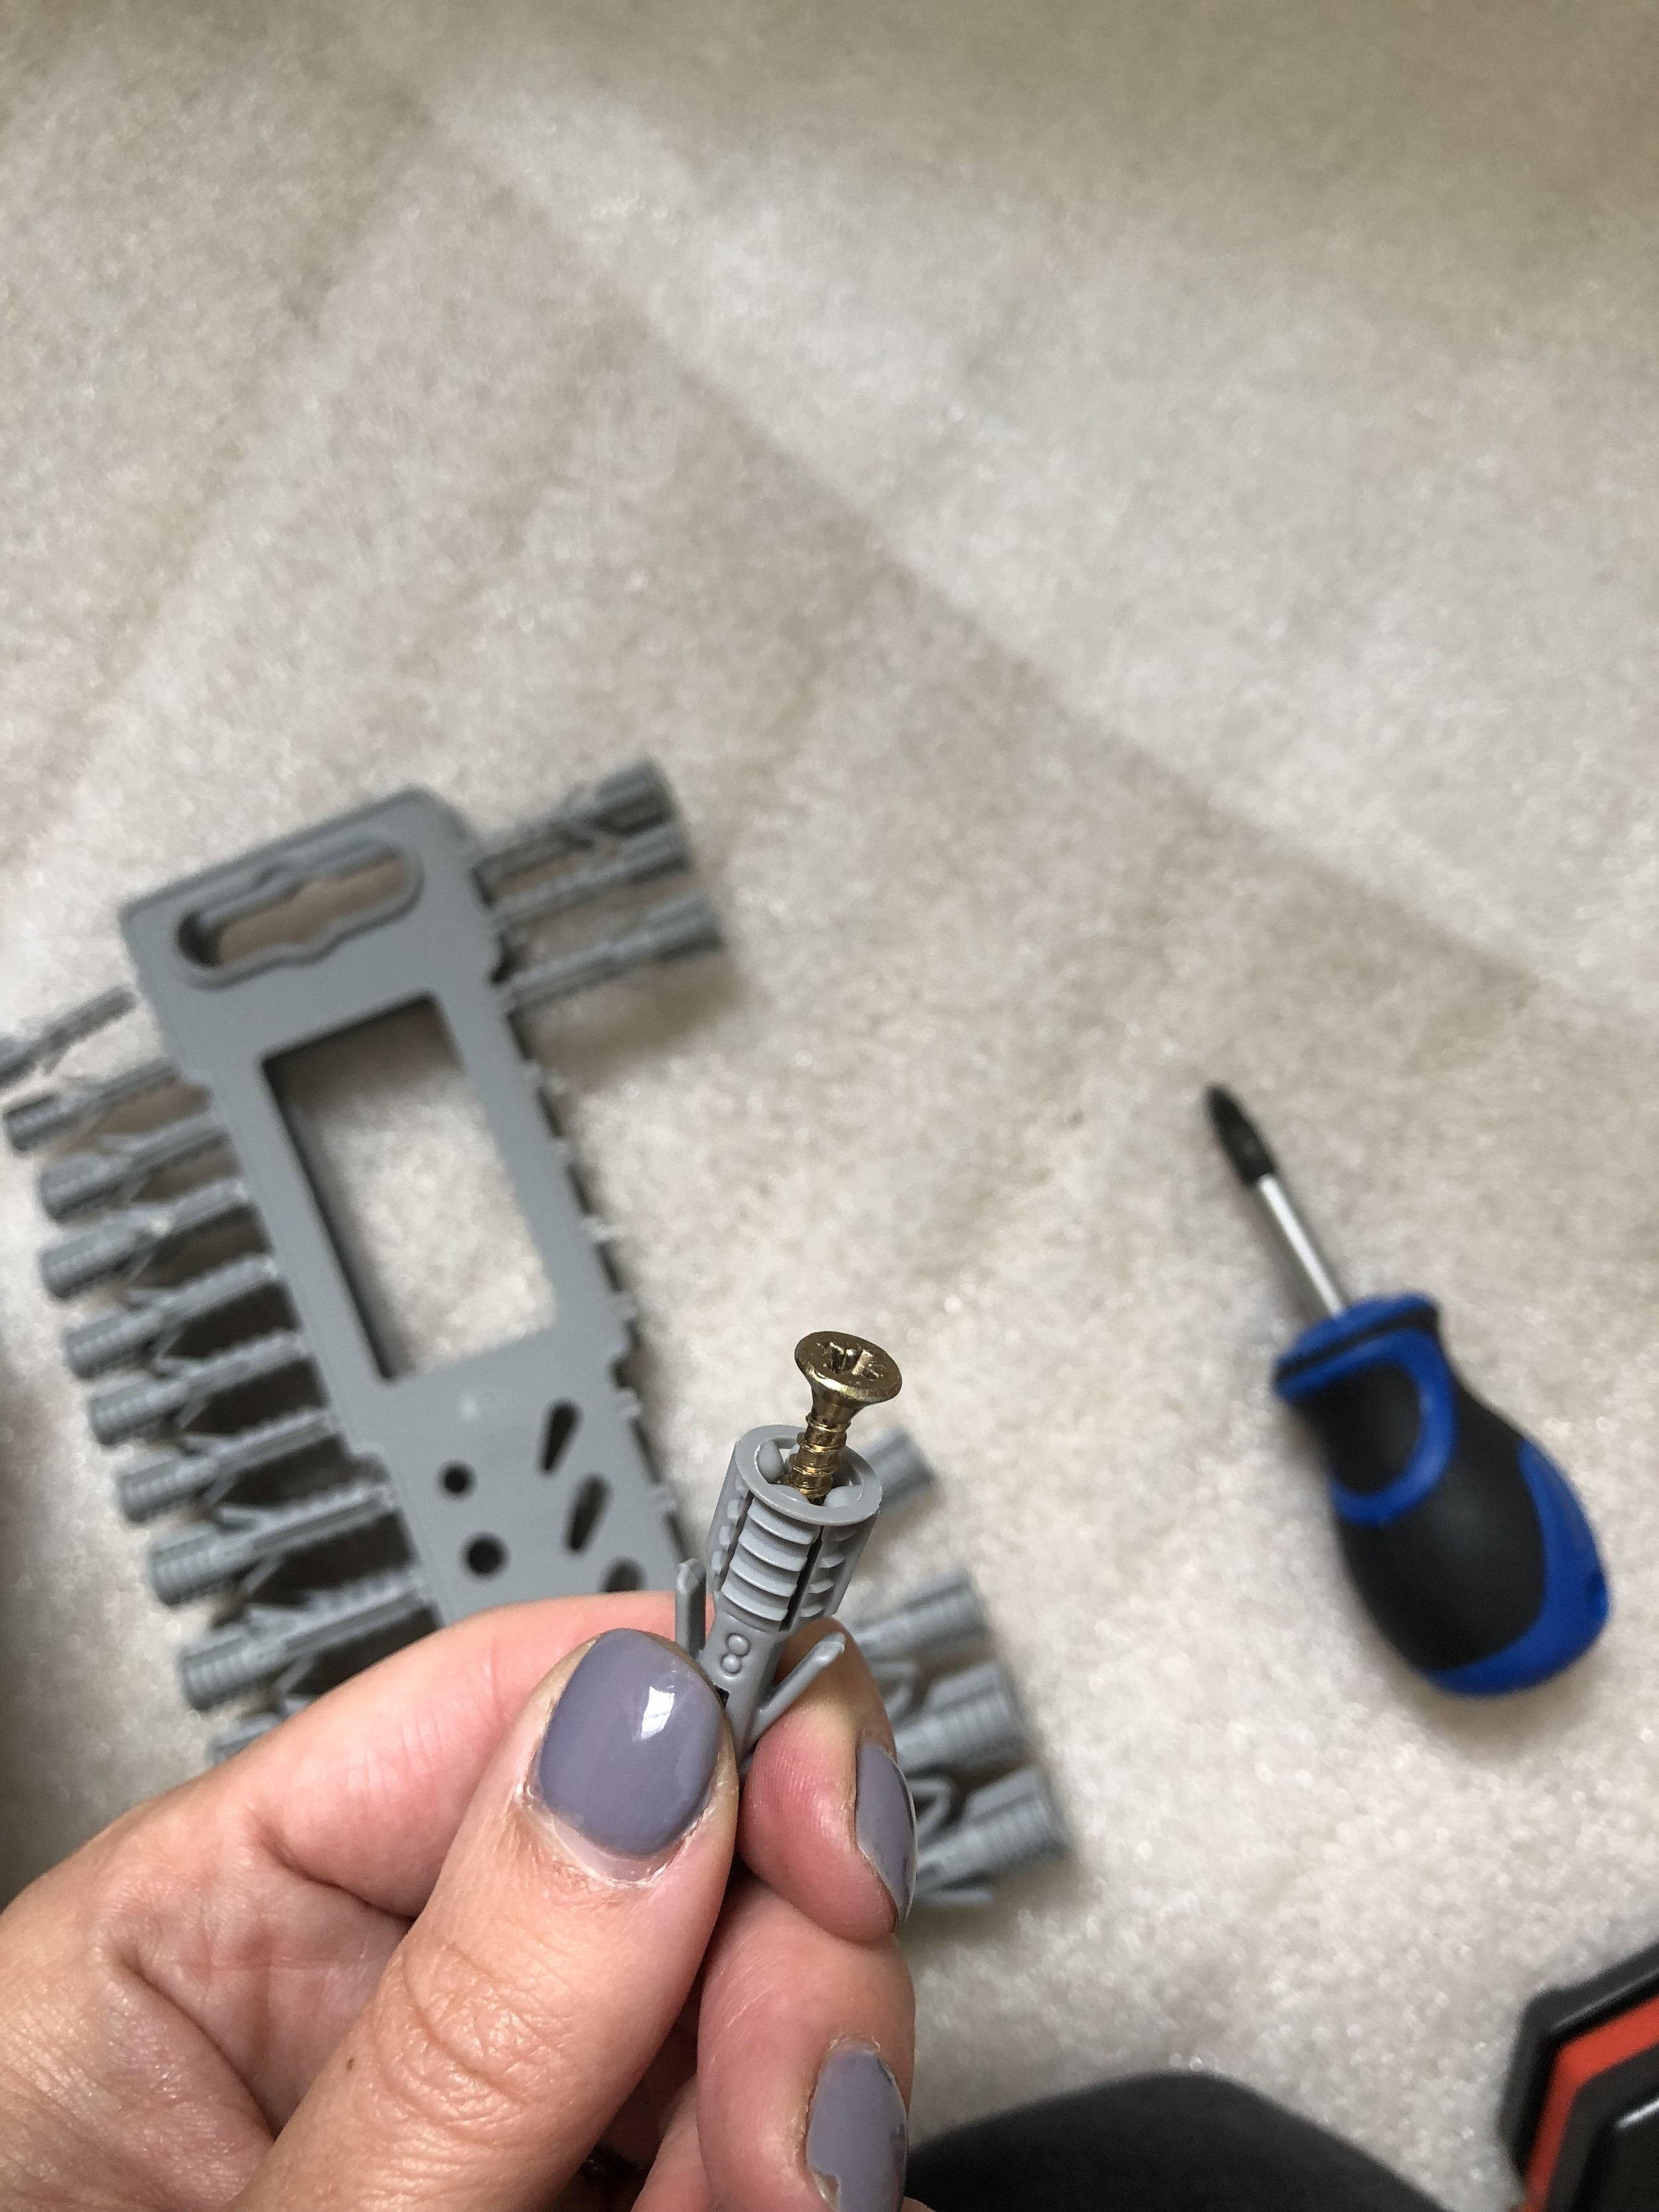
If your mirror is being hung on the screw-heads like here for the Iris, then make sure the heads are big enough for the mirror to be mounted on and they will not slip off. Choose long screws and accompanying raw plugs for the wall so that there is less chance of any brick giving way and the raw plug/screw pulling out.
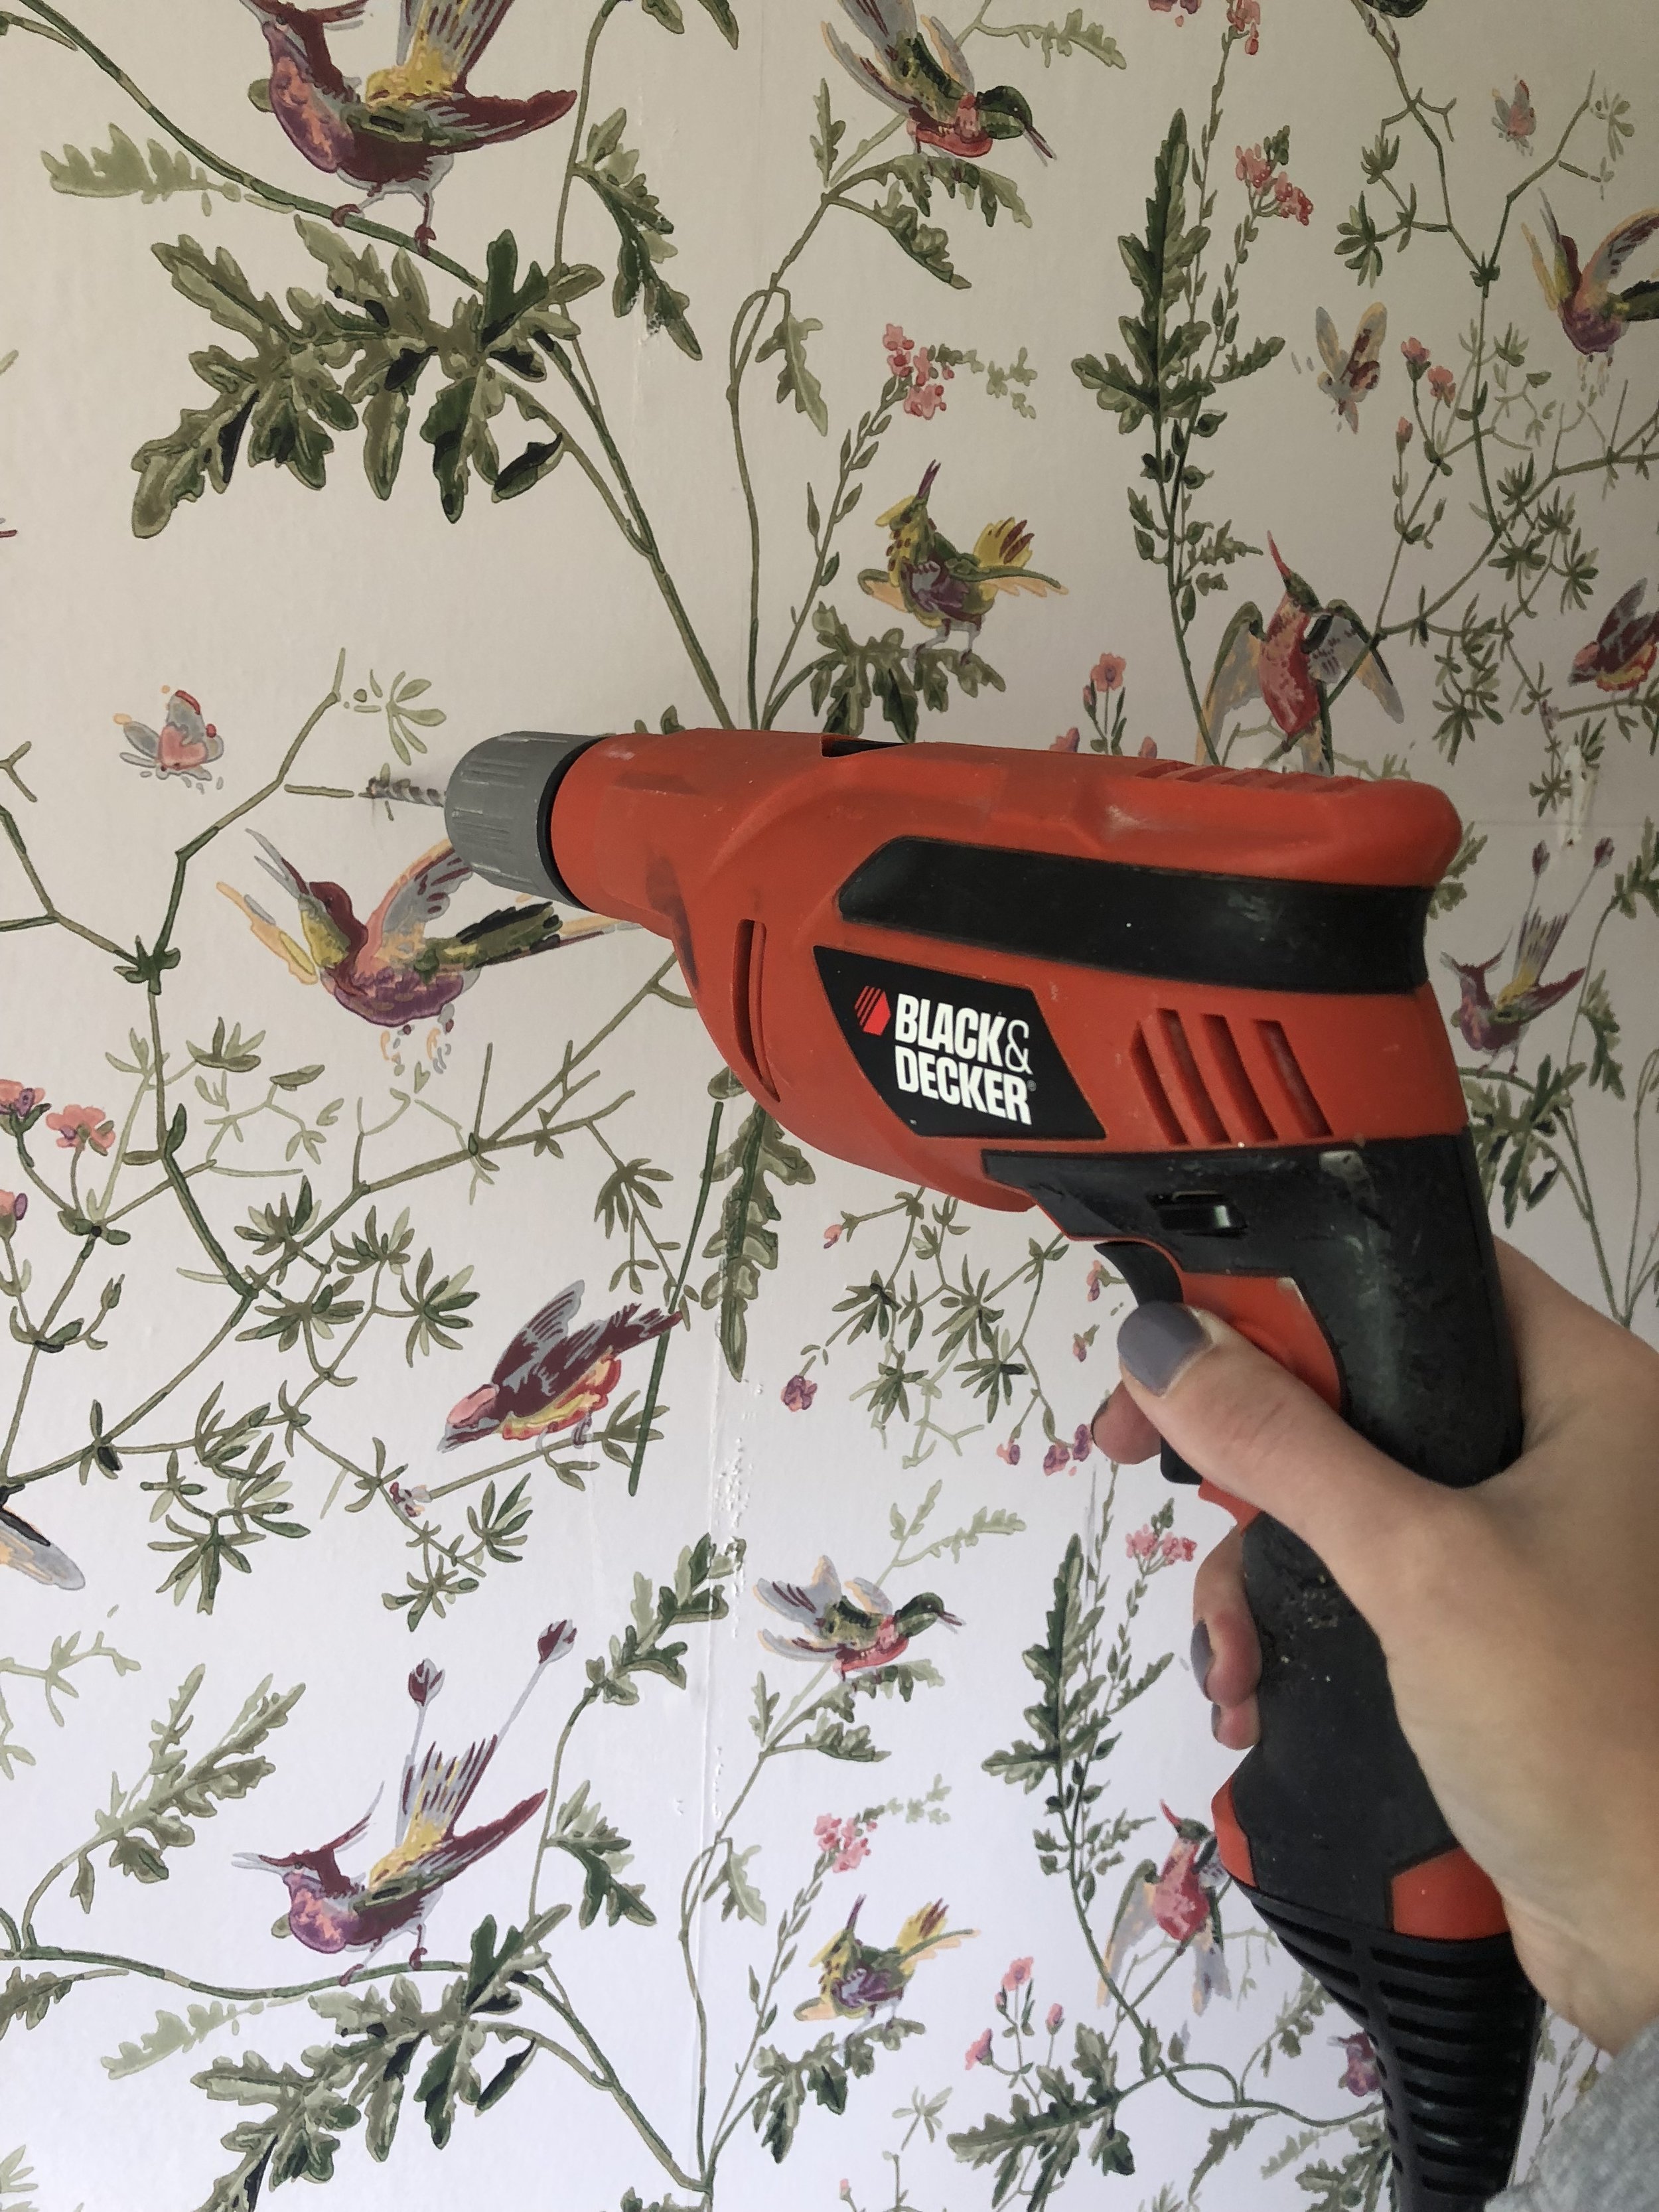
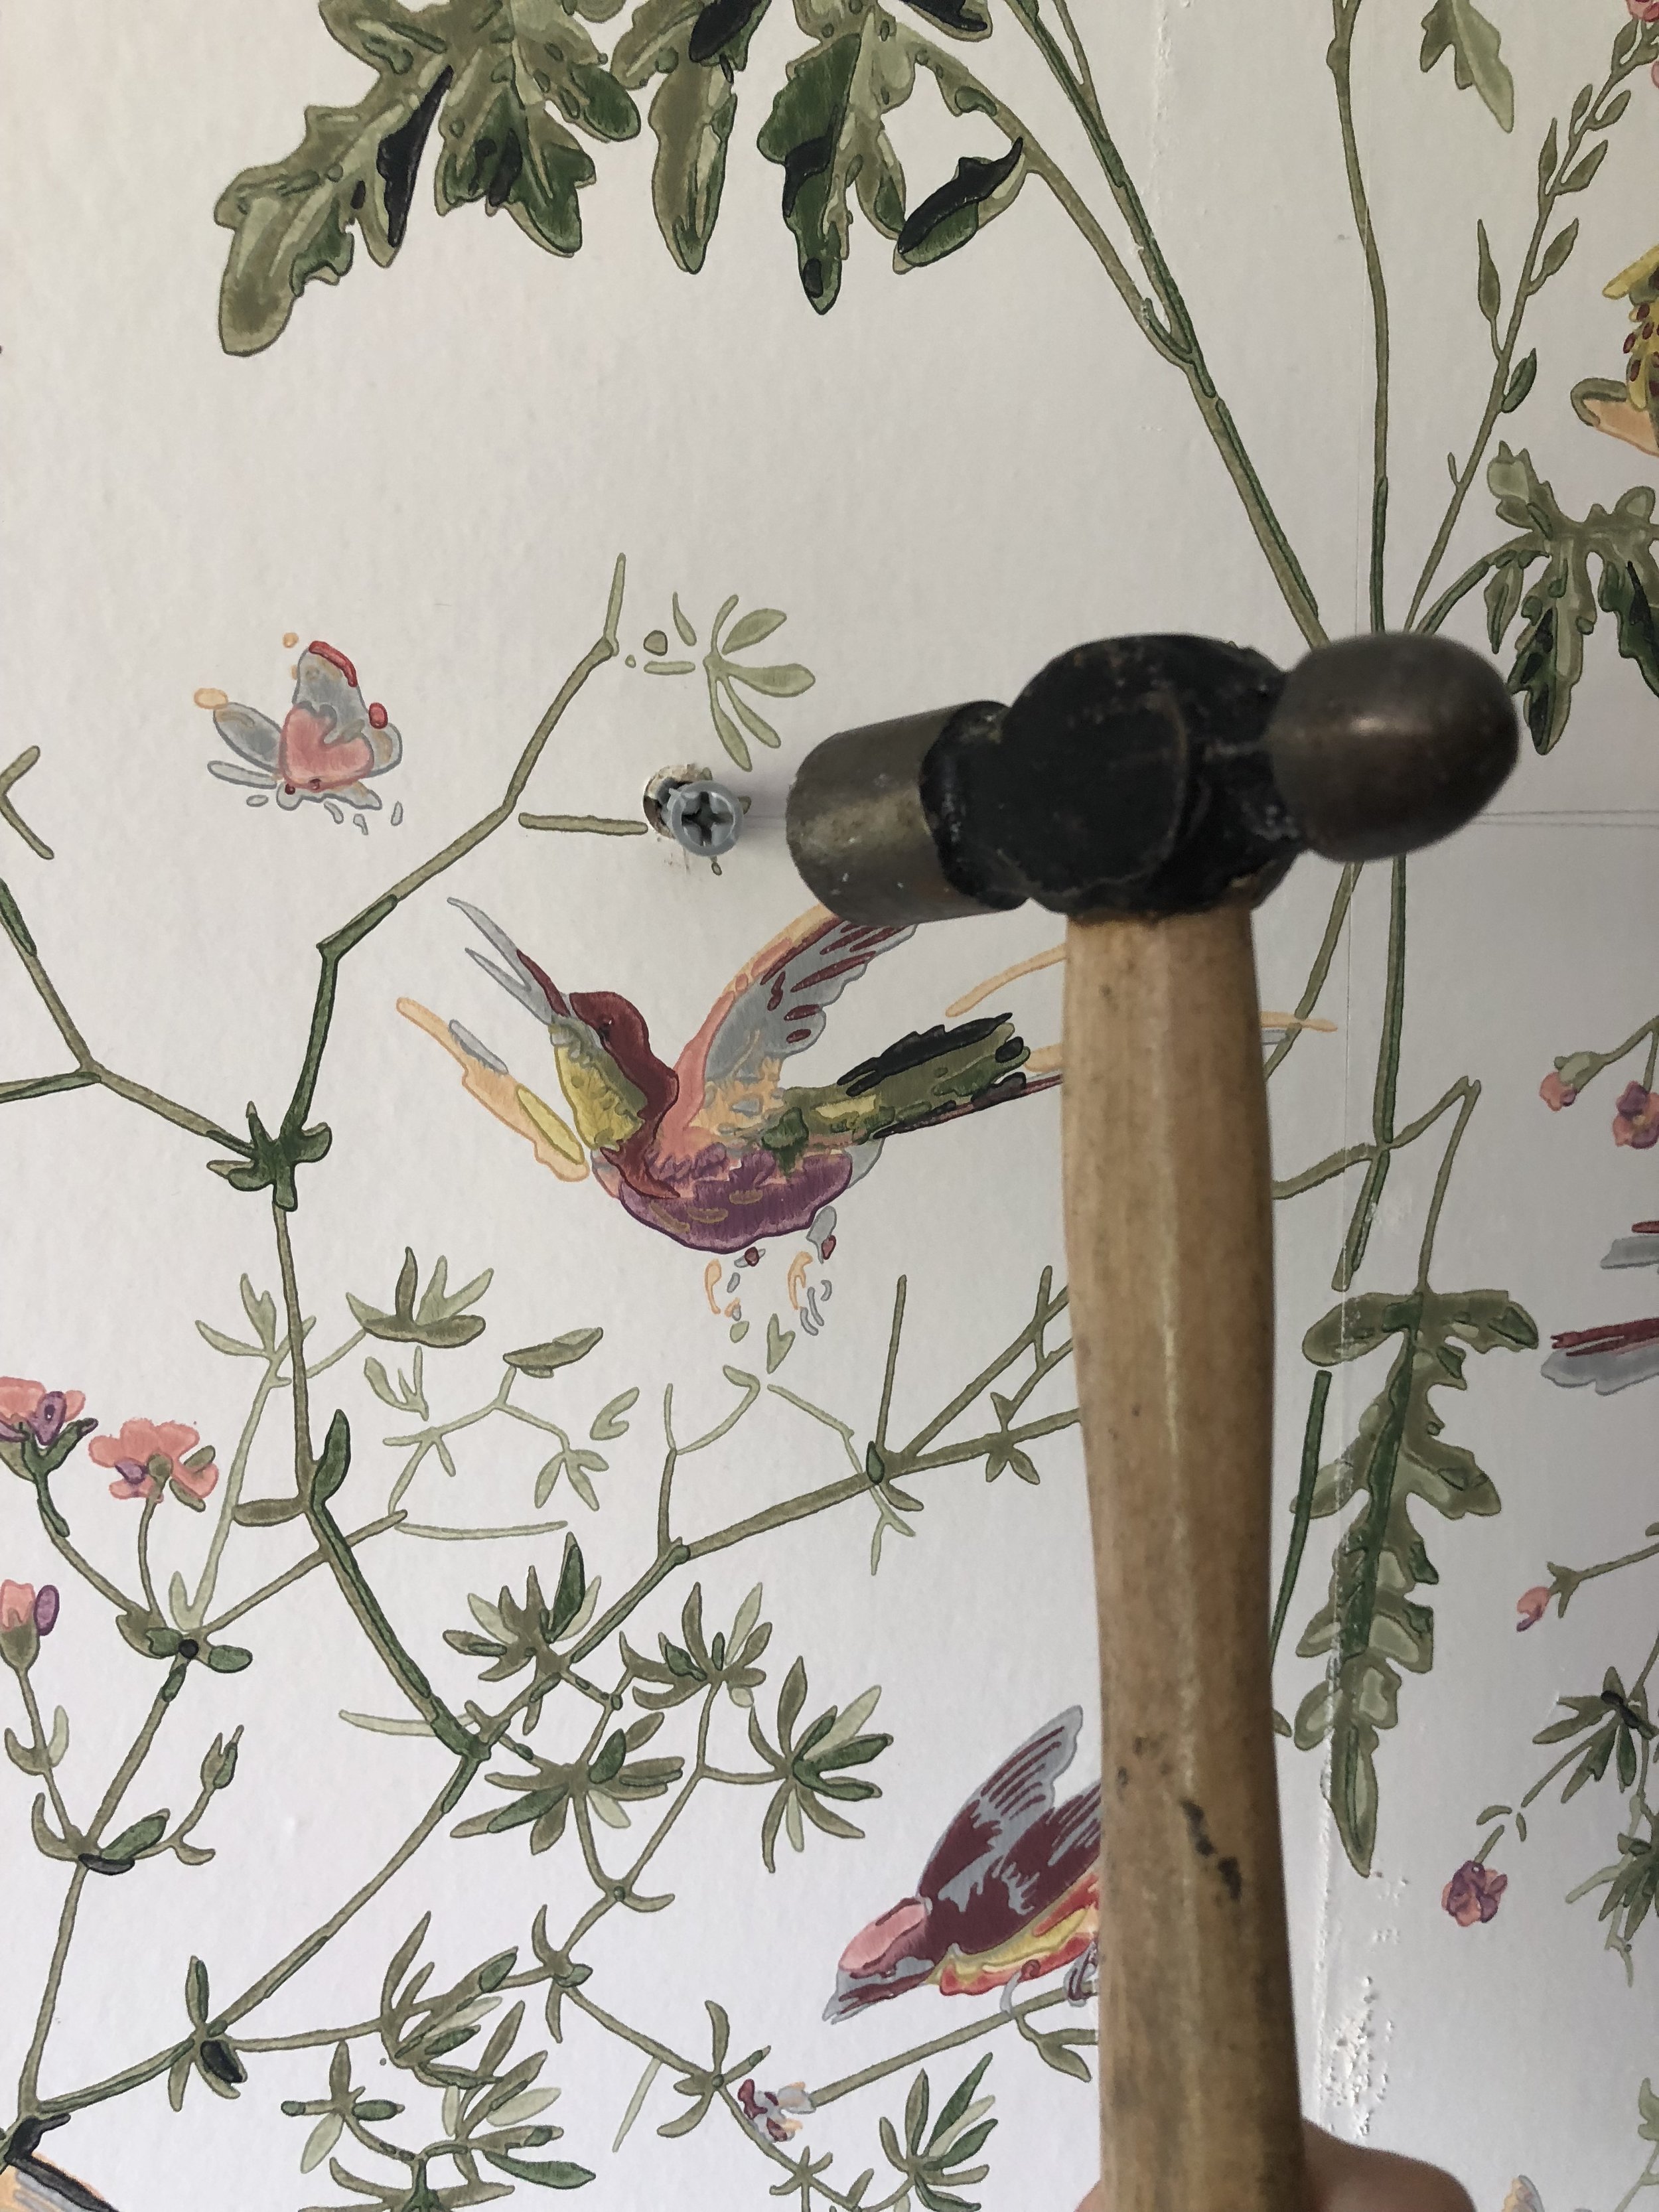
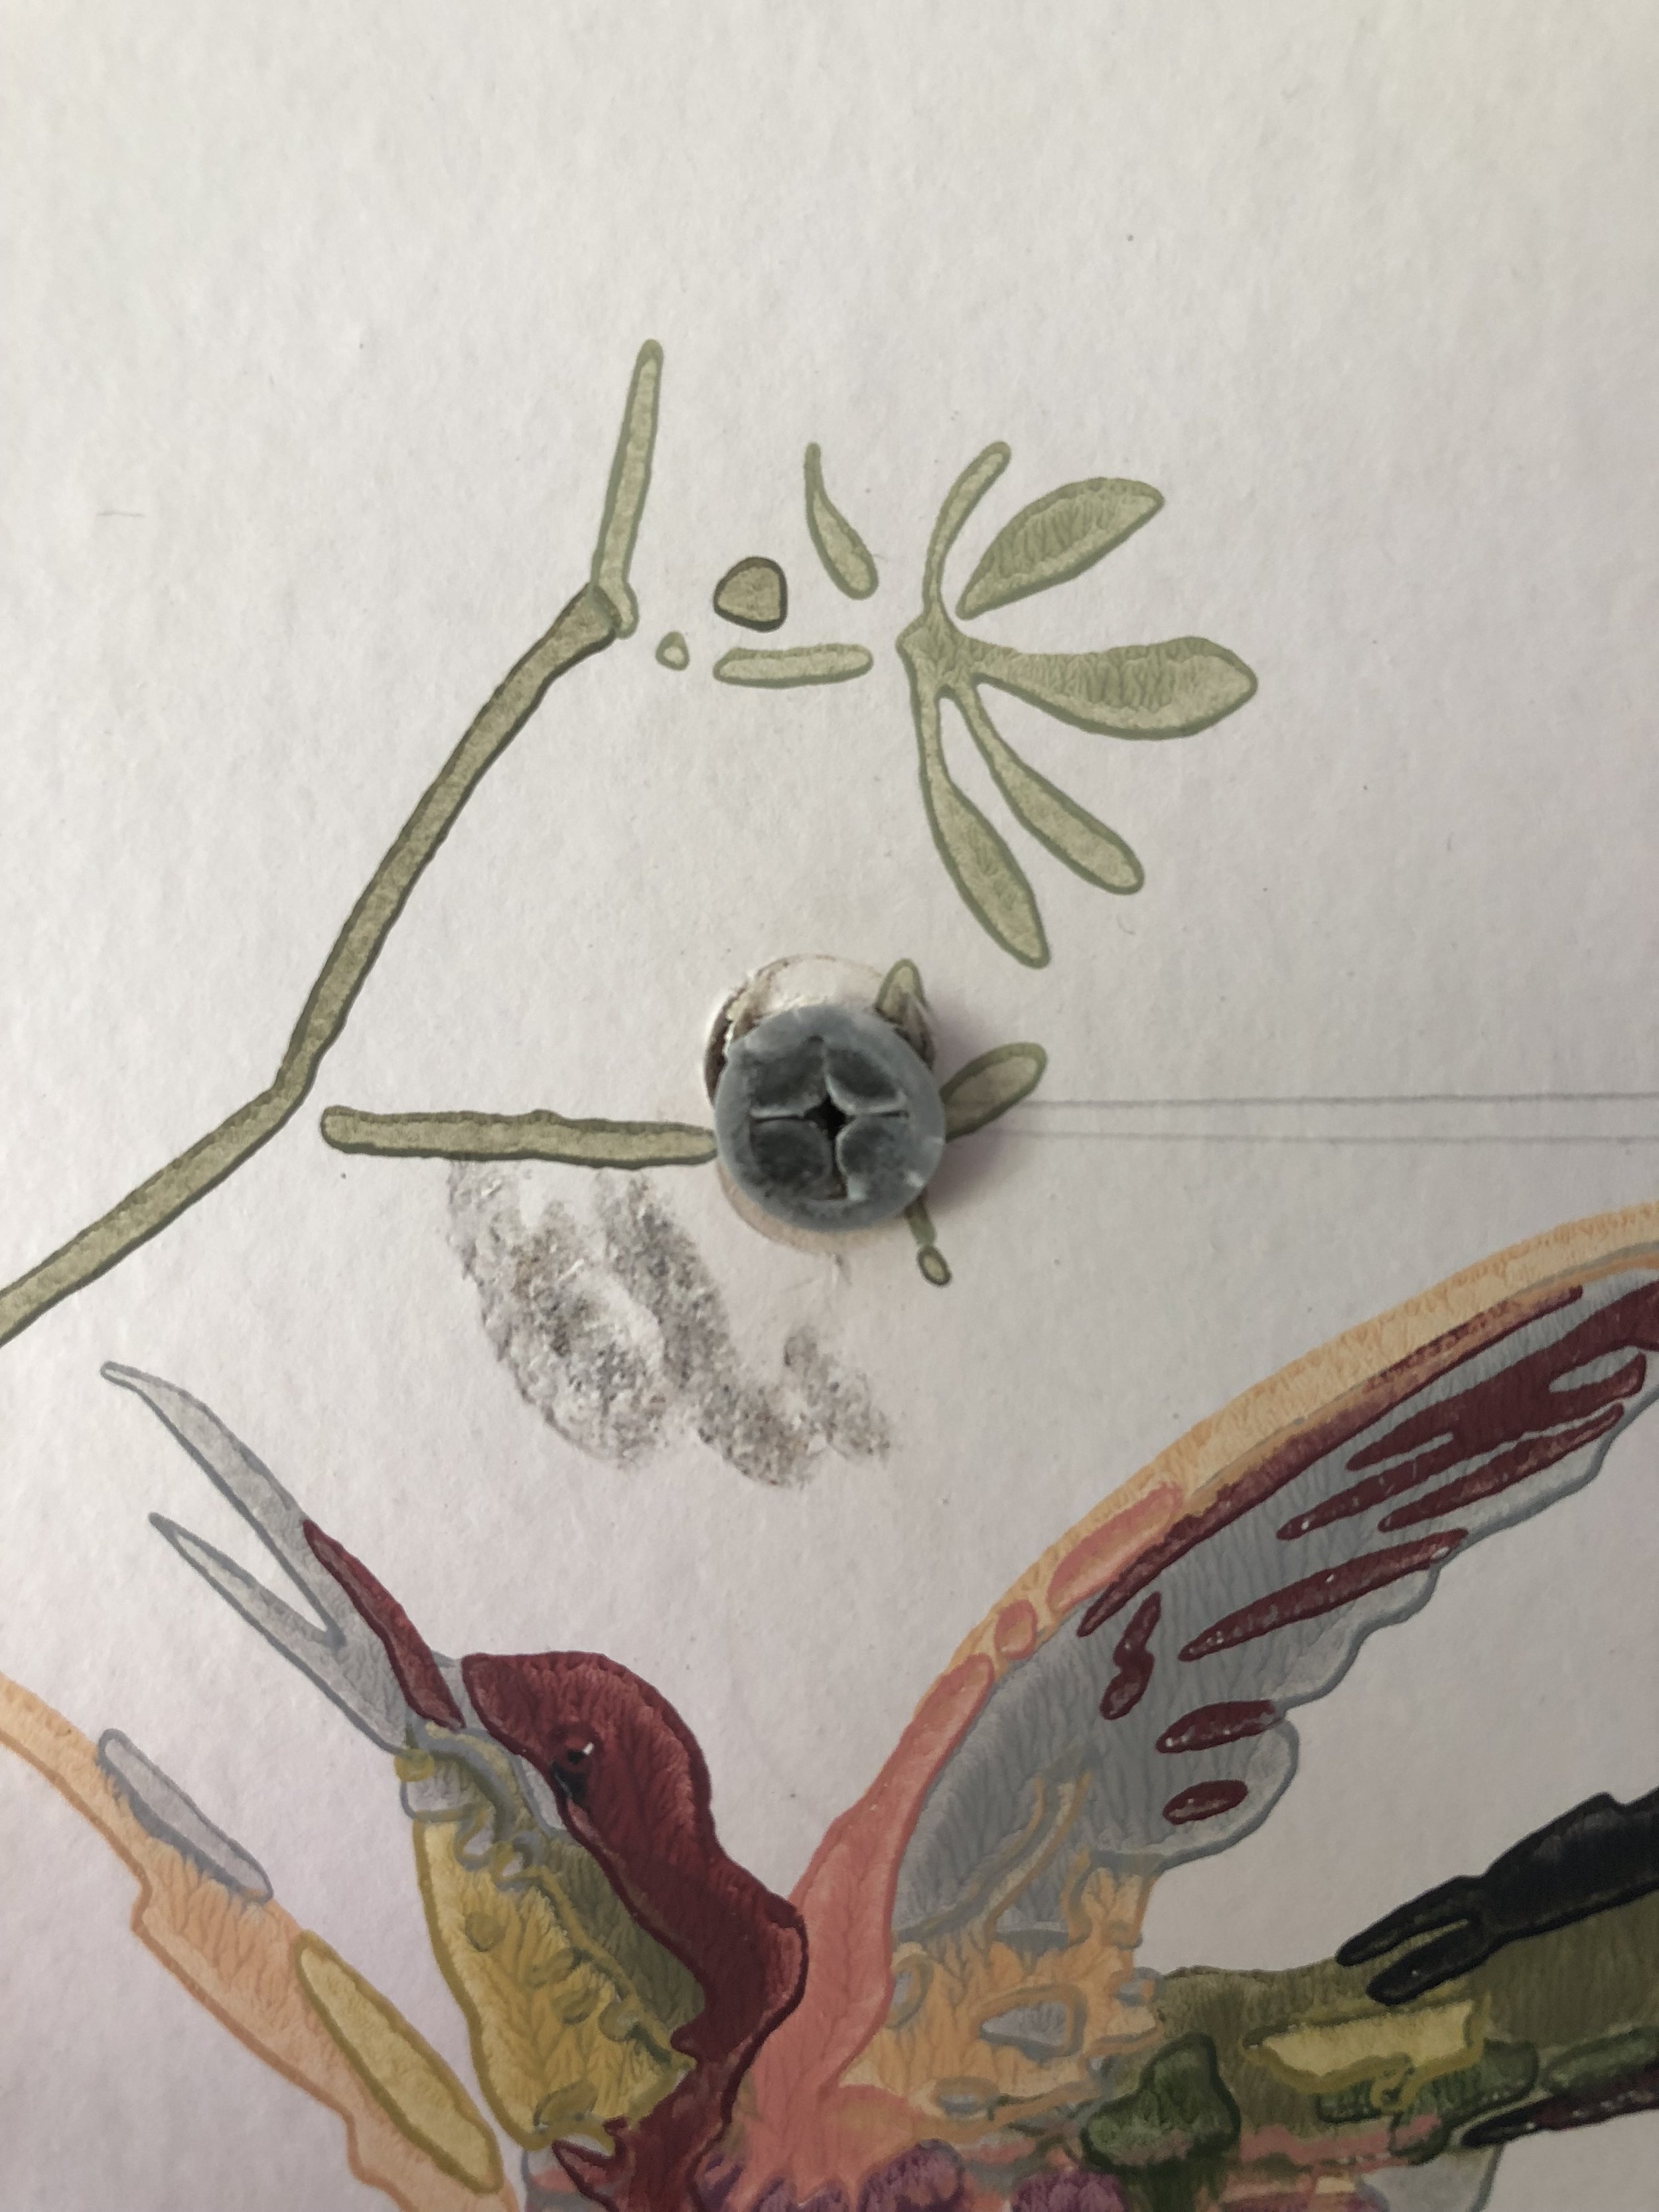

Make your drill holes! Make sure your drill bit is the right size for the raw plug (too small and you won’t get your raw plug in, too large and your raw plug will come loose). After drilling, blow into the hole to push out any brick dust (protect your eyes/mouth when doing this). Gently tap in your raw plug with a hammer until the lip it meets the wall. Try to twist and turn the raw plug with your fingers after insertion to make sure the plug is completely secure. Then, screw in your screw with a screwdriver, leaving enough of the screw hanging out if you need to hook on your mirror (secure tightly to the wall if you have separate fixings to the mirror).
So there we are! A simple guide to hanging a large mirror! I so chuffed with my Iris mirror from Soak.com, I think it looks a treat in my bathroom!
* Please note that the Iris Mirror was gifted from Soak.com and that this post contains some affiliate links.