DIY Floating Dressing Table IKEA Hack
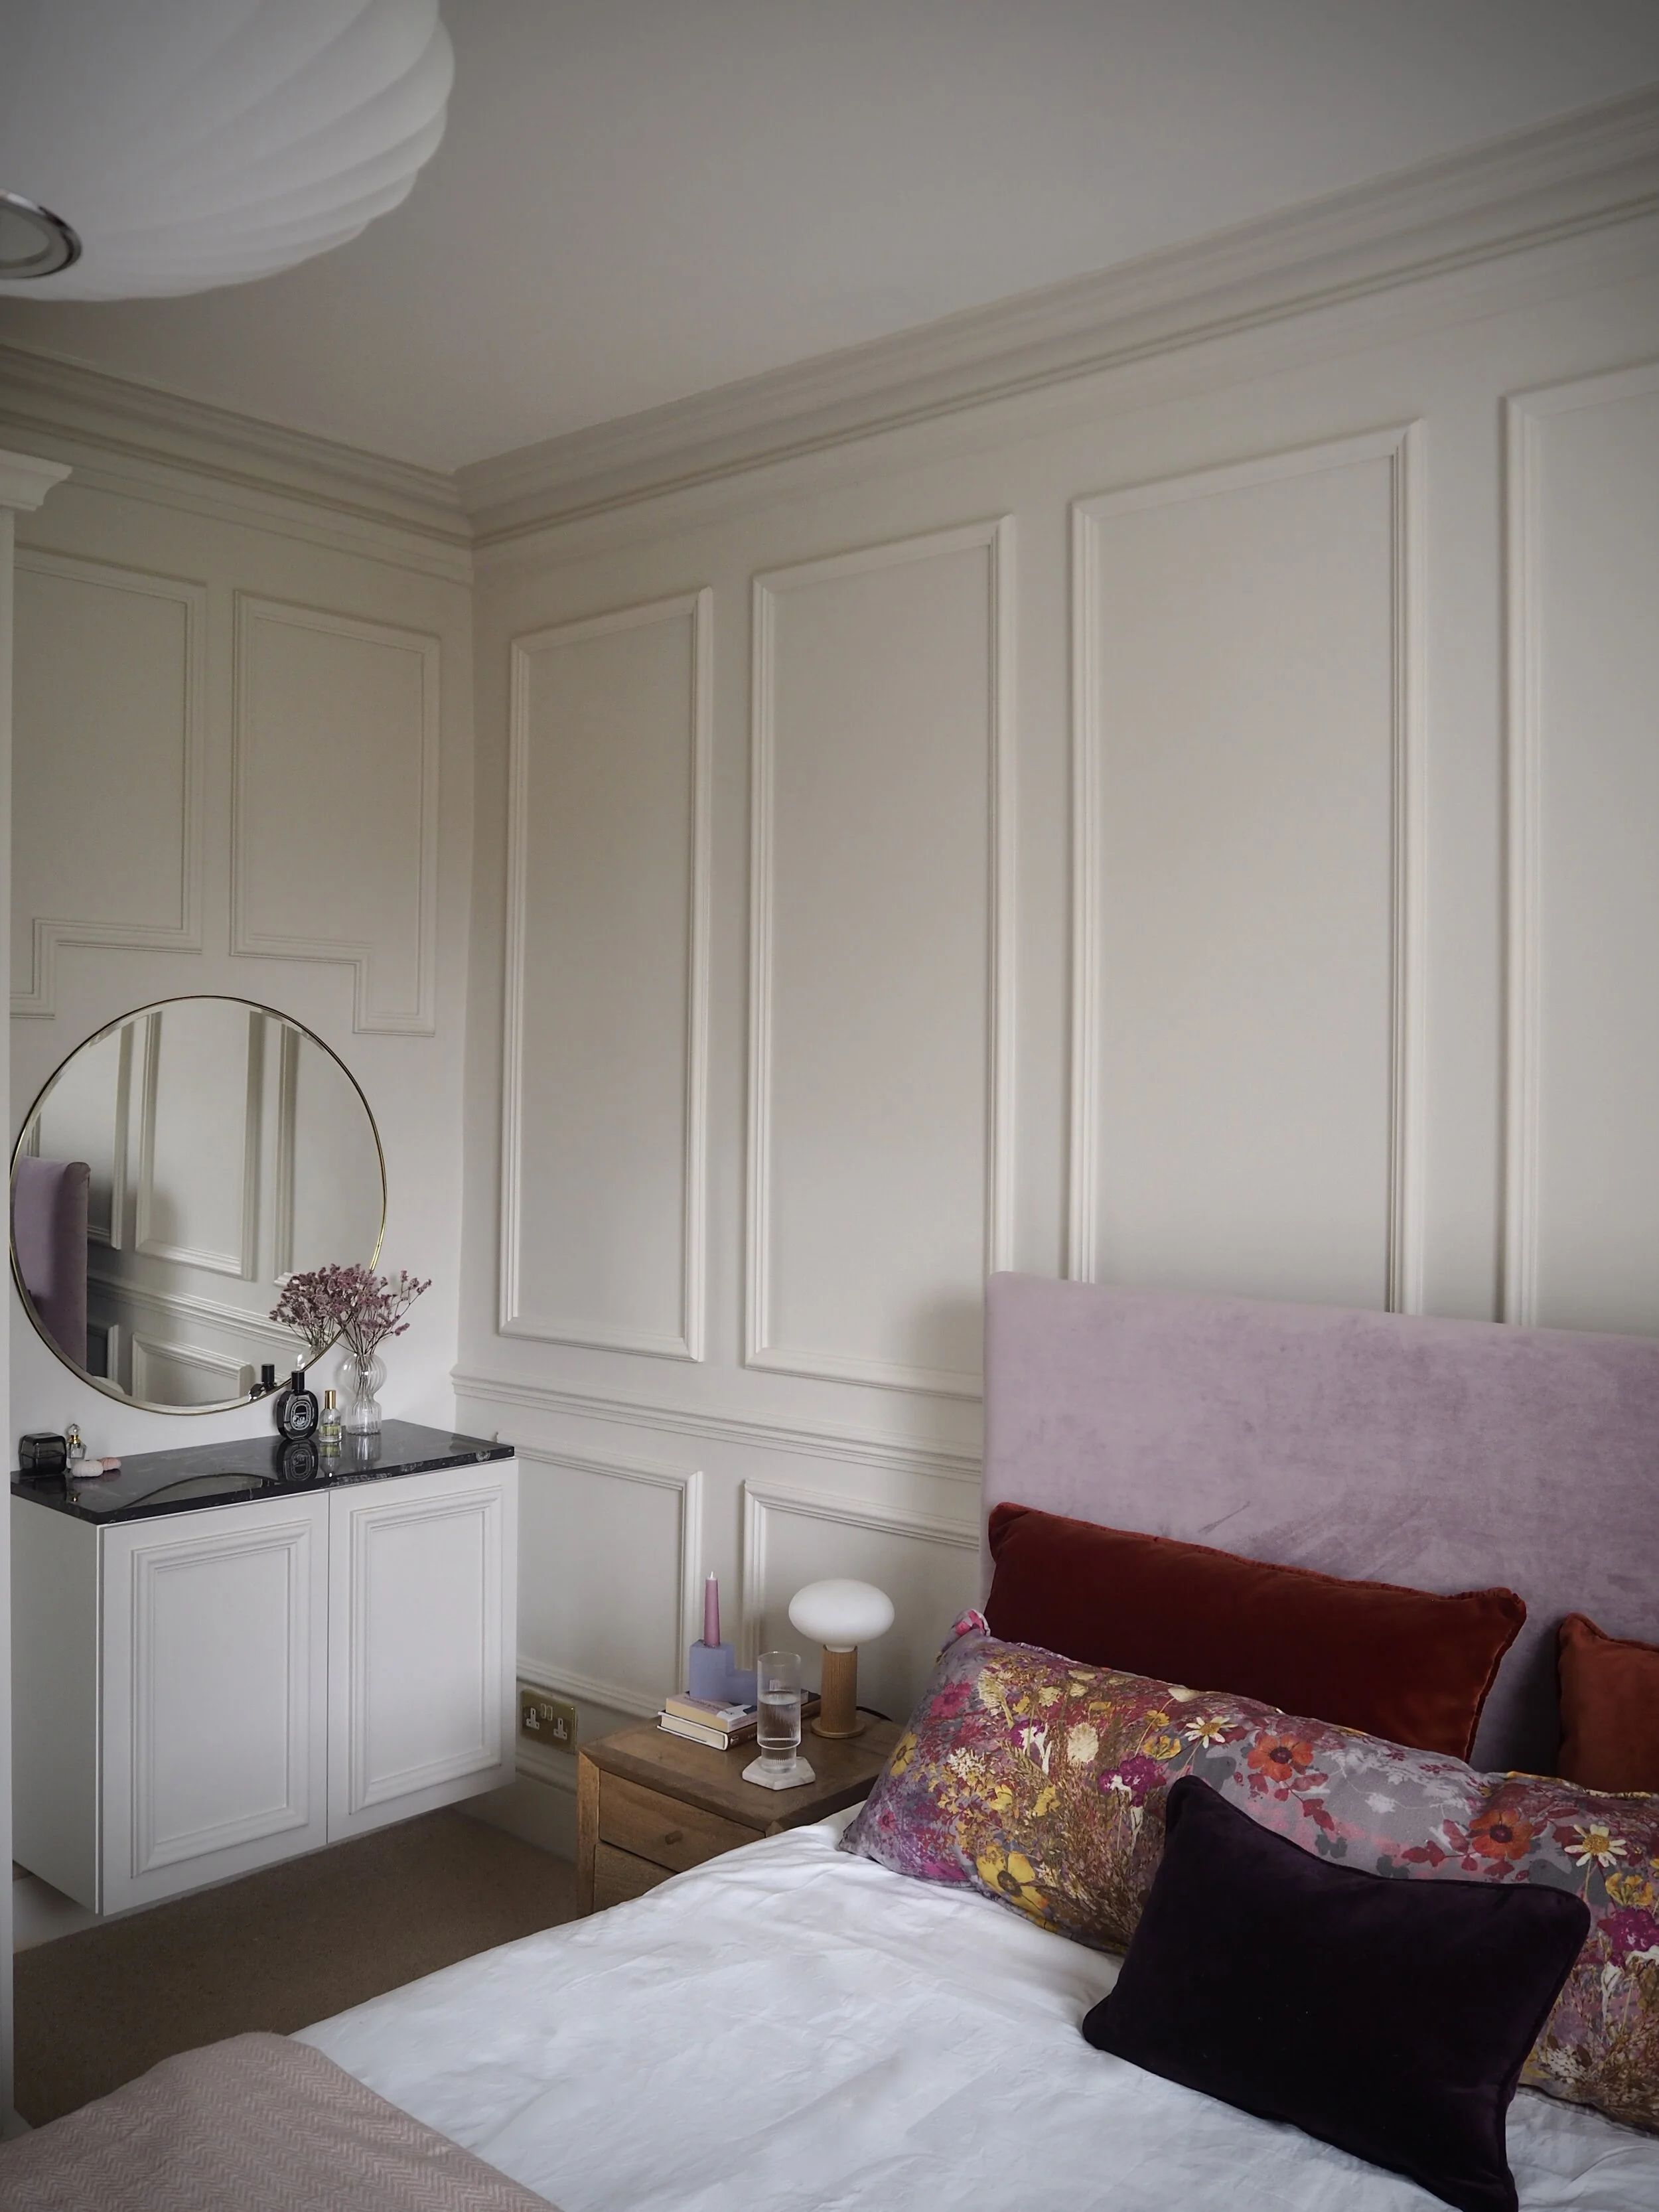
A design dilemma that I needed to overcome with the redecoration of the master bedroom was to have a dressing table that provided a lot of storage, but also took up little space. The previous freestanding dresser was your basic four-legged table with a couple of petite drawers which could only house a few hair grips; yet, I required something that could store a multitude of hair dryer attachments and a red lipstick addiction. The bulky dresser also felt overbearing in the corner, so I decided the new one needed to be wall-mounted to stop it dominating the room.
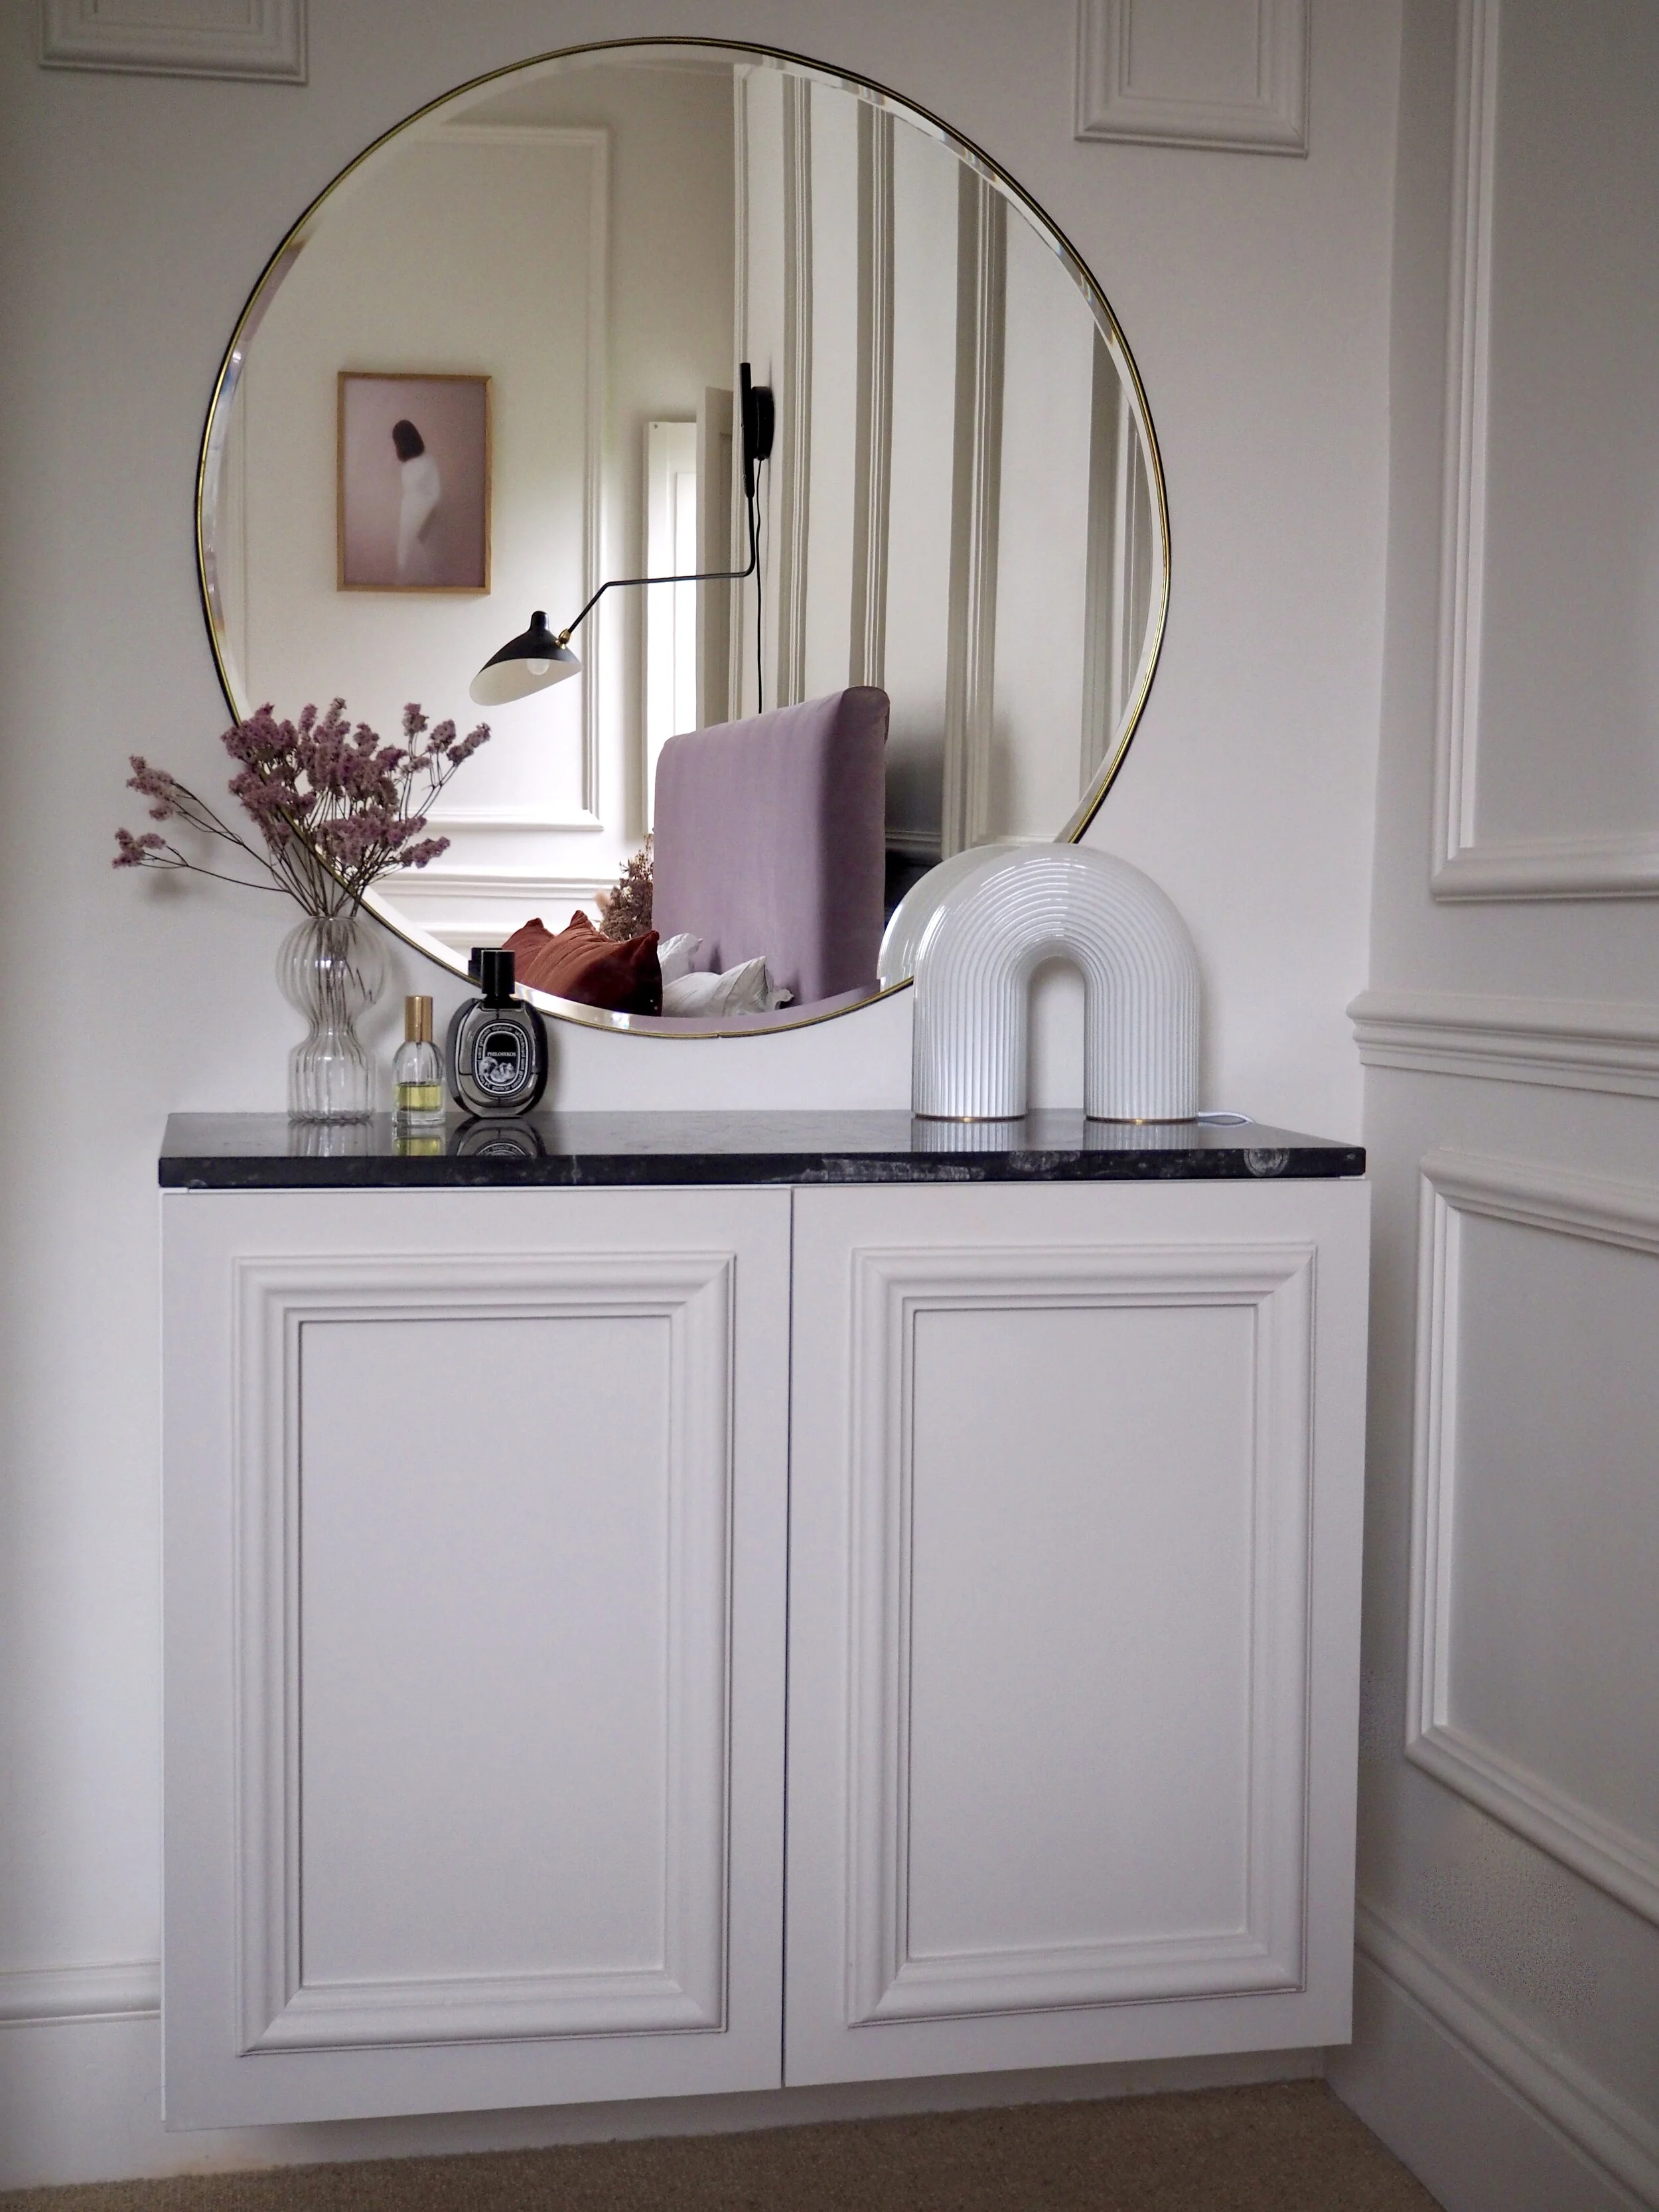
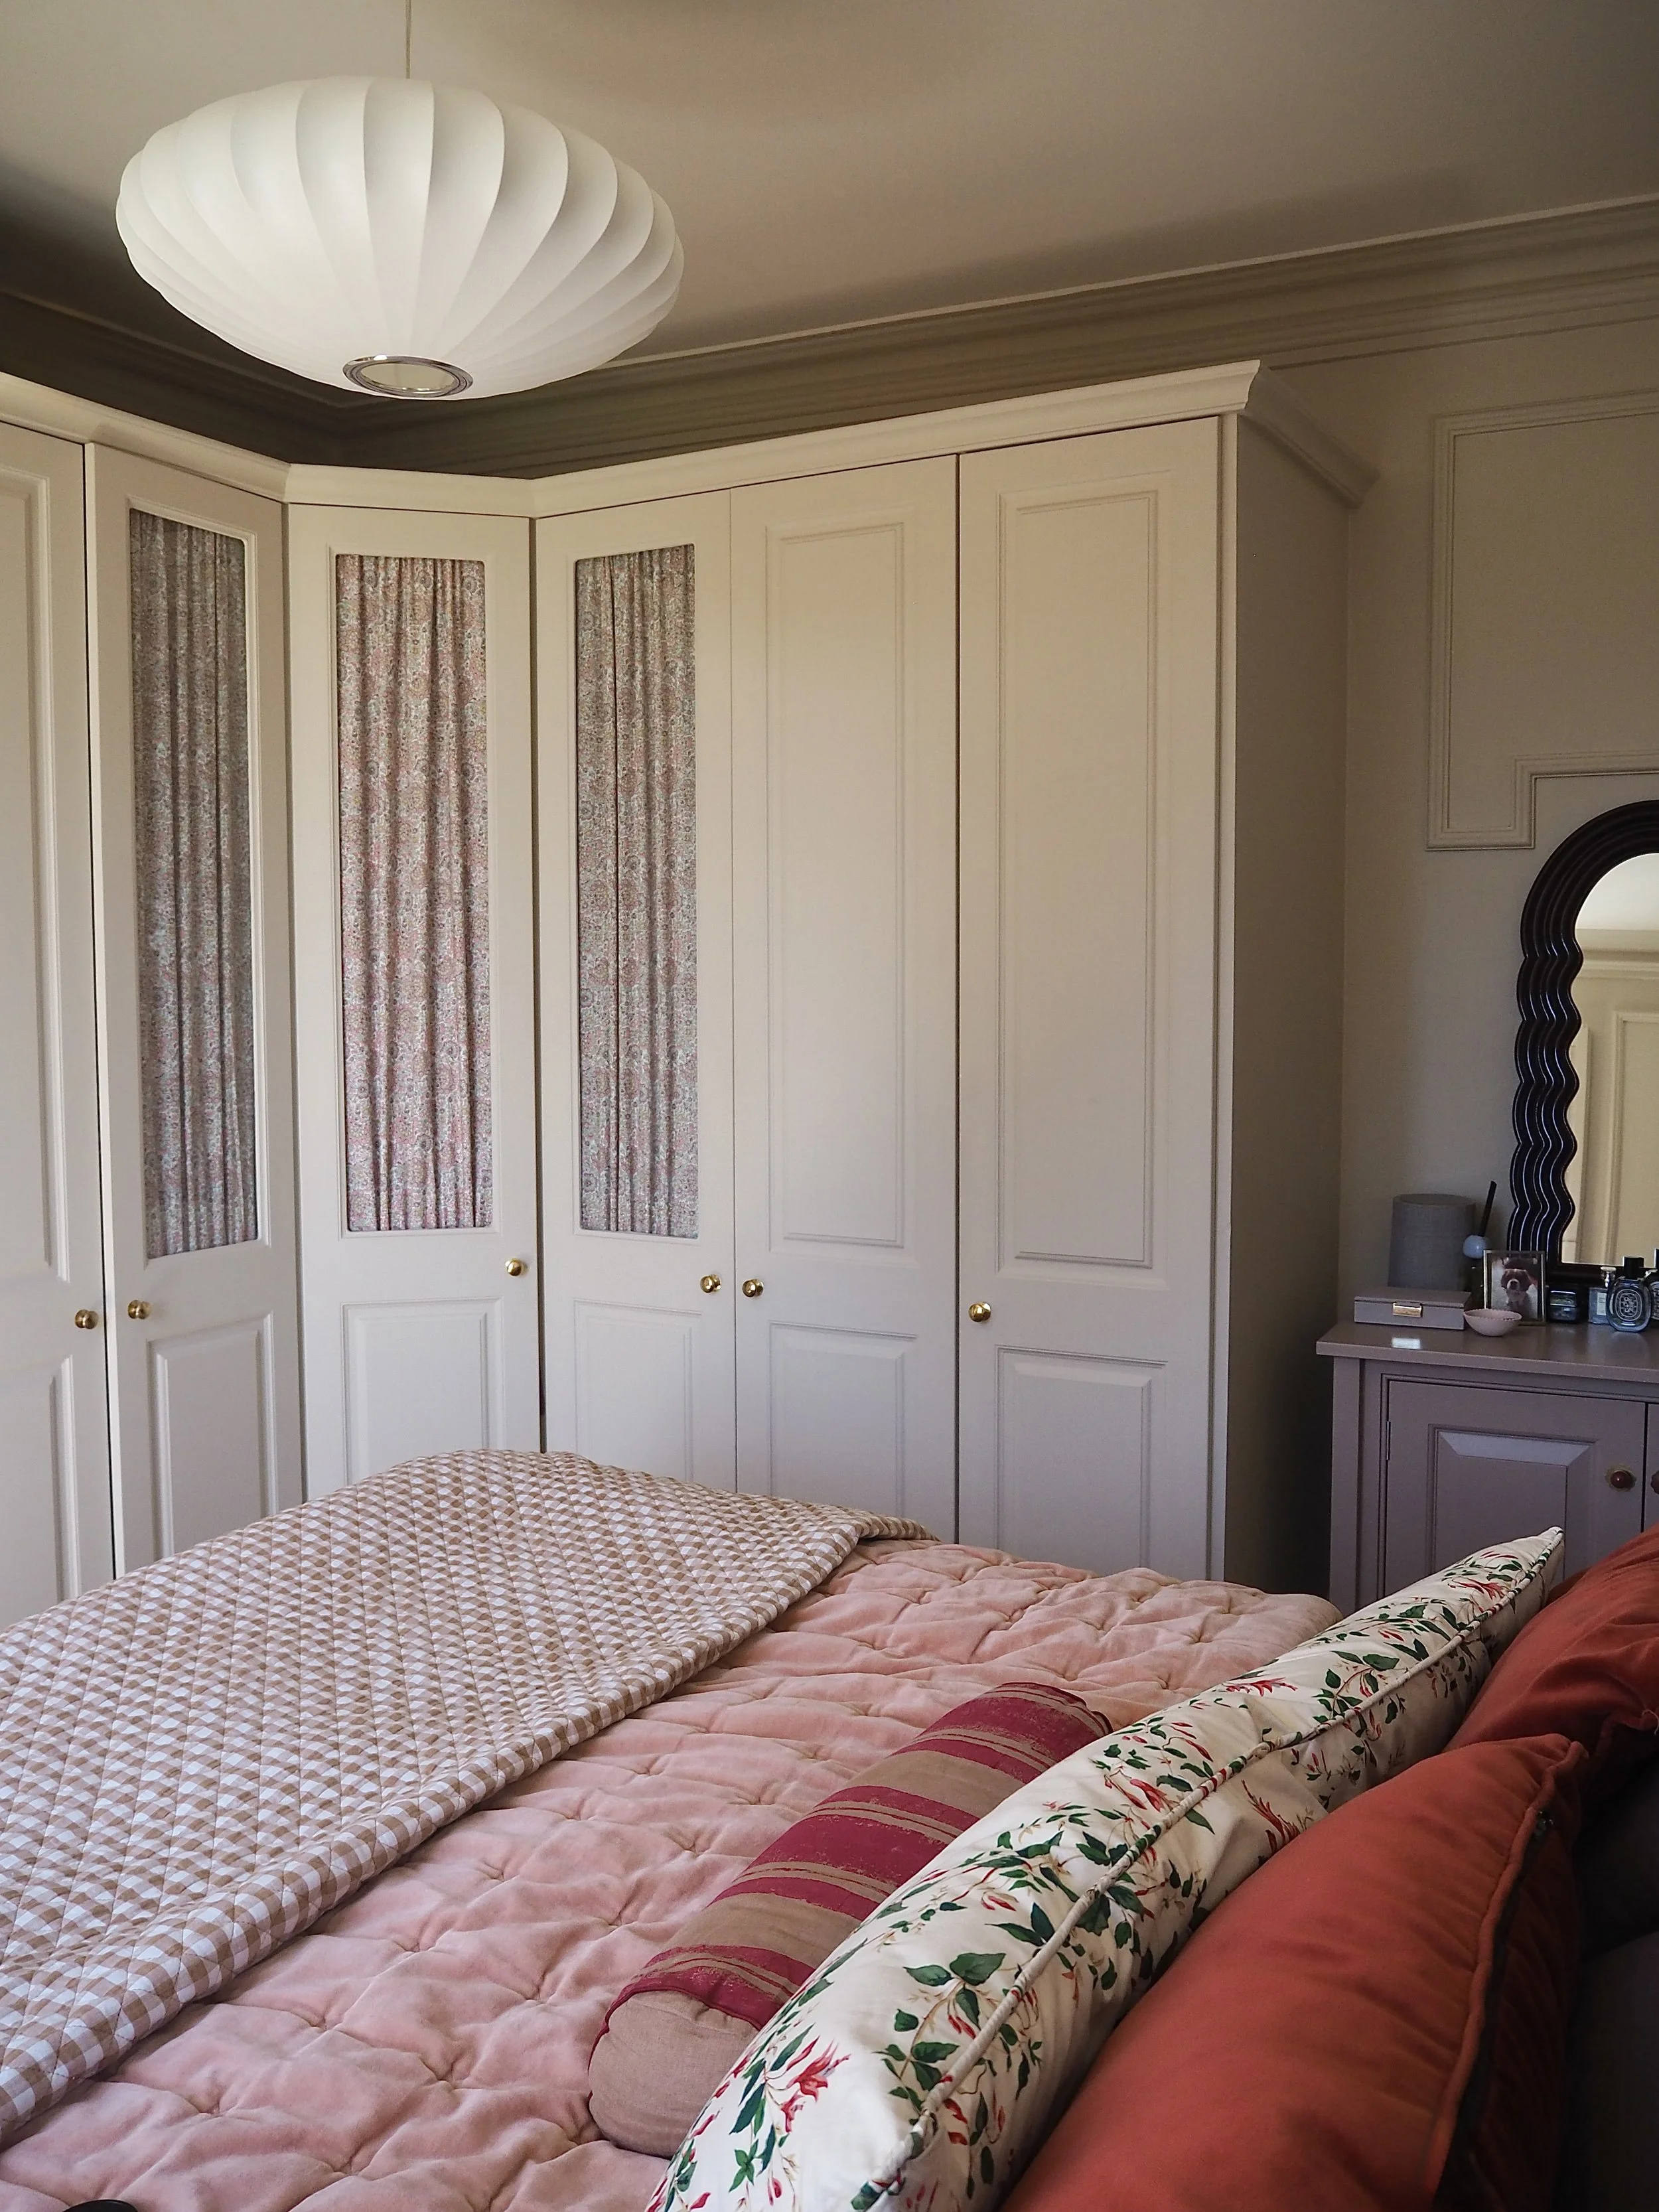
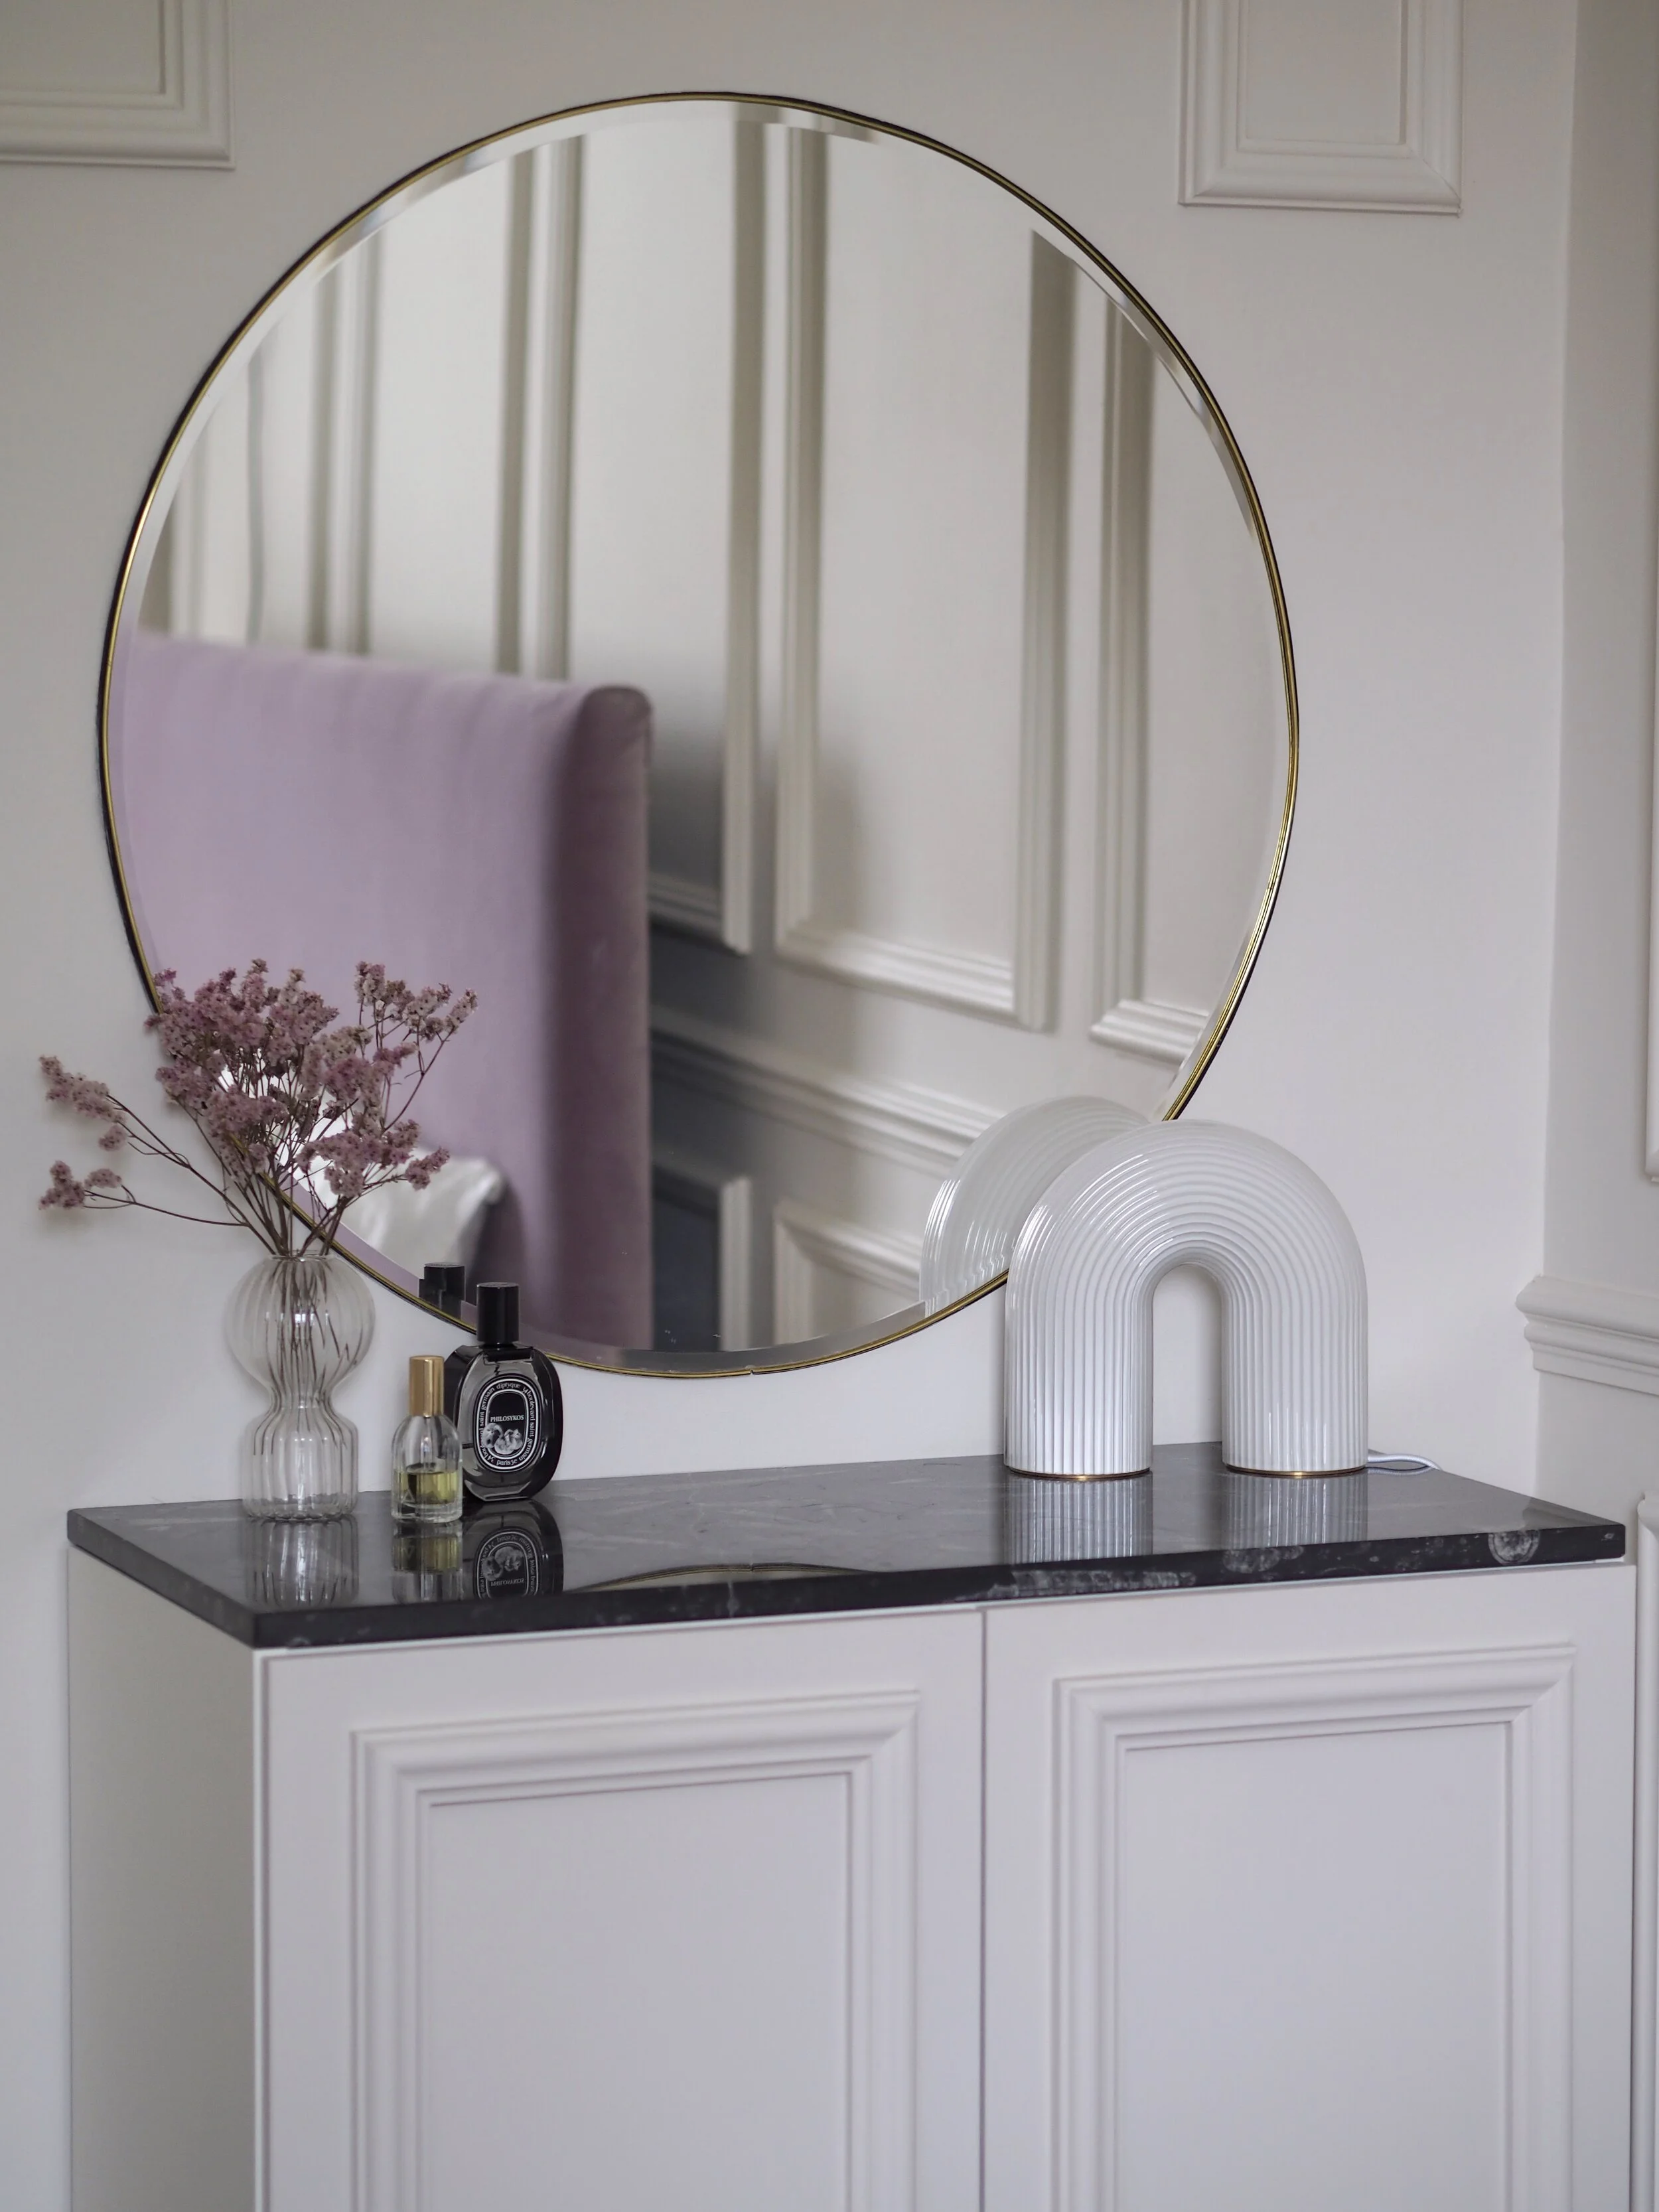
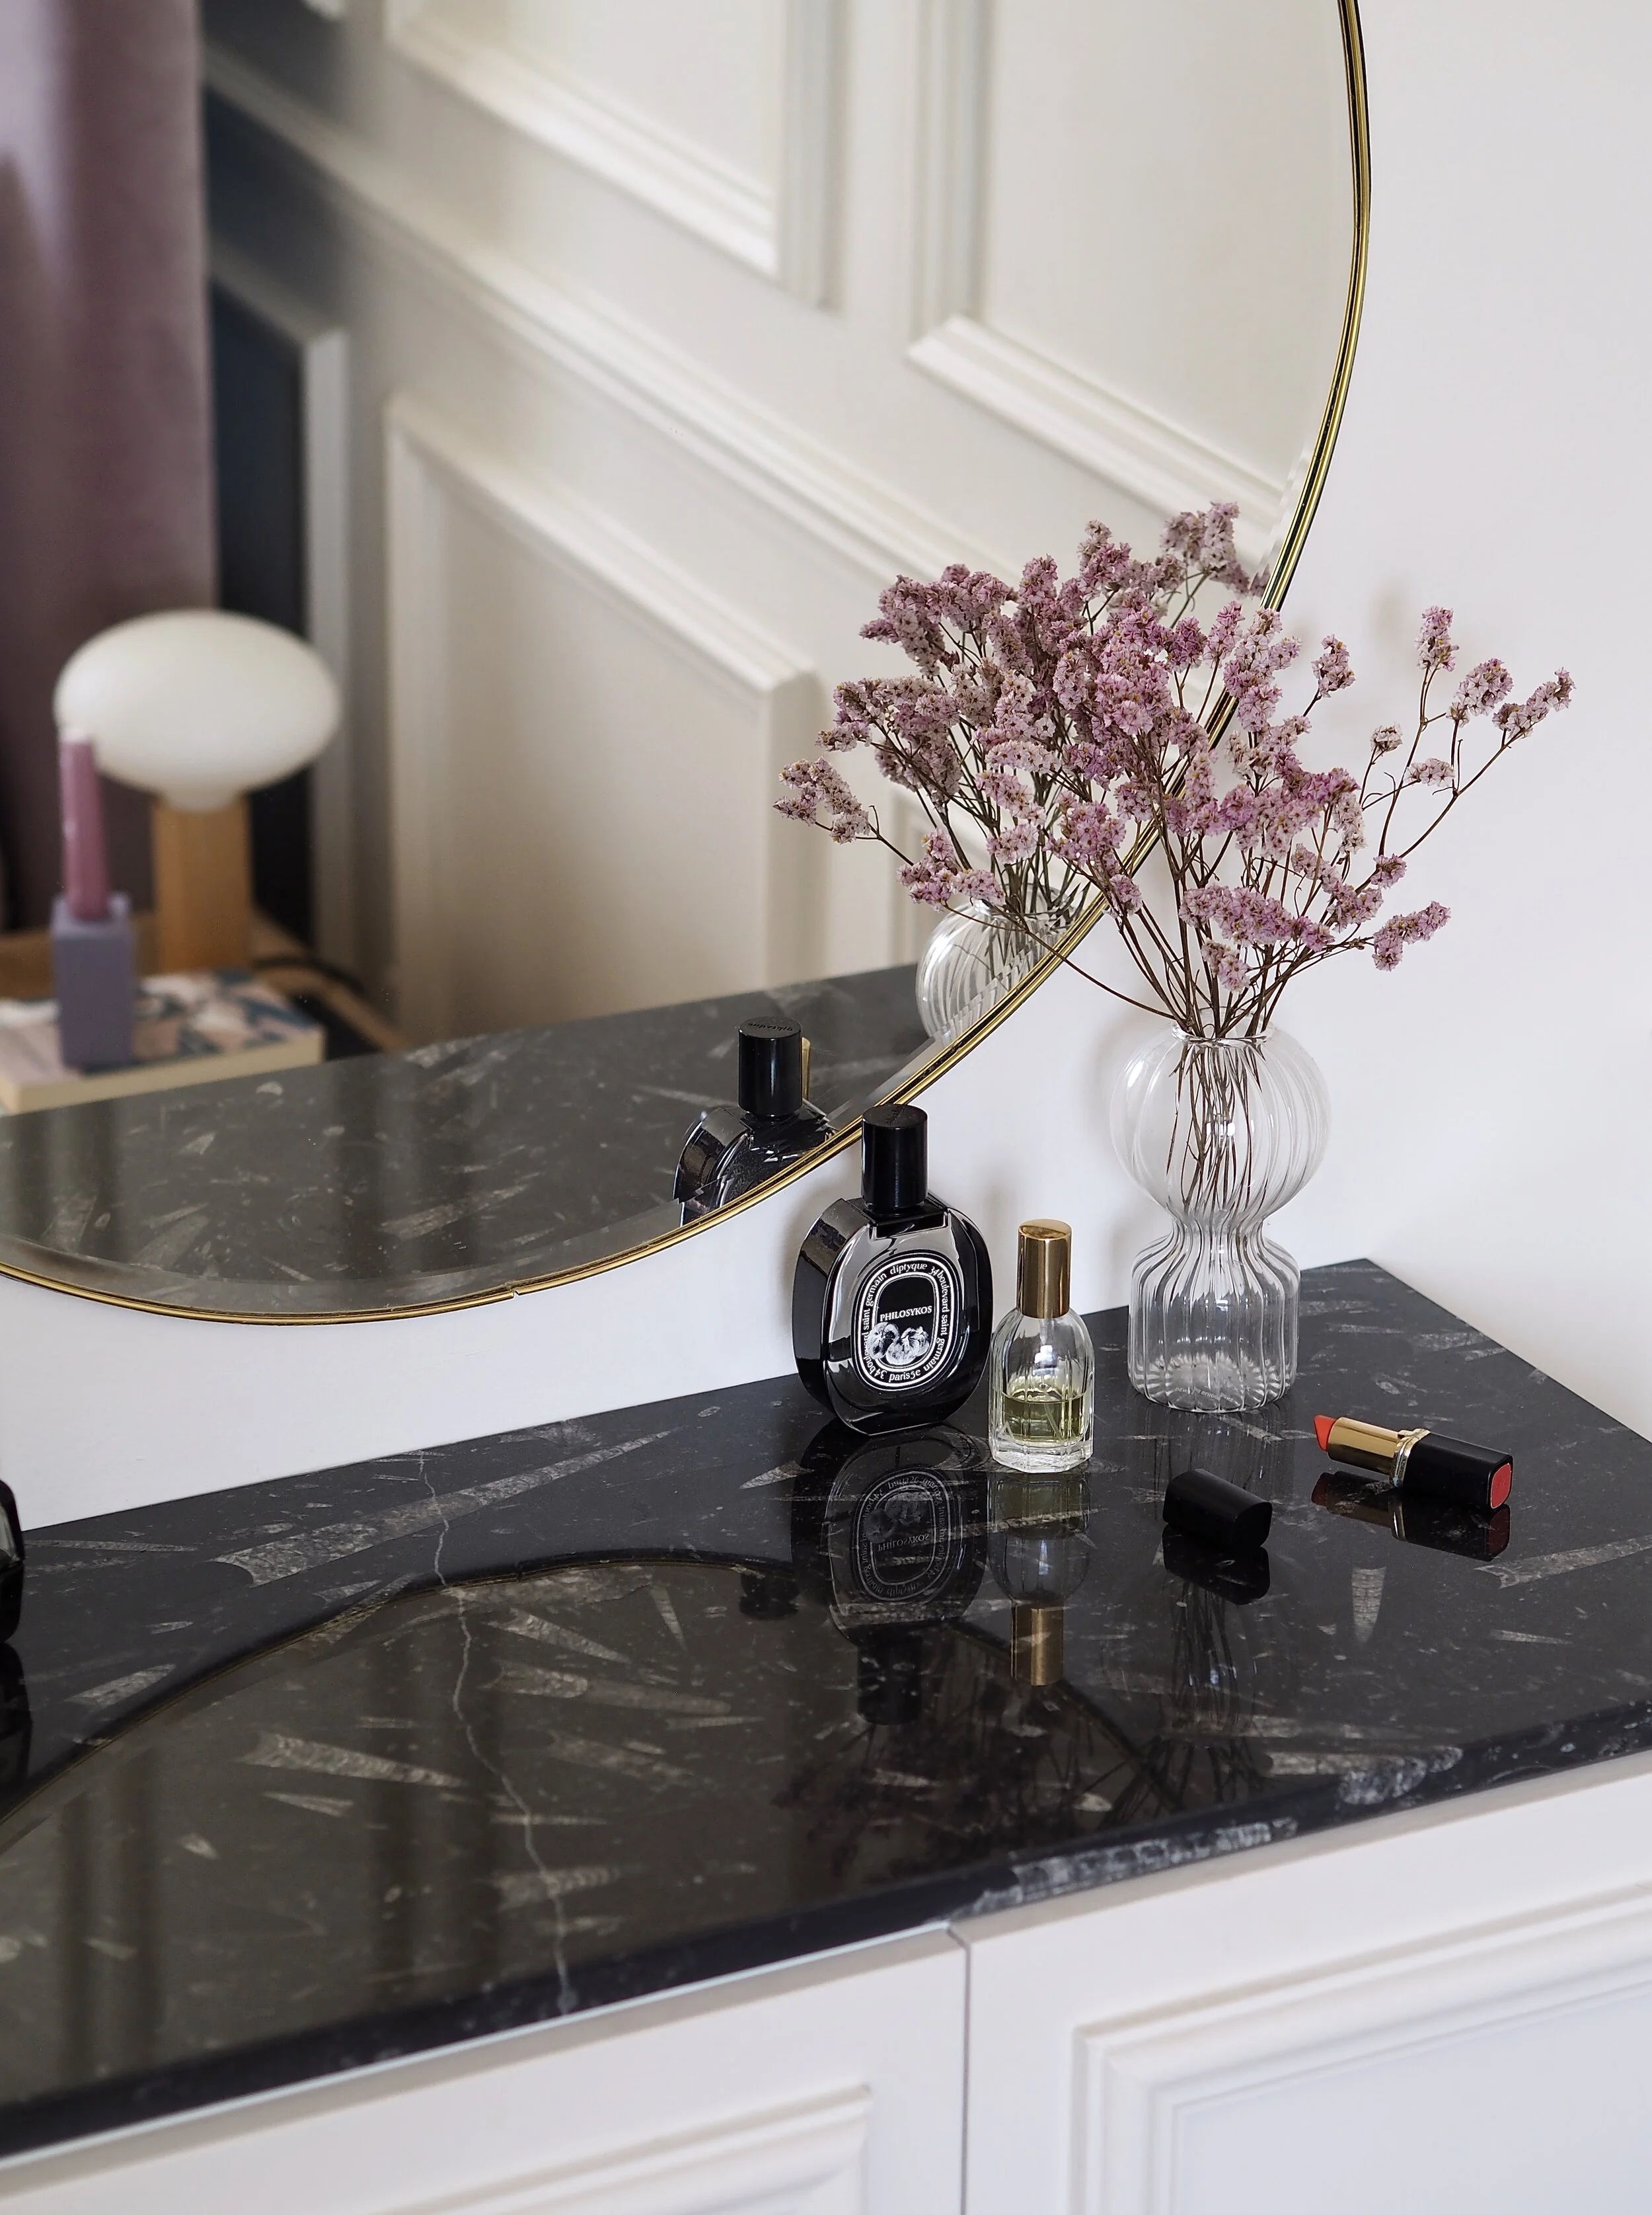
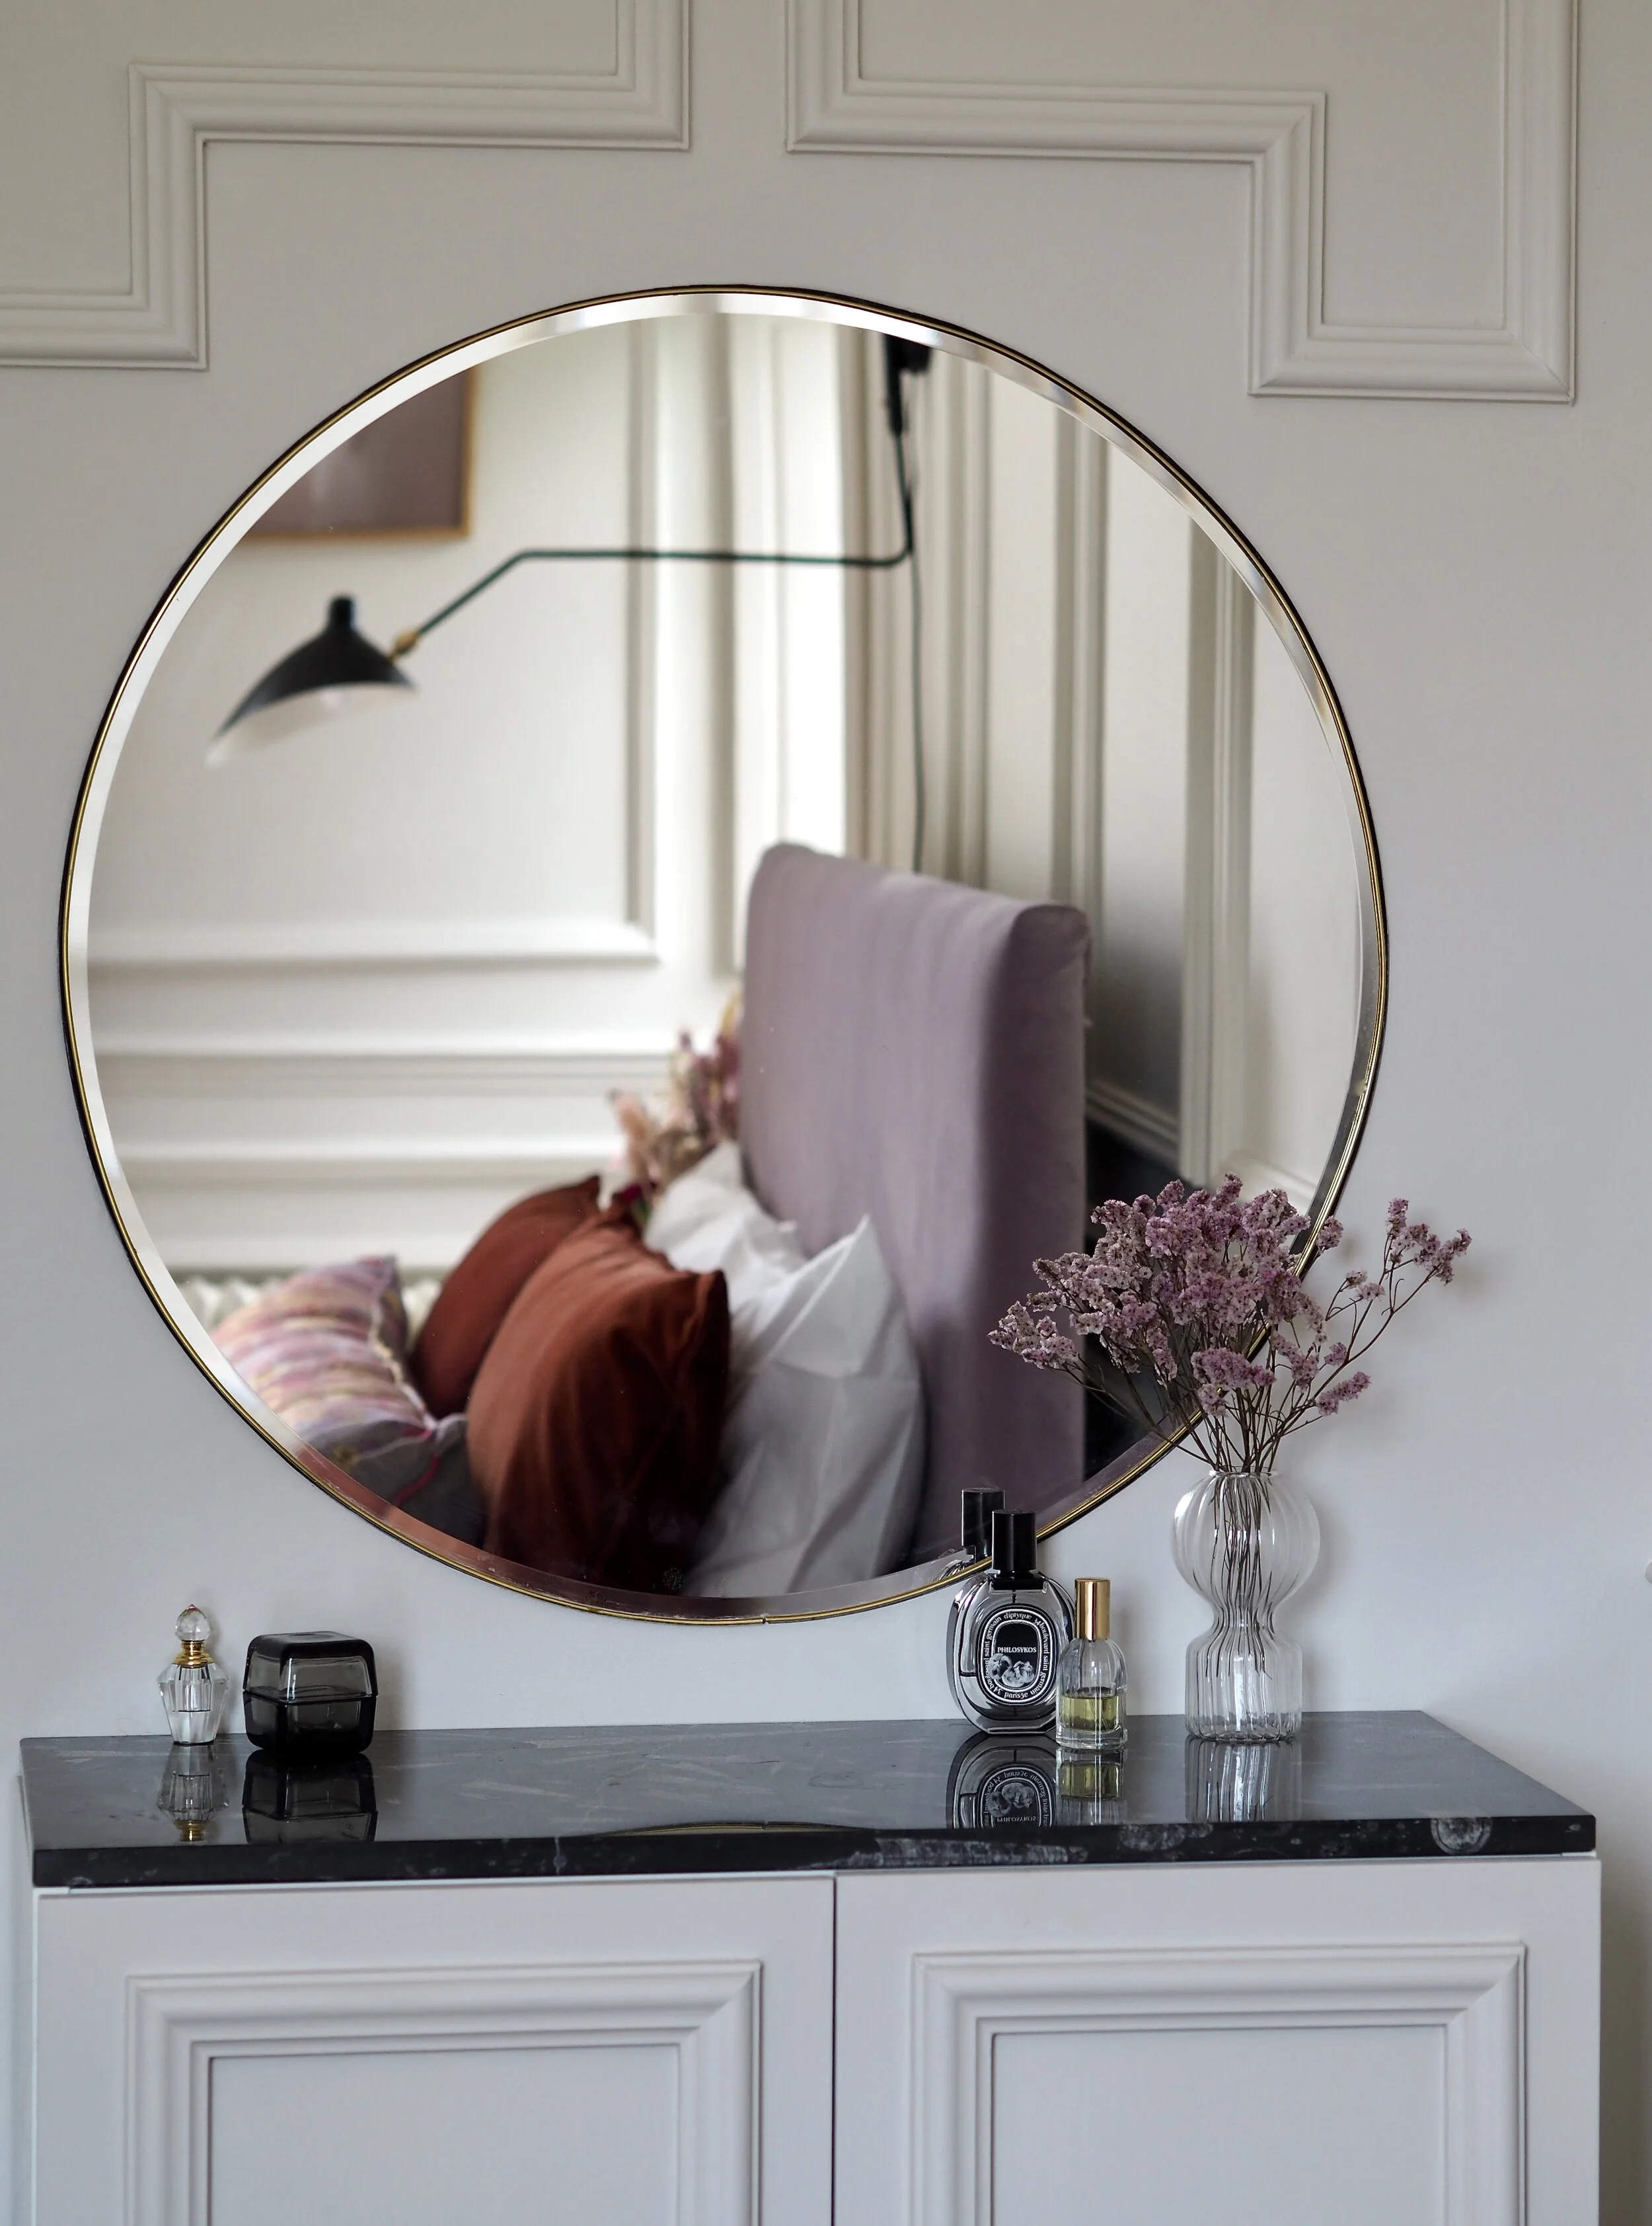
My new IKEA hack floating dressing table.
To get exactly what I wanted for a minimal amount of money, I decided to DIY the new dresser. Using a plain IKEA METOD kitchen wall cabinet for the carcass, I added a marble top, moulding and painted it the same colour as the walls so that it blended in with the rest of the room.
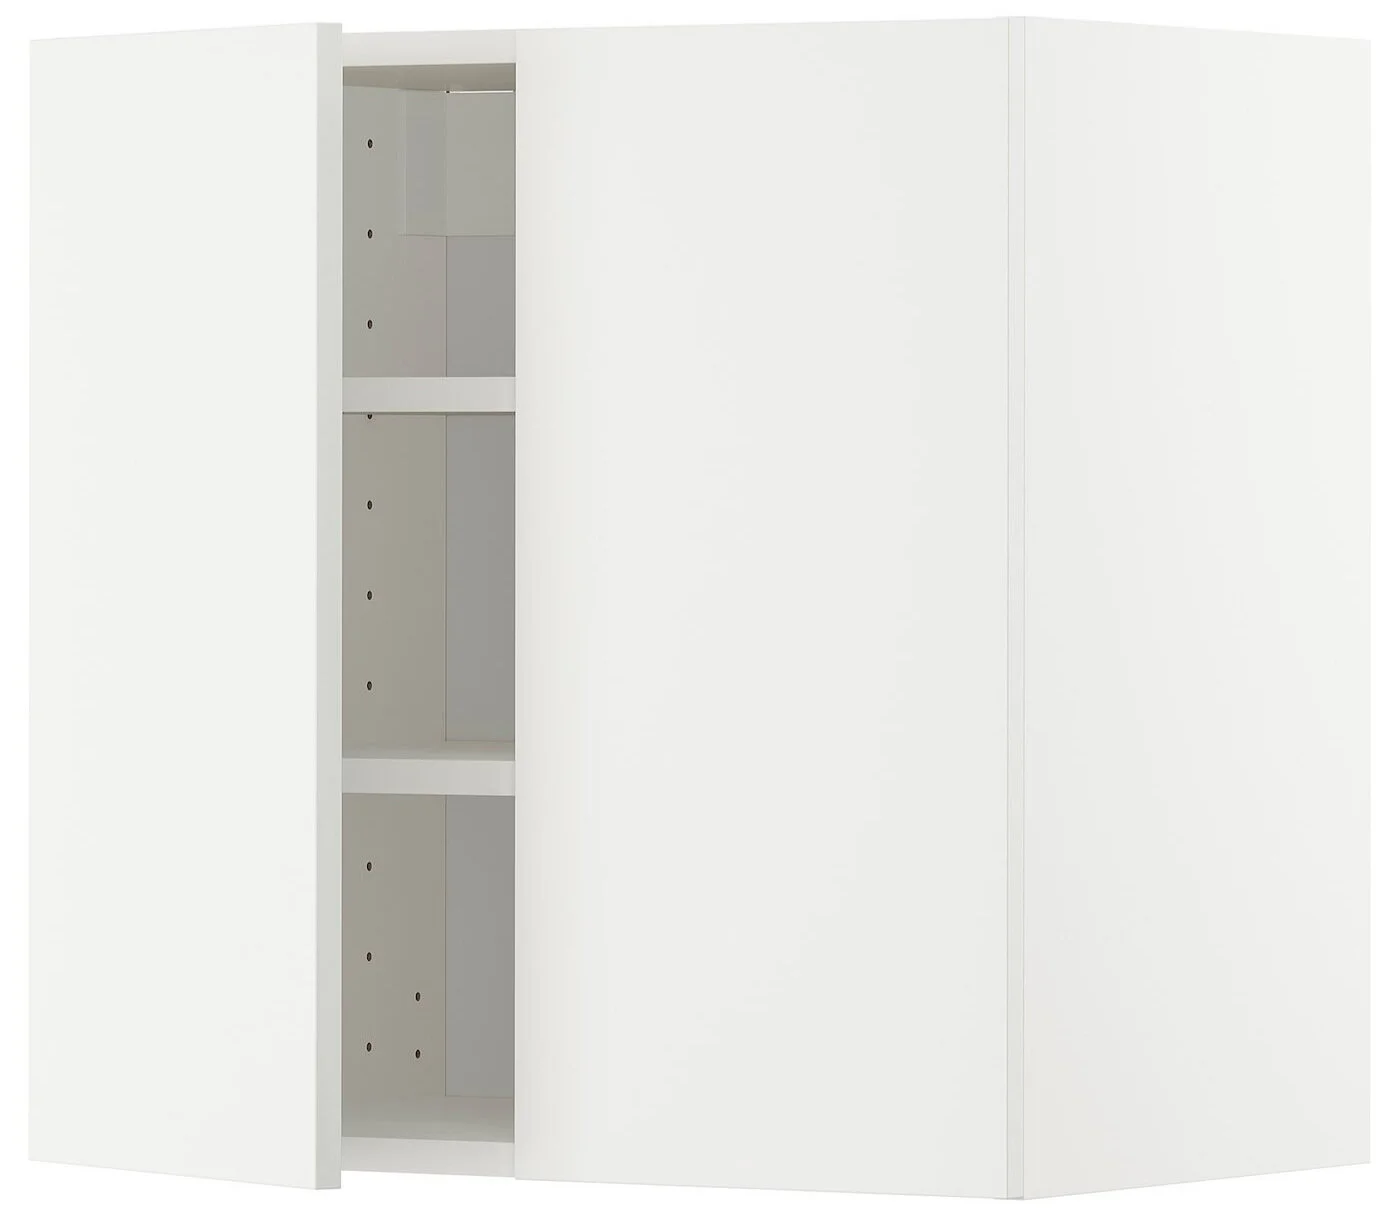
The IKEA wall-hung two-door METOD cabinet, 60 x 80cm. Image credit: IKEA.
IKEA kitchen unit carcasses are well made, budget-friendly and saved me having to build the whole frame out of MDF. I chose a two-door, three-shelved METOD wall unit in a plain white as it was the cheapest option. I built the unit (minus the shelves and doors at this point) and hung it on the wall using heavy-duty raw plugs and screws via the fittings in the two top corners of the unit.

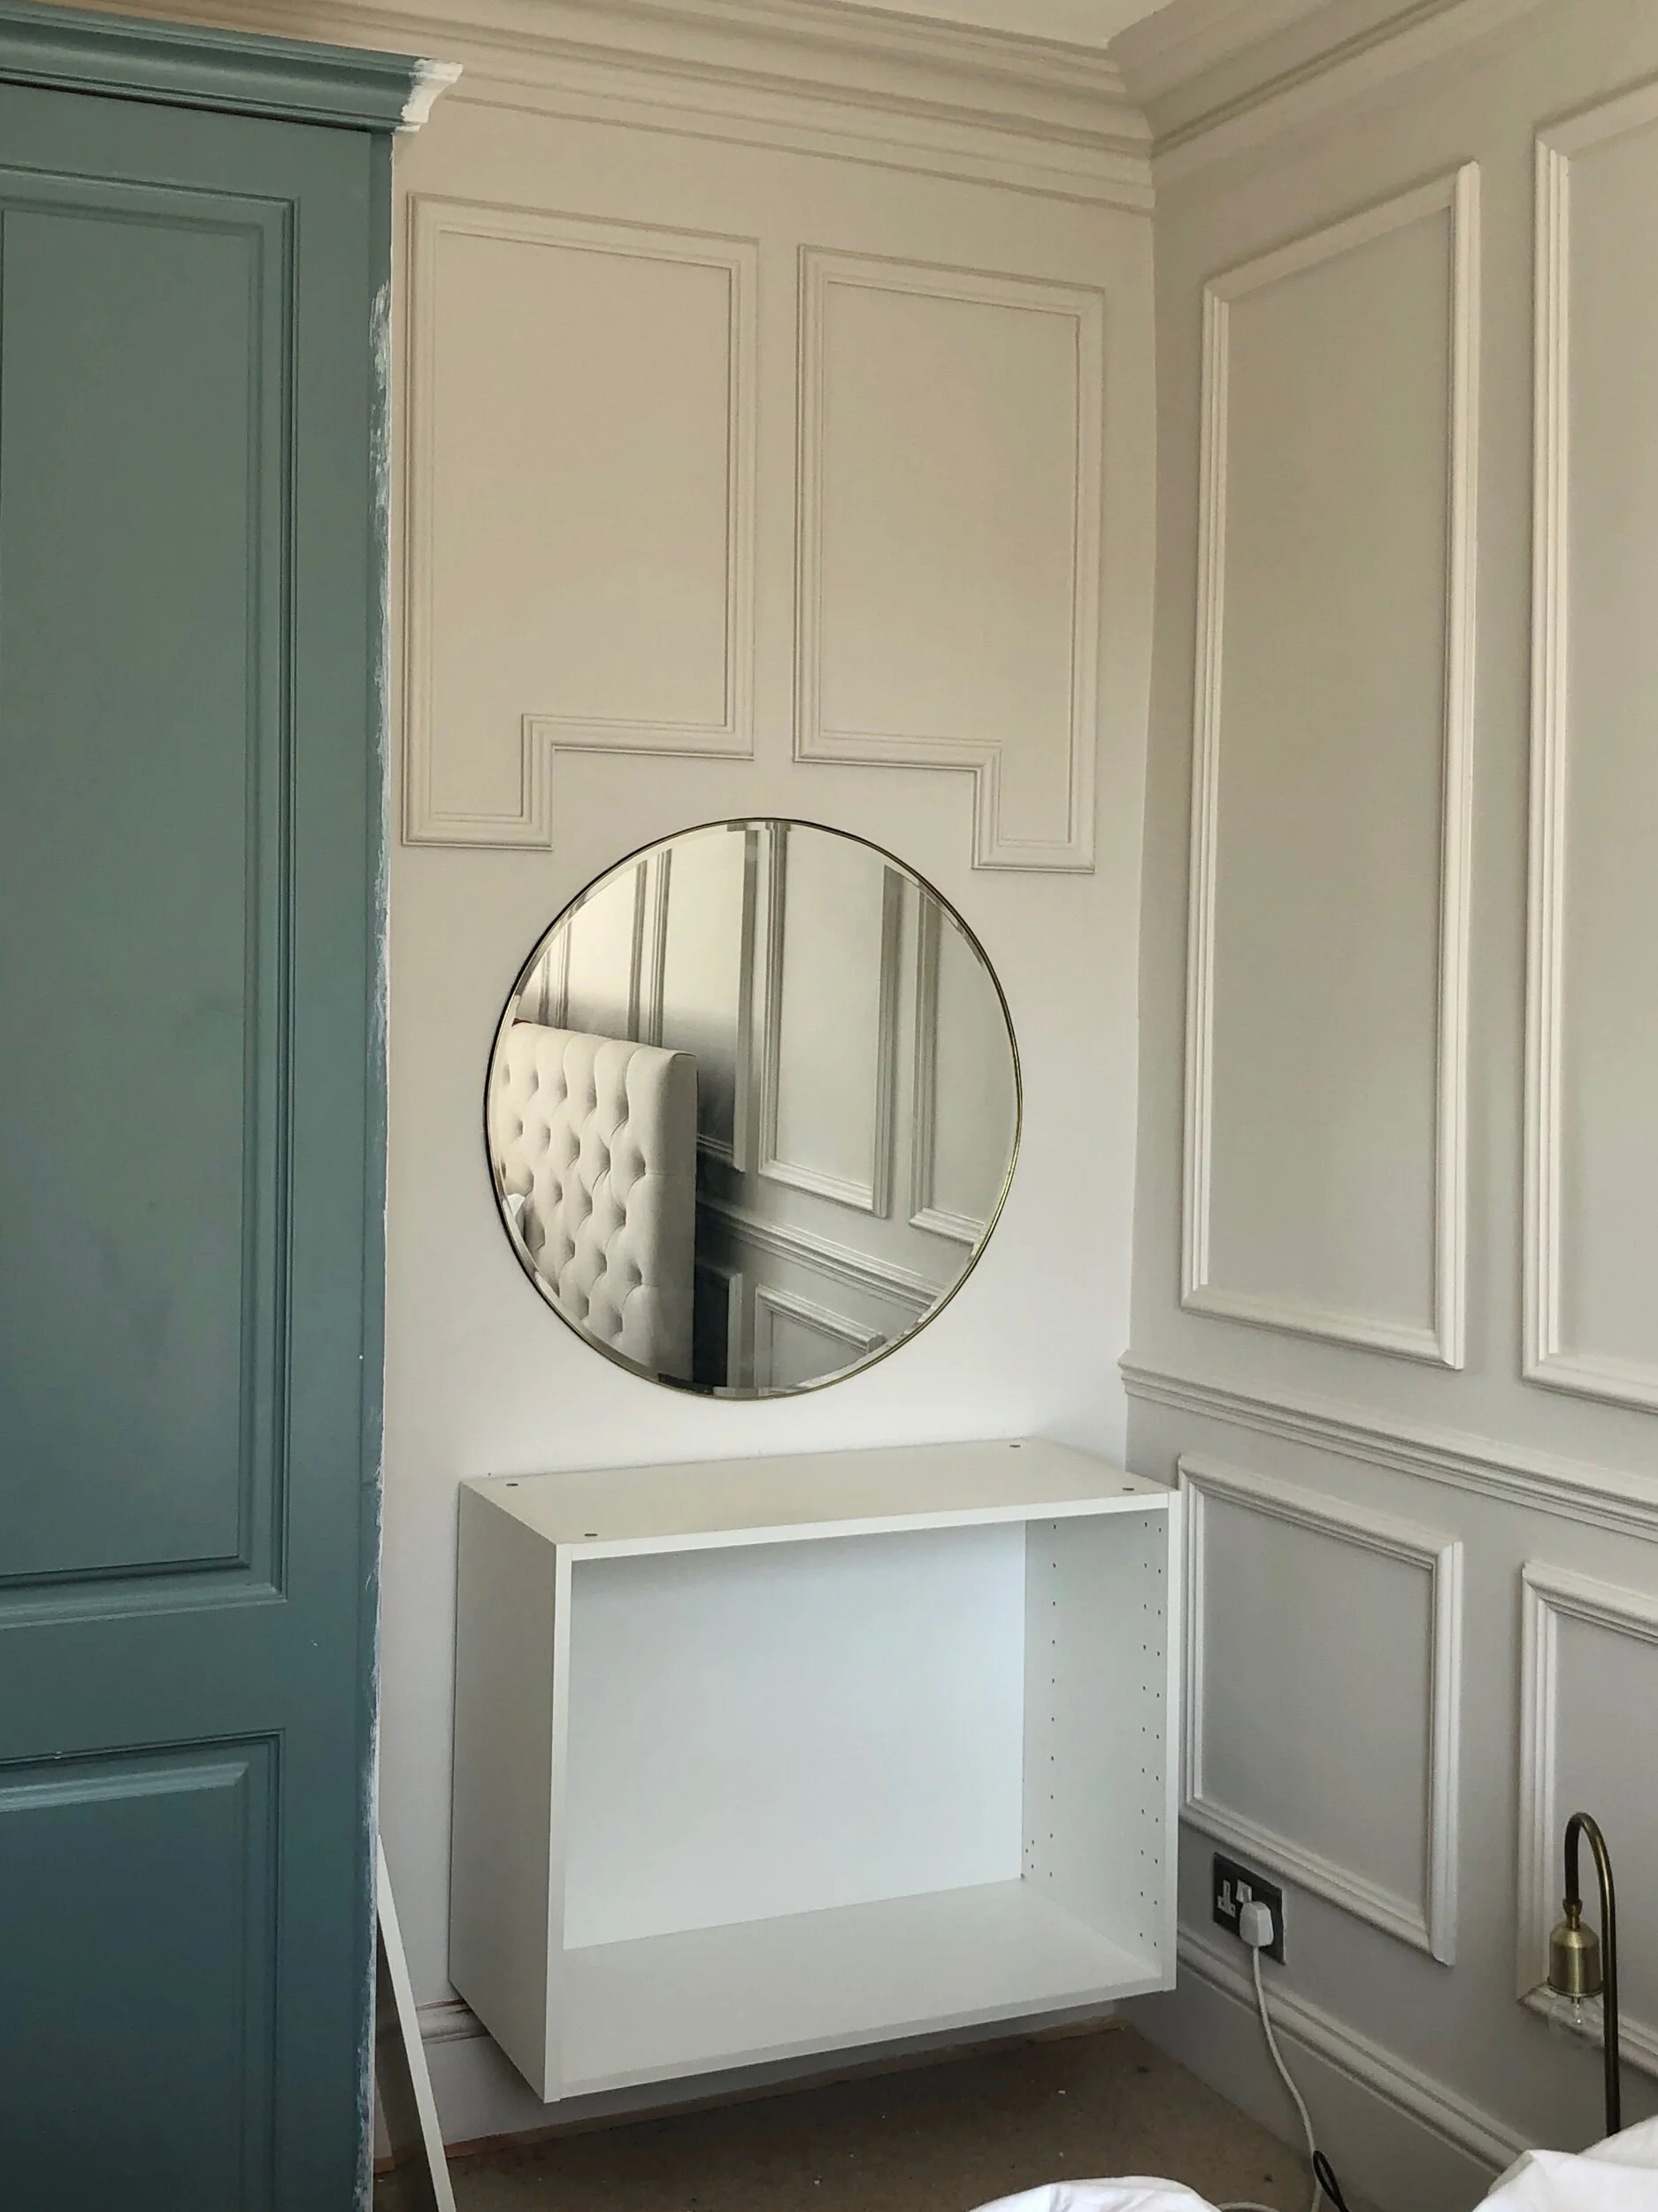
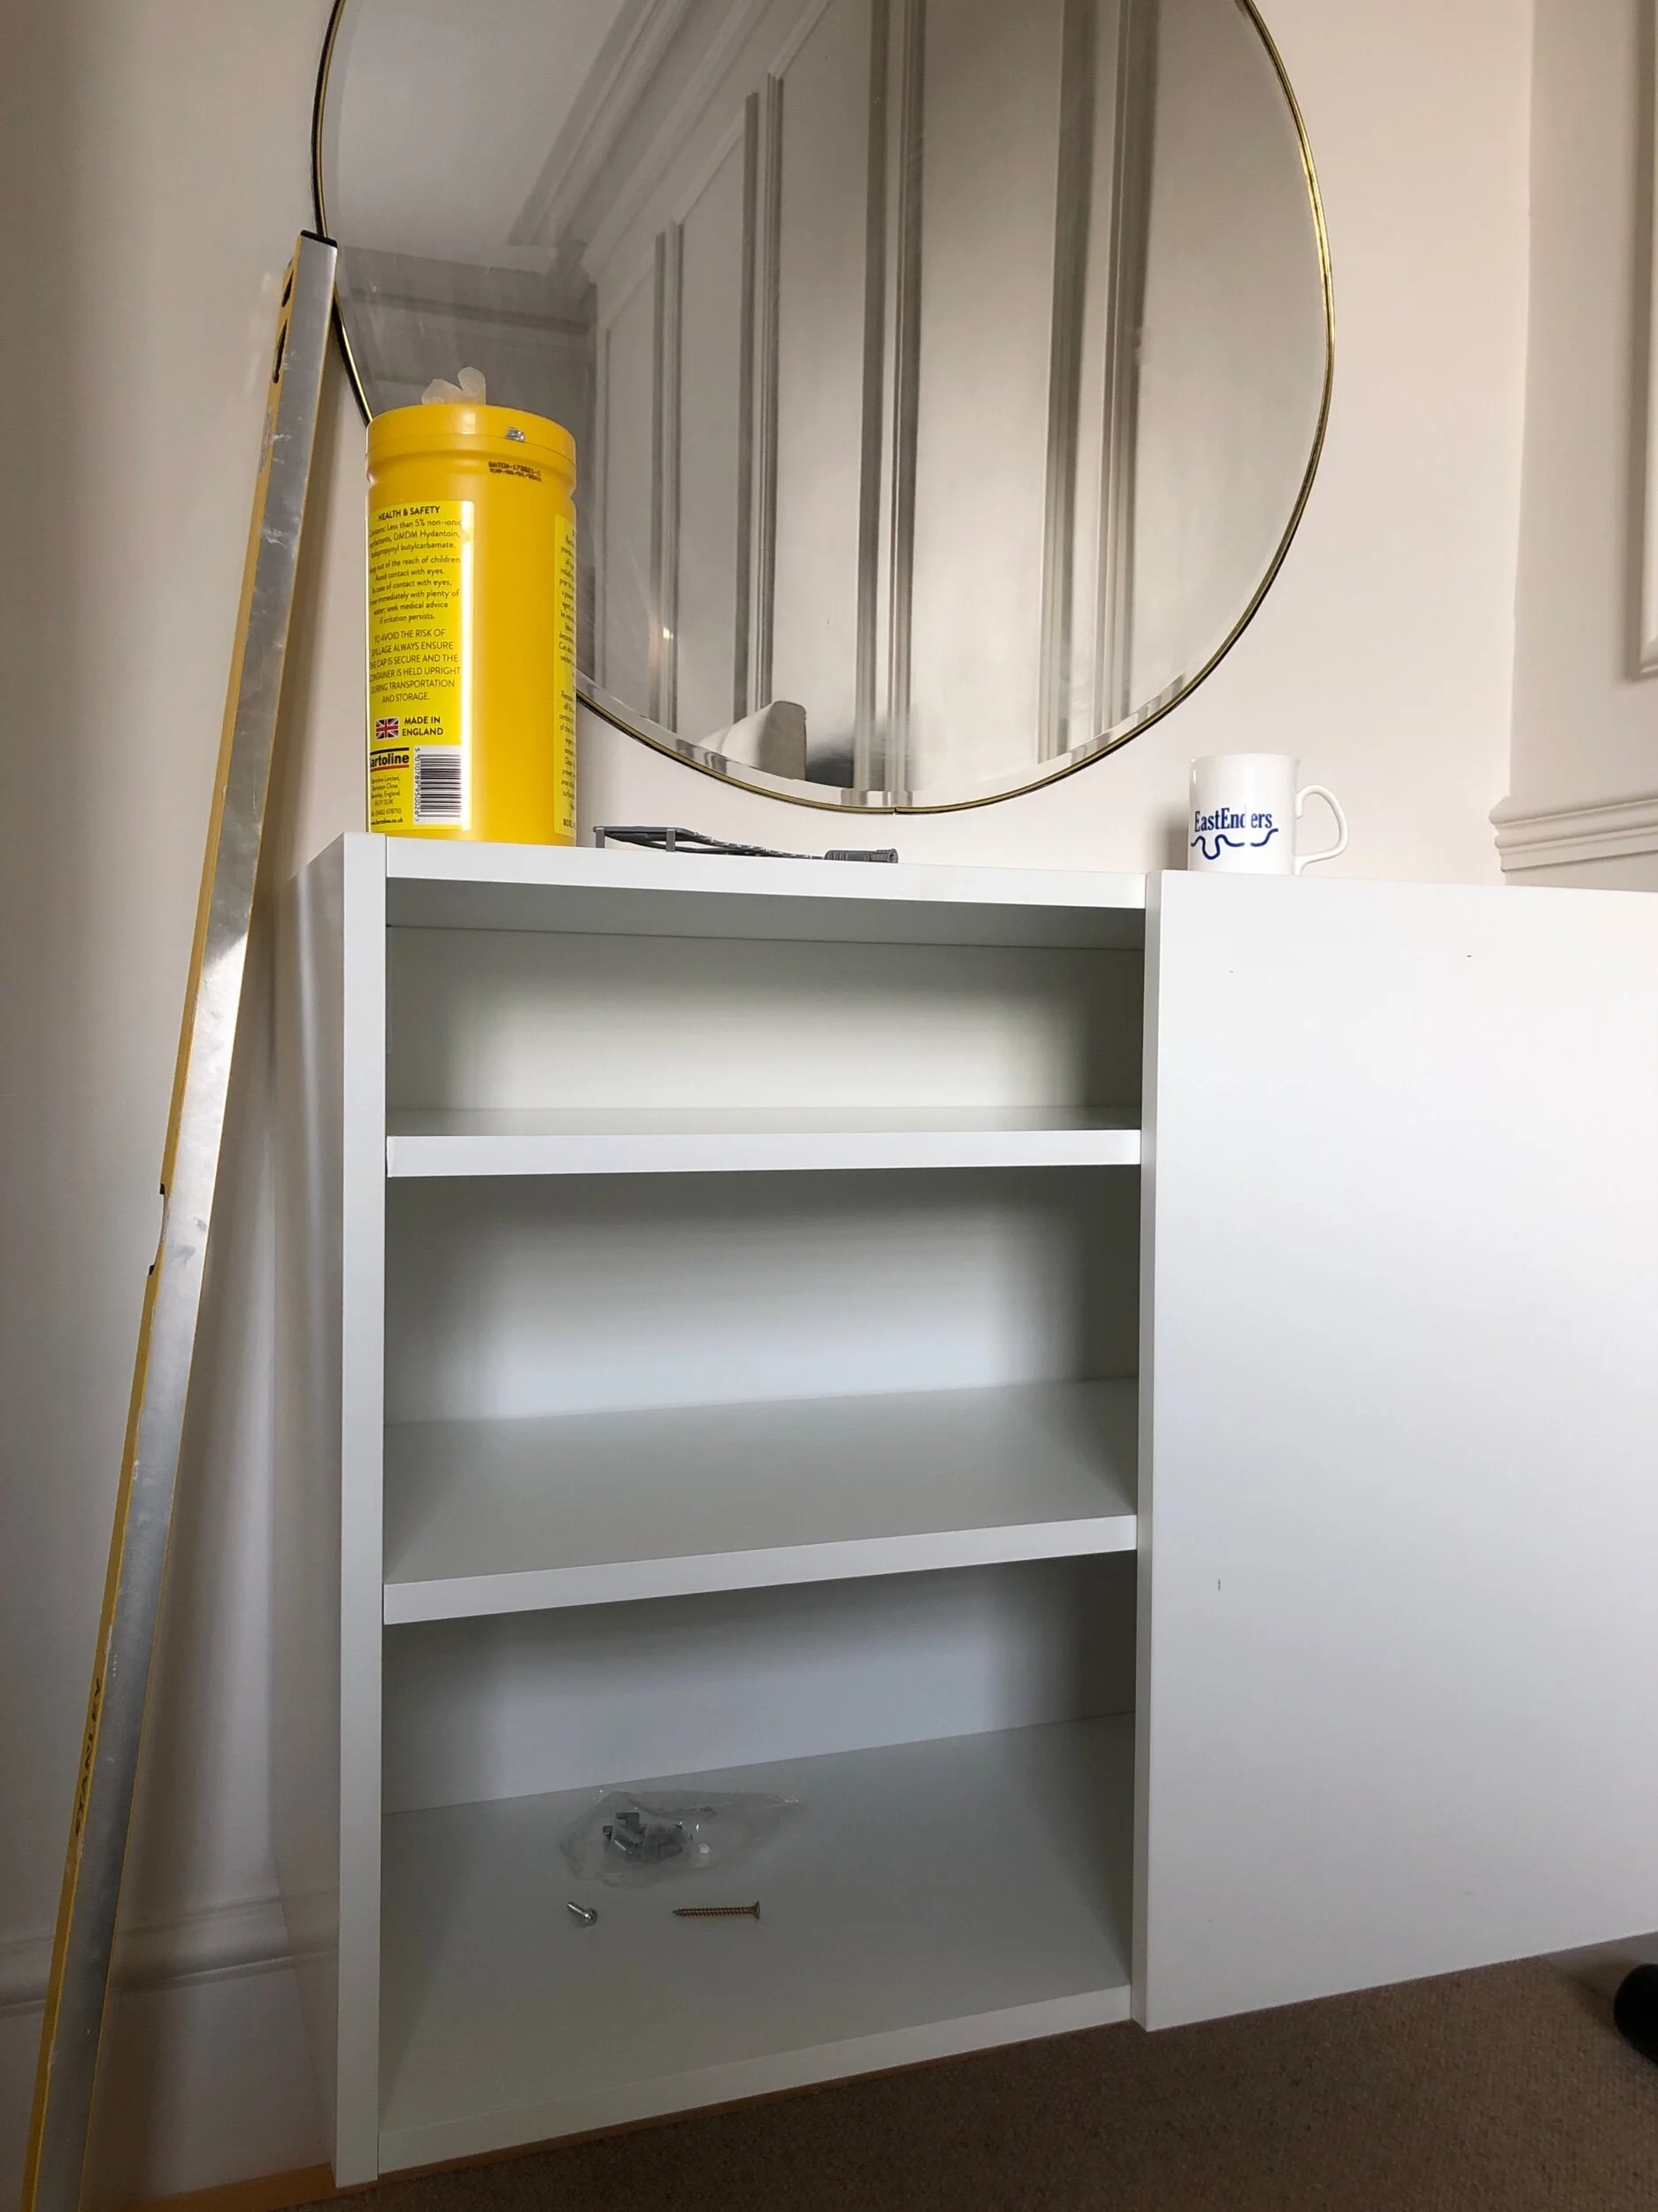
To start, I just built the carcass of the unit and attached it to the wall.
Once the carcass was secure, I put in the shelves and added on the doors.
So that the dresser front wasn’t plain and had some detailing, I added some decorative moulding to the doors that I had leftover from panelling the walls. These polymer strips are from Screwfix and are lightweight and easy to use. You can also buy simple timber moulding strips in most DIY stores.
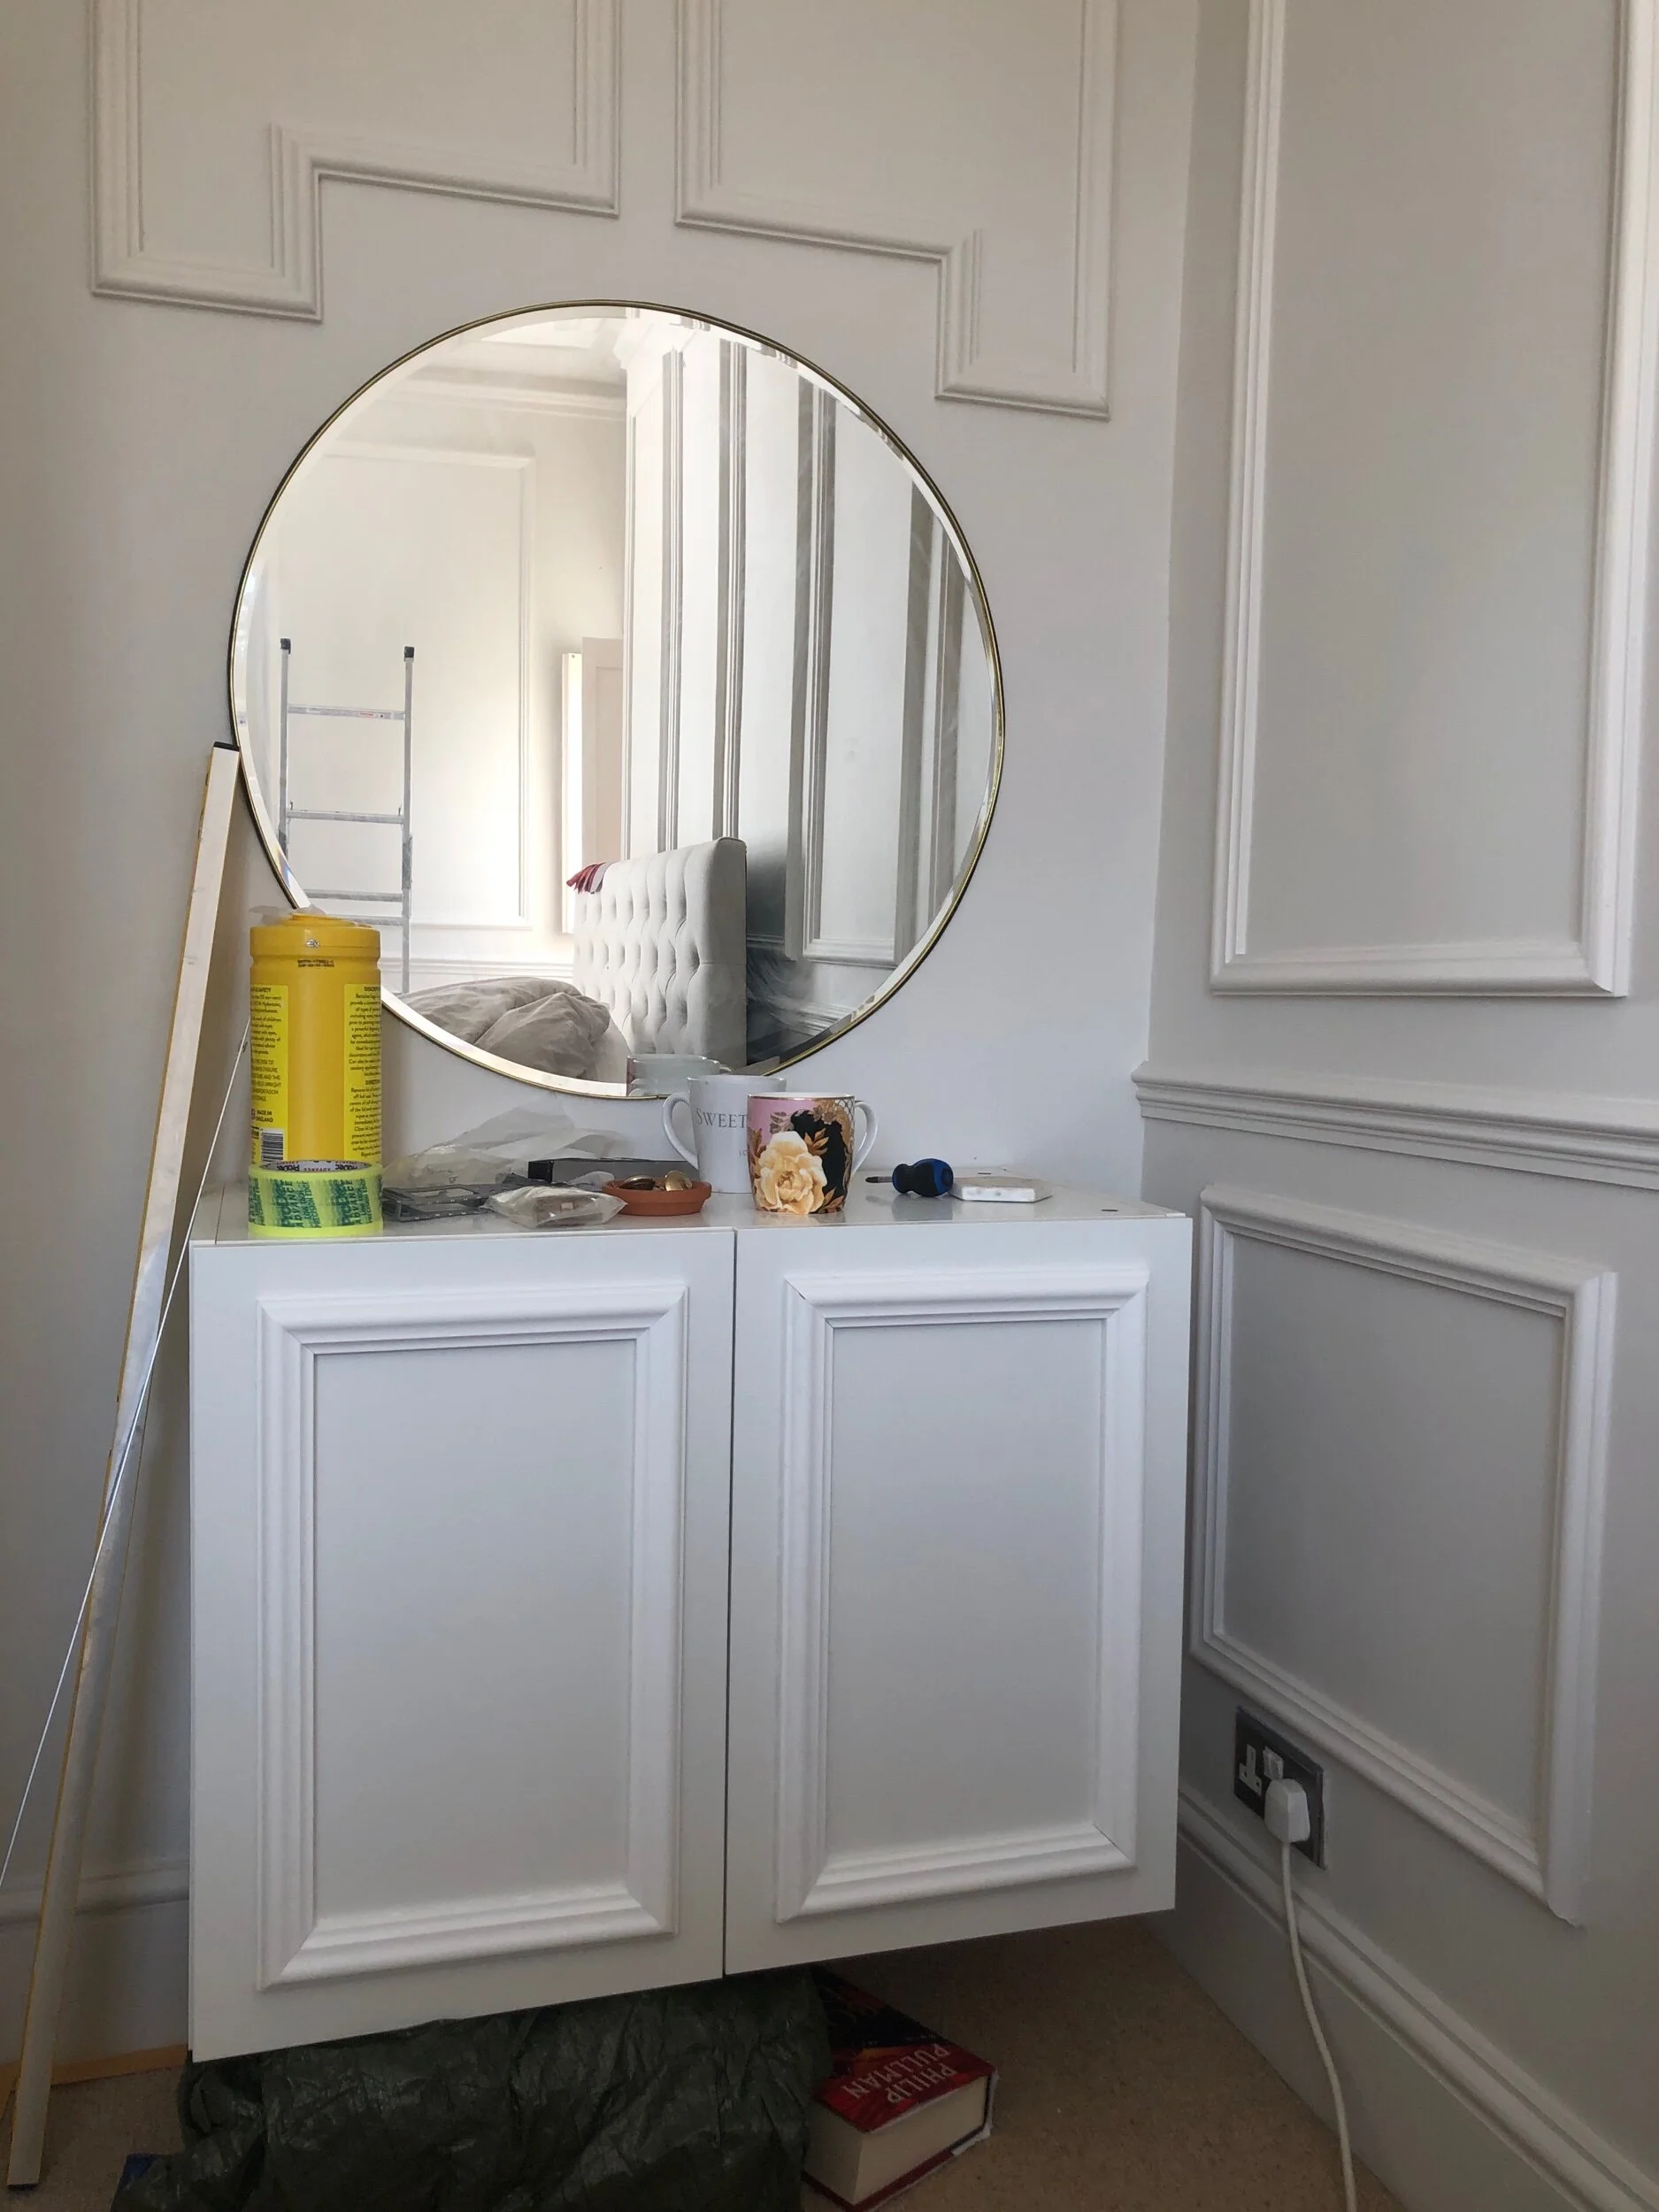
I simply measured the size of the panels (mine are 51x31cm) and cut each end at a 45° angle in a mitre box by handsaw. I attached the moulding to the METOD doors by applying some mega-grab adhesive. Once the adhesive was dry, I used decorators caulk to seal any gaps and joins, making the moulding appear seamless.

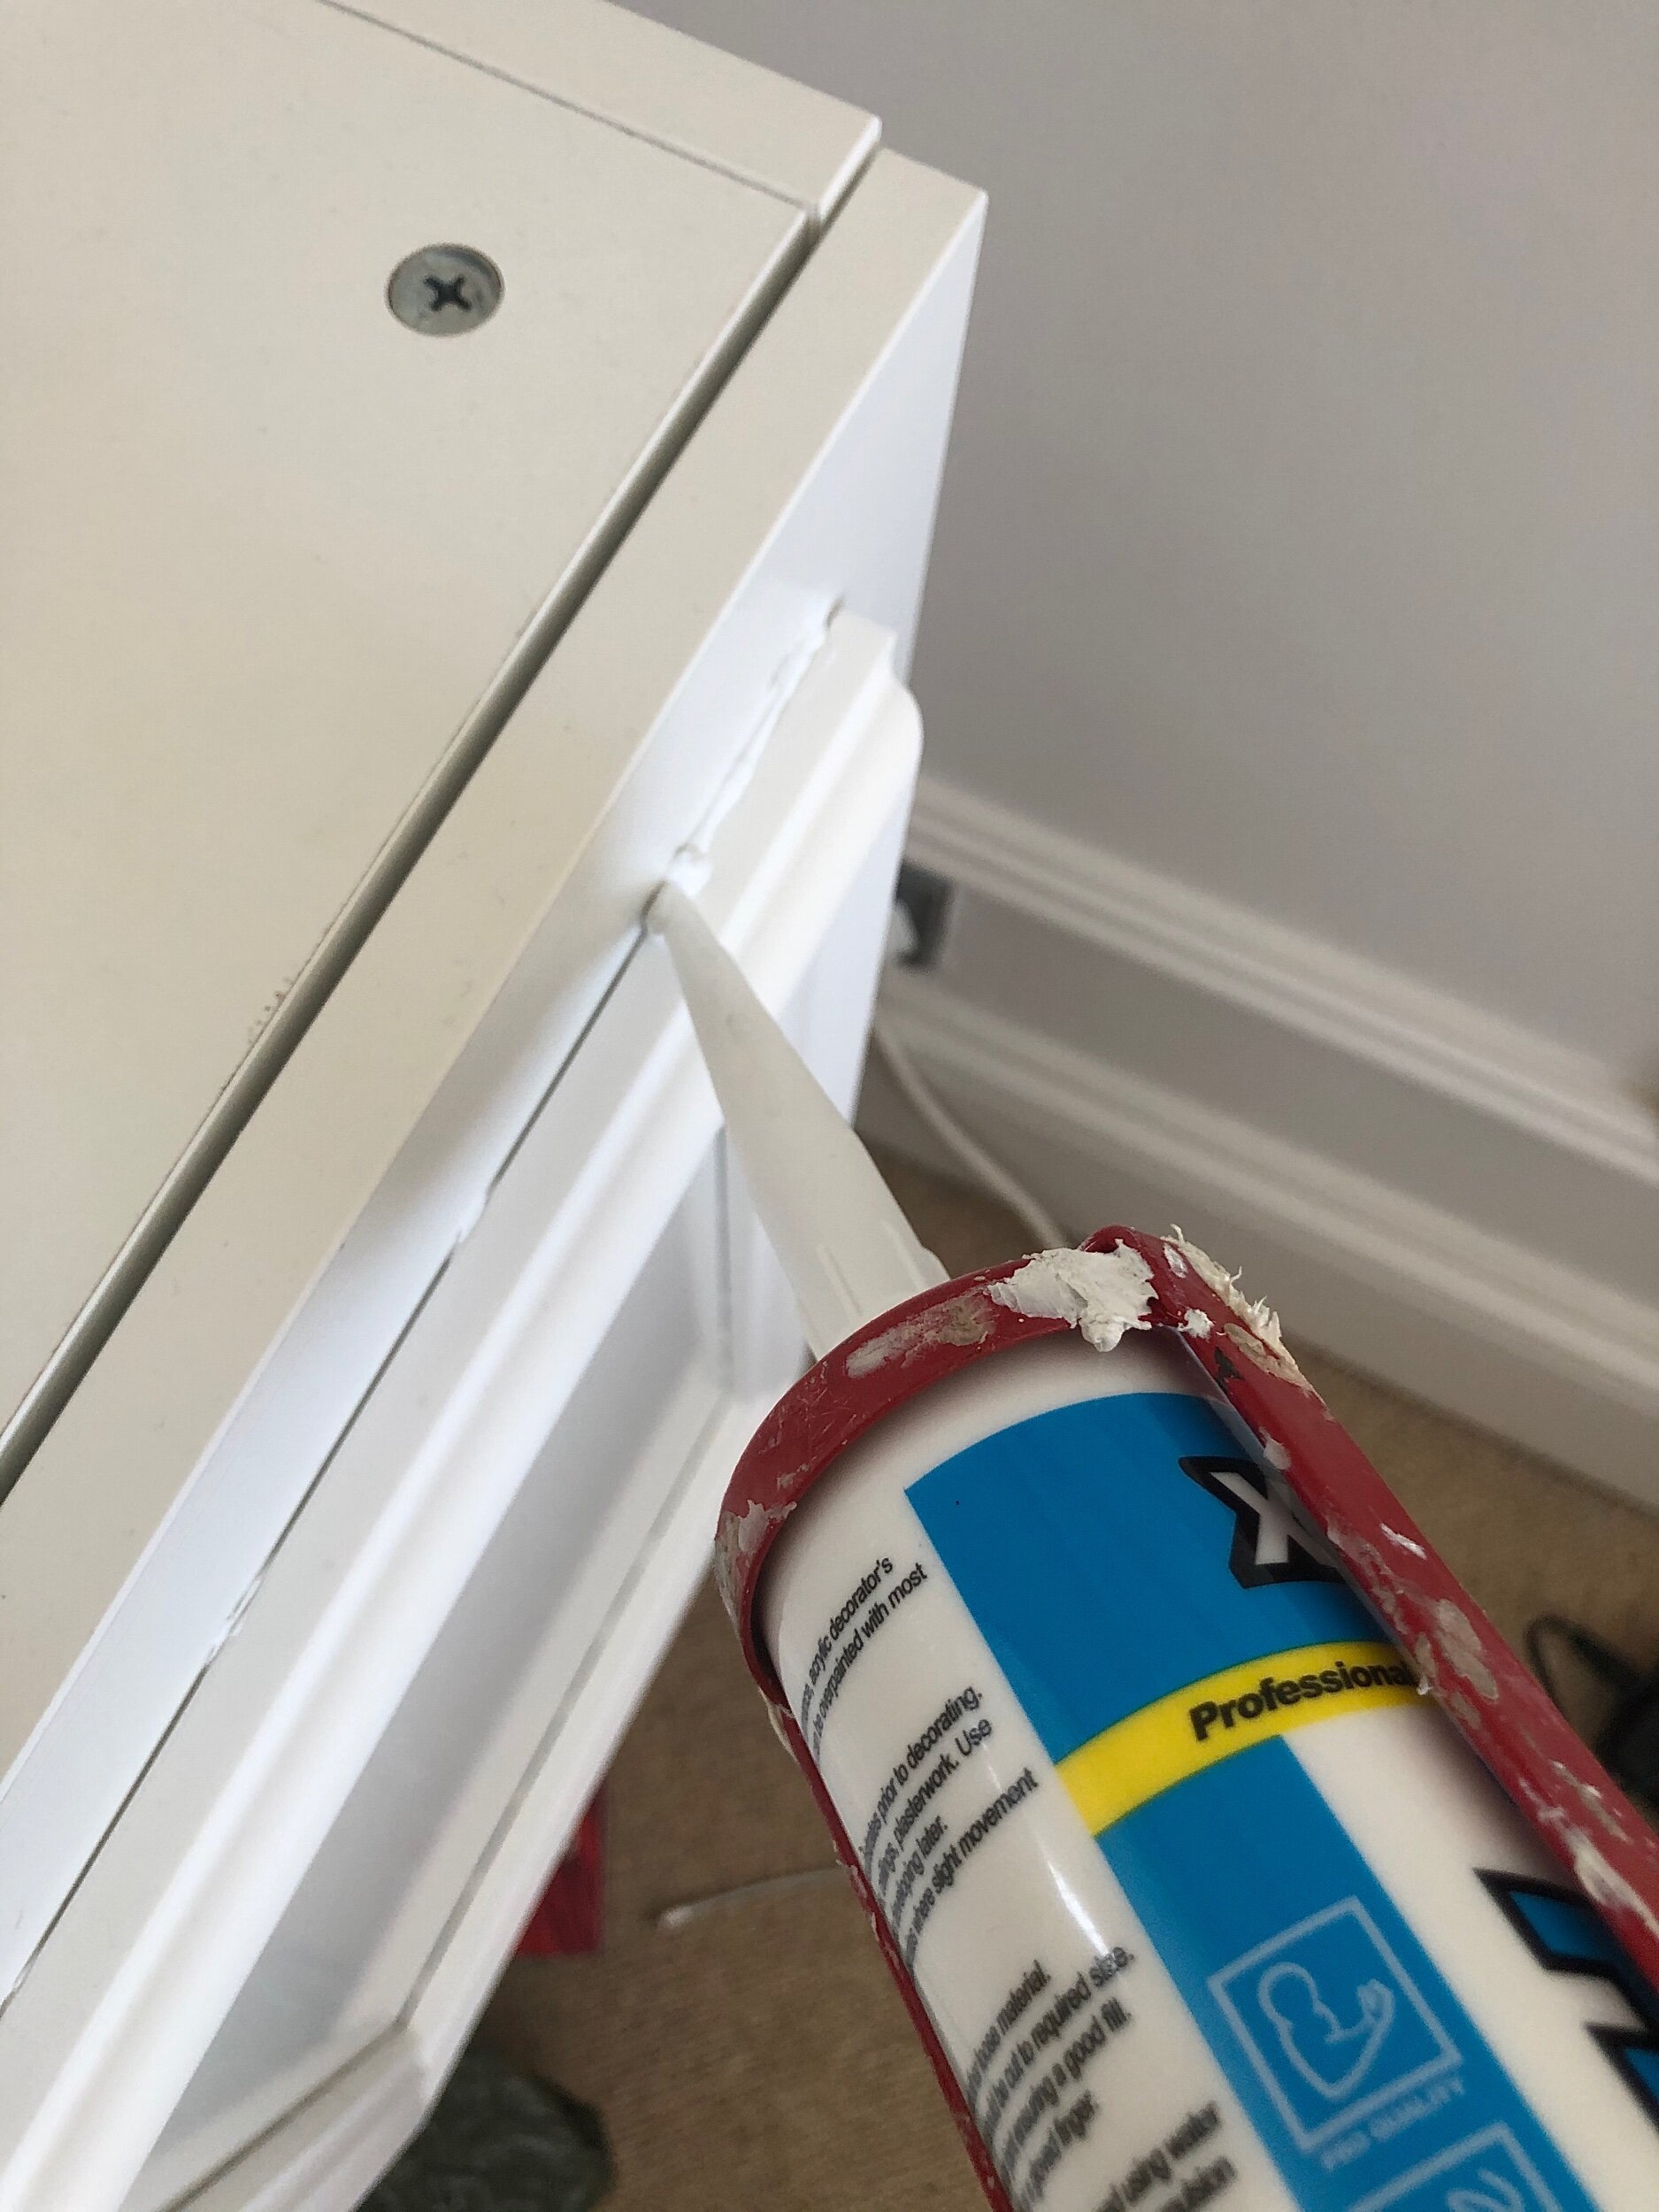
Apply decorators caulk with a gun to make the gaps and joins seamless.
I then primed the unit with Zinsser B-I-N - a heavy-duty primer which sticks to the melamine material the METOD is made from - then gave it to two coats of eggshell paint.
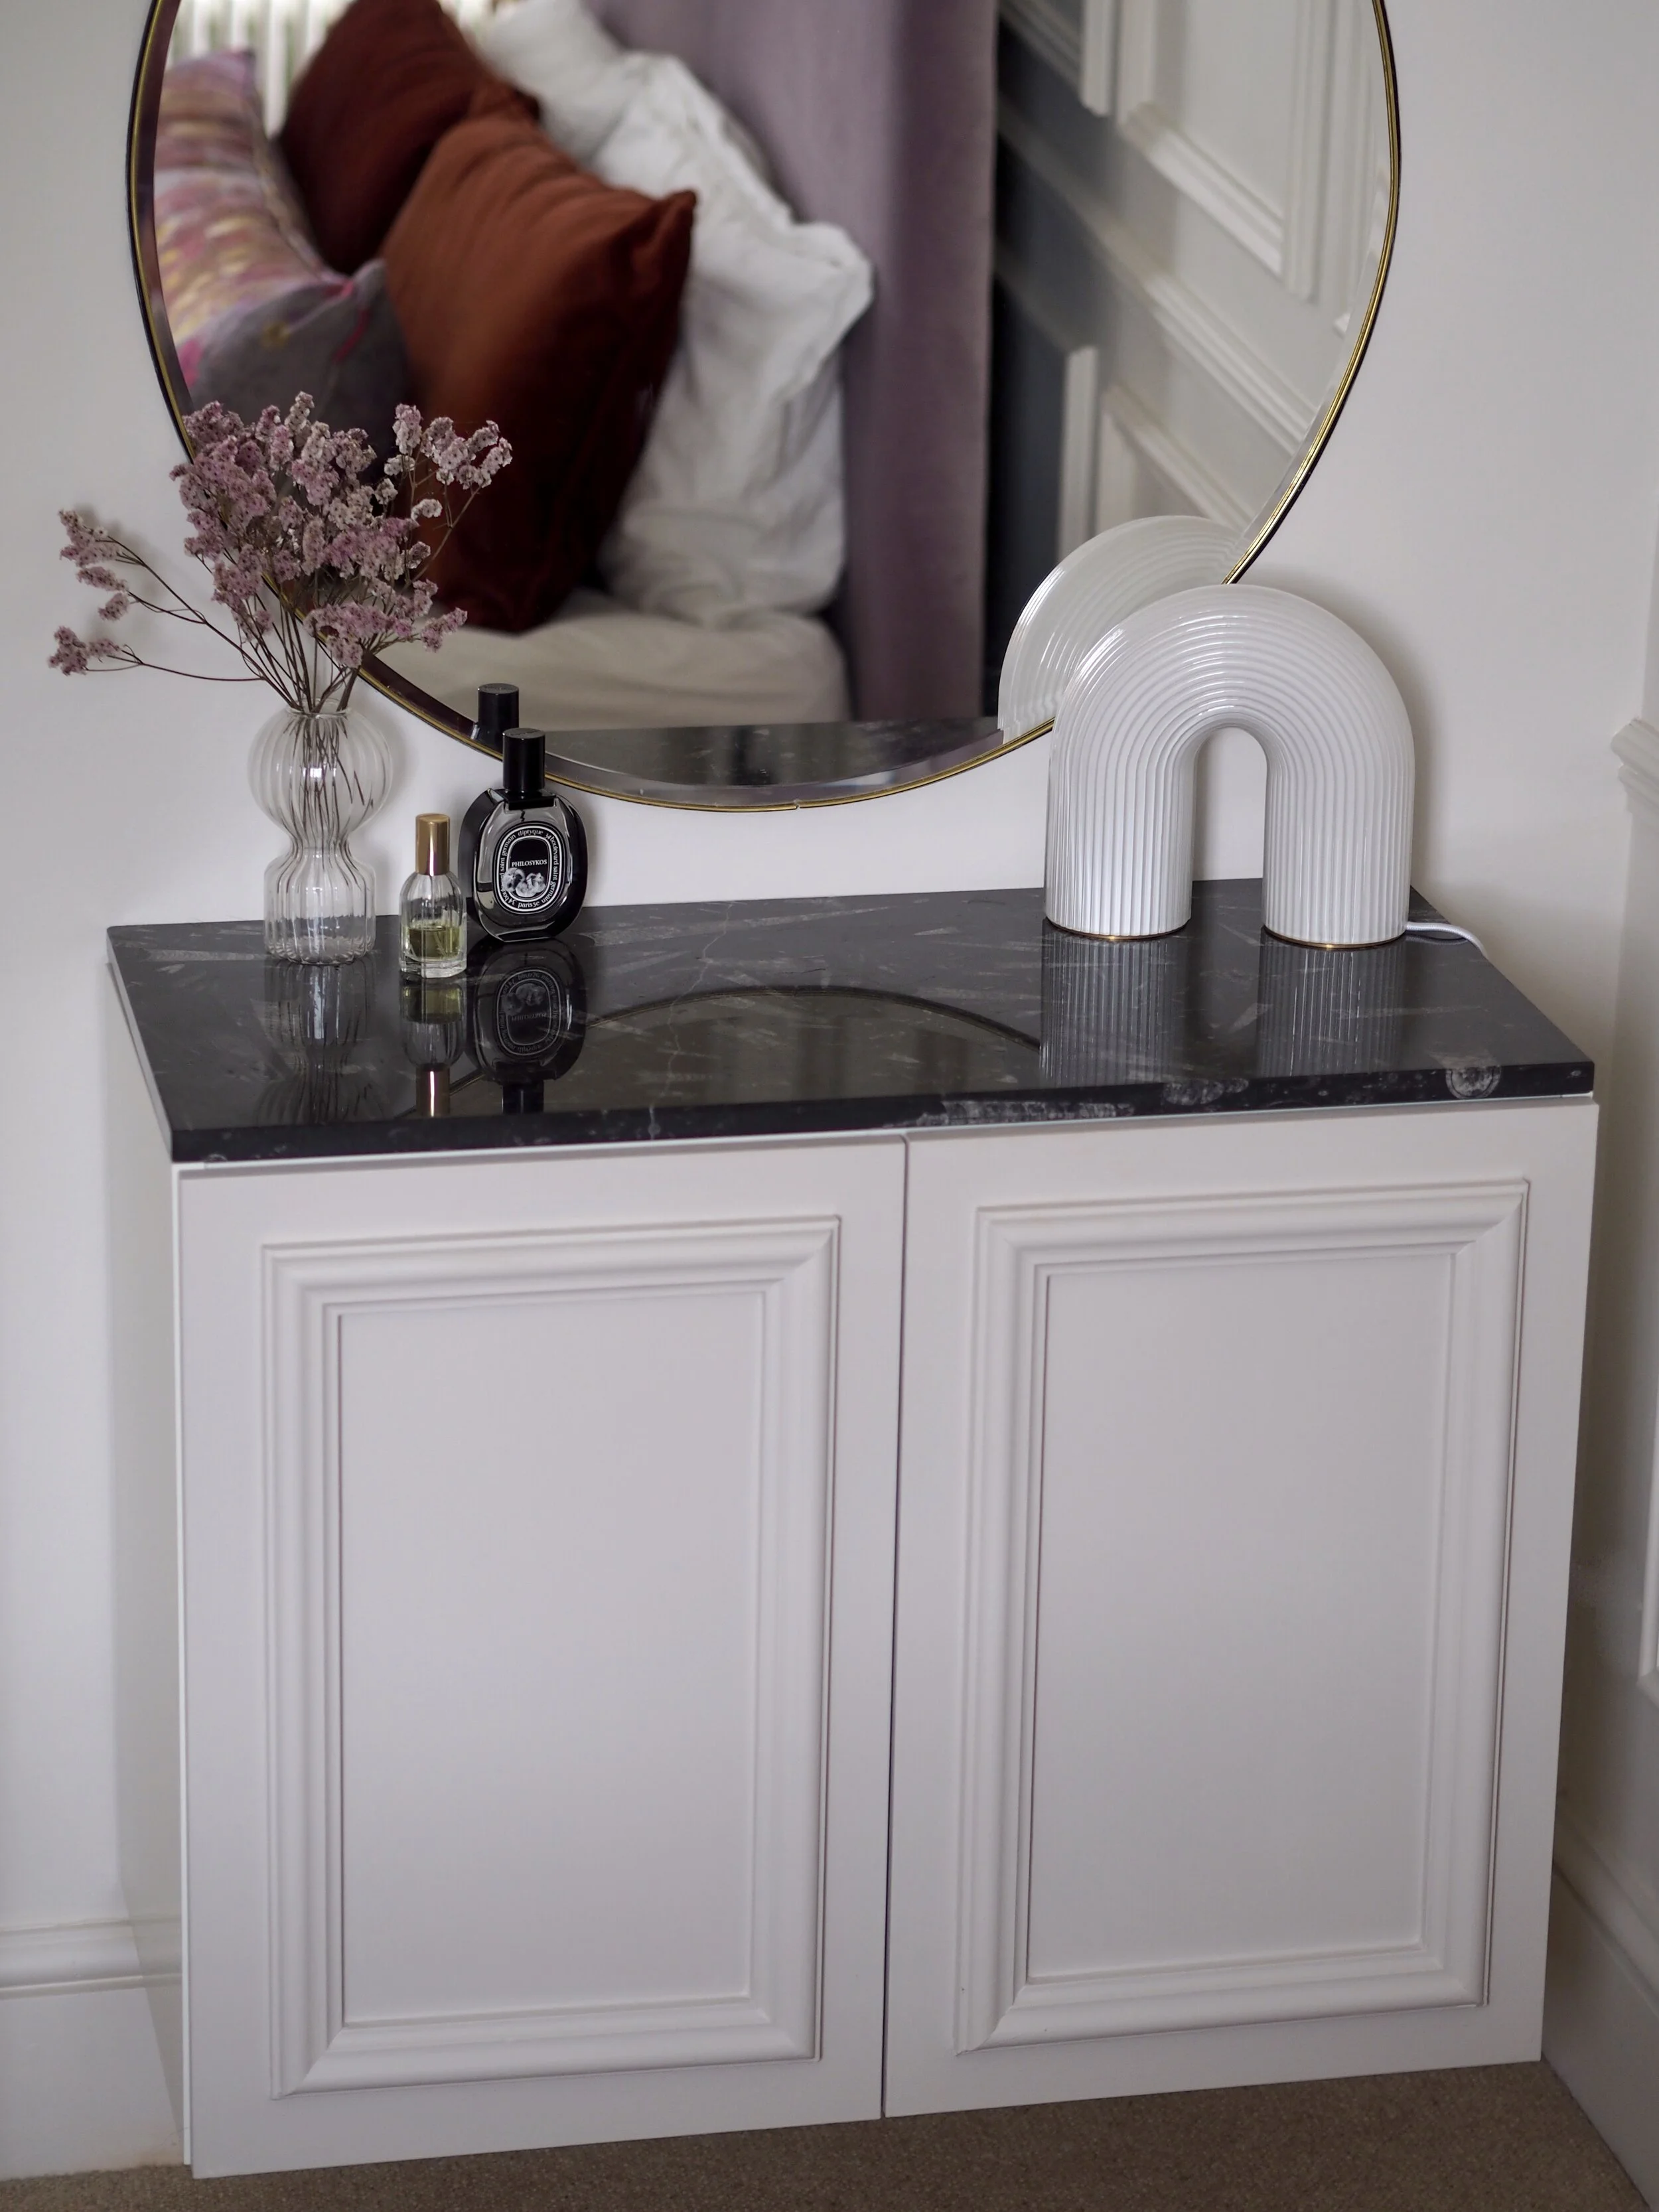
I chose a black marble with fossil imprints, dating back 400 million years from London Marble.
The final thing was to get a glamorous marble surface to place on top of the unit. I took the exact measurements of the top of the METOD carcass (37 x 80 cm) to a local stoneyard and got them to cut and polish up an offcut for me. Expect to pay around £100 - £200 for something similar.
The marble was really heavy and I just placed it on top and didn’t need to attach it. If you use a lighter material such as wood for your surface, I would use some mega-grab adhesive to keep it in place.

The new dresser provides loads of storage space.
So, that’s my super-simple IKEA dresser hack! It ticks all the boxes for me as it provides loads of storage, appears light as it is off the ground and the marble top makes it feel quite special. Let me know what you think in the comments below!