Before & After: Staycation Garden Courtyard Transformation

When Flymo - the market leaders of quality gardening equipment - challenged me to create the ultimate garden staycation at home this summer, I instantly knew what I wanted to do. As a result of the pandemic, my husband and I had waved goodbye to our annual Mediterranean weekend getaway - our one weekend to sit in the shade of olive trees, enjoy an evening glass of wine and have a romantic dinner together. At the same time, the courtyard area around the back of our house had turned into a complete dumping ground. The old bin shed had fallen apart, it was full of stuff to go to the tip and the only plants growing were weeds. I knew it could be an amazing space if only it could be given a bit of time, love and effort, so I took Flymo up on the #gardenstaycation challenge and set about turning our dilapidated courtyard into an inviting area to eat al fresco together!


The ‘before’ area of the courtyard. Totally neglected and unused (except to dump garden rubbish.)
For all the ‘before’ photos of the courtyard, the mood board that I put together for the makeover and the inspirational images that I pinned to help me design the space, click here. However, this post is all about the BIG REVEAL! After a few weeks of work out here and with the help of some of Flymo’s best gardening products, I’m delighted that the #gardenstaycation ‘romantic Italian courtyard’ is now complete!


With this challenge, I really wanted to show that creating a magical space outdoors doesn’t have to mean lots of heavy, laborious work where you have to rip out what you have and starting over. Instead, look at your space and work out what is possible. A fresh coat of paint goes a long way, while the right styling and the addition of outdoor lighting can be completely transformative. Purchasing the right garden products and tools also makes maintaining your outdoor space a lot easier and gives you more time to sit back and enjoy what you have created.


I adore my cordless, lightweight Flymo Simplicut Li which allows me to maintain my courtyard quickly and easily.
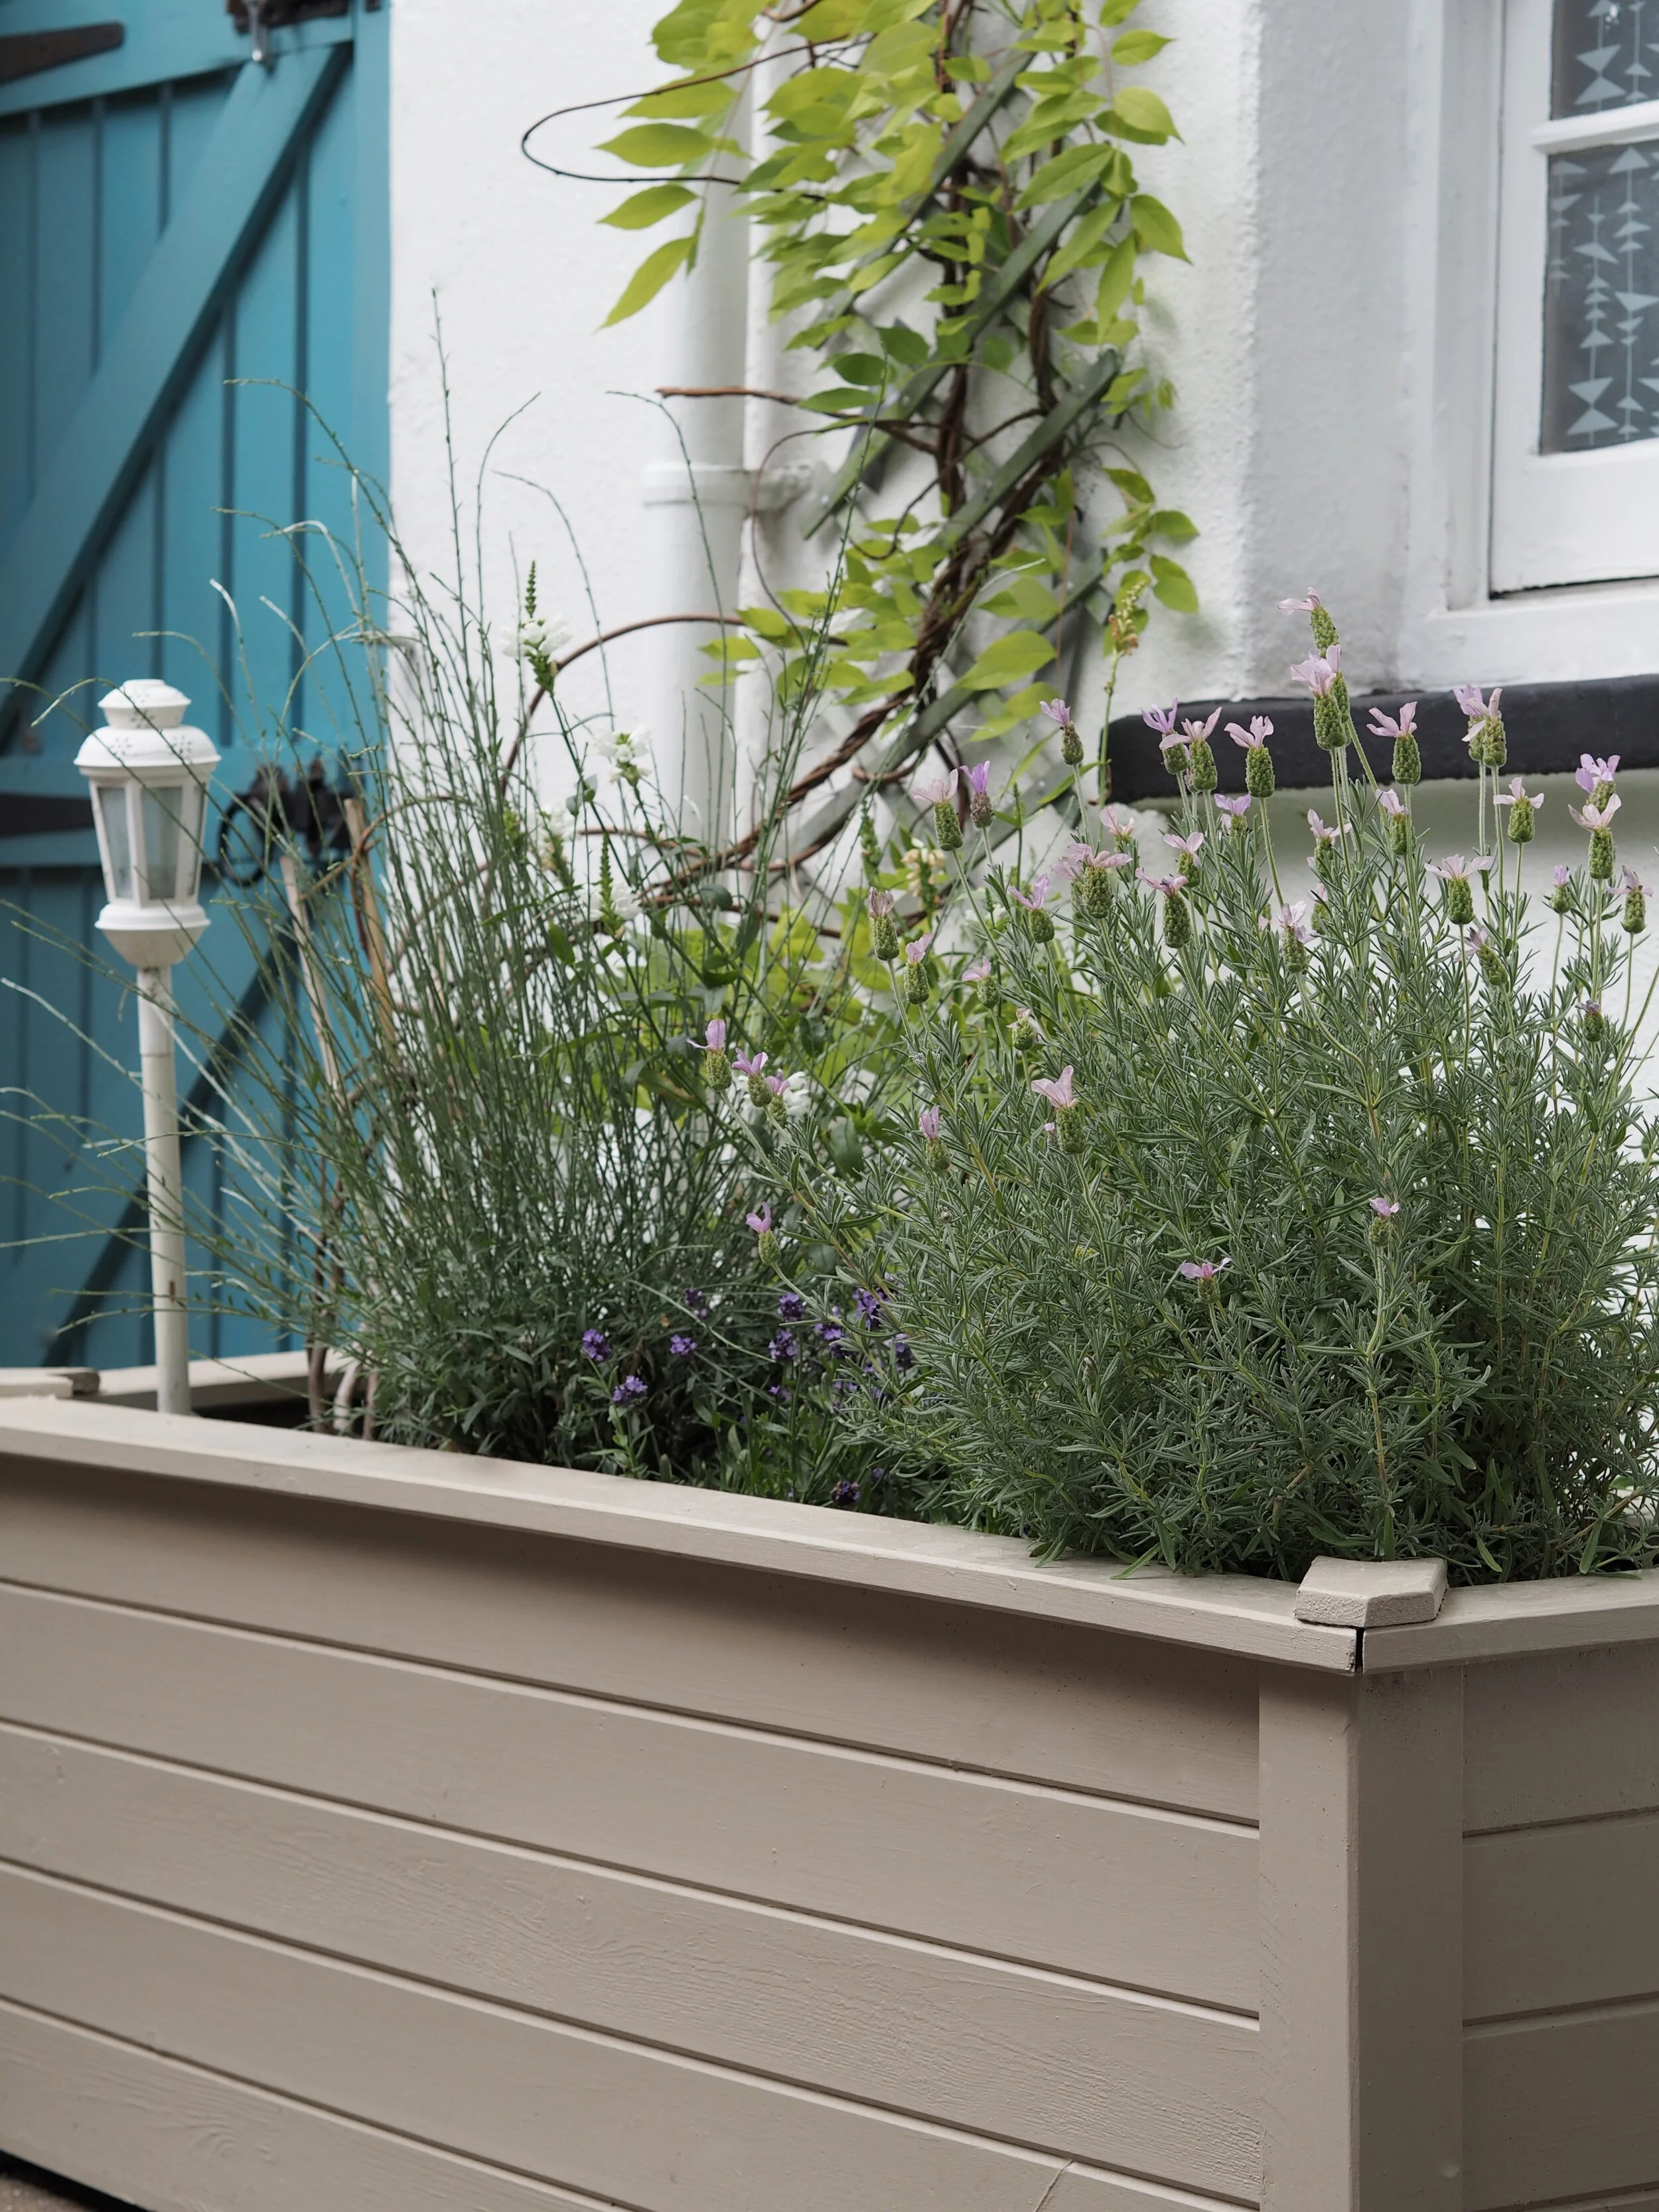
Once cleared, I spruced up the slatted wood wall in this area with a fresh coat of white paint. The idea was to brighten up this space and have all the greenery that I was going to add ‘pop’ against the crisp white wall. I also emptied, washed, sanded and re-painted the large two wooden planters that already existed here in a light taupe colour (‘London Stone’ by Farrow & Ball). I knew that this natural colour would complement all the earthenware that I was going to add into the Mediterranean scheme, like the large terracotta pots for the trees.


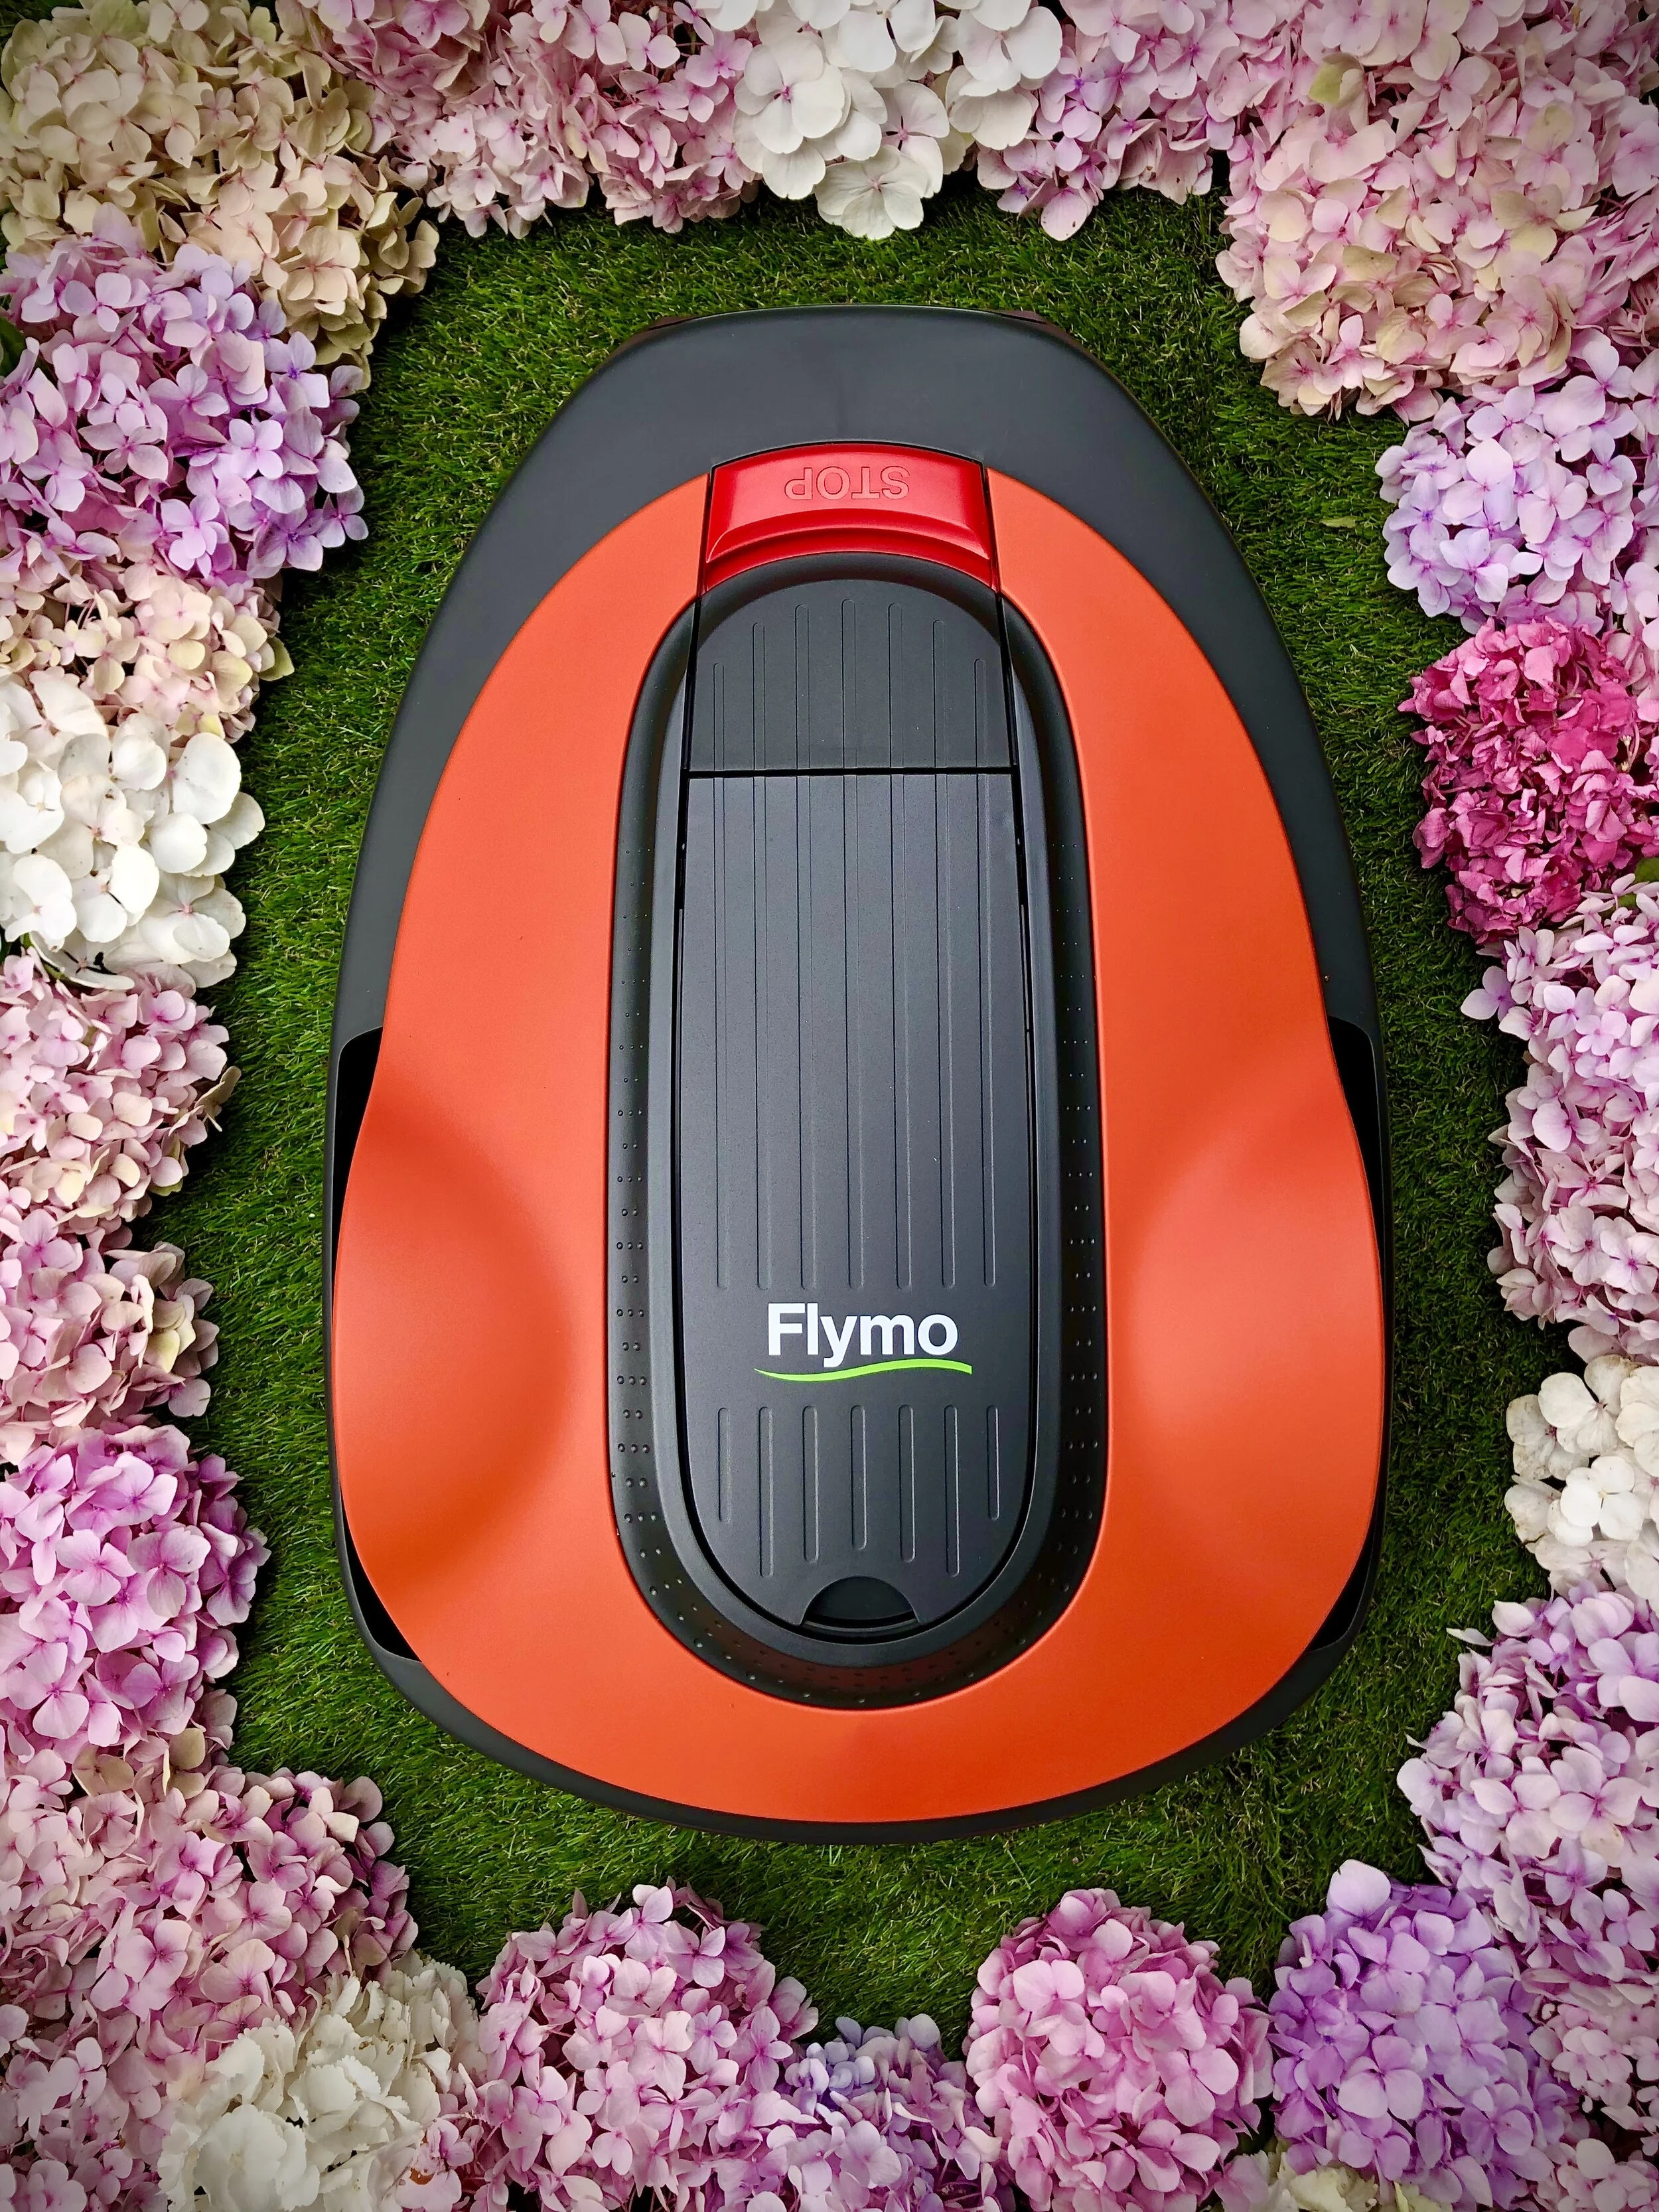
The EasiLife 200 robotic lawnmower by Flymo
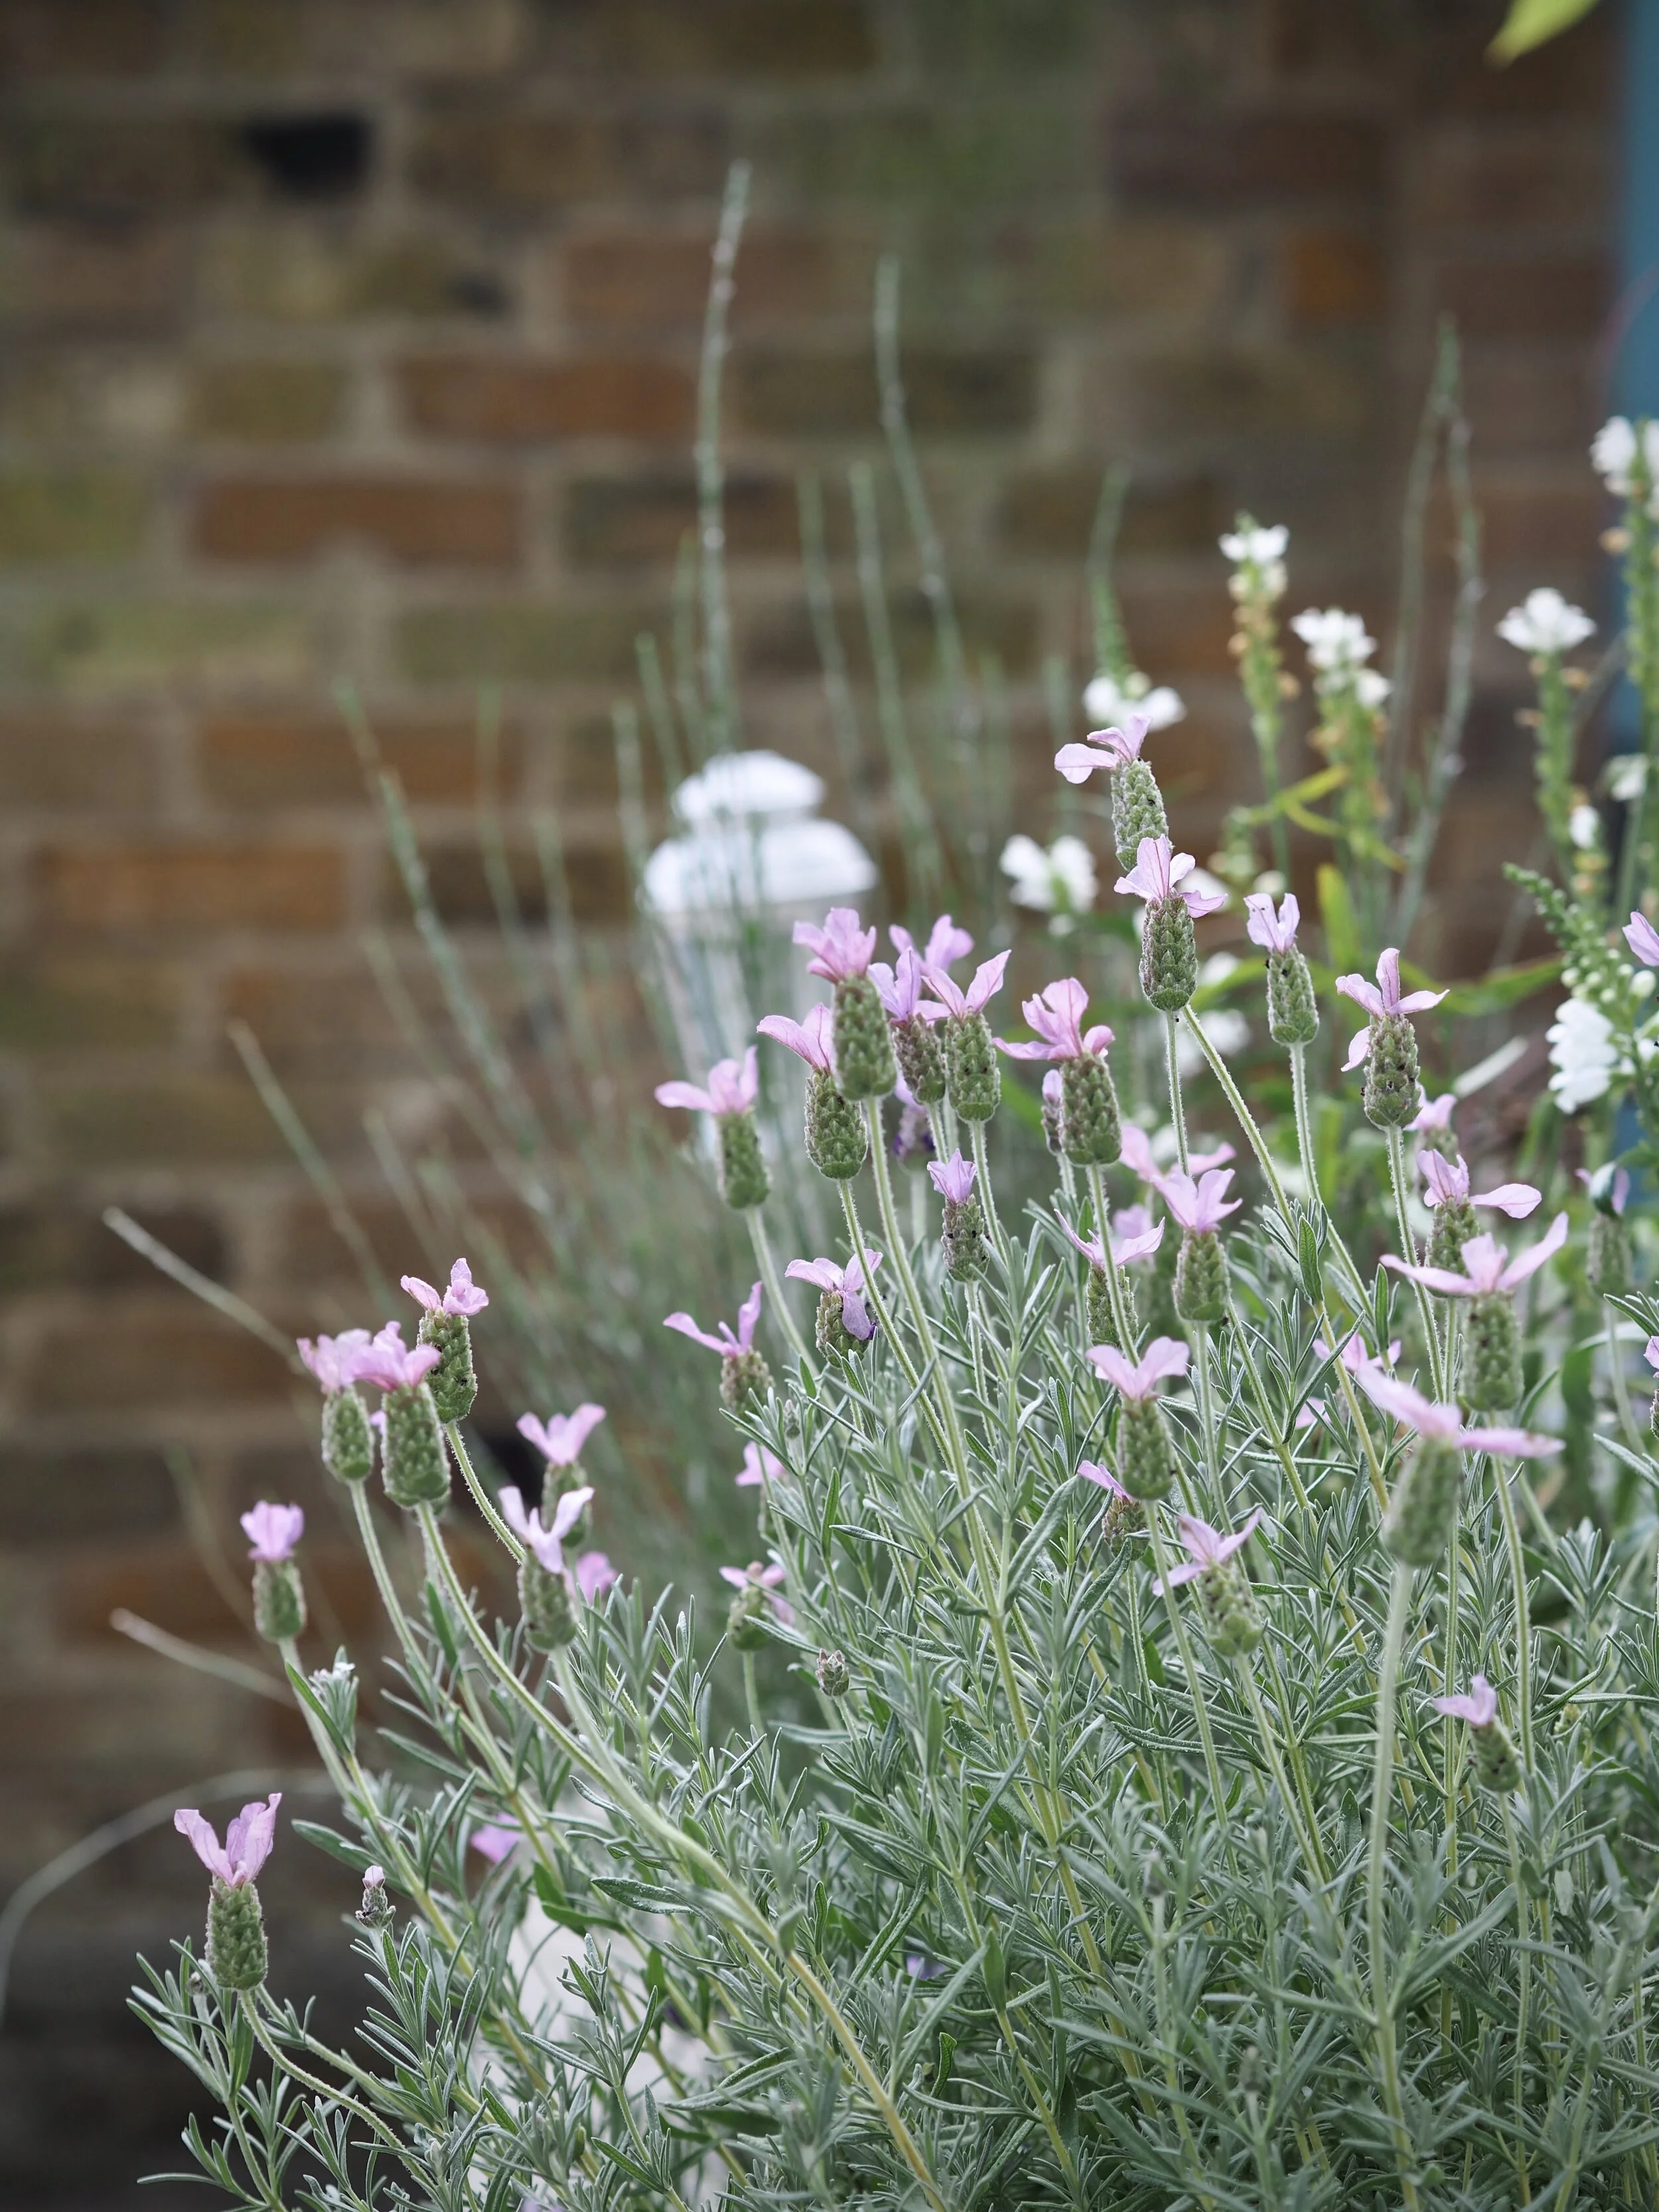
In the courtyard, I wanted to keep to a Mediterranean planting palette of rosemary, lavender and olive trees and only strayed from these plants if they also resembled the same shape and colour (I added in some white Broom with its upright stalks and also some Veronica for a mix of purple with the lavender.) I potted all my plants in weathered terracotta pots to build upon the rustic decor scheme.

Lighting was crucial to create the right atmosphere when the sun dipped at the end of the evening, so I strung warm LED festoon lights in a zig-zag fashion across the whole courtyard. I also added exterior battery-operated lights around the trees and filled the space with lanterns and candles at every opportunity to forge a romantic ambience.

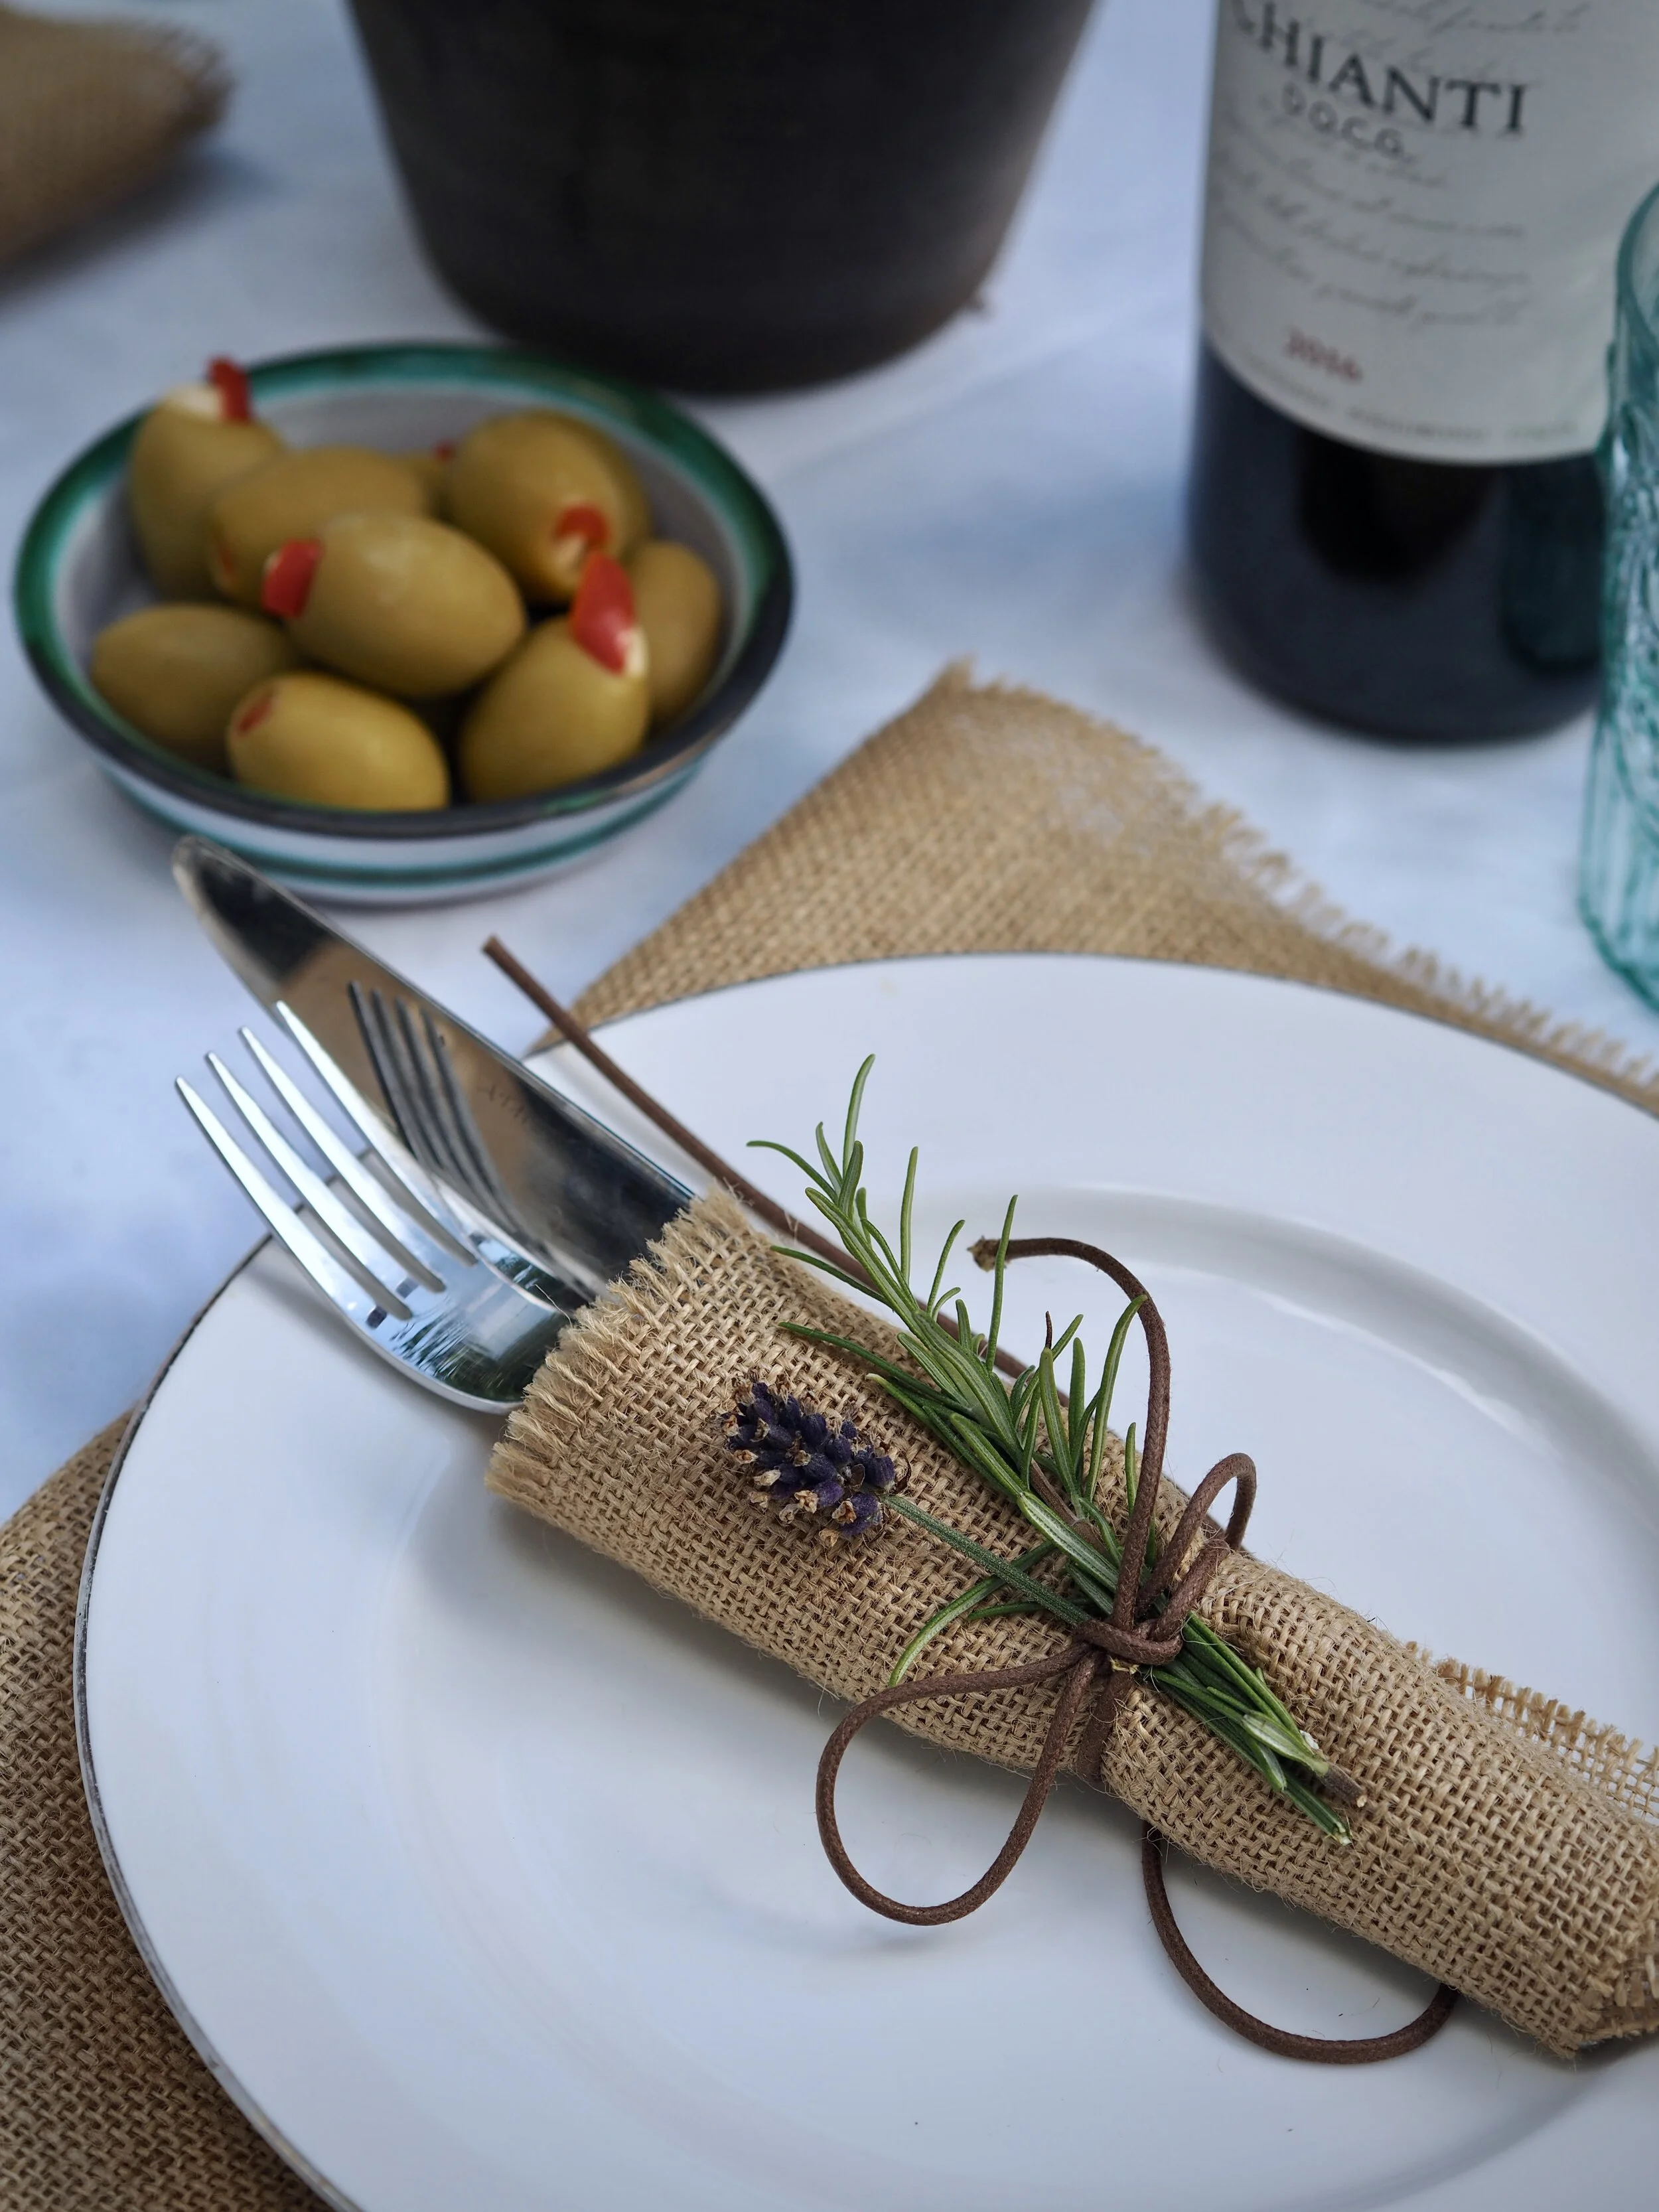
As the courtyard was to be a designated outdoor eating area, I invested in a pizza oven and erected rustic shelving on the brick wall to store oils and pizza toppings! I purchased an old bistro set from a reclamation yard and re-sprayed it to bring it back to life. Strips of hessian were used for table decor and I purchased the table crockery and candelabra from charity shops.

We had our first pizza out in the new courtyard last week in the balmy 30° heat and it really did feel like the ultimate staycation! I cannot believe that in the space of just a few weeks, we now have this wonderful outdoor courtyard to enjoy when before it was completely neglected and unused.


I’d like to thank Flymo for challenging me to create the ultimate #gardenstaycation with this fun and creative campaign. I’d also love to know your thoughts on the new courtyard - so do leave me a comment below!