How To Create A Digital Or Physical Mood Board For Interior Design Projects
What is a mood board?
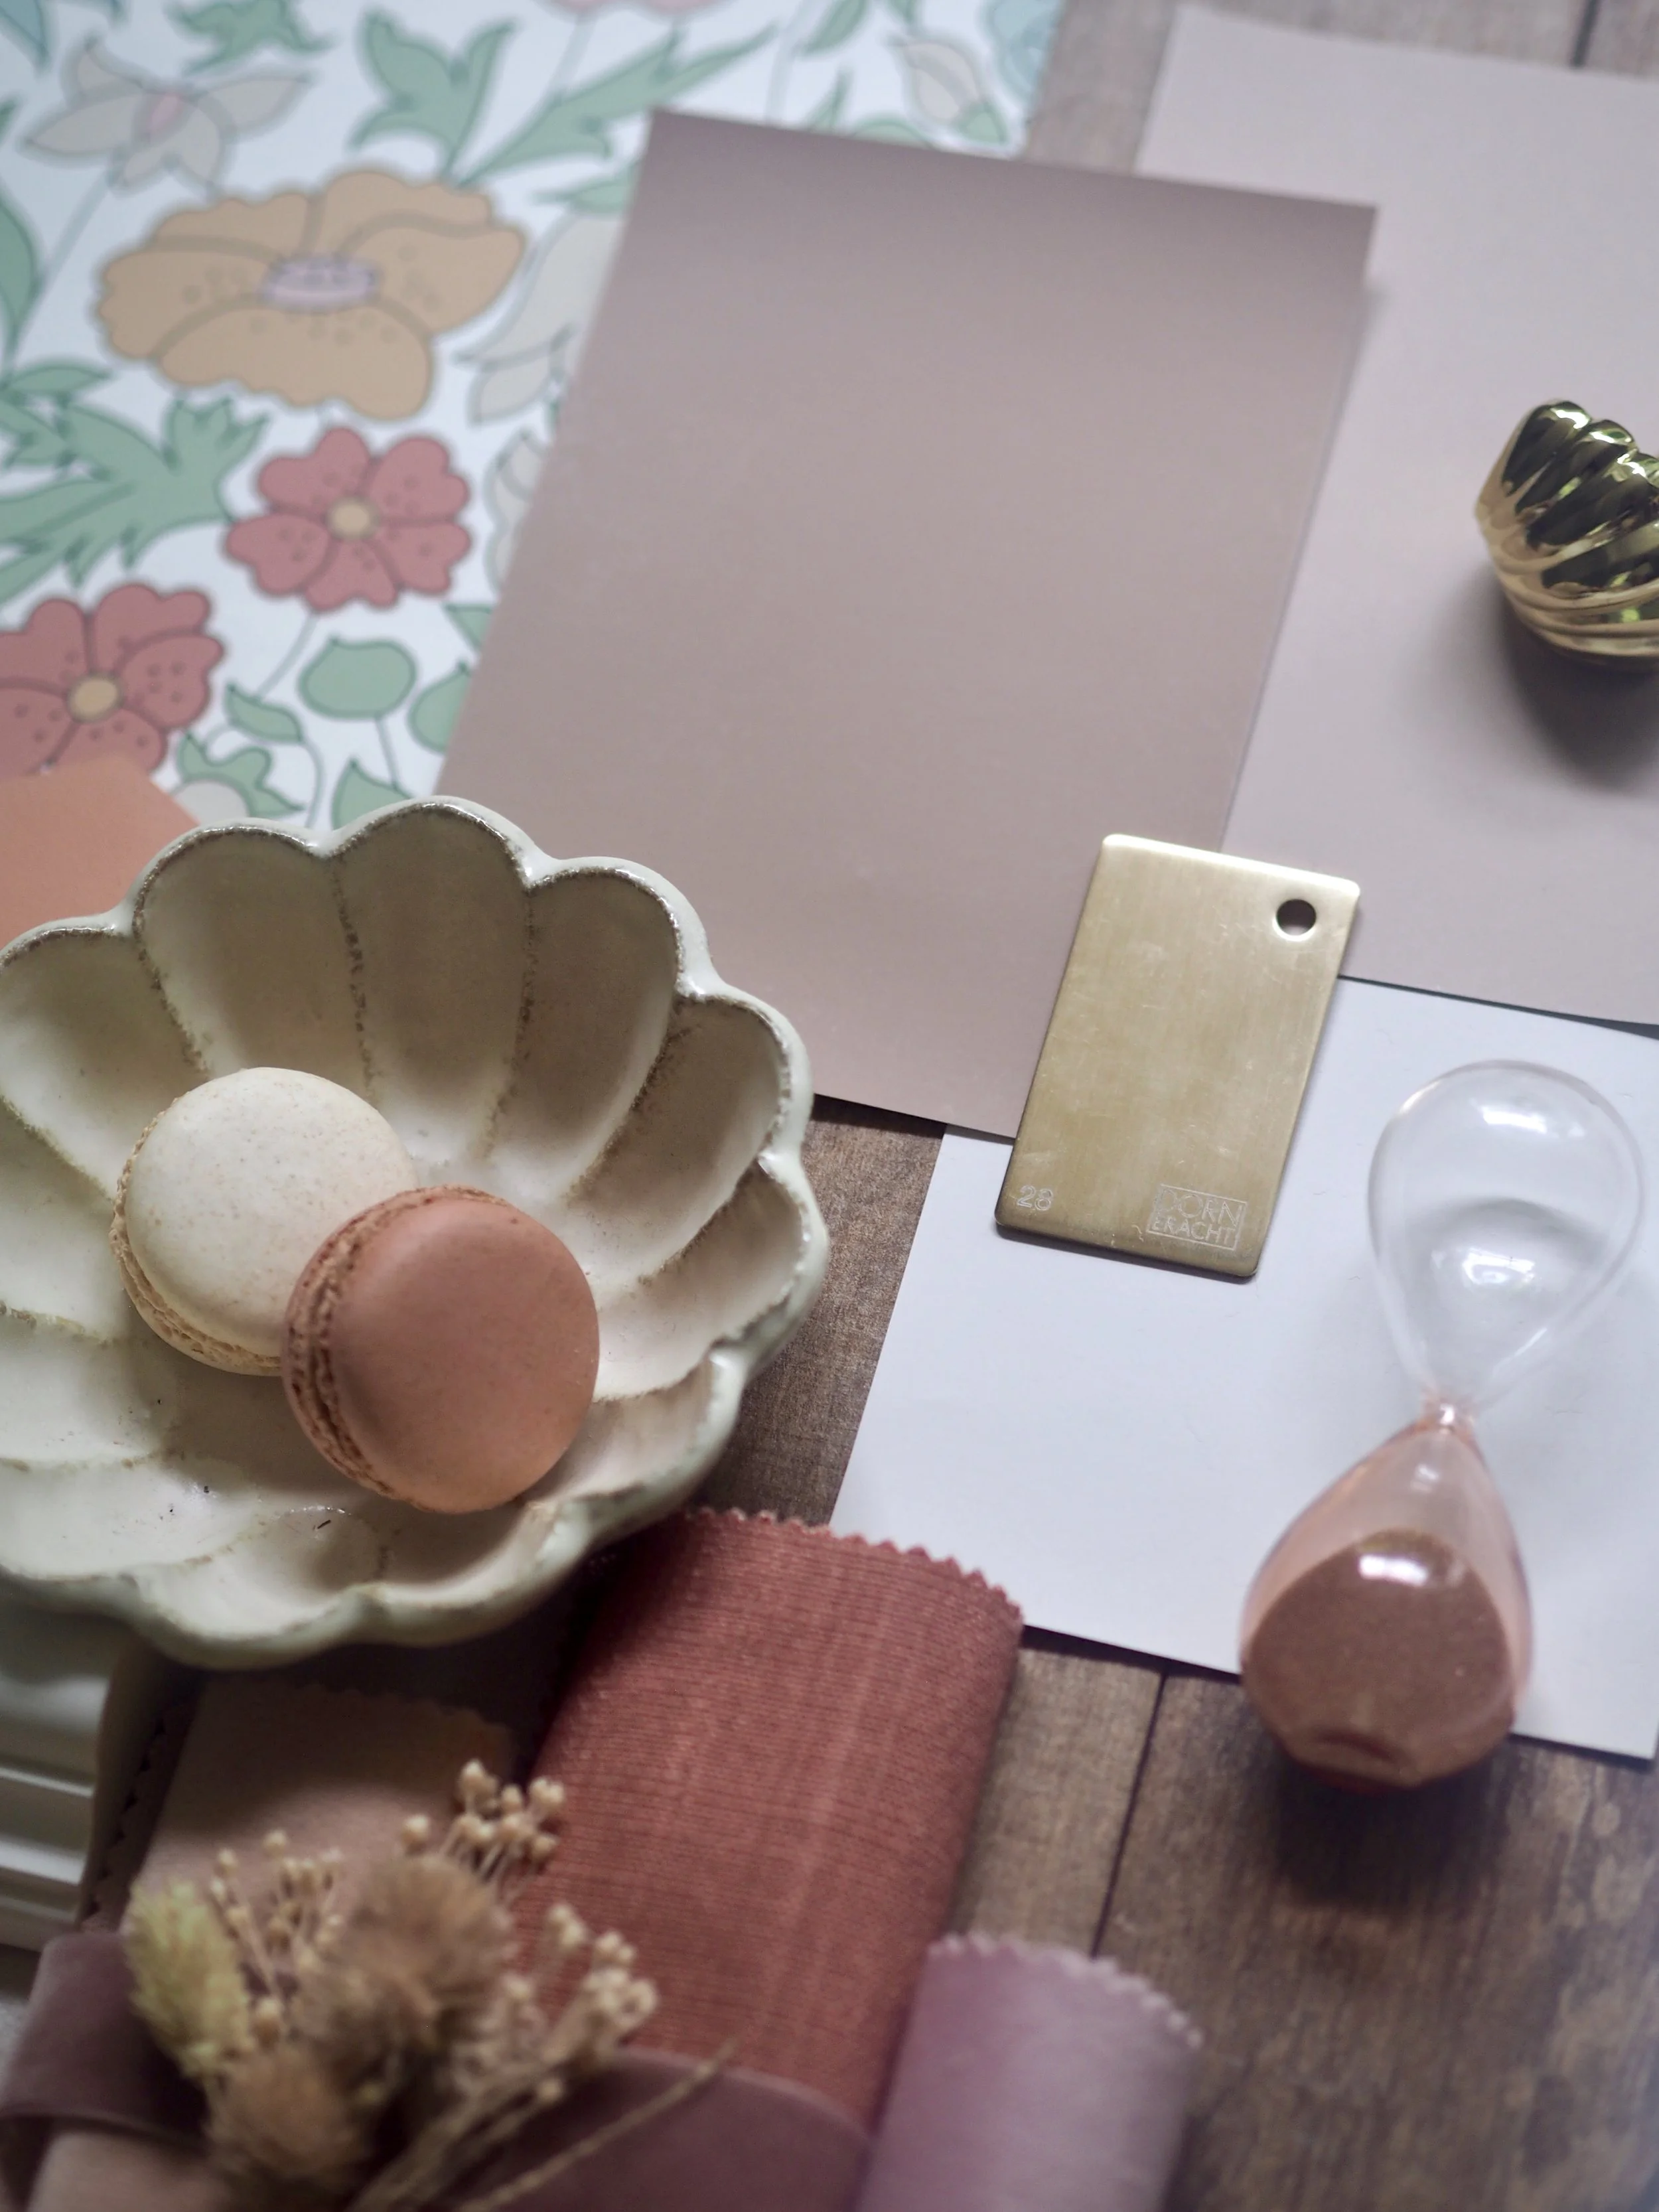
Before you decorate any room, I would always recommend creating a mood board for the design scheme first. A mood board acts as a visual tool and a ‘taster’ to just how the space will look once completed. Via your mood board, you can envision how colours and textures will work alongside one another. They can also help you with the process of selecting the right furniture or accessories.
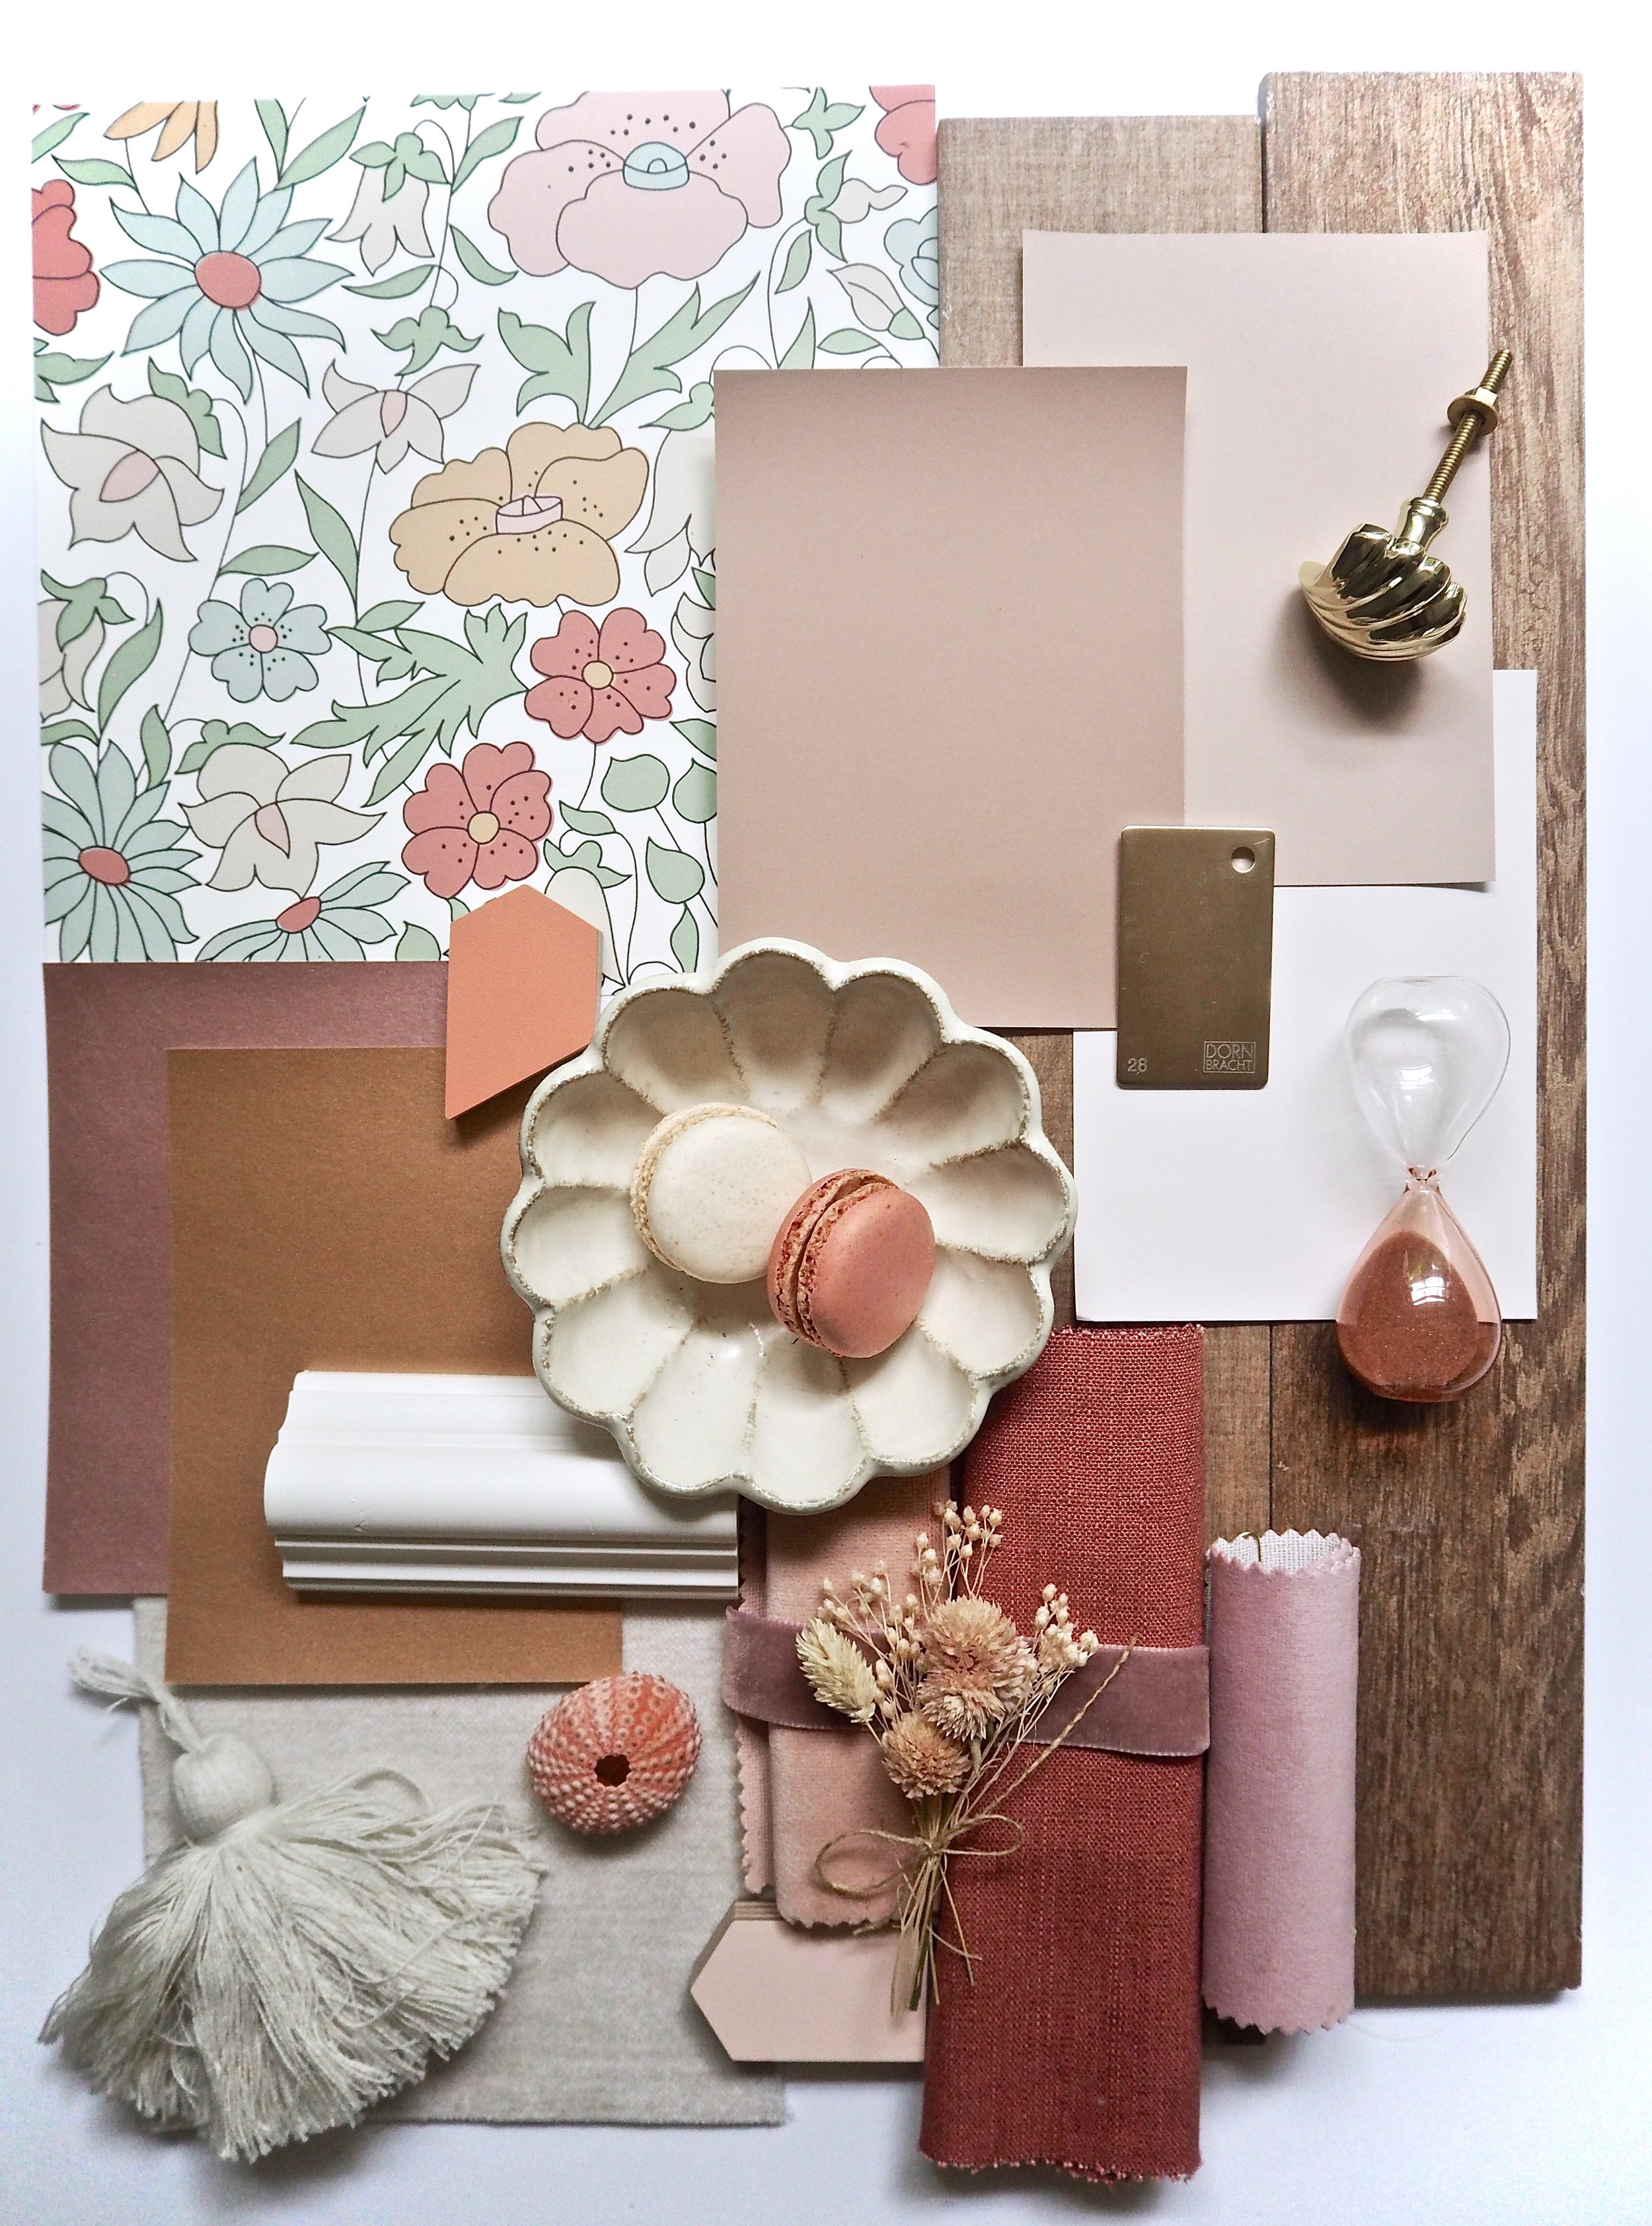
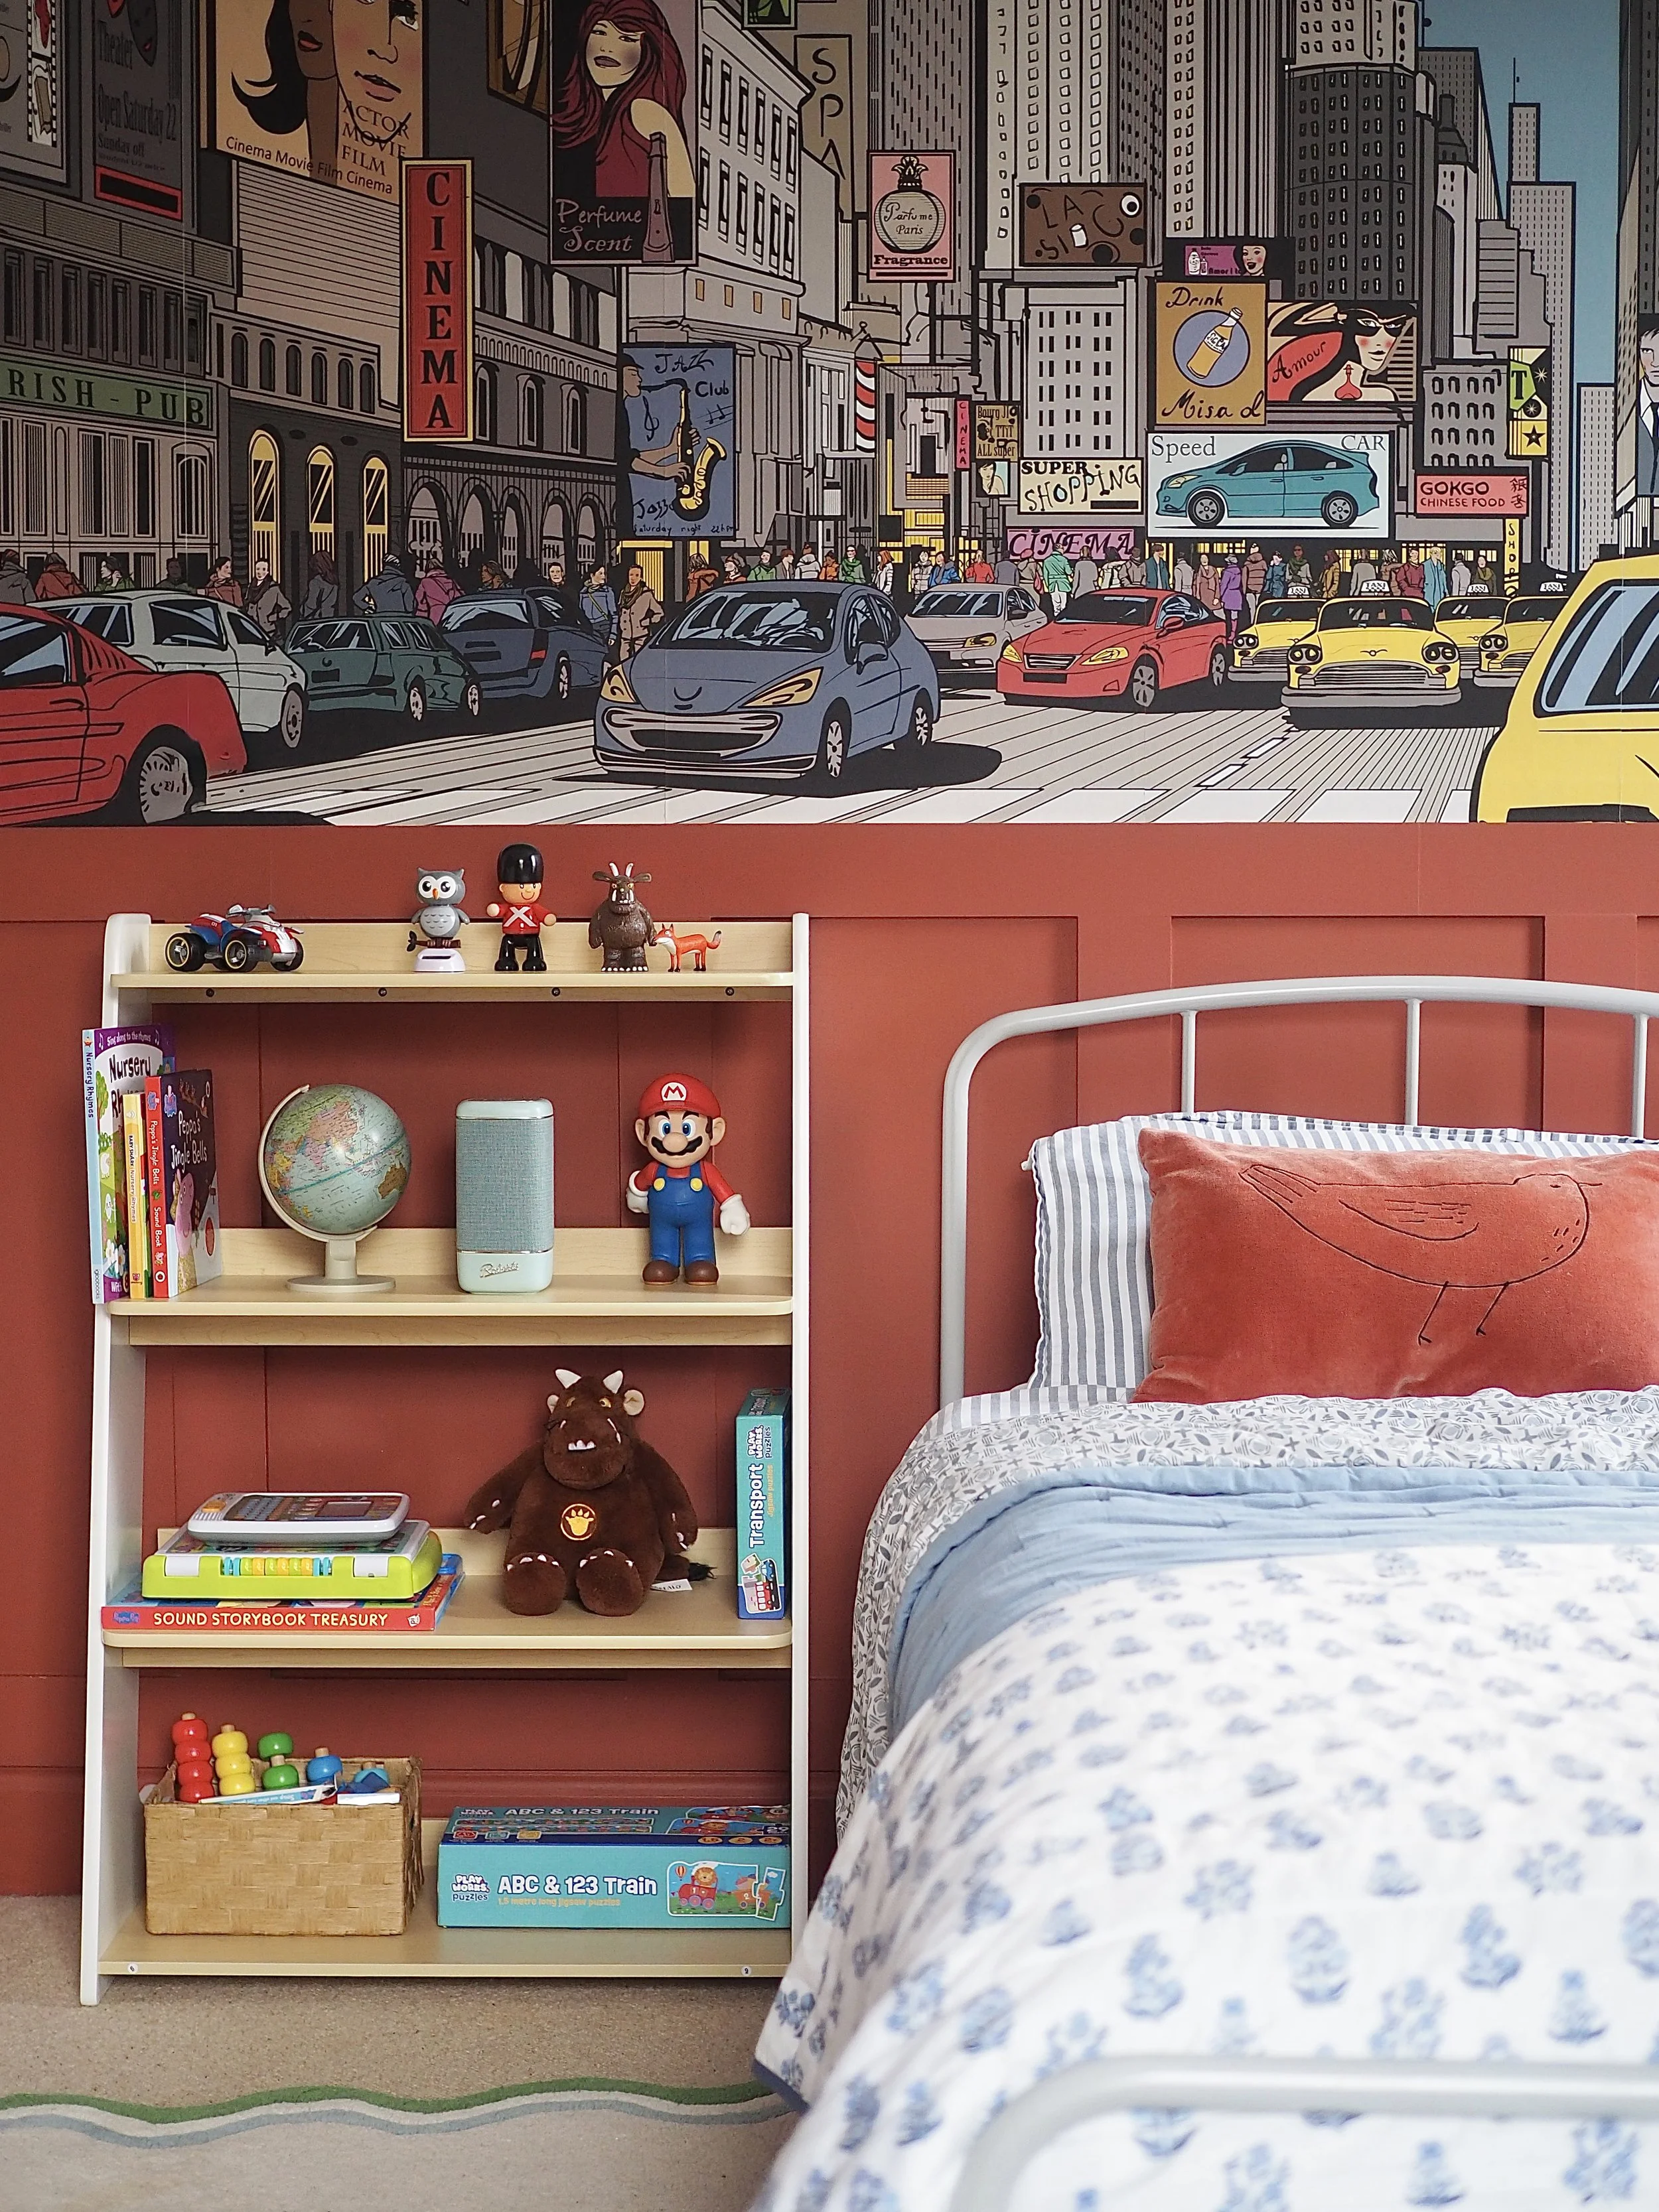
A physical mood board that I recently created for a young child’s bedroom.
Should I create a physical or a digital Mood board?
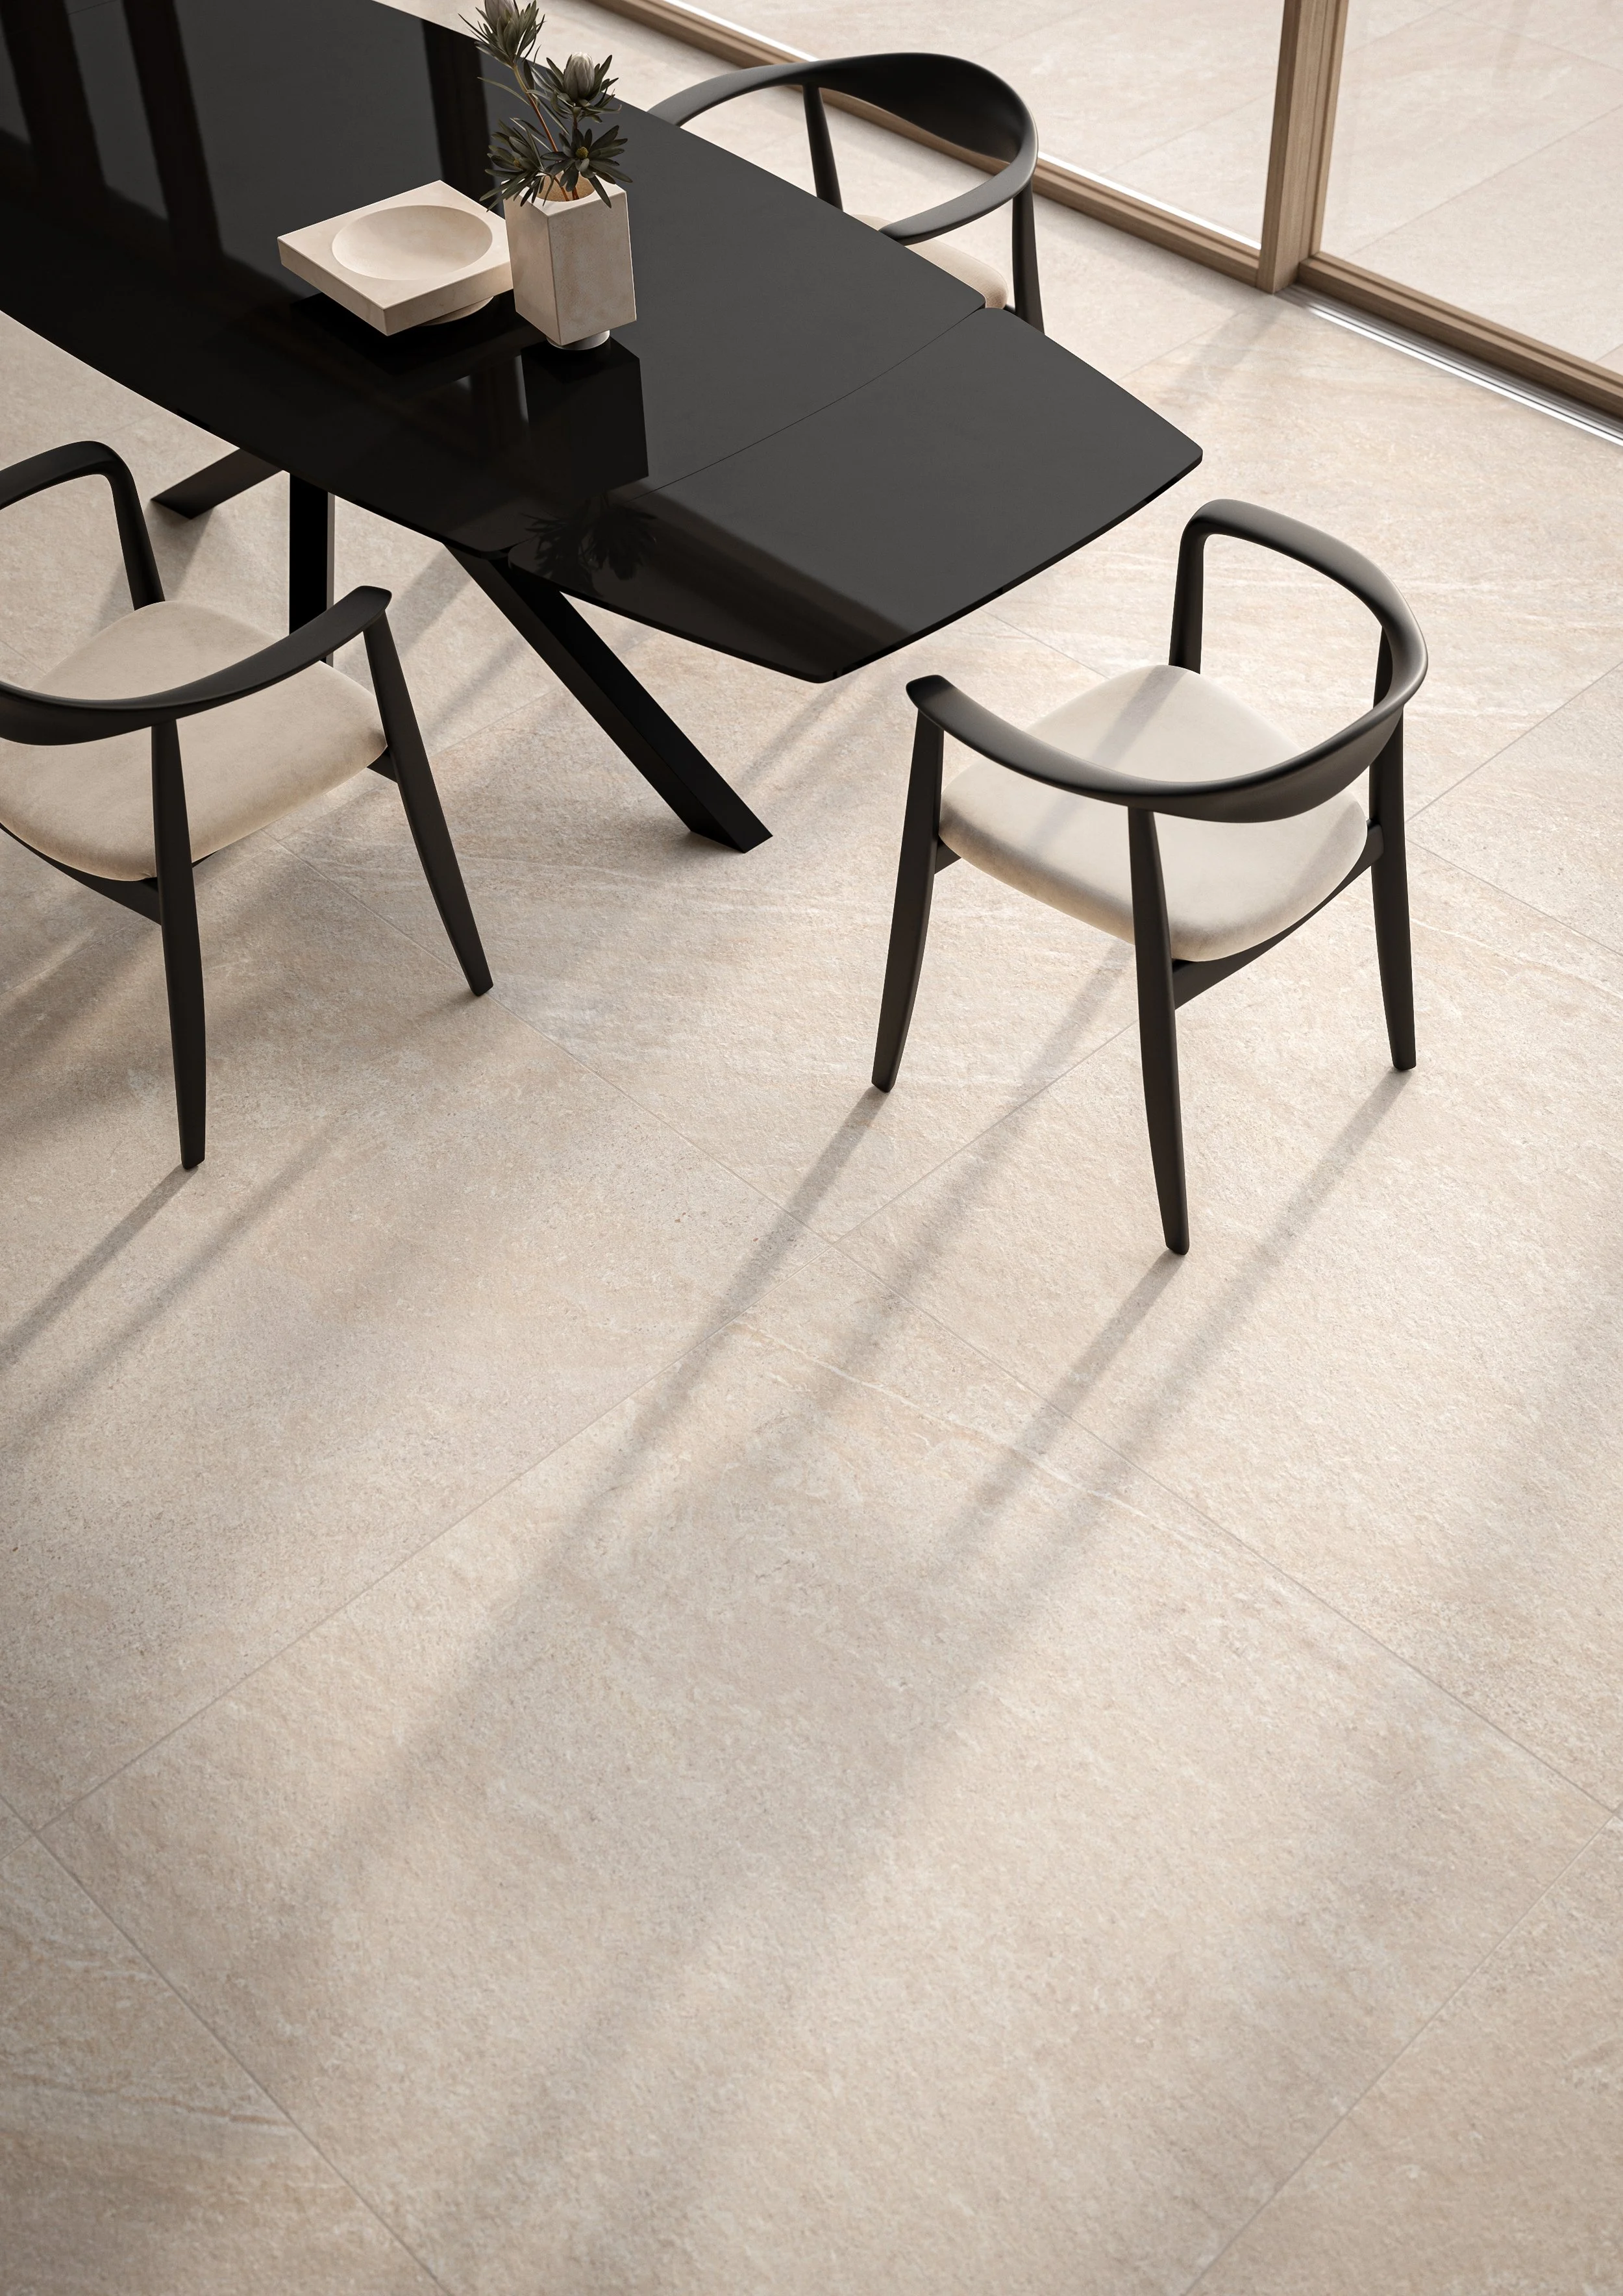
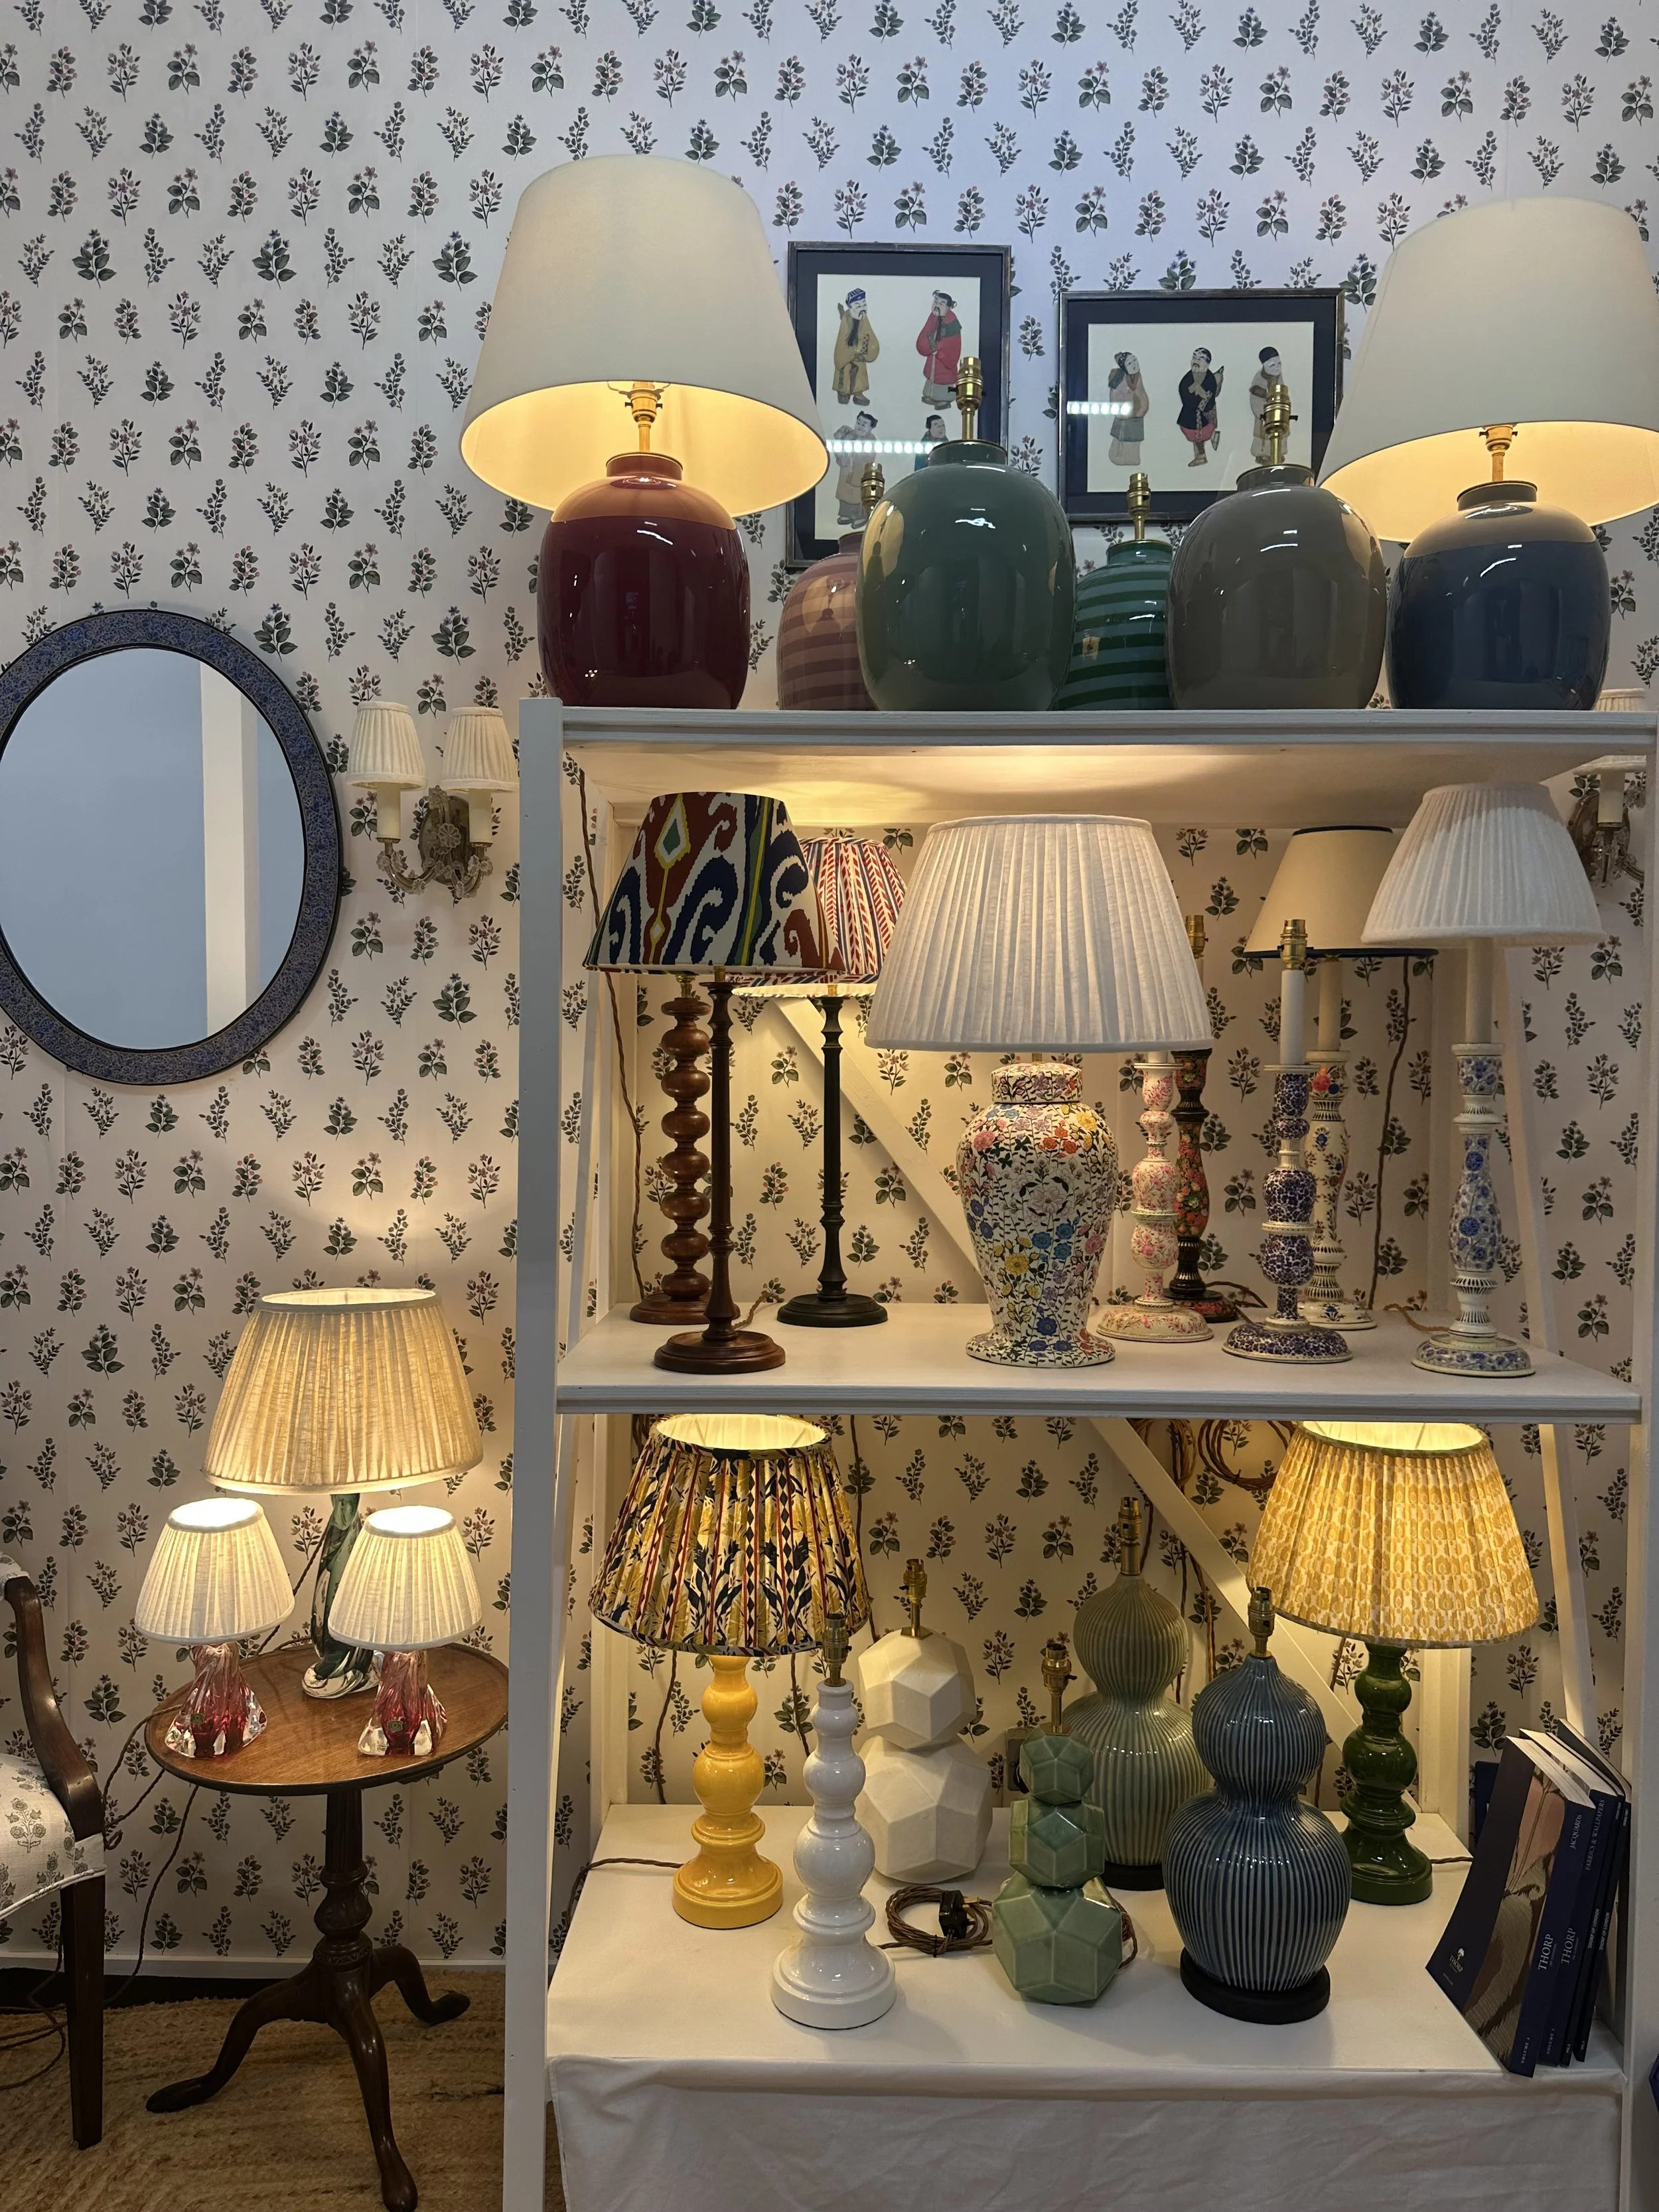
Physical mood boards allow you to combine and compare real samples (rather than digital representations). Because of this, physical mood boards are a great way to determine if the paint colour you have chosen for the walls complements the fabric of the sofa, or if your floor tiles accompany the wall tiles. Alternatively, online mood boards are a great way to calculate if furniture, lighting, and other large pieces for the room work side by side before you order them.
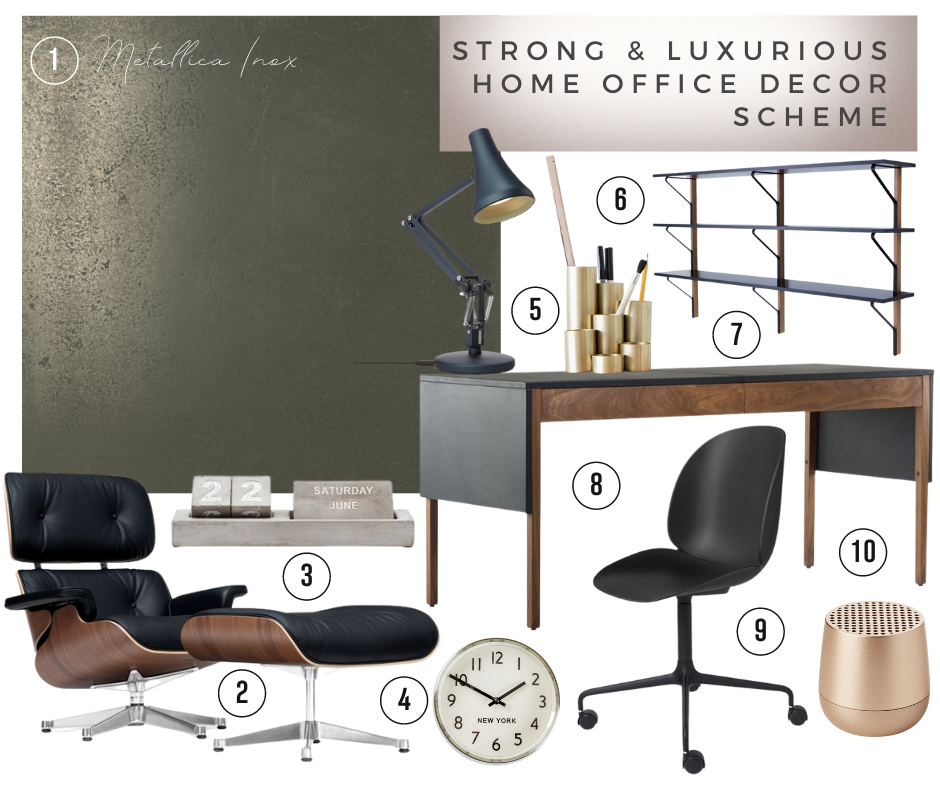
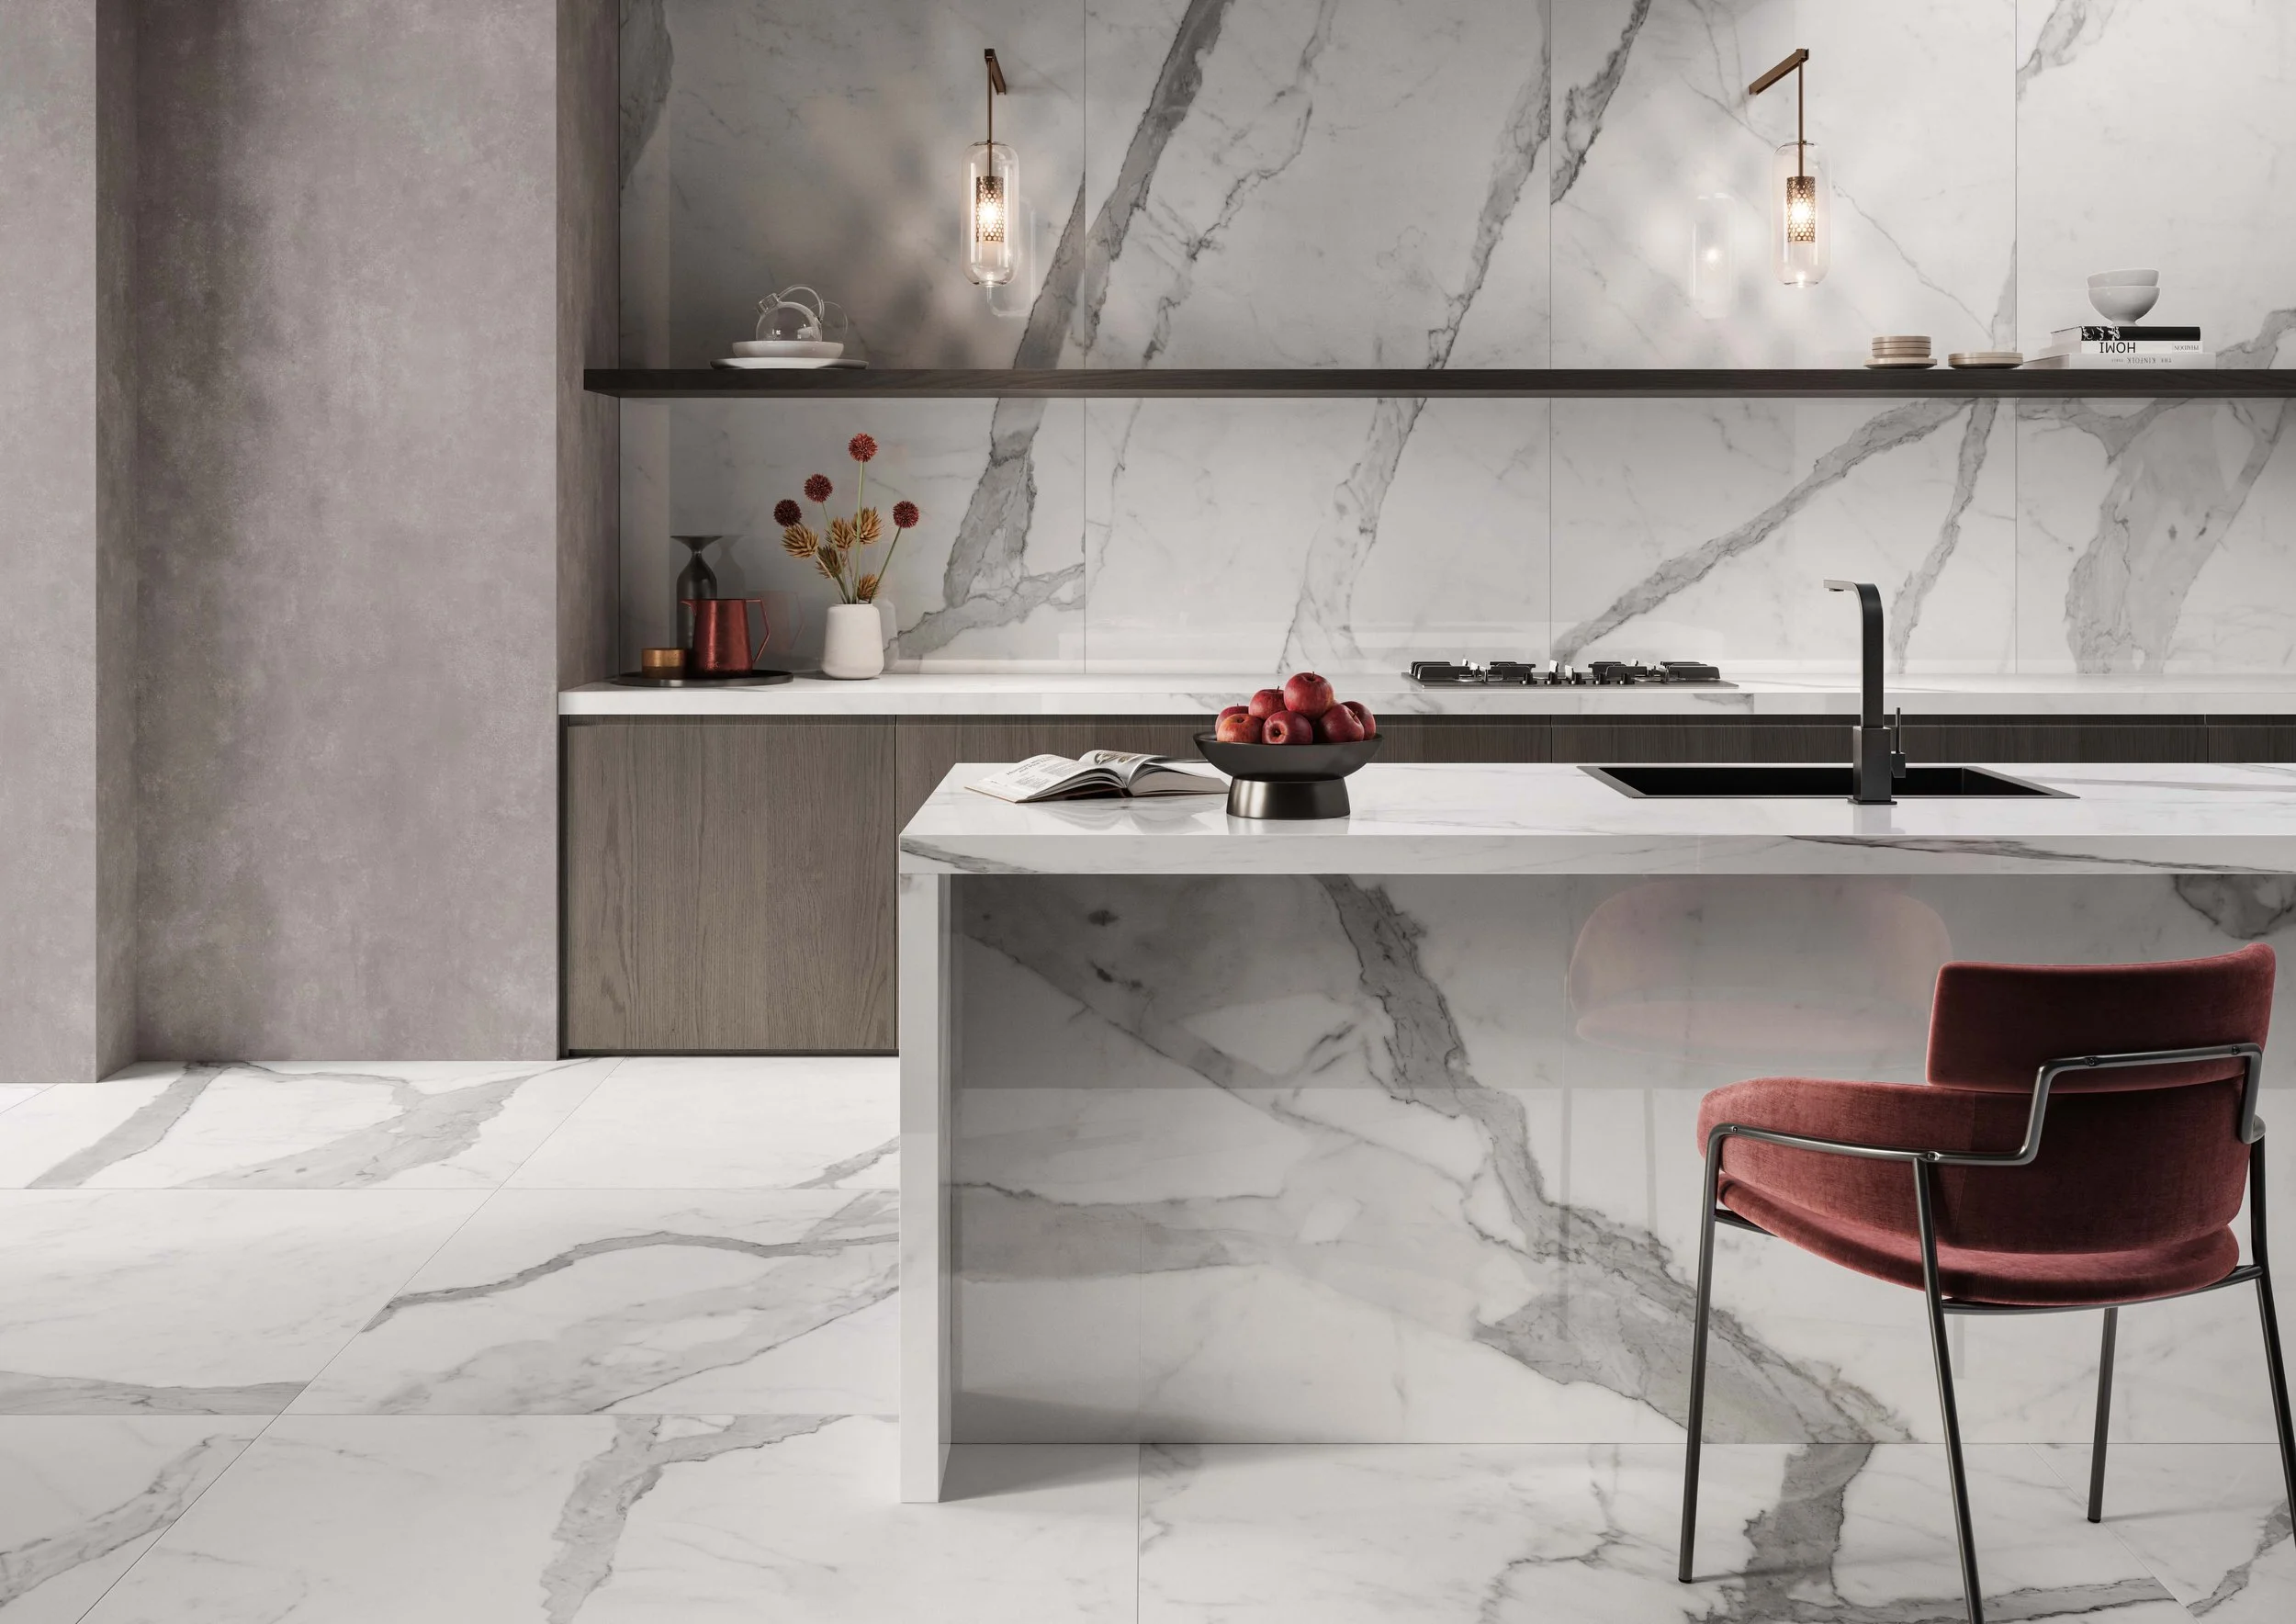
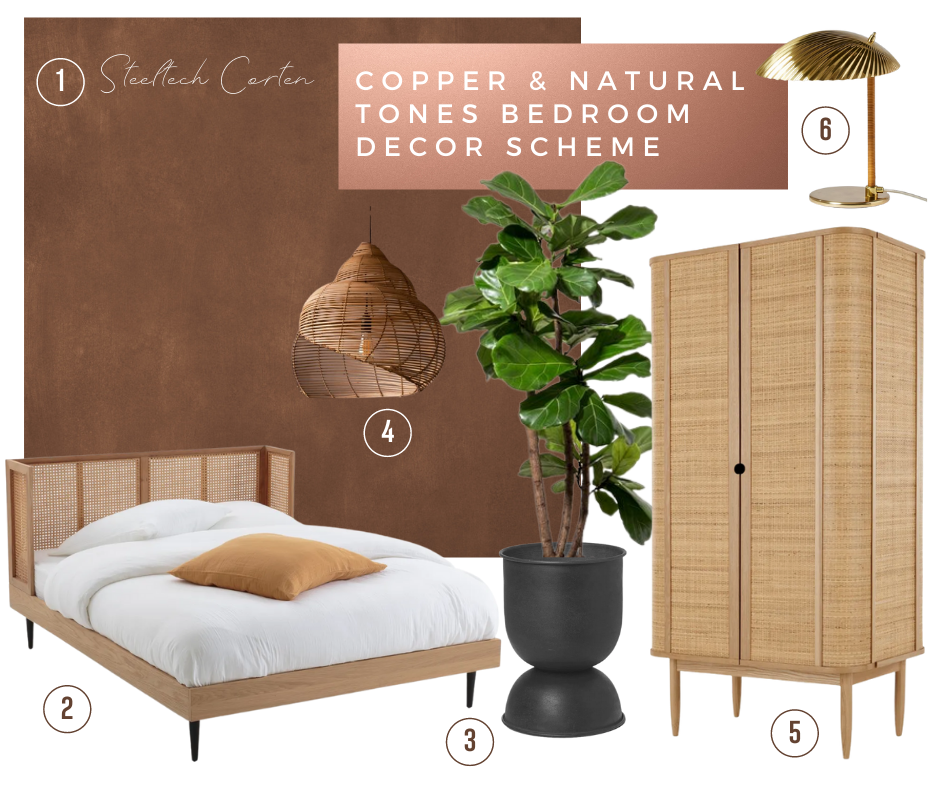
A digital mood board will enable you to pair furniture and home accessories together.
What should be included in a mood board?
Everything that you want to go into the room! This includes paint, wallpaper, cut-outs of furniture or home accessories you may wish to add in, upholstery fabrics, soft furnishing fabrics, hardware, tiles, flooring, cabinet colour chips, decorative touches, and anything that has inspired you with the room design. Try and obtain as many samples as possible when planning your room - what you think you have your heart set on might change when you see it as part of your mood board, and you might end up going with your initial ‘second choice’.
How do I create a digital mood board?
You can use online programmes such as Photoshop or Powerpoint, but I always use Canva - a brilliant graphic design platform that is easy to use and navigate. One of the best things about Canva is its ability to remove the background from any image. There may be a piece of furniture that you want to add to your mood board, but the image on the brand website is lifestyle (shot as part of a wider image) rather than a cut-out (which looks better on a mood board and is easier to combine with other items). While you can find other background removers online, the BG Remover tool on Canva gives a correct, clean edge to the product you want to highlight.
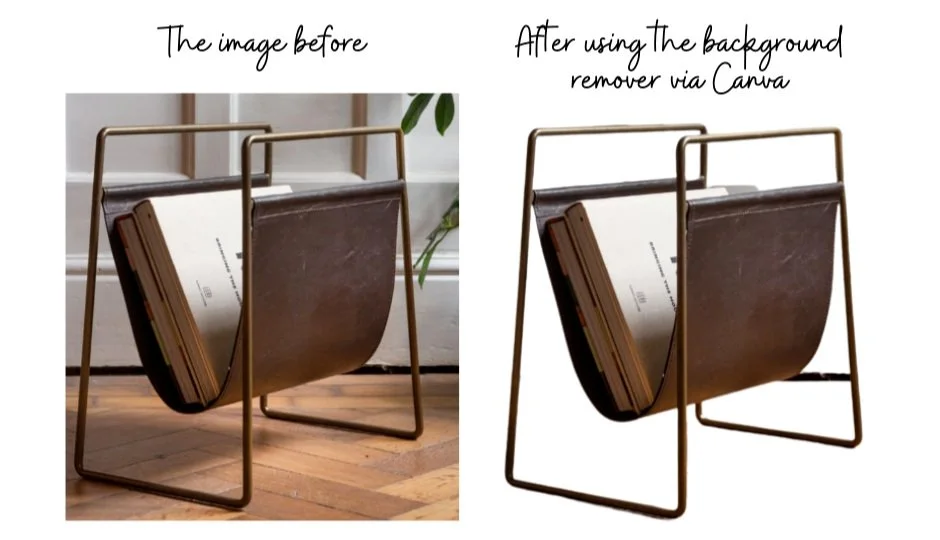
While you can have an account with Canva for free and do loads with it, they do charge a PRO subscription for the BG Remover tool (costing about £10 a month). However, if you just want to create a couple of mood boards, you can always sign up for their free trial and then cancel before it expires.
Canva allows you to easily number or name the products featured on your mood board, as well as offers you the ability to increase or reduce the size of a cut-out image.
On a digital mood board, first, add a back-drop - this may be a likeness to the paint colour going on the walls, or a screen-grab of the tiles or wallpaper coverings. Include your flooring as part of the back-drop, then layer cut-outs of all your furniture, soft furnishings and accessories on top. The reason for this is that your walls and floor take up the largest amount of surface area, and provide the background for everything else going into the room.
Don’t just add the base items on your mood board (such as the bed or the side tables if you are mood boarding a bedroom). Instead, think of what else you want to go into the space - a plant, a lampshade, a vase? Adding in as many elements as possible will give the best perception of the final design.
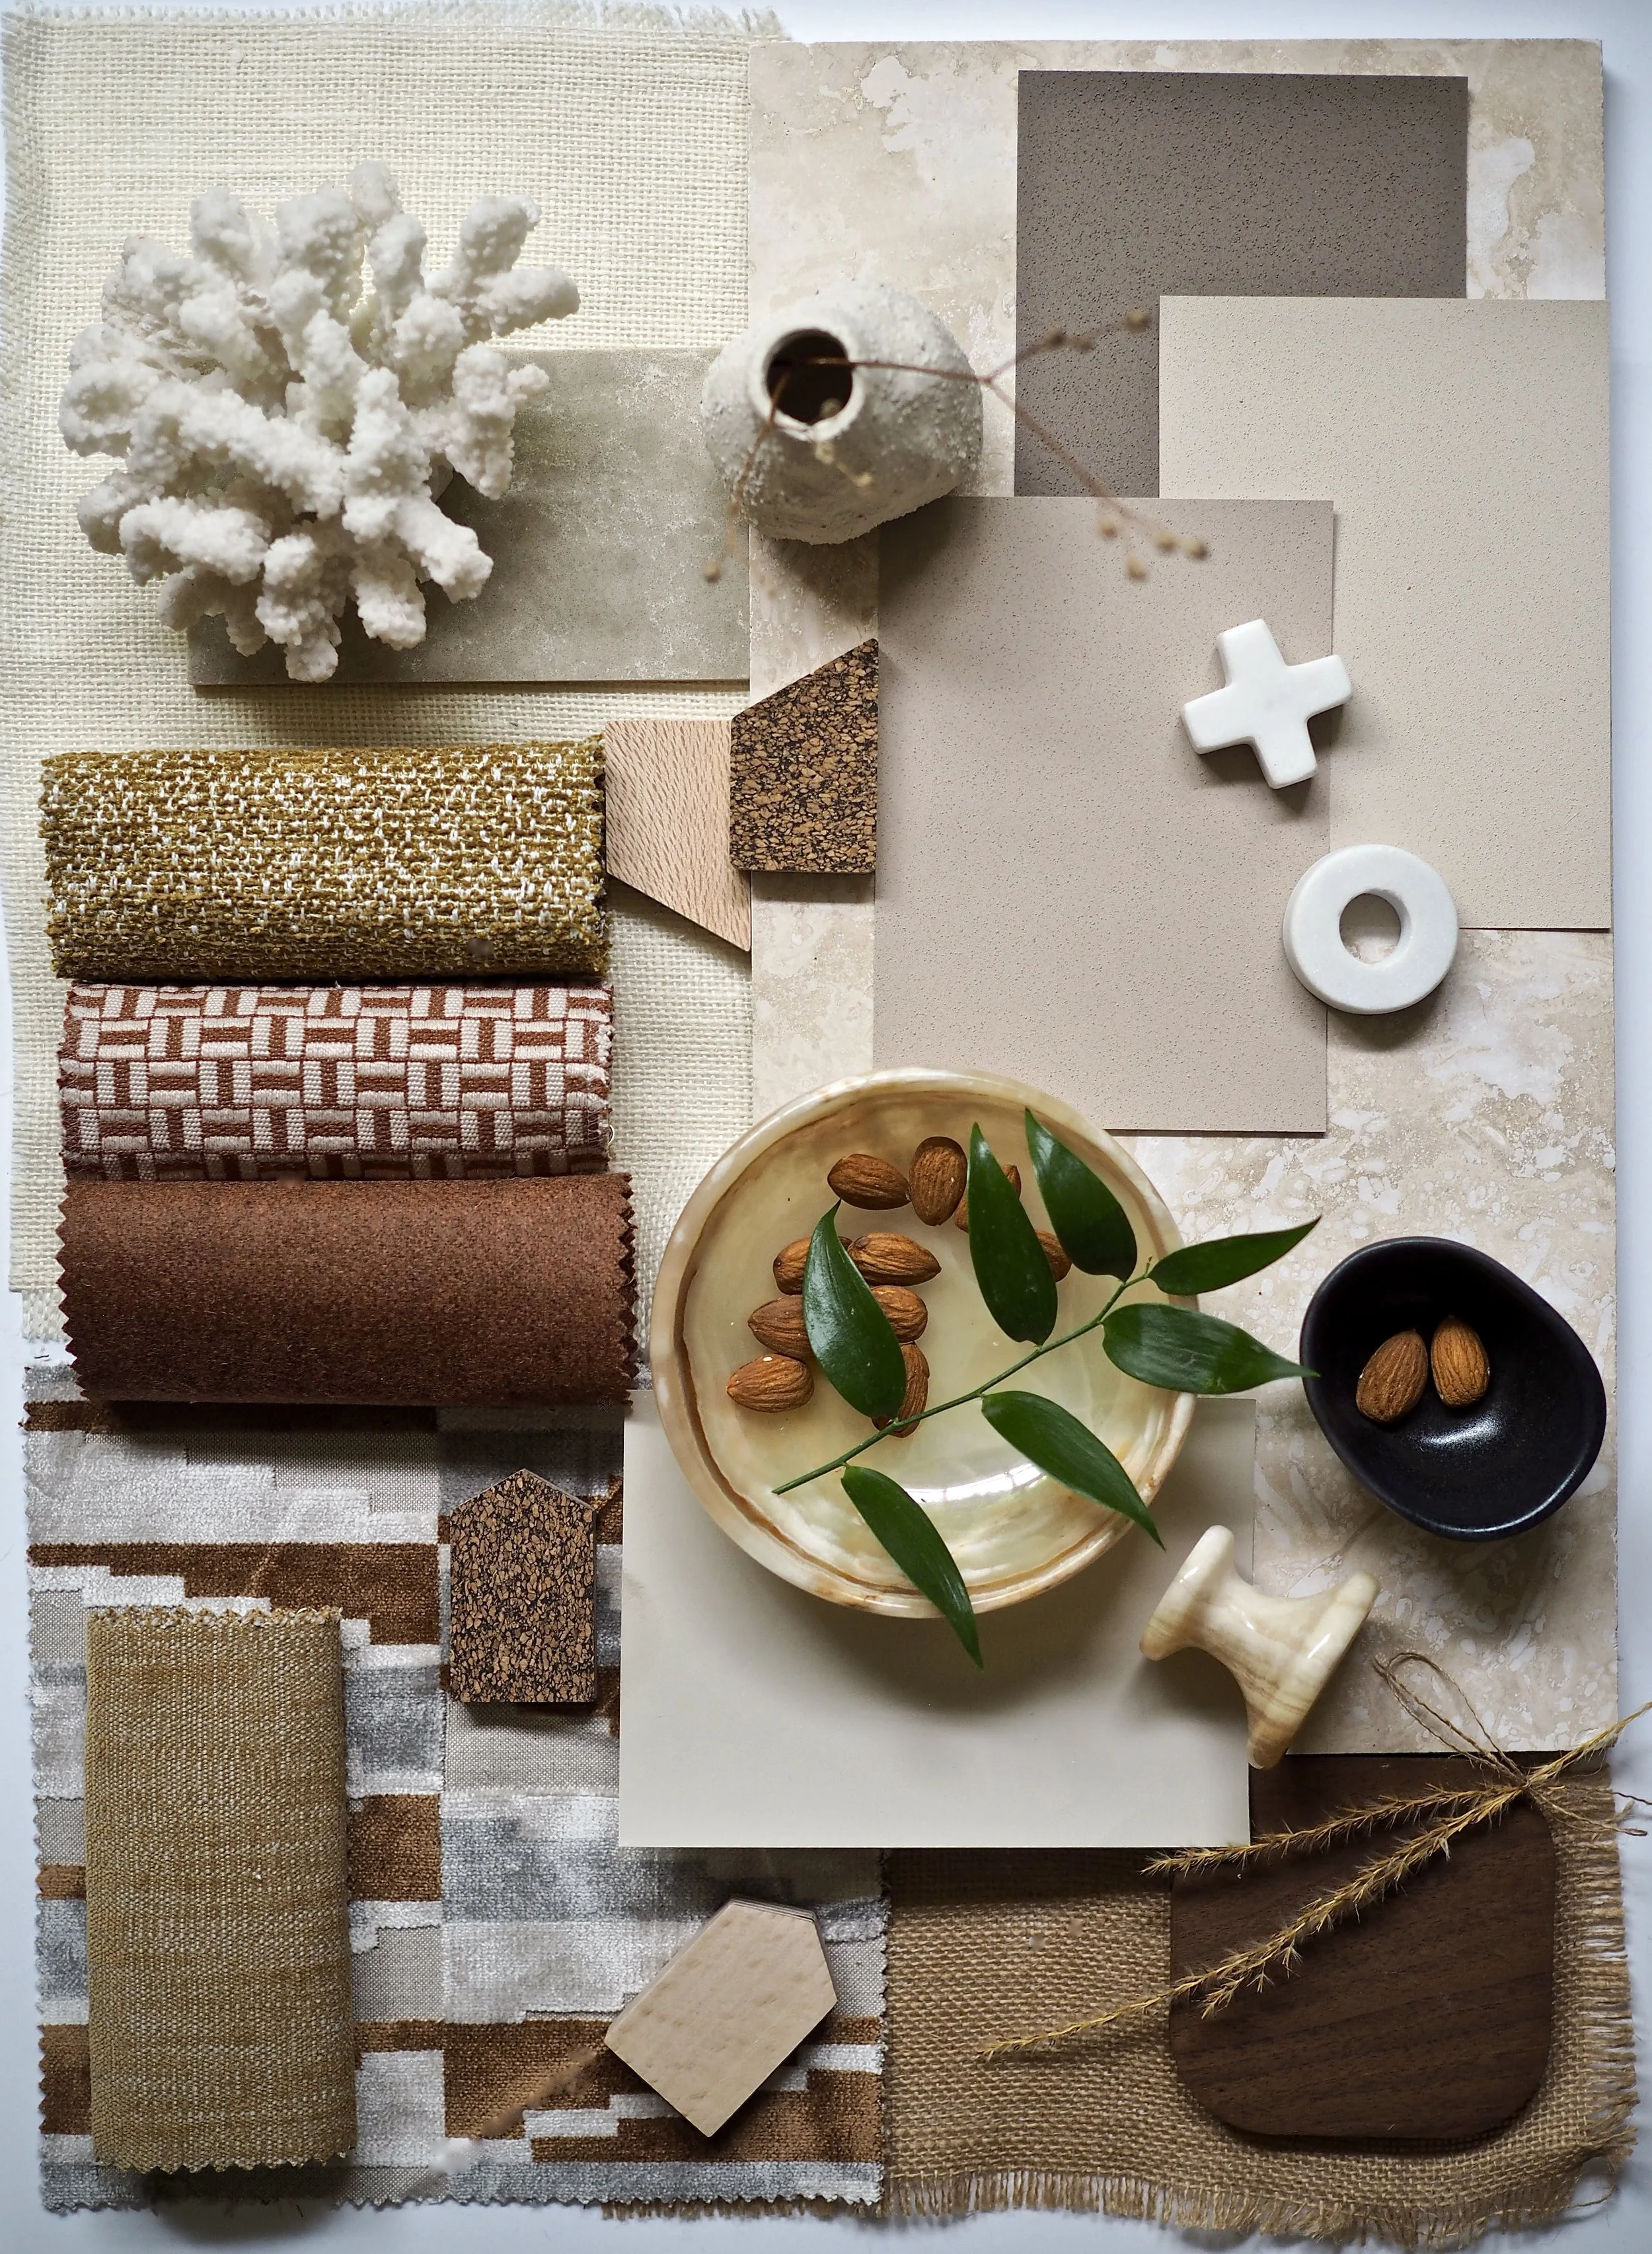
How do I create a physical mood board?
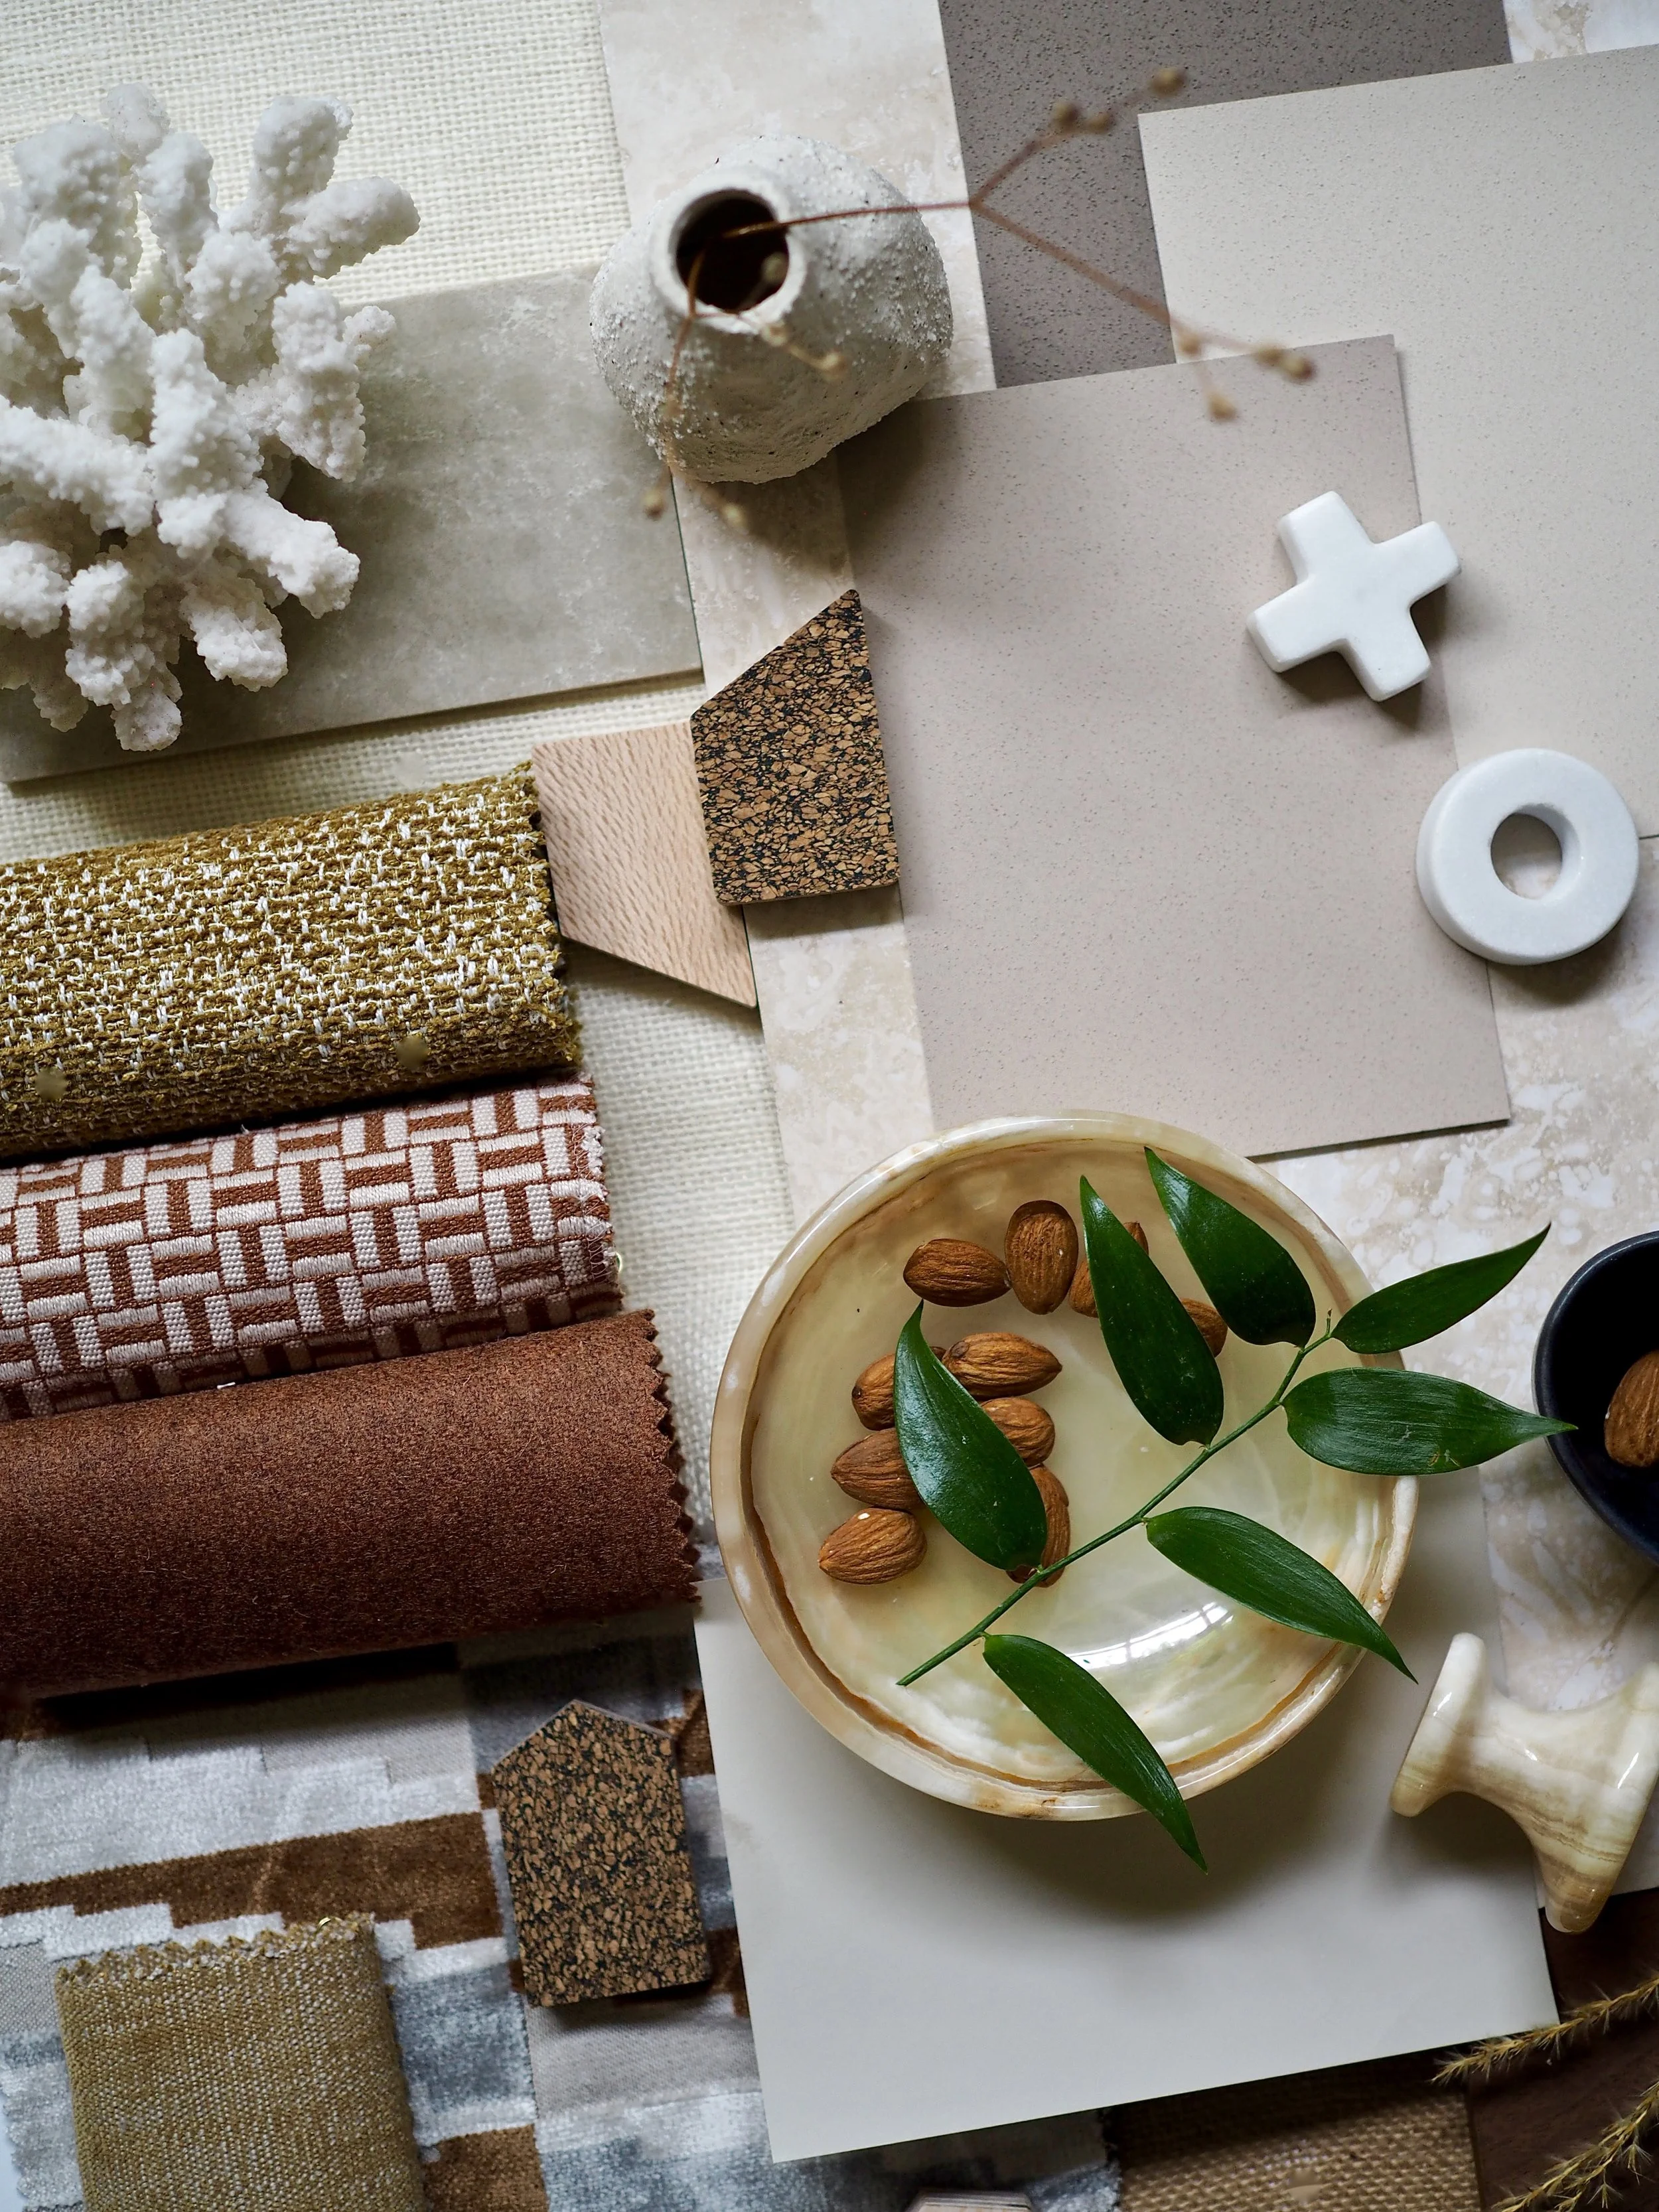
When formulating your room design, order and request as many samples as possible. I find that using a large piece of white foam board works well to organise samples upon. Start with the key items: your favourite flooring sample, wall covering or paint colour, plus any fabric for large pieces in the room (like a sofa). Combine these onto the mood board; once you are happy that they all go together, start adding in your ‘finishing touches’ such as cushion cover fabrics, cabinet handles, switches and sockets and decorative trimmings. Swap samples out that don’t work for an alternative until you are totally happy with your final scheme.