Before & After: How To Design A Shared Home Office And Guest Bedroom
[Please note that some products featured in this post were sent to me free of charge as PR Products. These products have been marked with a *]
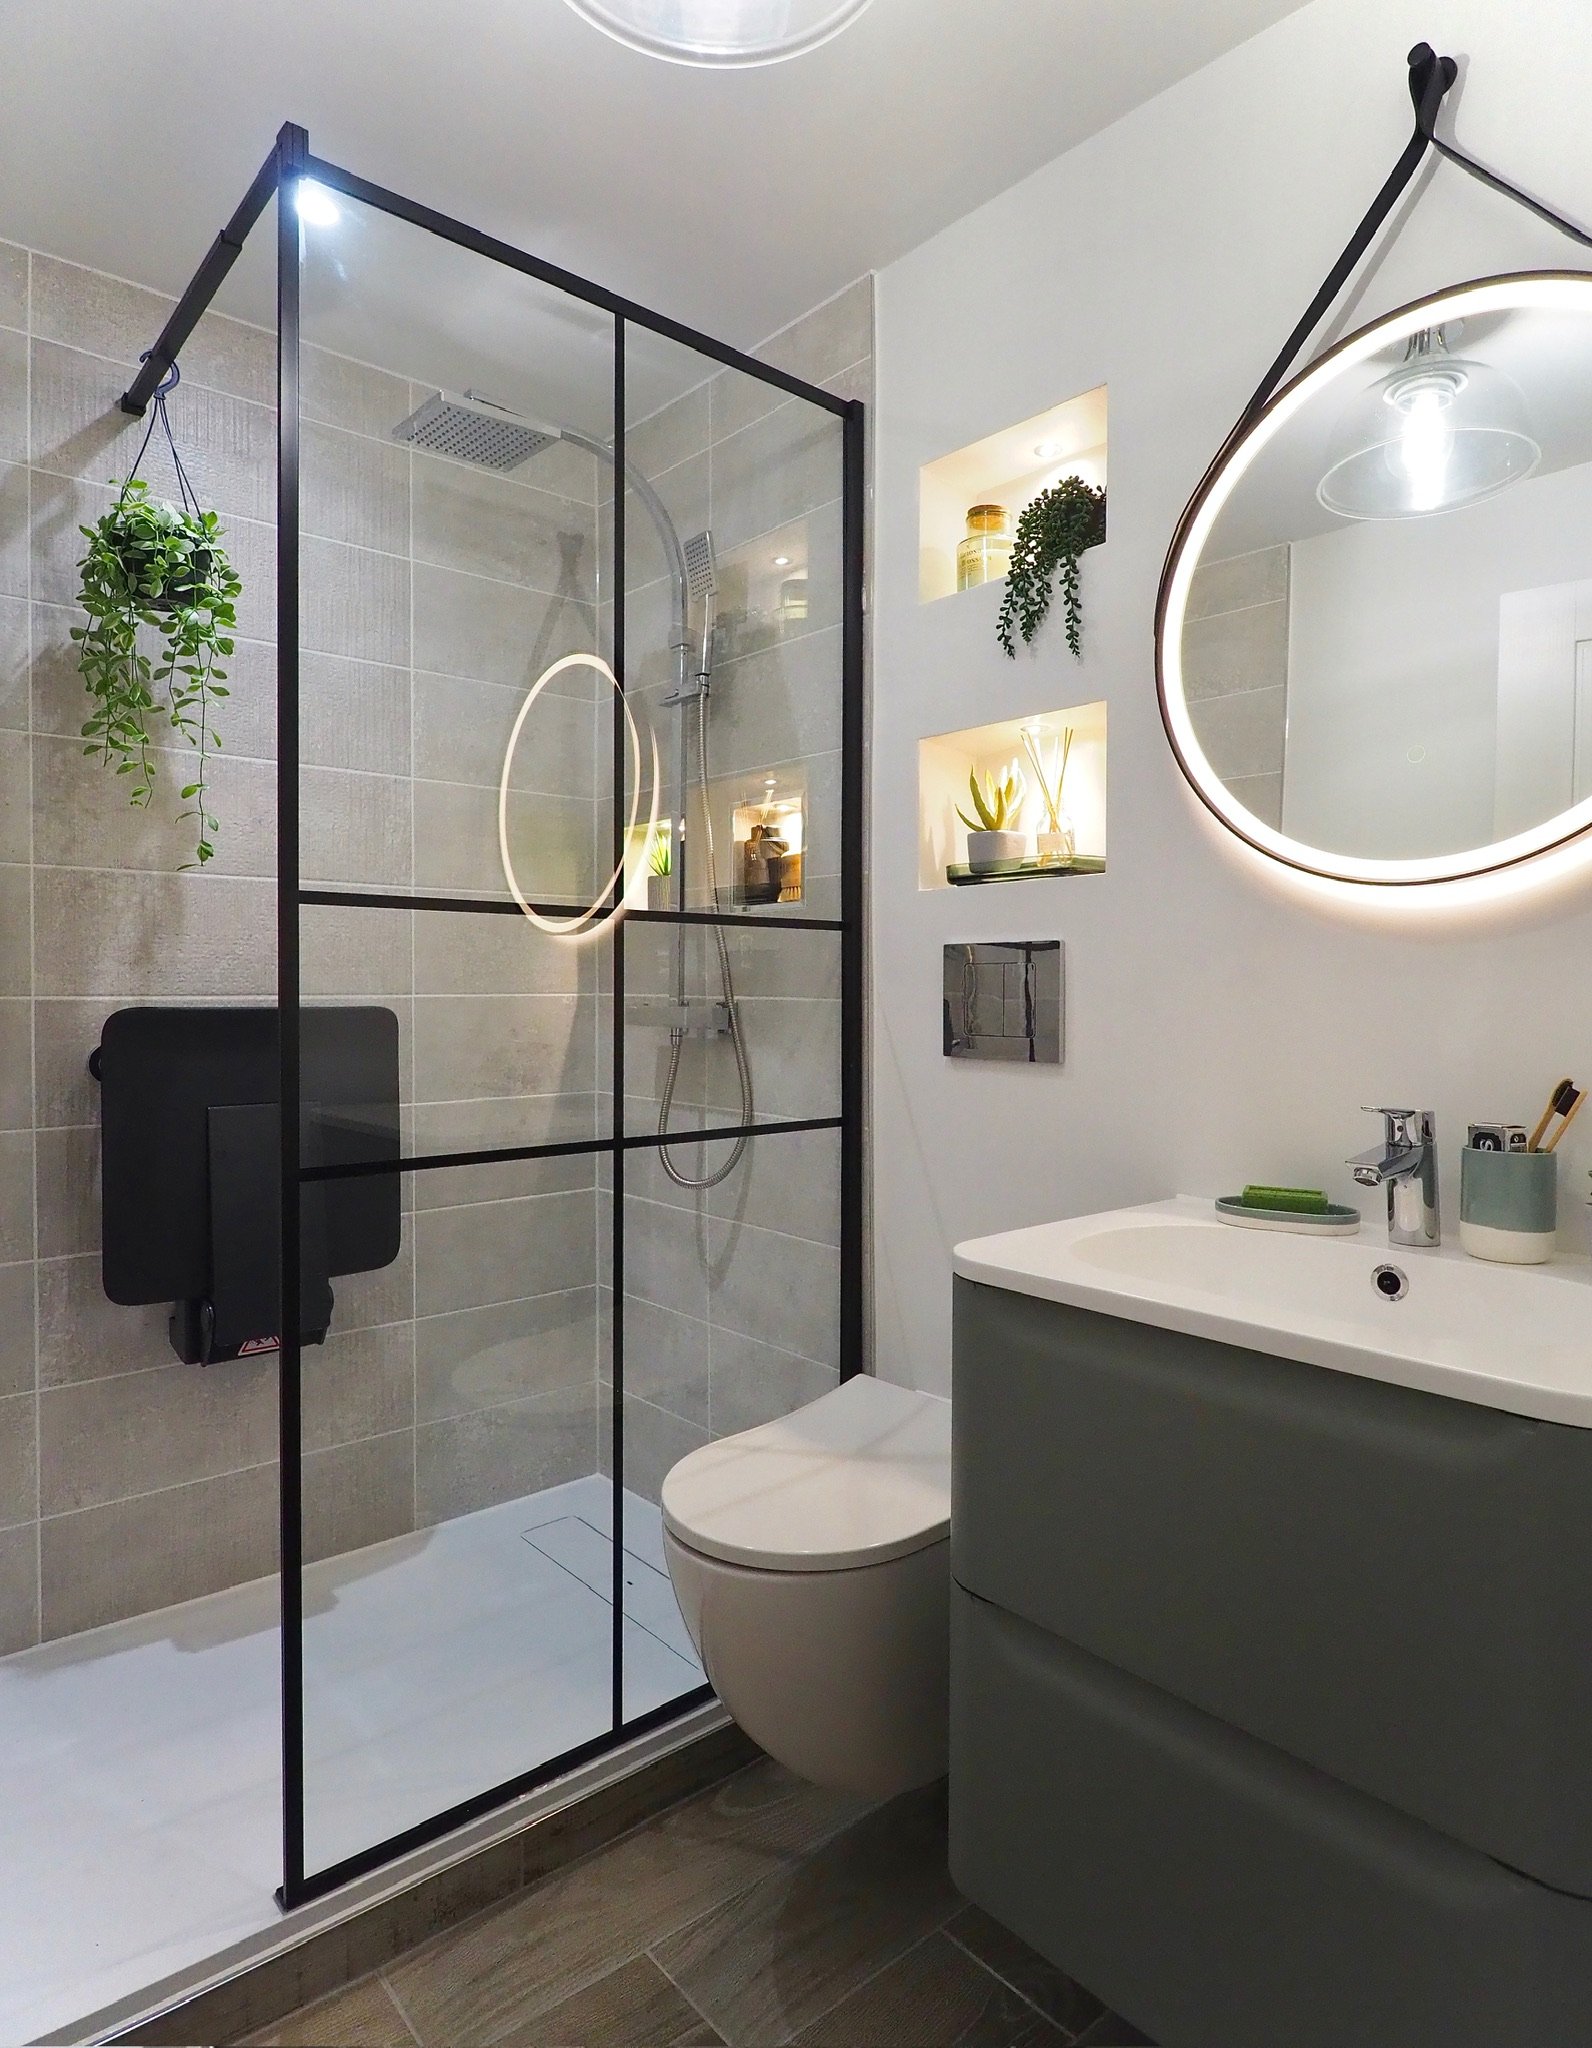
After the adjoining en suite had some major building work done at the start of the year, its accompanying multi-purpose room (used as both my office and a bedroom for overnight guests) was looking very worn and required redecorating. Located at basement level, it’s a compact, tricky space featuring boxed-in beams and little natural light. I wanted the room to feel bright and spacious to work in - but also warm and inviting as a guest room. Here is what I started with, and here is how it has turned out!

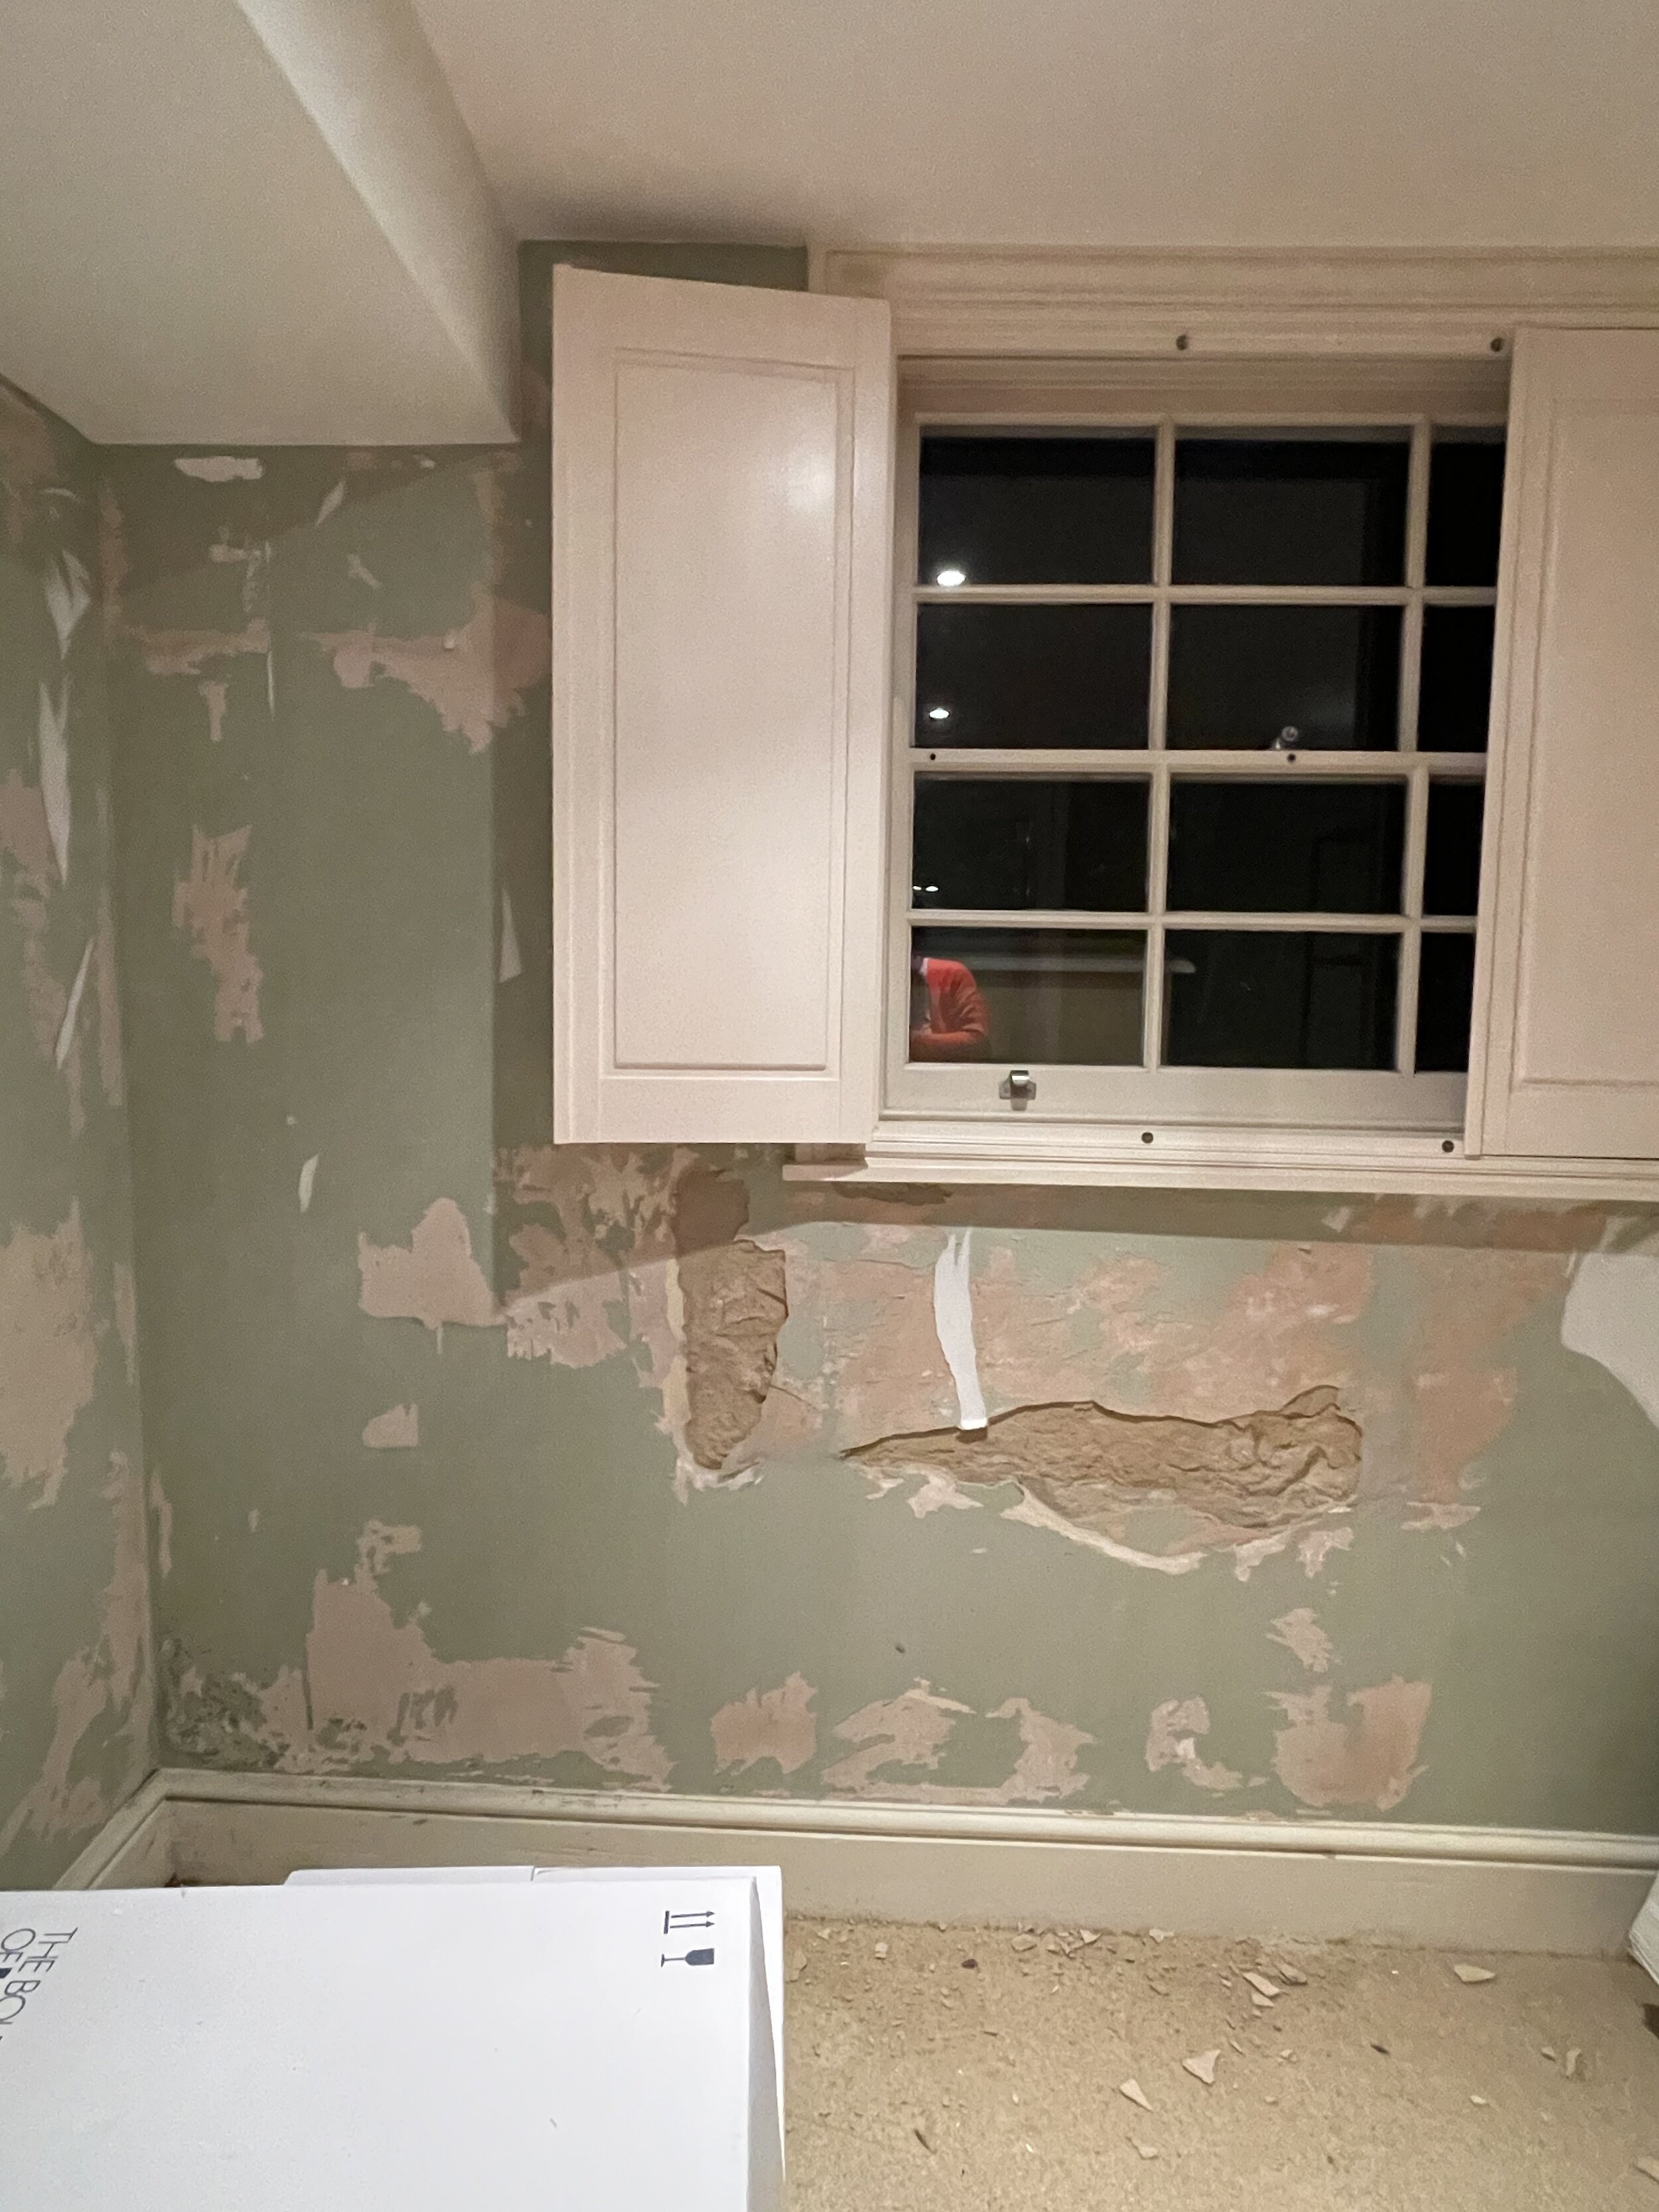
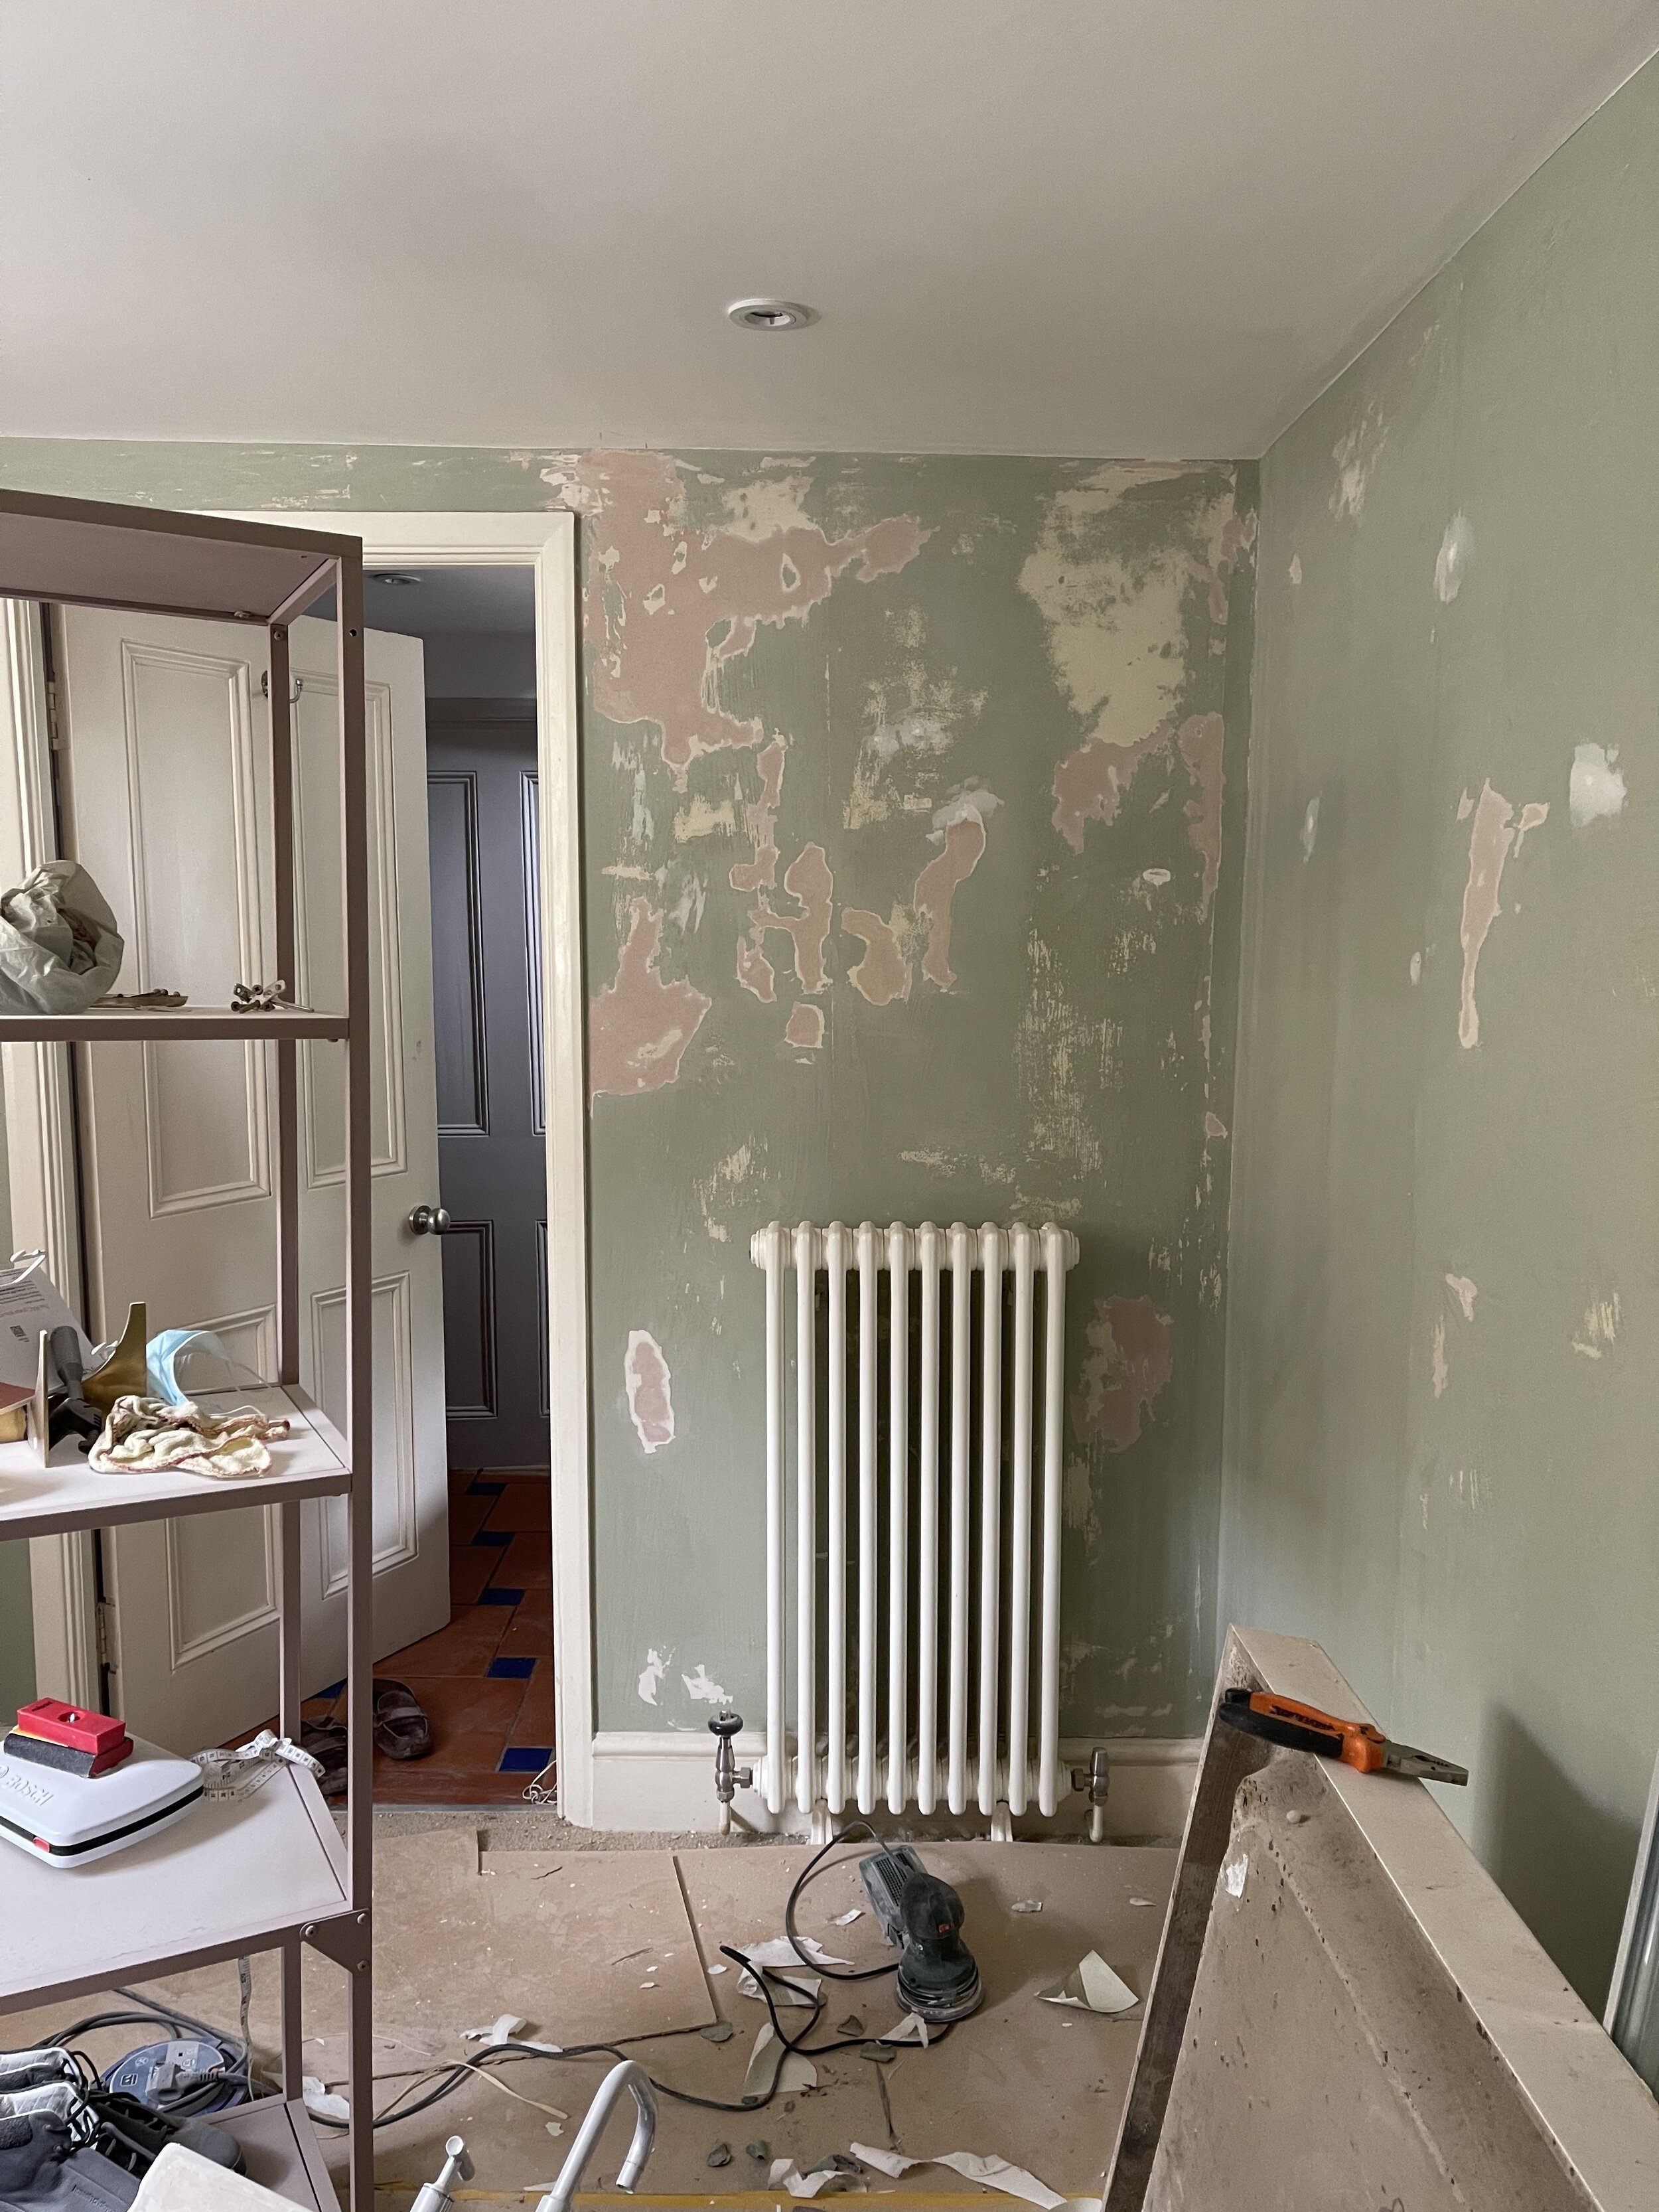

THE BEFORE:
As this room is in the basement, it is a lot colder than the other rooms in my home and I knew removing the previous wallpaper wouldn’t be a simple job. In fact, this room resulted in a lot of prep work to get the walls smooth and ready for painting. A lot of paint came off with the wallpaper leaving uneven surfaces; on one part of the wall, most of the plaster came away with the wallpaper! (read here how I fixed this massive hole quickly and easily). Once I was rid of all of the old paper, I sanded back the walls, washed them down and then applied a liberal coat of Zinsser Gardz (this sealed any old wallpaper adhesive from showing through the new paintwork and bound down any crumbly plaster). I then used two coats of Everbuild Filler Coat (designed to cover imperfect and uneven surfaces). For any remaining problem areas, I used a paintbrush to apply some plaster skim, then sanded back the dry skim until my wall was smooth and even.
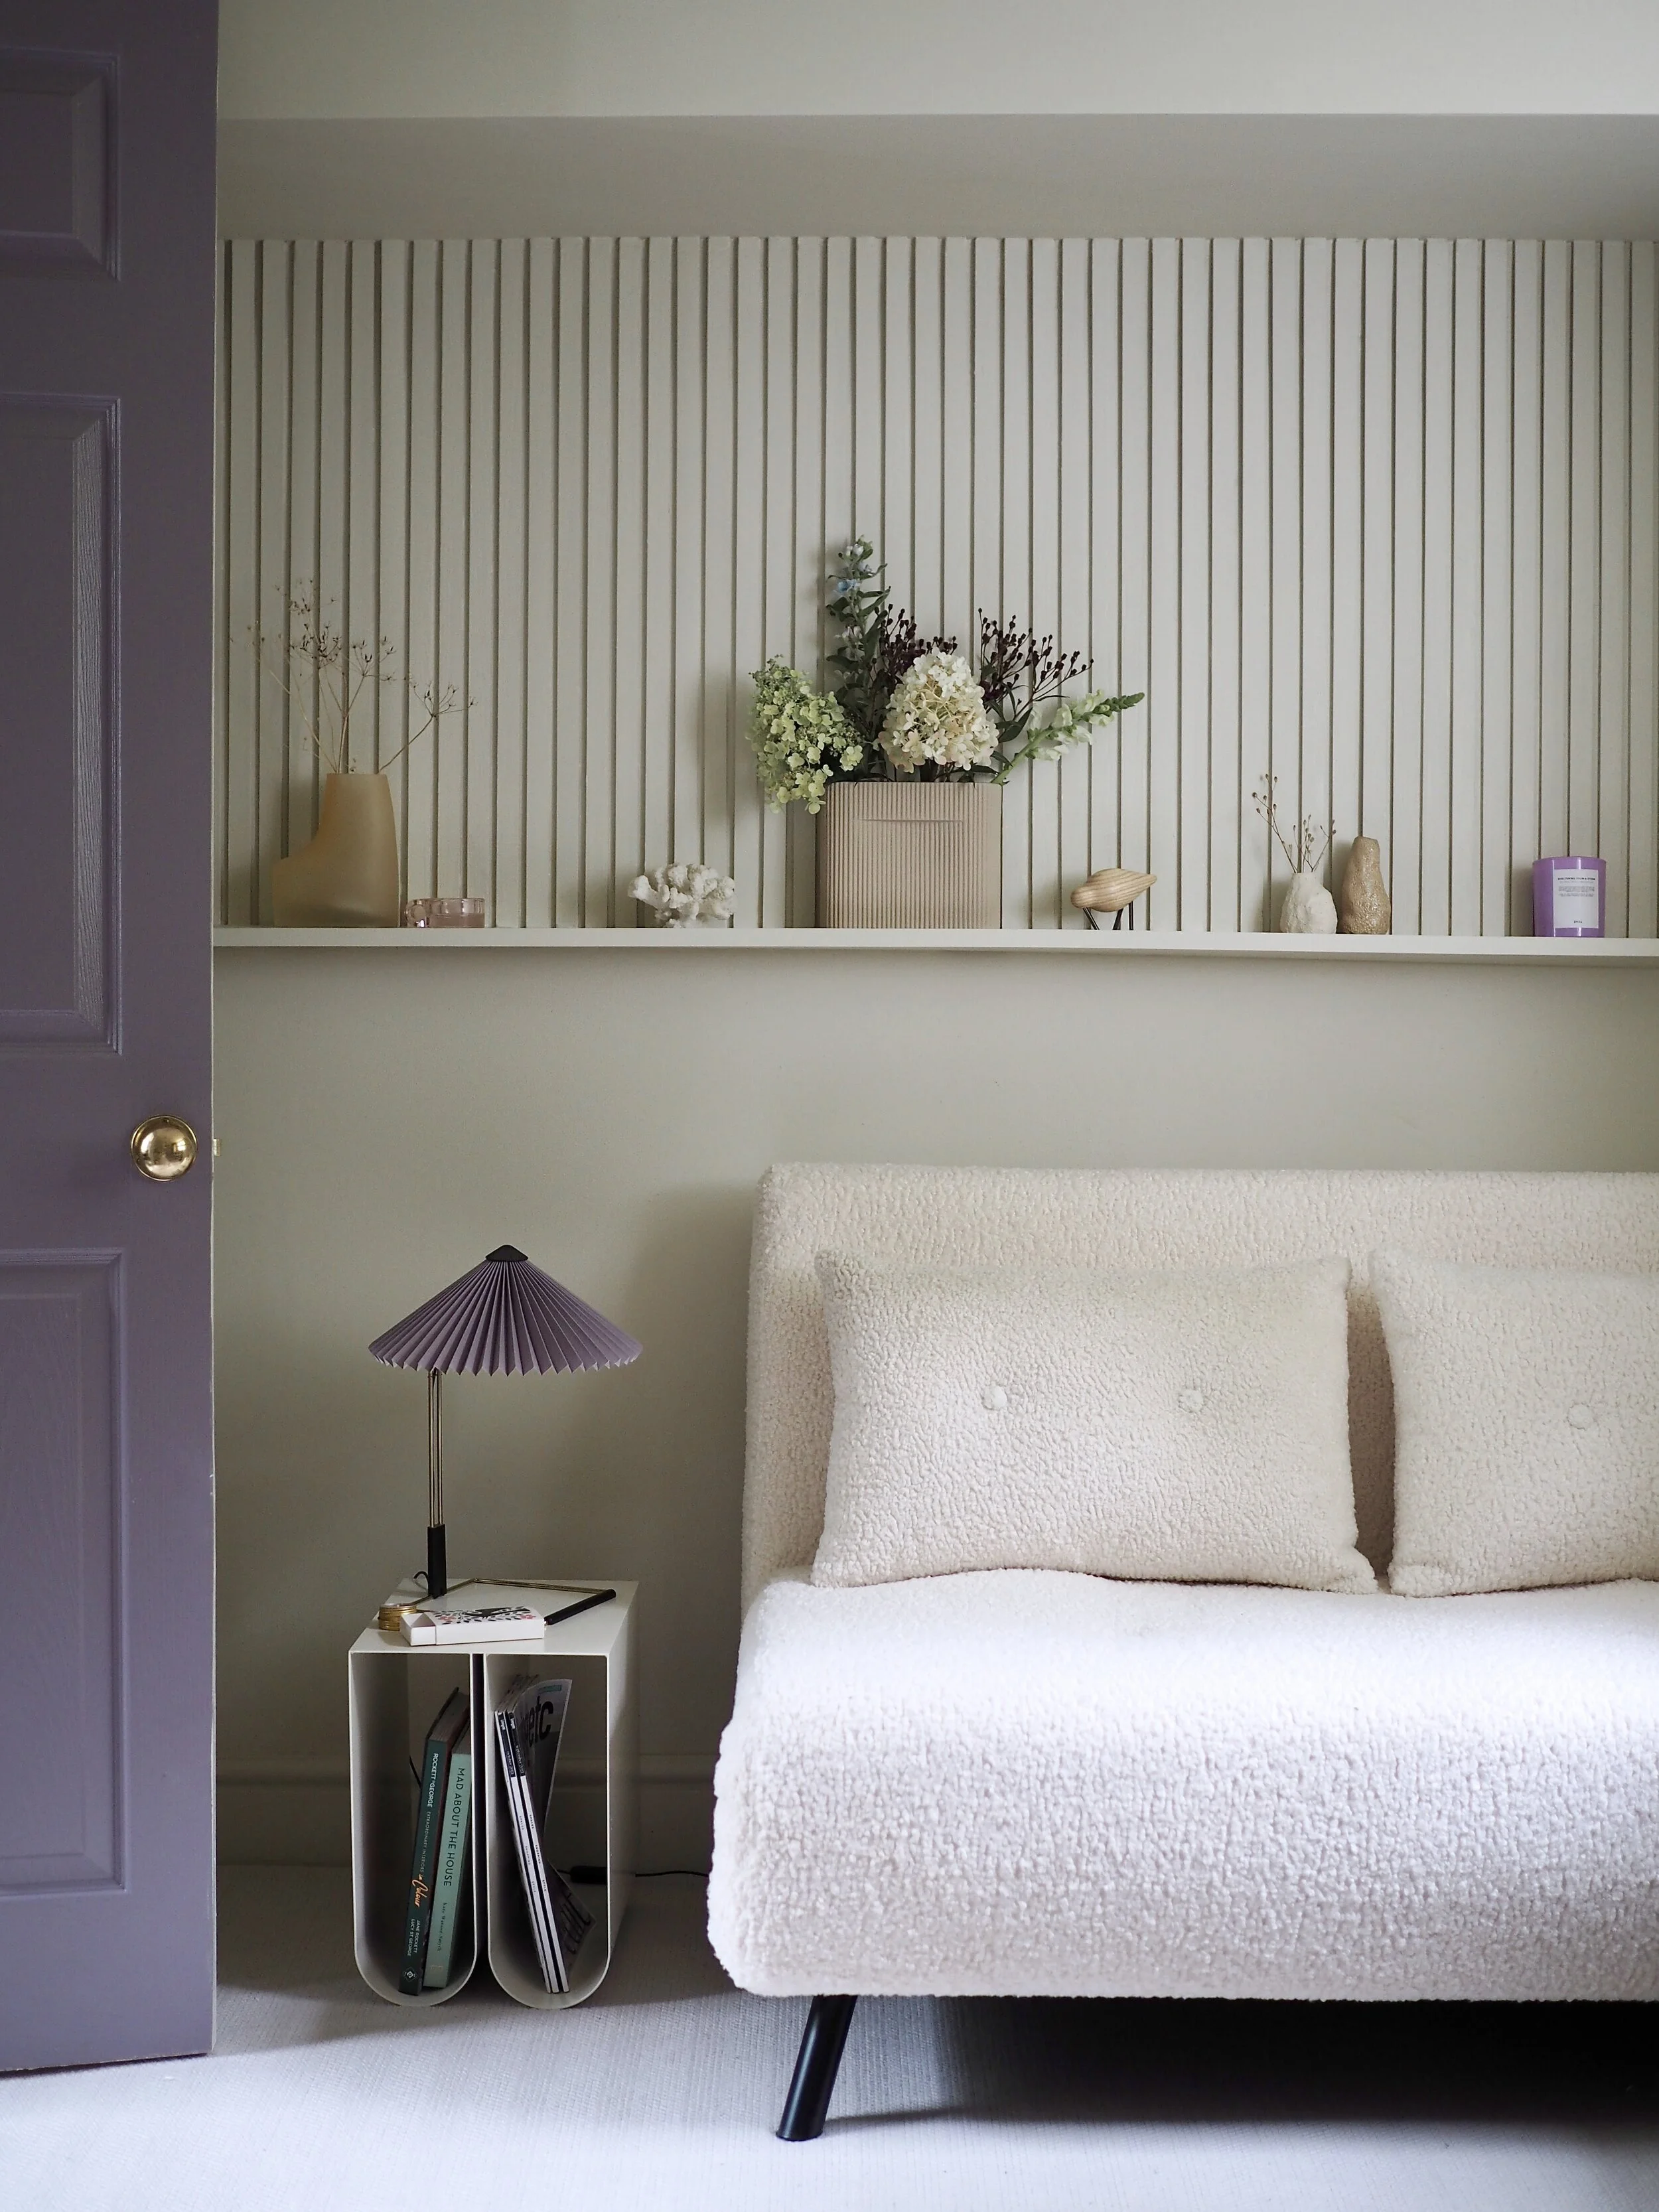
THE AFTER:
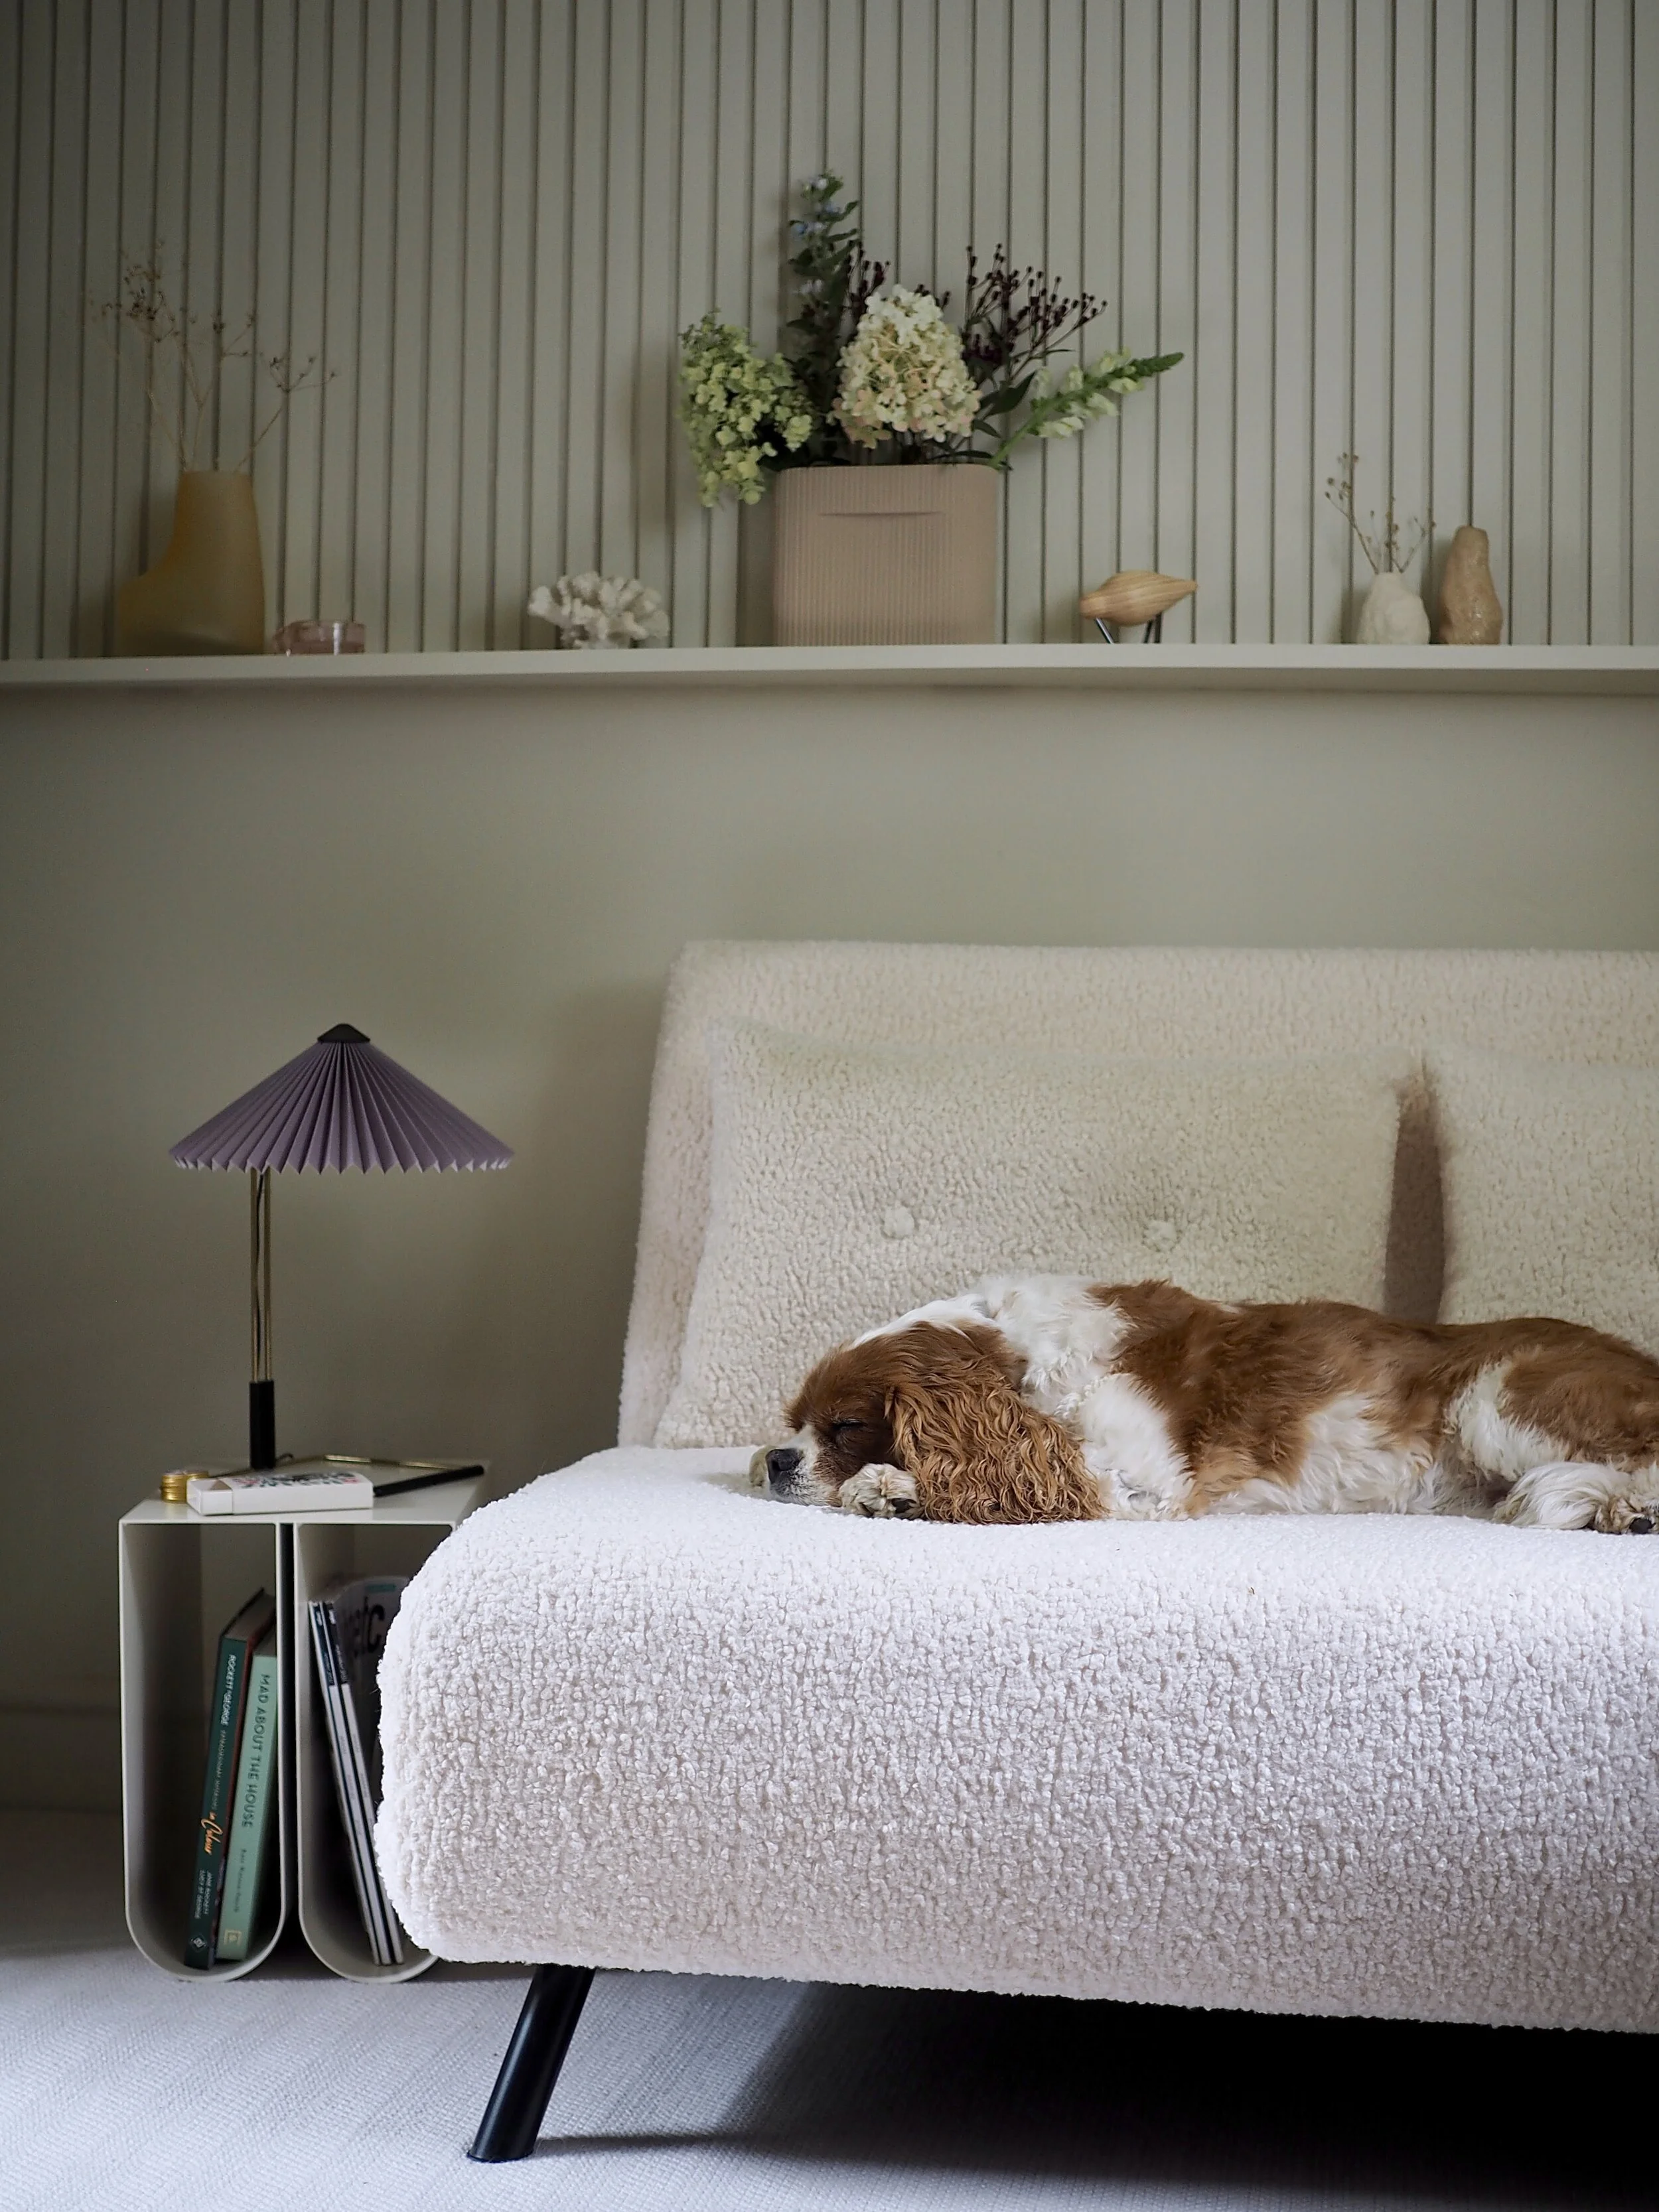
This is what the room looks like now!
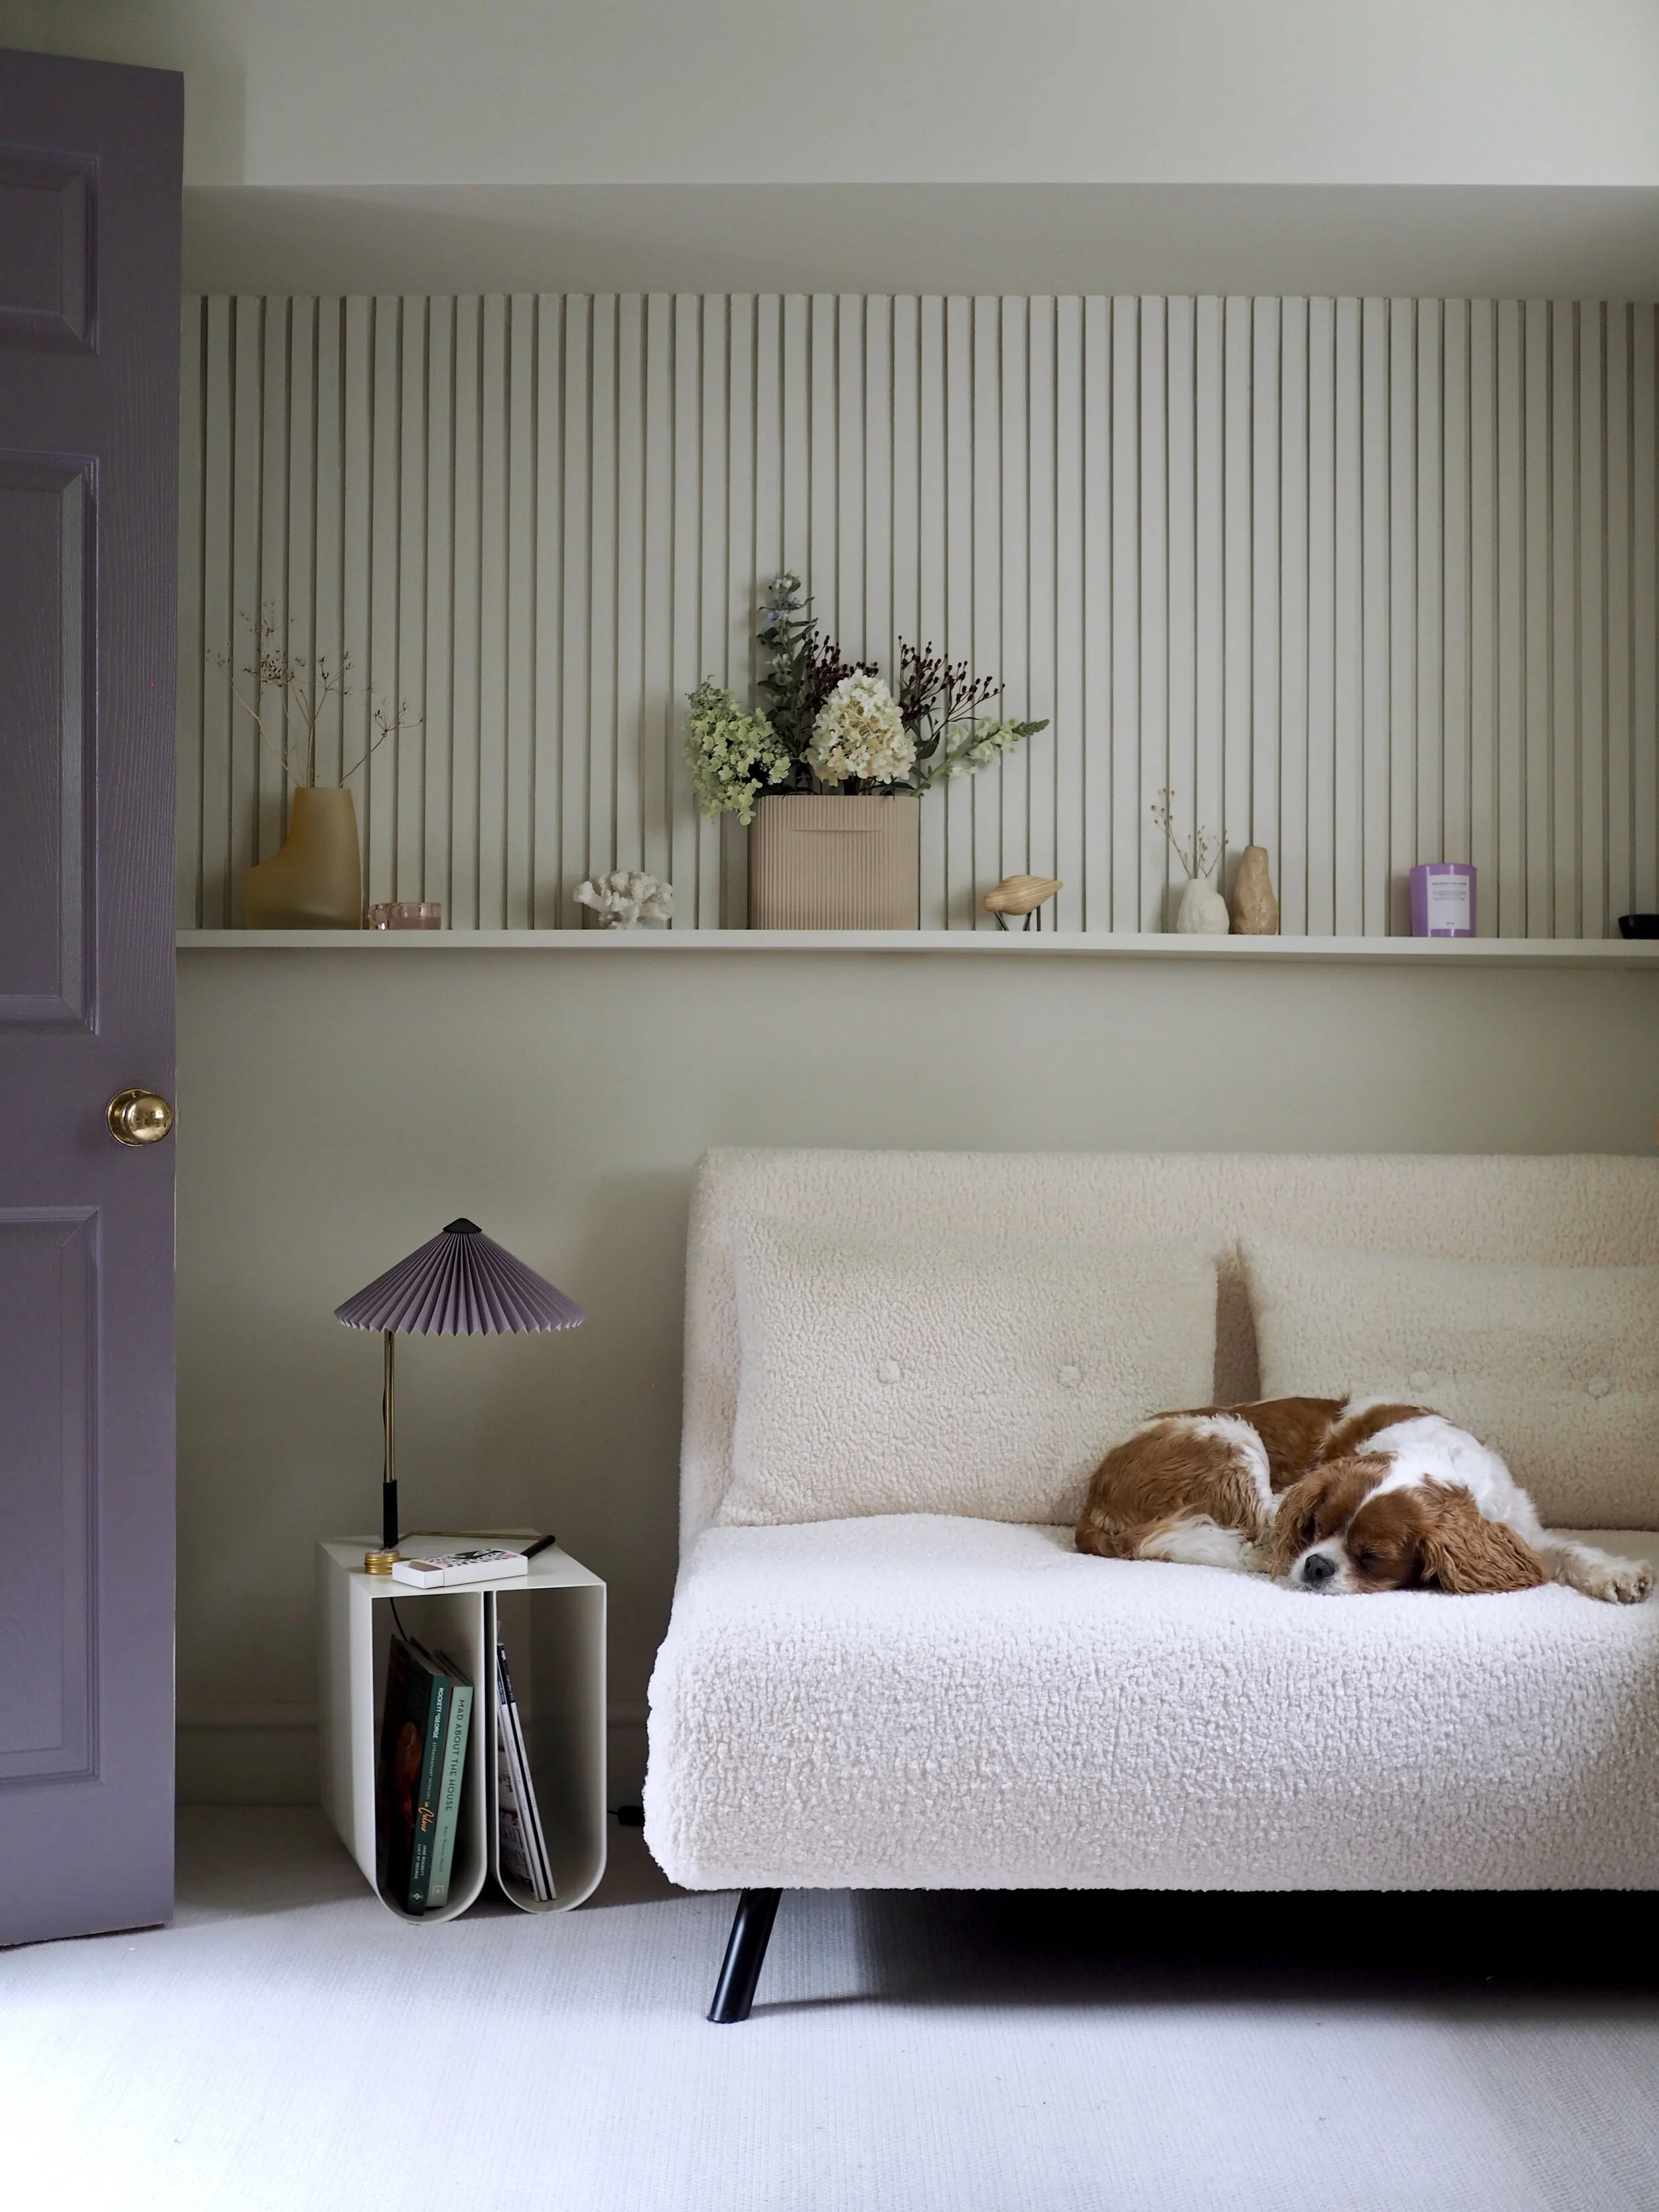
KEEPING IT LIGHT WITHOUT GOING WHITE:
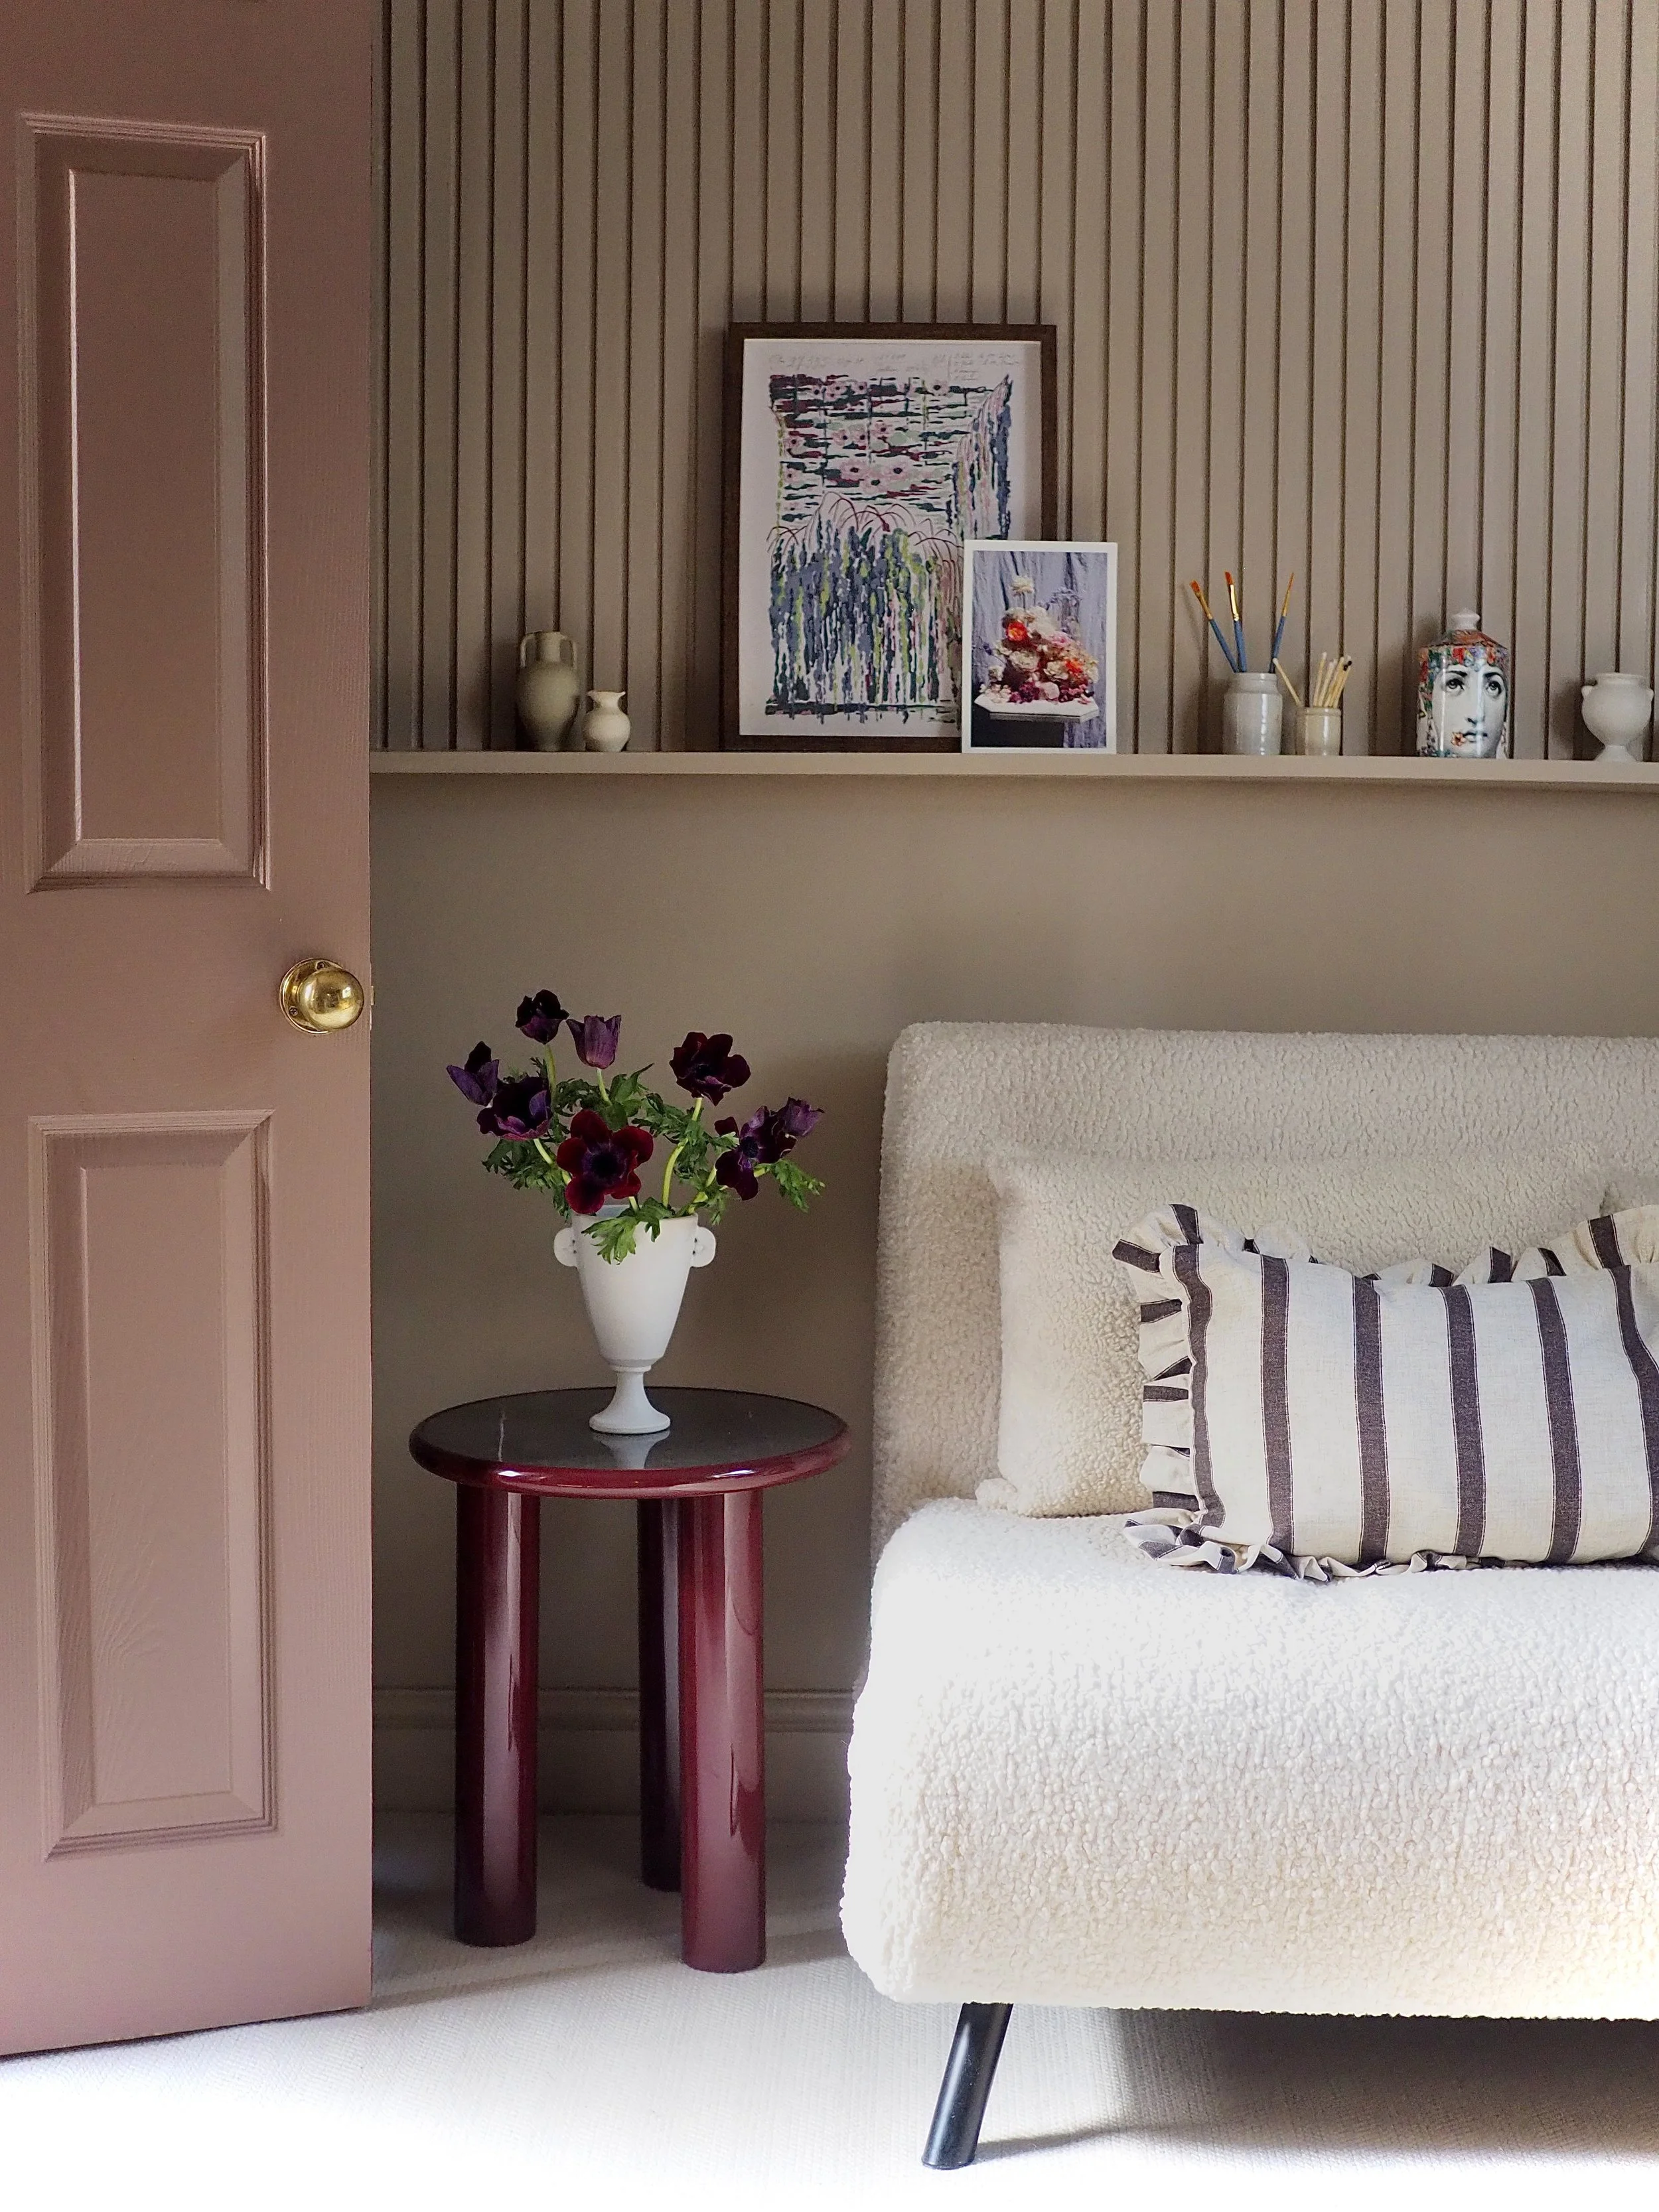
While I often say embrace small rooms with little natural light by making them dark, cosy areas to curl up in, this room is my office/studio (a room where task lighting is required to illuminate my work) and I required it to feel fresh and open. What I didn’t want, however, was to paint it a stark pure brilliant white. I desired something warm that would complement neutral furniture and accessories, so I set about trying to find the perfect, soft, brown-based neutral paint colour. It wasn’t an easy job - the garden at the front of the house is raised directly opposite the window so the sun throws in a lot of green light via the leaves. The result of this is that the room embraces a totally different tone and colouration throughout different parts of the day. In the end, the clear winner was Paint & Paper Library’s Canvas II in Pure Flat Emulsion.* The heavily pigmented finish of the paint provides a caramel brown tone in the evening and a more ochre-brown shade in the day when the sun is shining. It was my first time using P&PL paint and I was suitably impressed. It was low odour and gave incredible coverage with just one coat.
All of the walls and woodwork are painted in Cavas II by Paint & Paper Library.
As the ceiling is low and the room has boxed-in structural beams, I colour-drenched the entire space to blend everything together and not make the reduced and difficult proportions prominent. The walls, ceiling, skirting, doors, windows and shutters are all in the same shade (I used Canvas ll in Architects’ Eggshell* for the woodwork) to not make these unattractive features conspicuous.
To keep to the neutral palette of the room and to not weigh it down with darker tones, on the floor I chose to add a hard wearing off-white carpet that would add softness underfoot for a guest bedroom (but is also suitable for heavy domestic use as I work in here every day). The carpet I chose was Wool Herringbone in the colourway ‘Chartwell’* by Fibre Flooring - an independent British brand based out of Devon. I loved how soft the carpet was although it was a tightly-knit design. The herringbone pattern also looks really contemporary.
The carpet is by Fibre Flooring and is a Wool Herringbone in Chartwell.
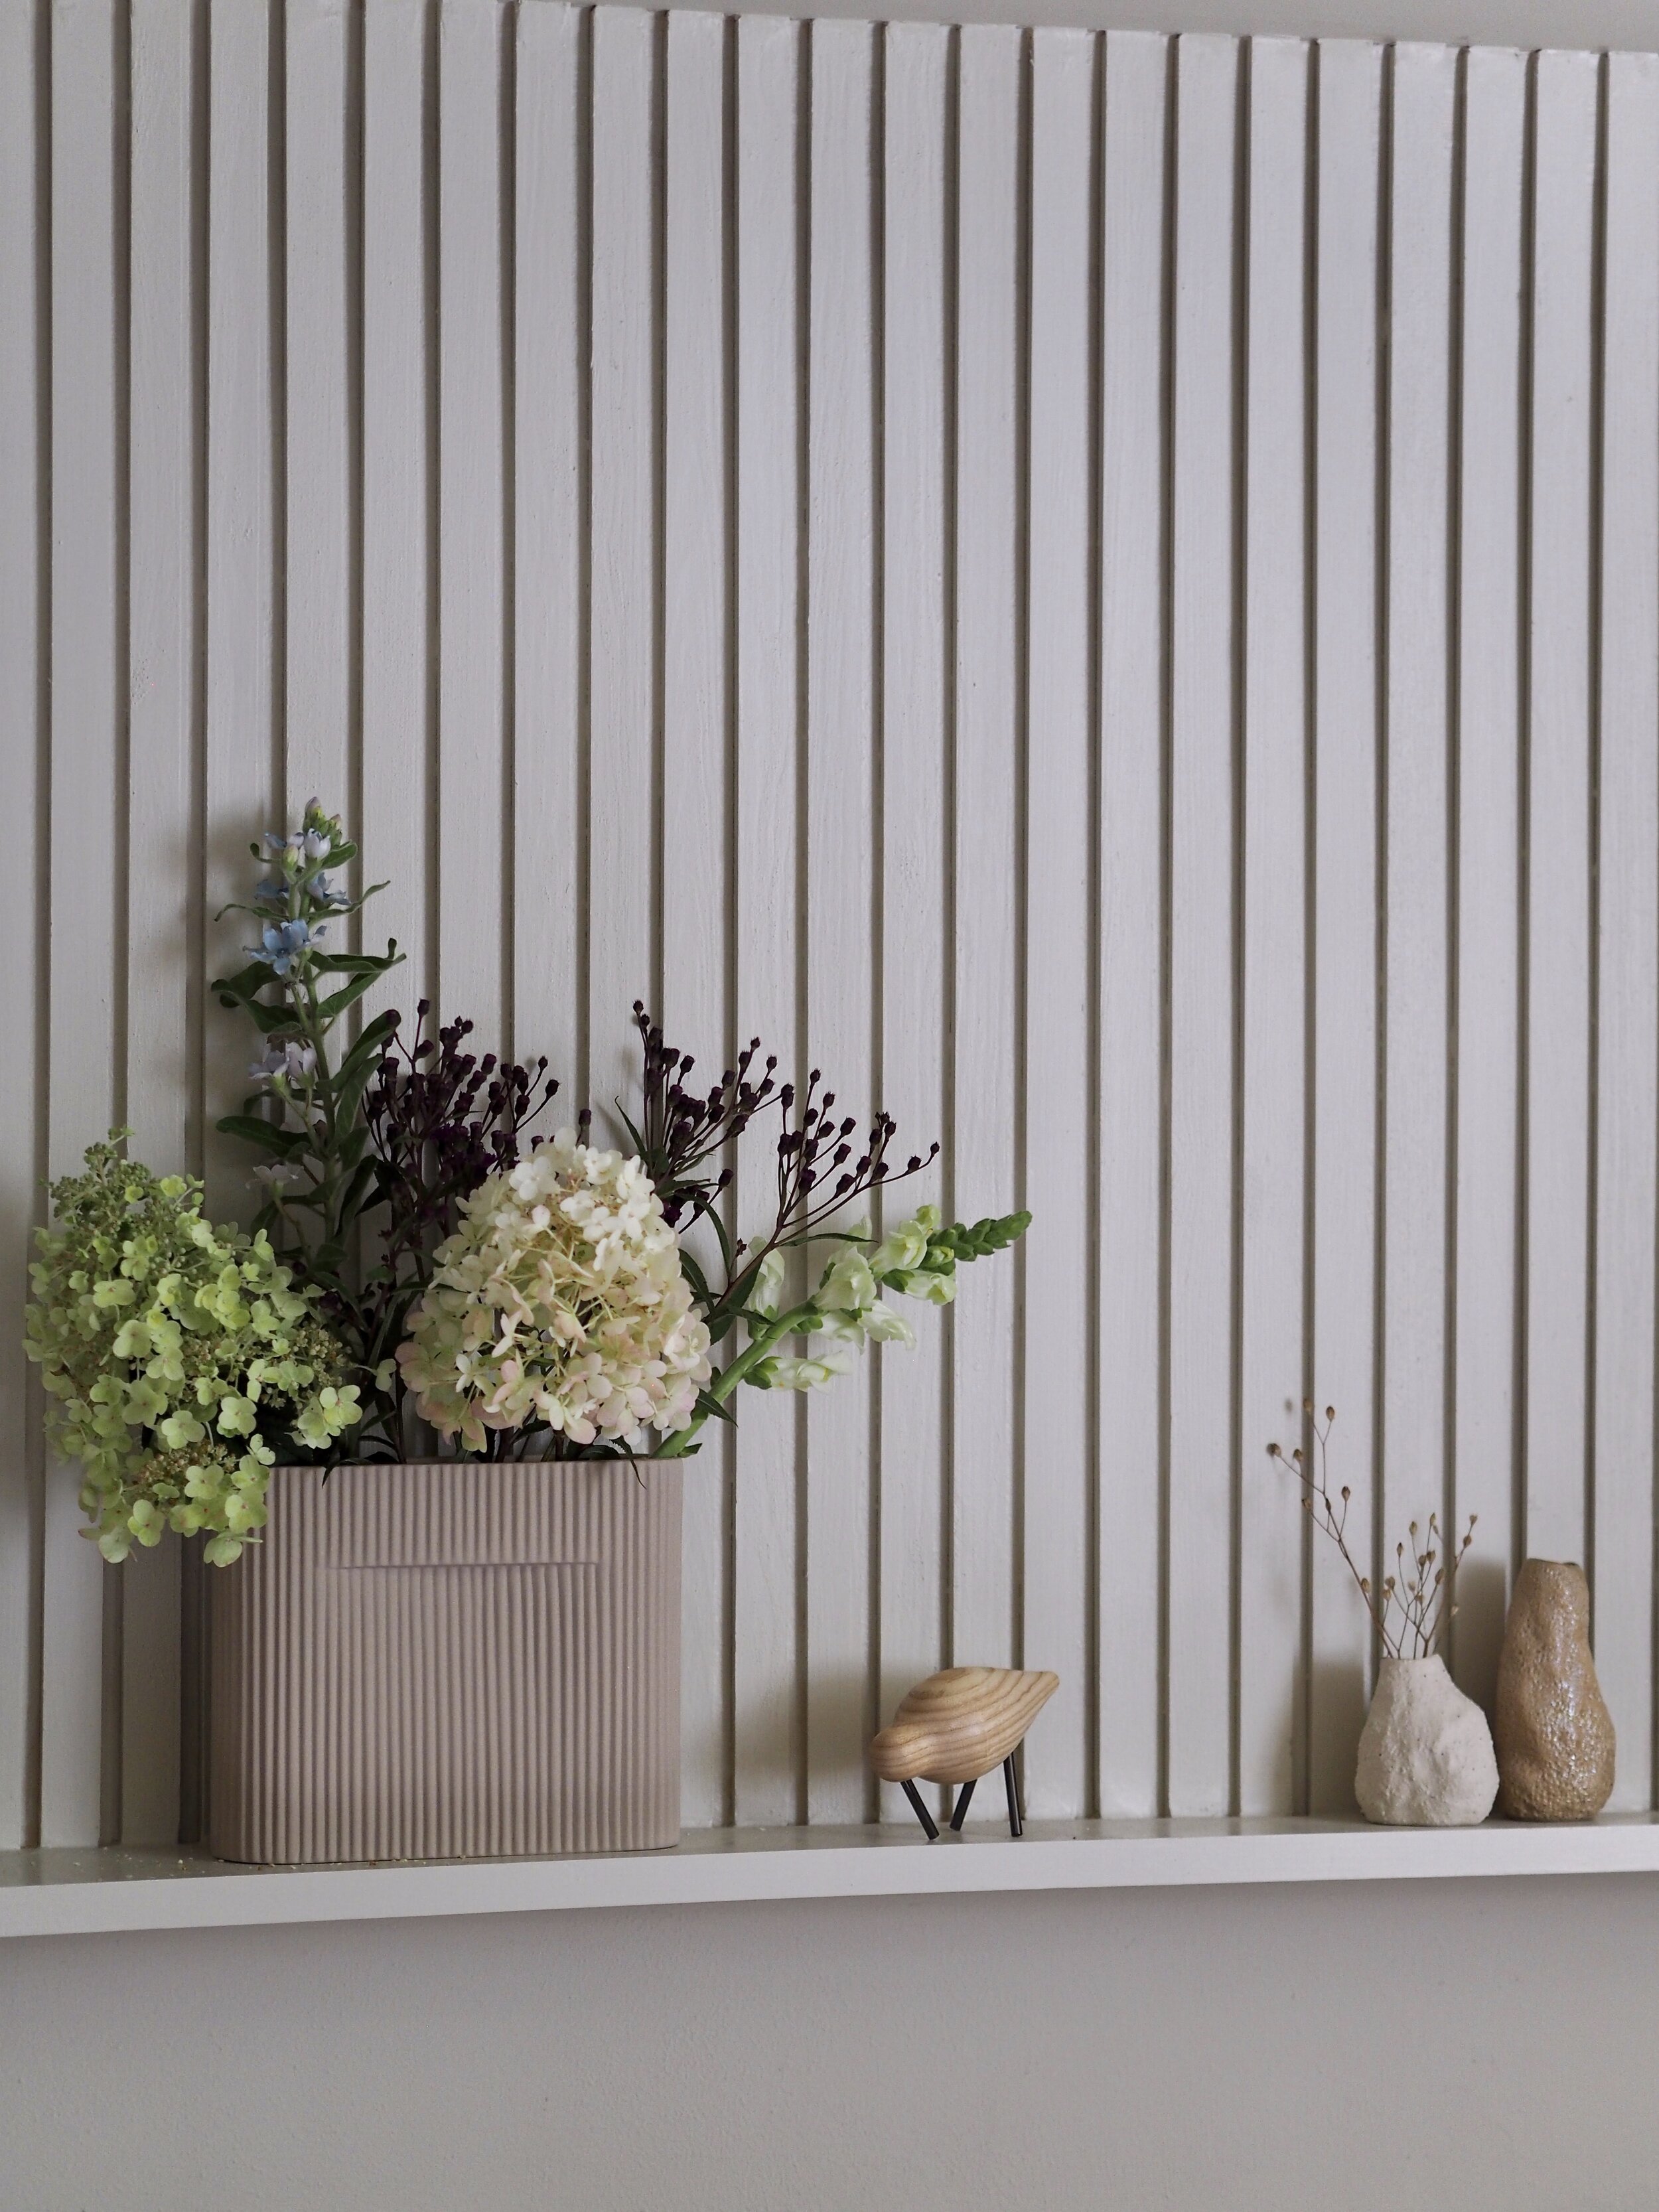
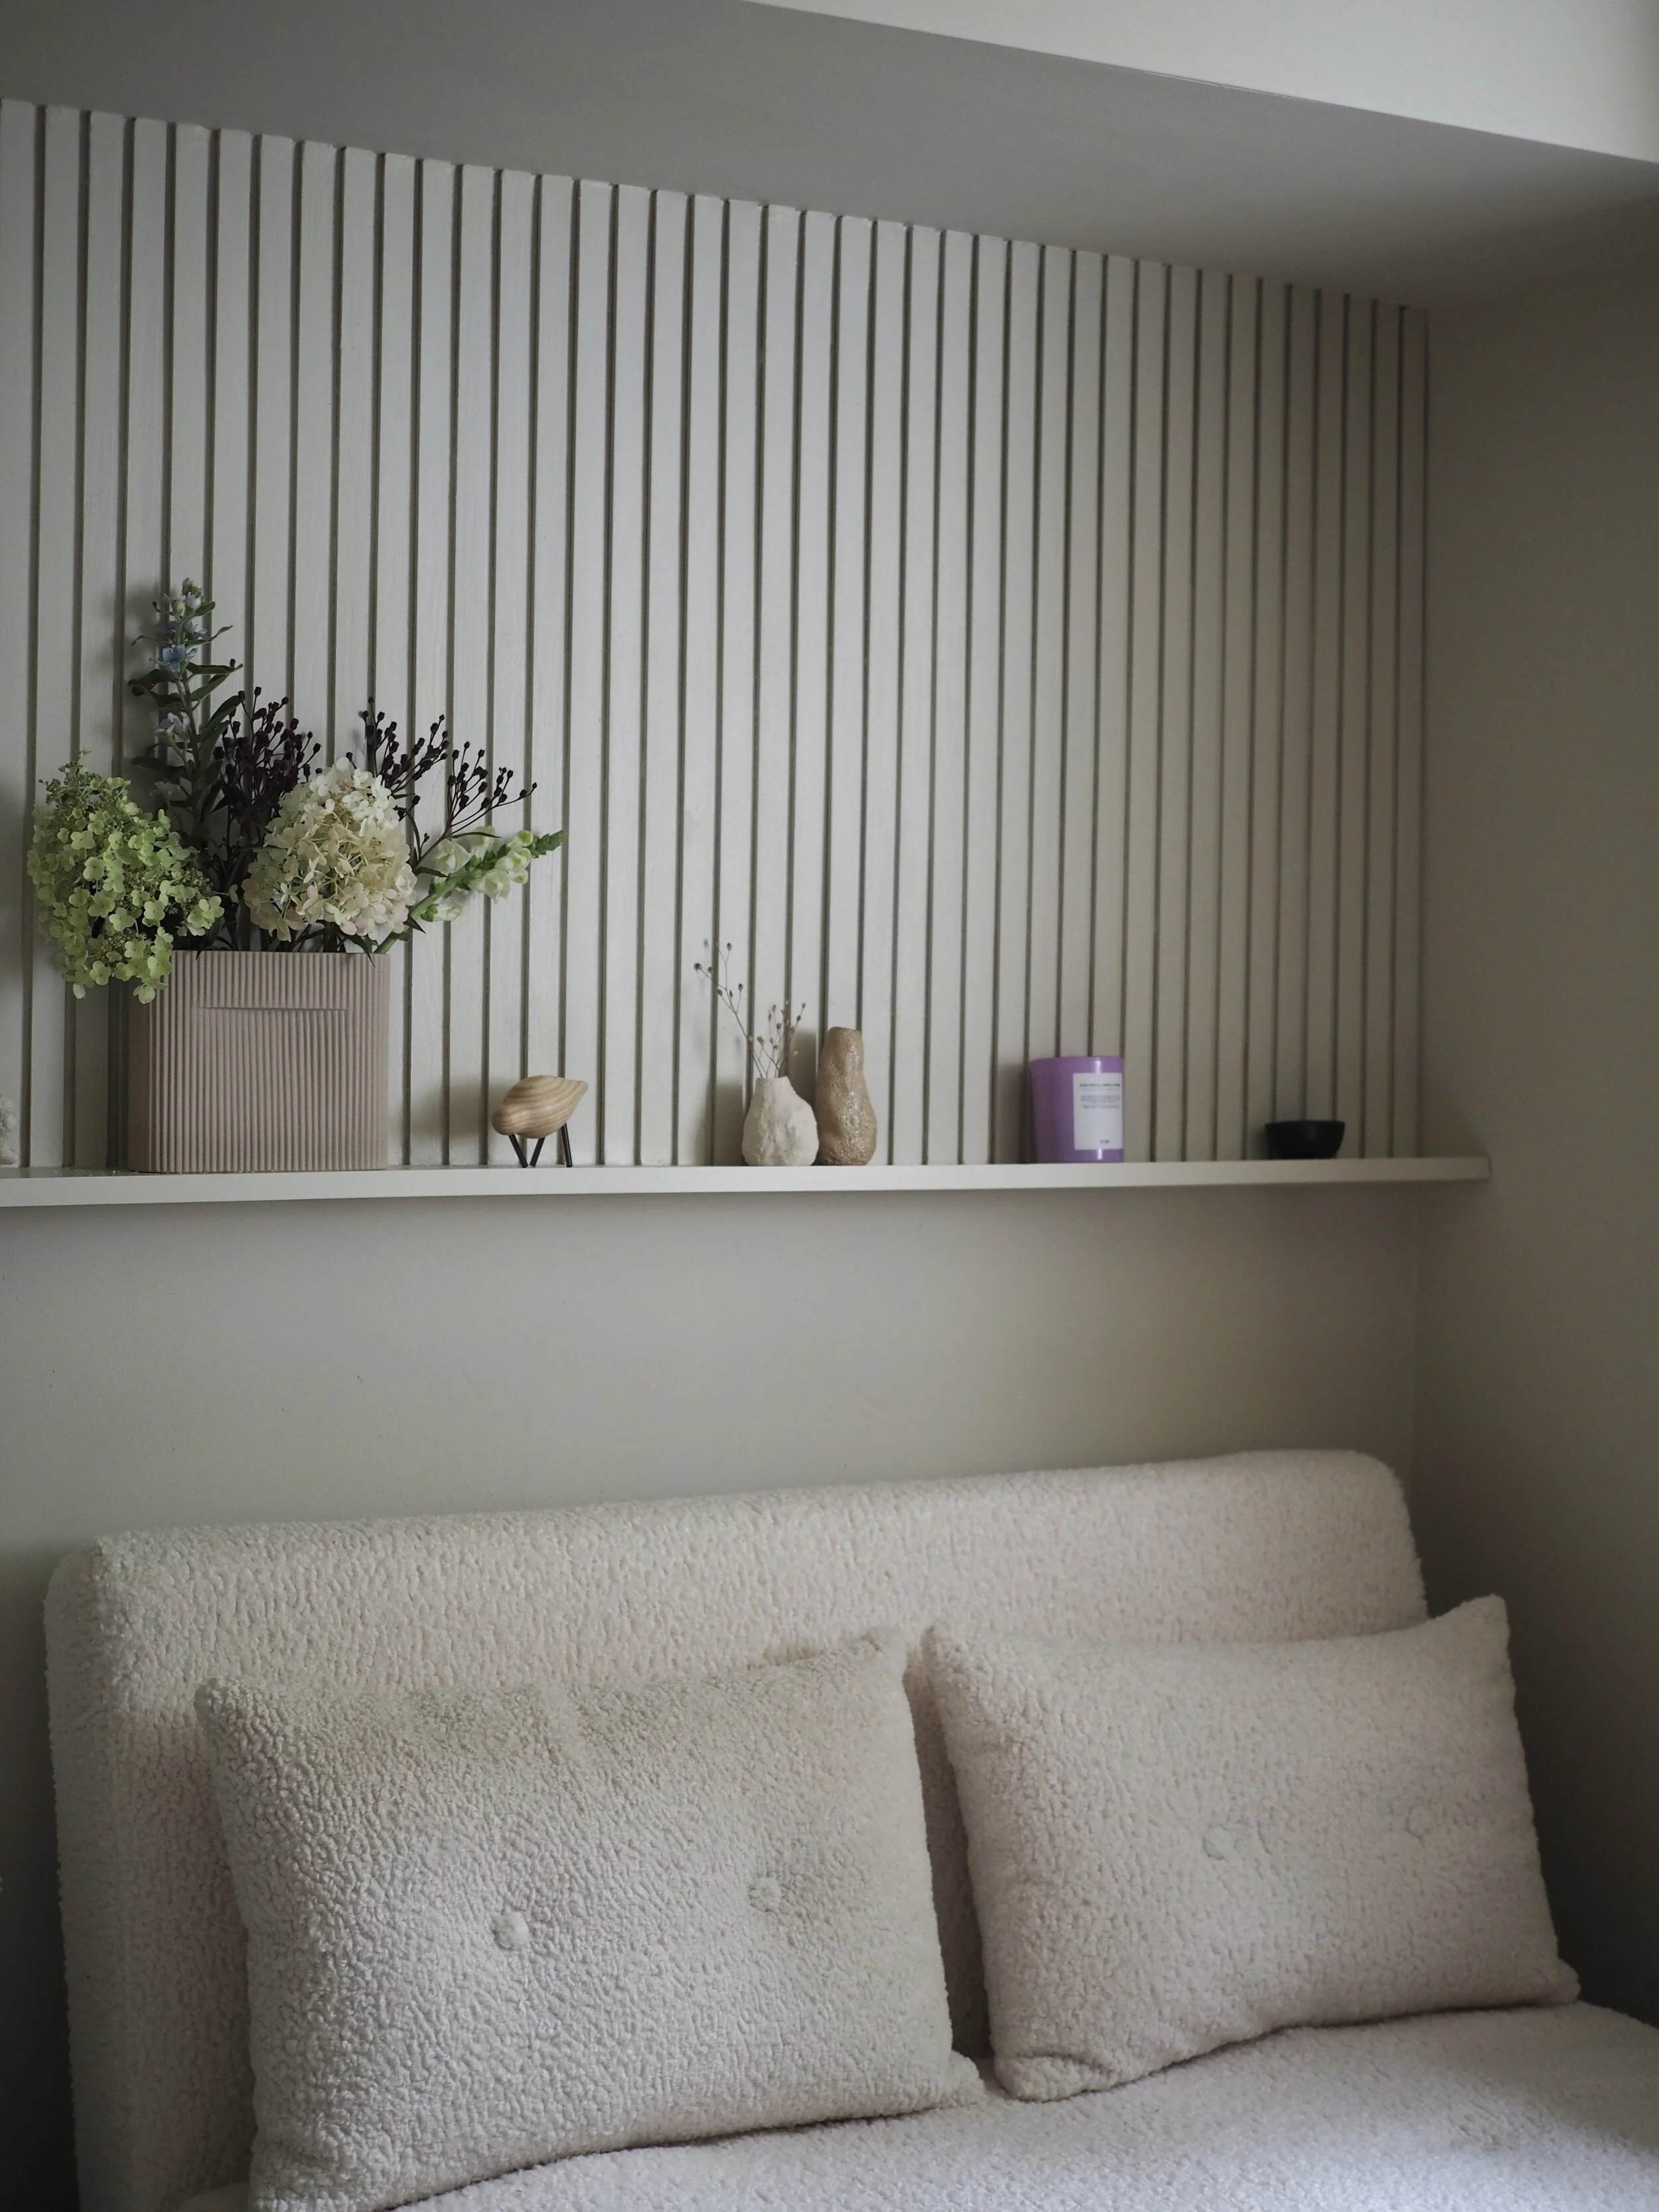
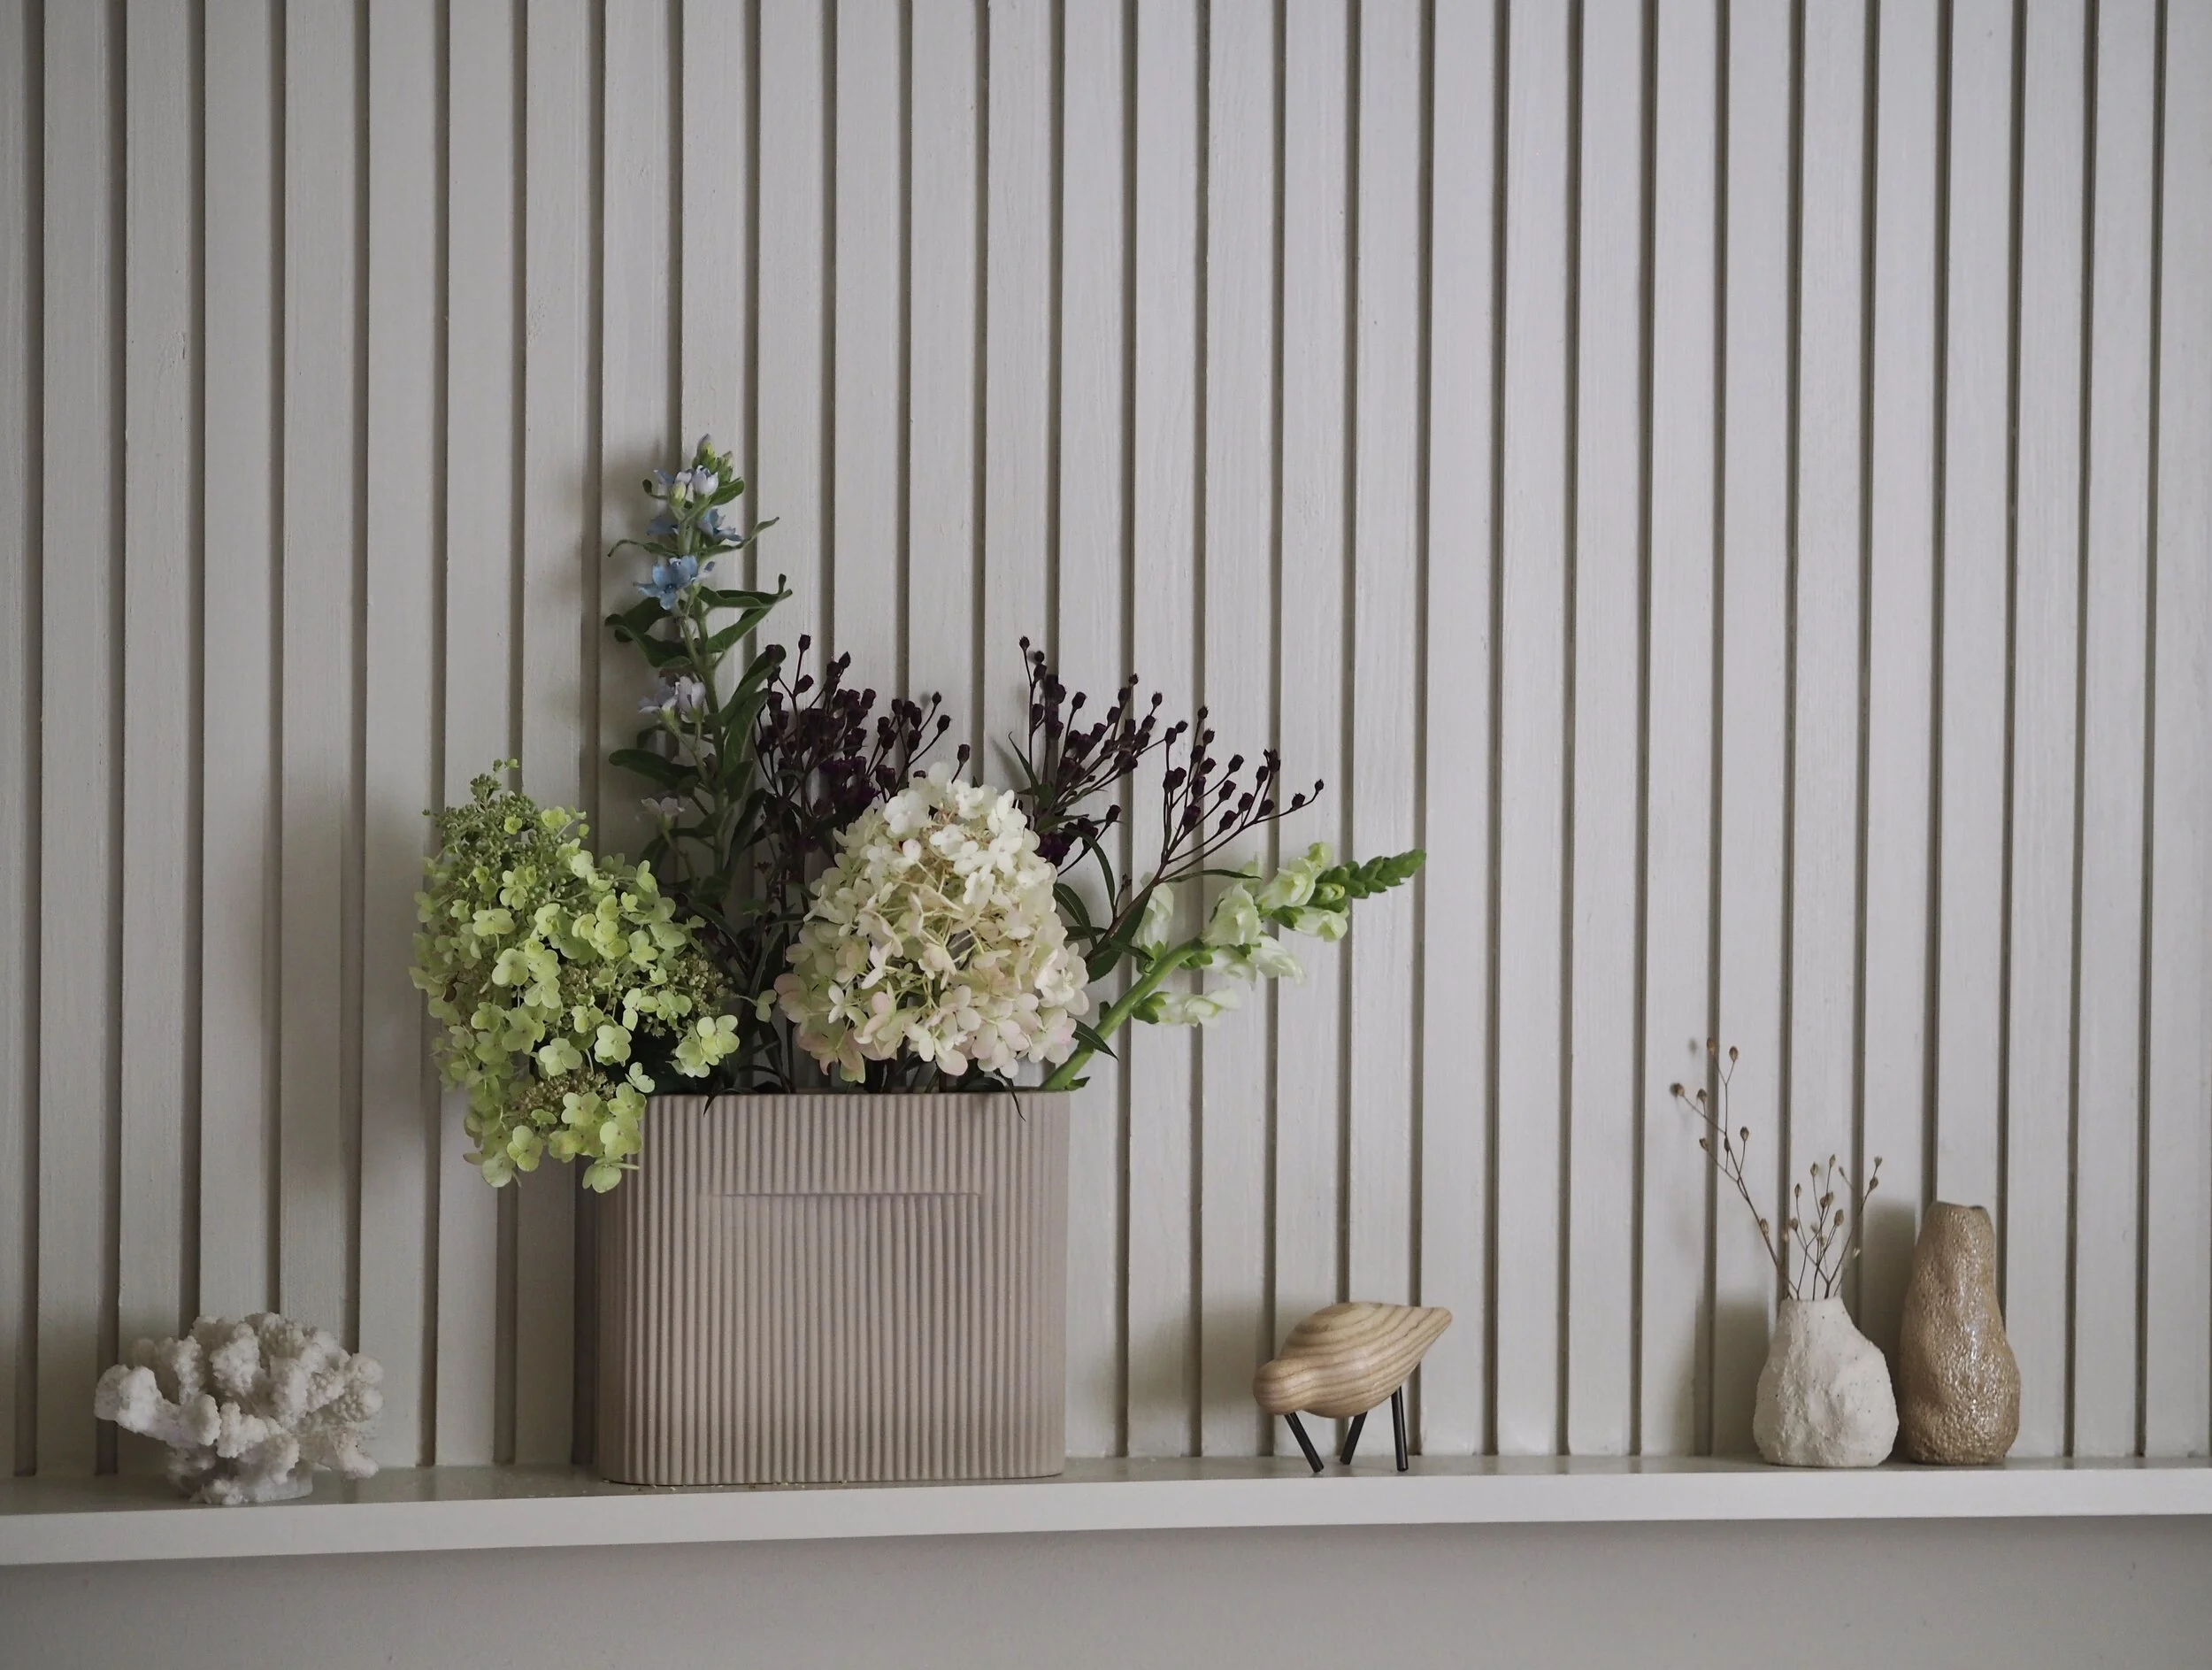
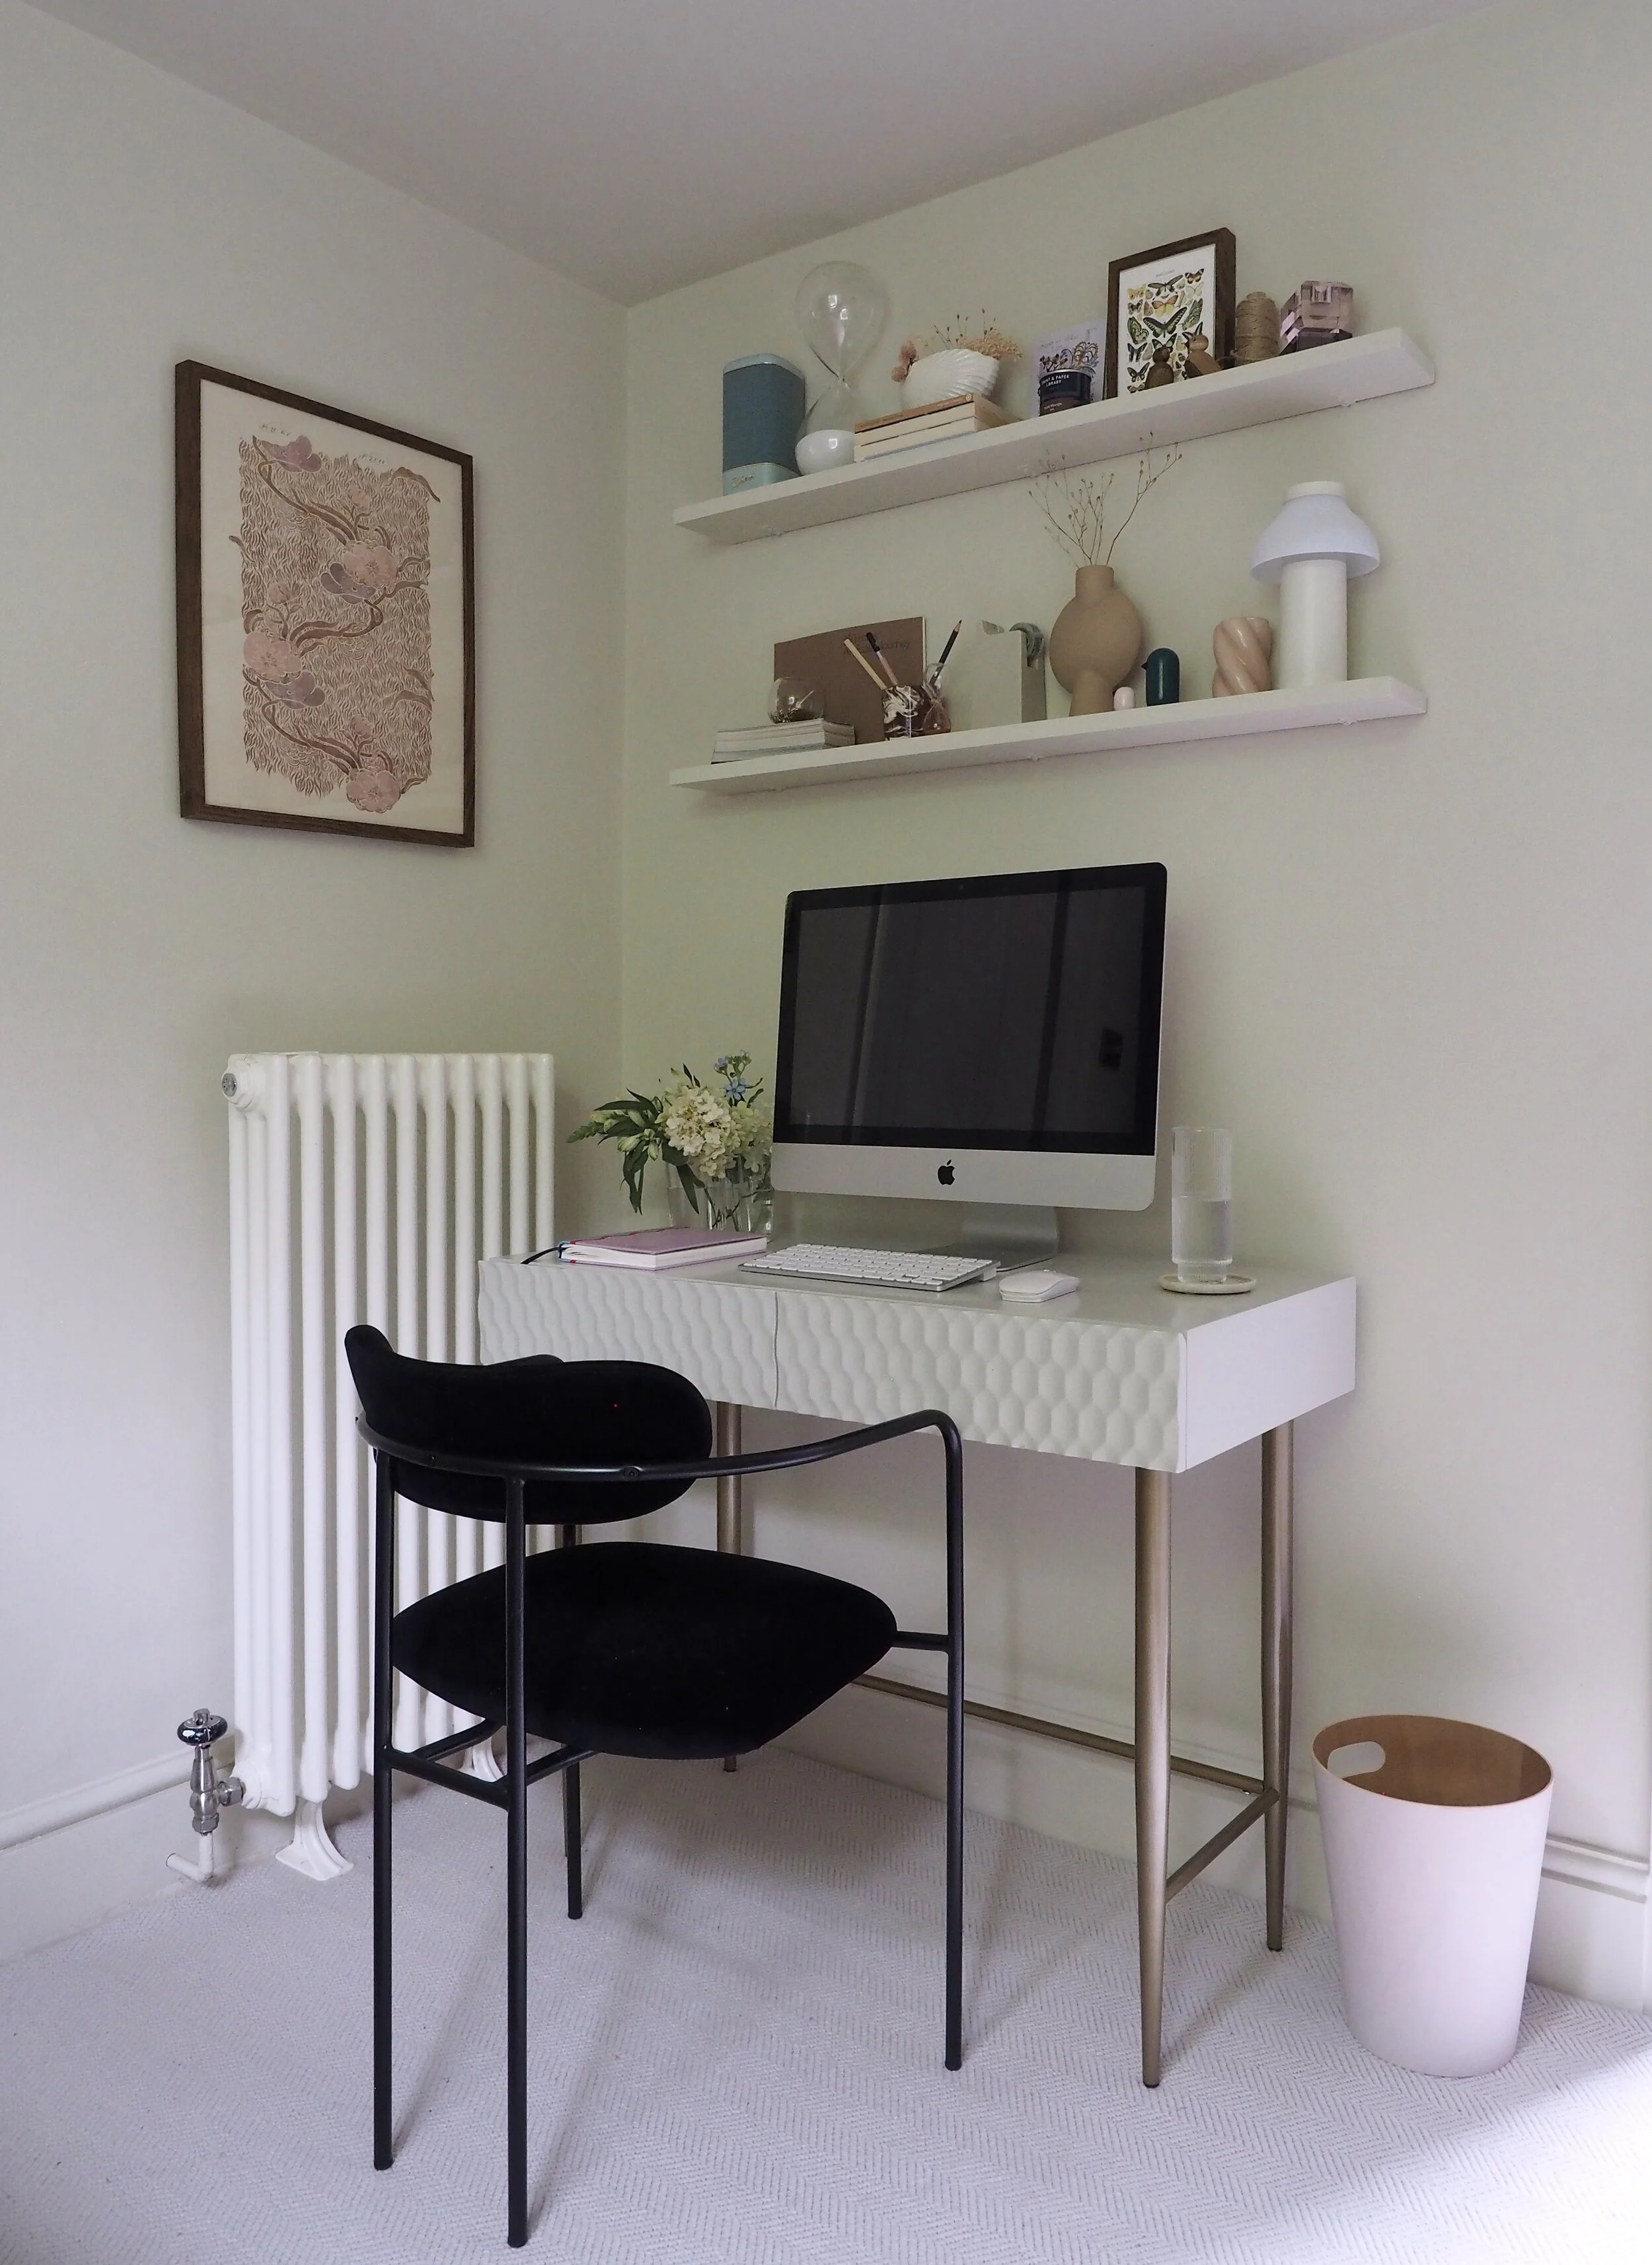
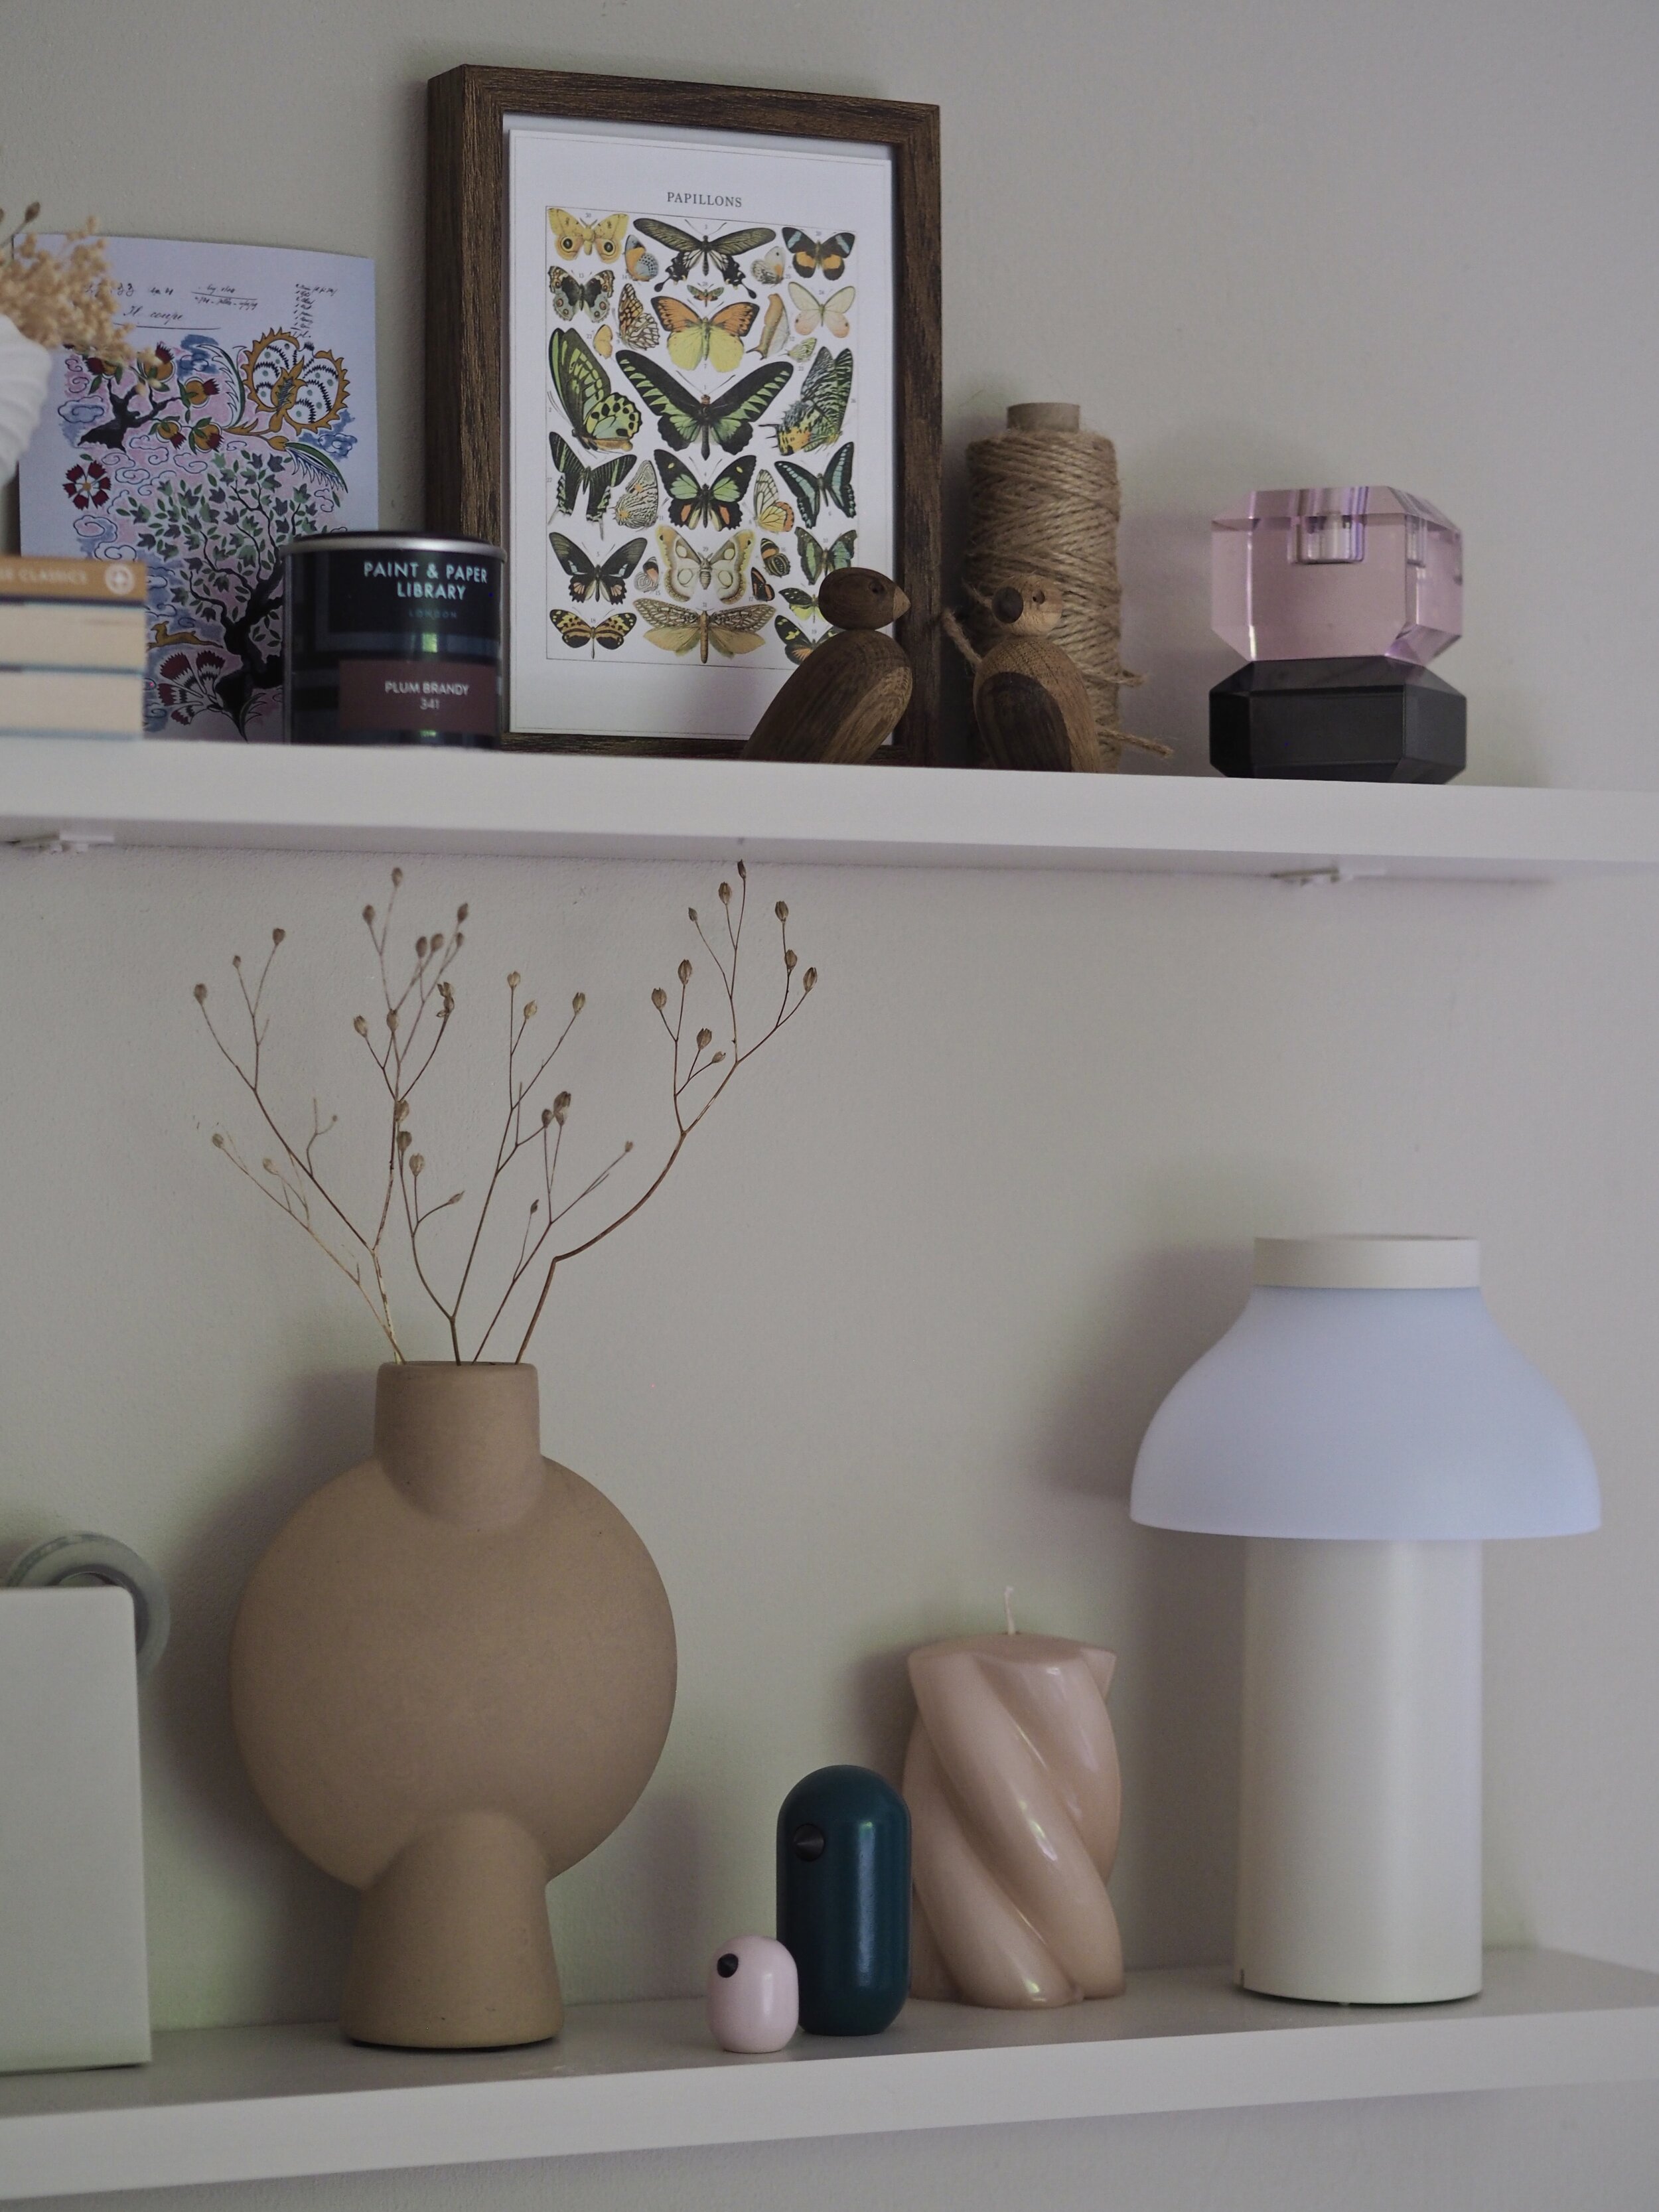
DIVERTING ATTENTION FROM THE BEAM WITH A DIY SLATTED WALL:
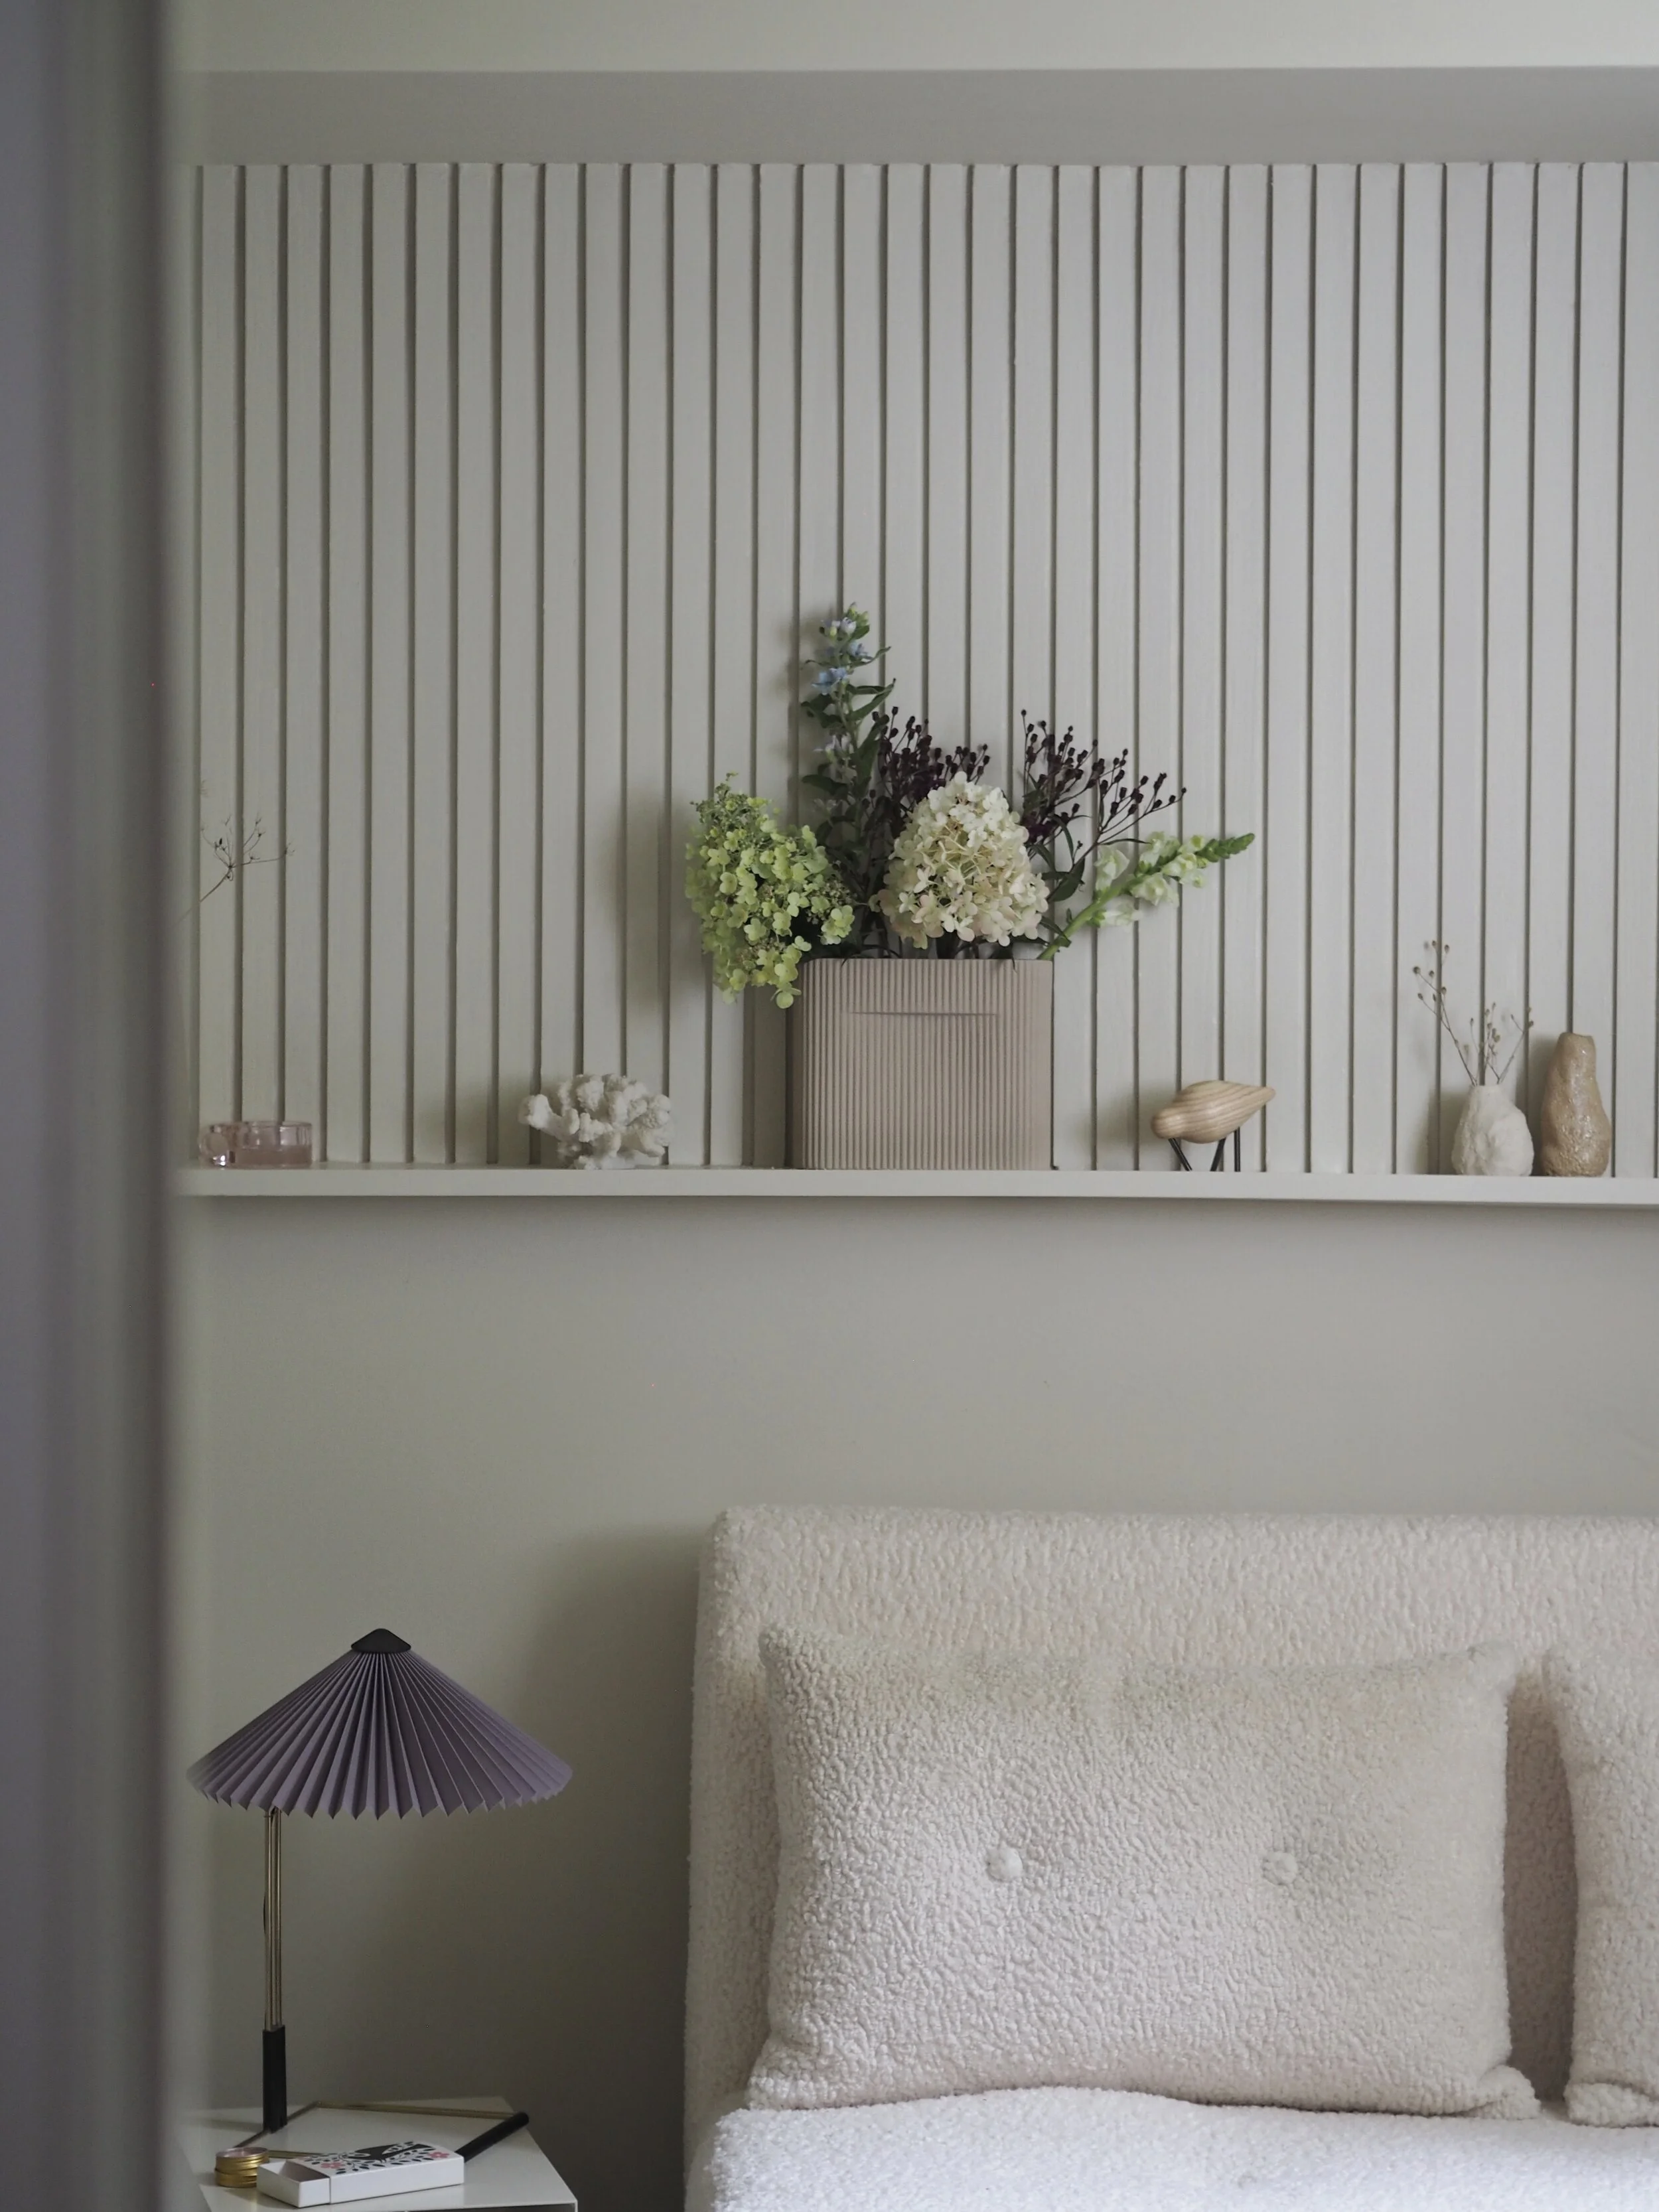
I really felt that something needed to be done to divert attention away from the boxed-in steel beam. The sofa bed required being placed in this position and it just felt like there was a big, empty gap between the back of the sofa and the protruding ceiling box. I have been a real fan of the recent interior trend for slatted wall detailing - a progression from the recently popular fluting detail found embellishing tables bases and furniture doors. However, rather than take the slats from floor to ceiling like most designs, I decided to add a thin floating shelf halfway down the wall and then add slats above it. This meant that I could add decorative items on the shelf and save money not slatting the entire wall in timber - all while still getting the raised detail and character I was after.

DOWNSIZING THE SOFA BED:
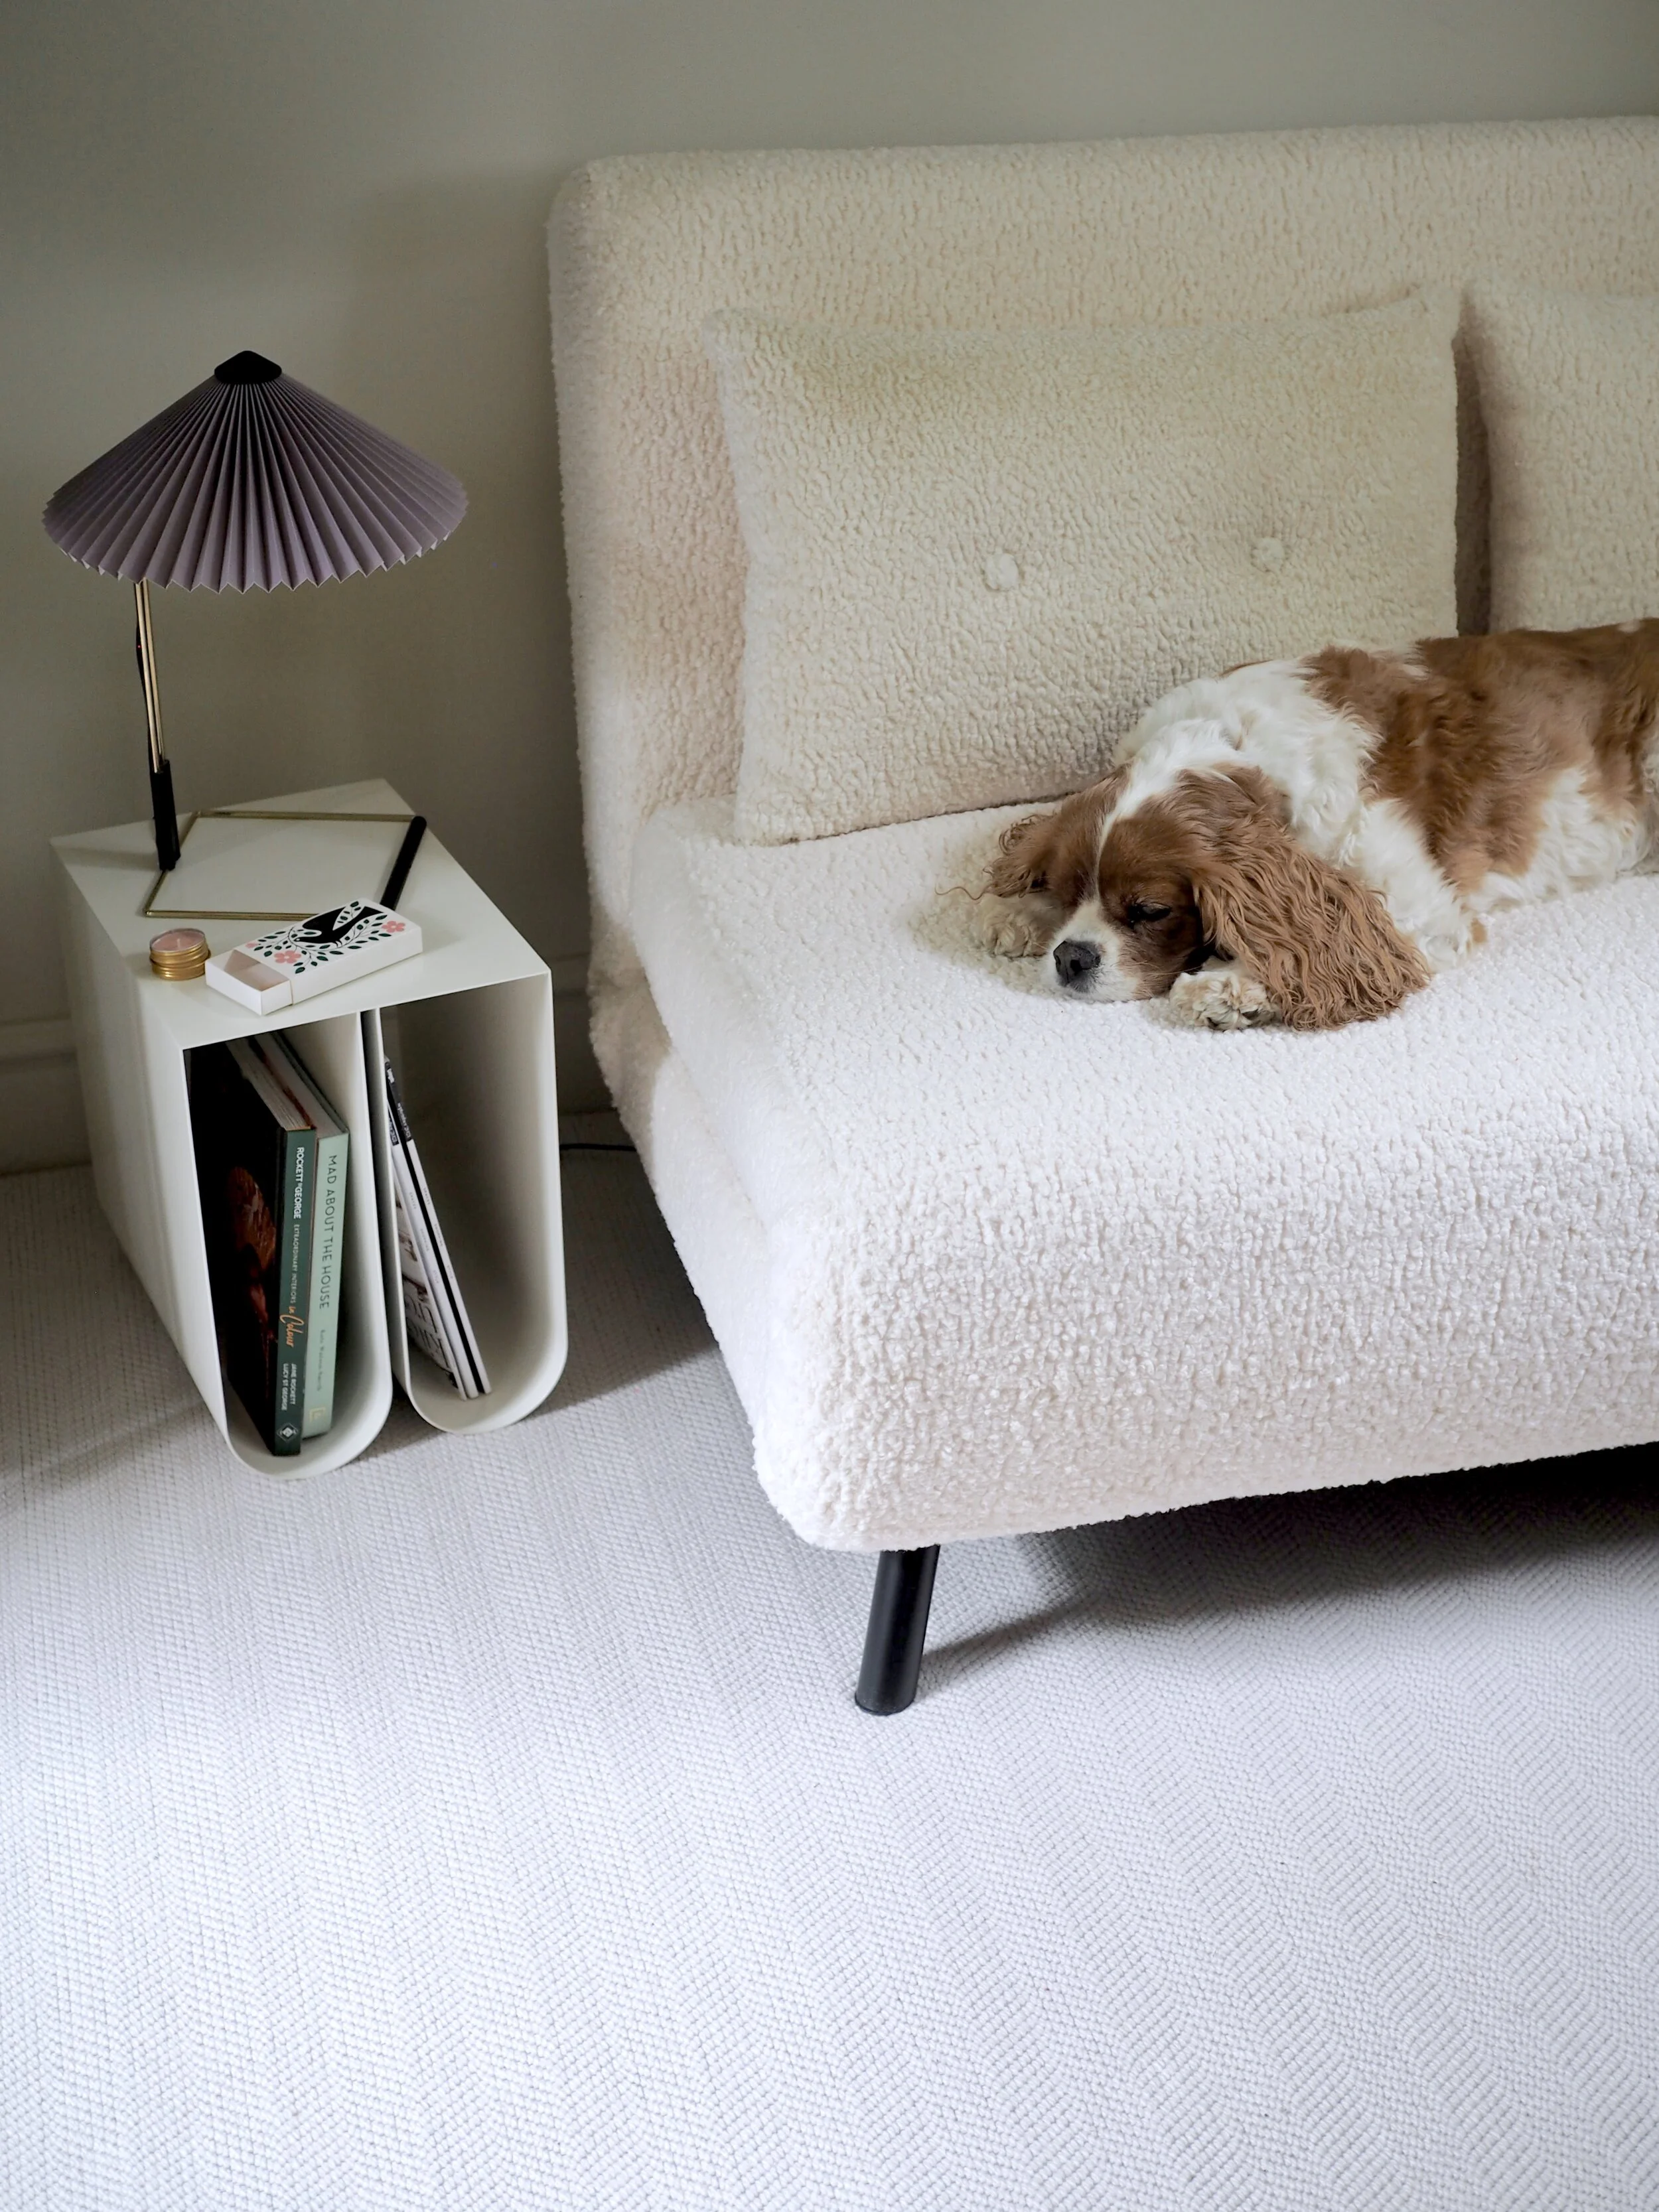
The last sofa bed that I had in here was lovely, but looking back, it was too huge for the room. When opened up, there was no floor space for guests to walk around it. When nobody was staying over, the rest of the time it was just a place the dog slept while I worked that took up half the room! I decided to sell on the old sofa bed and invest in something much smaller. I found this mini monochrome sofa bed on MADE in an on-trend faux sheepskin fabric and it has been such a good purchase. It is a really clever design where four support legs pop out of small zipped padded pockets around the back. It gives a decent amount of bed space but also folds up into a compact sofa when not in use. The raised legs allow light and air to travel underneath it and the room feels much bigger as a result, allowing me room for more work tables and general areas of space.
This sofa bed is by MADE. The dog approves!
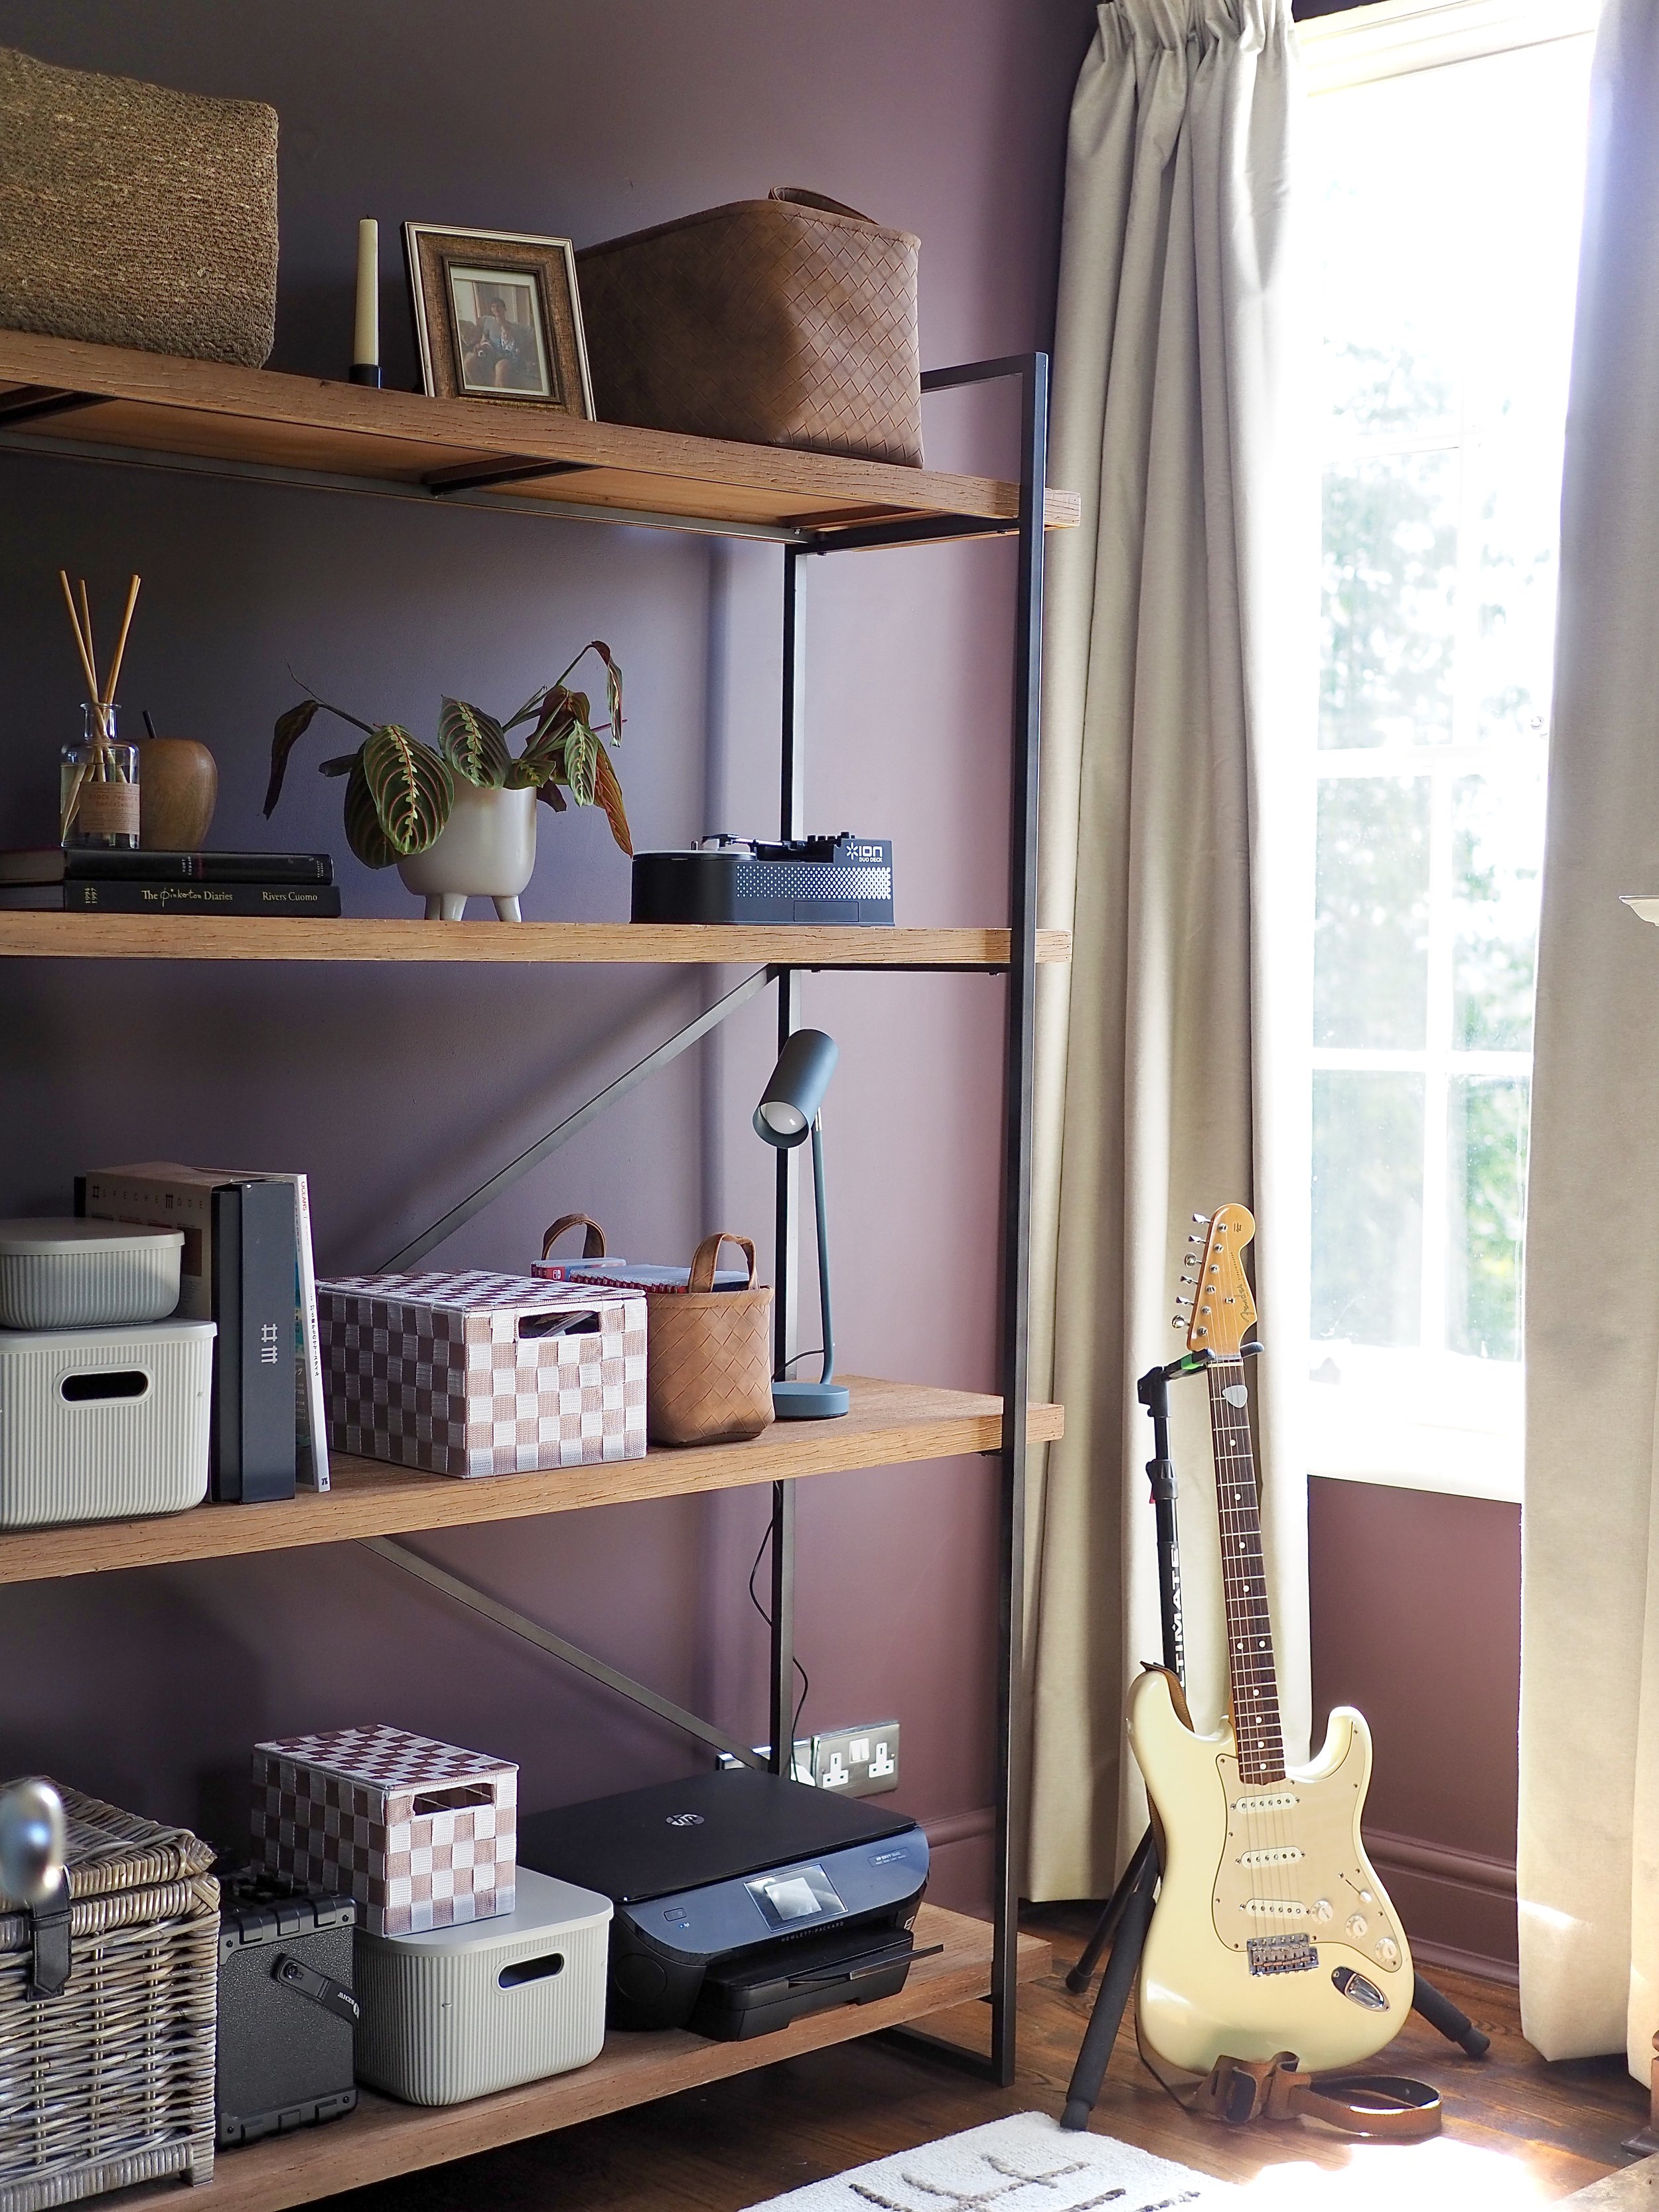
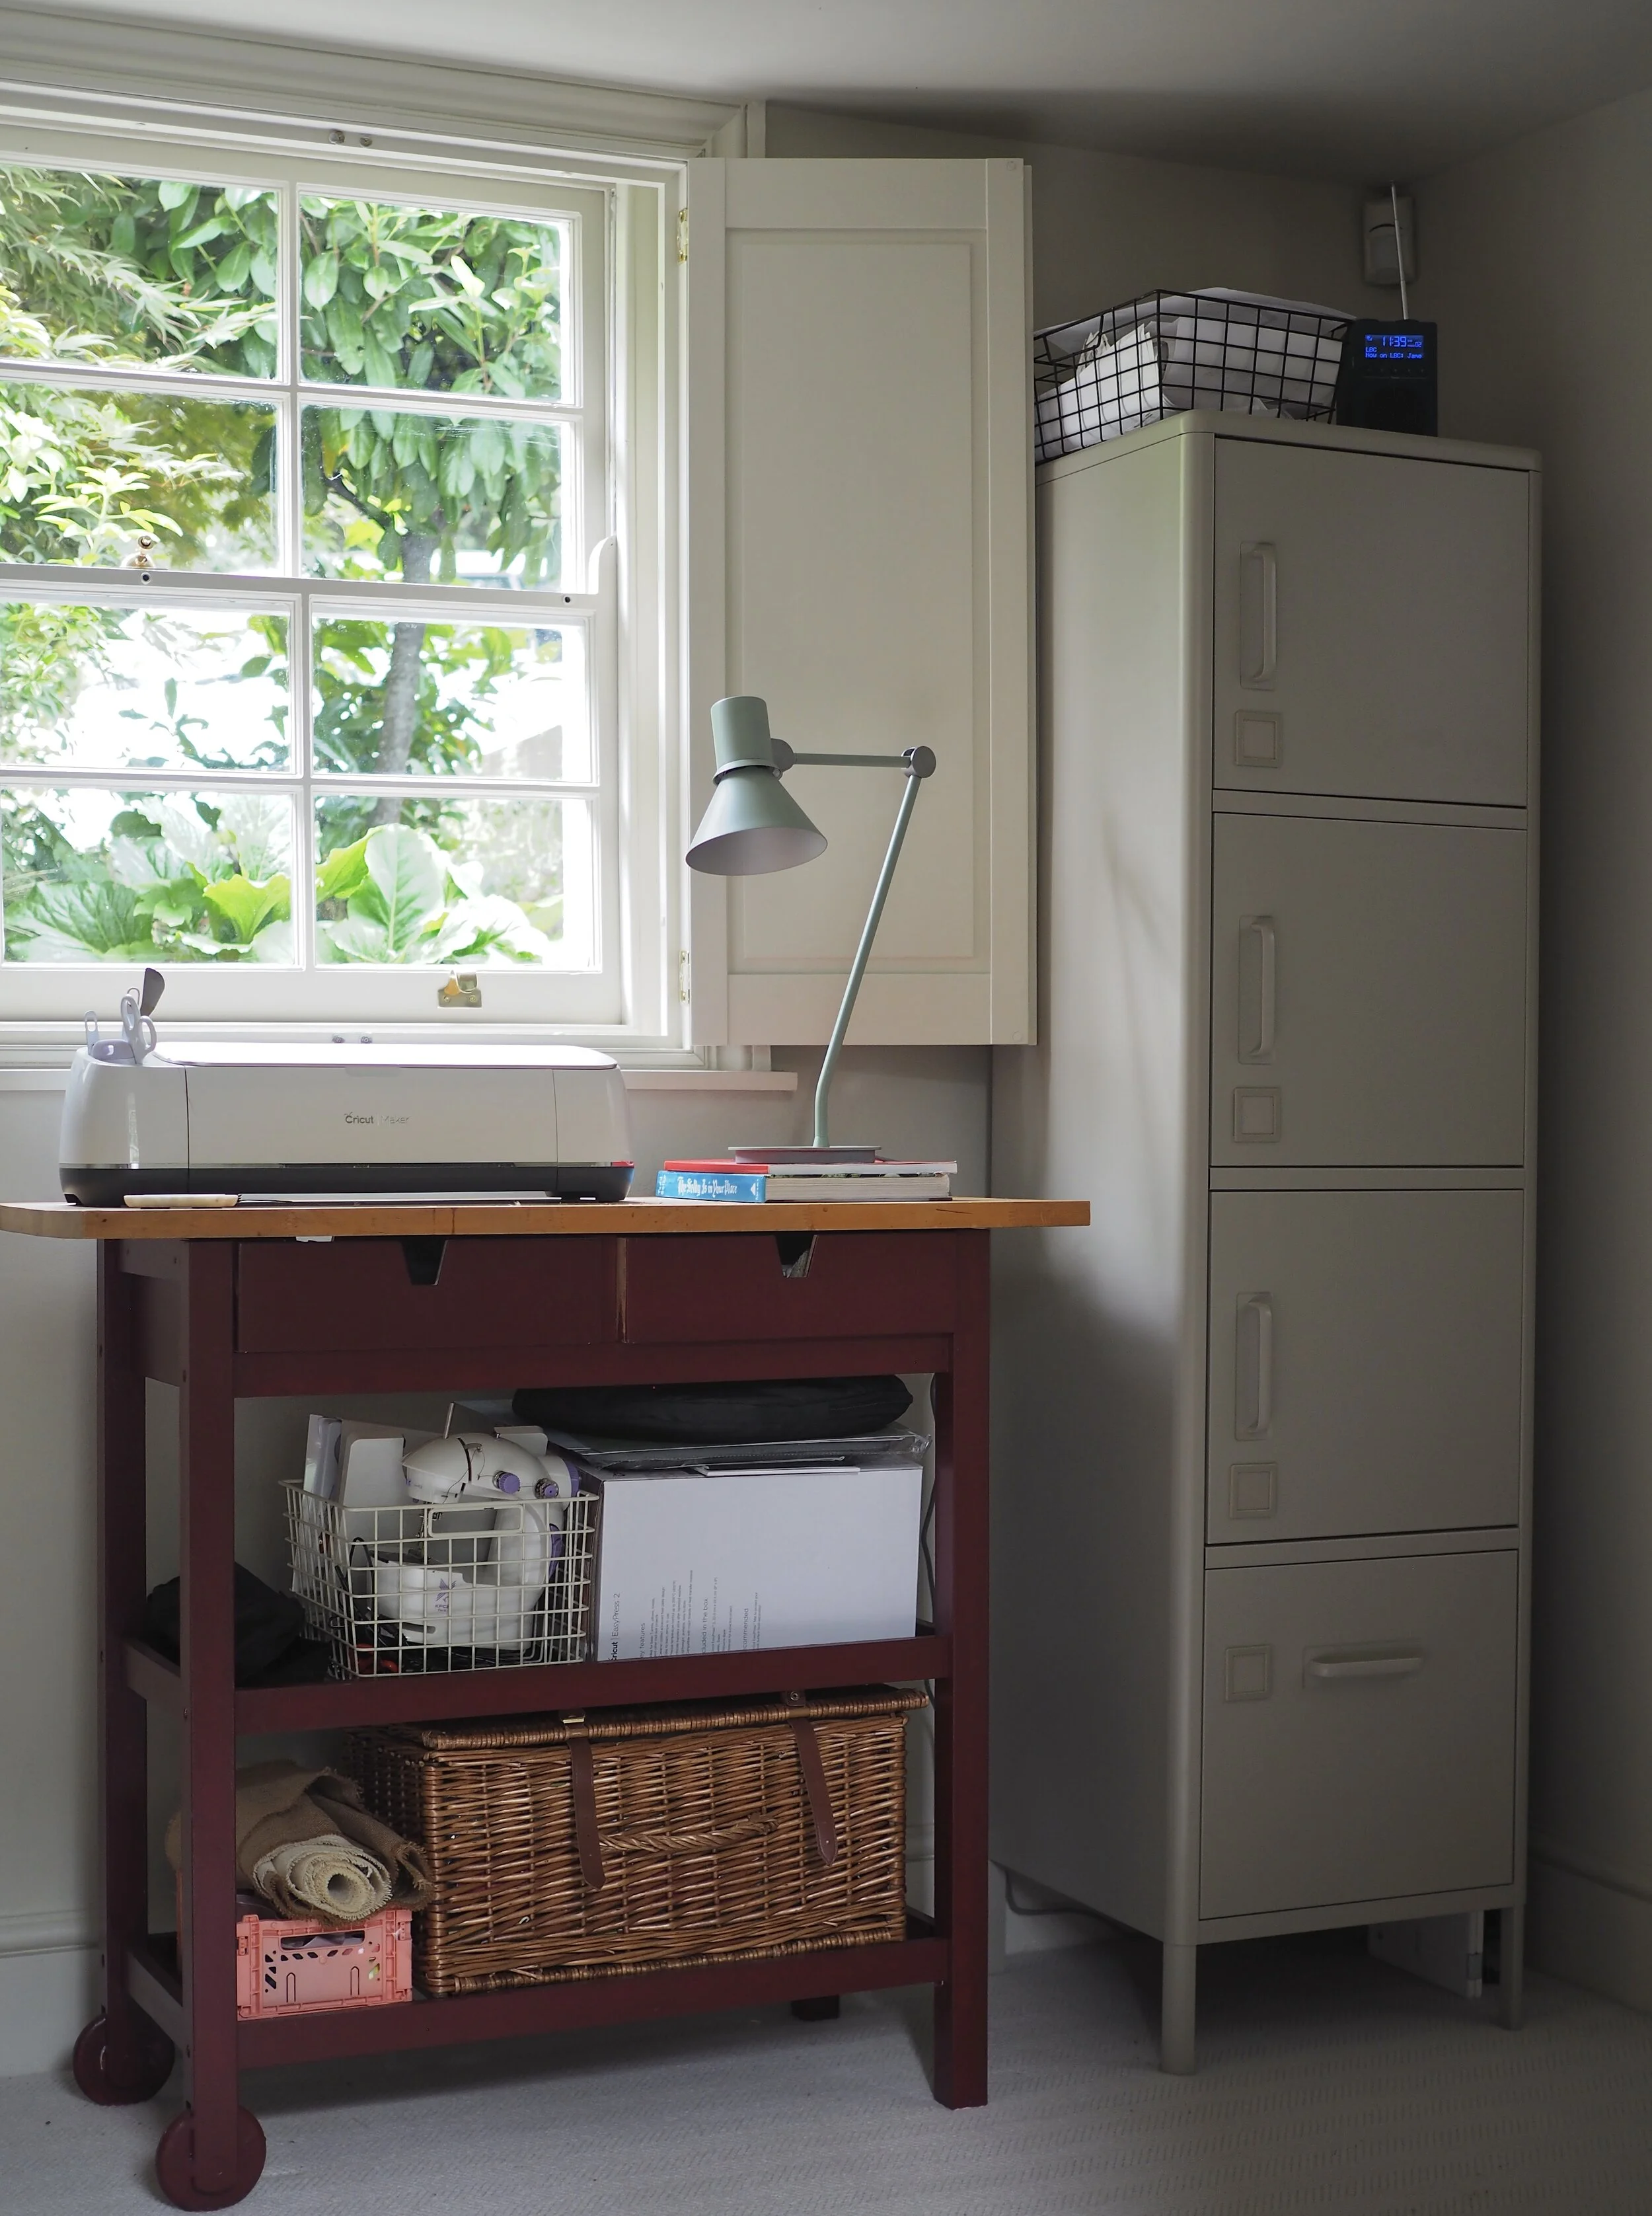
BUDGET-FRIENDLY STORAGE:
I needed to get organised with this room and I realised that the open storage I had in here before contributed to it feeling cluttered. Not wanting to splash out loads of money just for my office, I upcycled an old IKEA trolley with leftover paint and purchased a really lovely filing cabinet from IKEA’s new IDÅSEN range in a soft beige colour. The IKEA trolley cost me £20 via eBay and the cabinet was £150 new.

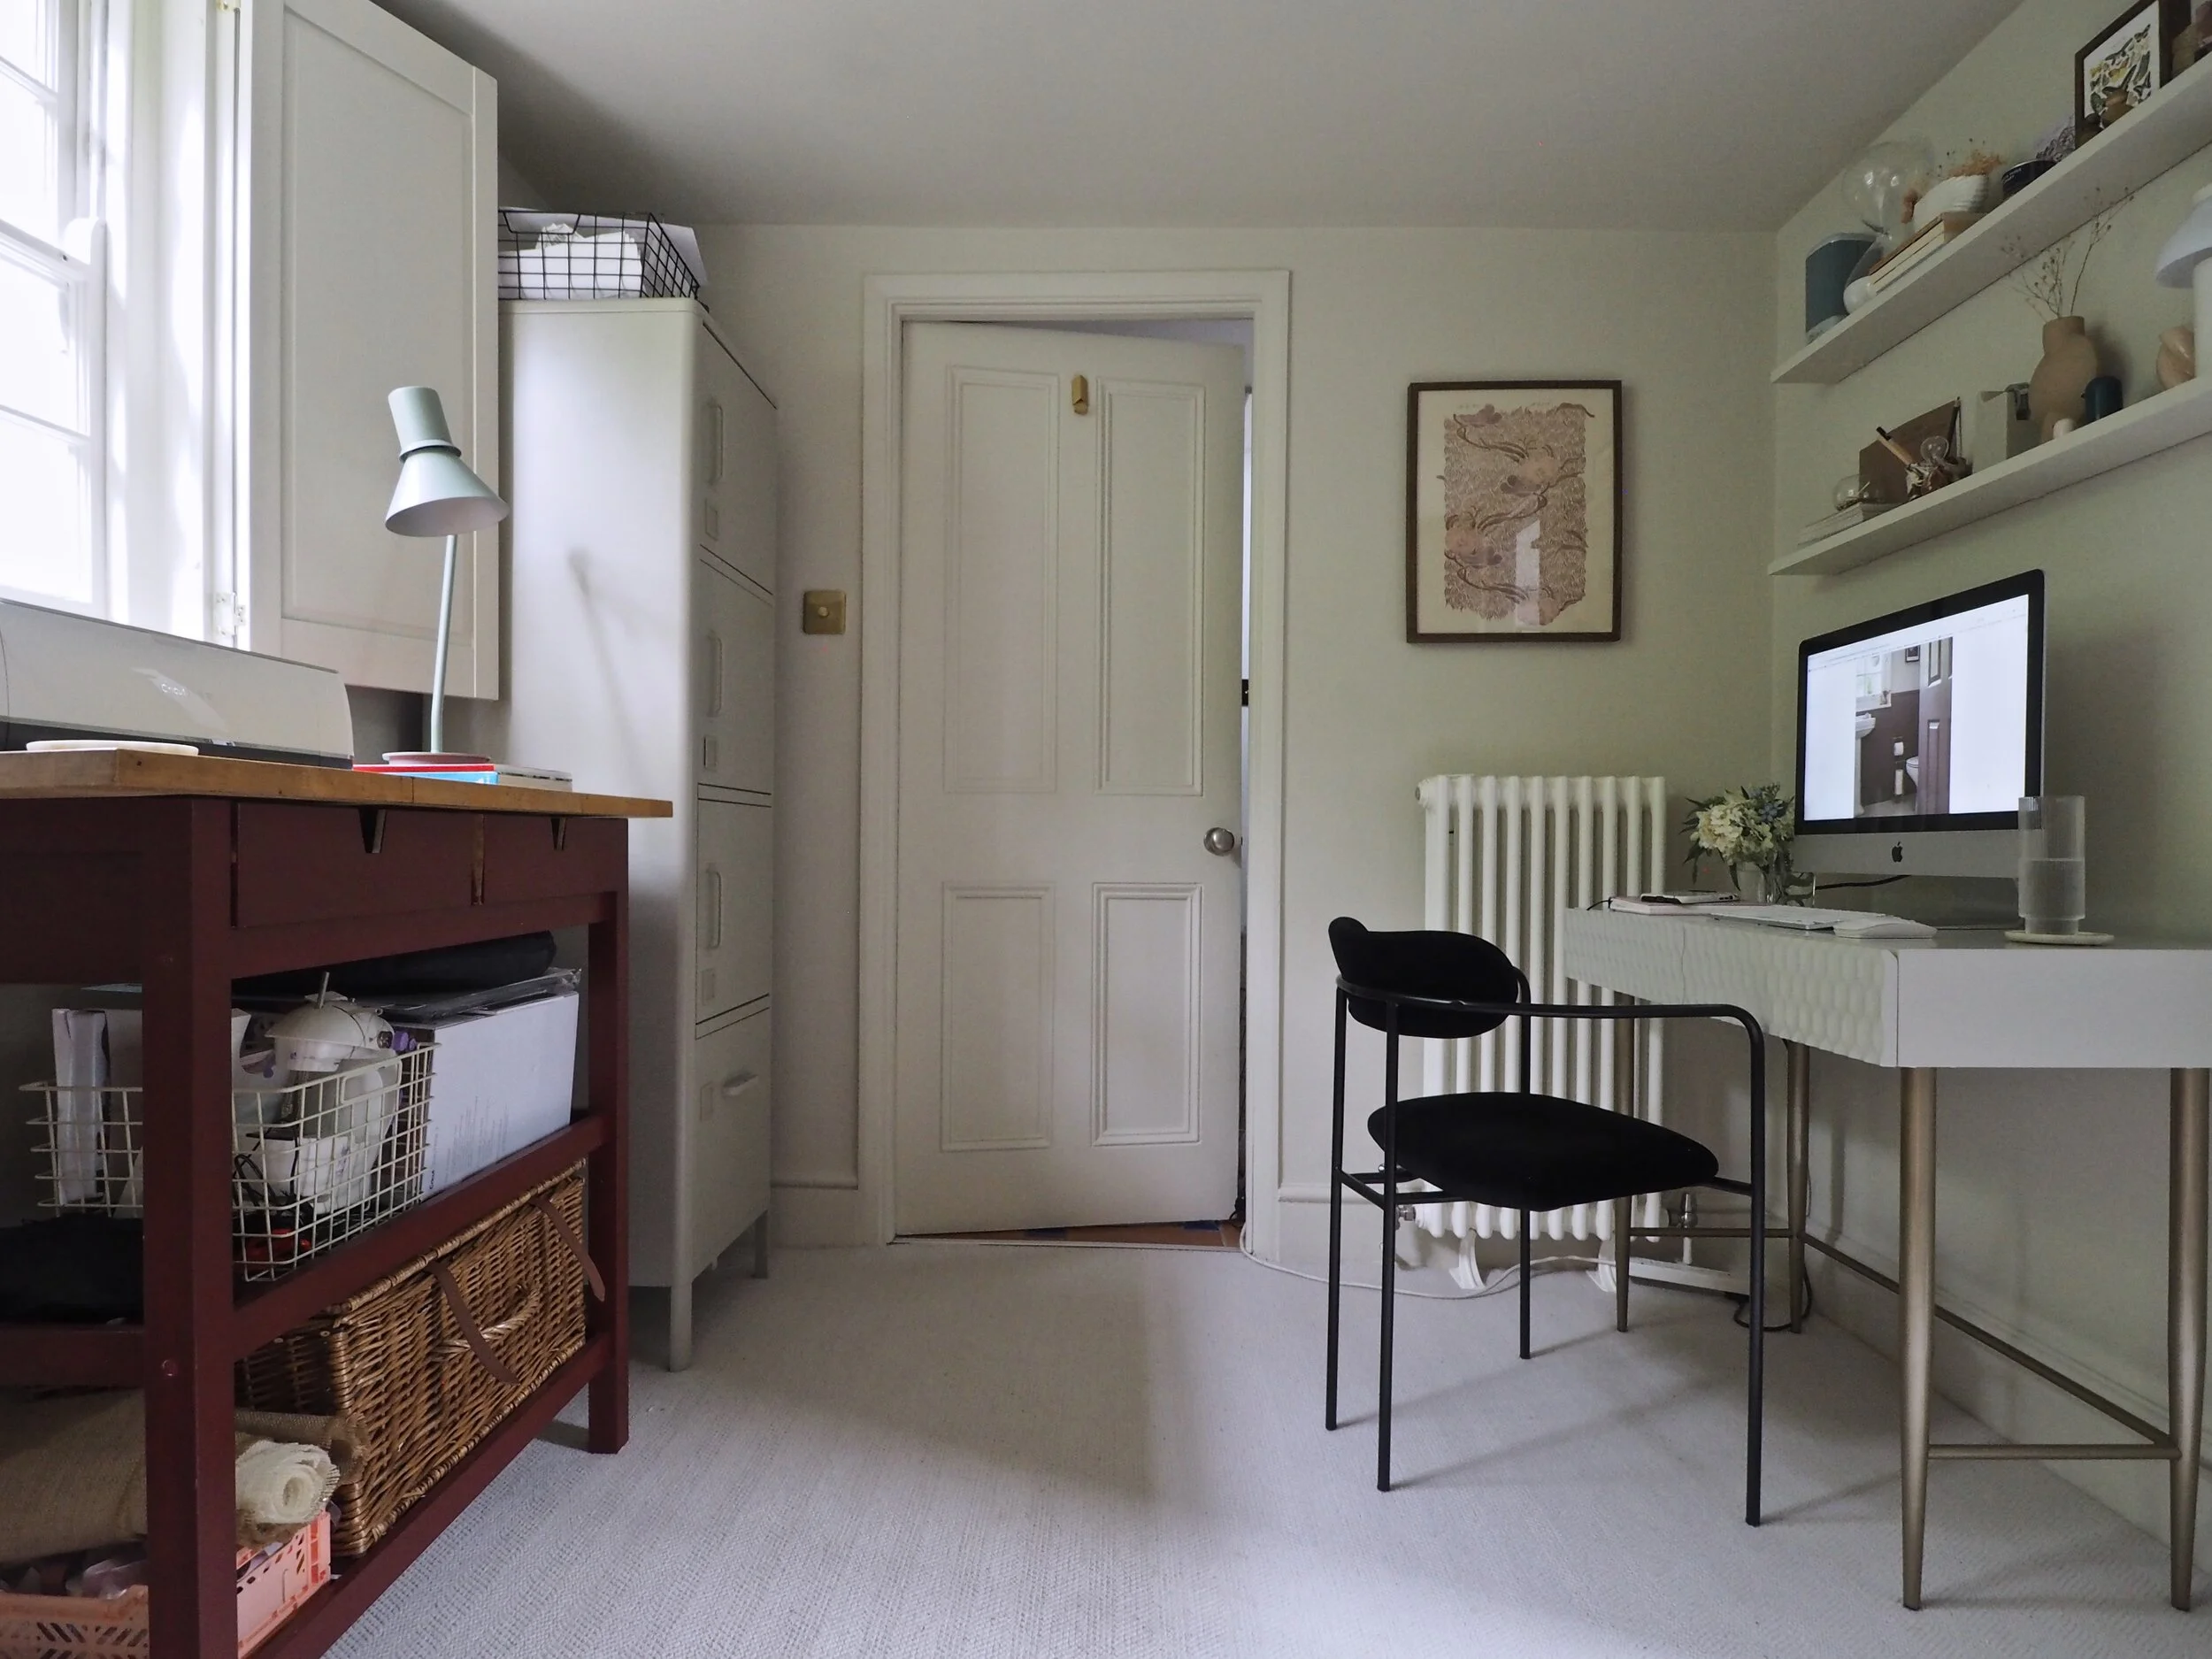
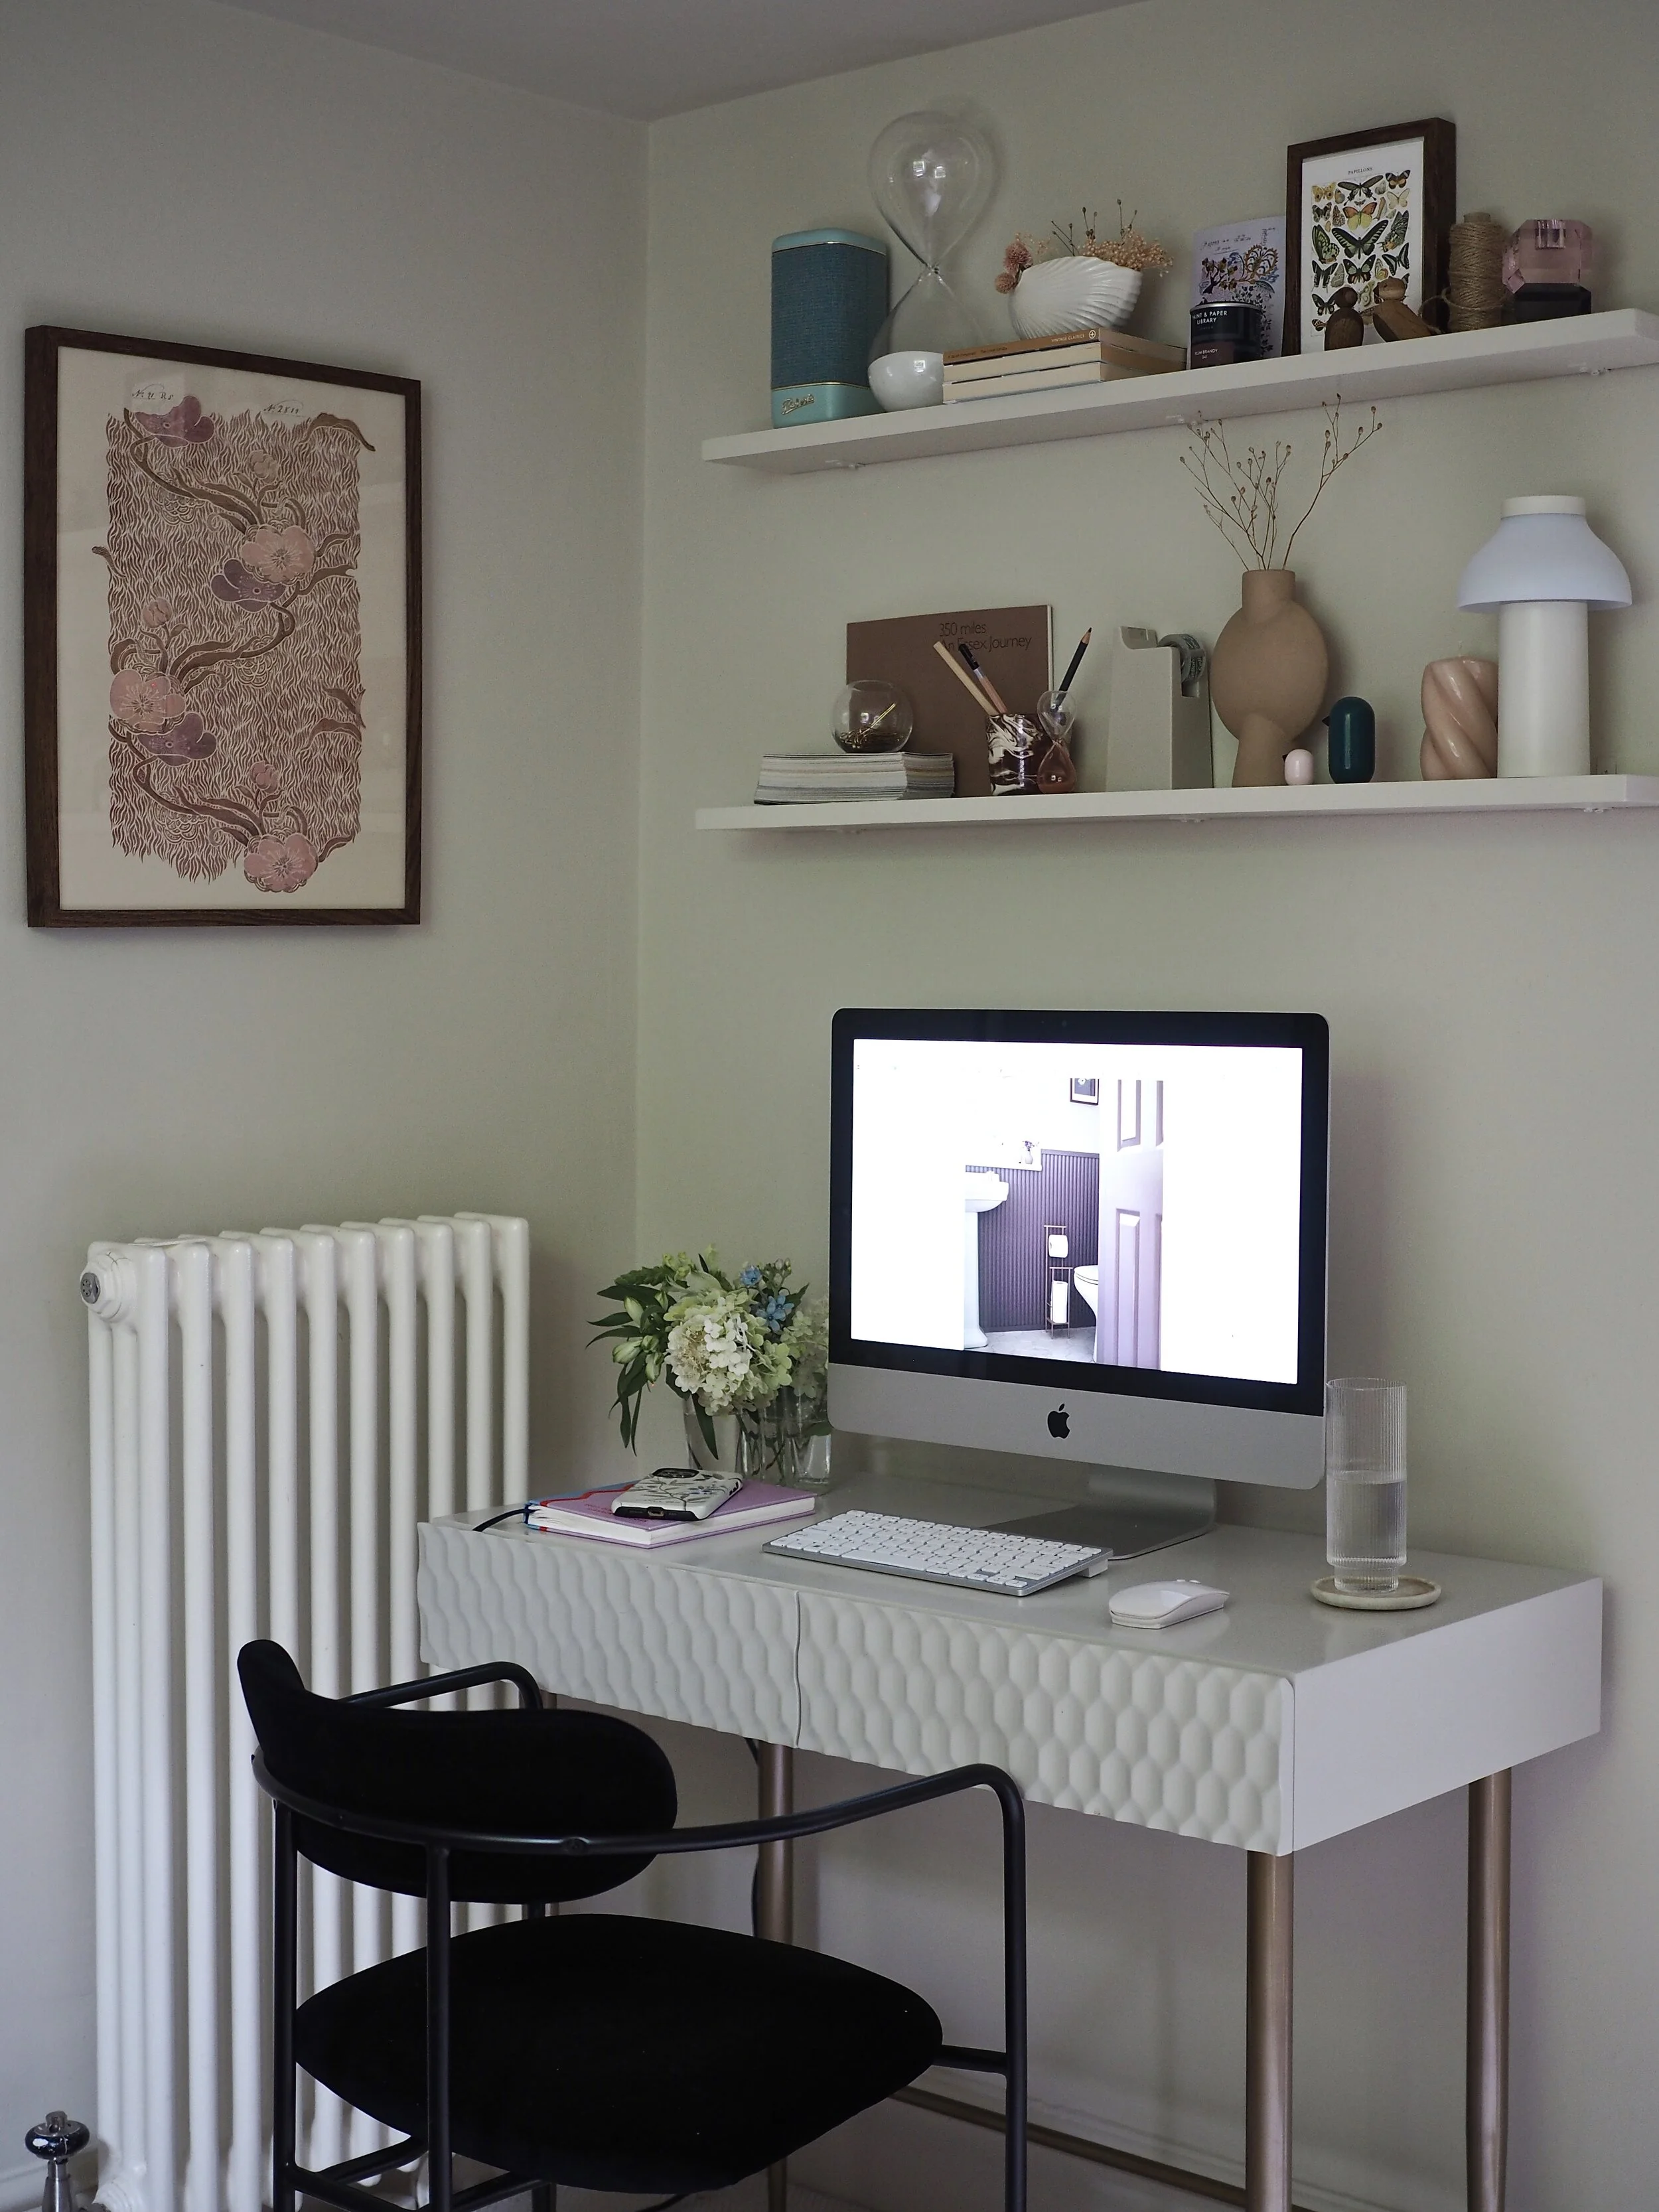
The compact desk I previously owned and love as it is a super-slim 90cm wide (it’s the Mini-Audrey from West Elm which, unfortunately, no longer appears available). To add some extra storage above my desk and inexpensively add some interest to a dead area, I cut up a piece of £8 timber, painted it the same colour as the walls and erected it with small brackets. The compact curved side table* is by Kristina Dam via Heals.
So, that’s my new home office / guest room DIY makeover! I’d love to know your thoughts, so please leave a comment below!