DIY Kitchen Splashback With The Syren Tiles by Topps Tiles

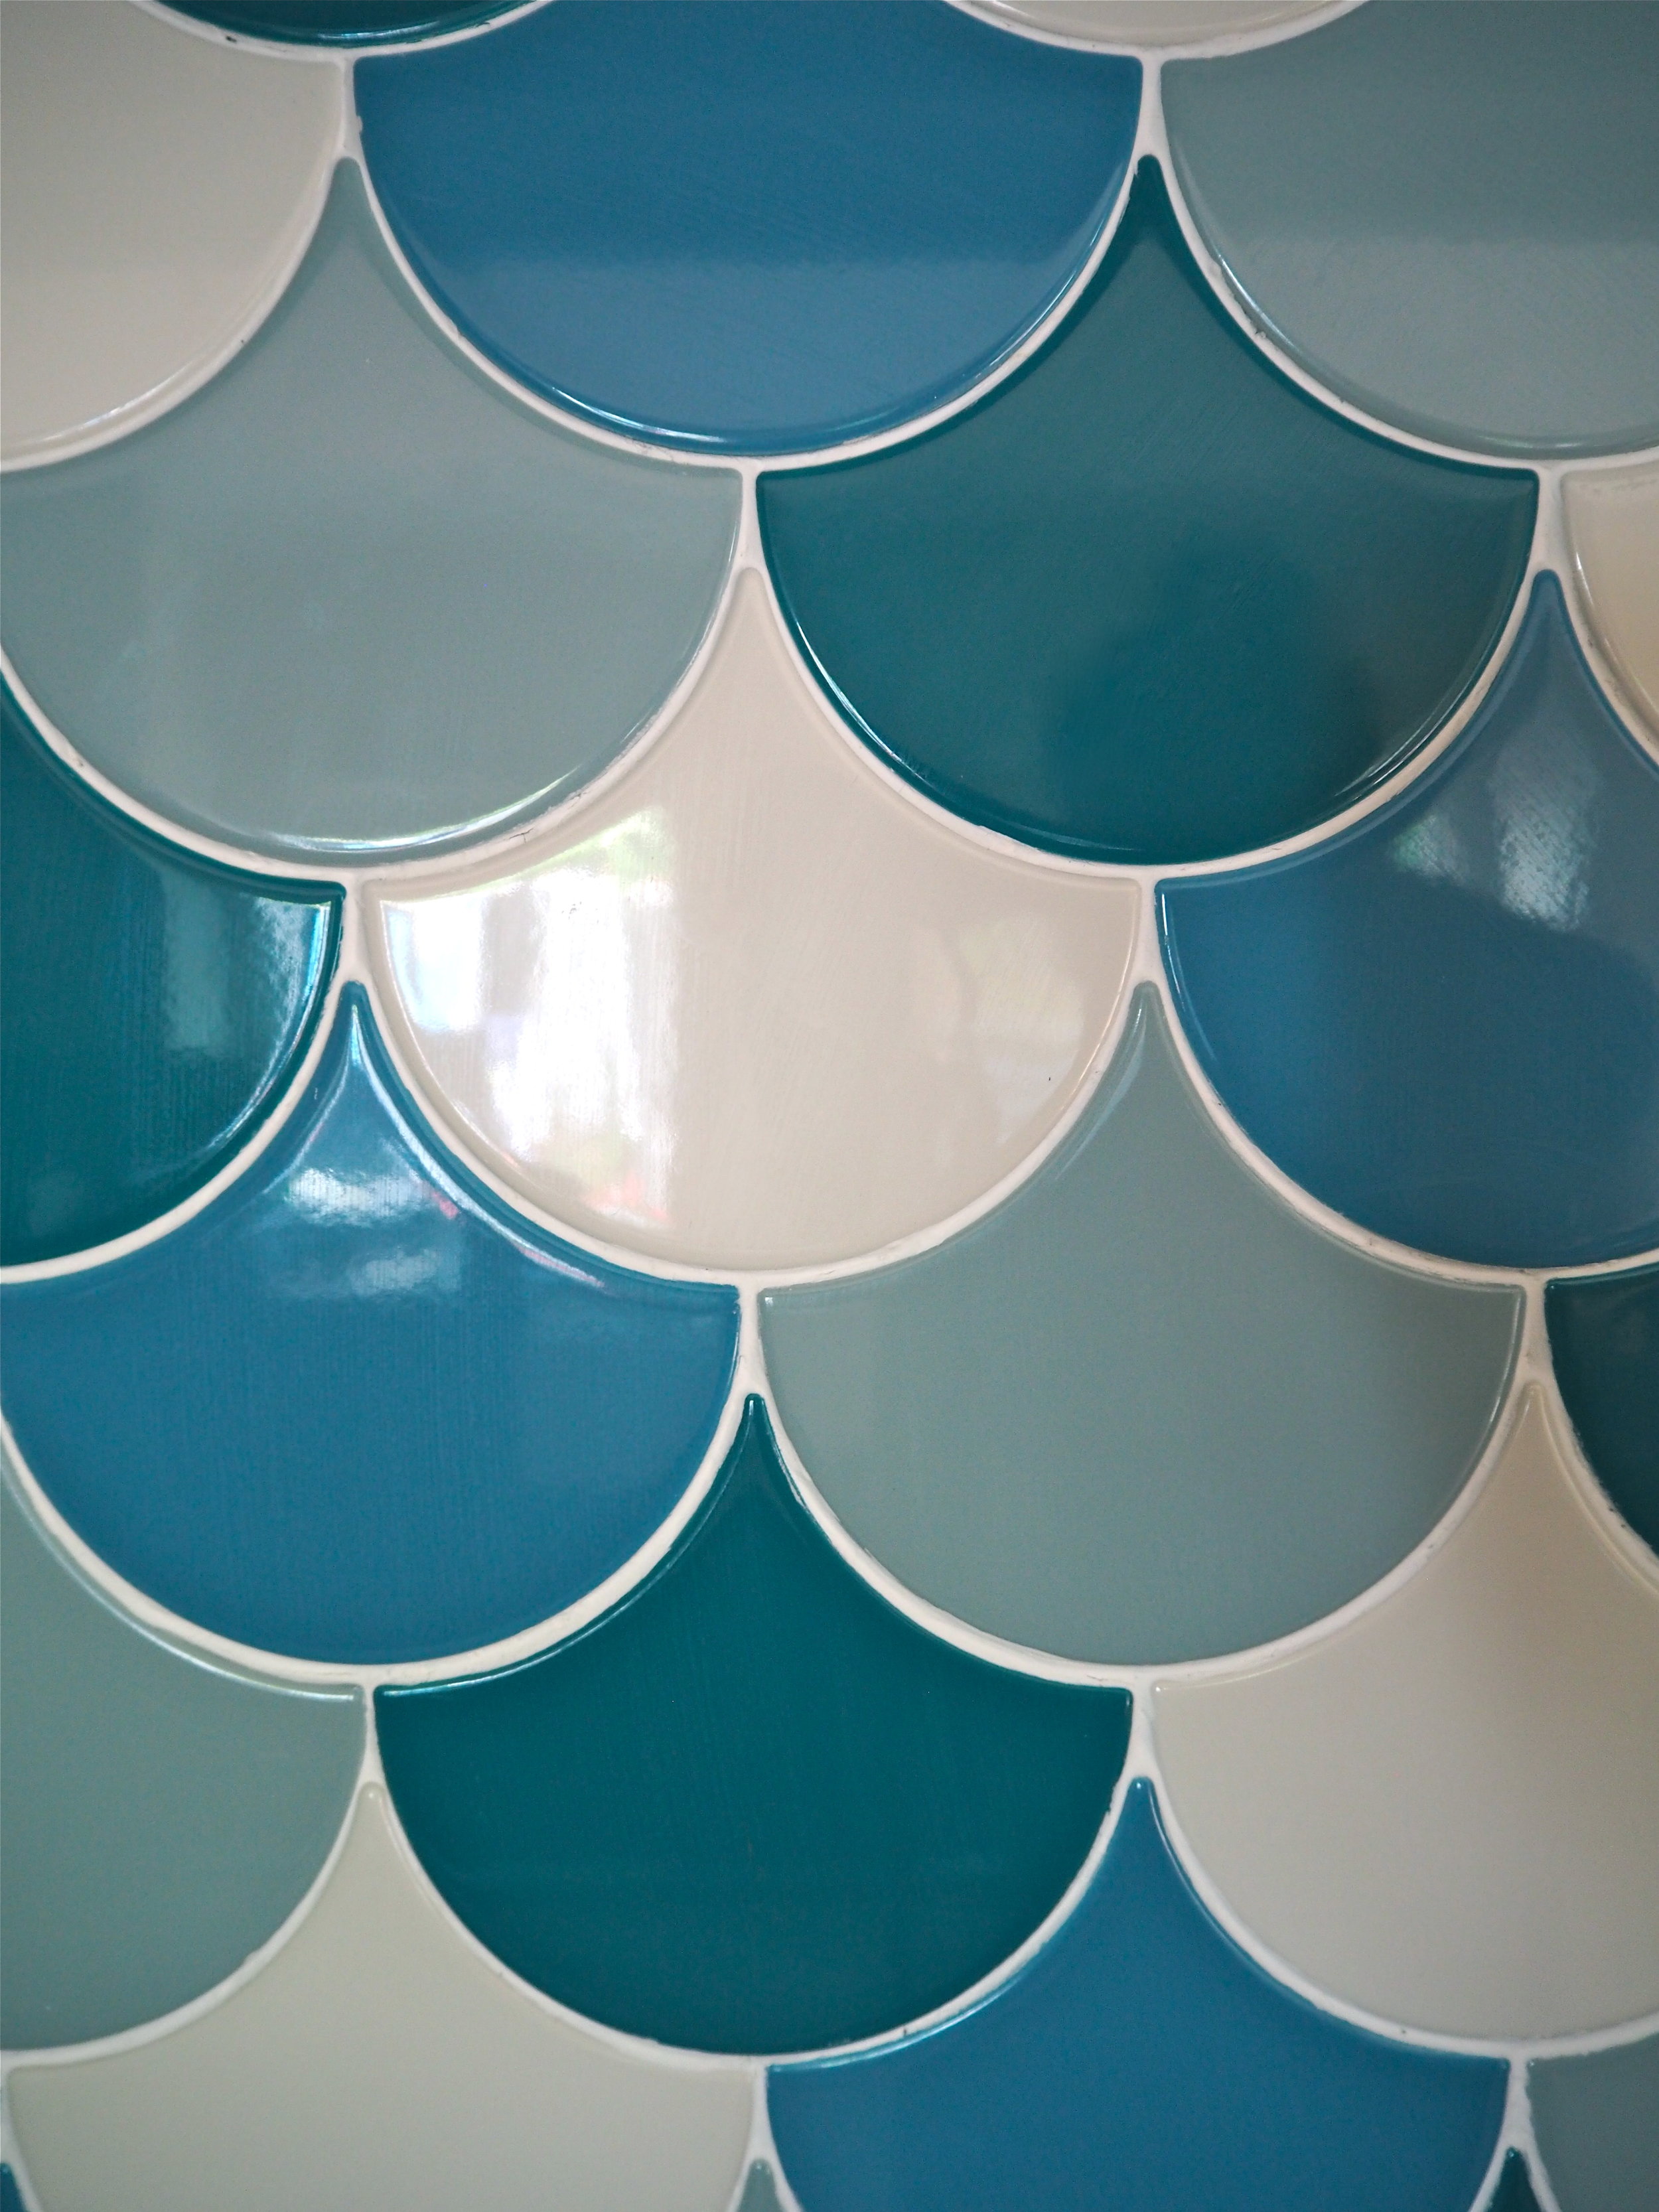
There are a few reasons as to why I decided to attempt a DIY kitchen splash-back, even though I had never tiled before in my entire life! The main and most obvious reason was of course money. Our old cooker had died a very sad death the day before Christmas and we couldn't get one the same size, so we had to have someone come and cut away the worktop and a section of the units to fit in the wide new cooker. We then had to have a joiner in to re-build part of the base units once the installation was complete. The wall tiles also came a cropper as part of the switch-over, but I just did not have a spare £500 to give a professional tiler to come and sort that out aswell. Yet, another reason apart from money was that I had discovered the new Syren range of wall tiles by Topps Tiles. I had lusted after beautiful, fish-scale scalloped tiles for a very long time. I remember seeing a home in an interiors magazine who had tear-drop tiles as their splash-back and it was immediately placed on my 'interior most-wanted' list. However, this design had previously only been attainable via very high-end tile suppliers and it was way out of my price range. It was a total tile pipe-dream. BUT! This year Topps Tiles launched the Syren range in the most beautiful blues, sage greens and whites for 89p per tile. I could buy enough tiles to complete my splash-back for under £50! The pipe-dream was now an achievable reality.
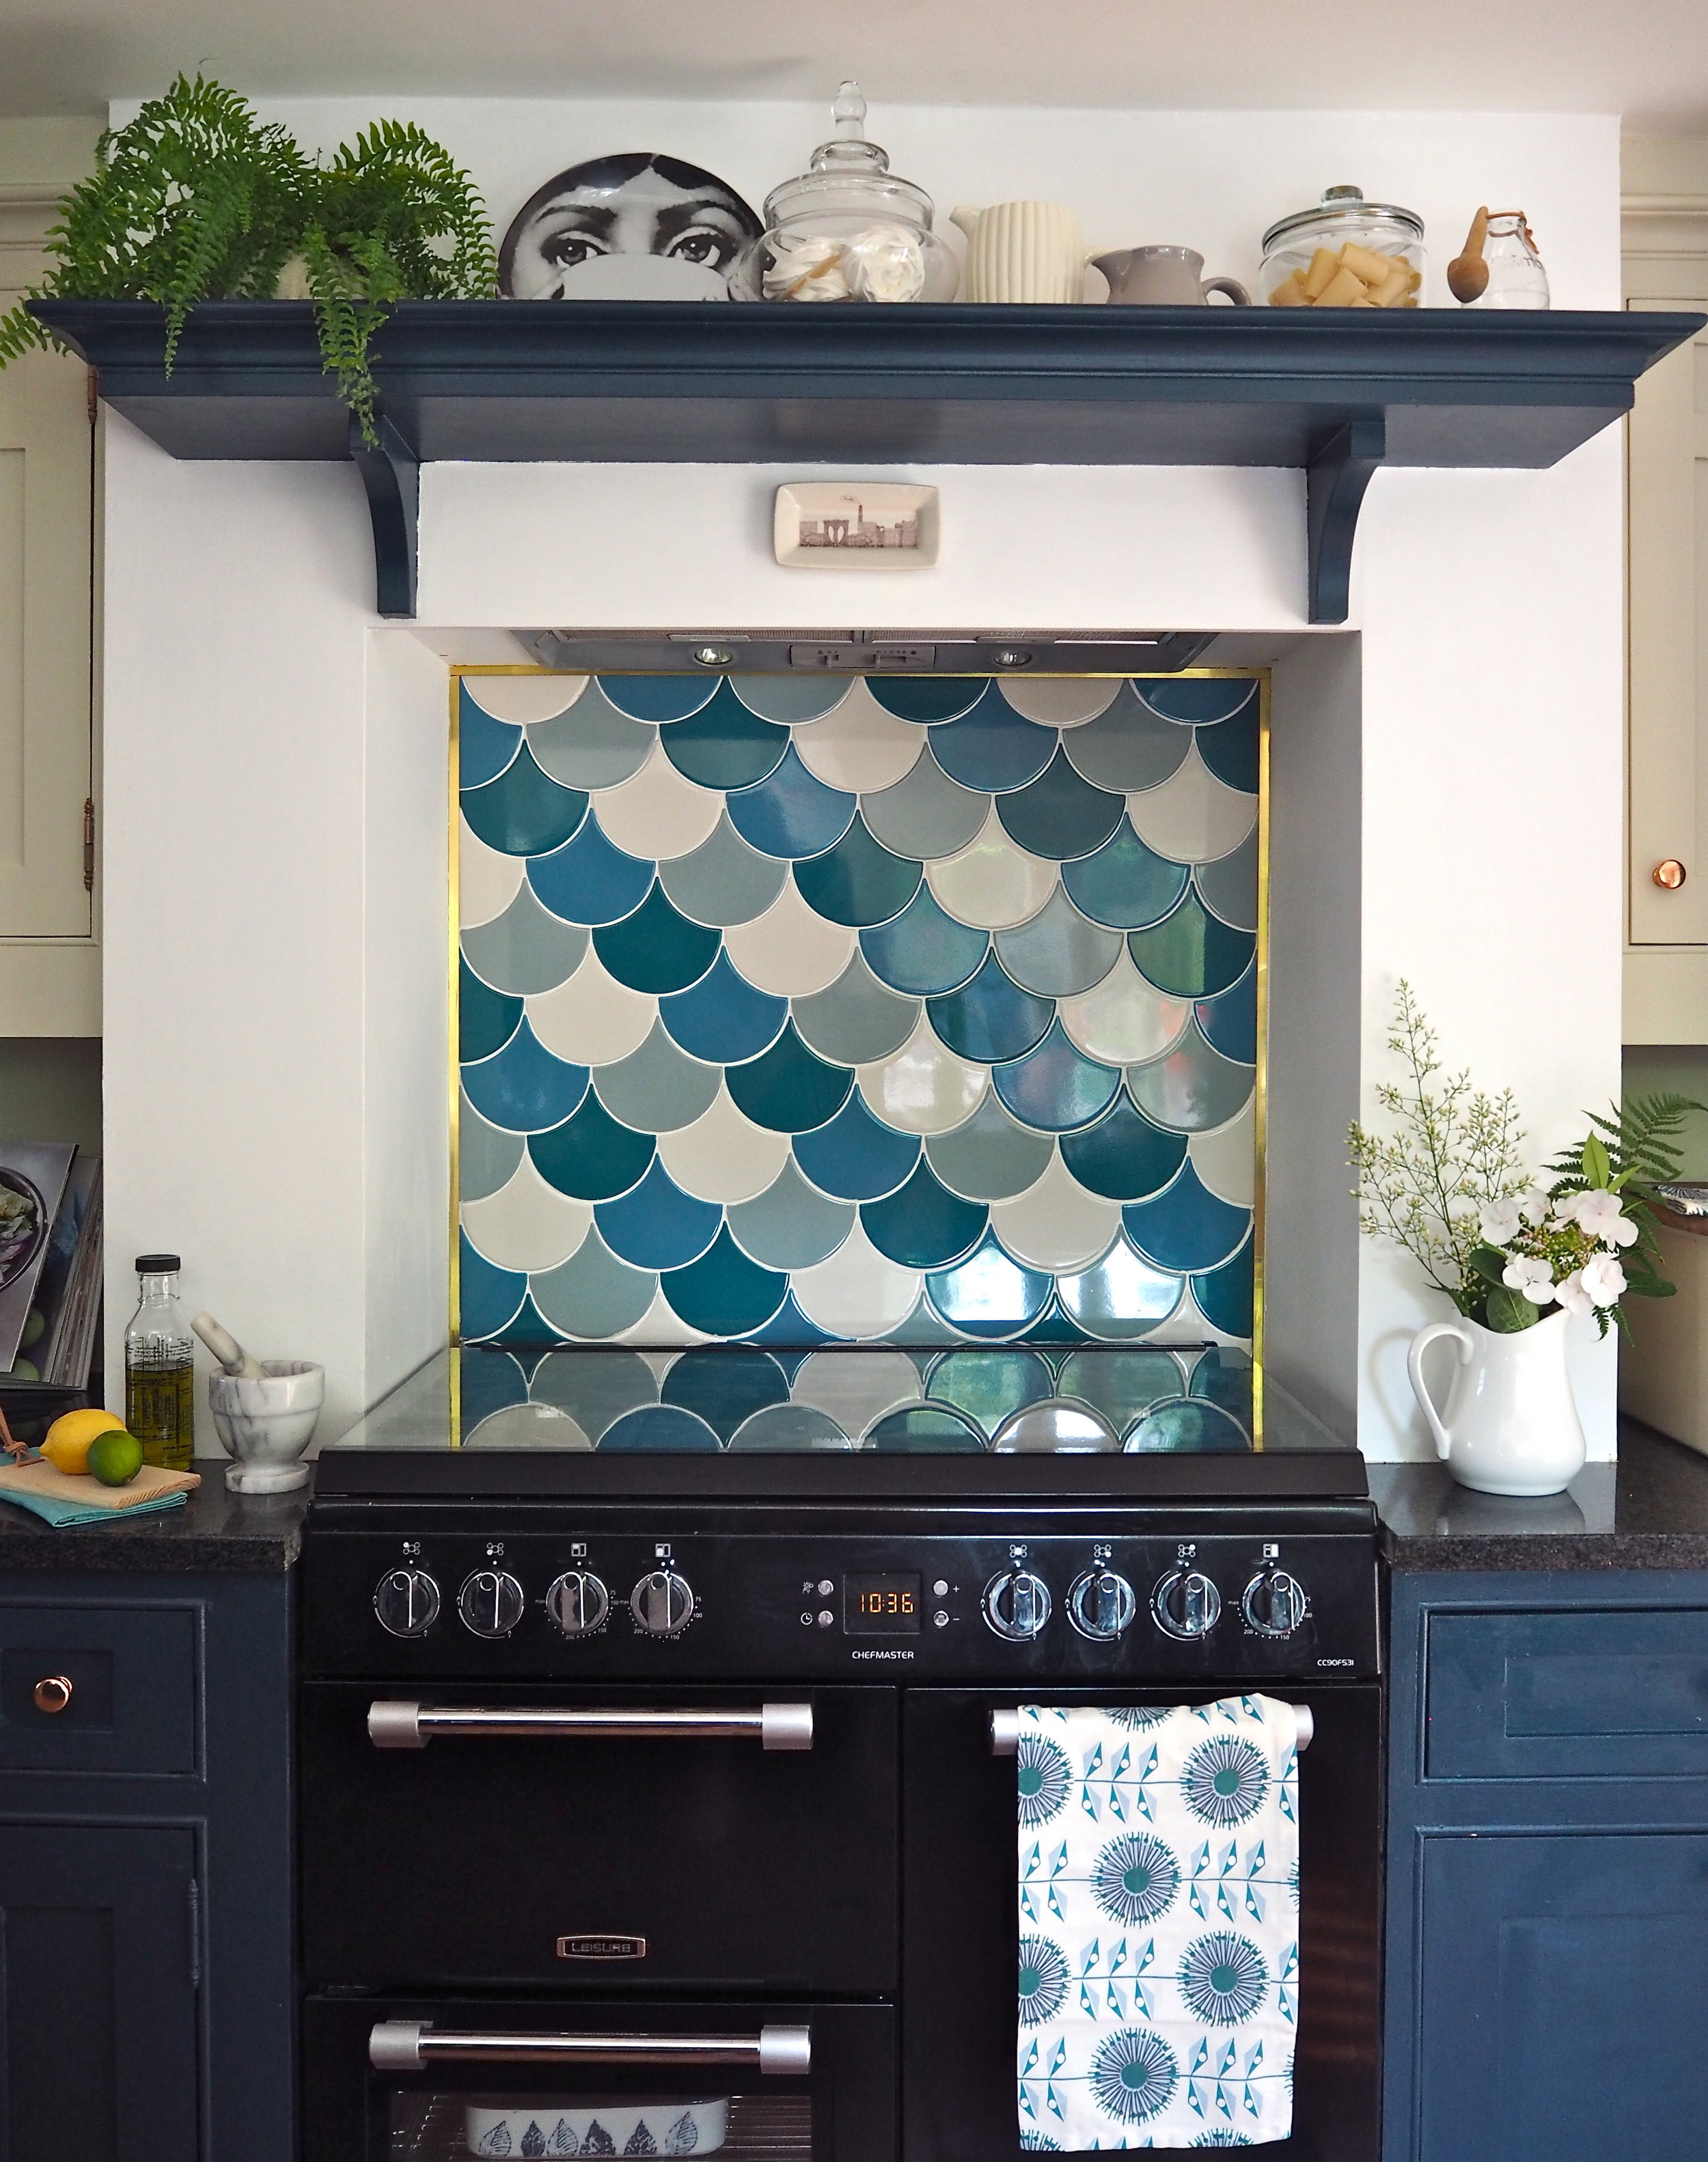

As my splash-back was a simple 90 x 70 cm in size, and I only required 4 boxes of tiles, this posed the perfect opportunity for me to have a go at tiling myself. It was a DIY that I had never attempted before, but I watched a few YouTube videos and it appeared simple enough, so I decided to give it go. Of course I made a couple of mistakes and it was a learning process, but I am so glad I did do it myself - I'm so happy with the final result and it saved me loads of cash:

These are the tools that I purchased to get the job done. I bought a manual tile cutter at £30 and it worked just fine for this small job:


I never liked the tiles we inherited with the house, so I ripped off the ones on the side of the surround and controversially stuck plasterboard over the back tiles to have a new flat surface to tile on. It was the easiest option and totally worked! I purchased a fire-resistant plasterboard and stuck it on with a very generous amount of heavy duty grab-adhesive. I purchased the best grab adhesive that I could get and made sure it worked against all the elements - heat, water, damp, etc. I stuck up the plasterboard and waited a few days to make sure that it was REALLY stuck on over the old tiles. A few days went by and I was confident it was secure, so that was when I felt ready to start tiling.

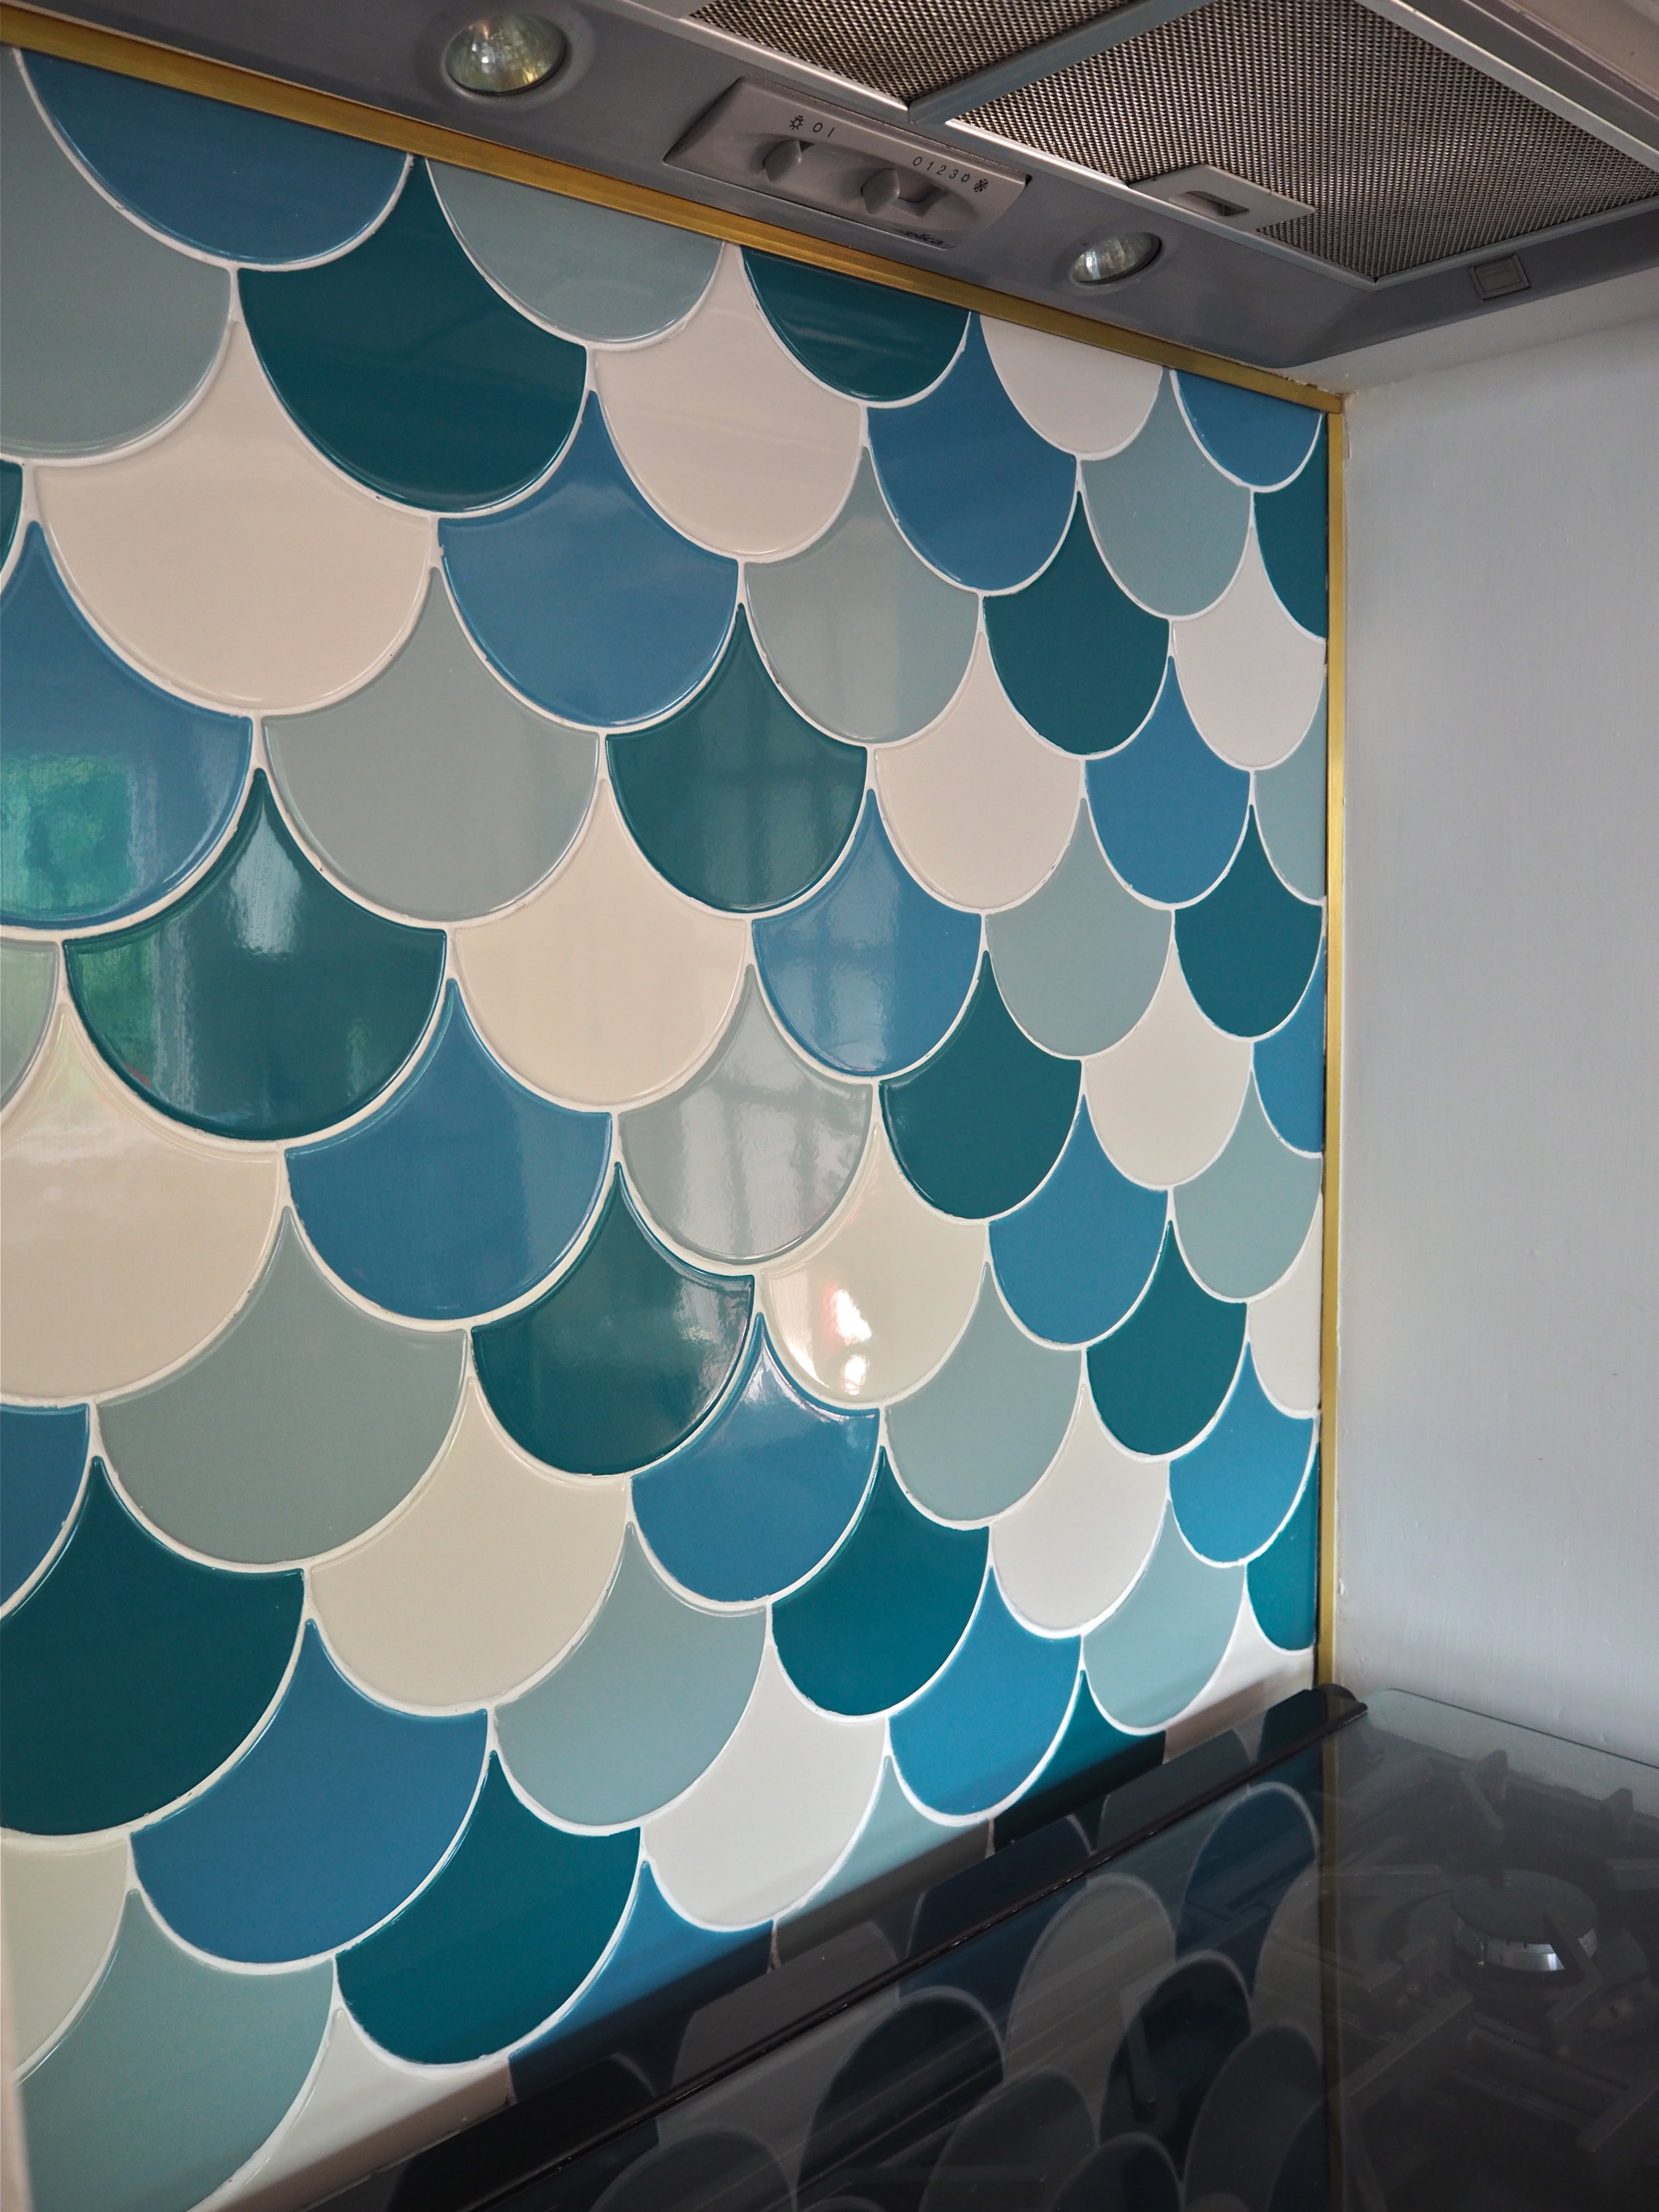
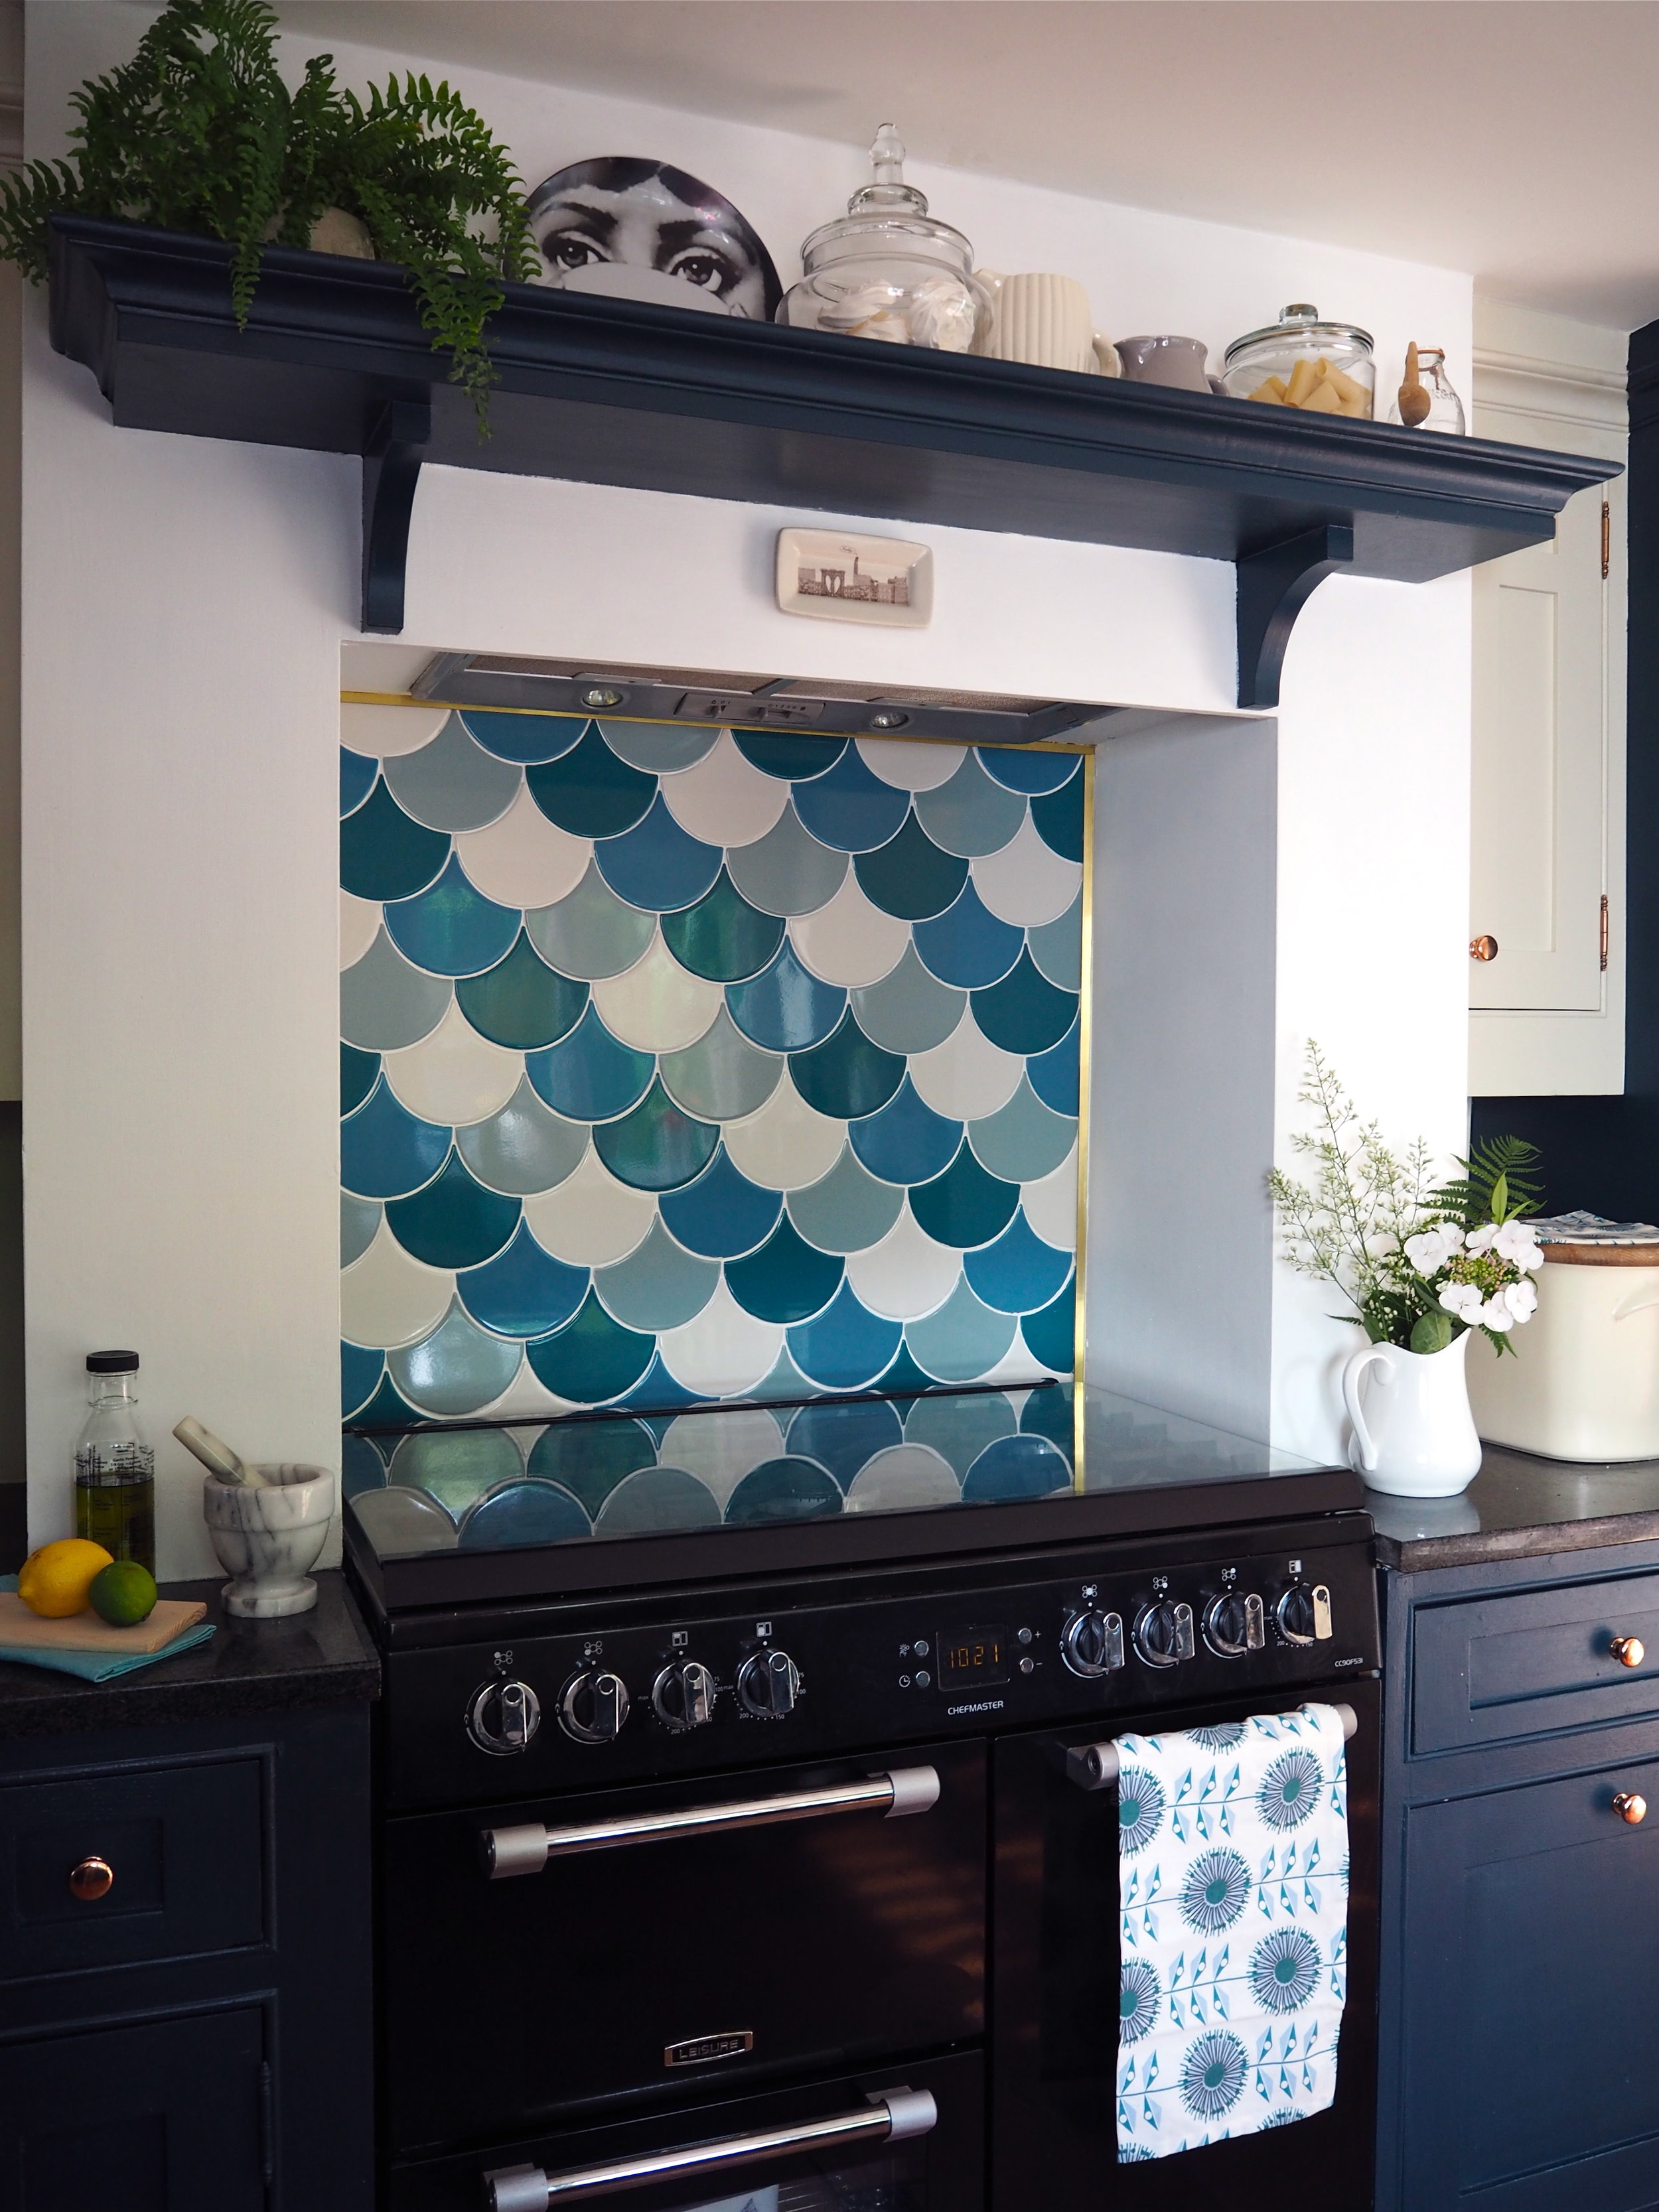
I first laid out all my tiles carefully on the floor to work out a pattern as they were different colours (my pattern was teal/white/dark blue/light blue). Using a central line as my guide for the first row of tiles (if I had started to the left or the right the tiles would not have looked symmetrical) I applied enough tile adhesive with a trowel for two rows of tiles. You are meant to start tiling at the bottom and build upwards so the tiles have the support of the lower tile, but I did not want my tear-drop tiles to be cut at the top of the splash-back. Instead, I used a strip of wood nailed into the plasterboard to support them while the adhesive set and gradually moved it down as required. As I placed each tile on the board, I added in tile spacers all around to make sure that the gap between each tile was going to be the same width.

Cutting the tiles was the most difficult part. It is very easy to snap a tile! Yet the more I did, the better I got at it. I used a tape measure to measure the space between the last tile and the end wall, then drew the cut point on the tile with a pencil before cutting. As I got about a third down the wall it was here that I realised that I should have put up some tile trim first. Tile trim would have hidden the jagged edges of the cut tiles which divulged that I wasn't a pro-tiler! It was too late to add in by this point, but I knew I could work out a way round it later so I didn't worry about it. Thus, this is the big tip and the biggest tile lesson that I took from this DIY - add tile trim to the wall BEFORE adding the tiles!

One all the tiles were up on the wall I then just needed to grout. I bought a ready-made all-in-one tile adhesive and grout for about £6 and it was fine. A professional tiler will say the powder is best but 'meh', this is a DIY and a ready made all-in-one was a lot easier than mixing separate materials with water in a bucket! I just applied the grout with my finger as this felt like the easiest thing to do.
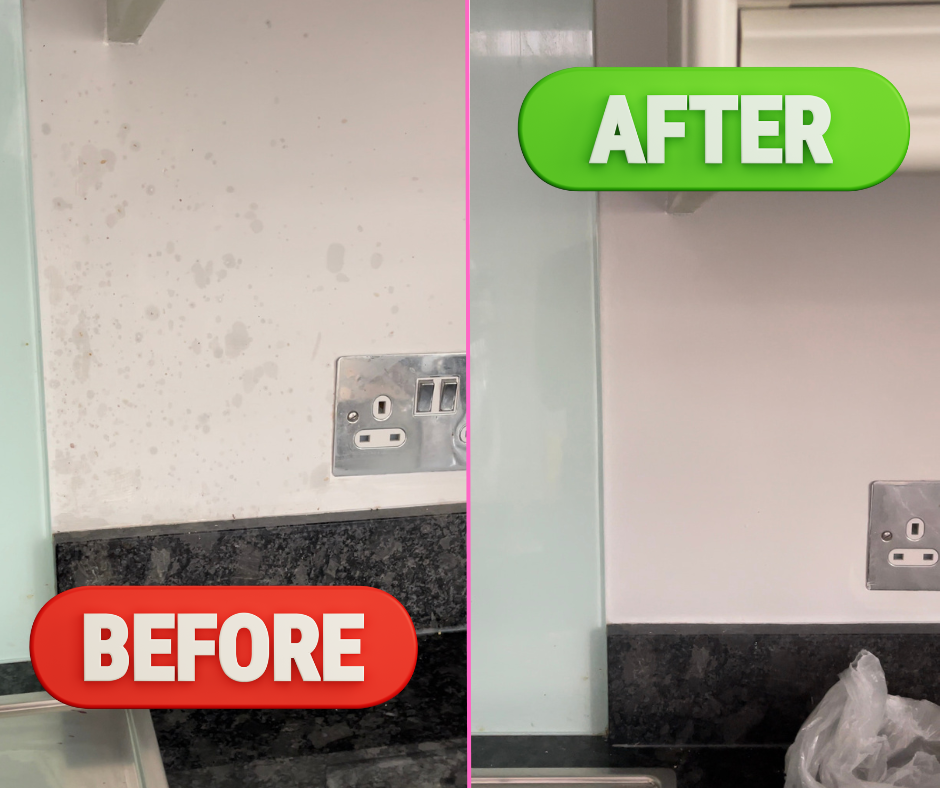
Once all the grout was applied I made sure it was all smoothed in between the tiles and wiped away the residue with a damp sponge. The tiles remained dusty and a little bit covered in grout after, but I waited until the adhesive was completely dry before sorting this out otherwise I was just wiping away all my handy-work.
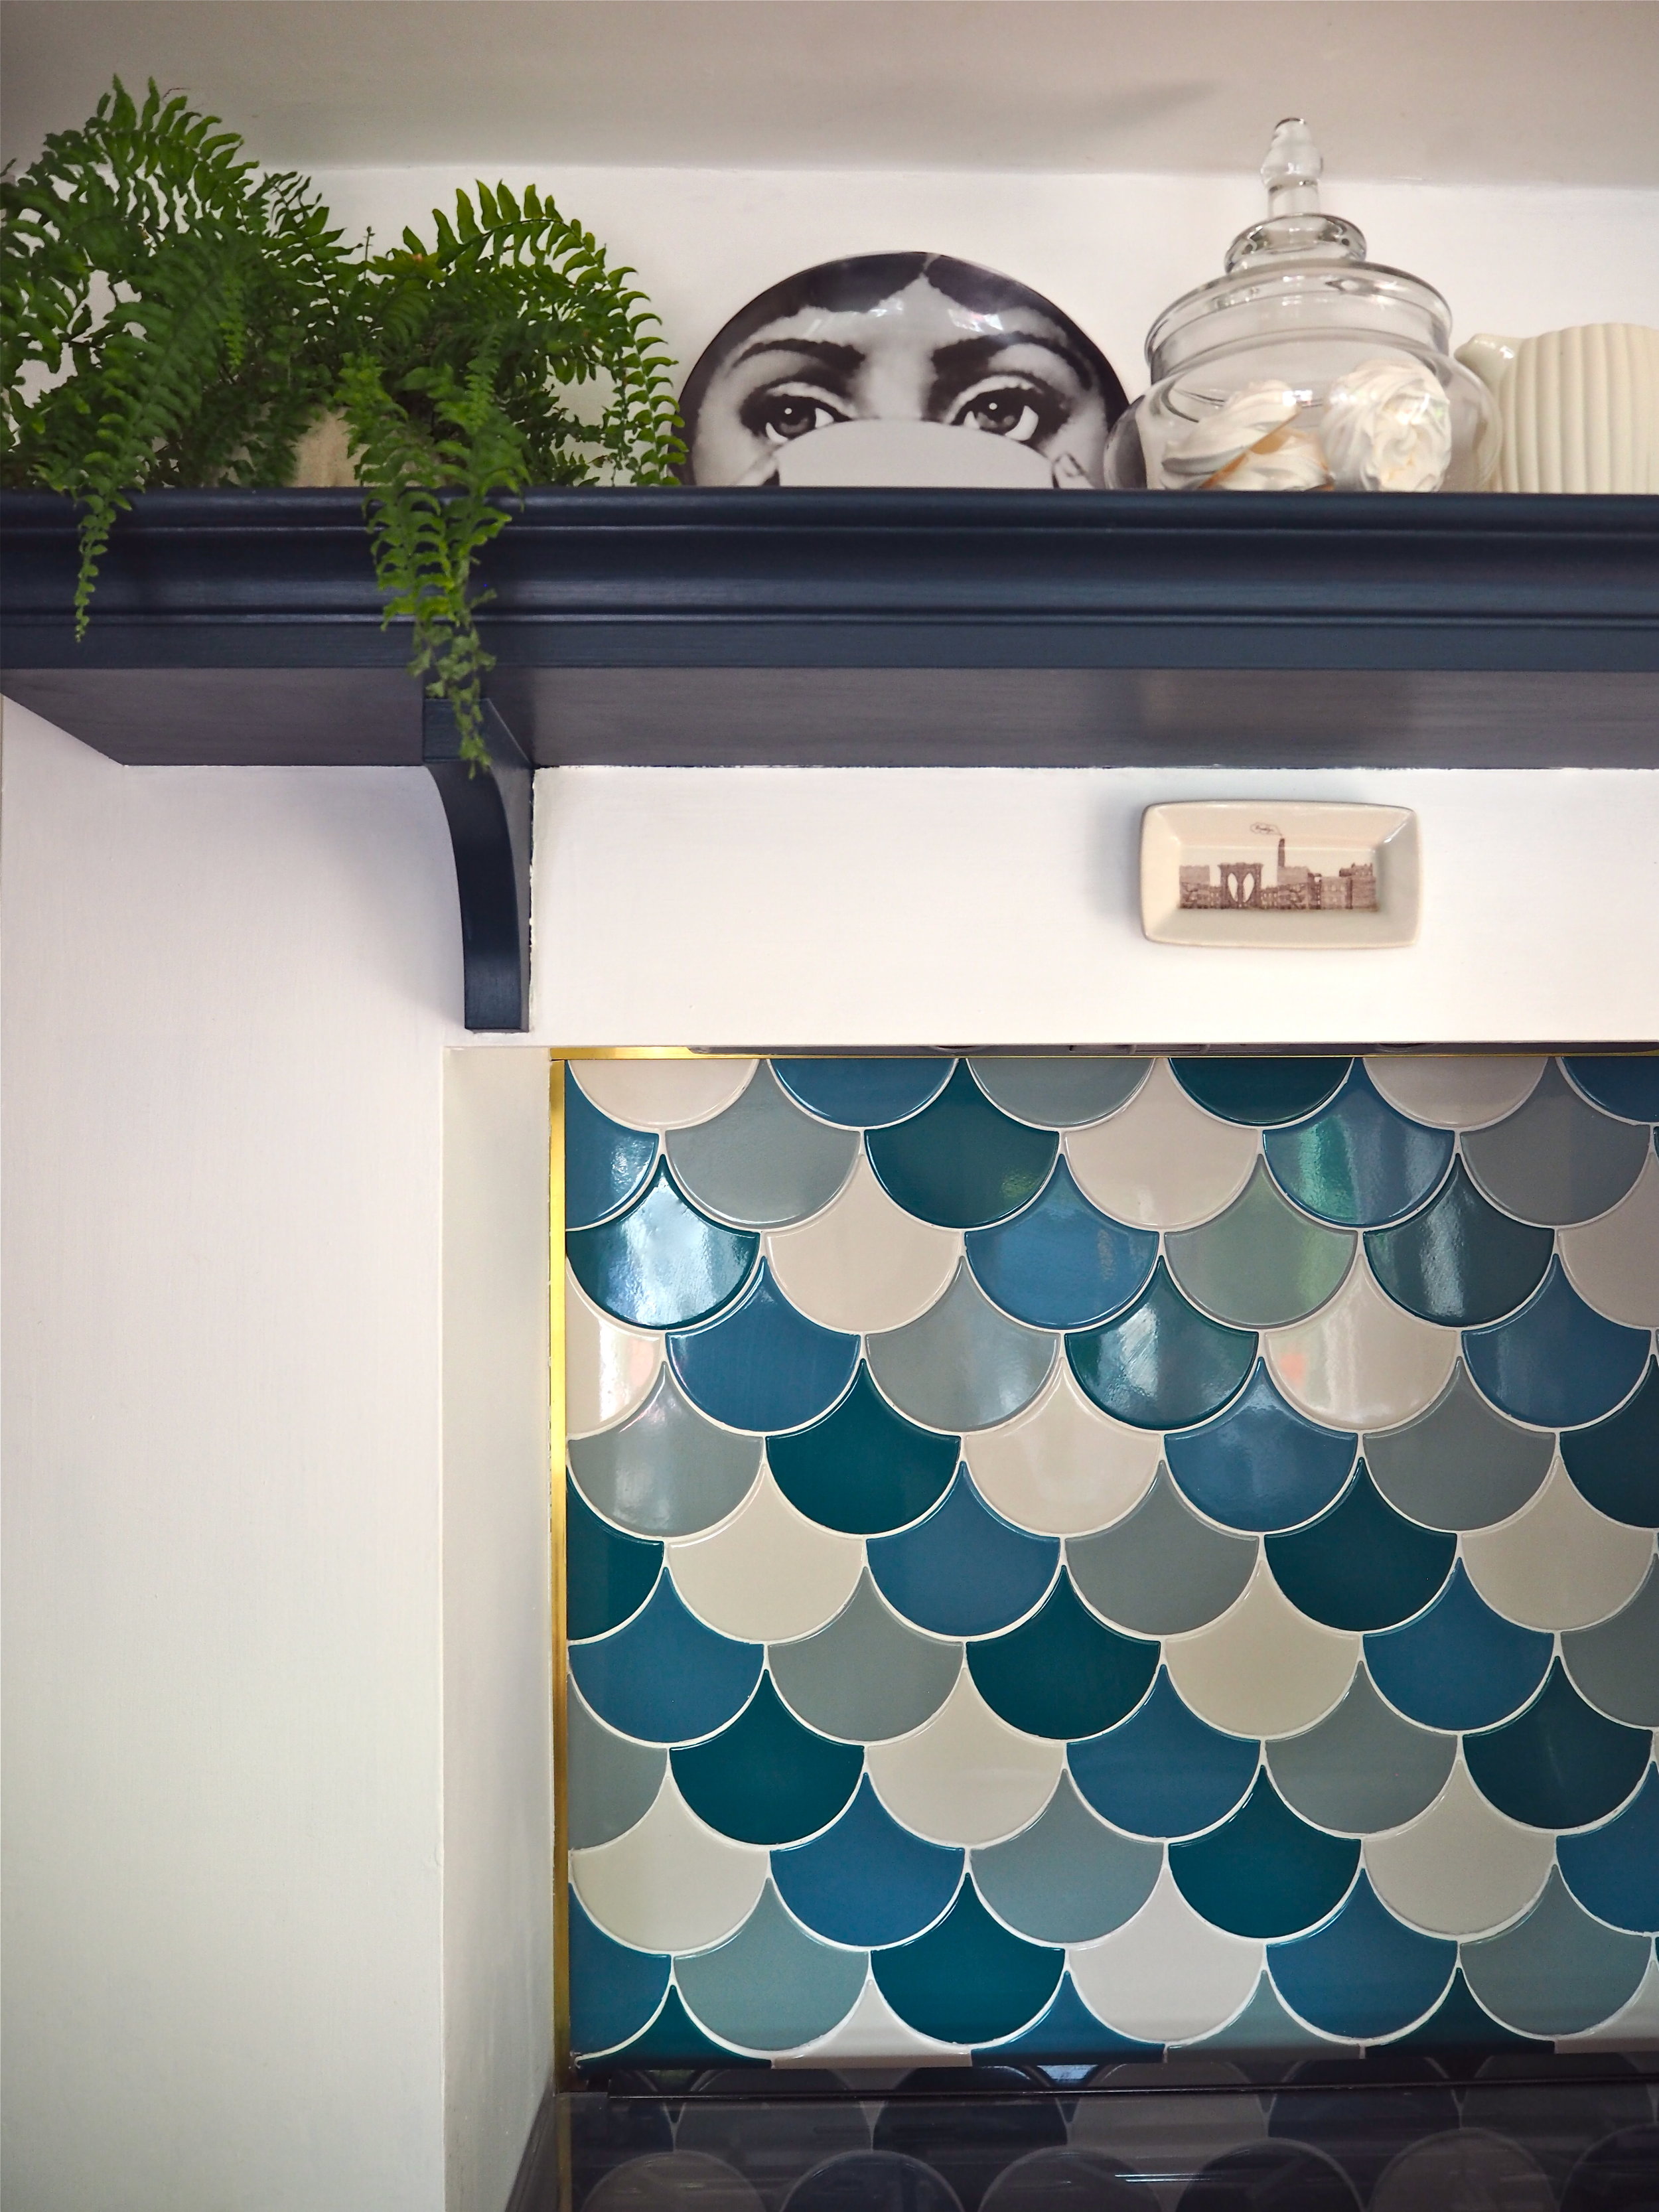
Once the tiles were set this is when I really needed to add a trim to make it look seamless and more professional. I purchased this tile trim below from Topps Tiles and it is the wrong trim - this is floor tile trim! But it was the only one my local store had in a polished brass colourway so I knew I could just make it work somehow. In the end I used a handsaw to hack off the bulky part and used my grab adhesive to stick my trim on the edge of the tiles. This would have all been a lot easier had I have put up my tile trim first - but now I know, right?

I caulked the edges of the trim where it met the side wall so there were no gaps and it was all done! I sanded and painted the surrounding wall and I think it looks great. I now have my dream splash-back at a fraction of the cost!
What do you think to my DIY splashback? Don't you just love these Syren tiles? Has it convinced you to do the same in your own home? Let me know in the comments section below....
* Please note that Topps Tiles kindly gifted me the 4 boxes of Syren Tiles when they knew I wanted to use them for this DIY.