How To Use Painter's Tape: Tips To Get A Perfectly Straight Paint Line
Painter’s tape - also known as decorator’s tape - is a miracle DIY product that just makes painting your home so much easier! Rather than relying on a steady hand when cutting-in between your wall and your ceiling or skirting, painter’s tape allows you to get a perfectly straight, razor-sharp paint line between two different paint colours with ease. For those who like to be a bit creative, painter’s tape is the perfect tool to add stripes and shapes on your walls - making it great to use in a kids room where you might want to add in a multitude of colours!
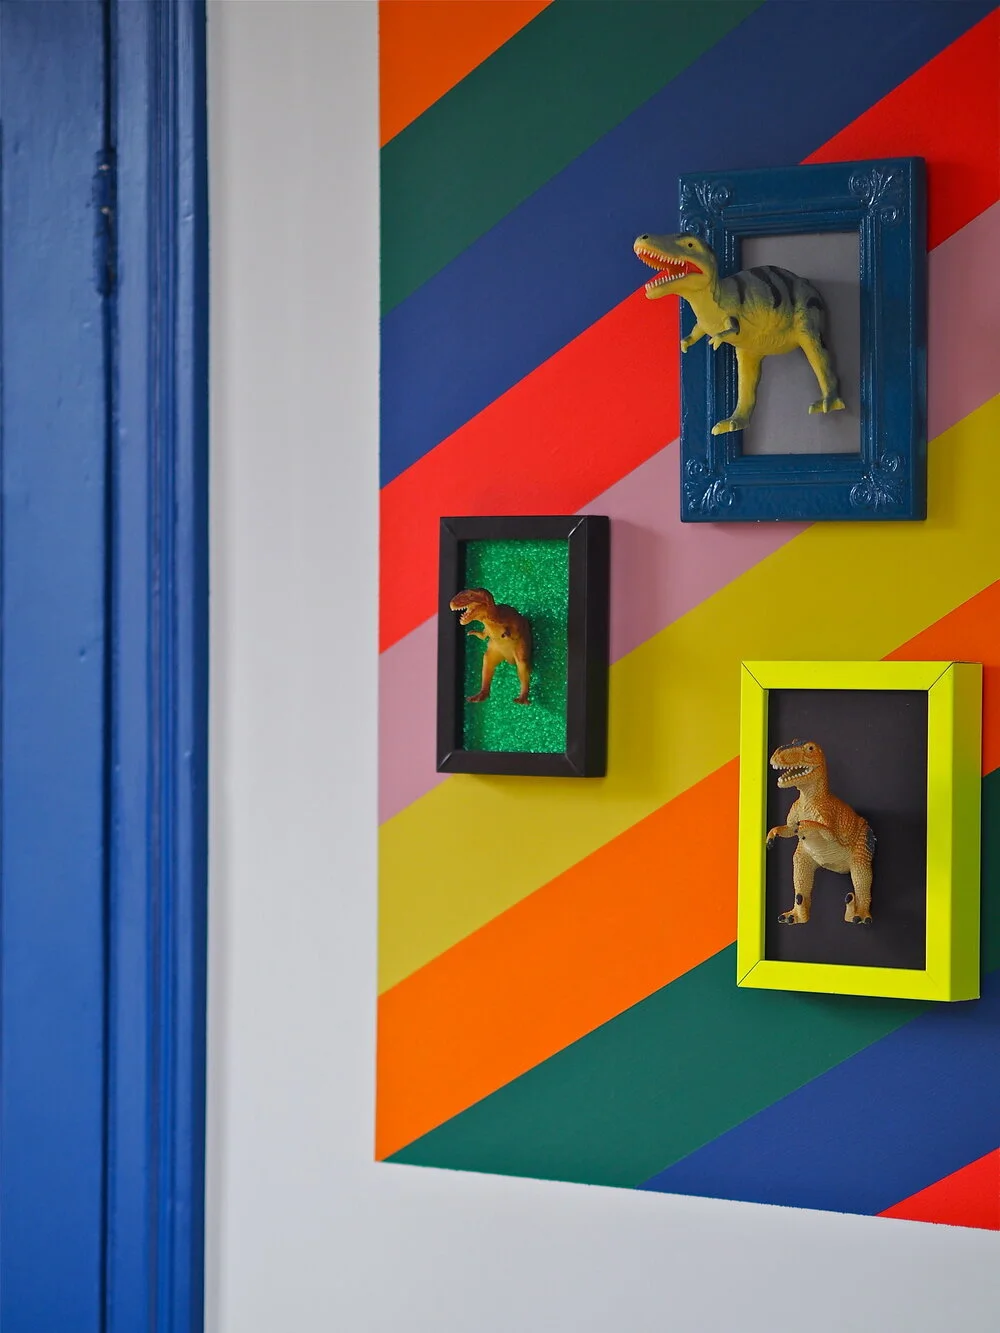
I used painter’s tape in my son’s bedroom to create this stripy decorative area to host posters and pictures. I also used it to get a perfectly straight paint line between the blue door frame and the white wall.
While most people know about painter’s tape, a lot of people struggle with using it. Paint bleeds, peeling paint when removing the tape and the tape not sticking in the first place are all common problems that can be overcome with the right advice. I’ve used a lot of tape over the years on multiple projects and have learnt through experience how to have total success with tape. Below are my key tips and tricks to get that perfectly straight, no-bleed paint line every time, without any problems:
Choose The Right Tape
First things first - painter’s tape is not general, all purpose masking tape. Painter’s tape is specifically designed for decorating and is easy to apply and remove without damage. If you are tempted to just buy masking tape rather than painter’s tape as it is cheaper - don’t! Masking tape will not give you a sharp paint line and the material is flimsy, so you’ll spend a lot of time trying to remove it from your walls as it comes off in tiny pieces!
Painter’s tape tends to come in a variety of sizes with differing levels of stickiness, so choose the right size and tack level for your project. For example, if you are painting skirting and want to protect your floorboards from paint marks, go for a high-tack, thick tape that will stick down well and be wide enough to stop any awry brushstrokes. Alternatively, If you are hand-painting a wall mural and need to stick tape down on top of paint that only dried a couple of days ago, use a thin, low tack tape that will not pull off your fresh paint.
Personally, my favourite painter’s tape is ProDec Low Tack Precision Edge.
As a rule, I tend to always purchase a low-tack tape for general decorating as this sticks well but reduces the possibility of pulling paint off the wall when it is removed (read more about that further down this post!)
Frog Tape is probably the most well-known and most widely available tape on the market in the UK. While I do rate this tape, I’ve tried a lot of different tape in a variety of tacks and sizes and I have to say my absolute favourite painter’s tape is ProDec Low Tack Precision Edge for its ability to get a super-sharp paint line every time.

In one area I used ProDec and on another area I used a competitor brand. You can see the difference in terms of a perfect paint line.
Evaluate problem areas
One of the biggest problems that people complain about when using tape is that it pulls away old paint or plaster when it is removed. Often, the tape used gets the blame. By using a low tack tape you are reducing the possibility of peeling off old paint from the wall - but there may be another issue you need to be aware of. If your wall is prone to damp, is an outside wall or feels particularly cold, you may have a problem using tape on it. This is because paint does not adhere so well to surfaces where the moisture level in the wall is high. The easiest way to test to see if your wall can take tape is to touch it. Is it room temperature? Or does it feel a lot colder than the room? Go around the room and feel the other walls - is the wall you are due to paint with tape colder than the others? Also look out for loose, flaky, bubbly or burst paint - this is a sign that moisture is trying to escape the walls through the paintwork. In this situation, I would avoid using tape and would instead hand-paint using a sash window brush. A sash window brush has a pointed tip, making it is much easier to control the direction of your paint line and paint around switches and sockets with as you have better control over the distribution of paint.

The wall mural that I created in my son’s bedroom that took a lot of tape!
The Perfect Painter’s Tape Application
As well as using the right tape, your application method also plays a part in how well your paint line comes out! Once you’ve applied your tape in the right spot, use an old credit or store card to firmly smooth down the side of the tape that will be the paint edge. By making sure that your tape is stuck down firmly, you will minimise the likelihood of any paint bleeds.
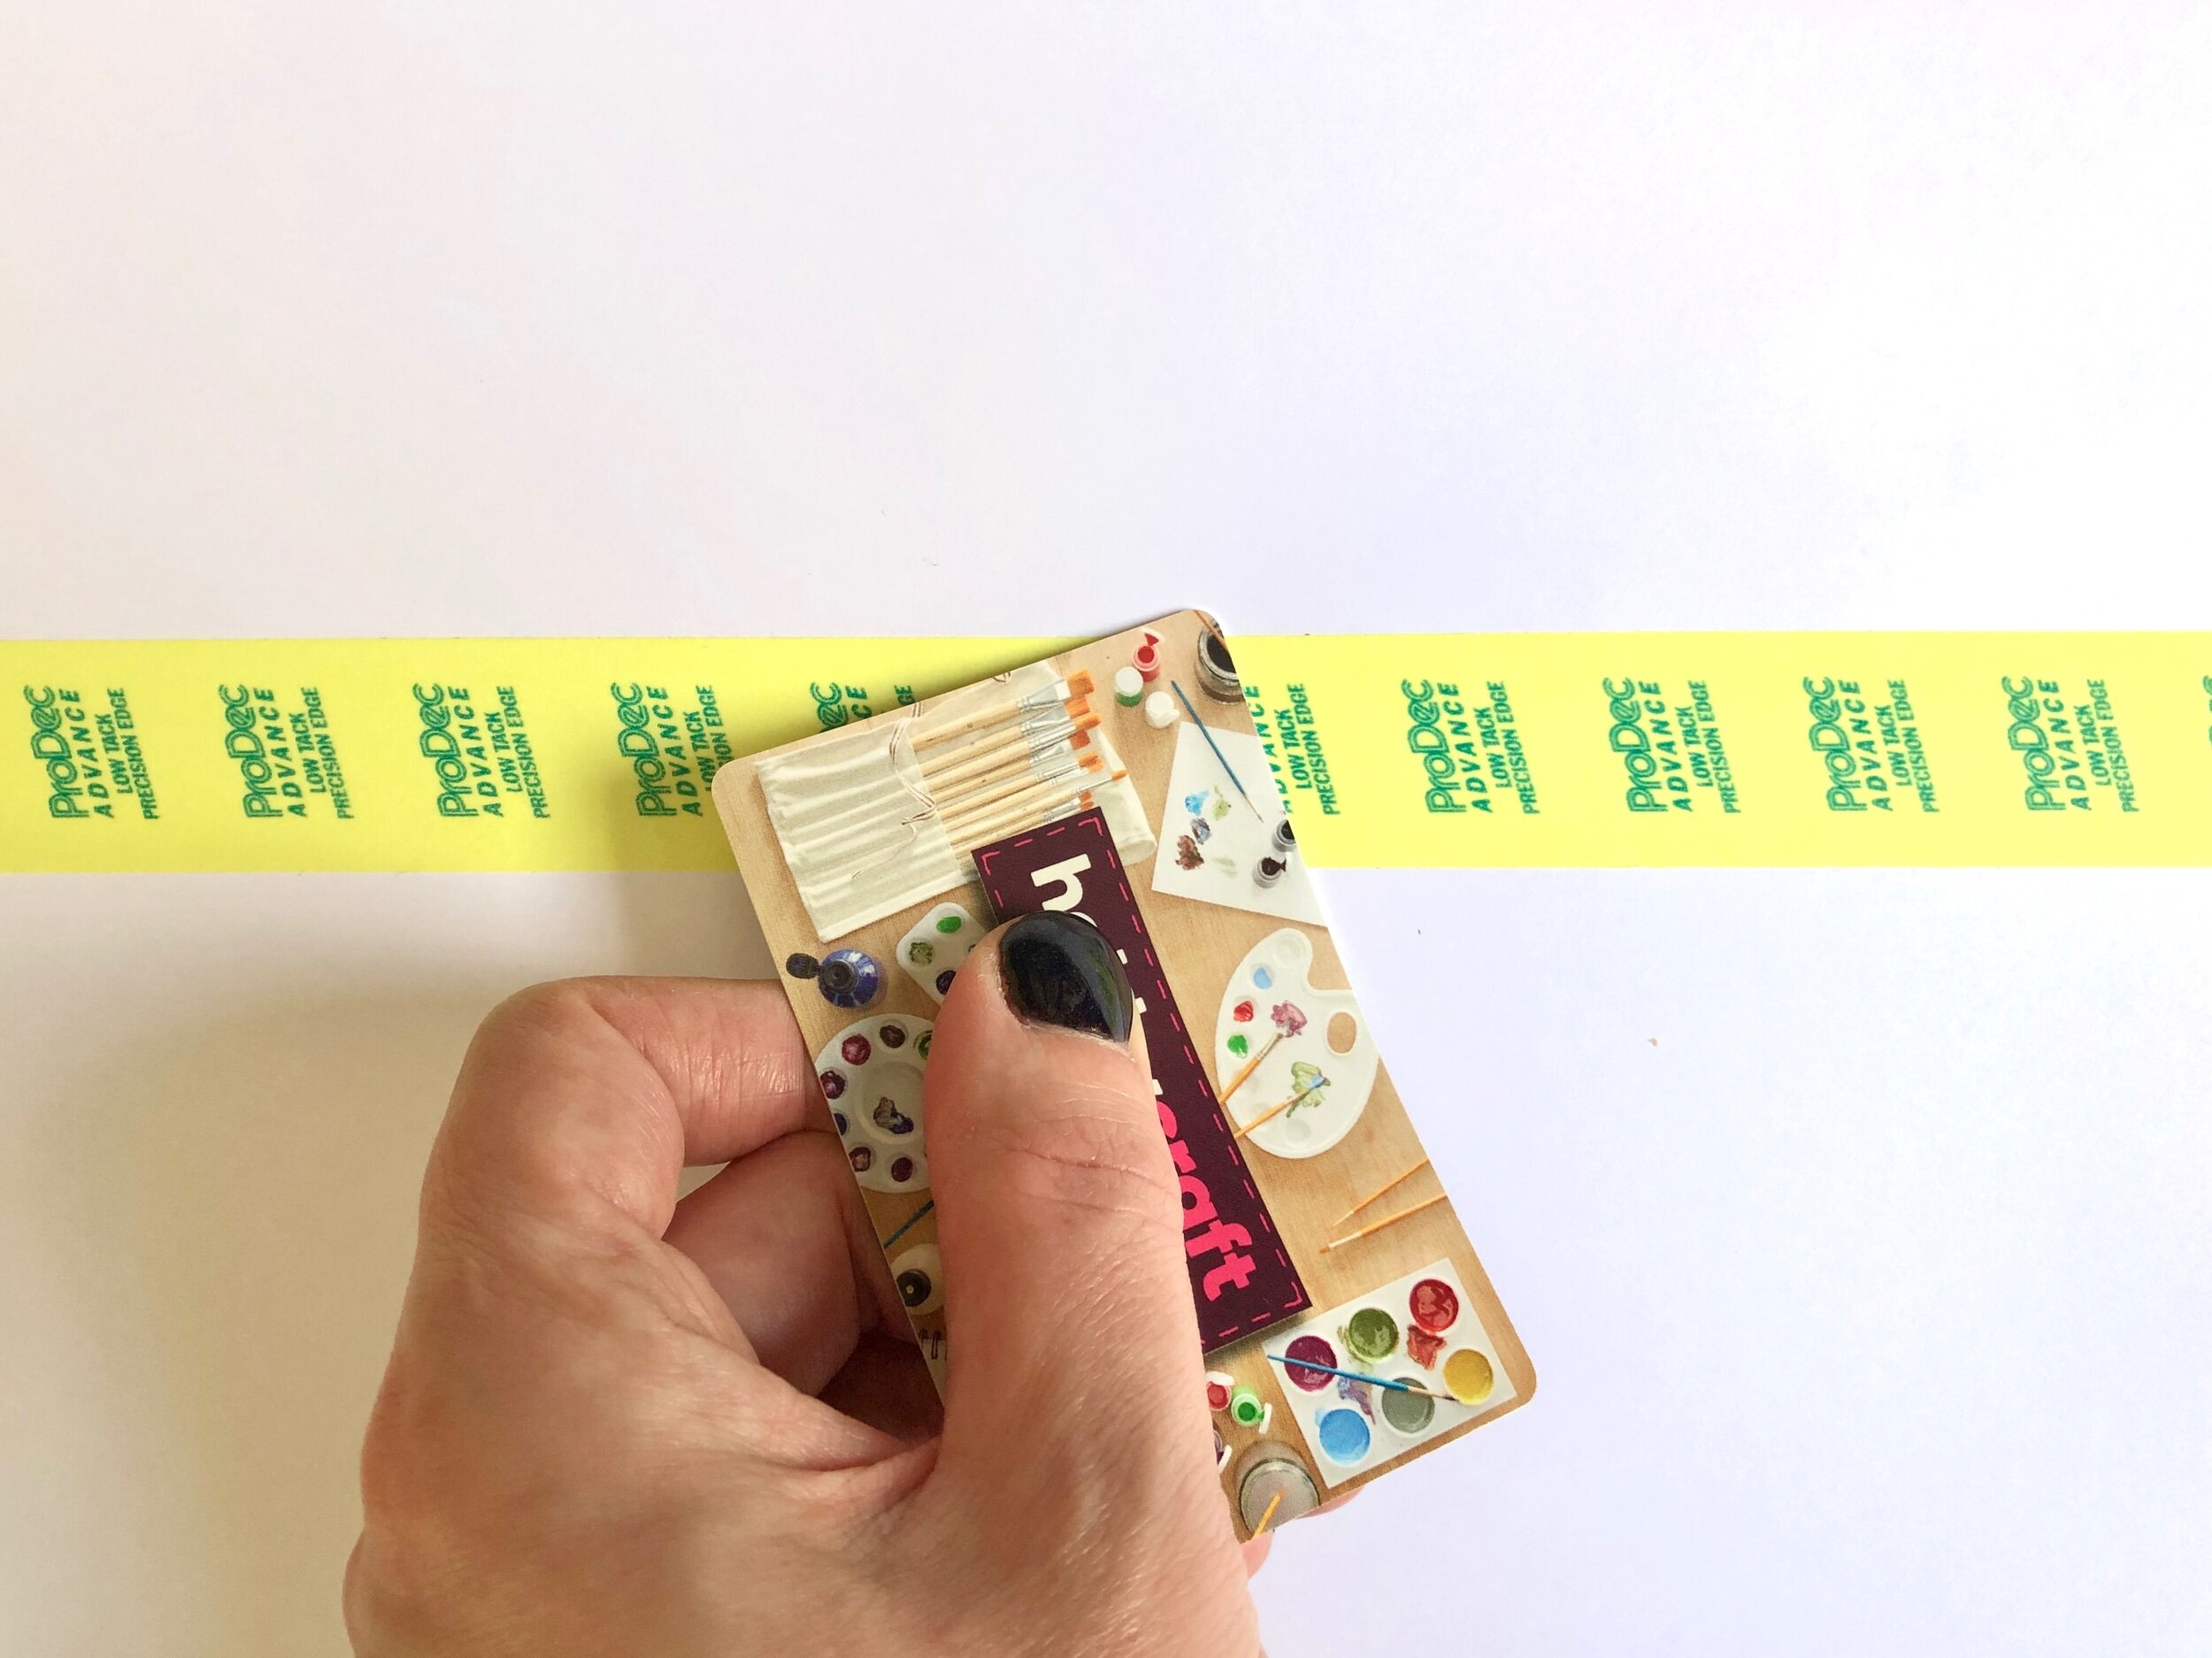
Firmly press down the edge of your painter’s tape to avoid paint bleeds with an old credit or store card.
When you apply your paint, make sure that you sweep the paint away from the tape edge rather than painting towards it. If you paint towards the tape edge, you may push paint underneath the tape.
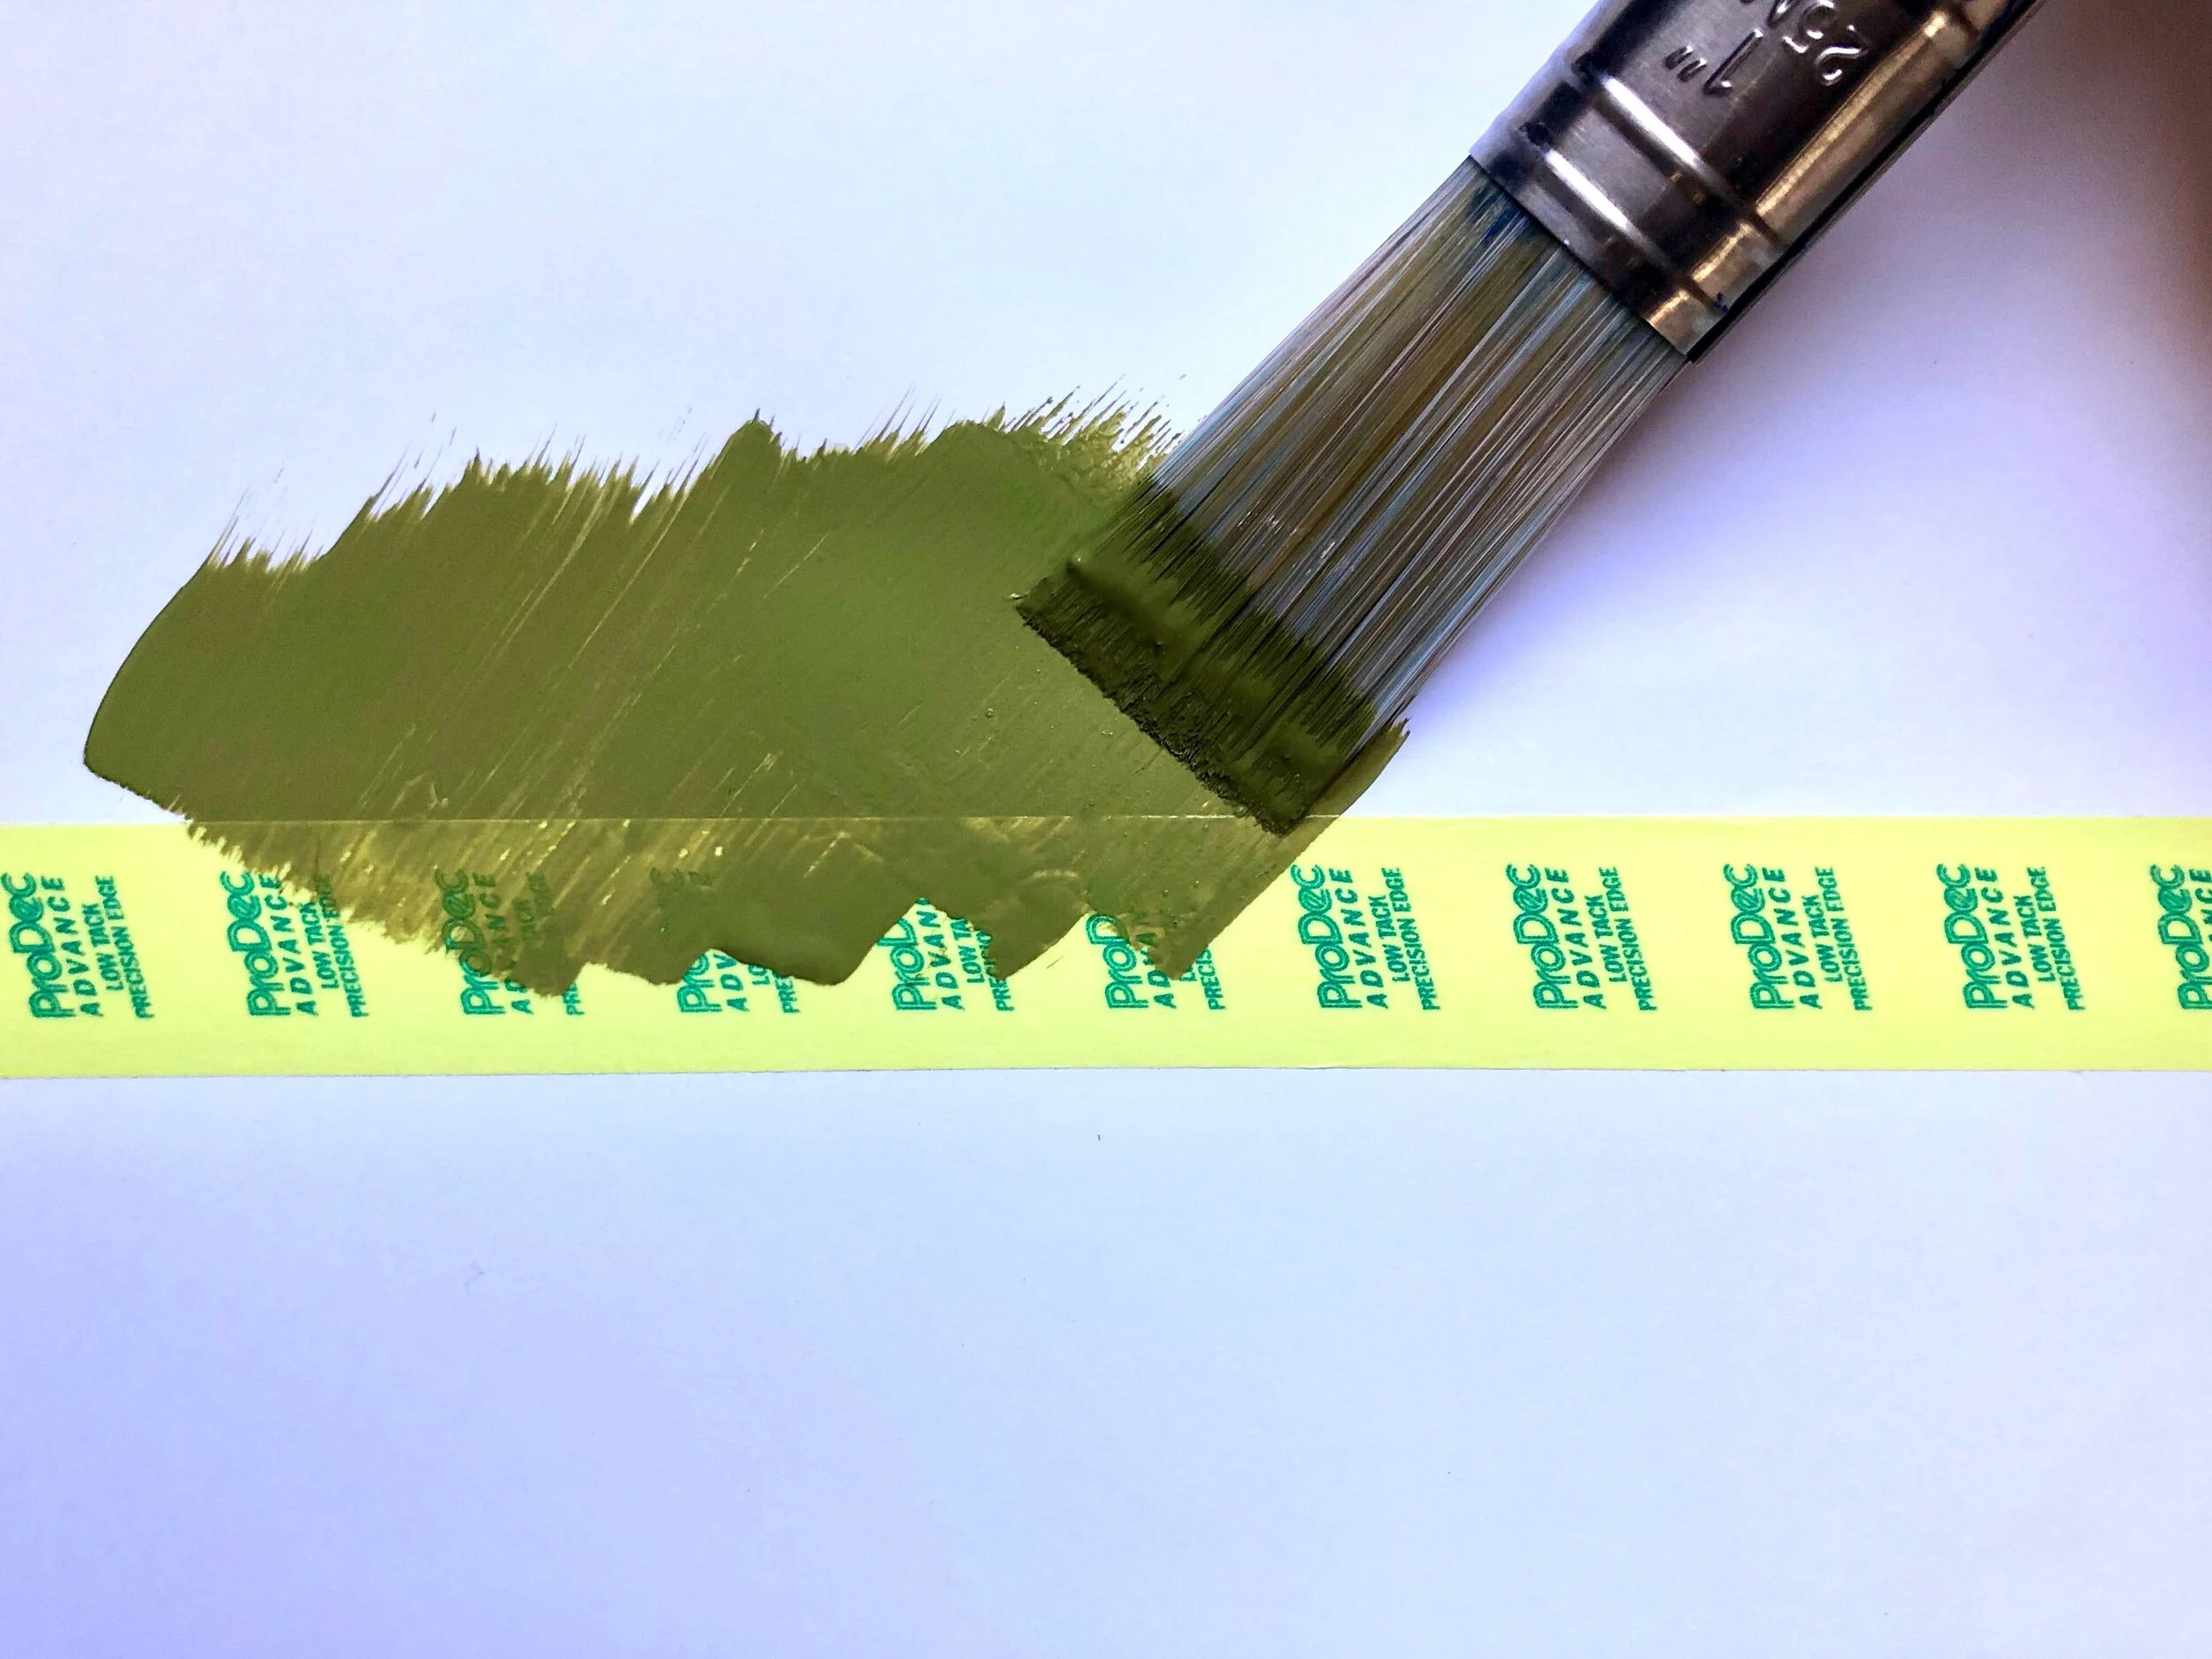
Paint away from the tape, not under it.
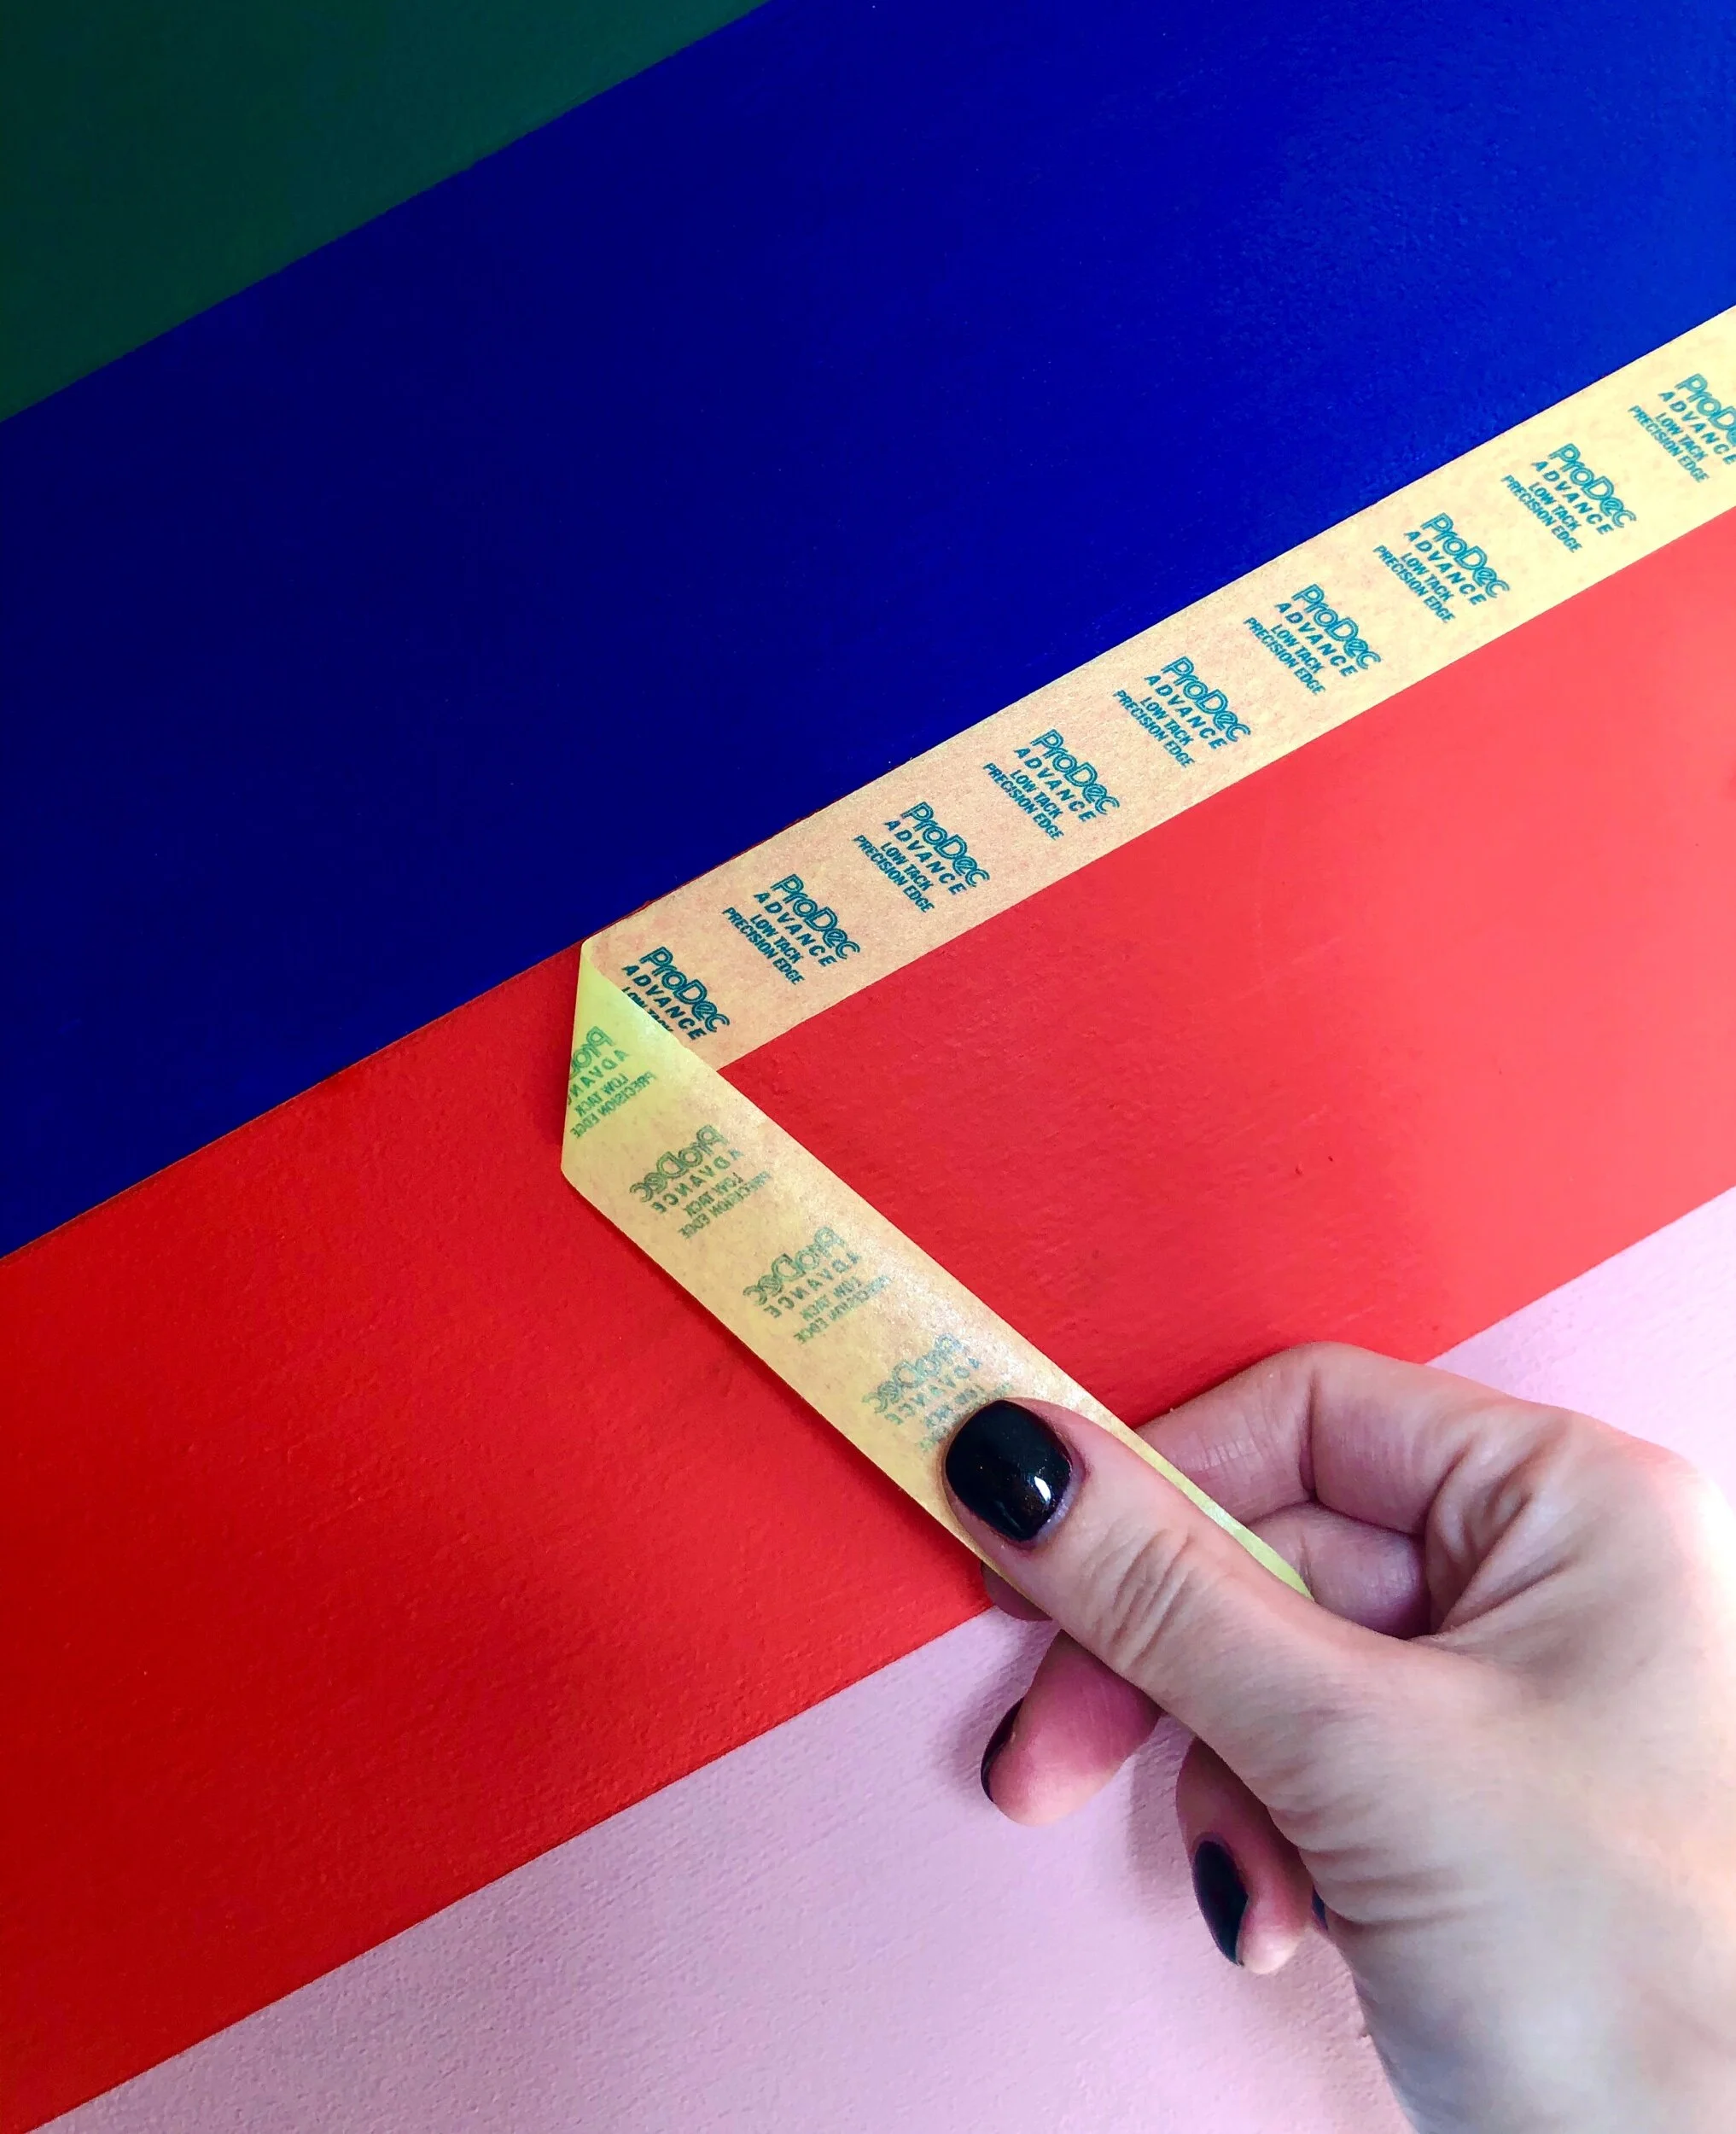
When using tape to mark off the skirting or the ceiling, pay special attention to the corners so that you get a neat, square edge. Firstly, apply tape loosely on one side and use a pencil to mark the corner; then, peel away the tape and cut along the pencil line with a sharp pair of scissors. Repeat for both corner edges.
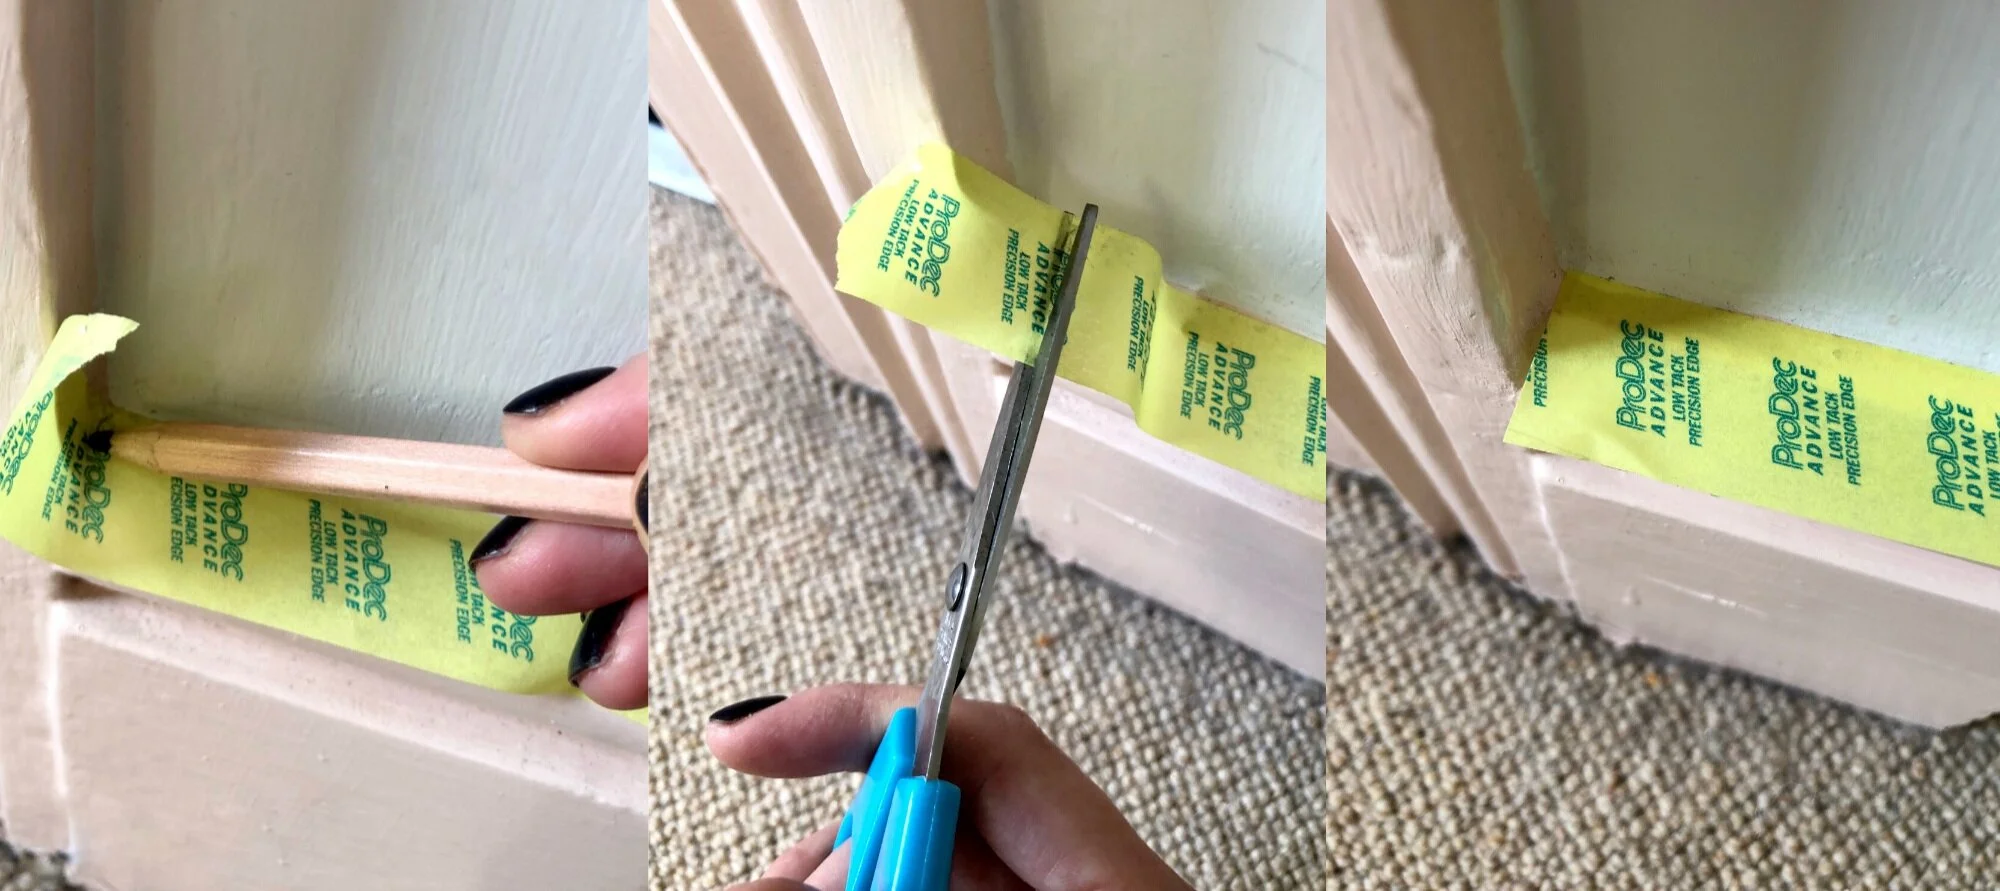
How to get perfectly painted corners.
WHEN TO REMOVE THE TAPE
There are many opinions as to when it is best to remove the tape. Personally, I think it is best to wait until the next day when the paint is dry but has not cured. If you remove the tape when wet, you risk the chance of wet paint on the tape catching on areas you don’t want to be painted. If you remove the tape when the paint is tacky and not fully dry, the tape can take with it clumps of paint and ruin the neat paint line. Give your paint 24 hours to dry, then remove the tape slowly but firmly at an angle. Hold the tape close to the paint line and resist the urge to just keep pulling off one long piece in one go, as this increases the chances of you taking old paint off with the tape when it’s being yanked from a metre away.
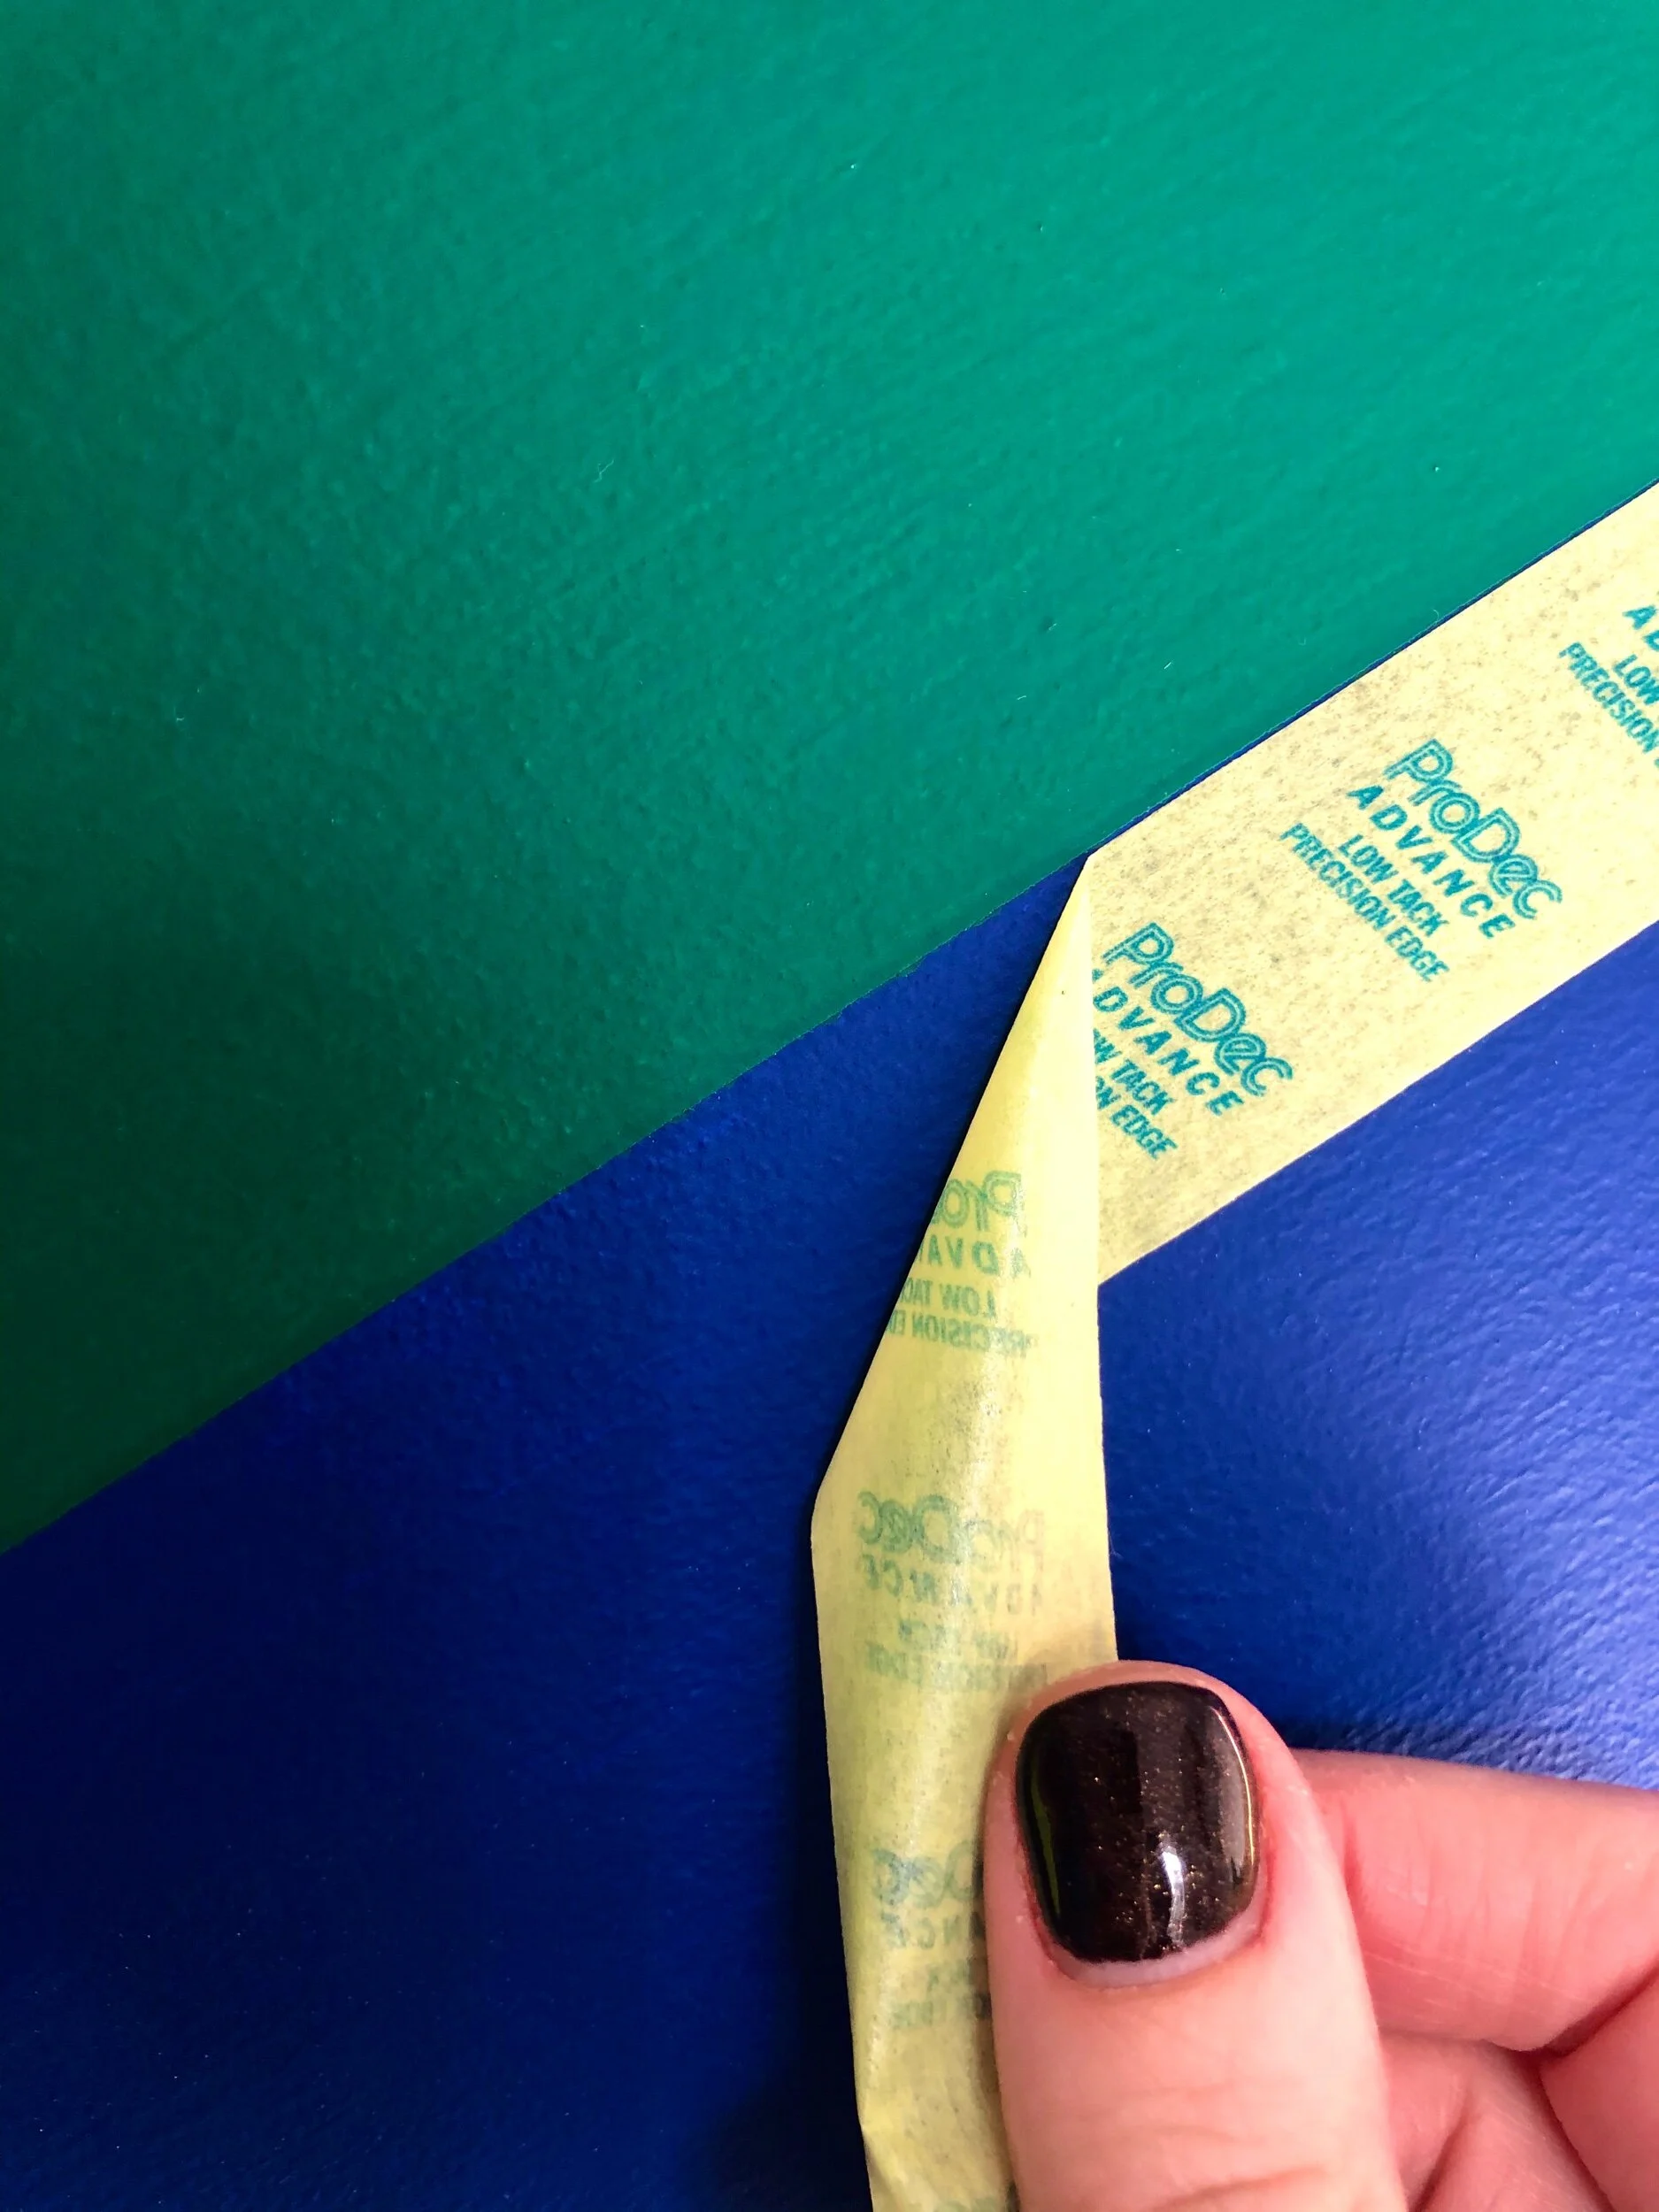
Pull away the tape slowly but firmly at an angle.
Touching up
If you do get a bit of a bobble line or if your tape does peel off a bit of old paint, it’s not the end of the world. Make sure that you have a small artists paintbrush to hand to just amend any small flaws.
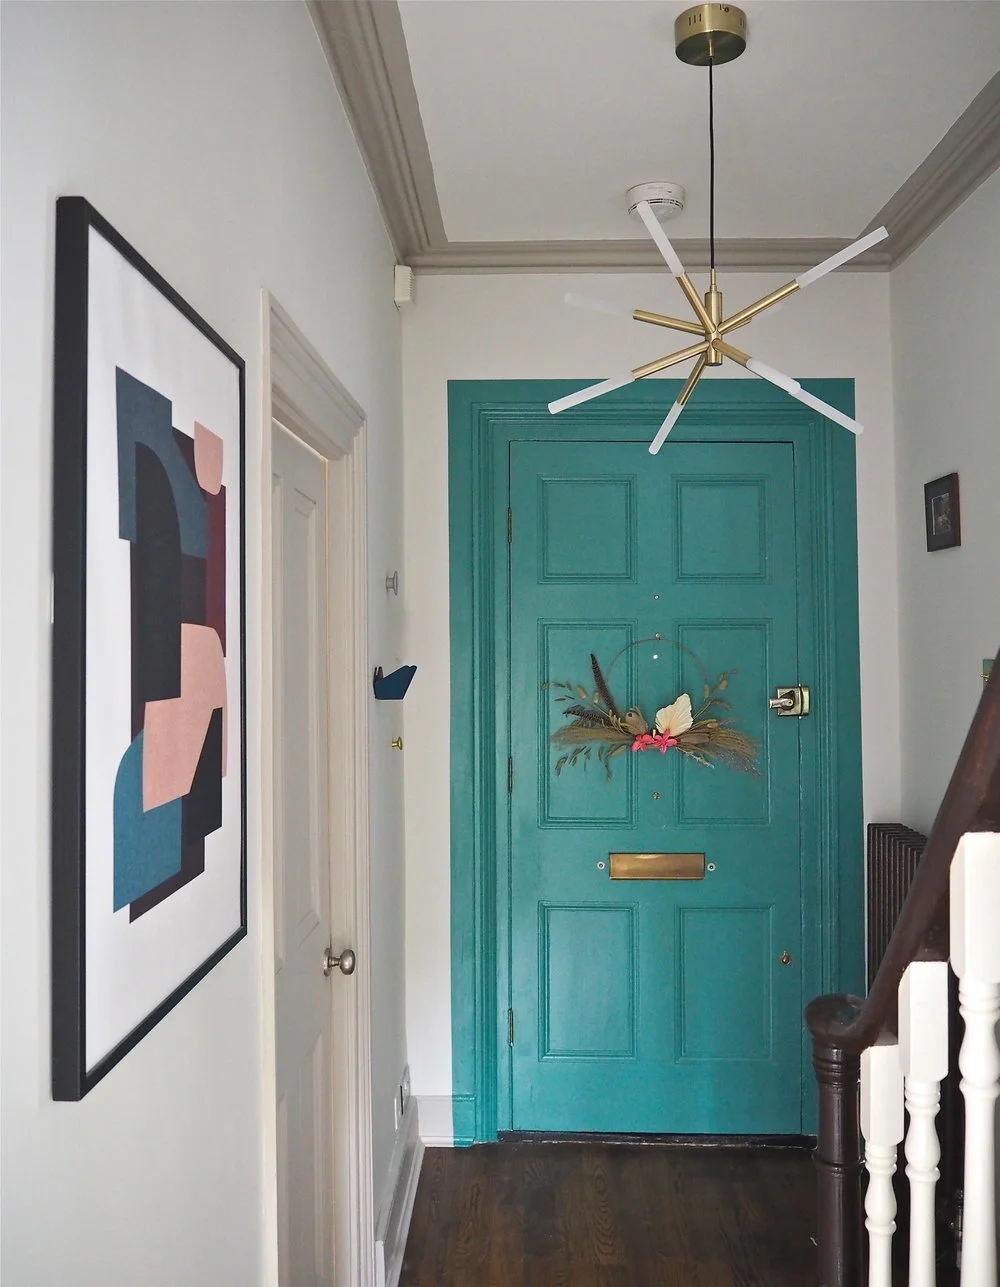
I used tape around my door to make the impression of it looking ‘bigger’ than it actually is.