How To Make On-Trend Bubble And Shell Soy Wax Candles
Bubble and shell-shaped candles can be found all over social media within home decor right now. These candles are really having a ‘moment’ and you’ll find them styled to perfection on coffee tables and on the shelves in some of the best Instagram homes! Having a load of soy wax flakes at my disposal, I decided to buy a couple of bubble and shell plastics moulds and have a go at making them myself.

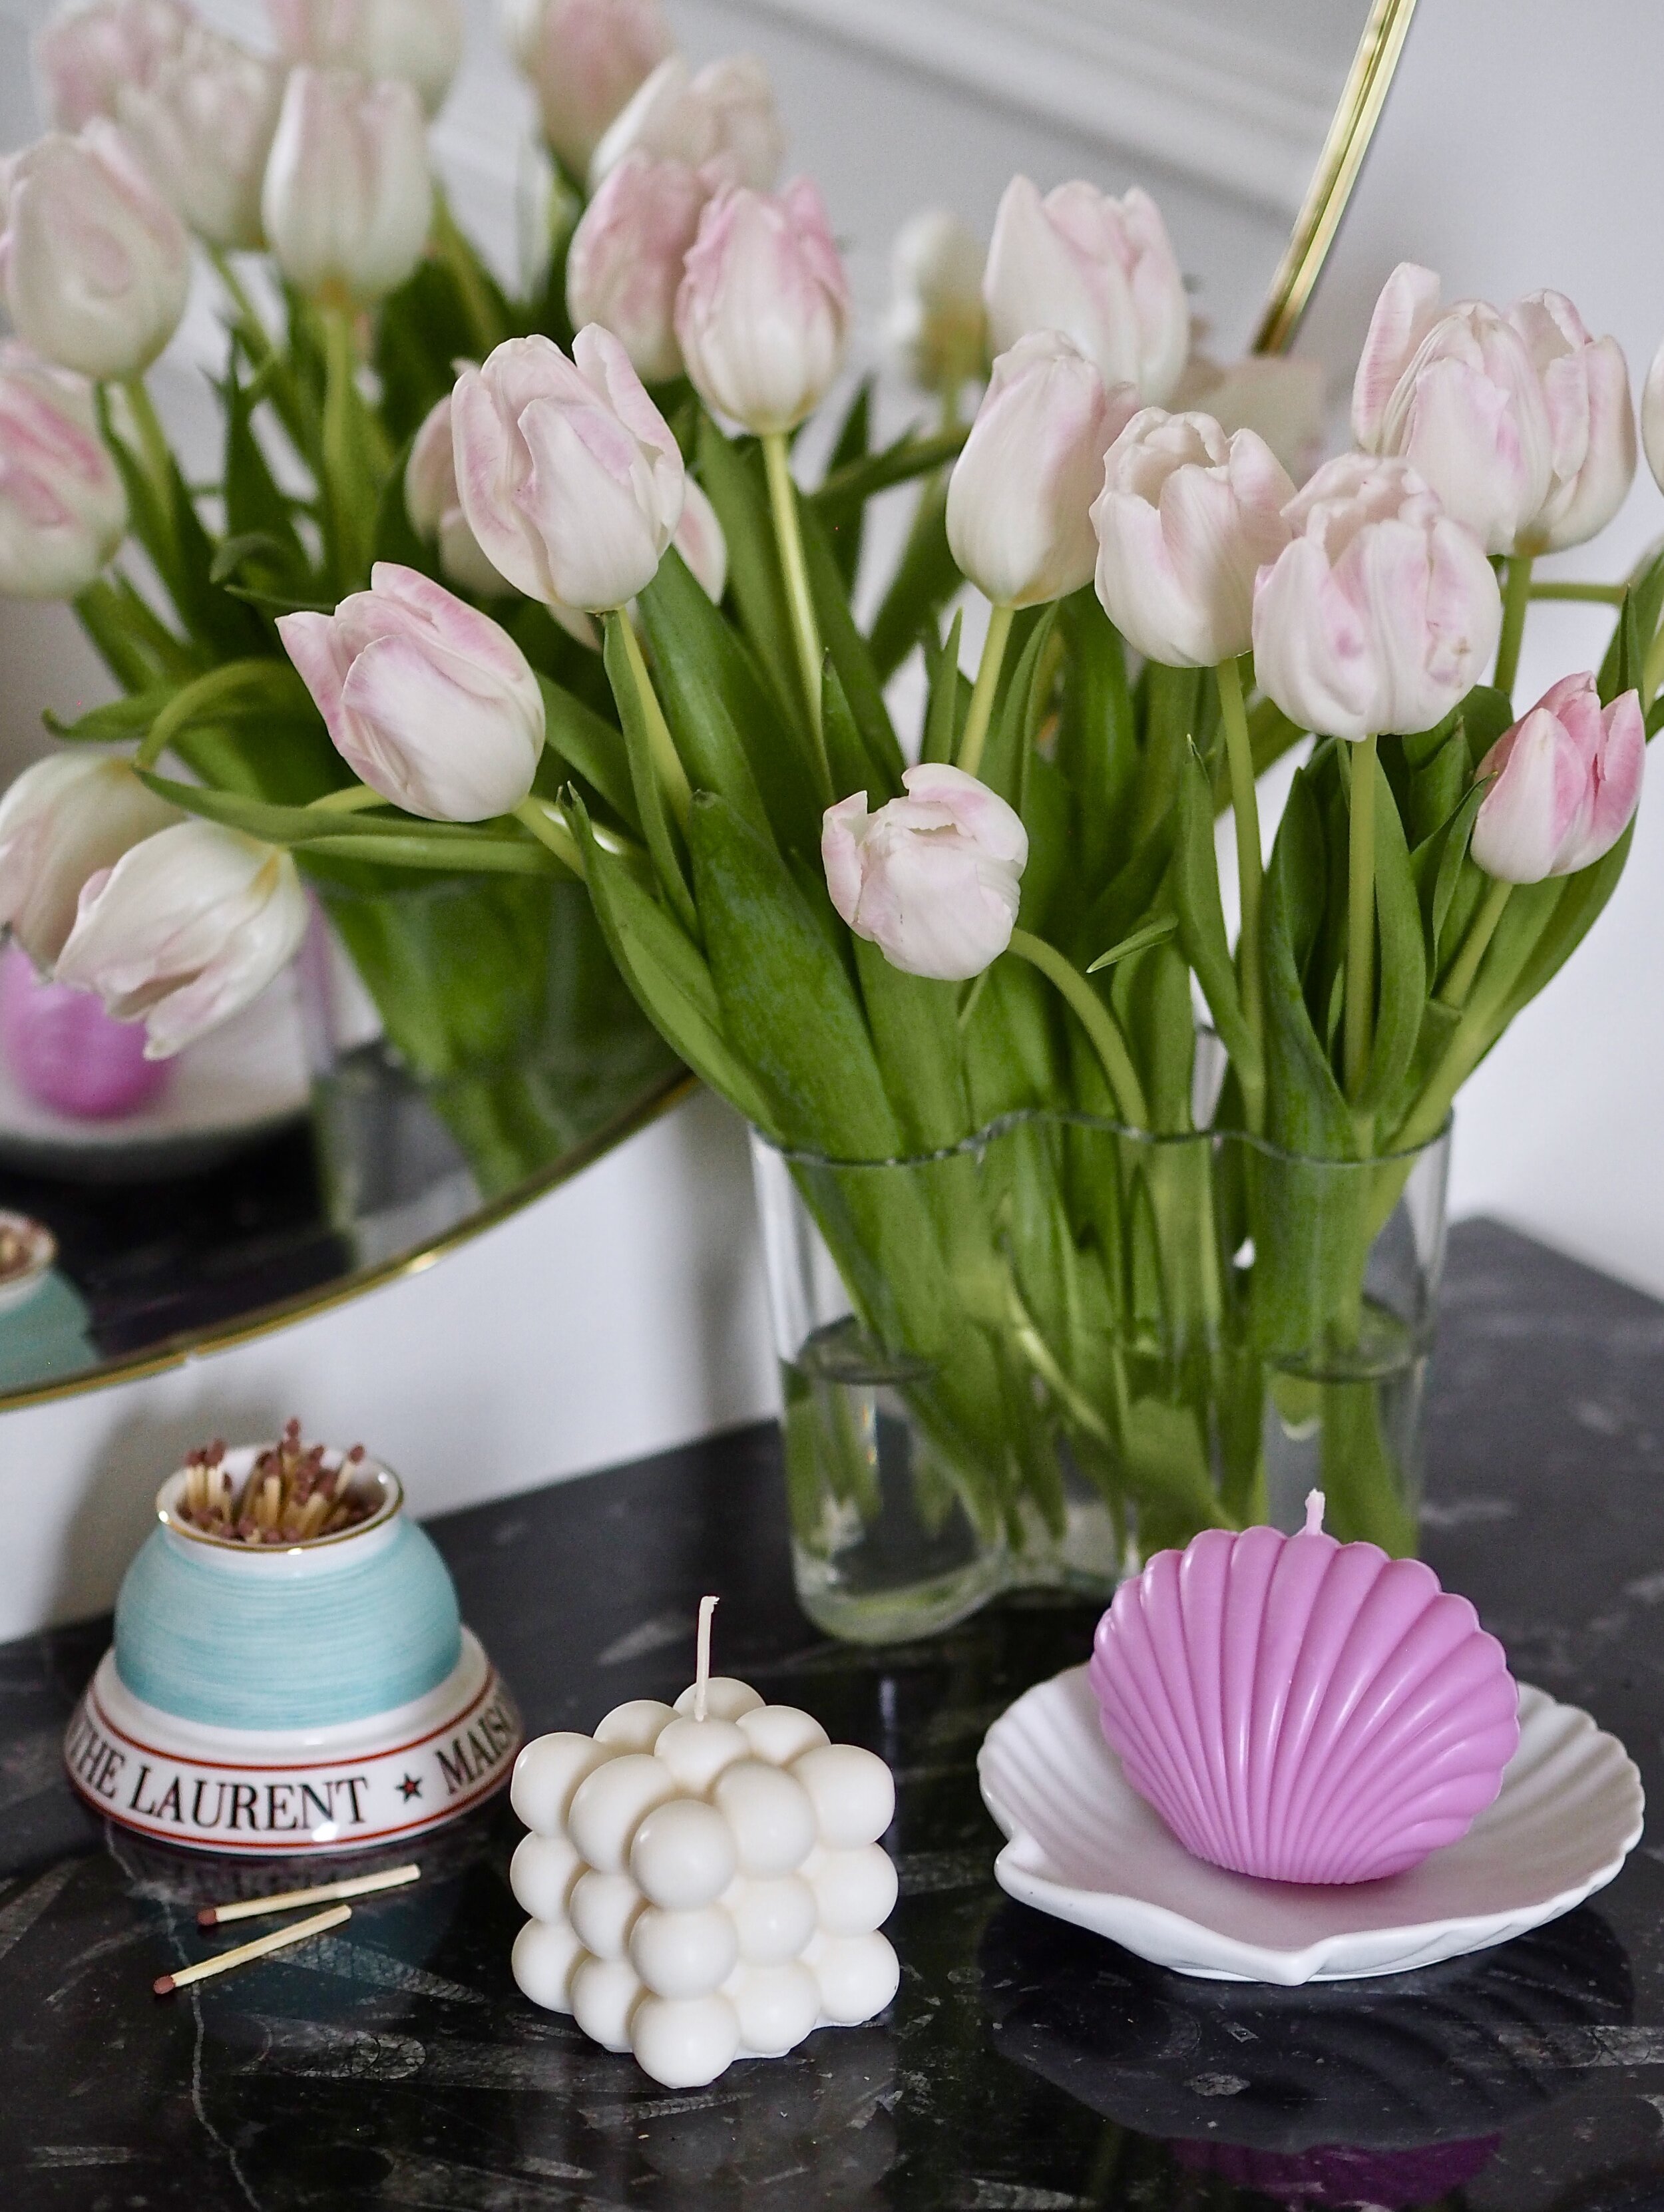
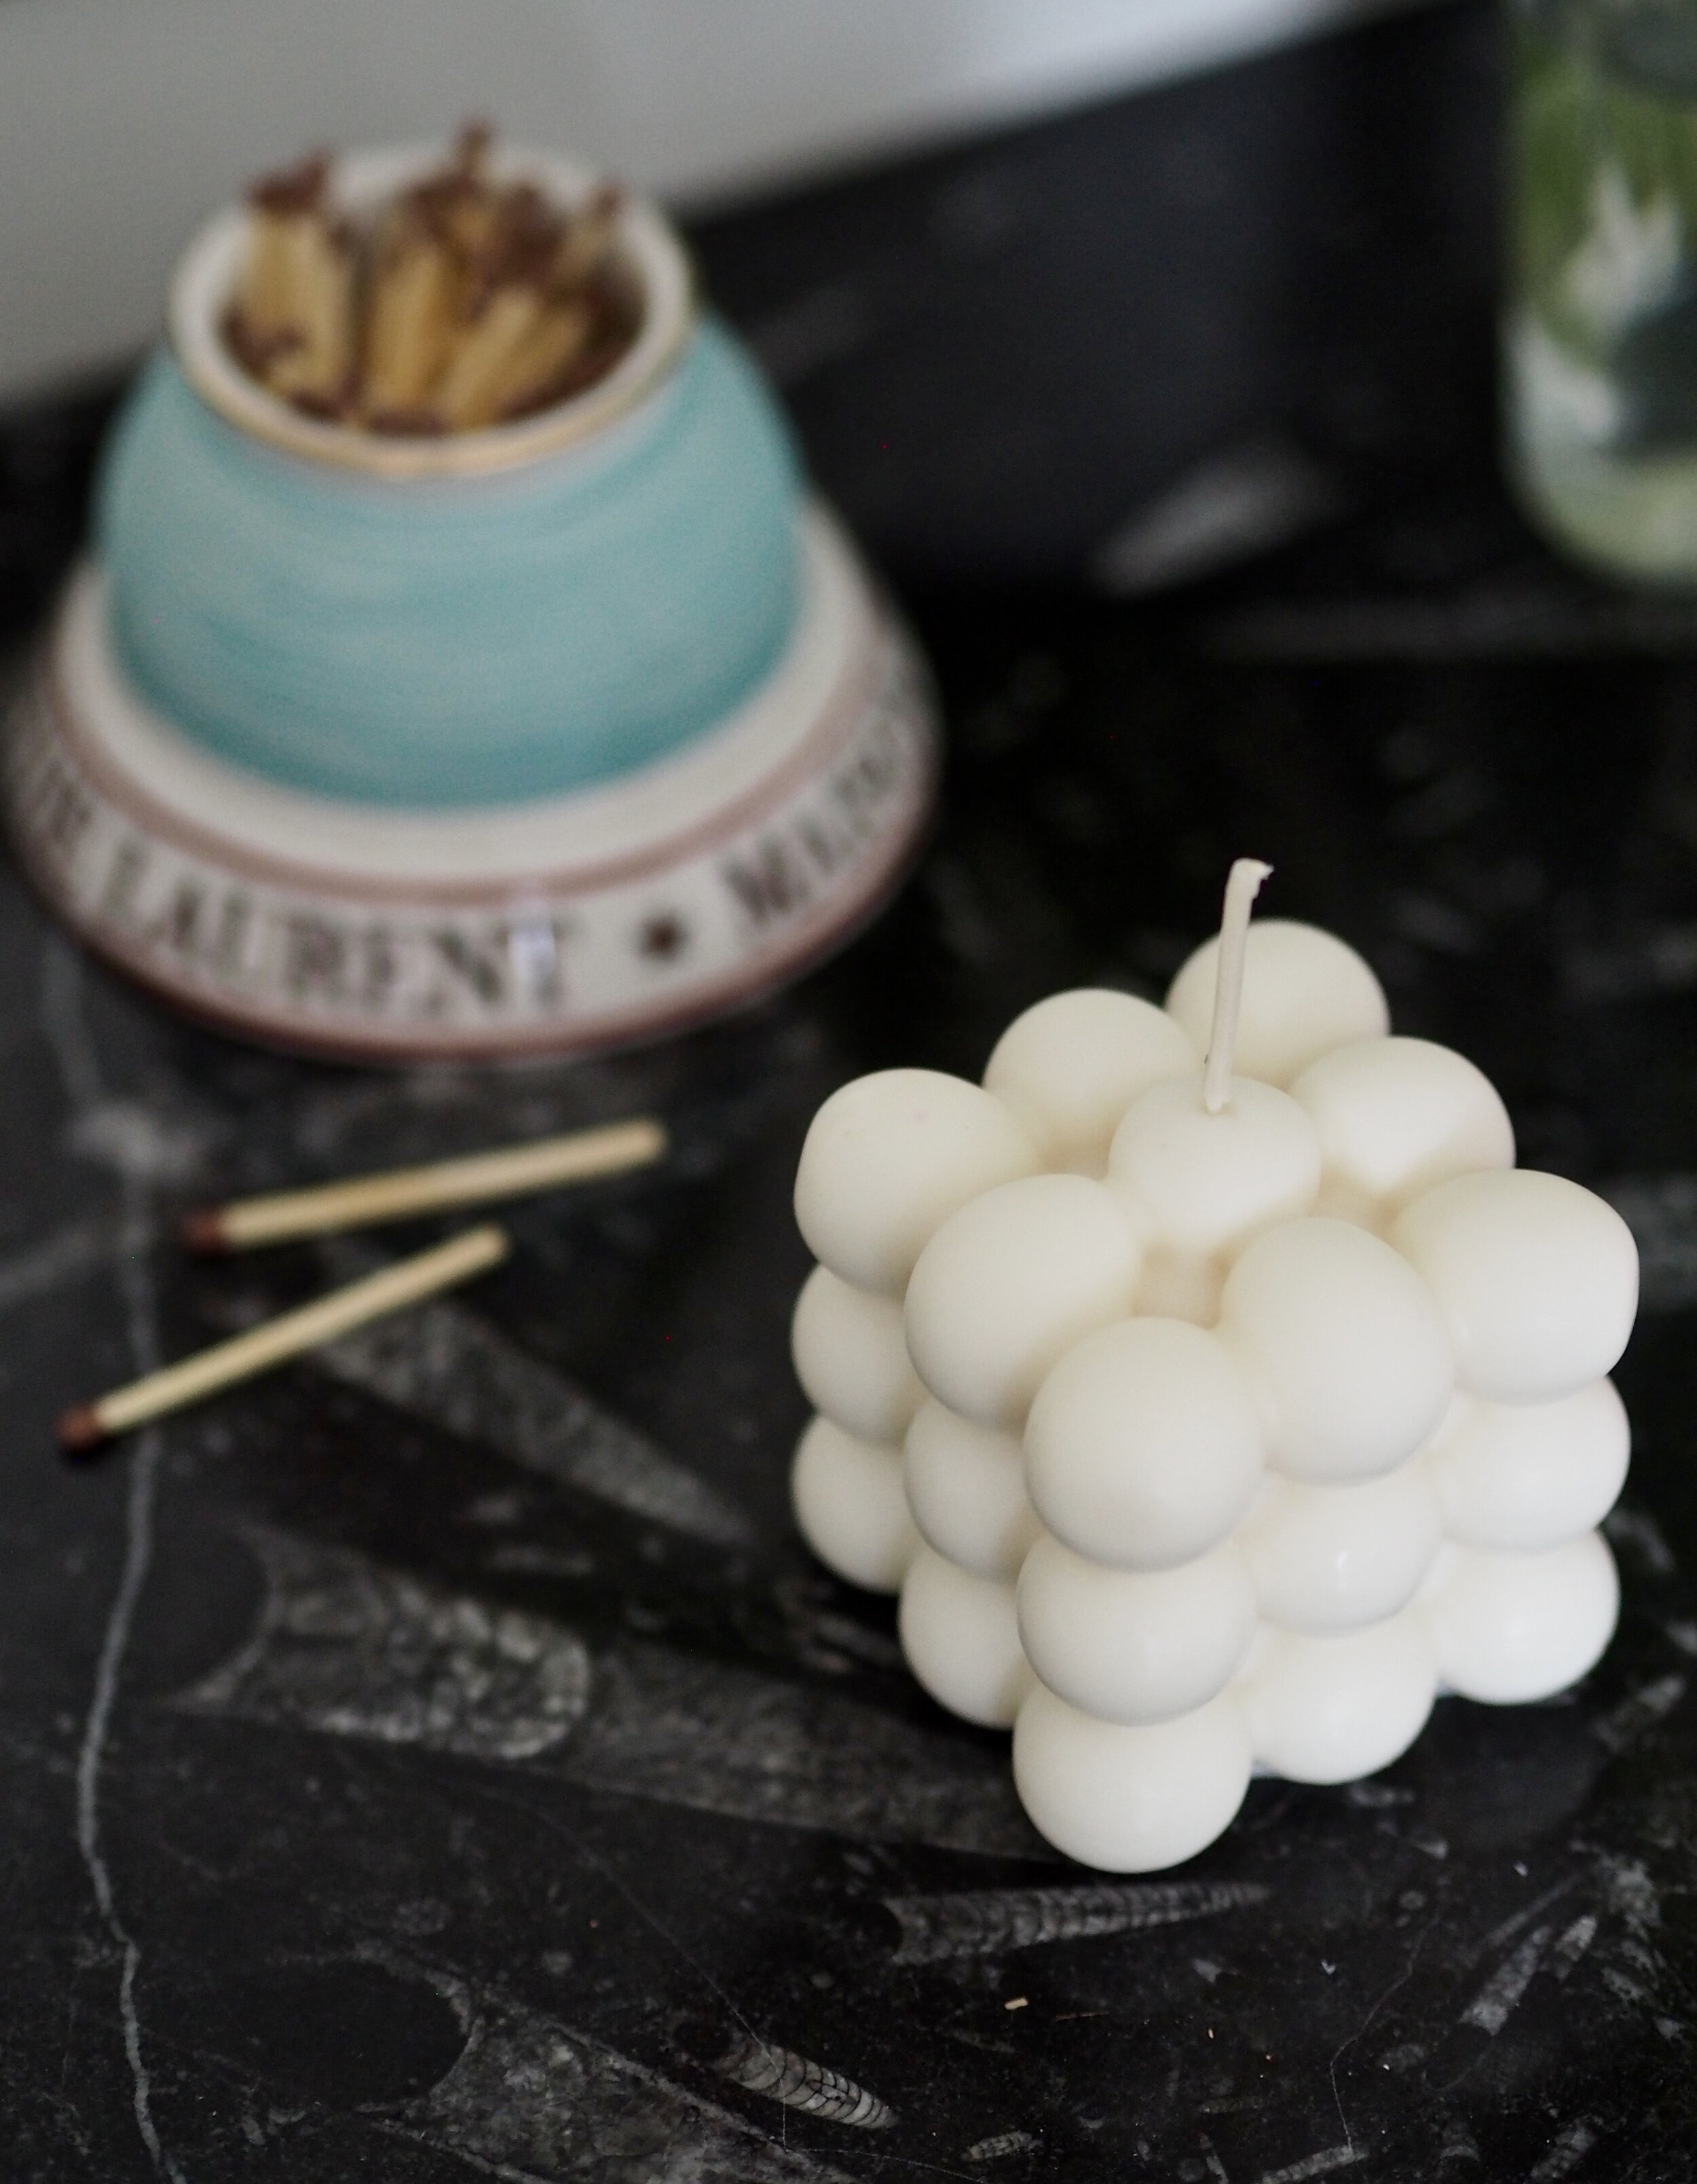
Bubble and shell candles that I made to display on my dressing table in my bedroom.
Before I start, I have to declare that I am in no way an expert candle maker and this is a total novice’s guide! In fact, this was the first time that I have ever made candles! Yet, I documented the process on my social media and had so many people ask for product links and a guide on how I made them, I decided to write it all up on here for reference.
Like anything, it is not always easy to get it right first time. It took me 3 attempts to get a decent candle, so I’m going to share what went wrong as well as what went right, so that you can avoid making the same mistakes!

Before I made the candles, I had previously attended an online workshop on creating wax melts, so I had a vague idea of what I was doing. I also referred to this blog post here by Swoonworthy (who is a professional candle maker) to know what measurements of wax flakes required melting.


Soy Wax Flakes (500g will make you a few mould candles)
Protective gloves to stop the dye staining your hands (PPE gloves or rubber gloves will do)
Candle moulds. Find the bubble mould here and the clam shell mould here.
Candle wicks (I used 8cm which was the perfect length for these moulds)
Dye Block (optional - add no dye and your candle comes out white, as seen here for my bubble candle)
Scent (optional - these candles are decorative so you may not want to add scent if you are not burning them. If you do, make sure you add essential oils rather than other types of oils)
Saucepan
I especially love the bubble candles - they look so interesting!
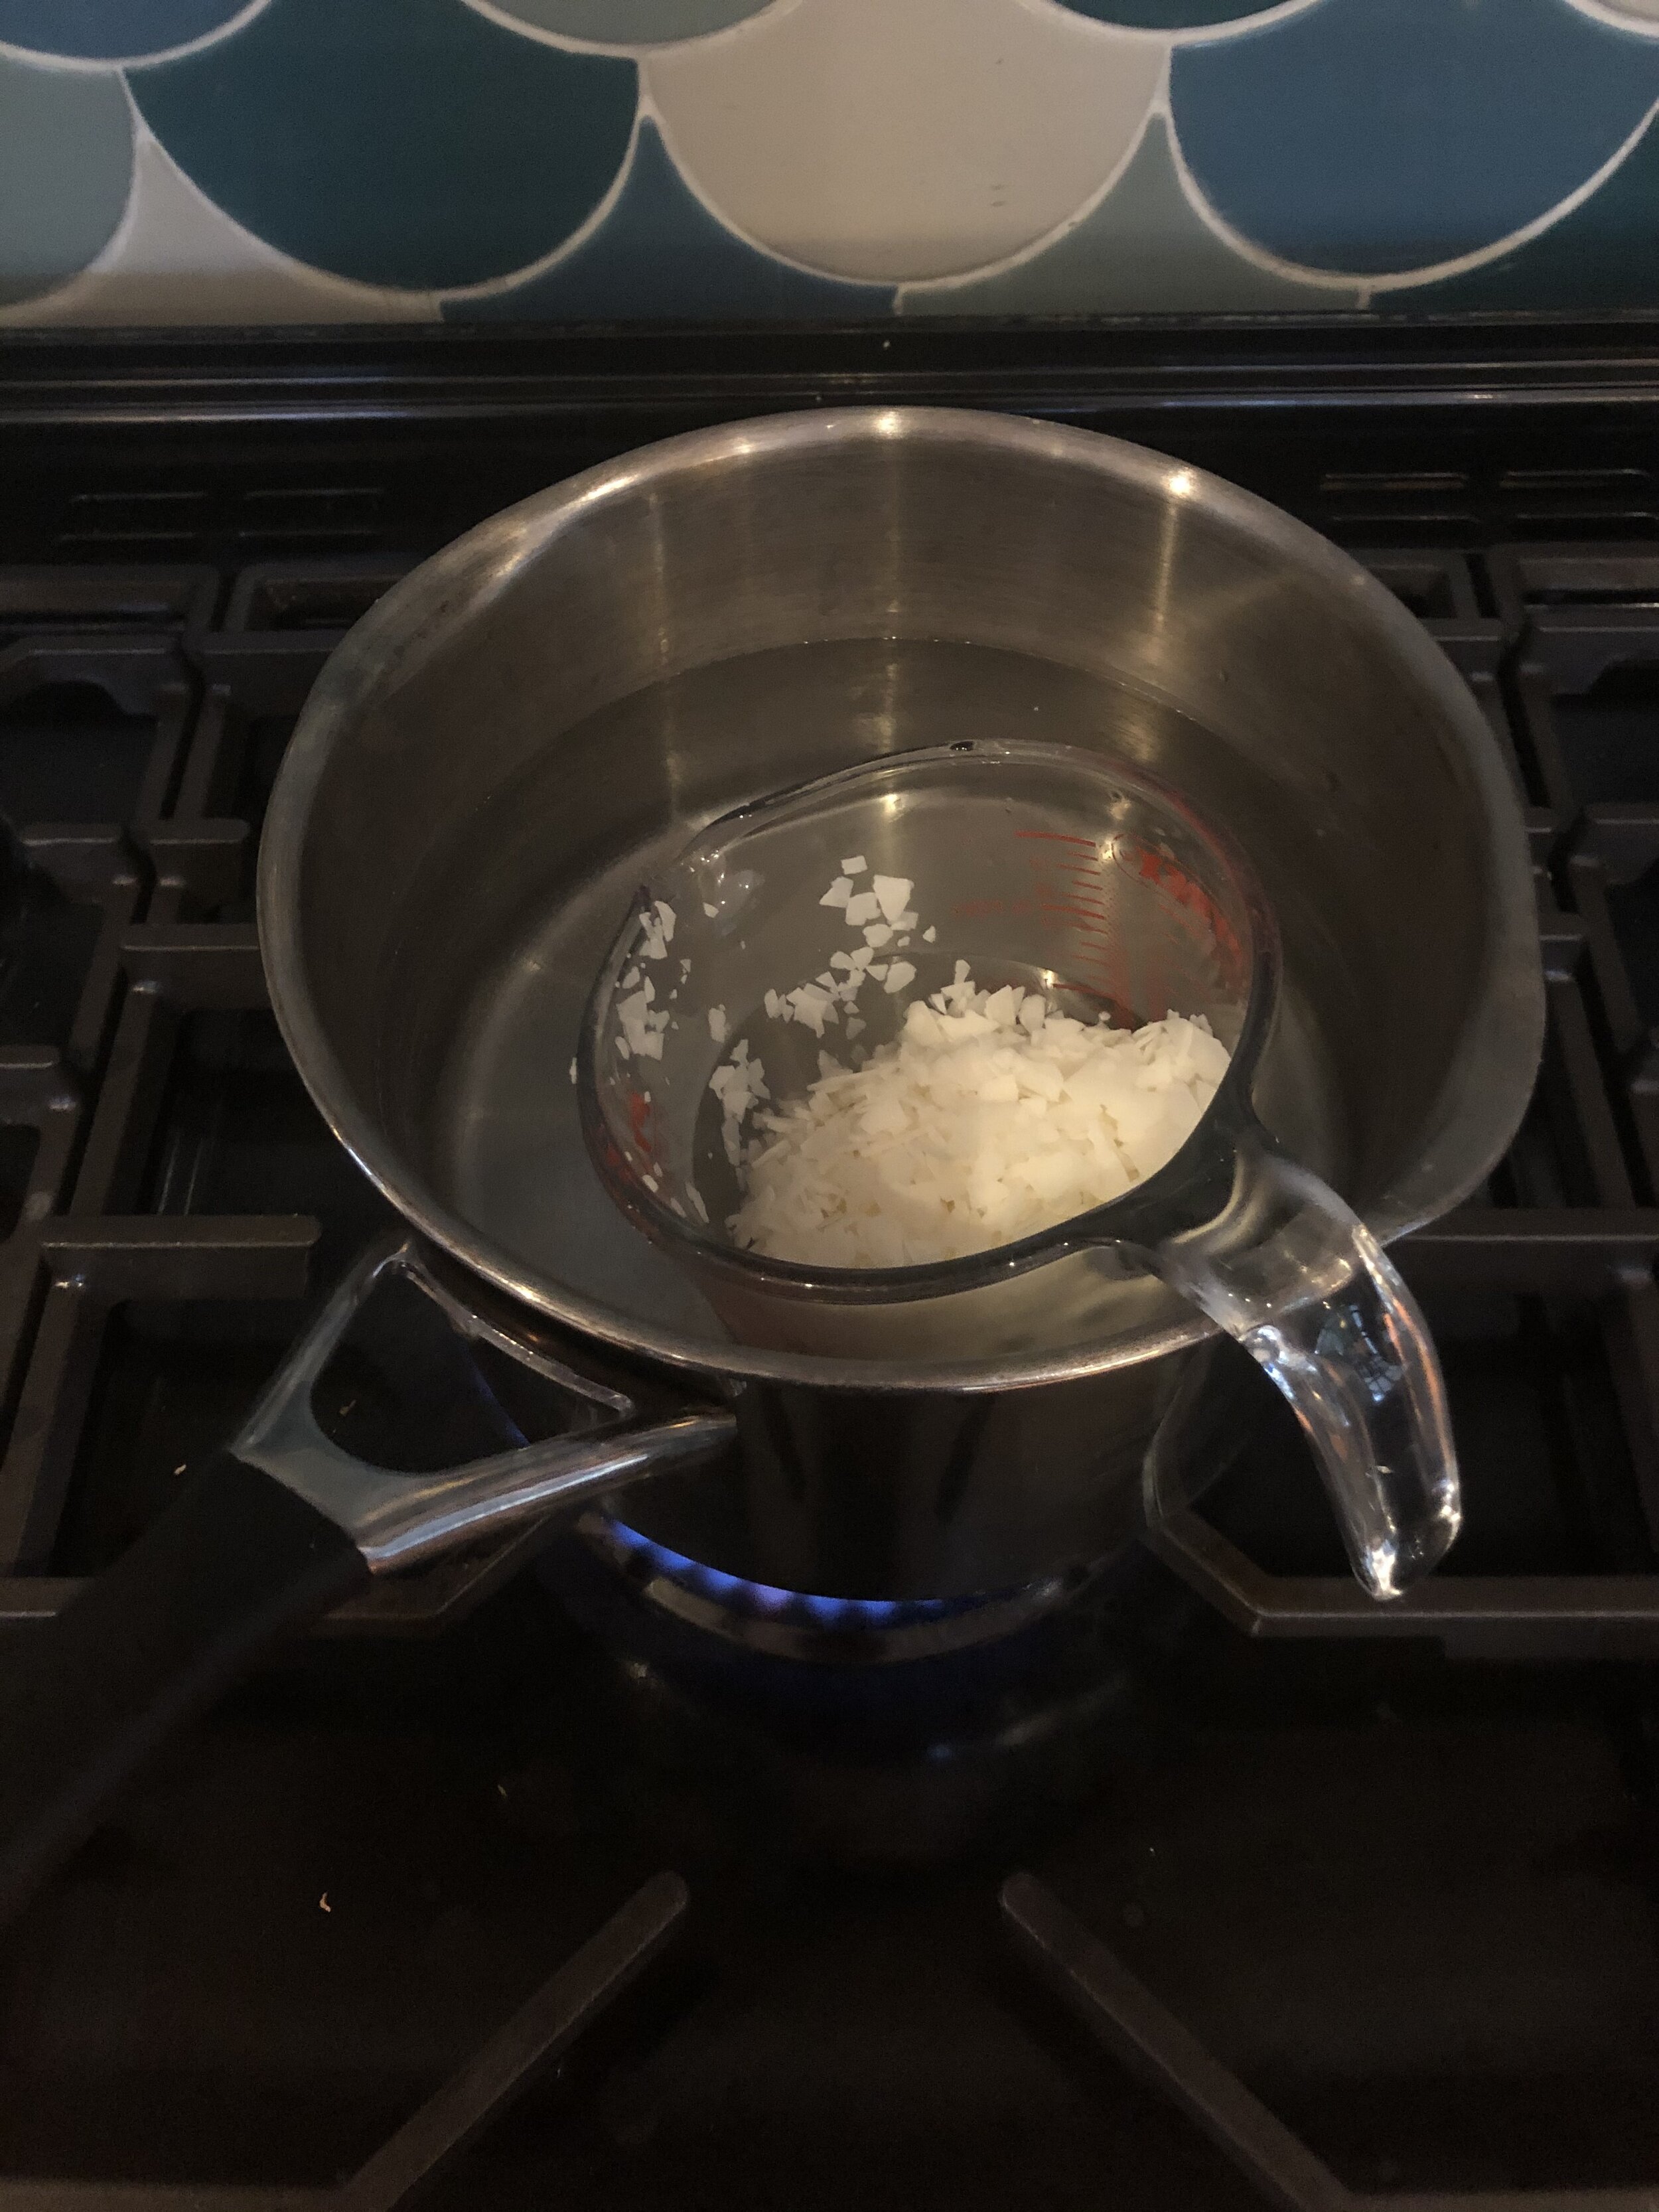
To start, I had to melt the right amount of wax. Wax melts to half its solid-state, so I filled my container mould up twice and transferred that into my Pyrex jug. I then added another 10% of flakes into the jug - it is better to have too much than not enough to fill your mould to the top!

Wax melts to half of its solid state, so I measured out 2x the amount of flakes for the mould that I would be pouring into.
The bubble container that I purchased didn’t have space for the candle wick, so I pricked the top of the mould with the meat thermometer to make a small incision. I pushed the tip of the wick through the hole and the silicone held the wick in place:

I then balanced the mould inside a mug so that the top of the wick did not get damaged when turned over and the mould was supported:

I supported the bubble mould in a mug so the tip of the wick did not get folded over when placed upright and no indents appeared on the top of my candle.
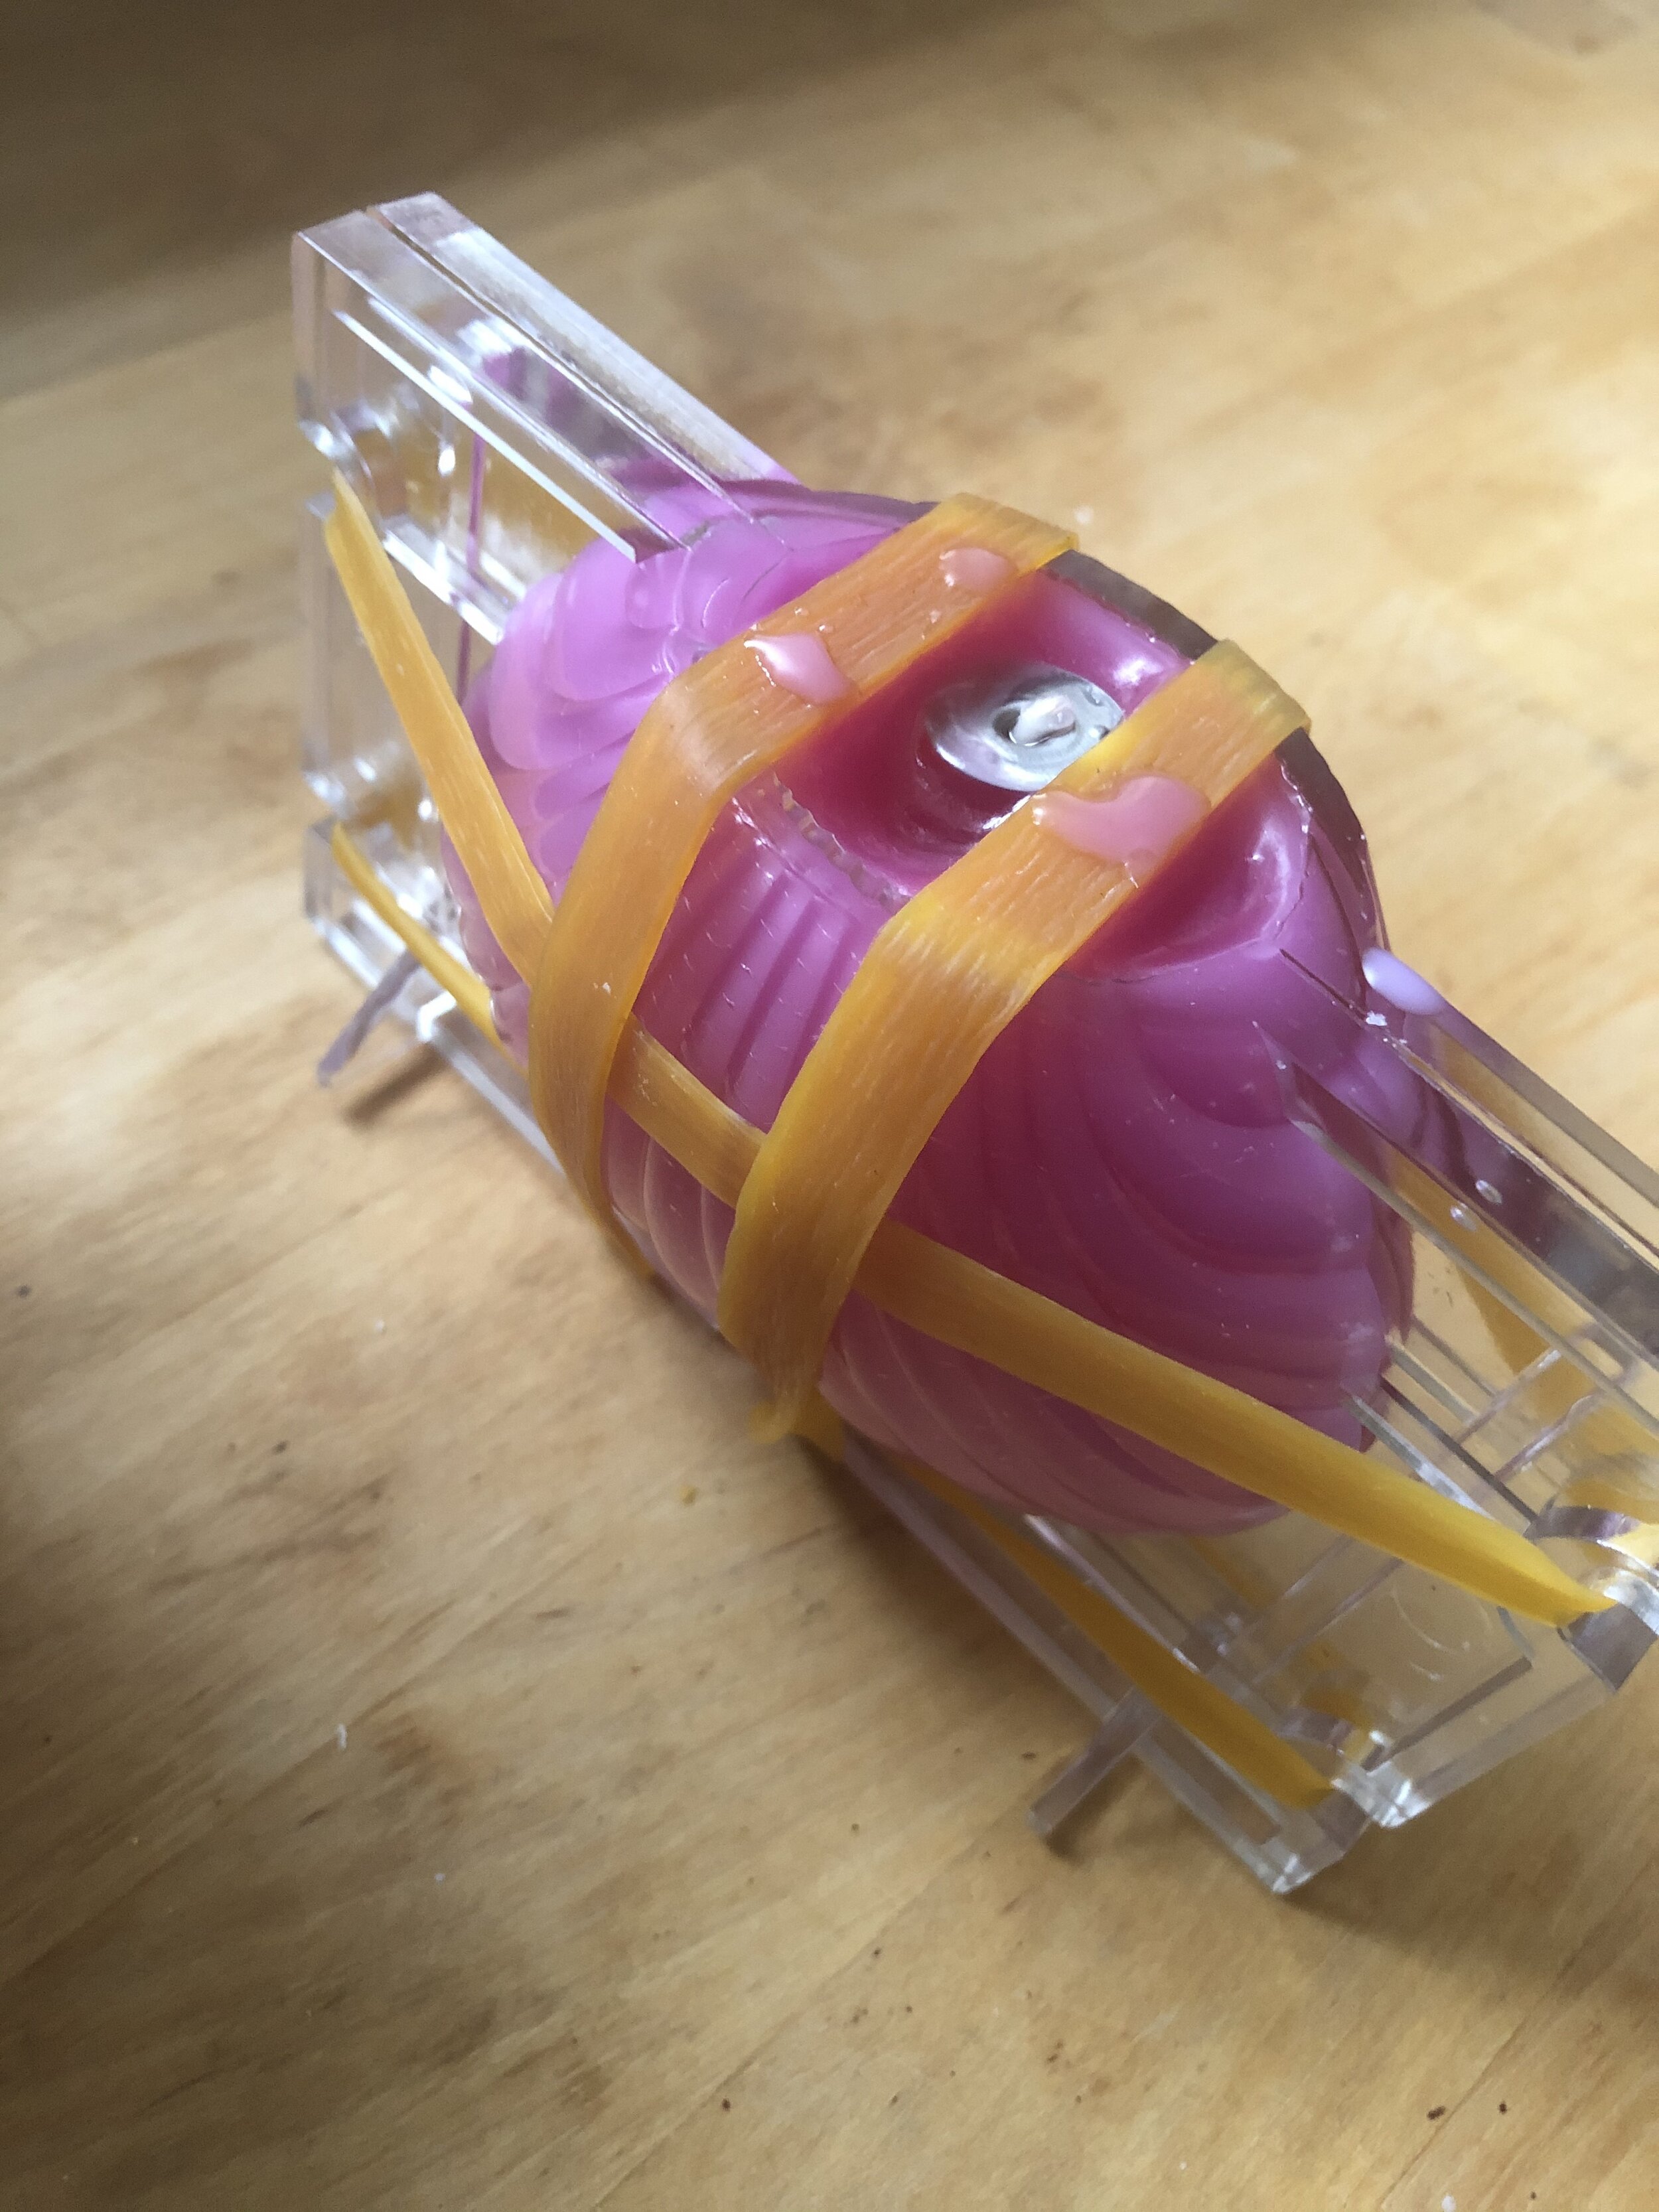
The shell mould stands up on its own accord and has a slot for the wick. You have to secure the two sides of the mould together with elastic bands, so I balanced the end of the wick on one of these to hold it in place:

I balanced my candle wick upwards using one of the elastic bands required to secure the shell mould together.
The wax I placed in a Pyrex jug and hooked over the side of a saucepan containing boiling water. You have to melt the wax until it runs clear, but do not let it boil. Use your thermometer to guide you to around 60-70°:
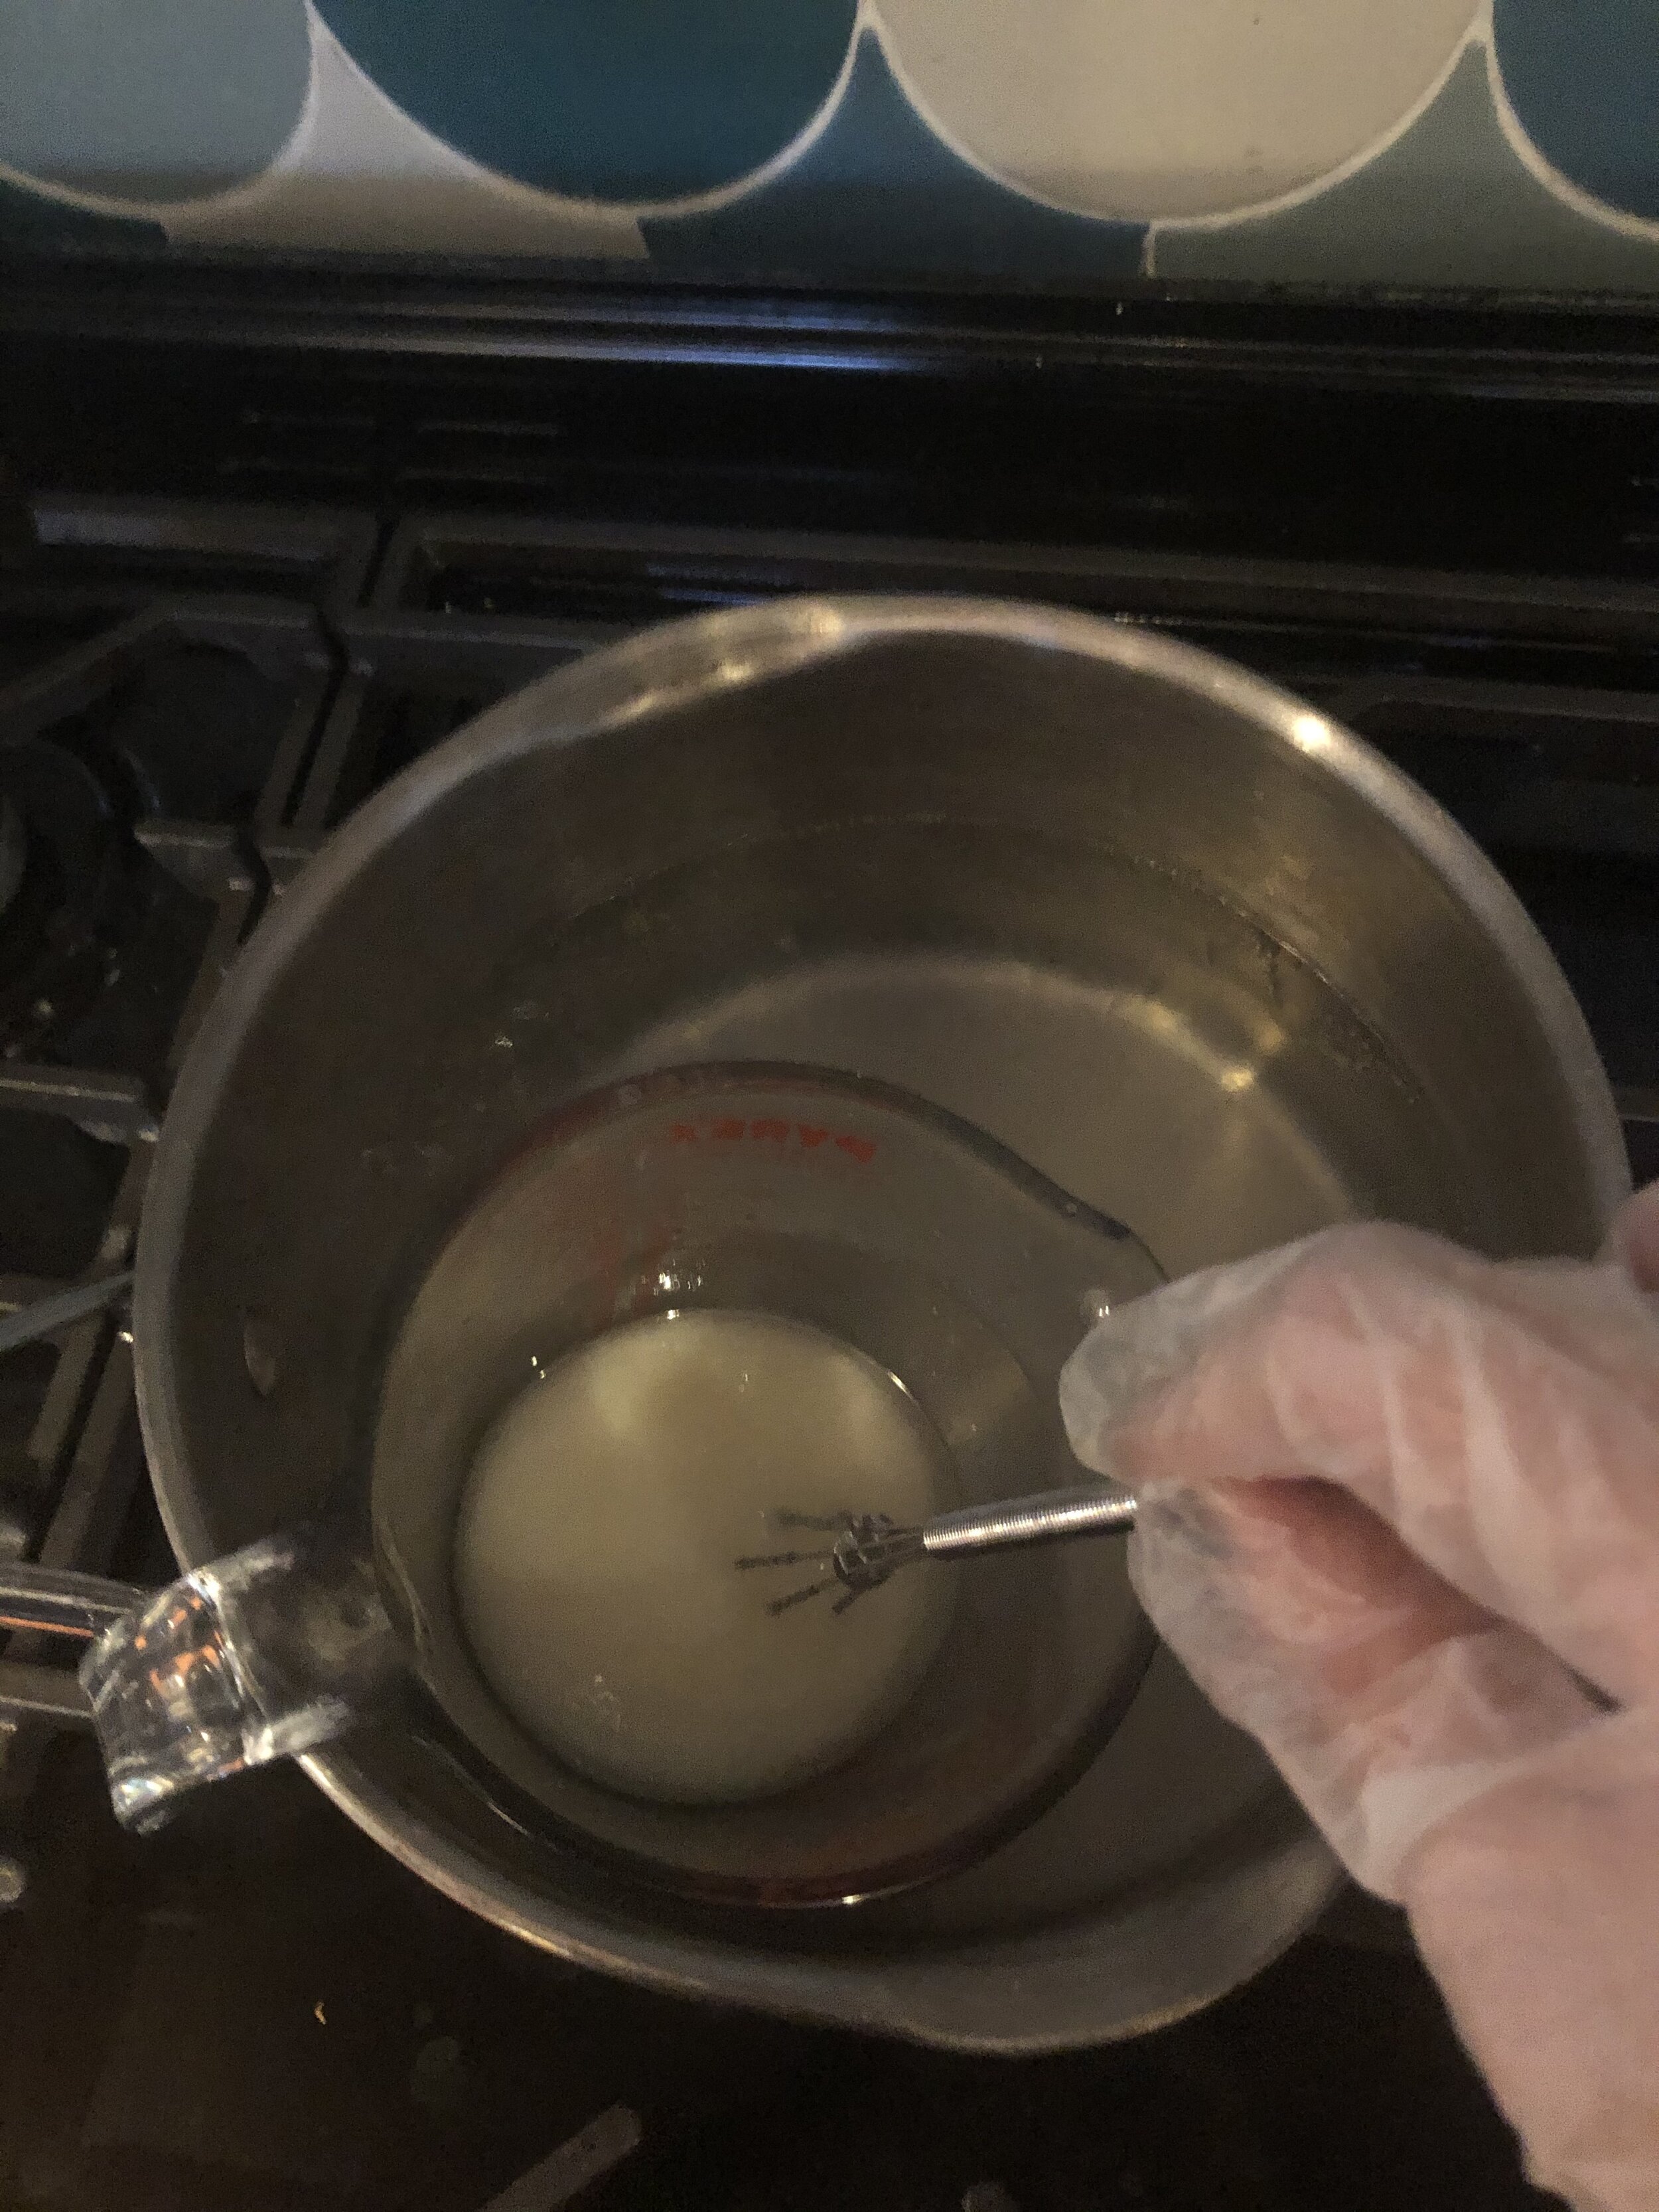
Remove your wax from the saucepan and use your mini whisk to make sure there are no solid lumps of wax remaining. Leave the wax to cool for a few minutes until it is around 55°. It is at this point that you can add in any drops of essential oils or dye, stirring them in with the whisk.

Make sure your wax runs clear and there are no solid clumps remaining.
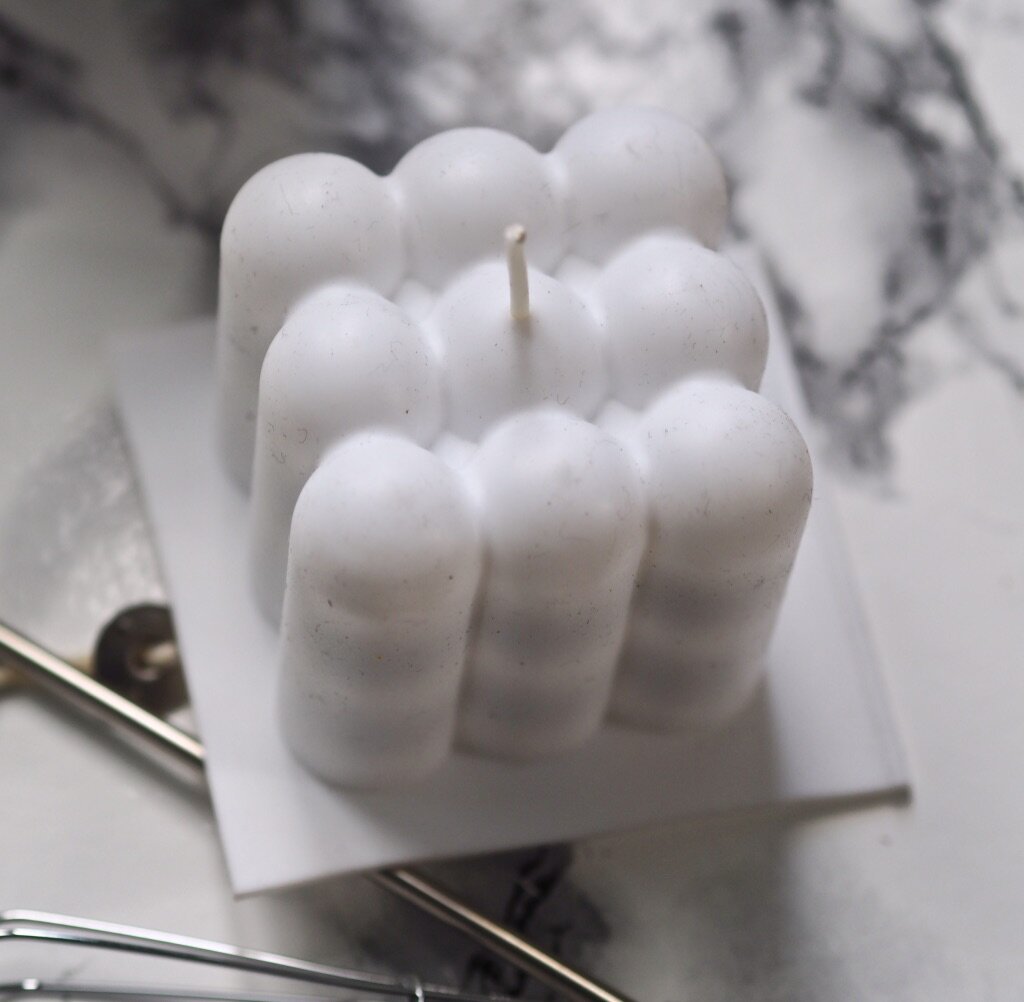
For my bubble candle, I wanted this to remain white, so I simply waited until the wax had cooled slightly (but not started to solidify) and poured it into the mould until the wax reached the rim.

I used a couple of spare wicks here to support my candle wick which had started to move.
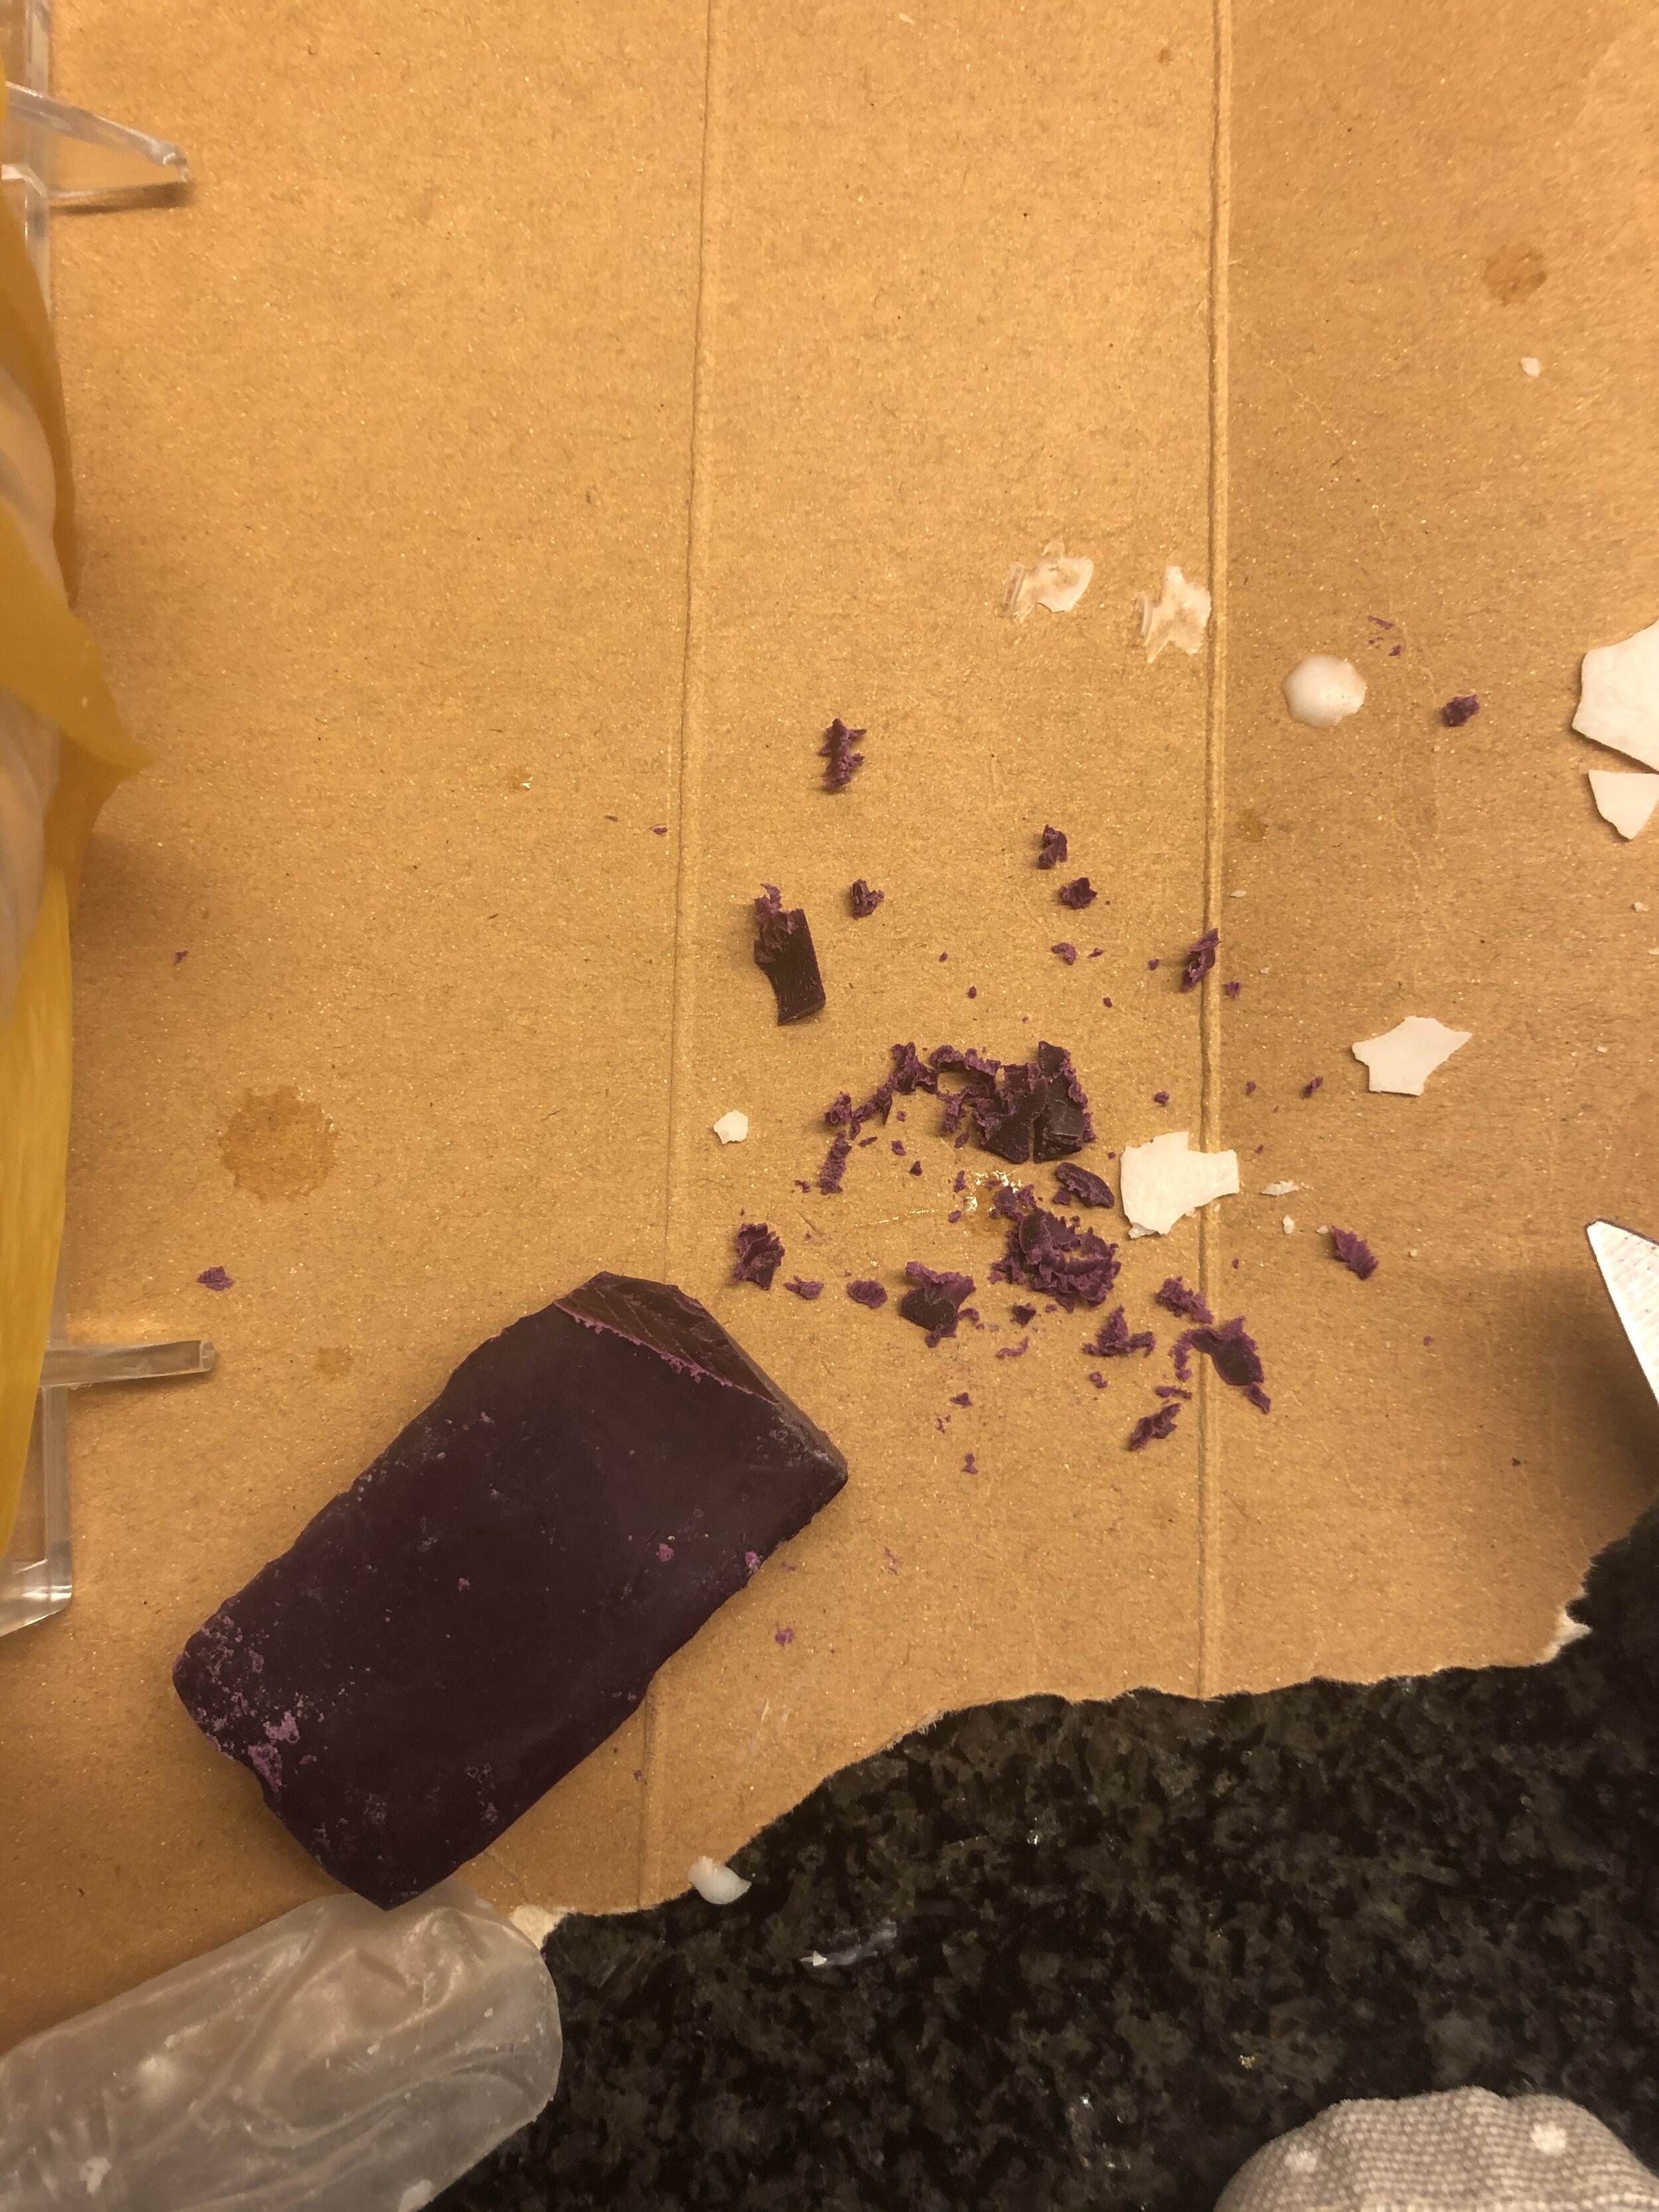
I wanted to make a lilac shell candle, so I needed to add in some dye. You only really need a small amount of dye, so I shaved off some tiny pieces and gradually stirred them into the melted wax in my Pyrex jug. You have to make sure that there is no remaining solid dye in your wax and that it is completely melted, otherwise, it will leave colour clumps in your candle.
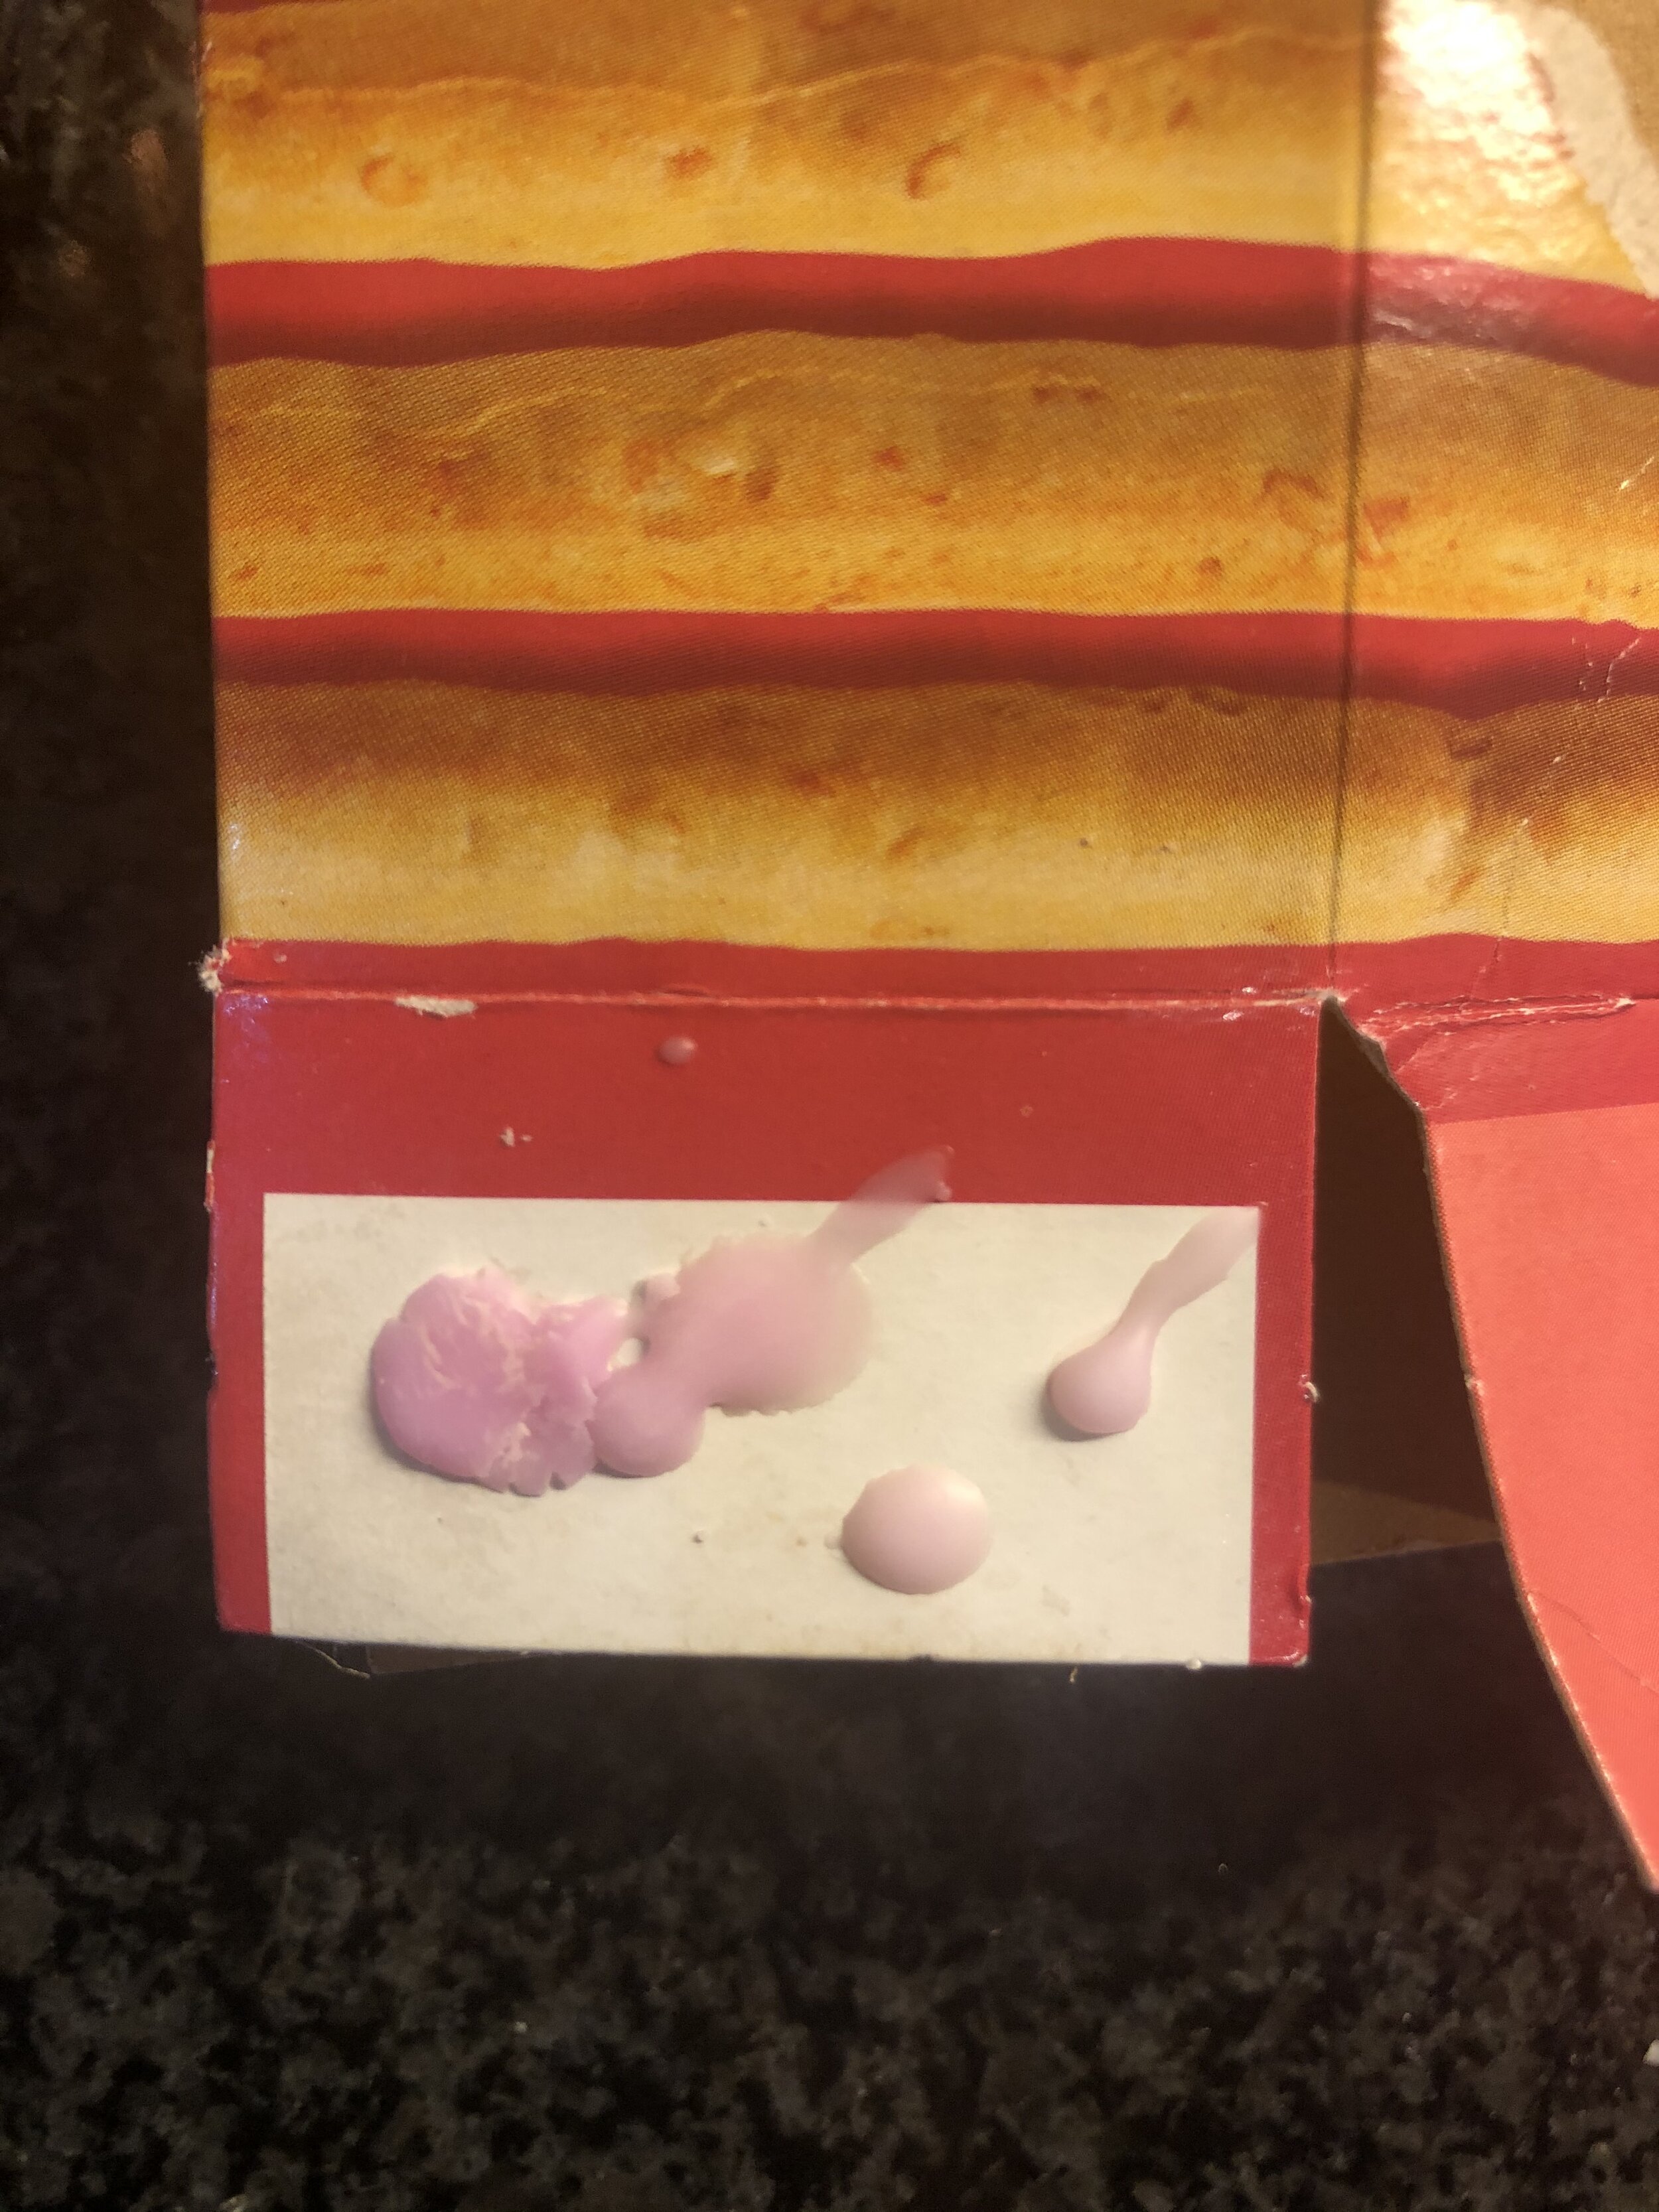
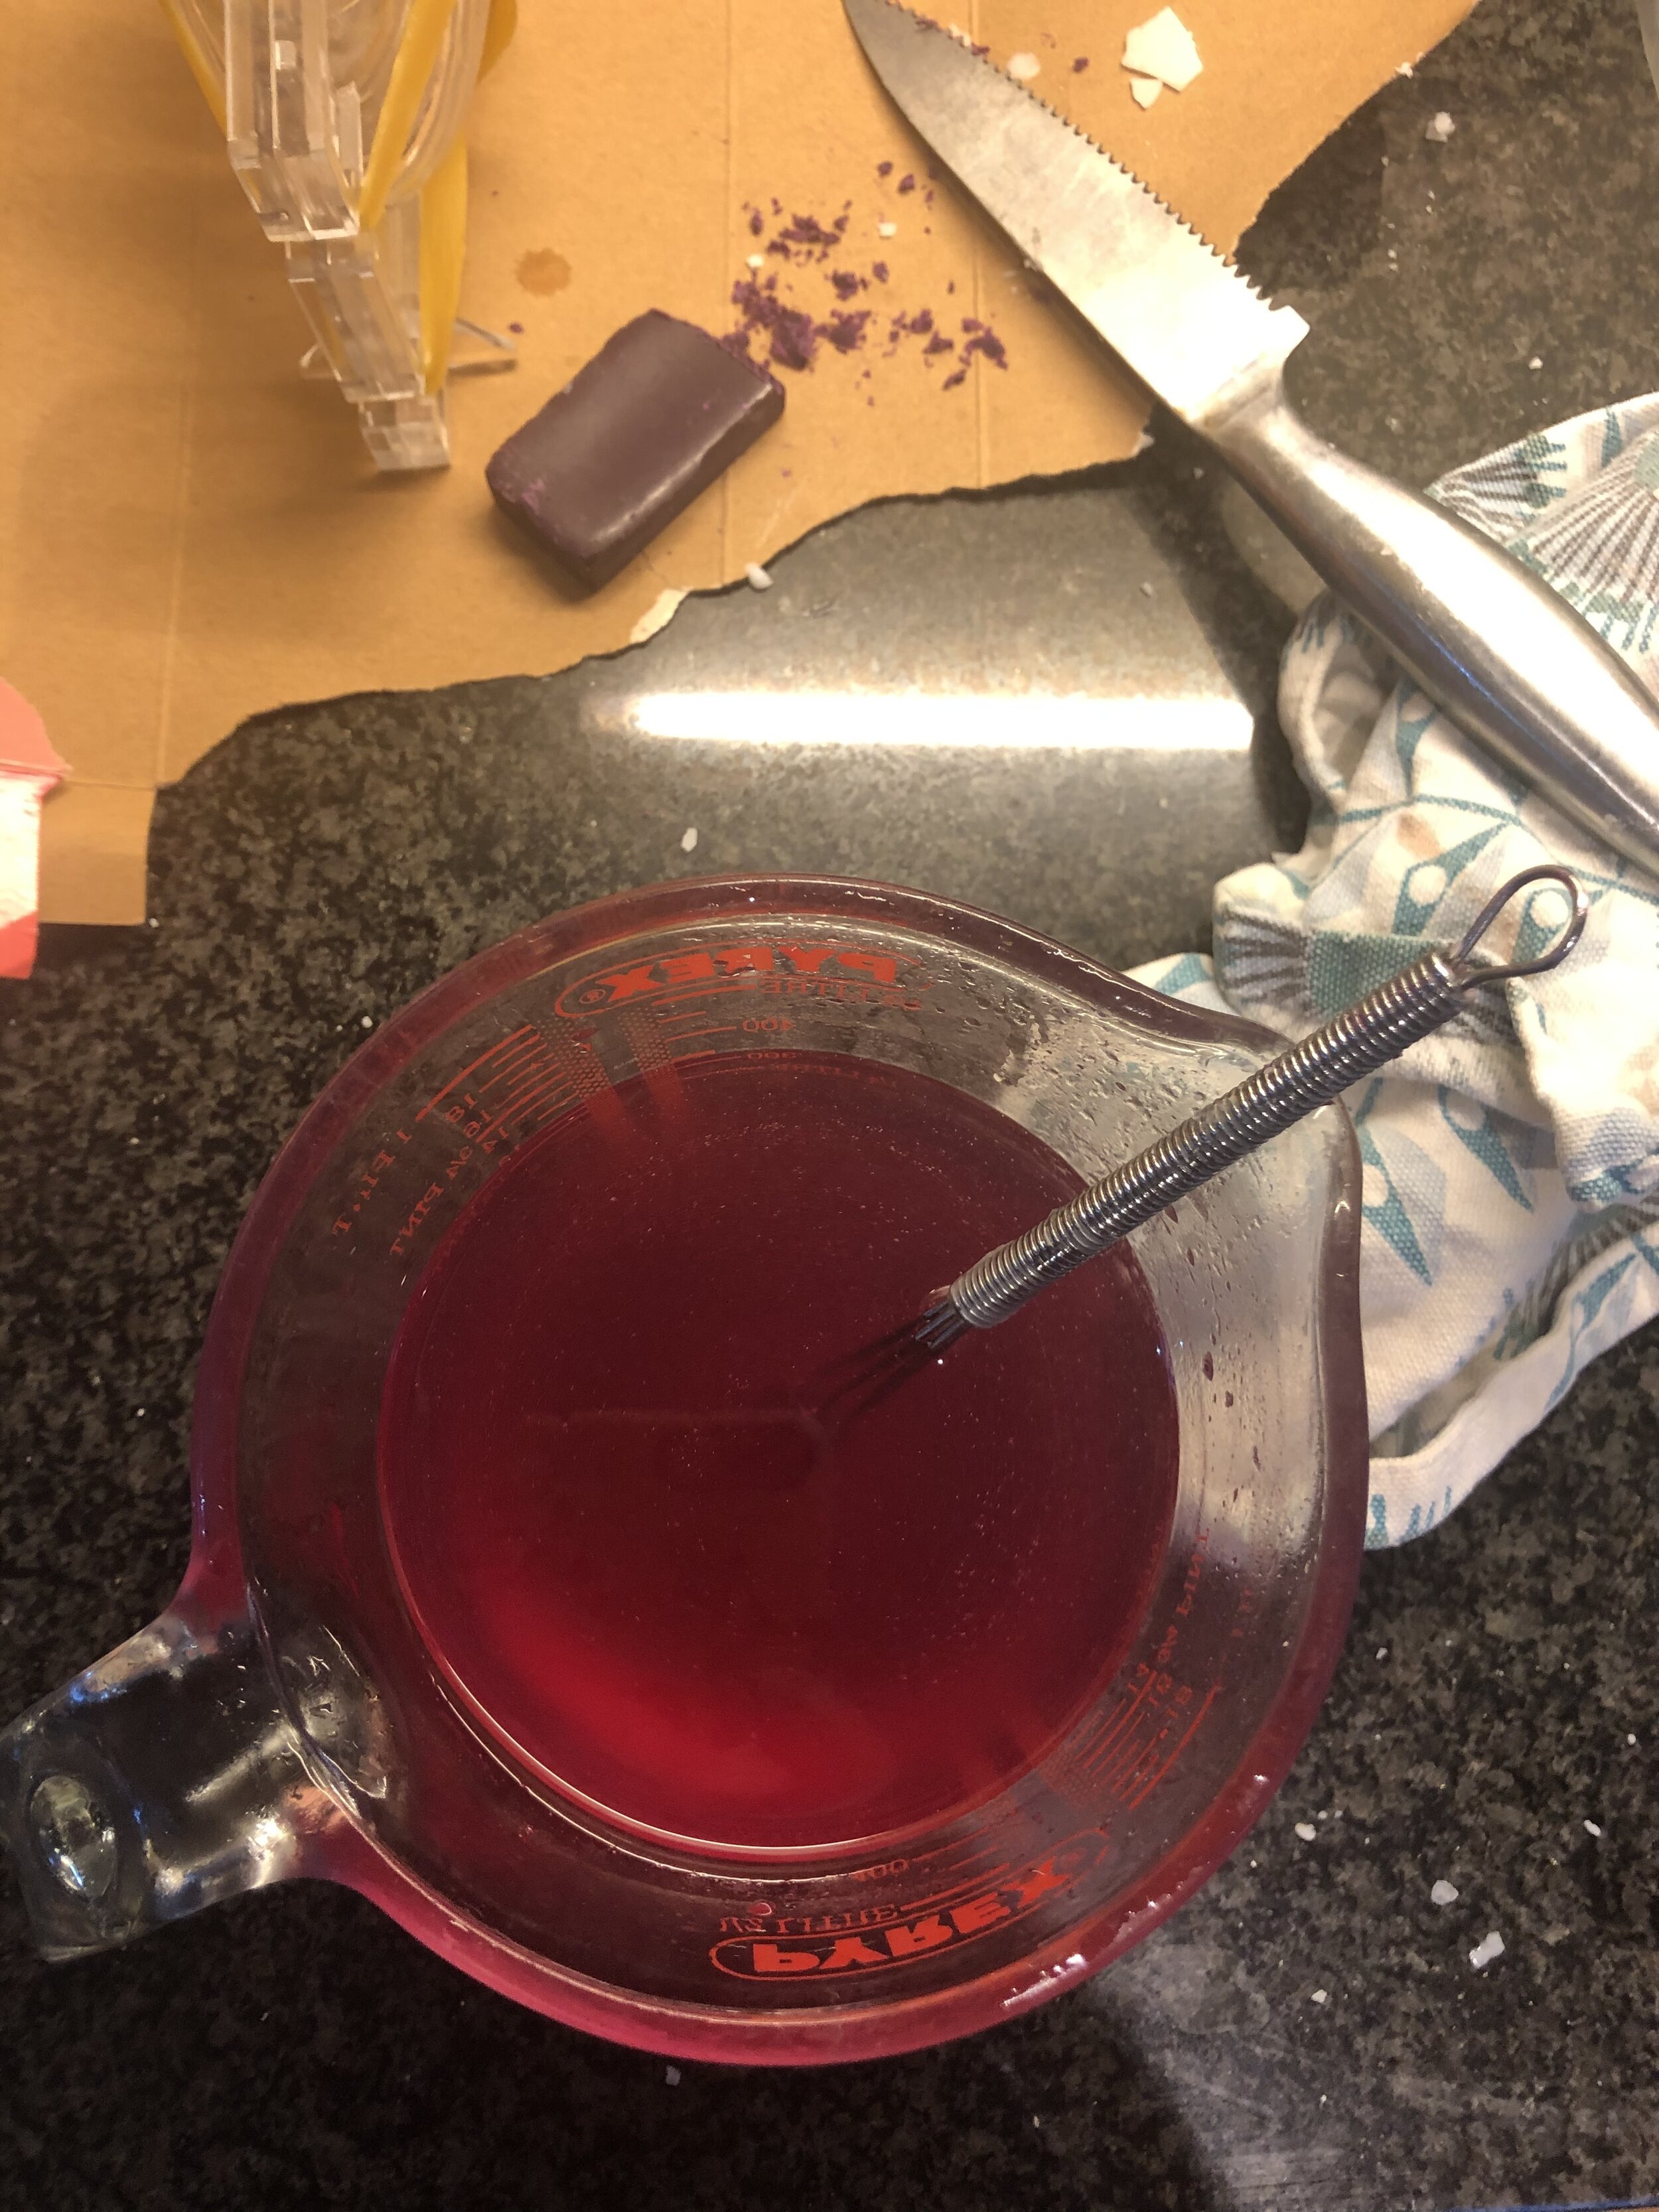
I tested the colour by pulling out the whisk and placing tiny droplets on white card which would harden instantly. I used these drops as a guide to if I required a darker shade and needed to add in more dye. Once I was happy with the colour, I poured the coloured wax into the mould container.
I left my candles in a safe place overnight to set and then removed the moulds the next day.
What went wrong…
I promised to let you know what I did wrong before I created a decent candle - here are my tips on what not to do!
Be impatient. Desperate to see how the first set of candles came out, I removed the moulds after a few hours when the candles appeared to be set. The candles completely crumbled! Do not be tempted to put them in the fridge either to speed them up as apparently this doesn’t work either, so just wait!
Not leaving any melted wax over. Wax shrinks and my shell candle, in particular, kept sinking at the base even though I had filled it to the top. To overcome this, I kept a small amount of wax heated. When my candle showed signs of sinking, I gently pierced the exposed base with the thermometer tip and then poured in more wax.
Not wash out your moulds correctly. Remaining pieces of wax will show in the next candle you make!
I was pretty happy with my candles for a beginner! I’ve quite a few to display at home now. If you have any candle-making tips I’d love to hear them, so leave them in the comments box below!