Tile Trends 2023: The Latest Exciting Looks for Walls and Floors
These tile designs and collections are expected to be huge this year…
Read More
These tile designs and collections are expected to be huge this year…
Read MoreShop the ‘Emily In Paris’ interior look…
Read MoreHow I rejuvenated and gave my kitchen a new look for less than £400…
Read MoreThis new colour trend is perfect for autumn…
Read MoreBefore & After! My small bathroom en suite makeover reveal!
Read MoreThese popular candles can be found all over social media. Here is my guide on how to make them…
Read MoreAn easy step-by-step guide on how to DIY the Parisian style wall panelling that I installed in my bedroom…
Read MoreOne of the most transformative DIYs that I have recently undertaken was to recover my old bed frame. Read my step-by-step guide on how to do it here…
Read MoreThere are a number of money-saving, quick, simple and easy home improvements that you can do in a weekend that will make a huge change to the look and feel of your home..
Read MoreIn the past 3 weeks, I have painted 2 interior doors in my home in deep, vibrant shades. The door in my young son’s bedroom I painted in a cobalt blue. While our previously cream basement door got a lick of rich, red burgundy. Safe to say that I am a HUGE fan of the painted interior door trend. Painting an interior door in a bold shade is an easy way to add vibrant colour into your home, without having to commit to painting all the walls in a domineering hue.
Read MoreAs I helped my son put on his uniform for his very first day at school, I scanned his bedroom and quickly realised that he had drastically outgrown the room I had decorated for him when he was just a year old. No longer a baby, his nursery-like bus wallpaper and aeroplane-themed furniture handles did not reflect this strong-willed young boy in front of me. His room needed to be updated, so over the space of 6 months I worked on different areas of the room to make it more in-line with his age.
Read MoreWhen I covered how I repaired my flaky, peeling bathroom ceiling on Instagram stories recently, I had so many messages about it that I decided to document the process over here on the blog. While this will not be my most glamorous blog post, it will sure beat all the badly filmed ‘boring bloke in a bathroom’ You Tube videos I had to endure to learn how to carry out this DIY task myself!
Read MoreI’m delighted to reveal my mini home office makever today on the blog! On my previous post, I talked about how the shared home office I had with my husband wasn’t panning out, while at the same time, the ‘guest room’ in the basement was hardly being used and had turned into a dumping ground. With the help of some amazing and generous companies, especially West Elm, I have now turned this space into my own home office and I LOVE IT!!
Read More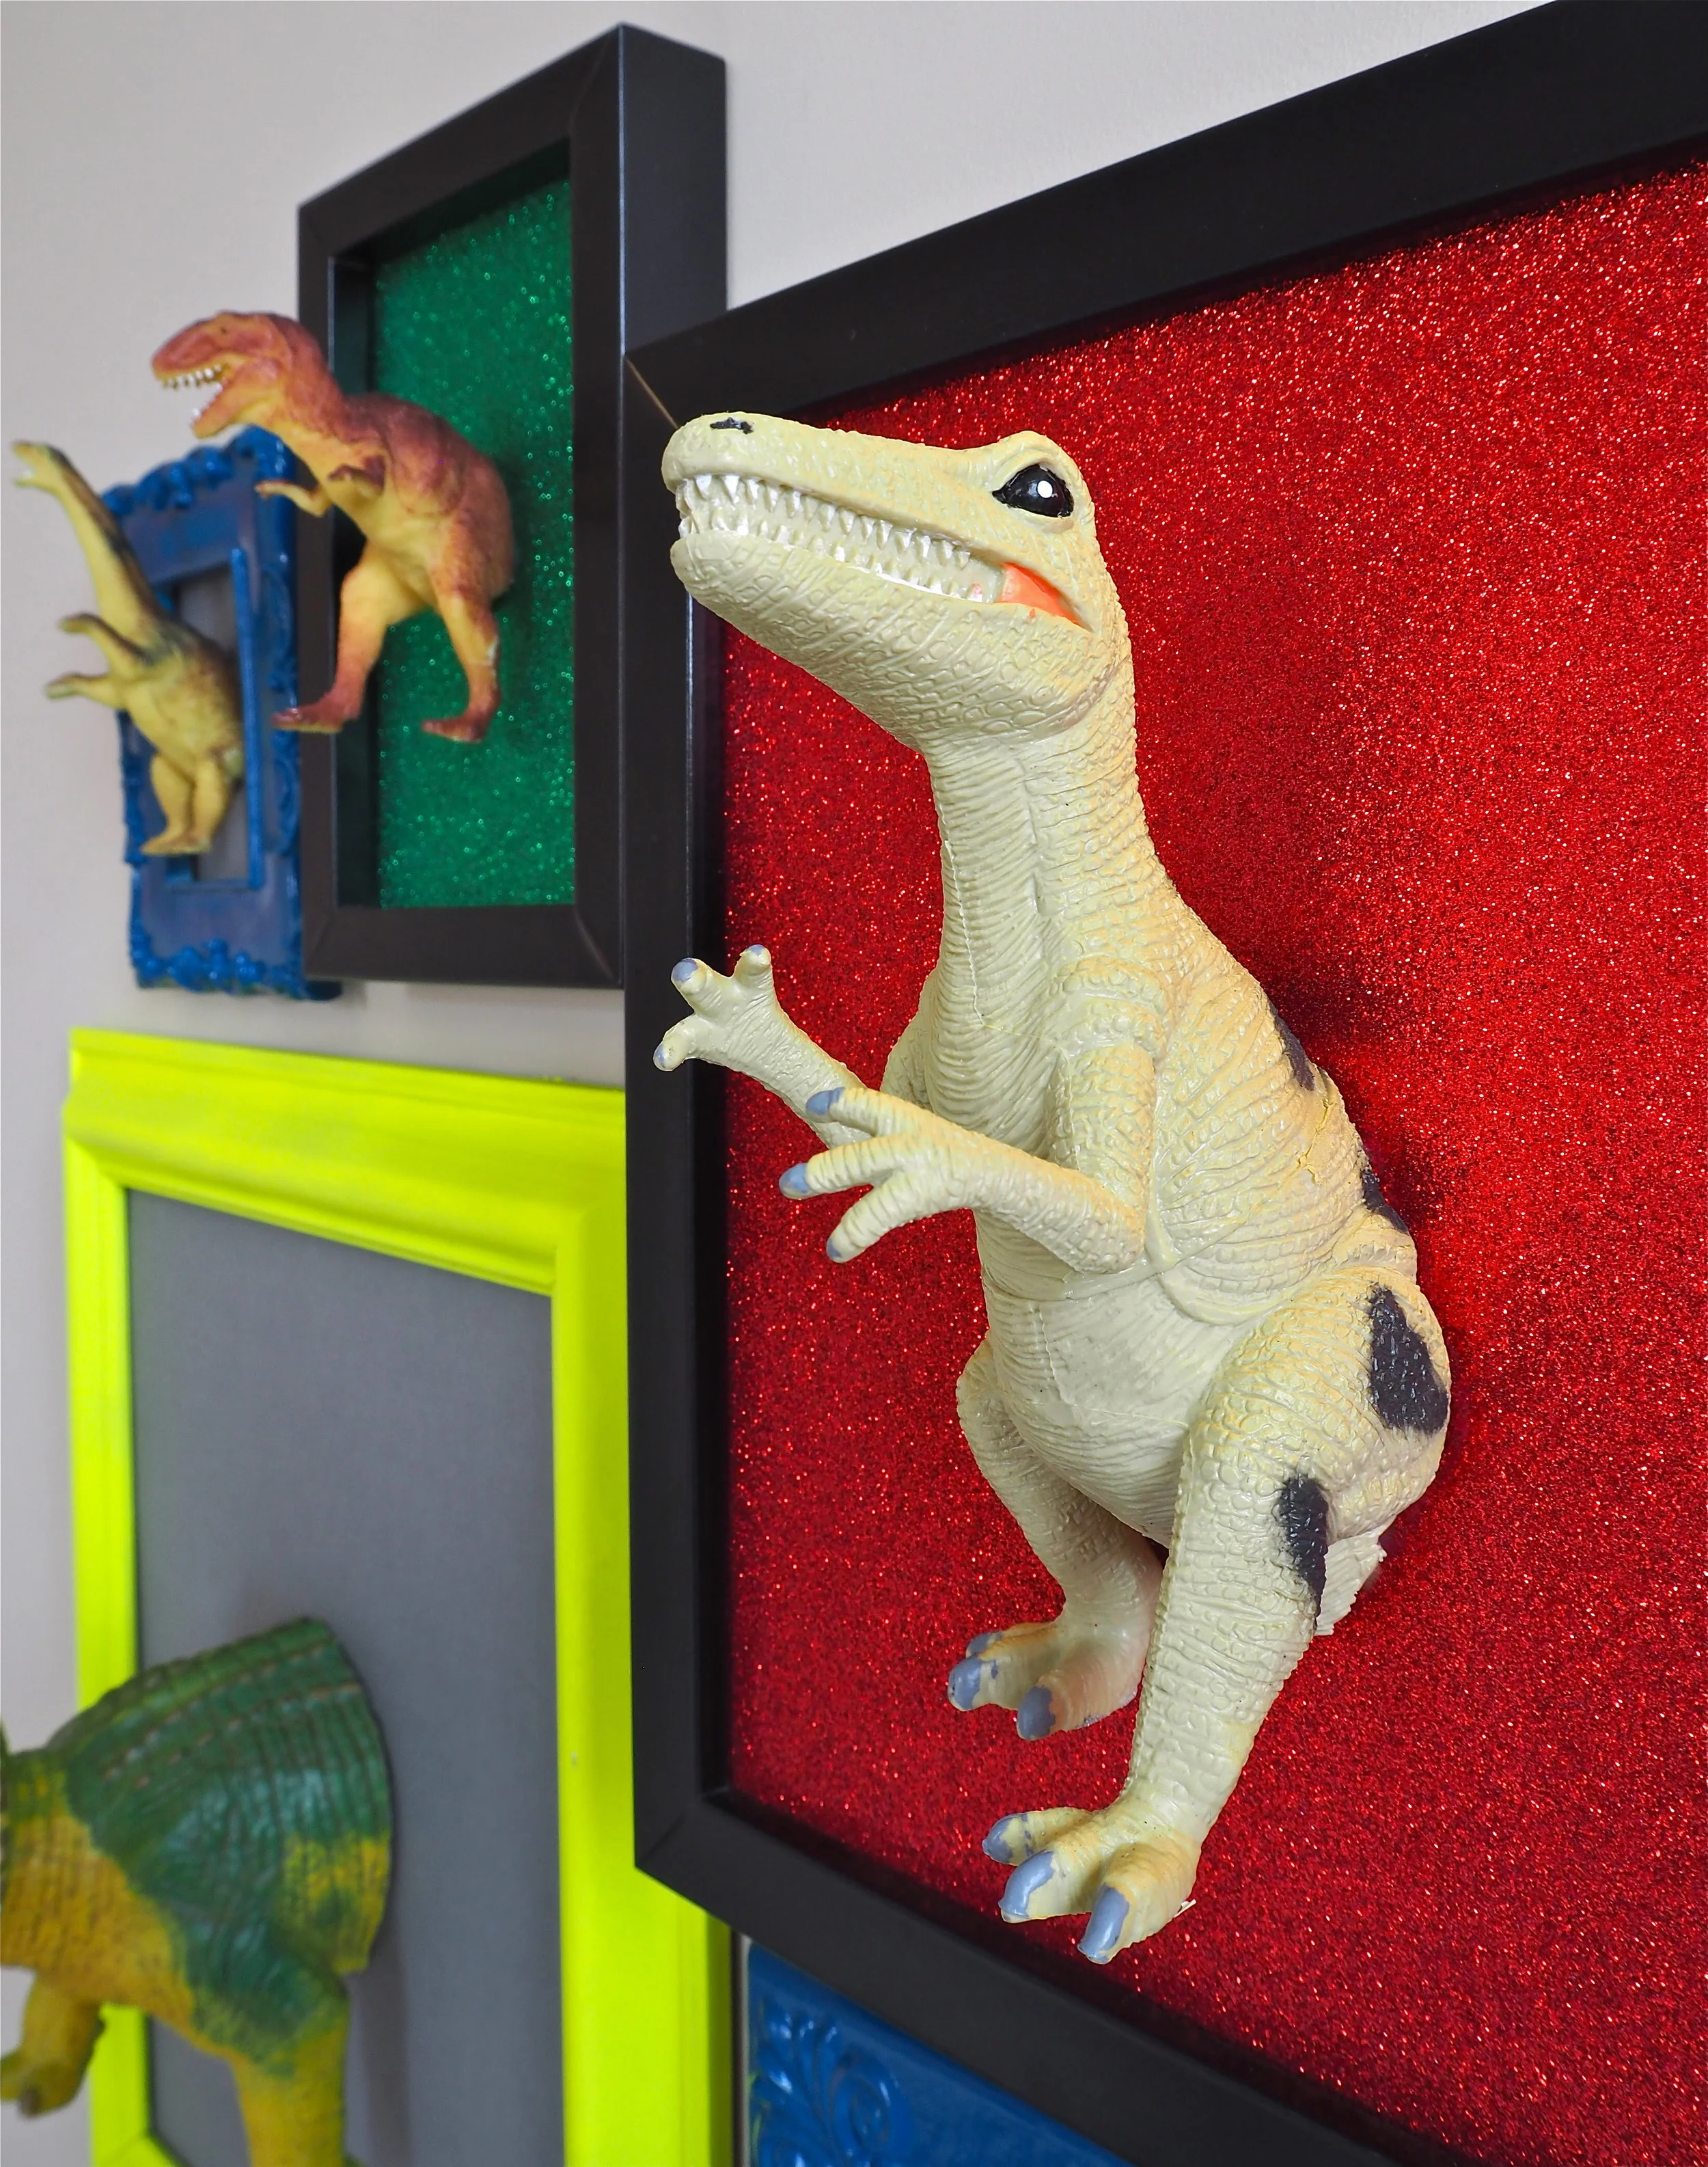
How to make this 3D Dinosaur art for a kids’ room using plastic dinosaurs and old pictures frames.


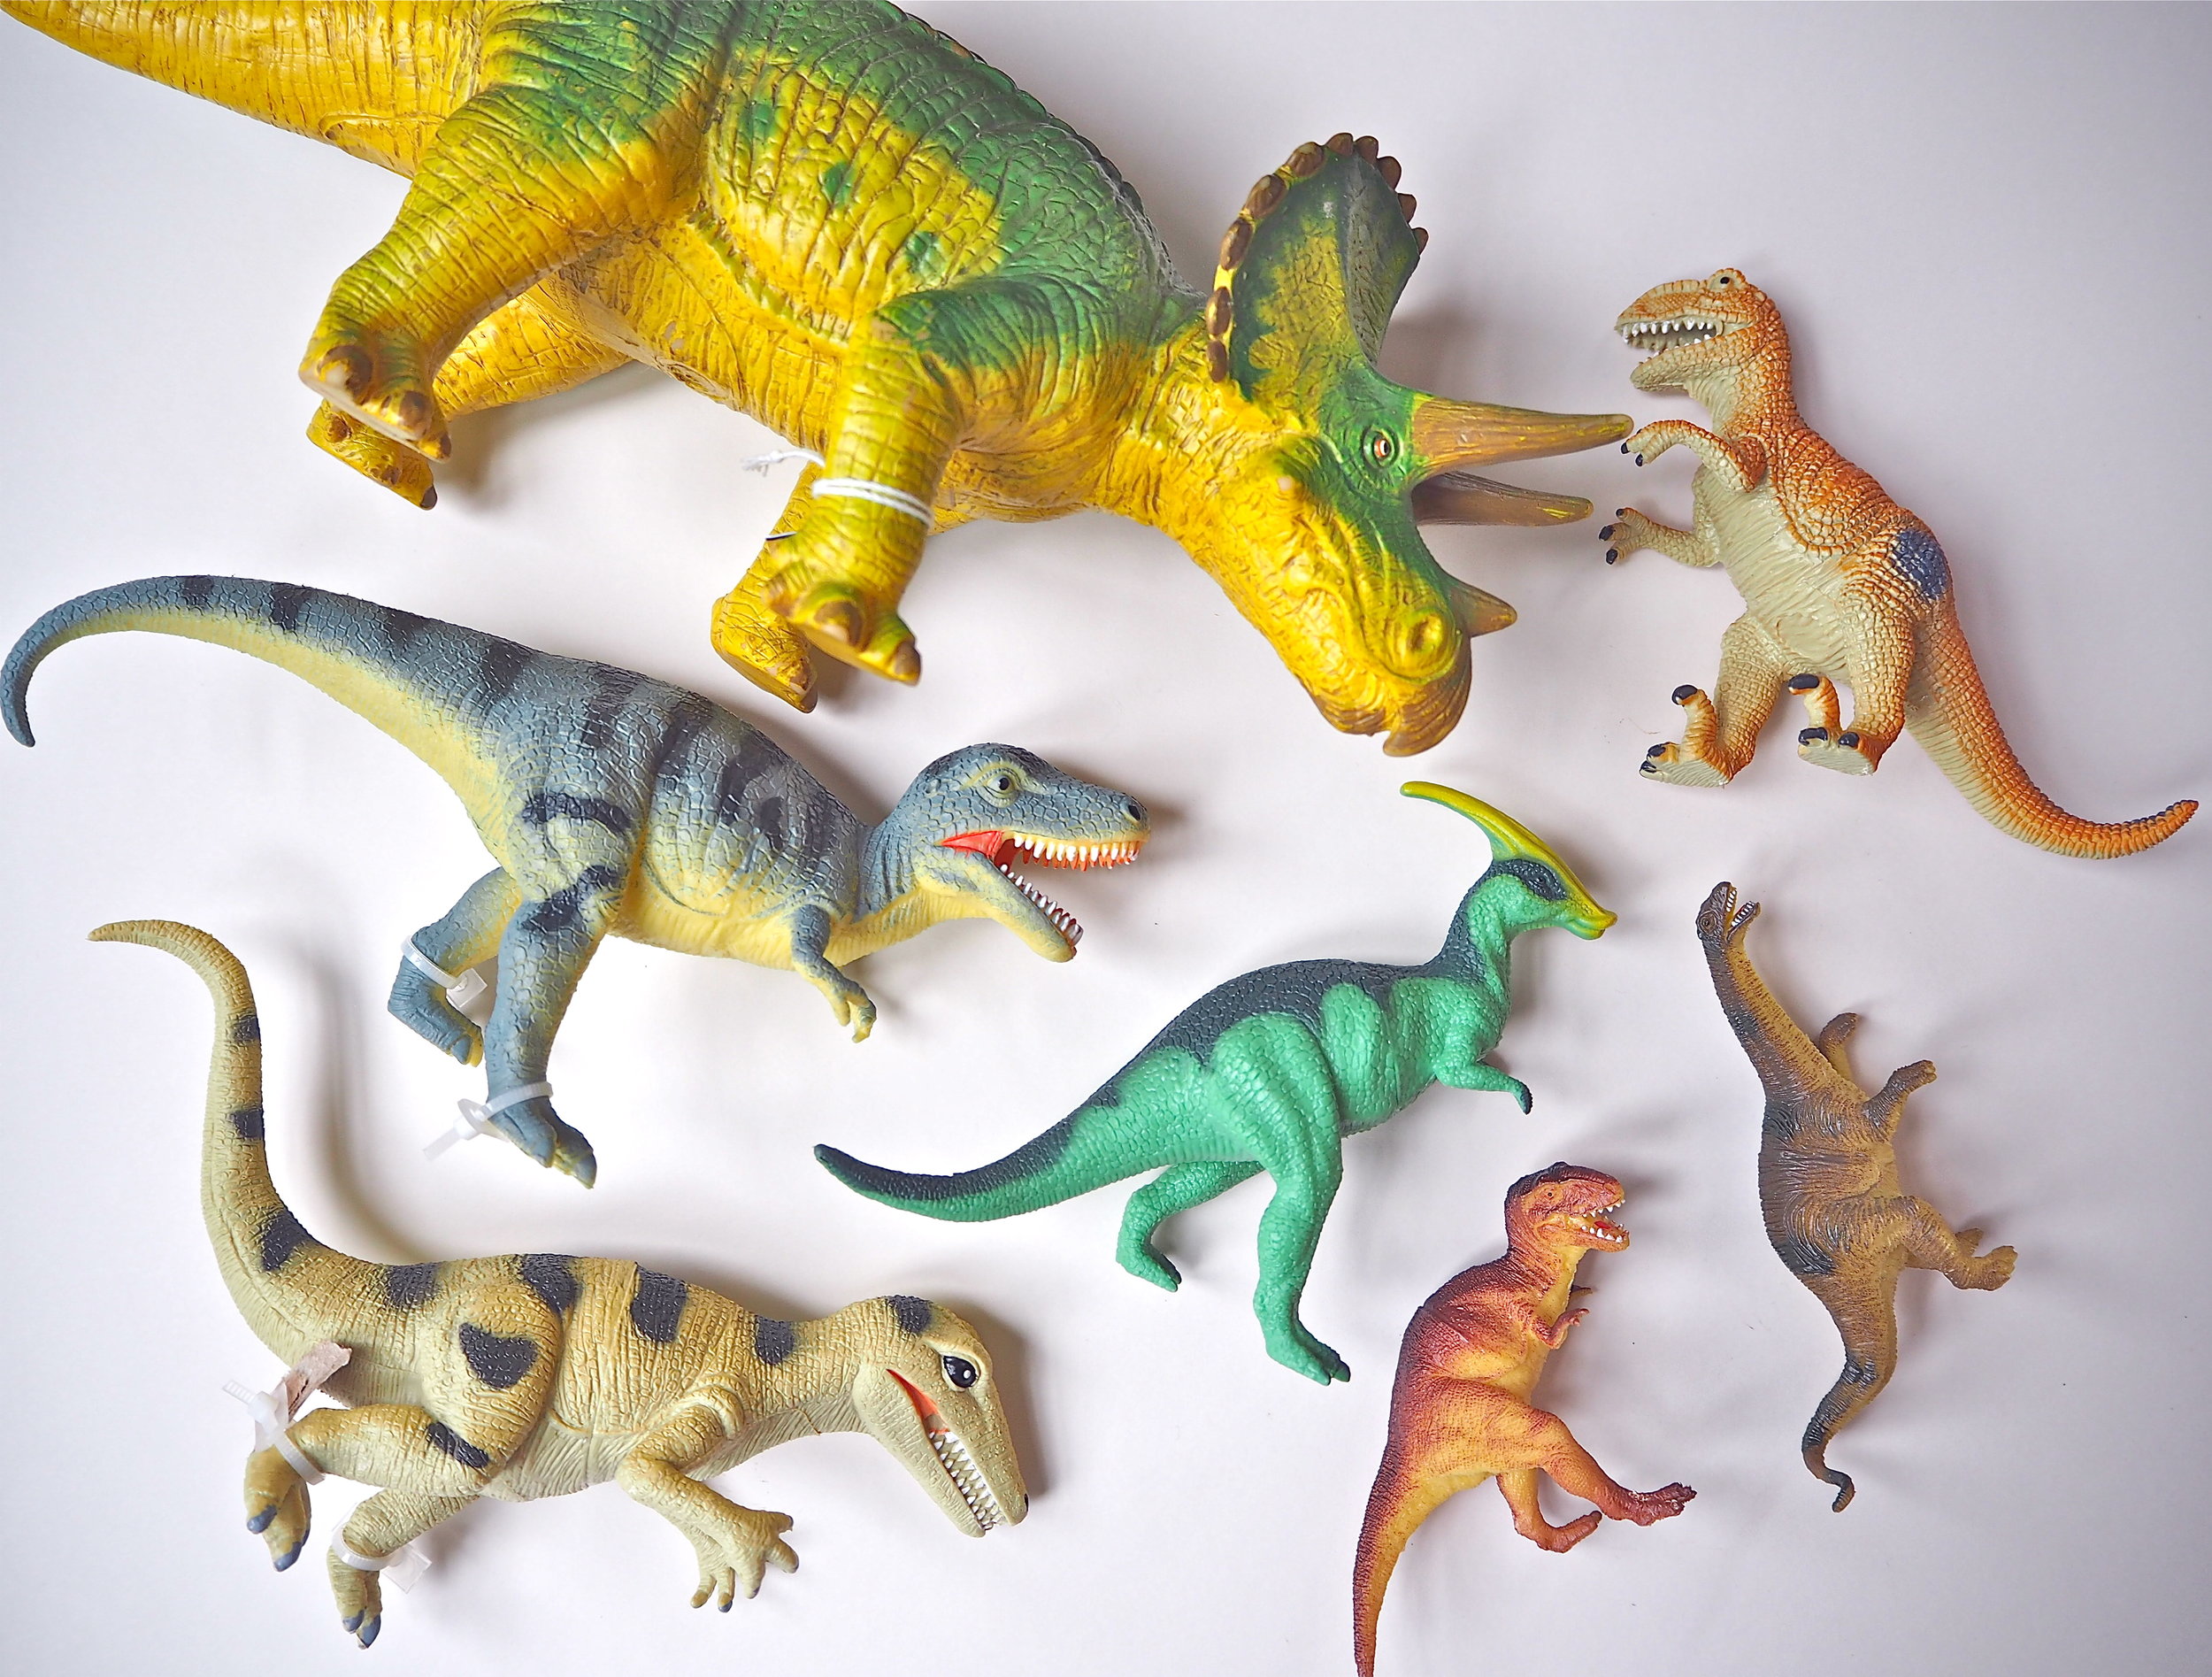
If you do not have any dinosaur figures to hand, used plastic dinosaurs are ten a penny in charity shops and car boot sales across the country. In fact, I picked up most of the dinosaurs used in this DIY in the first charity shop I popped into on my local high street! While I was in there I also sourced a collection of frames in different shapes and sizes. I just removed the old artwork and cleaned up the frames they came in.

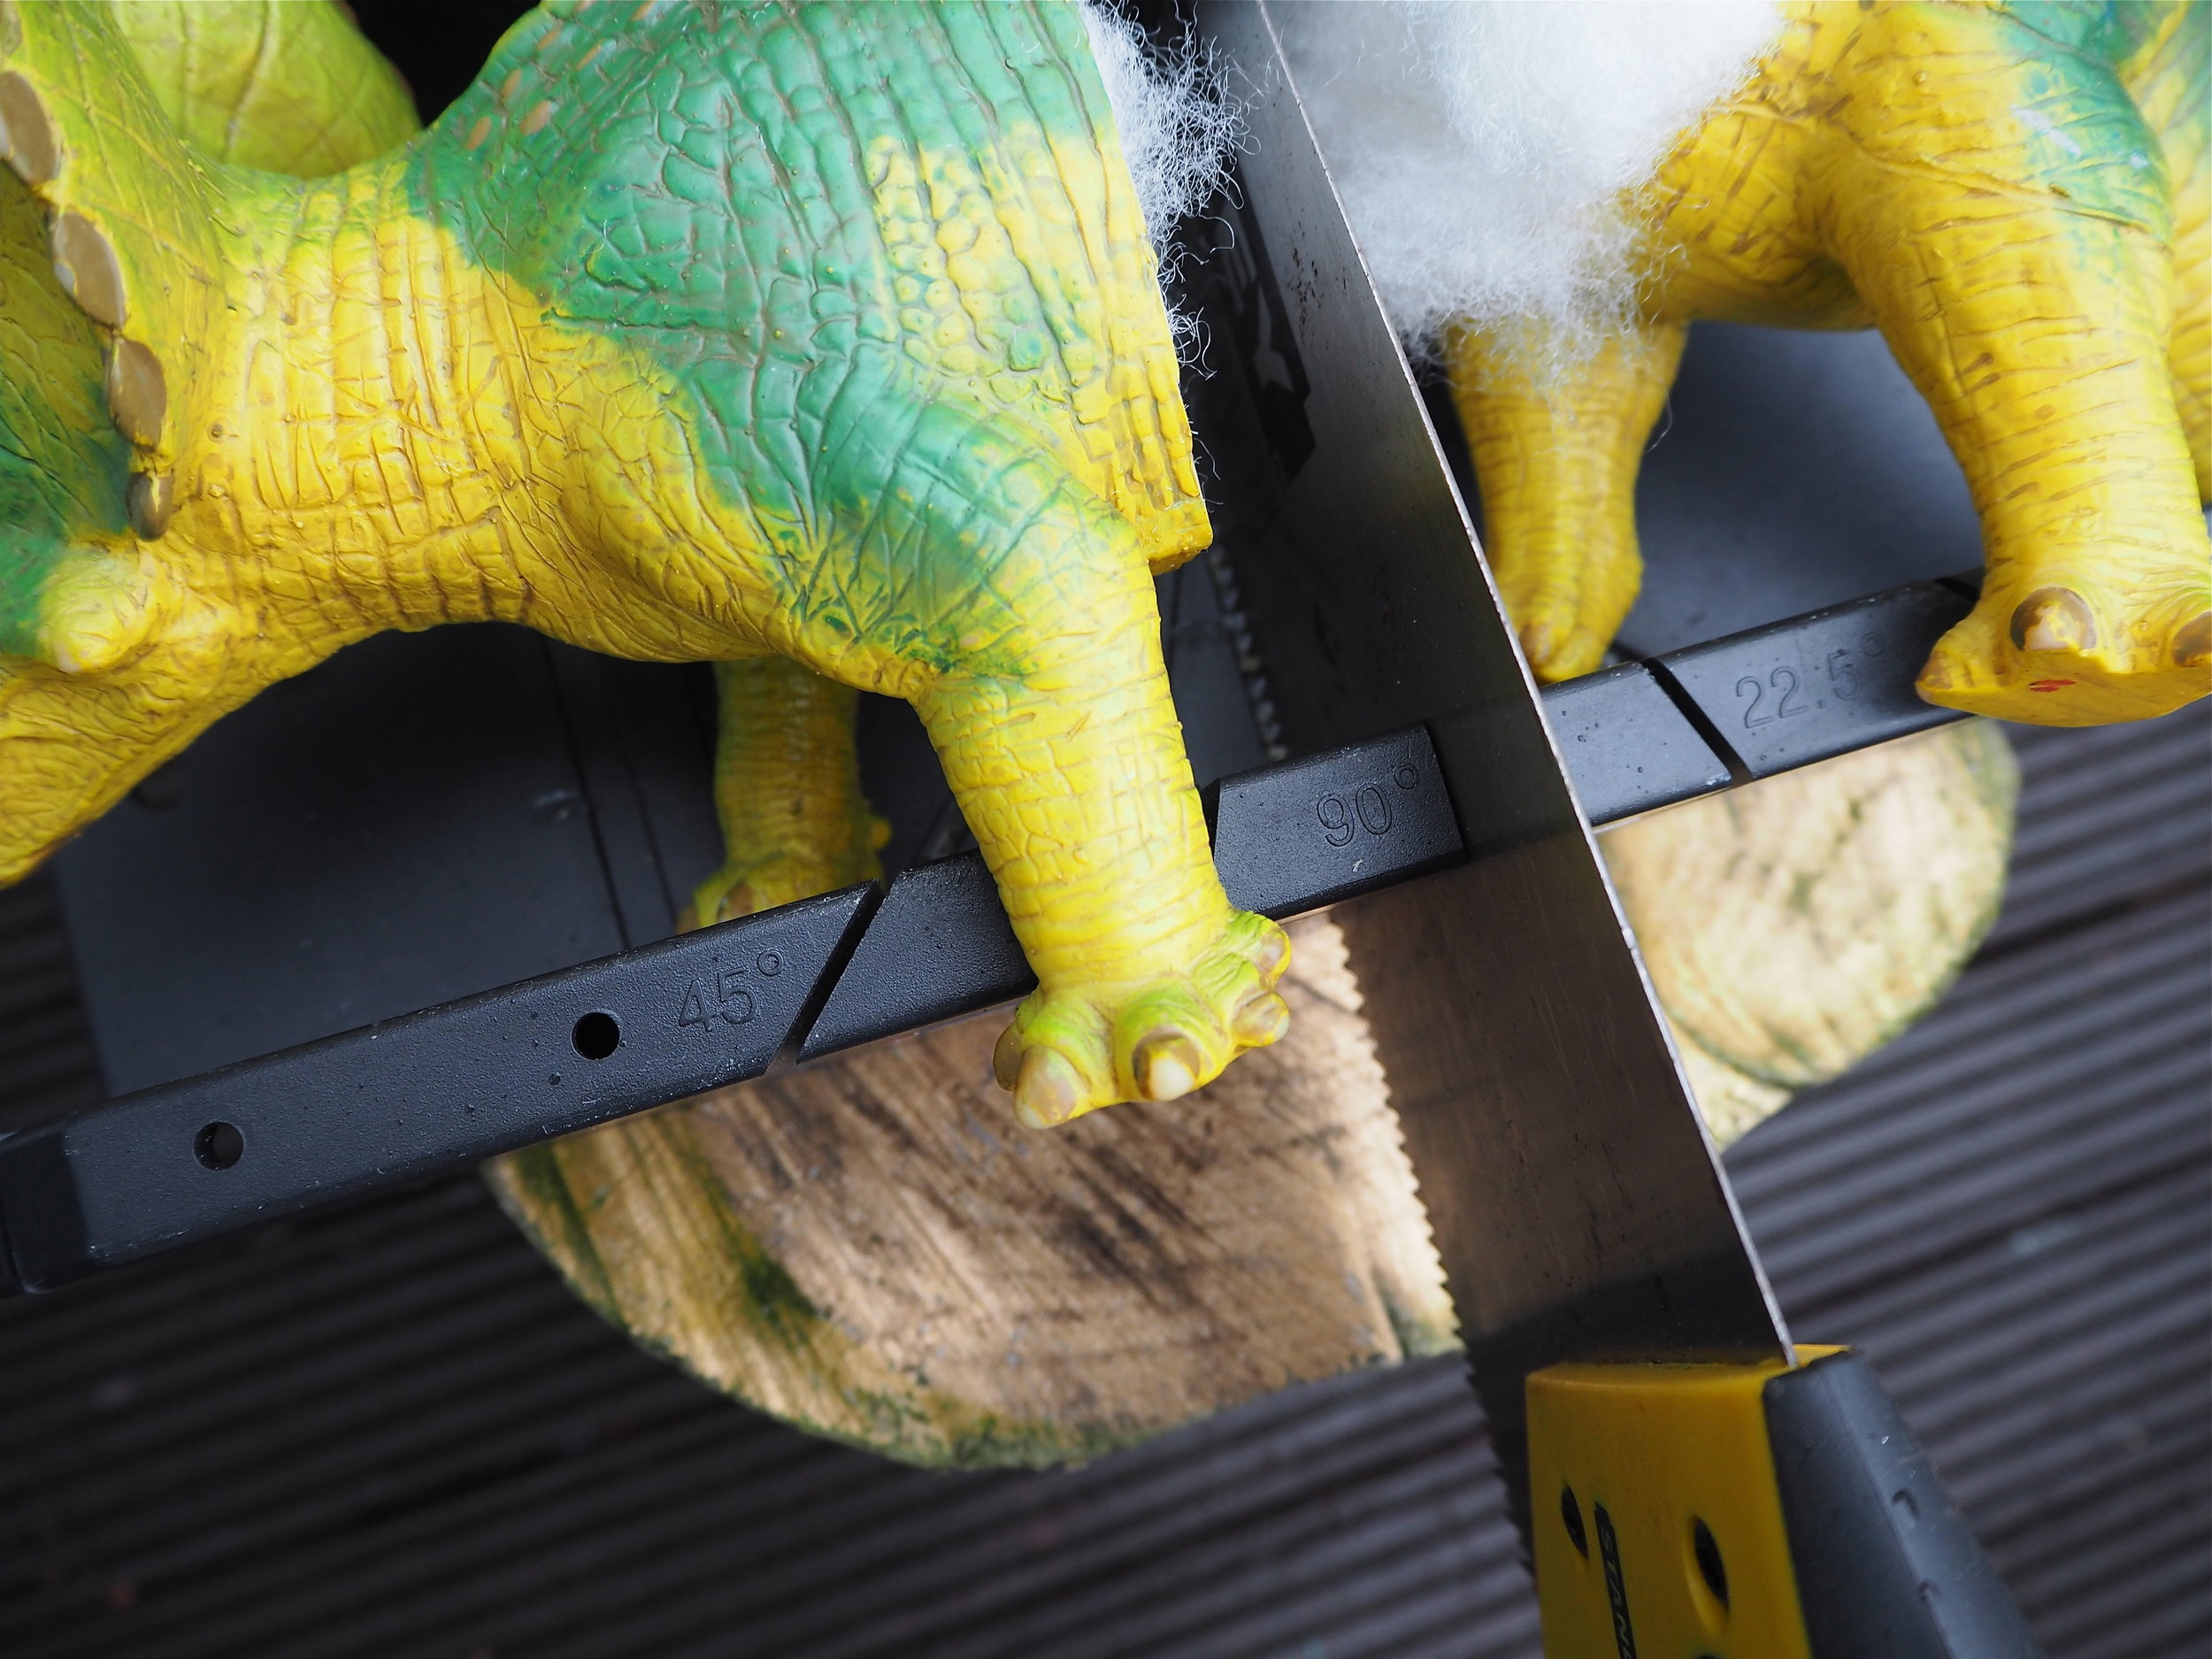
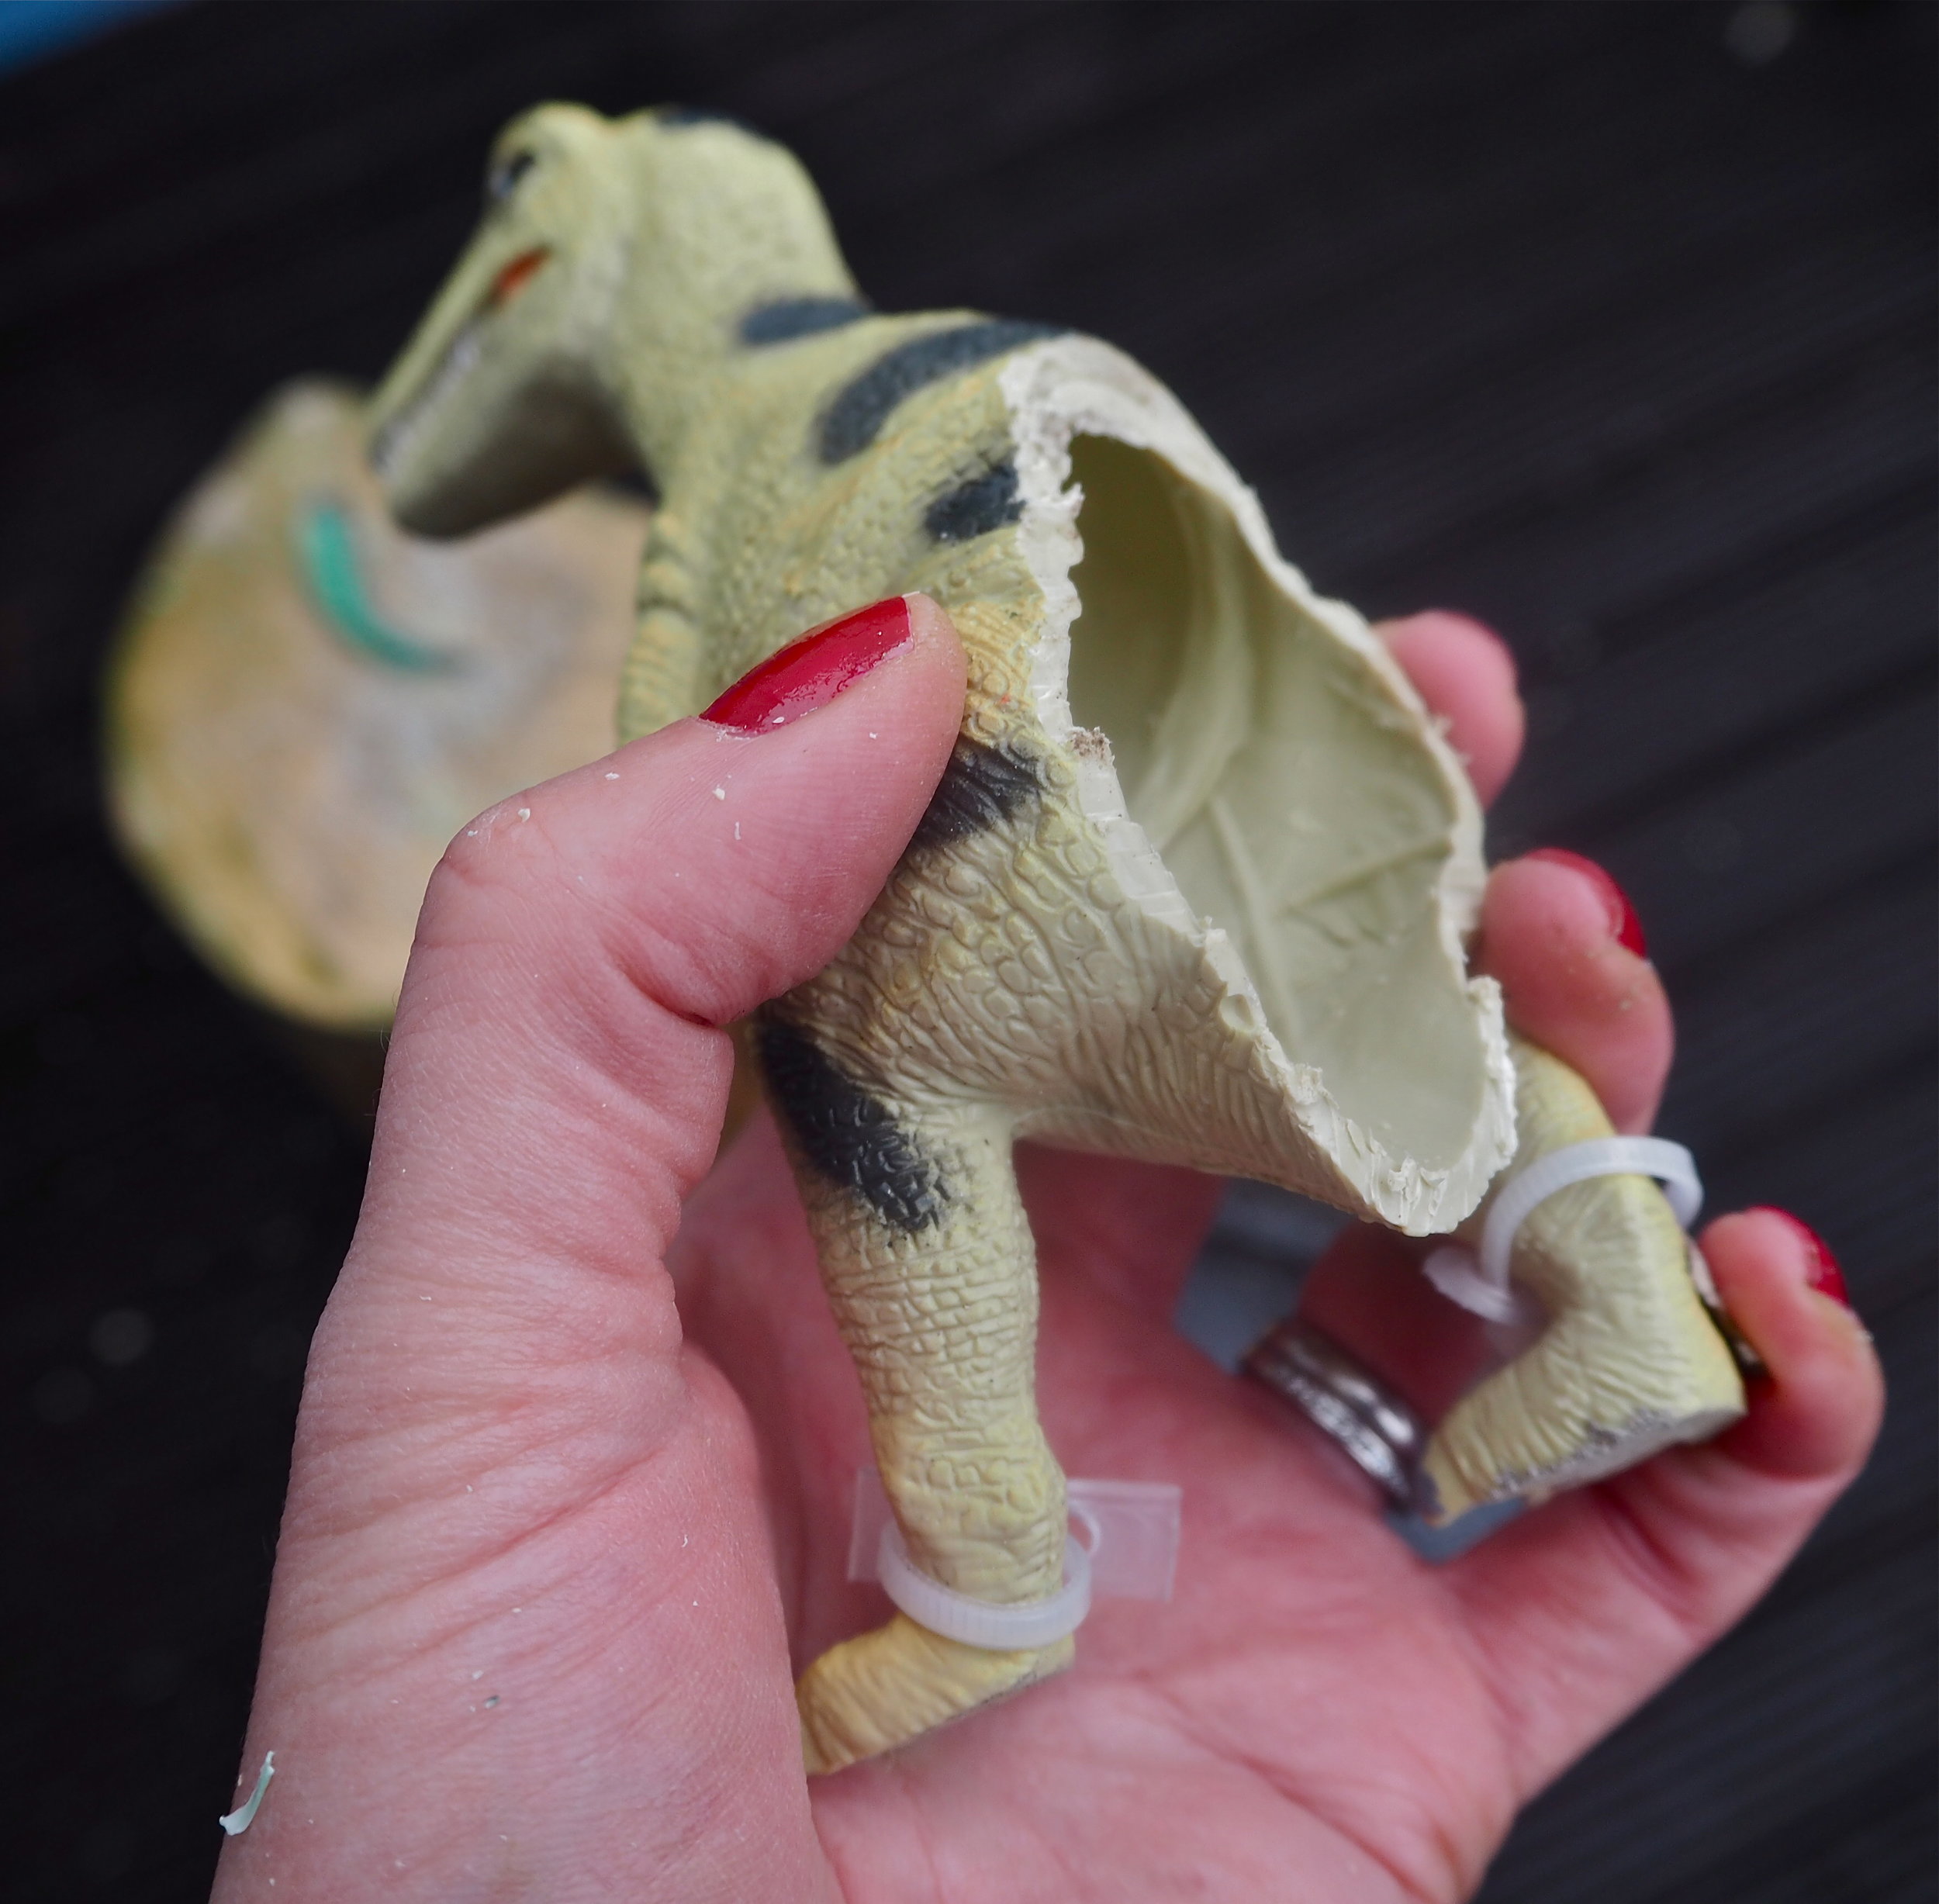
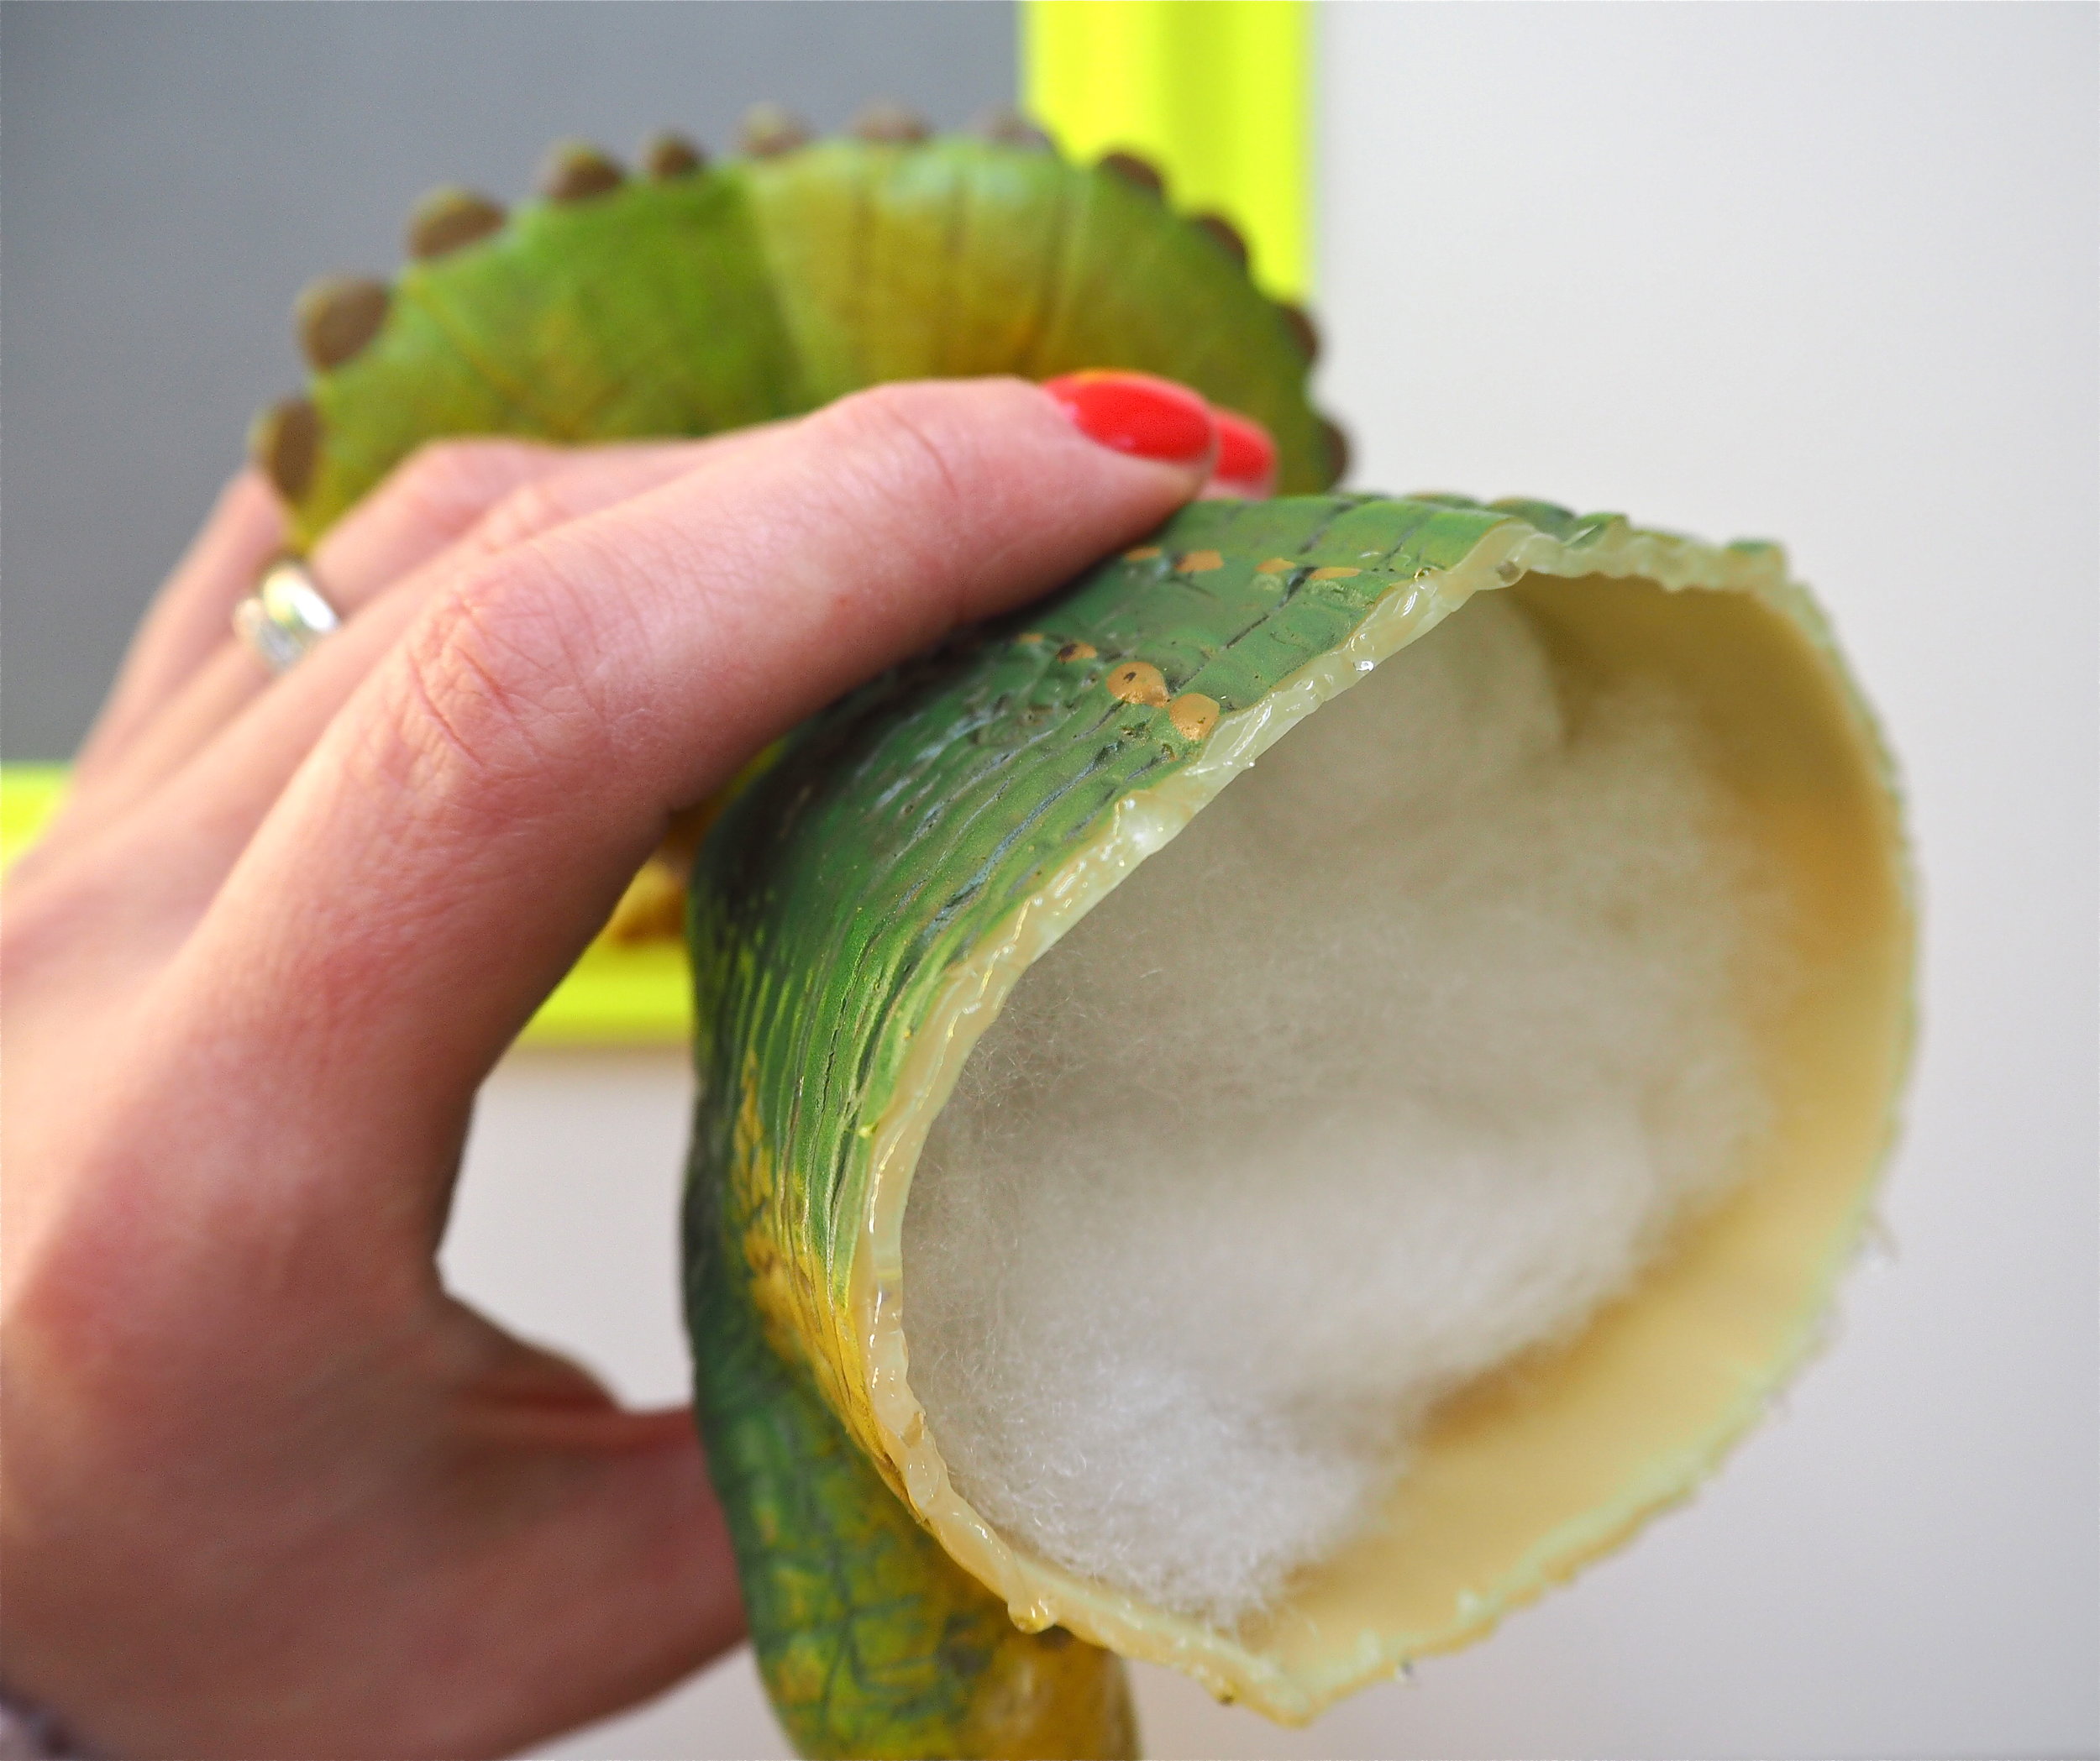
The first step in creating this DIY is to dispose of the back end of the dinosaur! I took each dinosaur and worked out what I wanted to ‘pop’ out of the frame and what I could get rid of from the back. I mostly kept all legs but got rid of the tail. You do not want your dinosaur to be too top-heavy, but if it is missing a leg it might look strange. Work out your cutting point and then slice him in two using a handsaw. I used a mitre box so that I could make a nice clean, straight chop. However, a mitre box is not essential if you have a good grip.

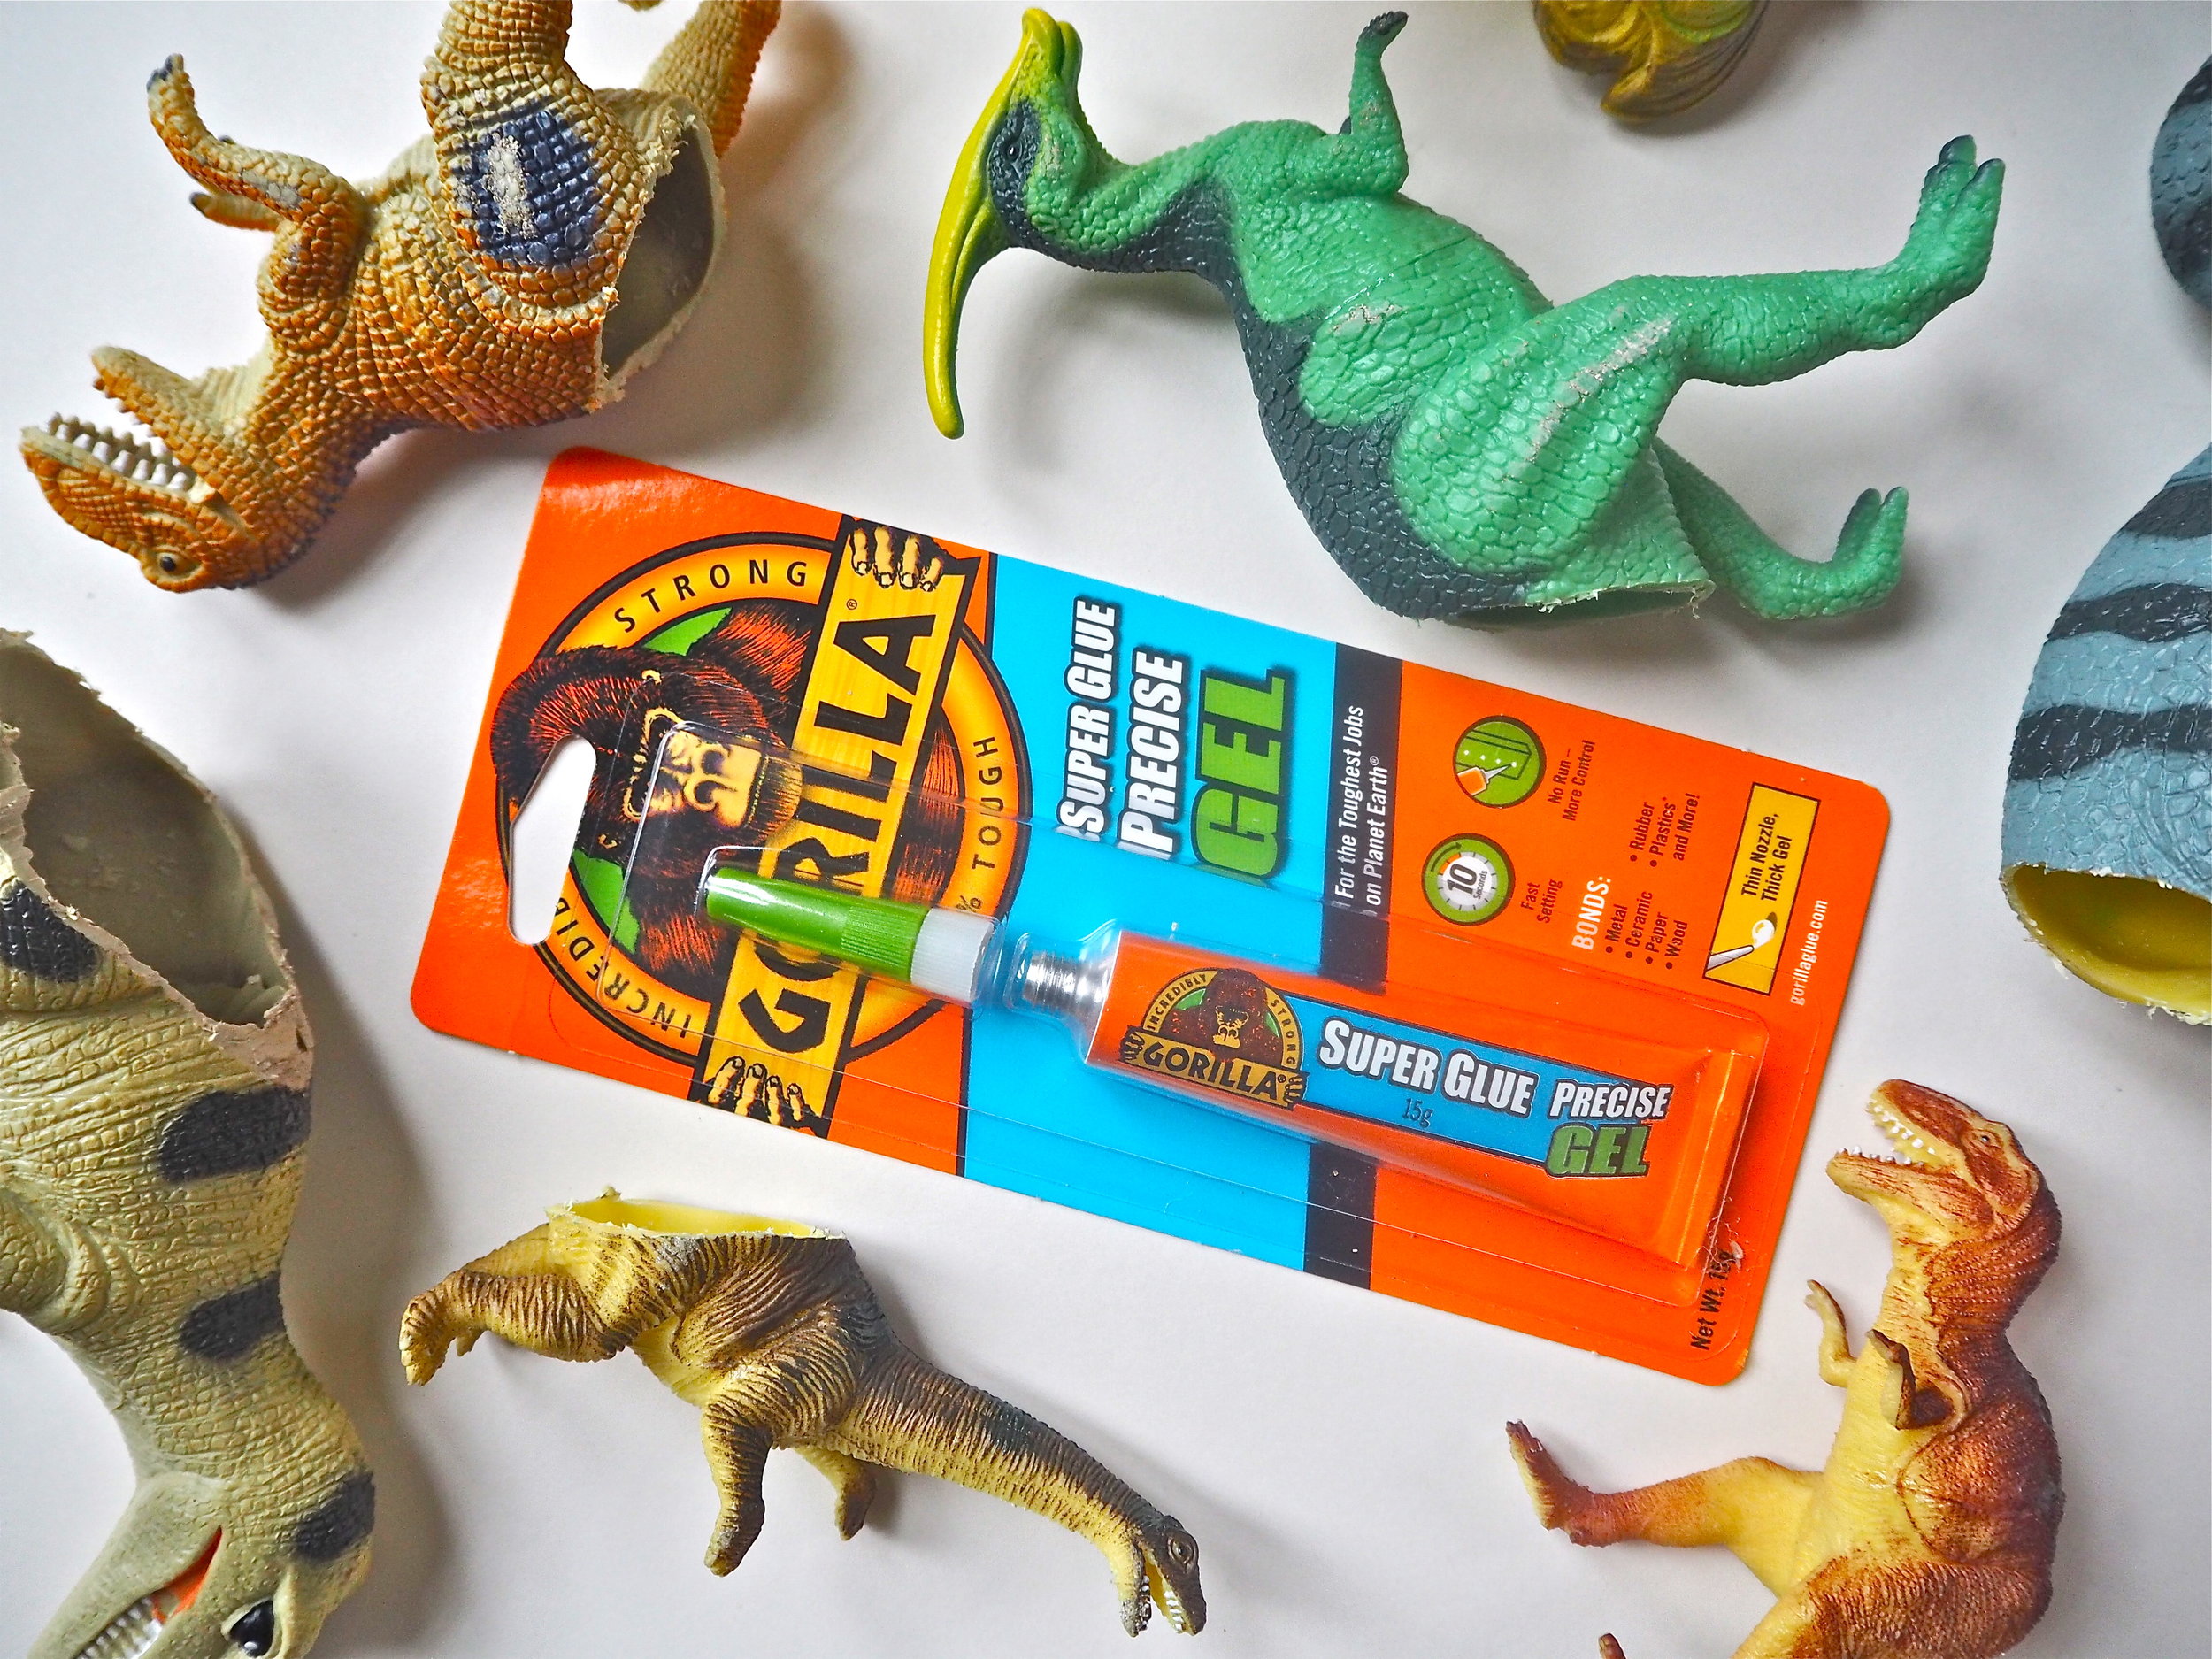
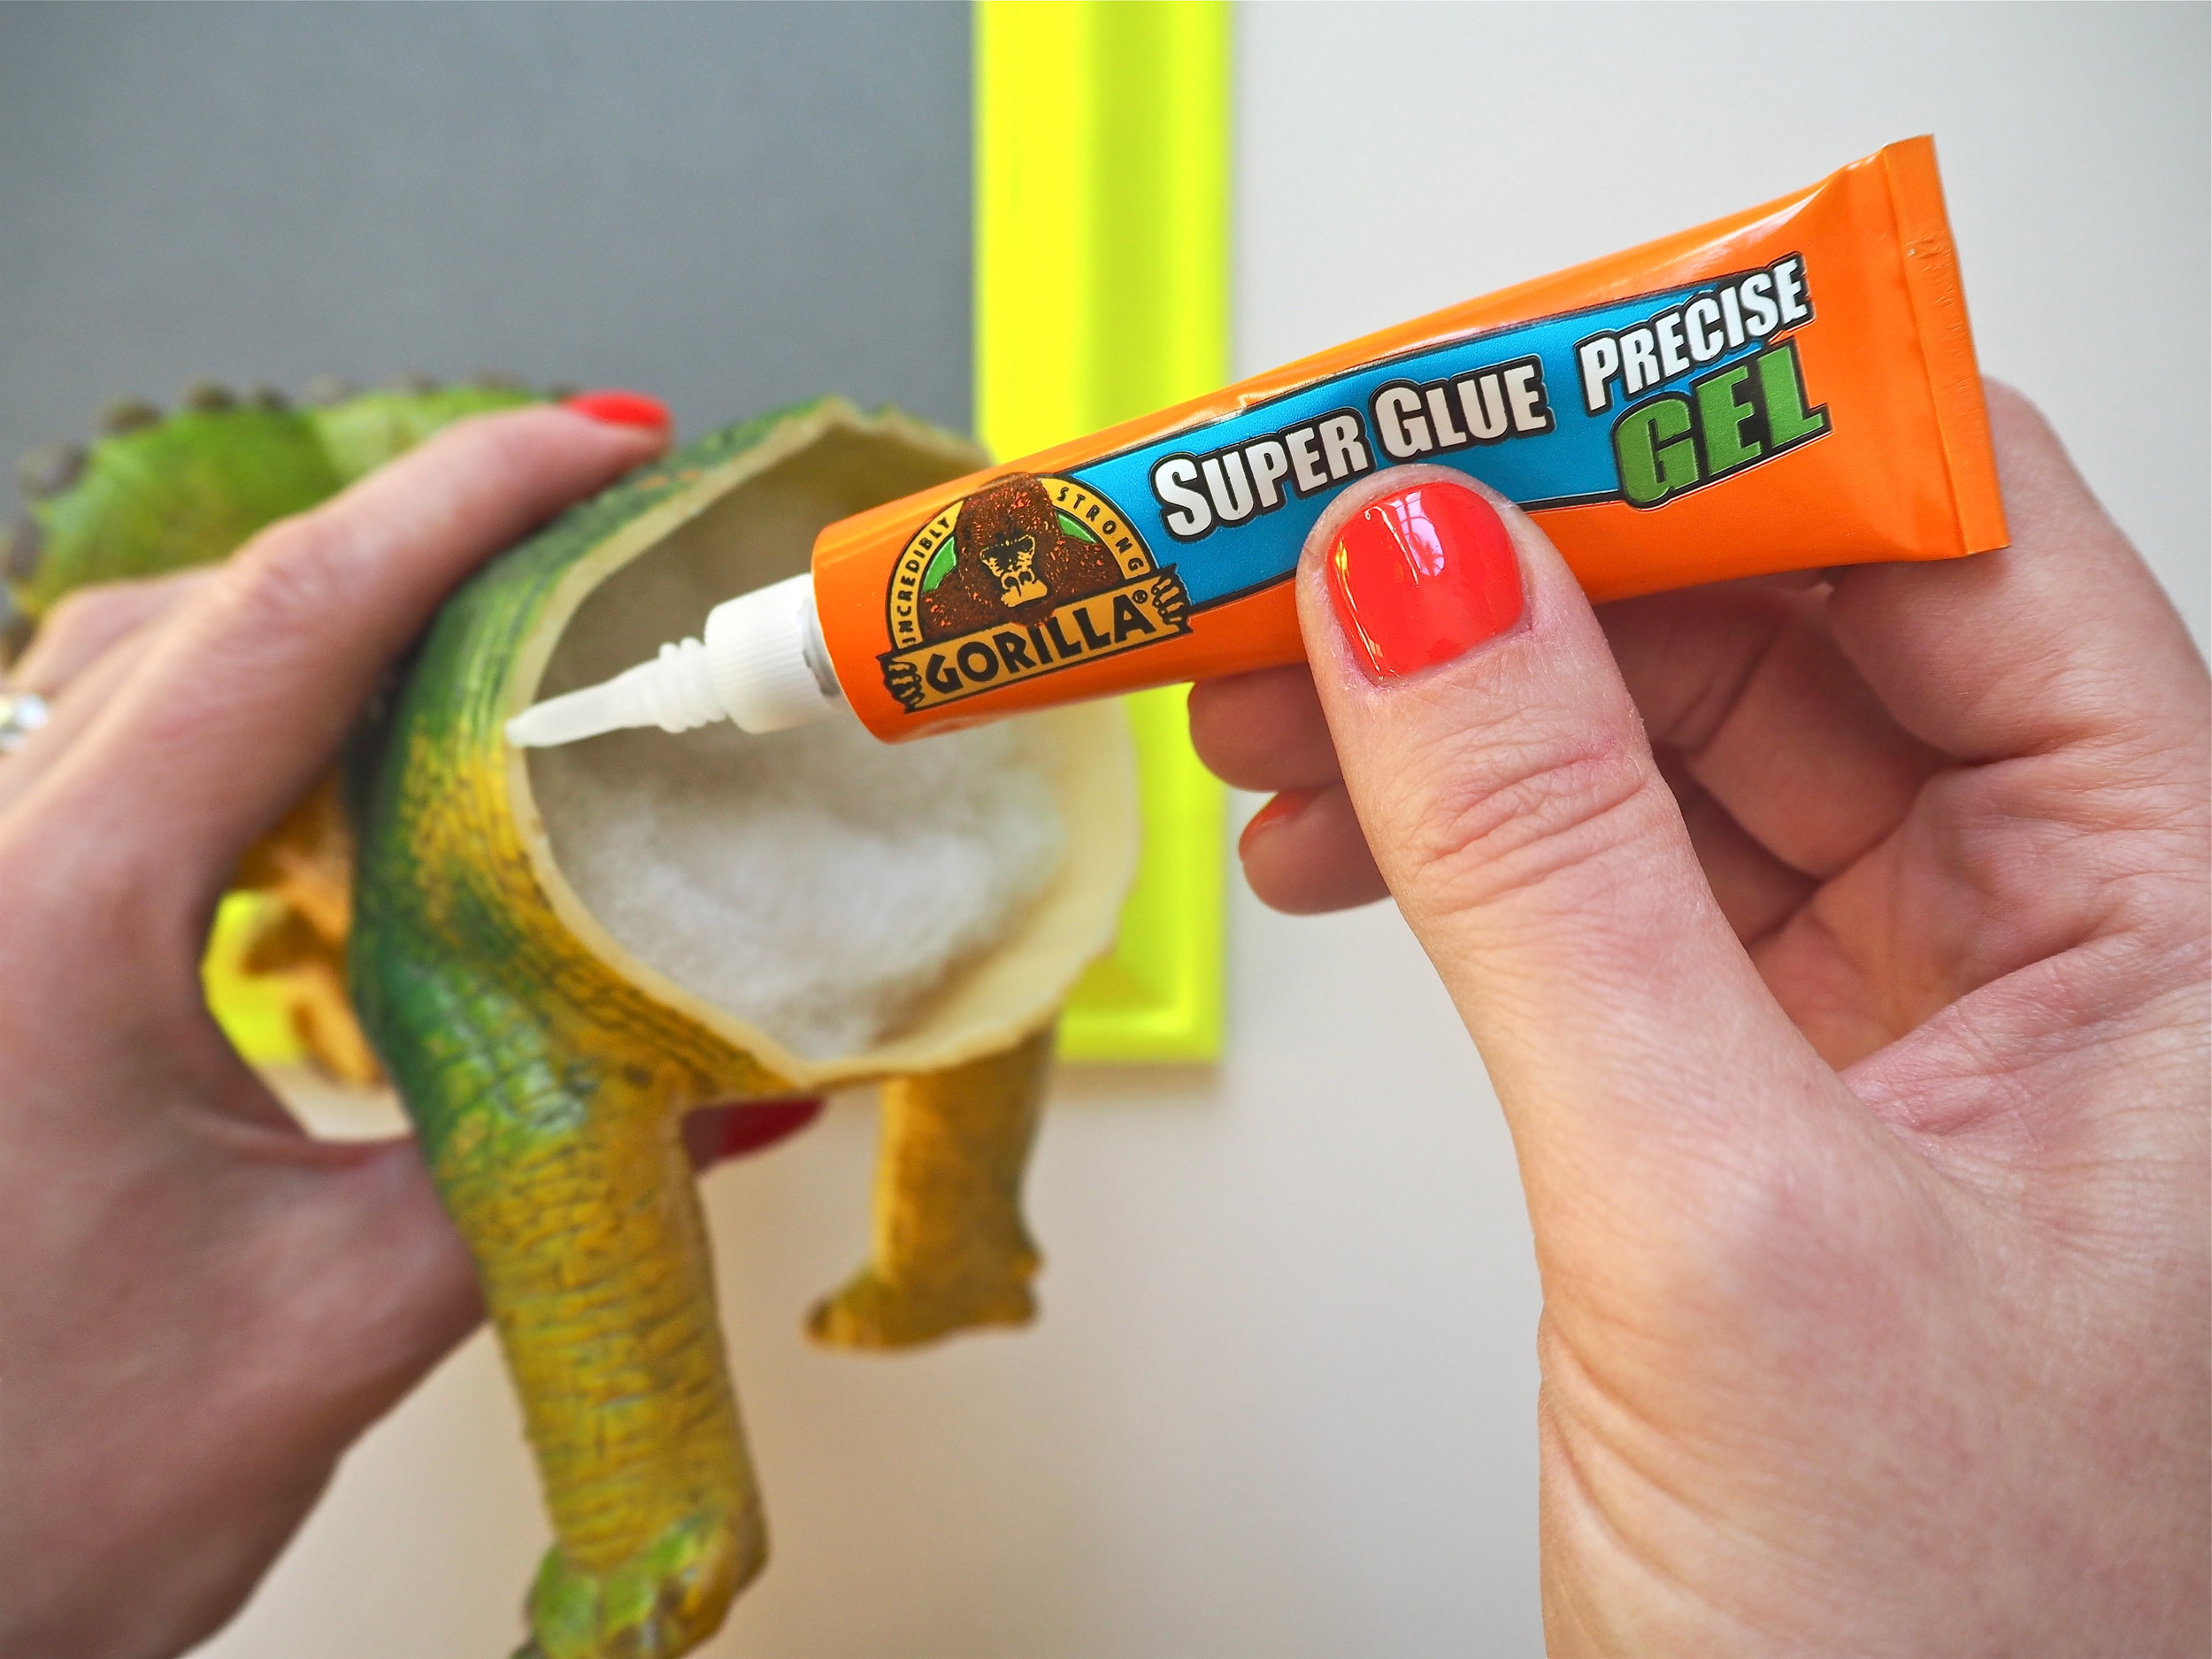
Once you’ve cut your dinosaurs you’ll find that in most instances your dinosaur is hollow and the sawed plastic rim you need to glue onto your mount inside the frame is quite thin. This is why I chose to use Gorilla Super Glue Precise Gel for this DIY. The gel can be applied in a very precise manner with the thin nozzle. As the glue is a thick gel it will not run, meaning that I can apply it to the cut outline easily without mess. The Precise Gel bonds metal, wood, ceramics, paper, rubber and plastics*. As my dinosaurs are a mix of rubber and plastic to be secured to the card, I knew this was the perfect product to use as they would join successfully.
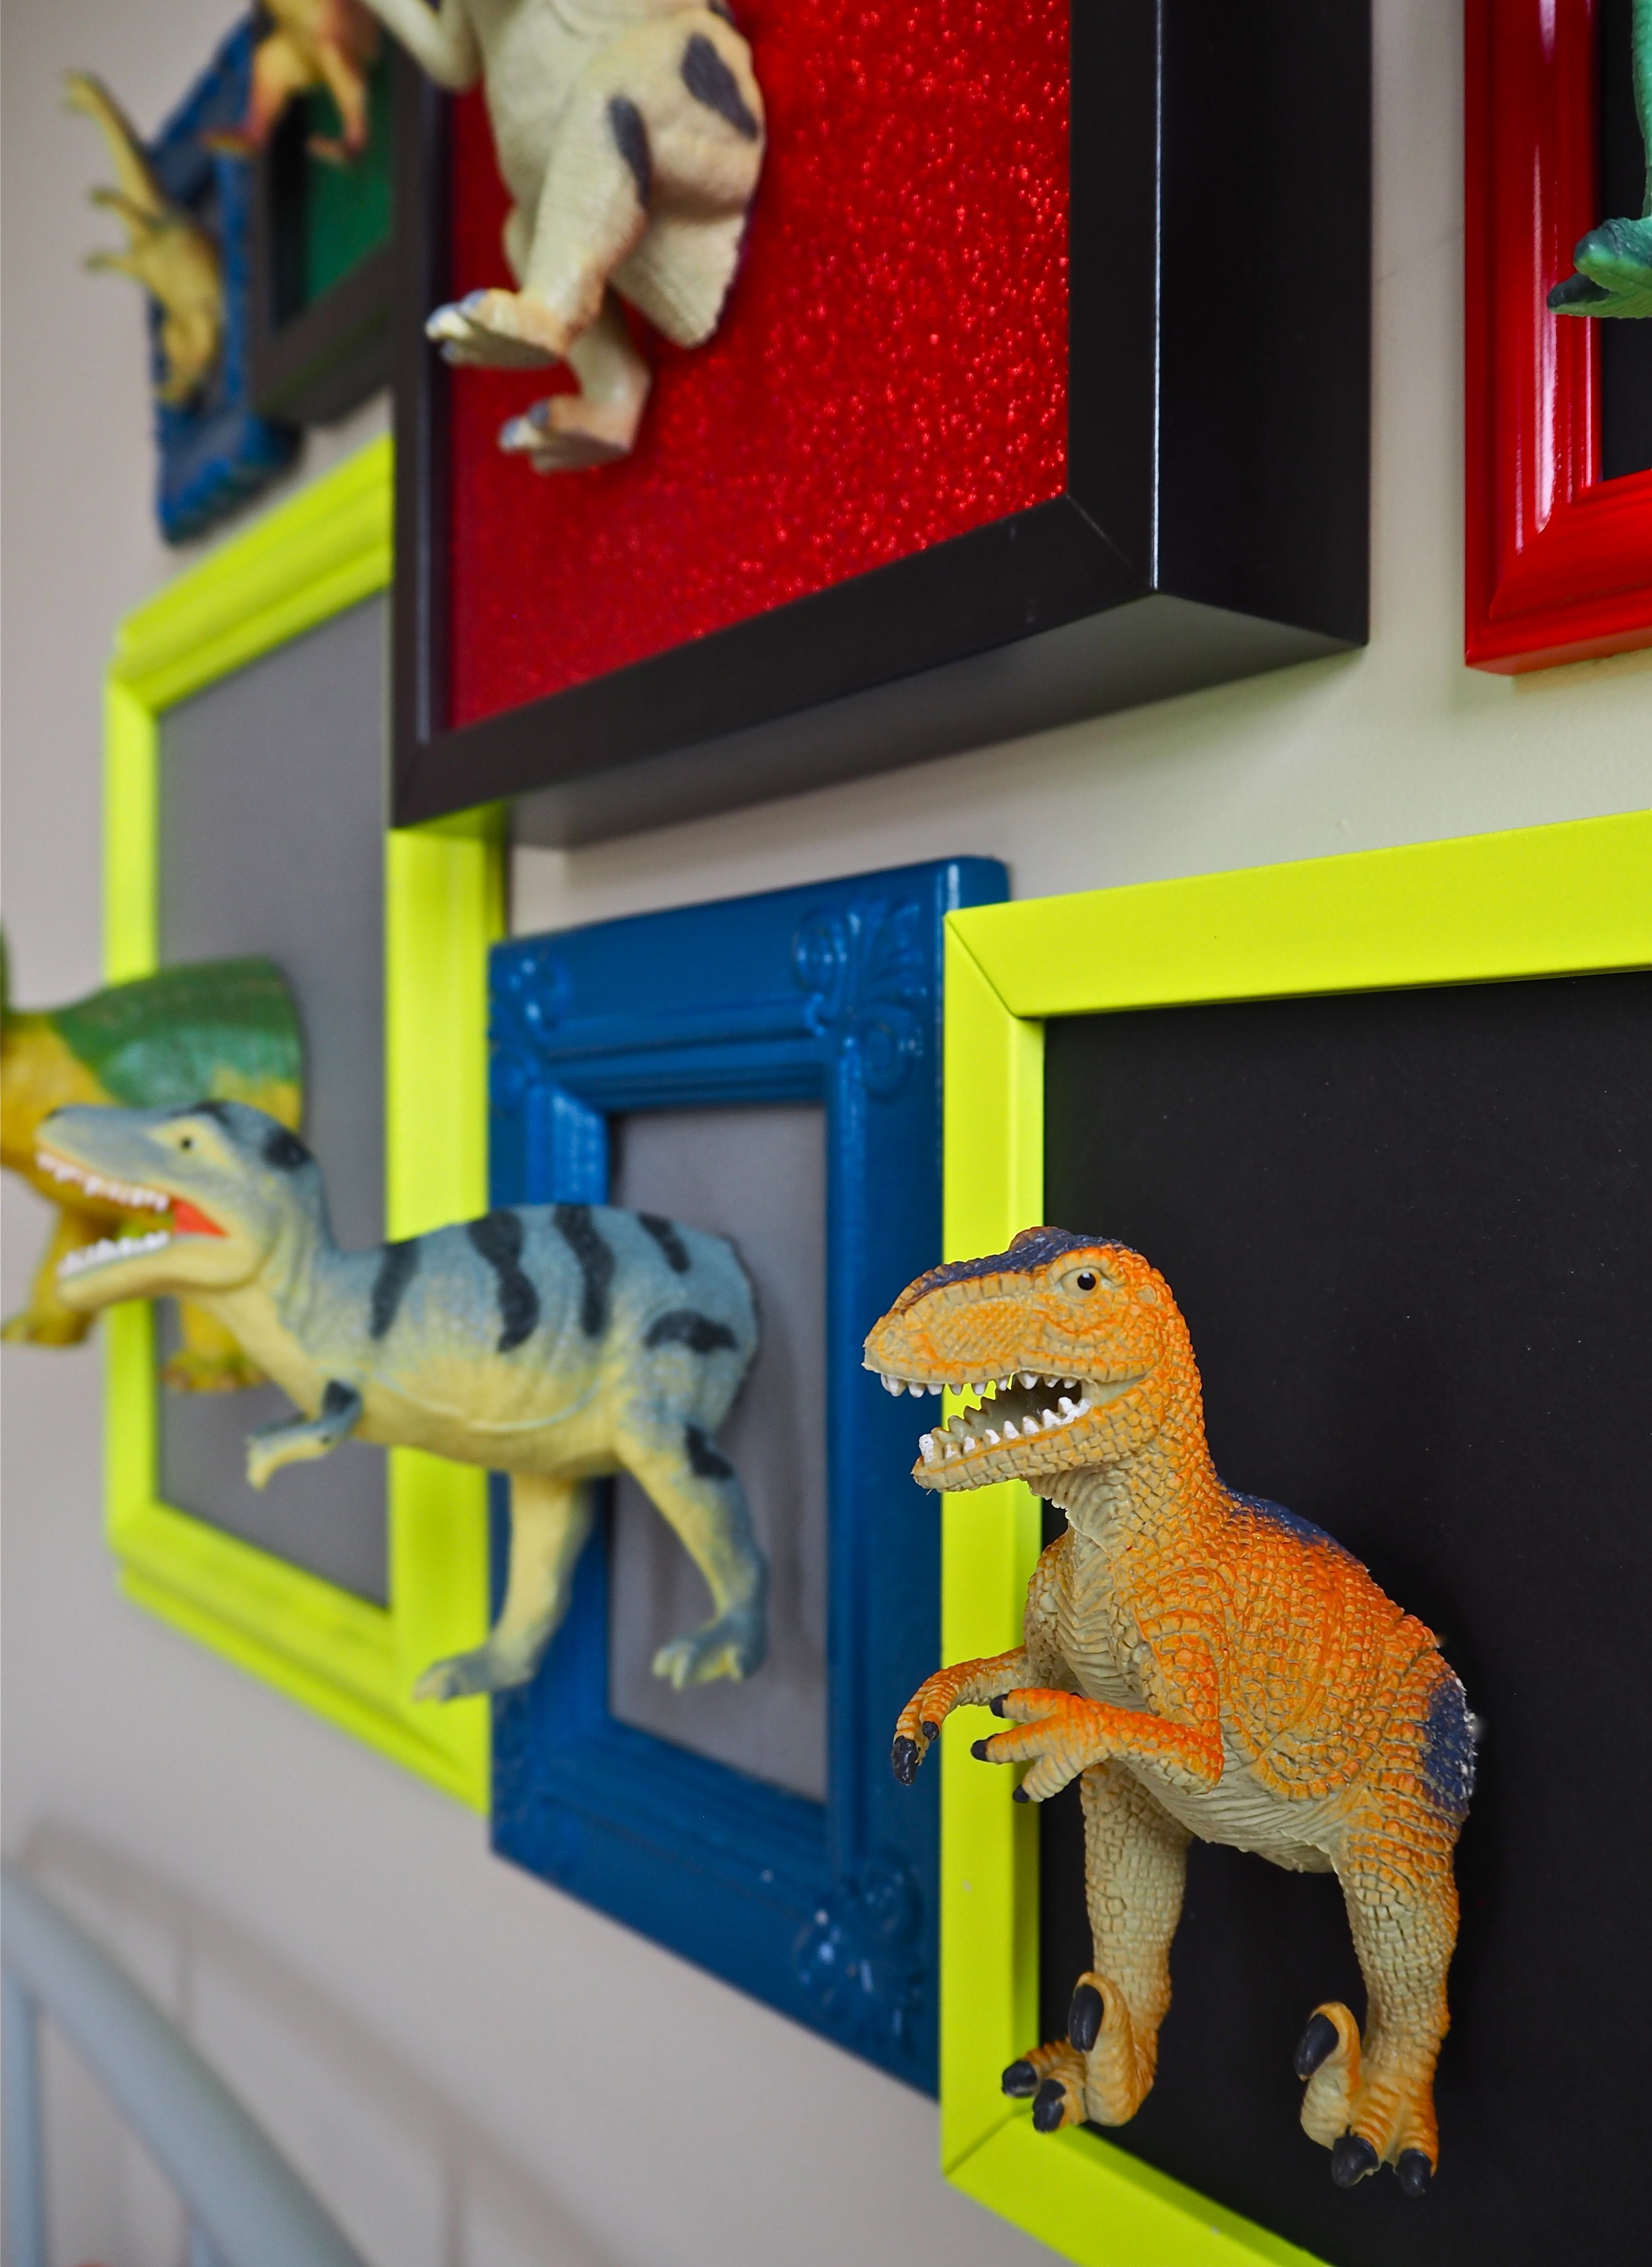
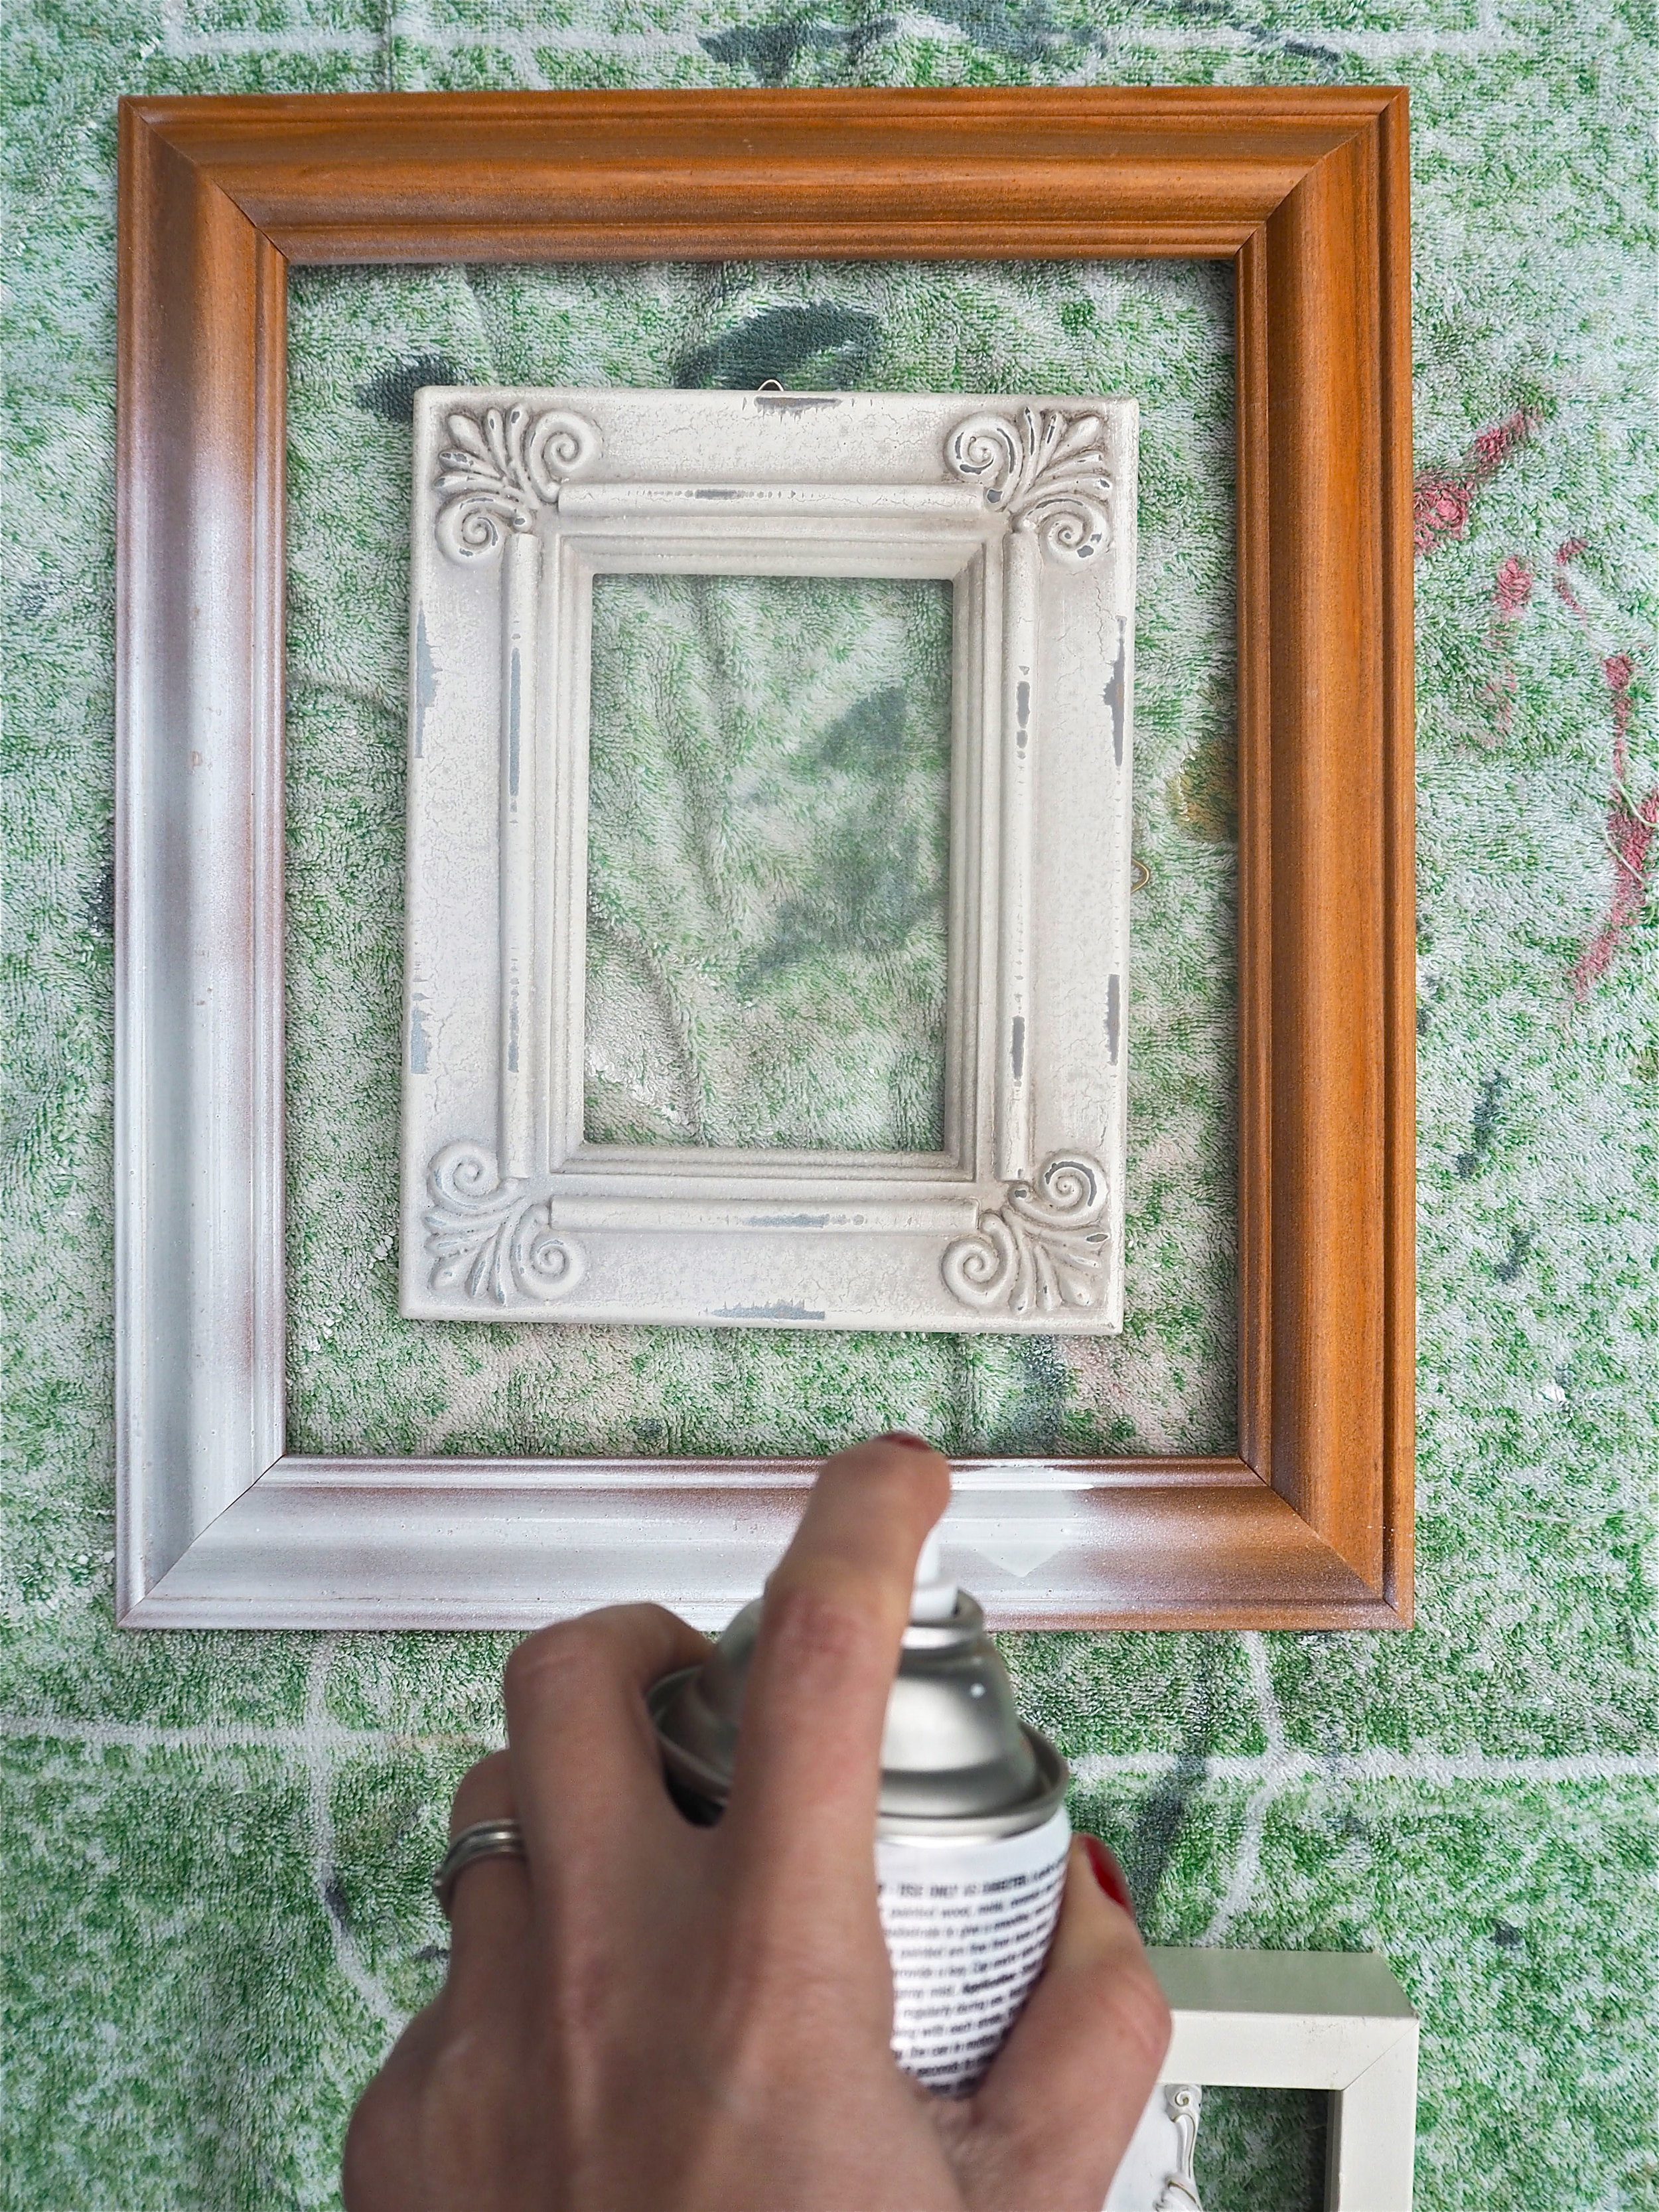
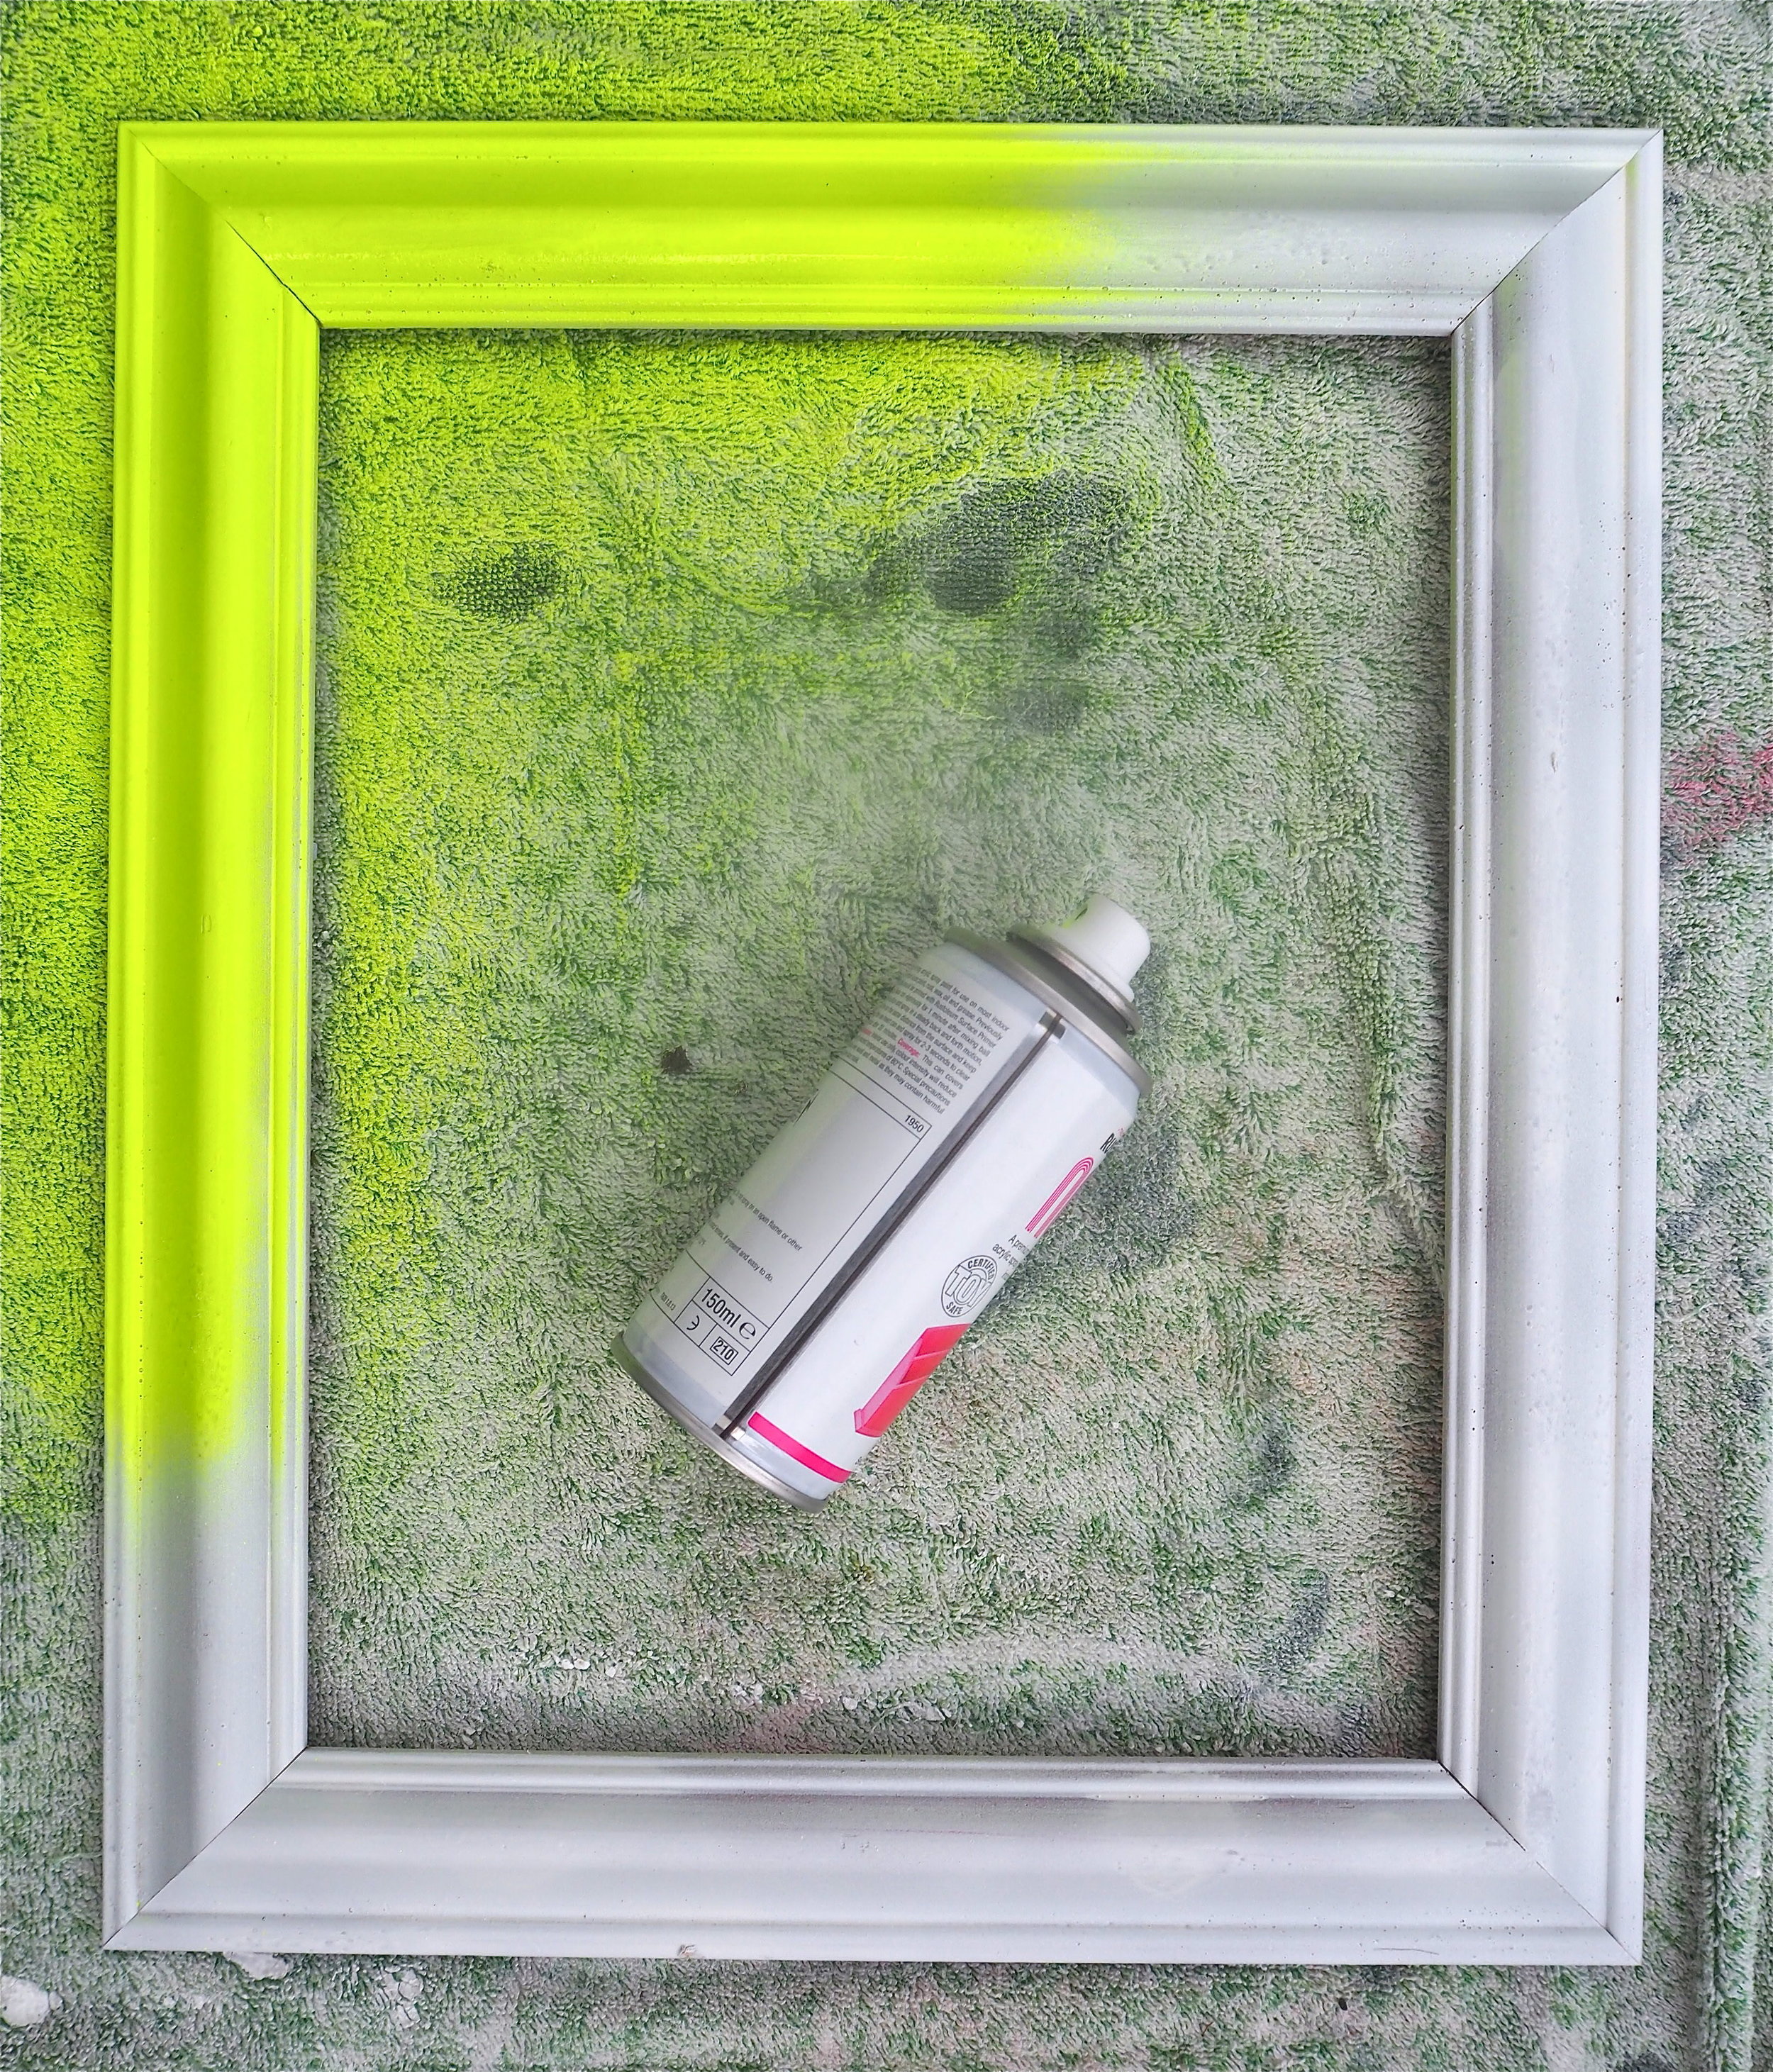
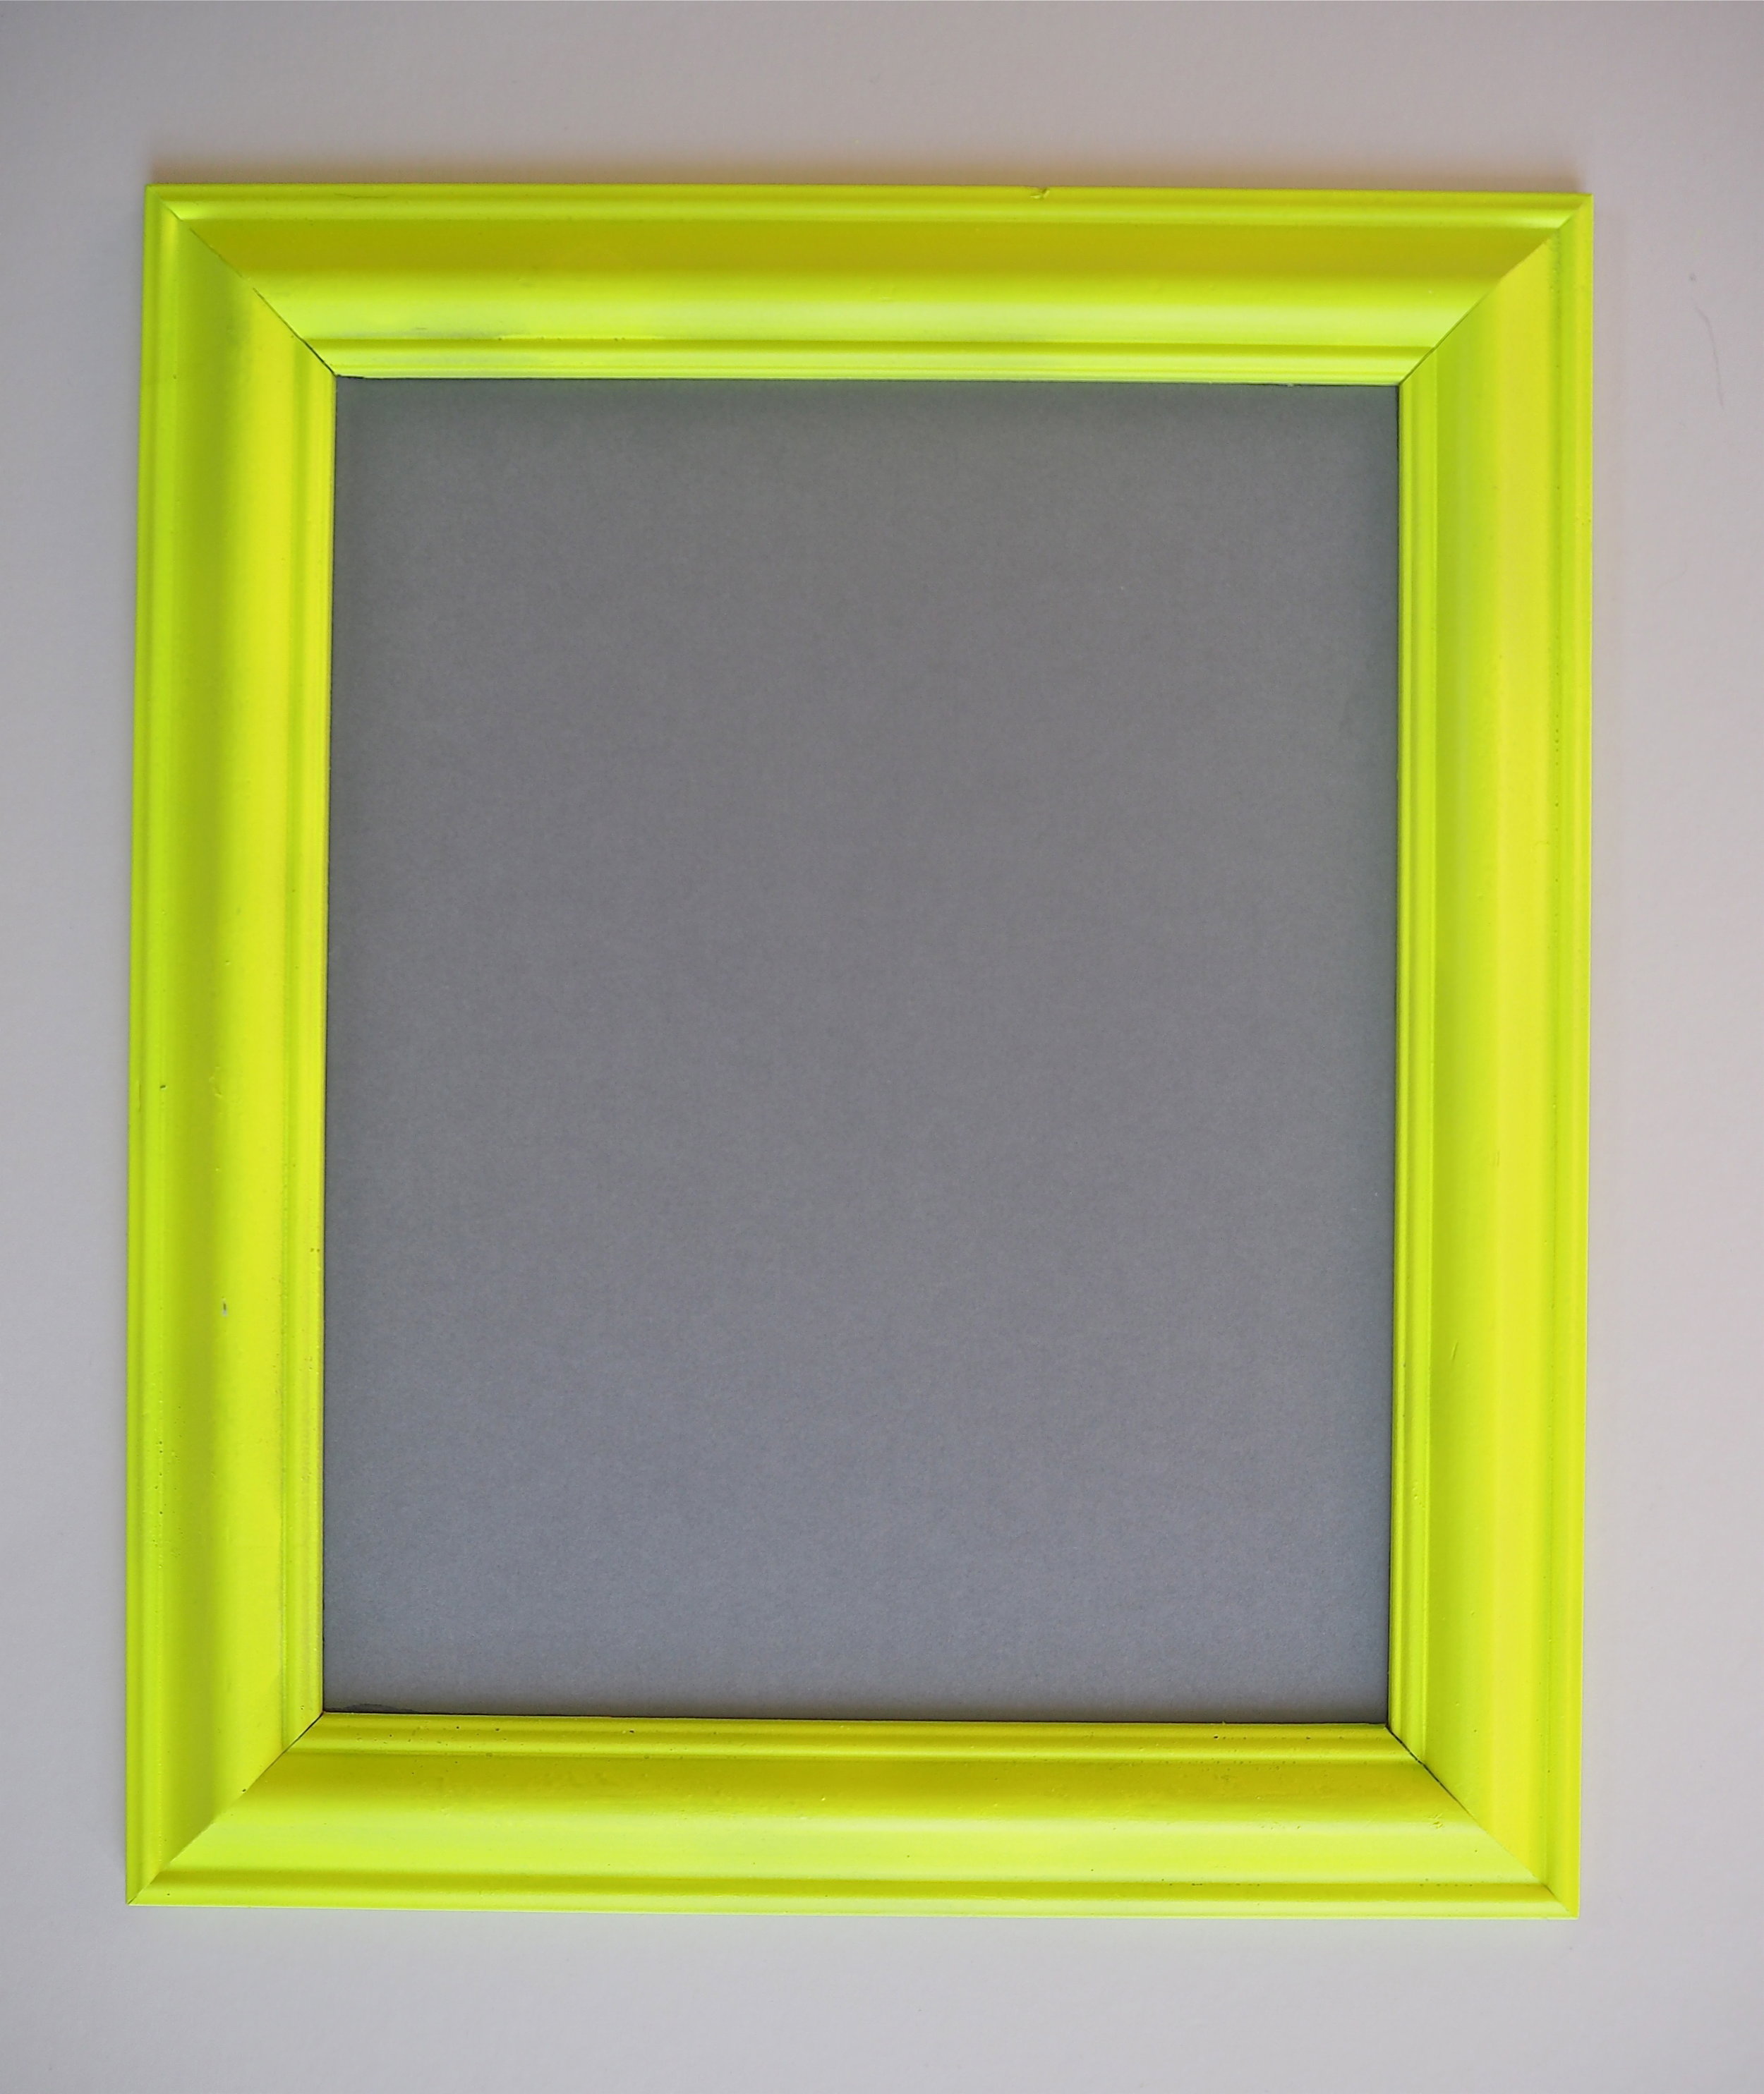
To make my frames less mismatched and more interesting, I sprayed them all in a variety of bold colours. First of all, I cleaned the frames by wiping them down in soapy water so they didn’t have any dirt or grease on them, then once dry I gave them all two coats of primer in spray-paint form. Once the primer was dry, I used the small craft tins of gloss spray paint to add some colour. I gave all the frames two coats, making sure the frames were covered in paint from each angle.
Once the frames were dry I set about creating the mount to sit inside the frame. To create the mounts I purchased a couple of coloured mounting card boards from a craft supply shop. You need your mount to be strong and not bend as a thin piece of card will not take the weight of a plastic dinosaur. If your frame came with glass you may wish to place a piece of coloured paper behind the glass and glue the dinosaur directly on top of the glass. Both the mounting card and glass options work well for this DIY.
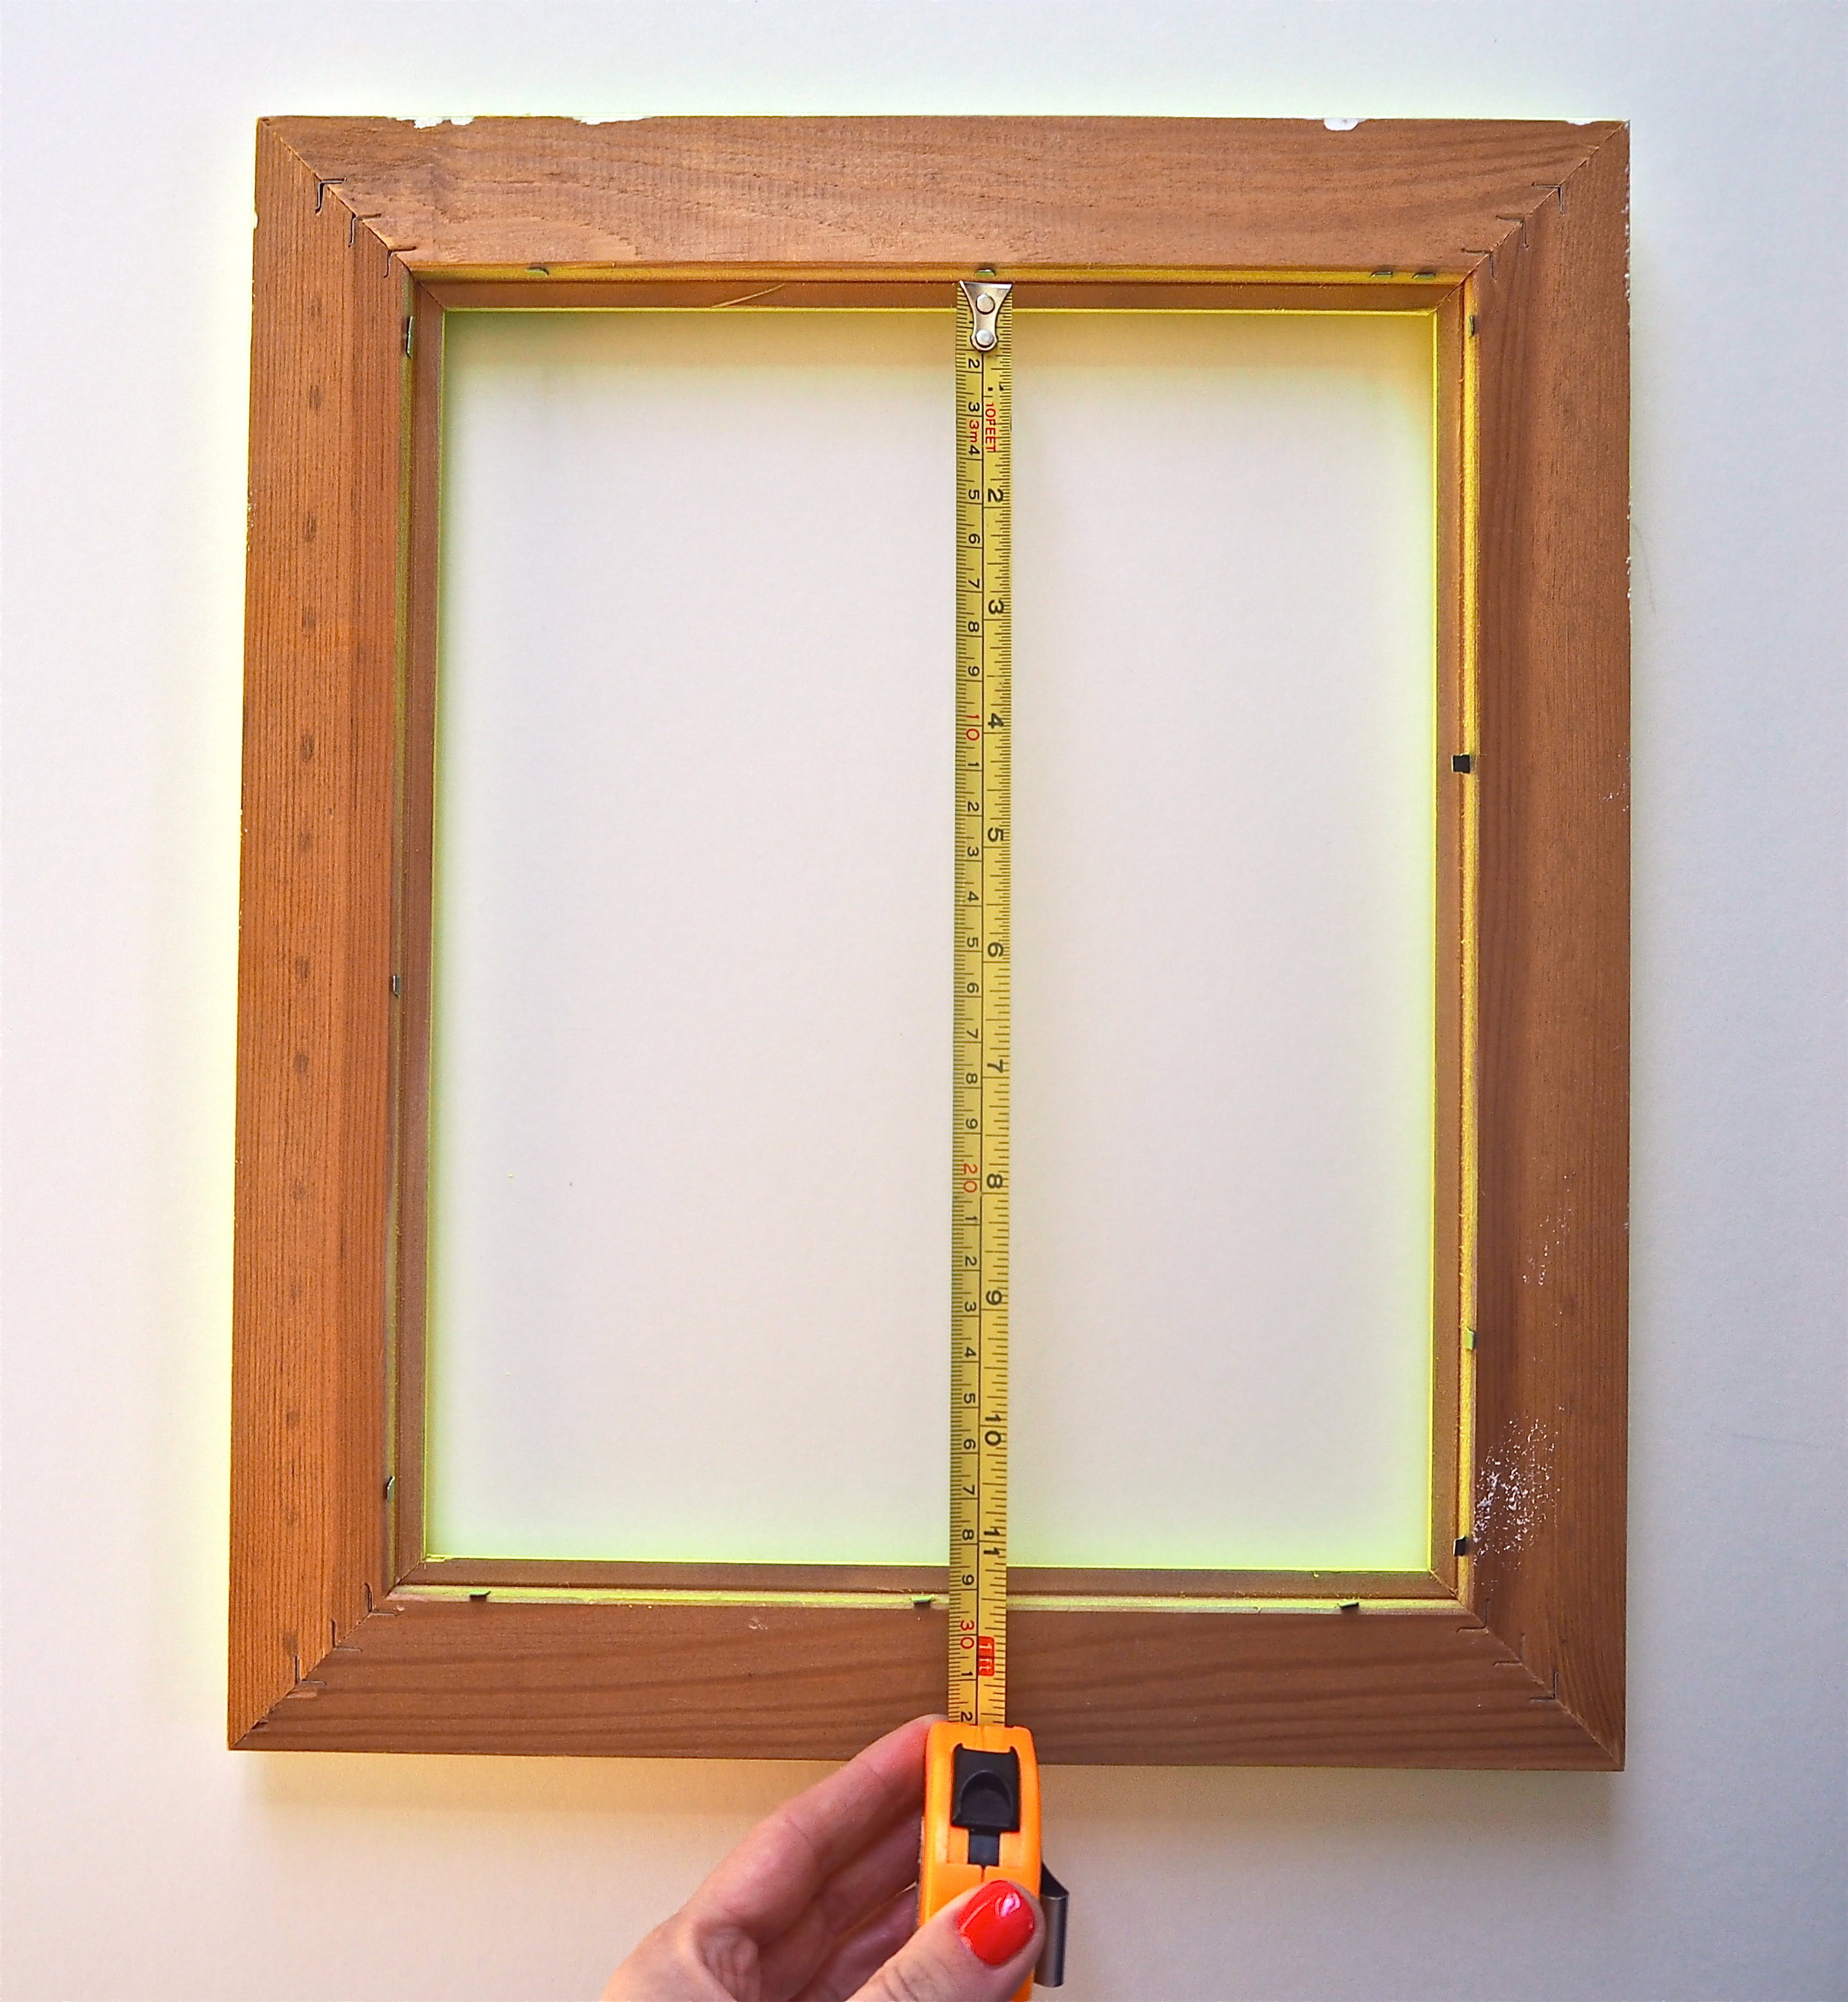
To create the mount I measured the inside of the frame or drew around the glass that it came with. I then cut out my mount with scissors and made sure it fitted my frame and could be easily inserted. Once I was happy with the mount size I applied a small amount of Gorilla Super Glue Precise Gel to the inside of the frame and stuck my card down so it did not shift or move about inside the frame and was completely secure.

Once I was happy with what dinosaur suited a particular frame, I applied Gorilla Super Glue Precise Gel to the thin rim of the dinosaur innard. As the application is so exact, I did not have to worry about the glue spilling over the edges of the dinosaur and marking the mounting card.
I carefully positioned the dinosaur front where I wanted it to sit in the middle of the frame and held it in place for 10-45 seconds in order for the glue to adhere to each surface. I then allowed my dinosaur art to cure for 24 hours until the glue had completely set.


Gorilla Heavy Duty Mounting Tape provides a quick and easy solution to provide a strong and secure, permanent bond to a surface. I simply cut the tape to size with scissors, applied it to the back of the frame vertically (Gorilla recommend this), removed the protective liner then pressed the frame firmly on the wall for a few seconds to grip.


My son loves his 3D dinosaur gallery wall and it makes a real statement as part of his bedroom decor. As Gorilla Glue can take real impact, I also know the dinosaurs can take a few knocks without falling off the wall or coming apart.

How to choose the right worktop for your home…
Read MoreI am SO excited to finally reveal on the blog my brand new decking area, made from Trex Transcend Composite Decking and Trex Signature Railings. If you’ve been following our garden overhaul progress you will have seen why I had given up on our traditional timber deck, as well as a progress report of the build. This post is all about how the finished decking area now looks and how I have styled it so it is perfect for alfresco dinners and summer parties. So, without further delay, here are all the final photos of my finished raised decking area in my garden. As you can imagine, I am delighted with how it has turned out!
Read MoreI had long admired the many amazing Ikea Billy Bookcase hacks that are all over Pinterest, so being on a tiny budget and for the love of DIY, I set about making my own version!
Read MoreI've never painted a room in my home completely dark until a couple of weeks ago, when I decided to get rid of the white walls in my office and go a full on, really dark black/blue colour. When I did a complete overhaul of the room towards the start of the year, I dipped my toe into 'the dark side' by painting the chimney breast and the adjacent wall, which was going to be a gallery wall, in a deep, dark navy colour. On the remaining two walls, I painted them a muted white with grey undertones. The reason that I did this, to be honest, was because I was actually scared of painting the whole room dark.
Read MoreIt was only a short while ago that I was a wallpaper neophyte. Even though I jump into pretty much all DIY with both feet, eager and willing to giving whatever it is a go, with wallpaper it just did not appeal. Mixing the paste, matching the pattern, not covering the light switch - it all seemed so stressful. Yet when I decided that I wanted to wallpaper my bathroom, enough was enough, I needed to bite the bullet and learn how to do it. Turns out it wasn't as bad or as stressful as I had expected after all! Since then I've done a bit more wallpapering and learnt what you have to do and where you can cut corners, so to speak.
Read More