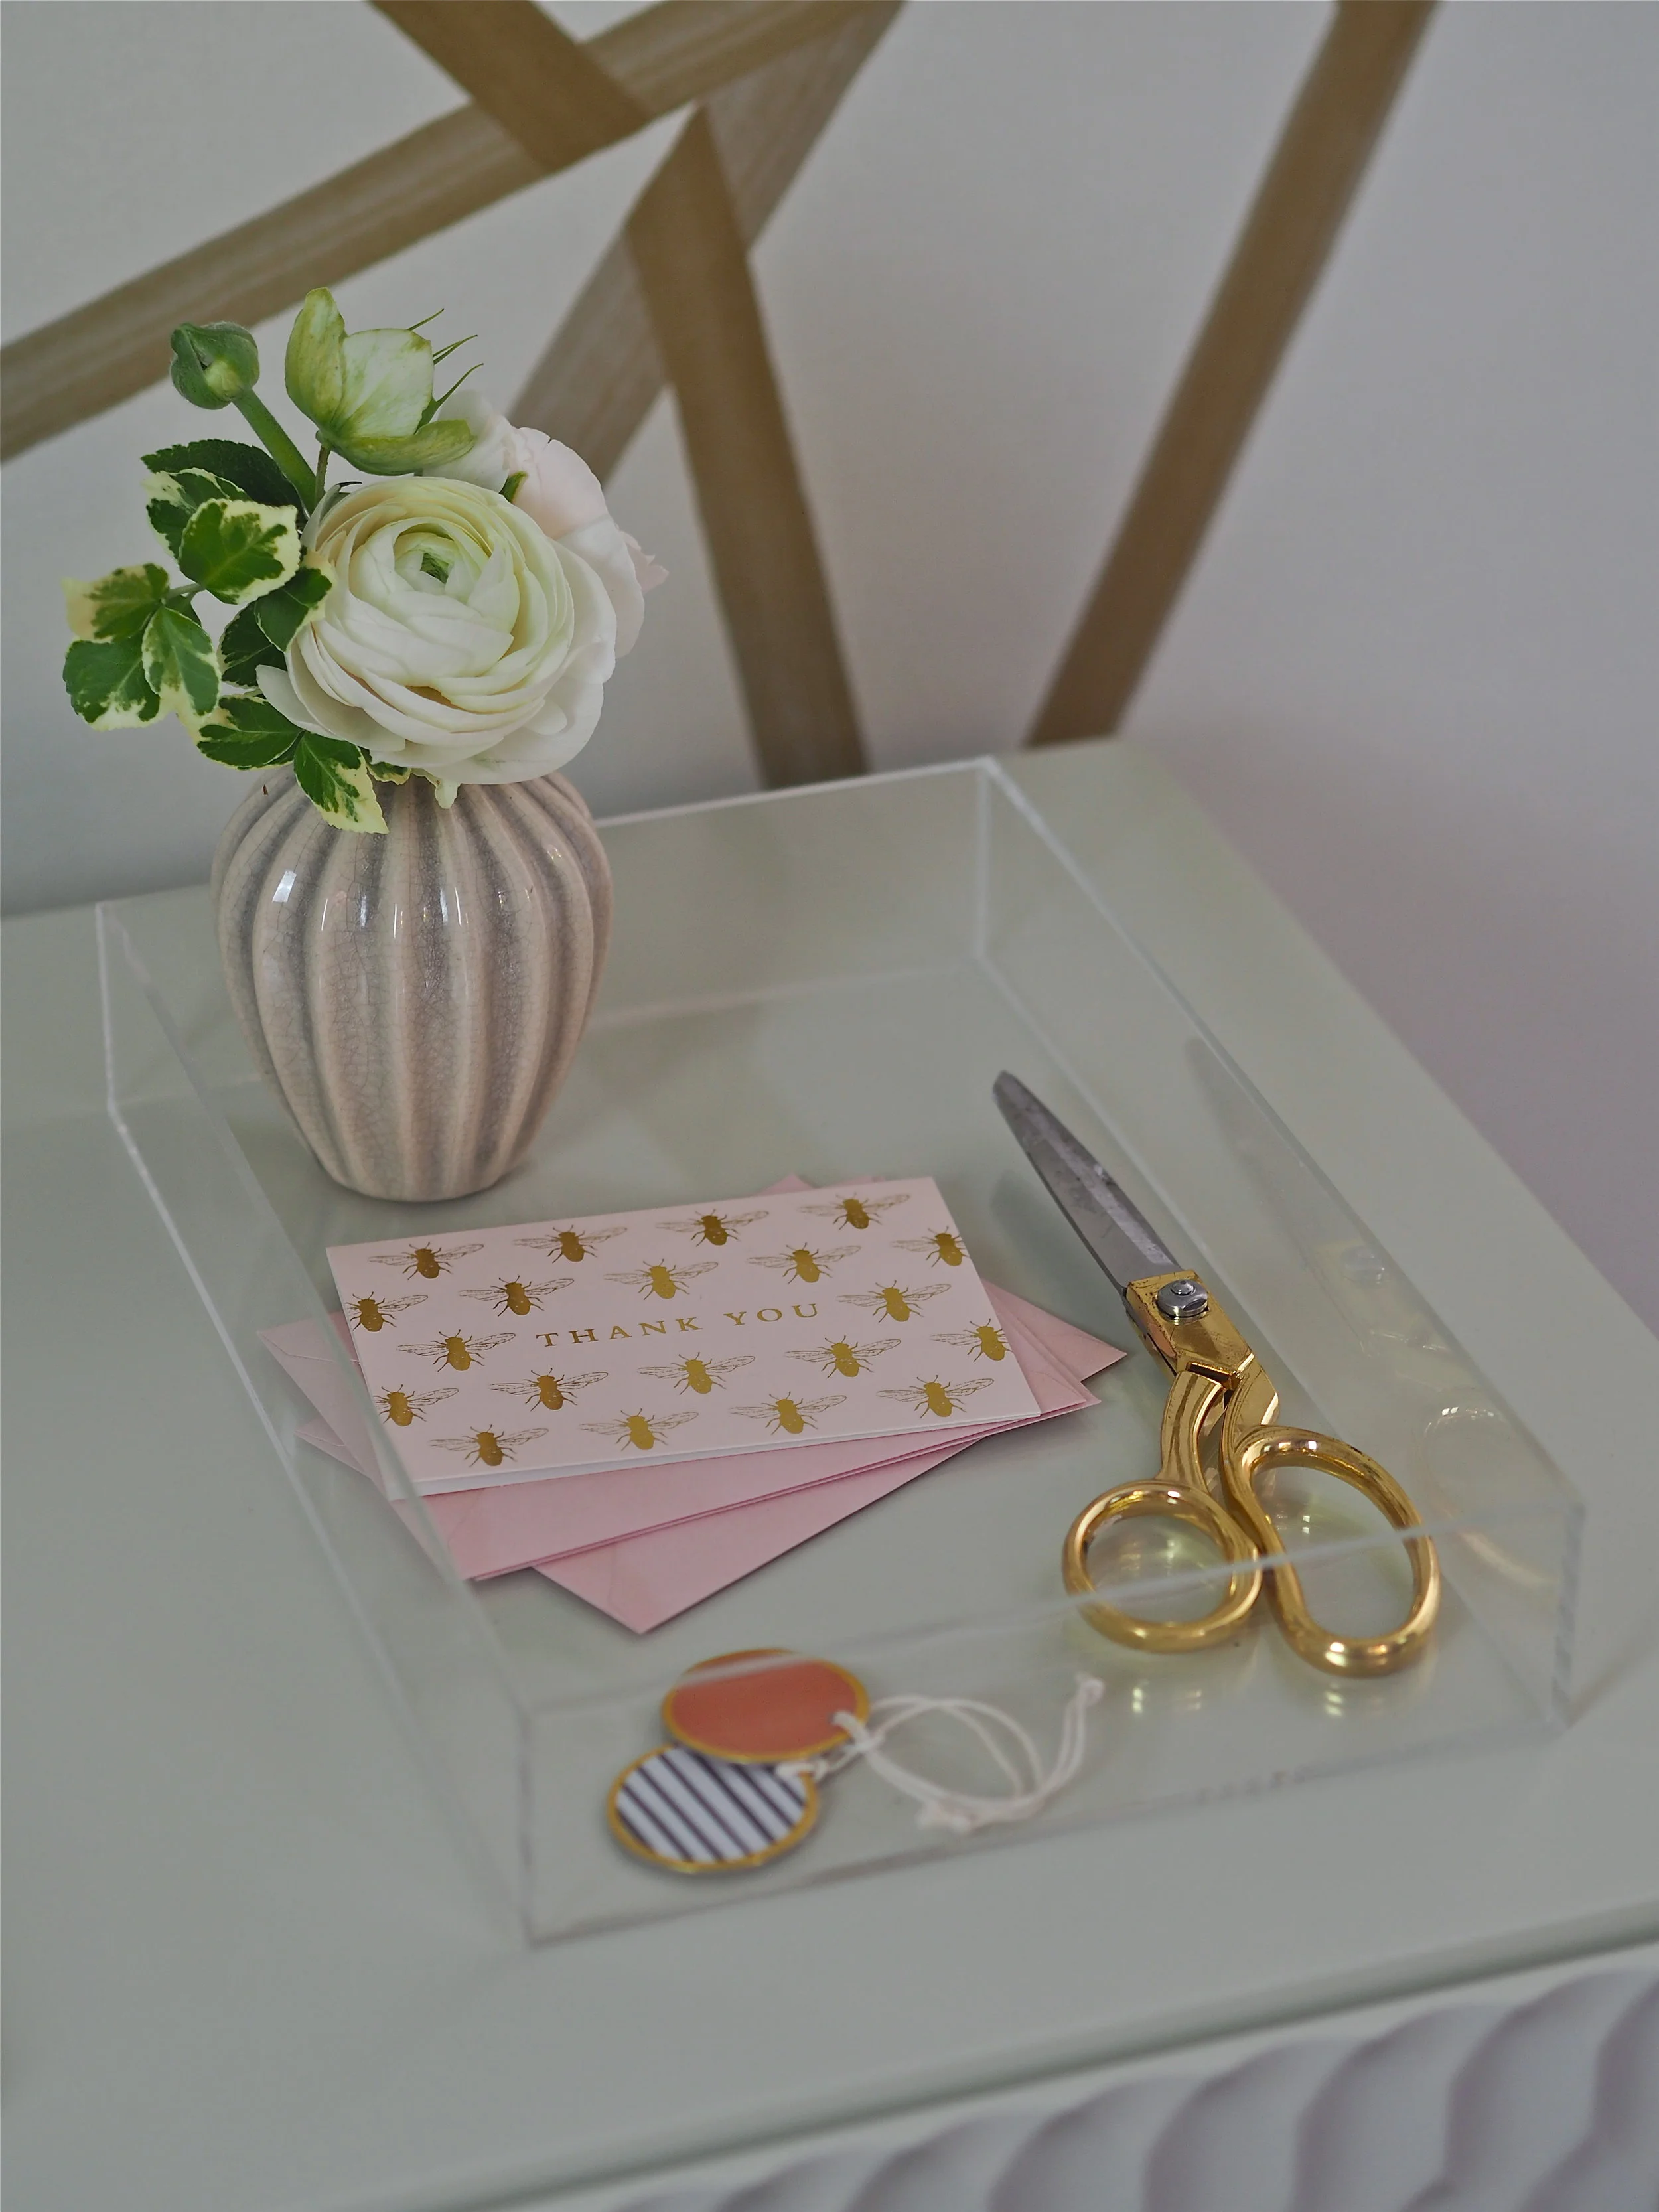
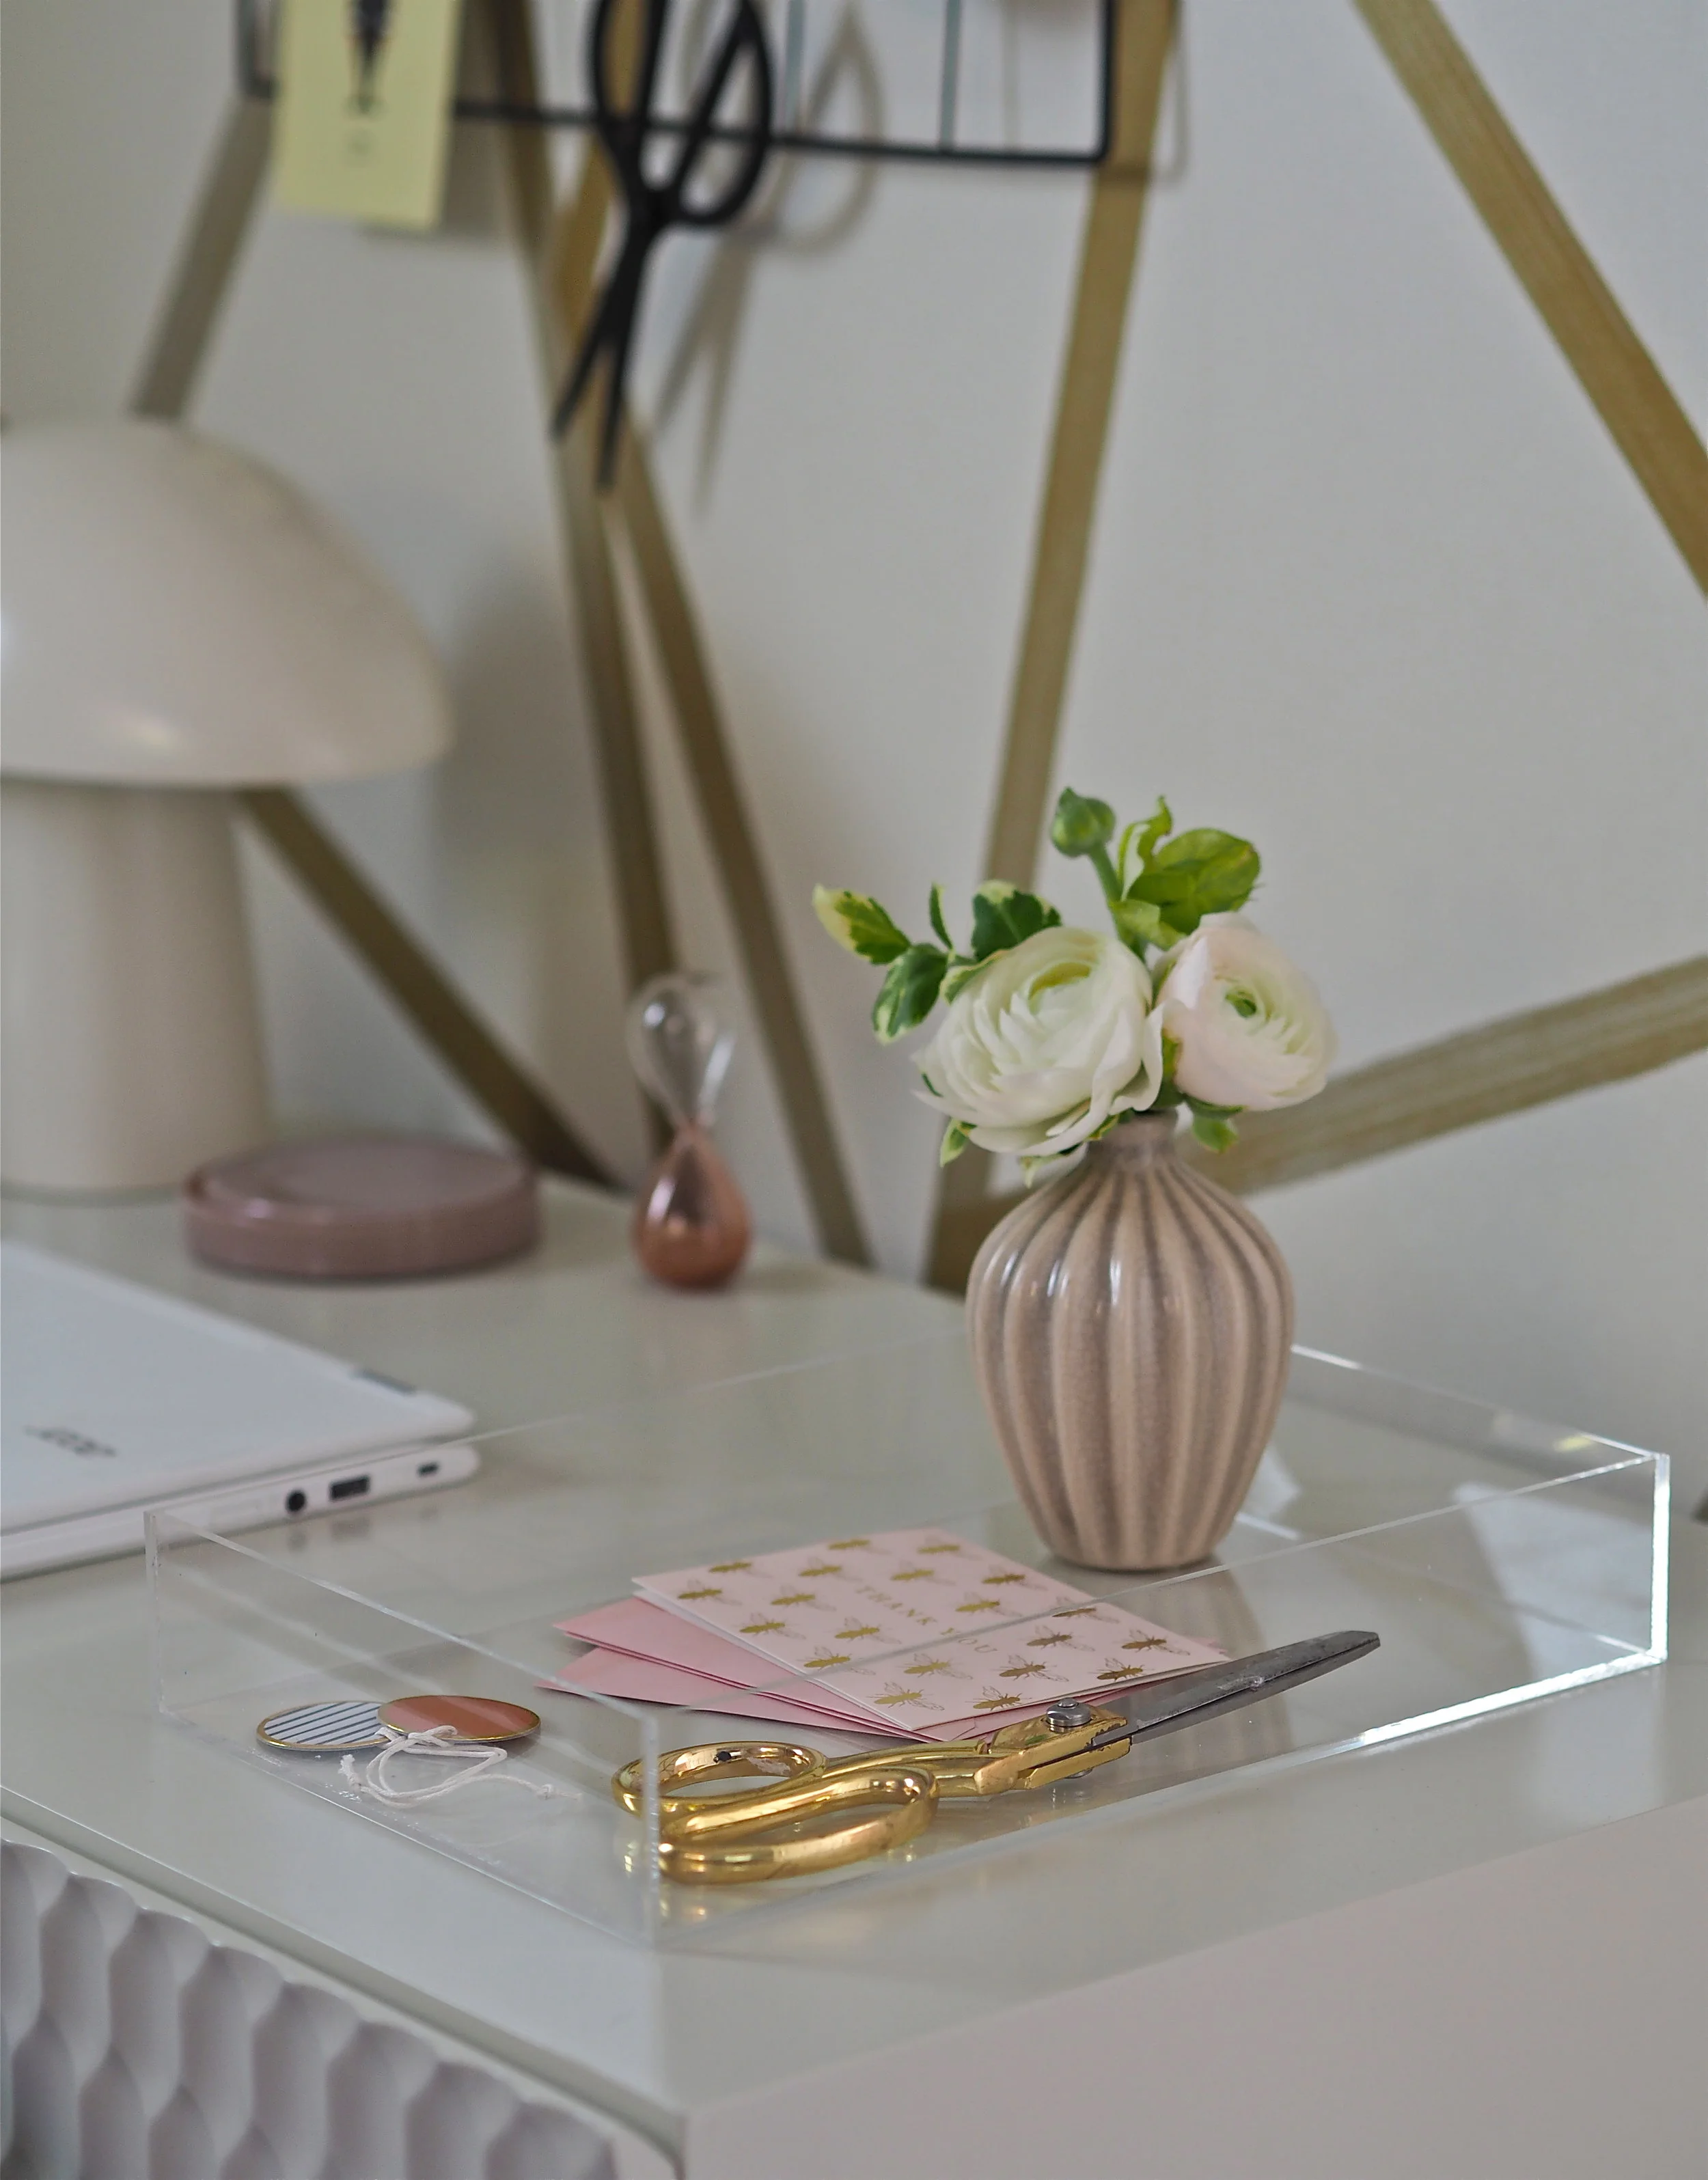
How To Make This Acrylic Tray
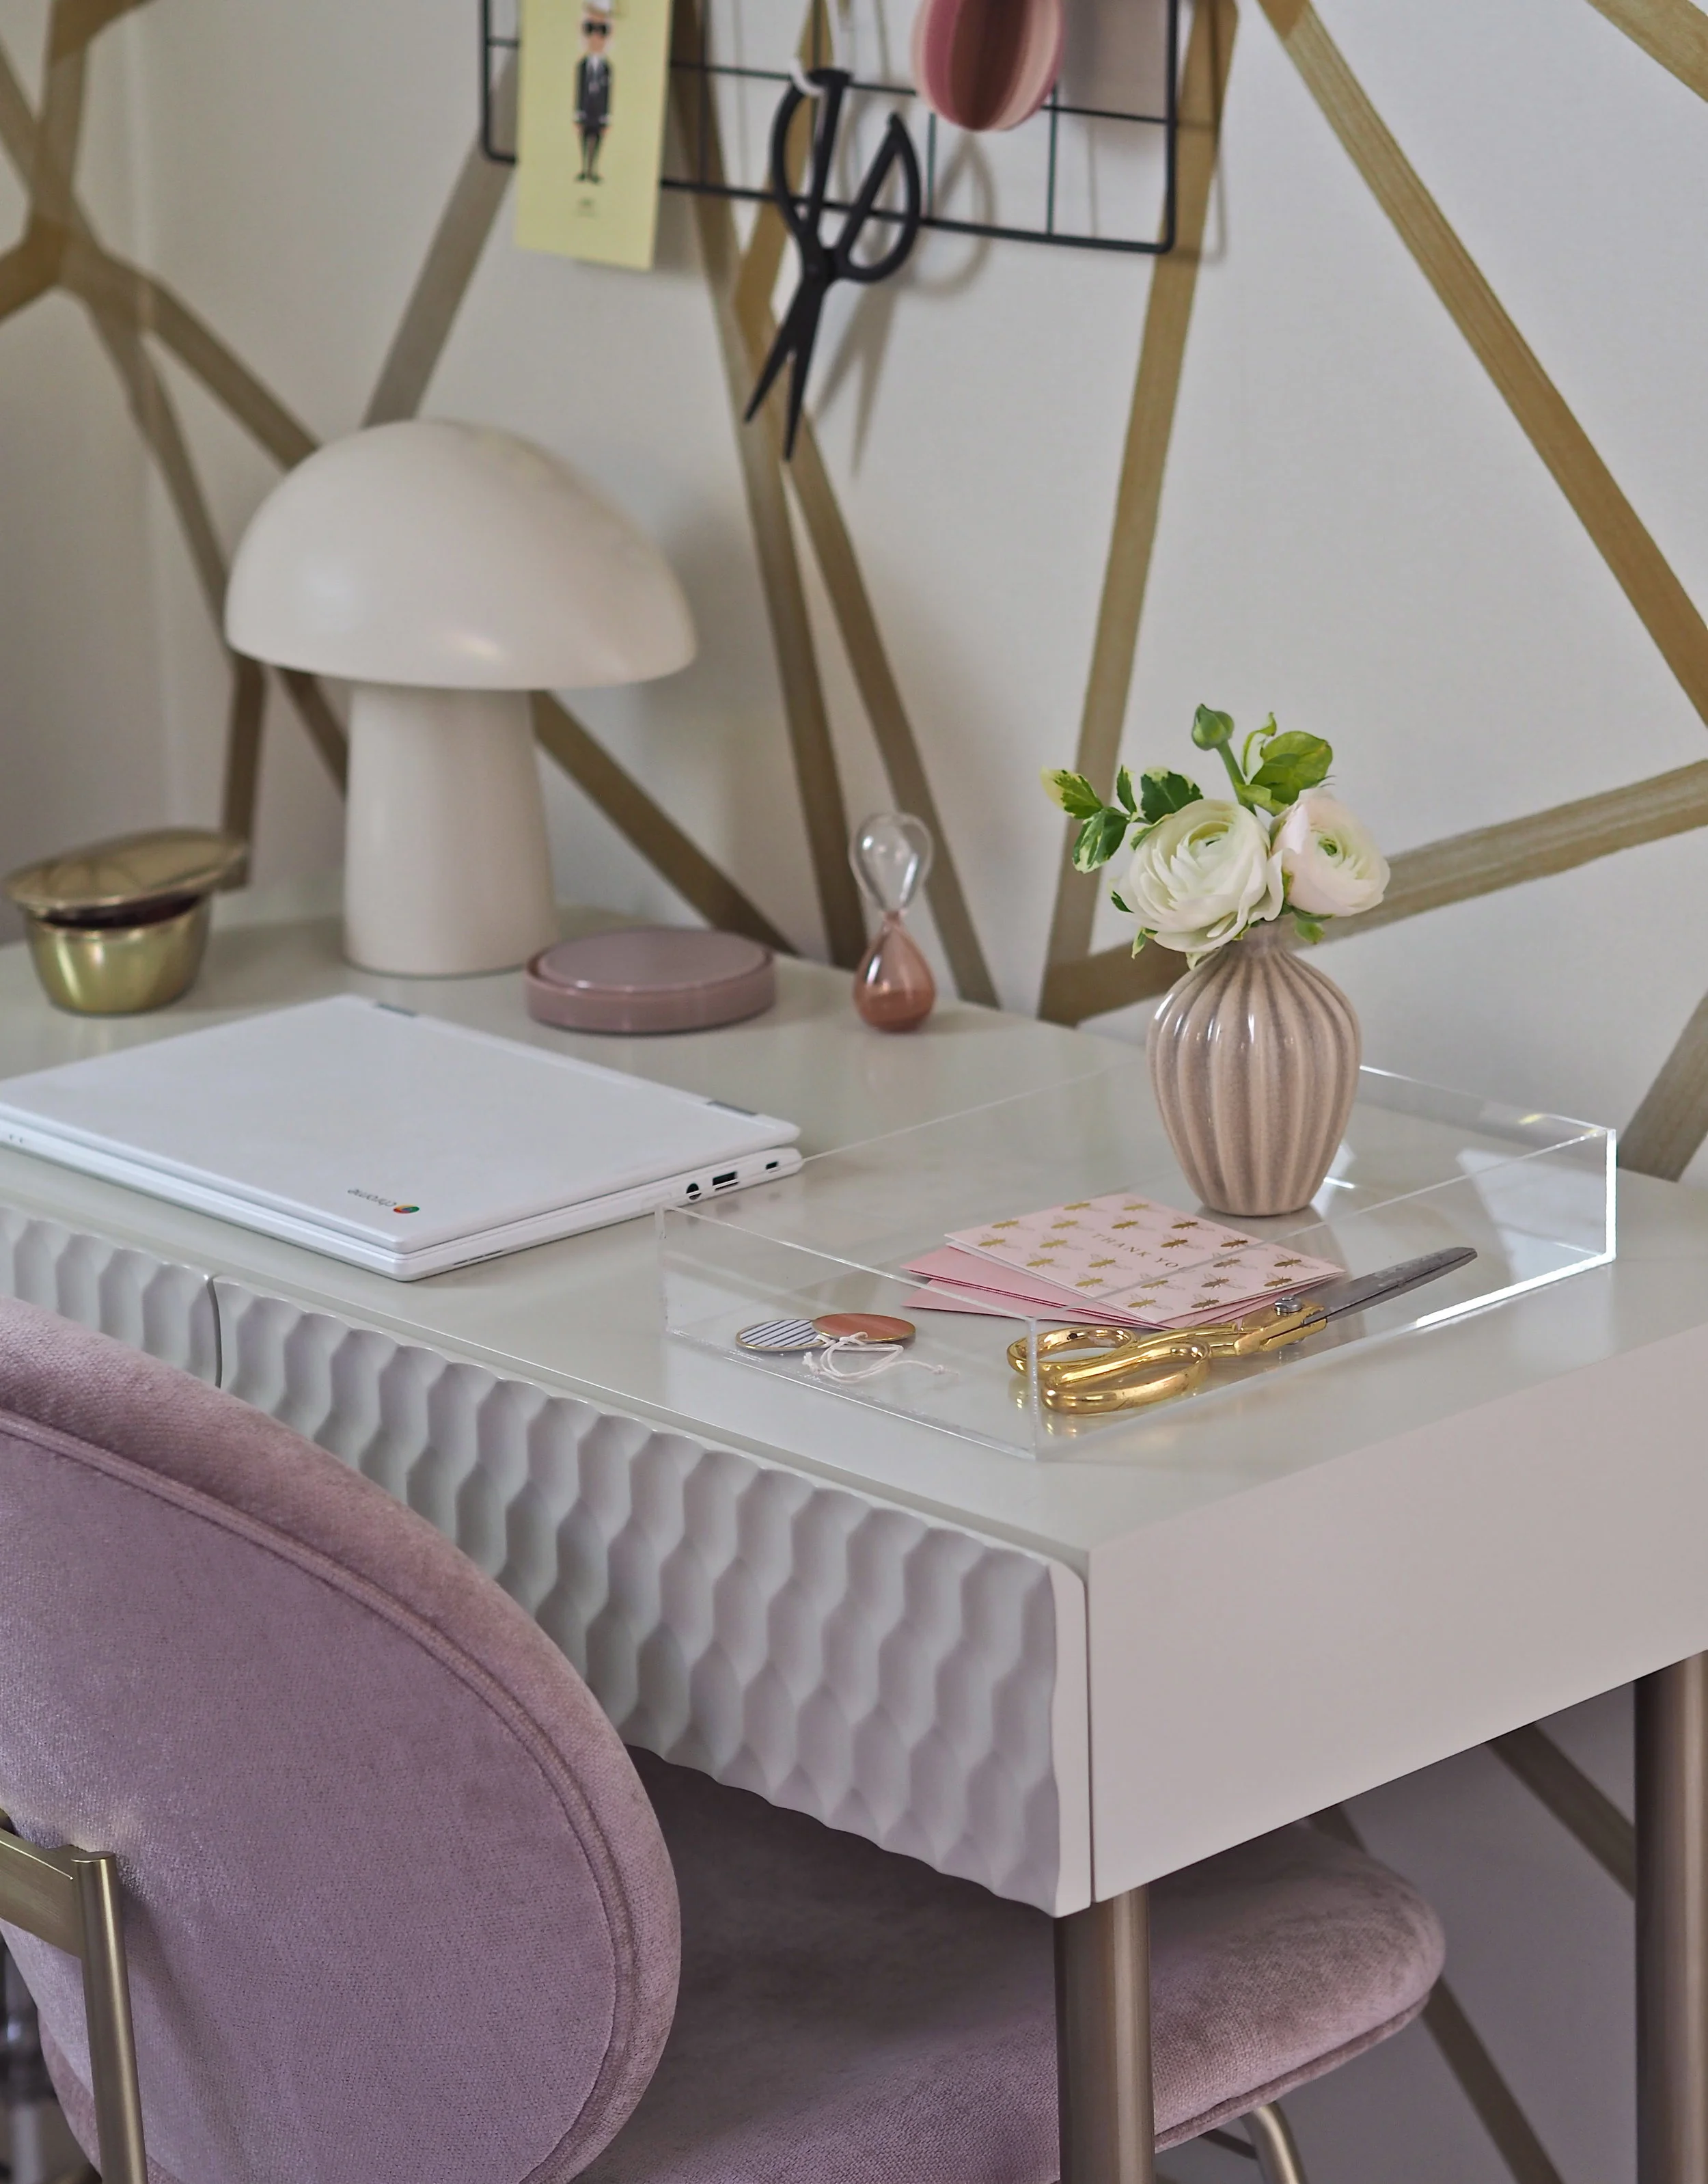
Clear acrylic or Perspex furniture and home accessories are brilliant if you want your room to feel spacious, uncluttered and airy. The fact that you can ‘see-through’ the piece means that it does not feel bulky or chunky in a space. In my new home office, the room is quite small and my new desk is so beautiful, the last thing I wanted to do was cover it up. I did, however, require a few organisational desk accessories, so decided to create this DIY acrylic tray.
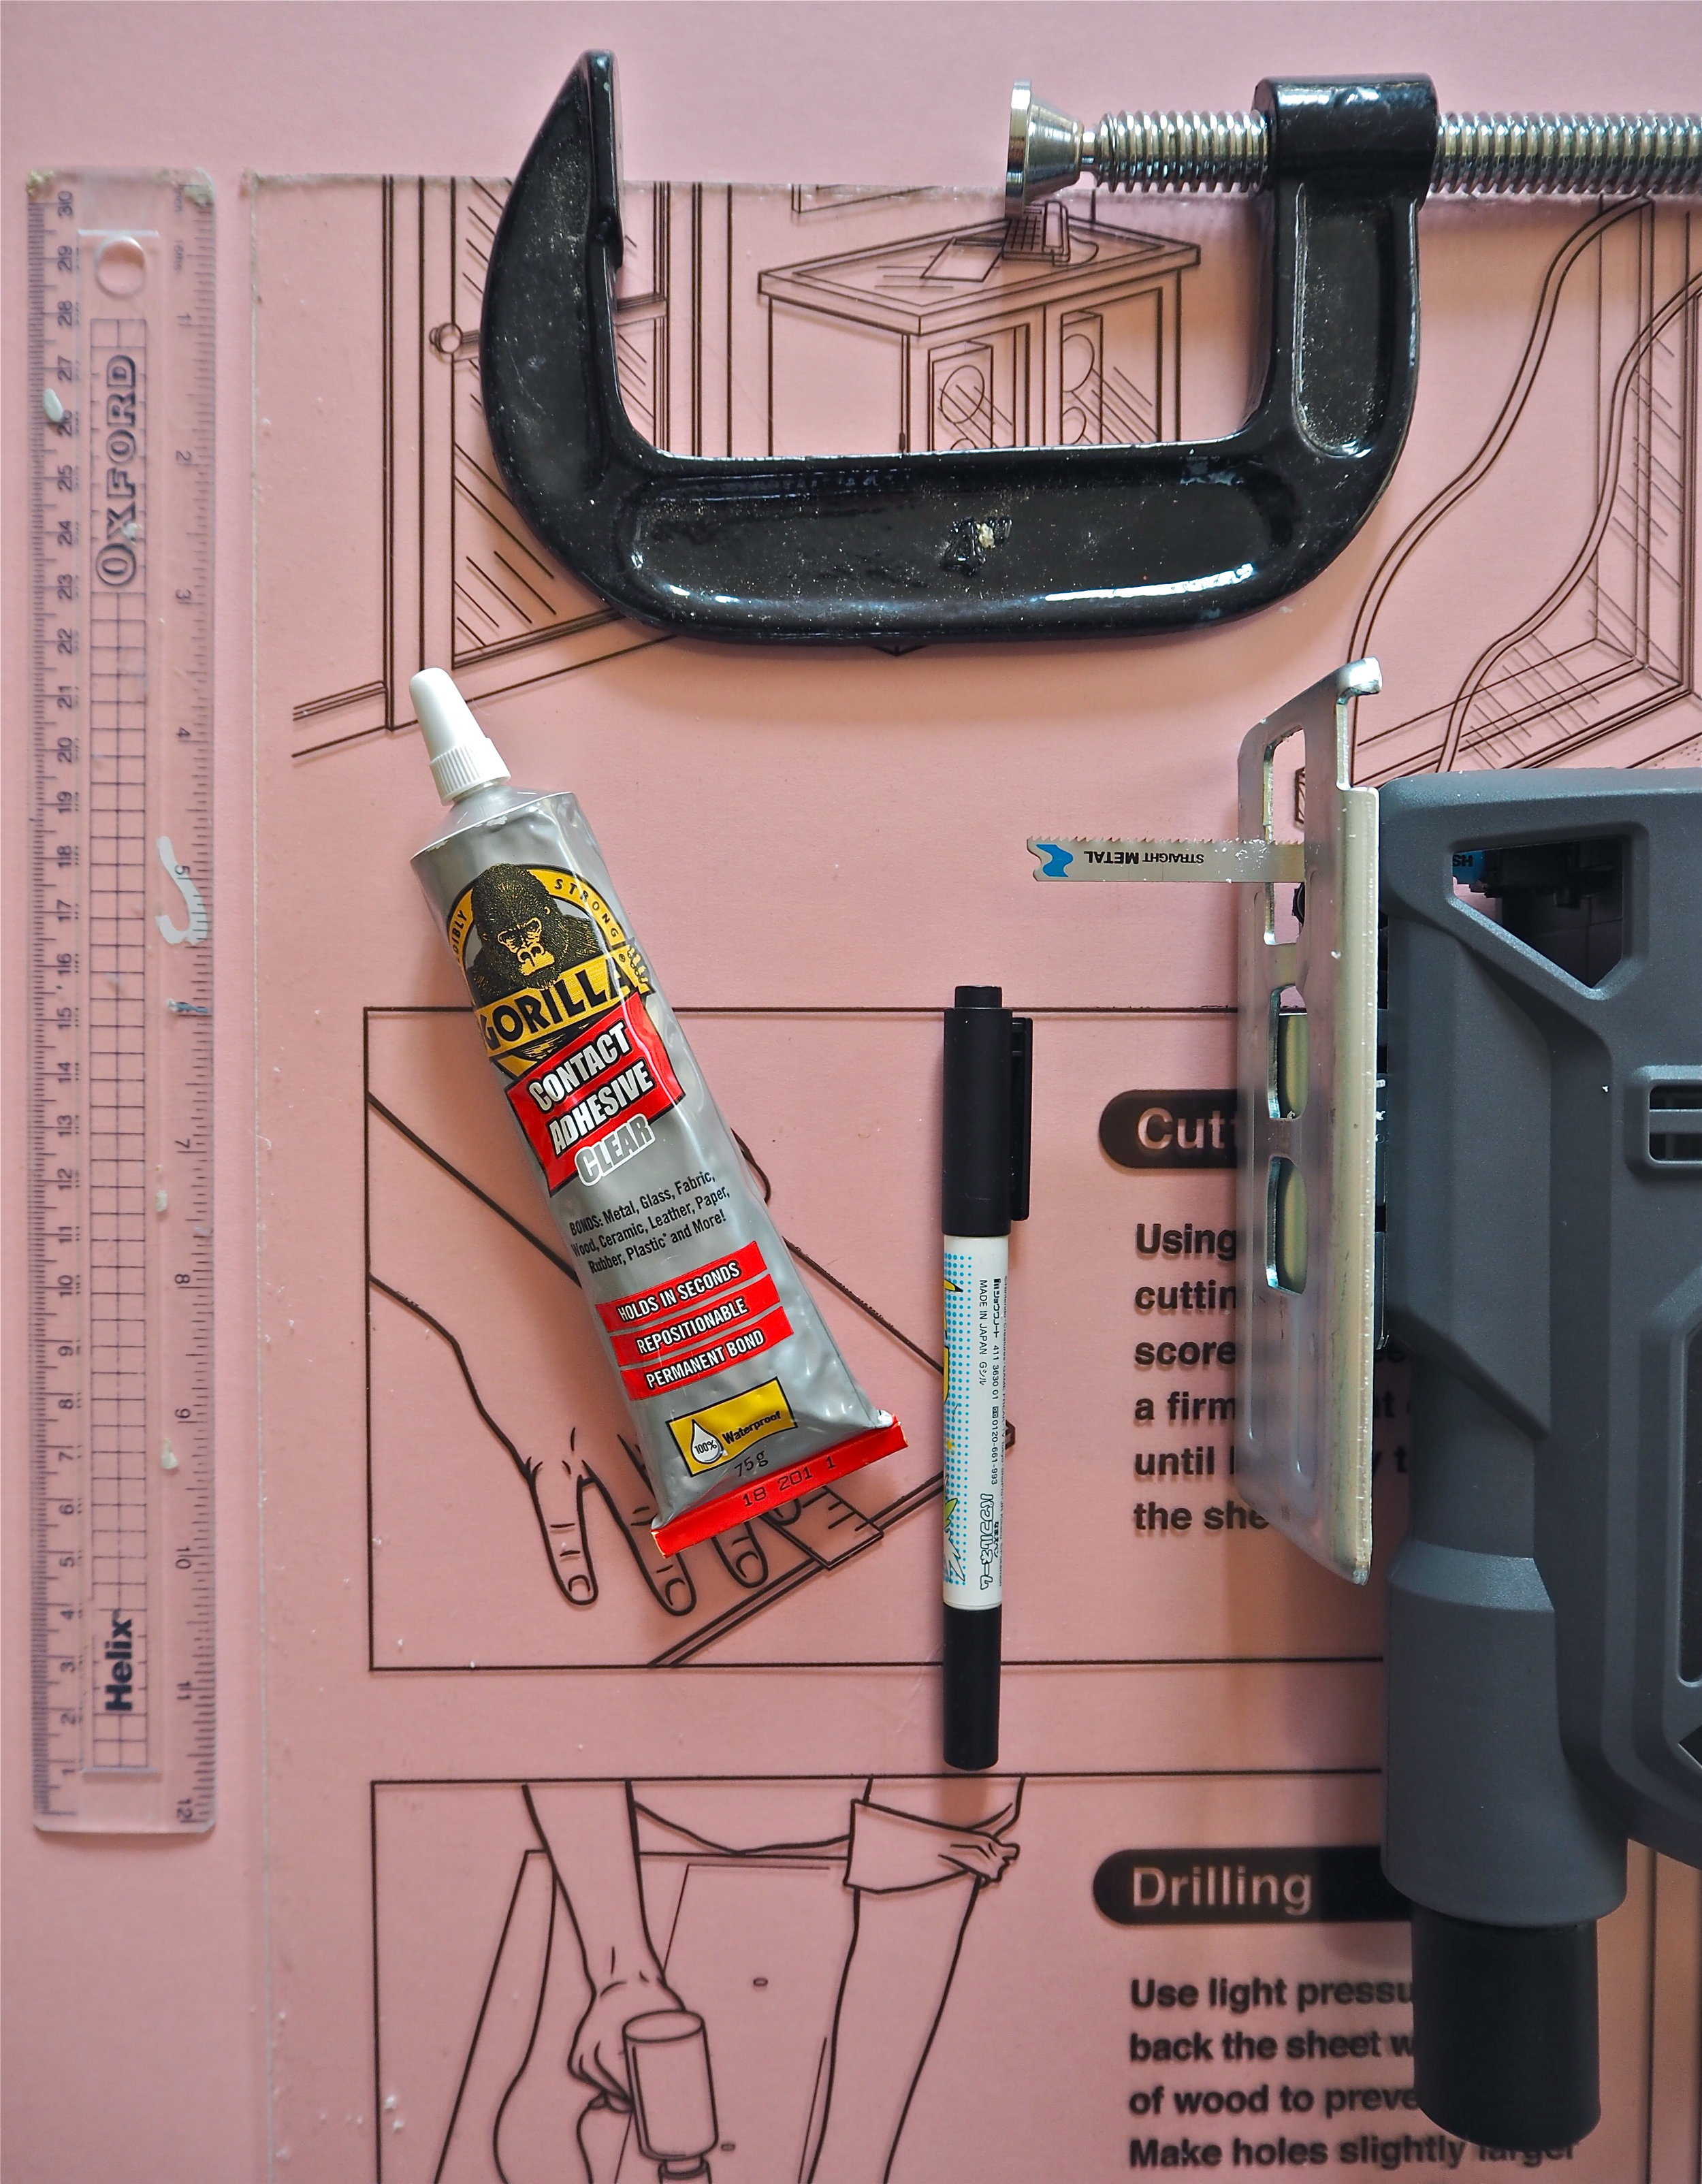
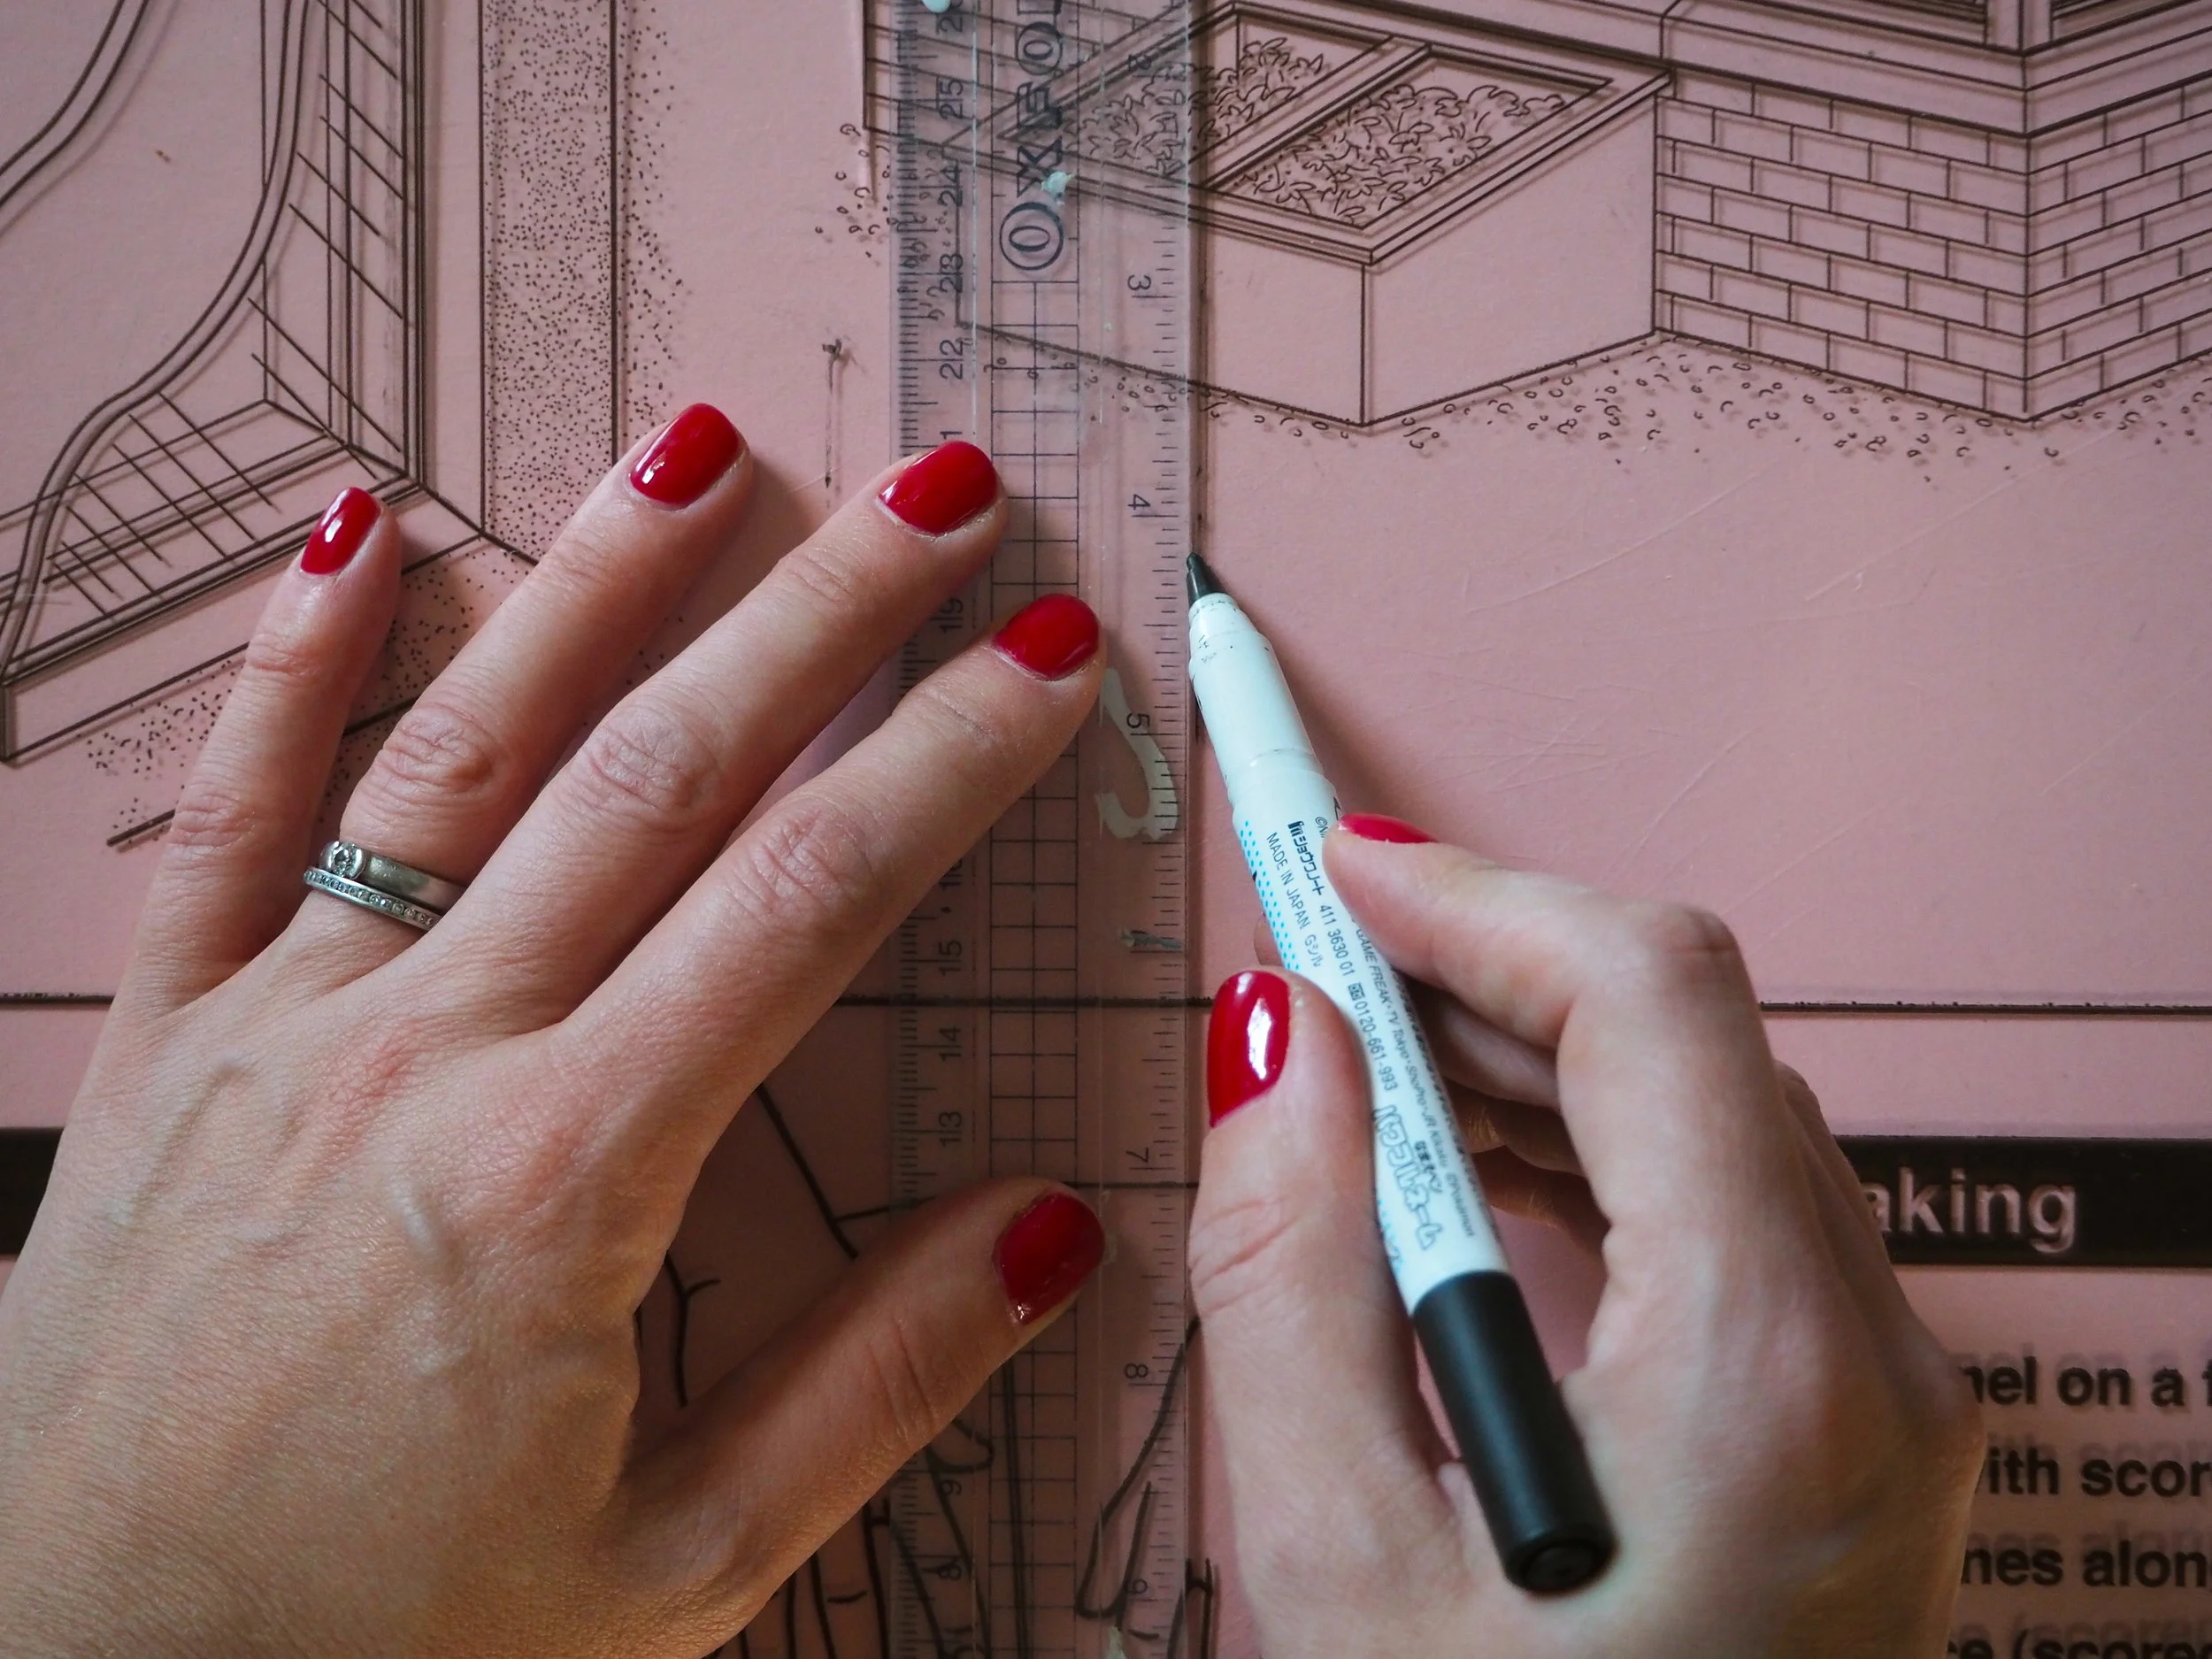
First of all, decide how large you want your tray to be. This tray is 30x20x5cm in size. You need to measure out the base, two side panels, plus a panel for the top and bottom. I used a ruler and a marker pen to mark on the acrylic plastic coating where I needed to make cuts.
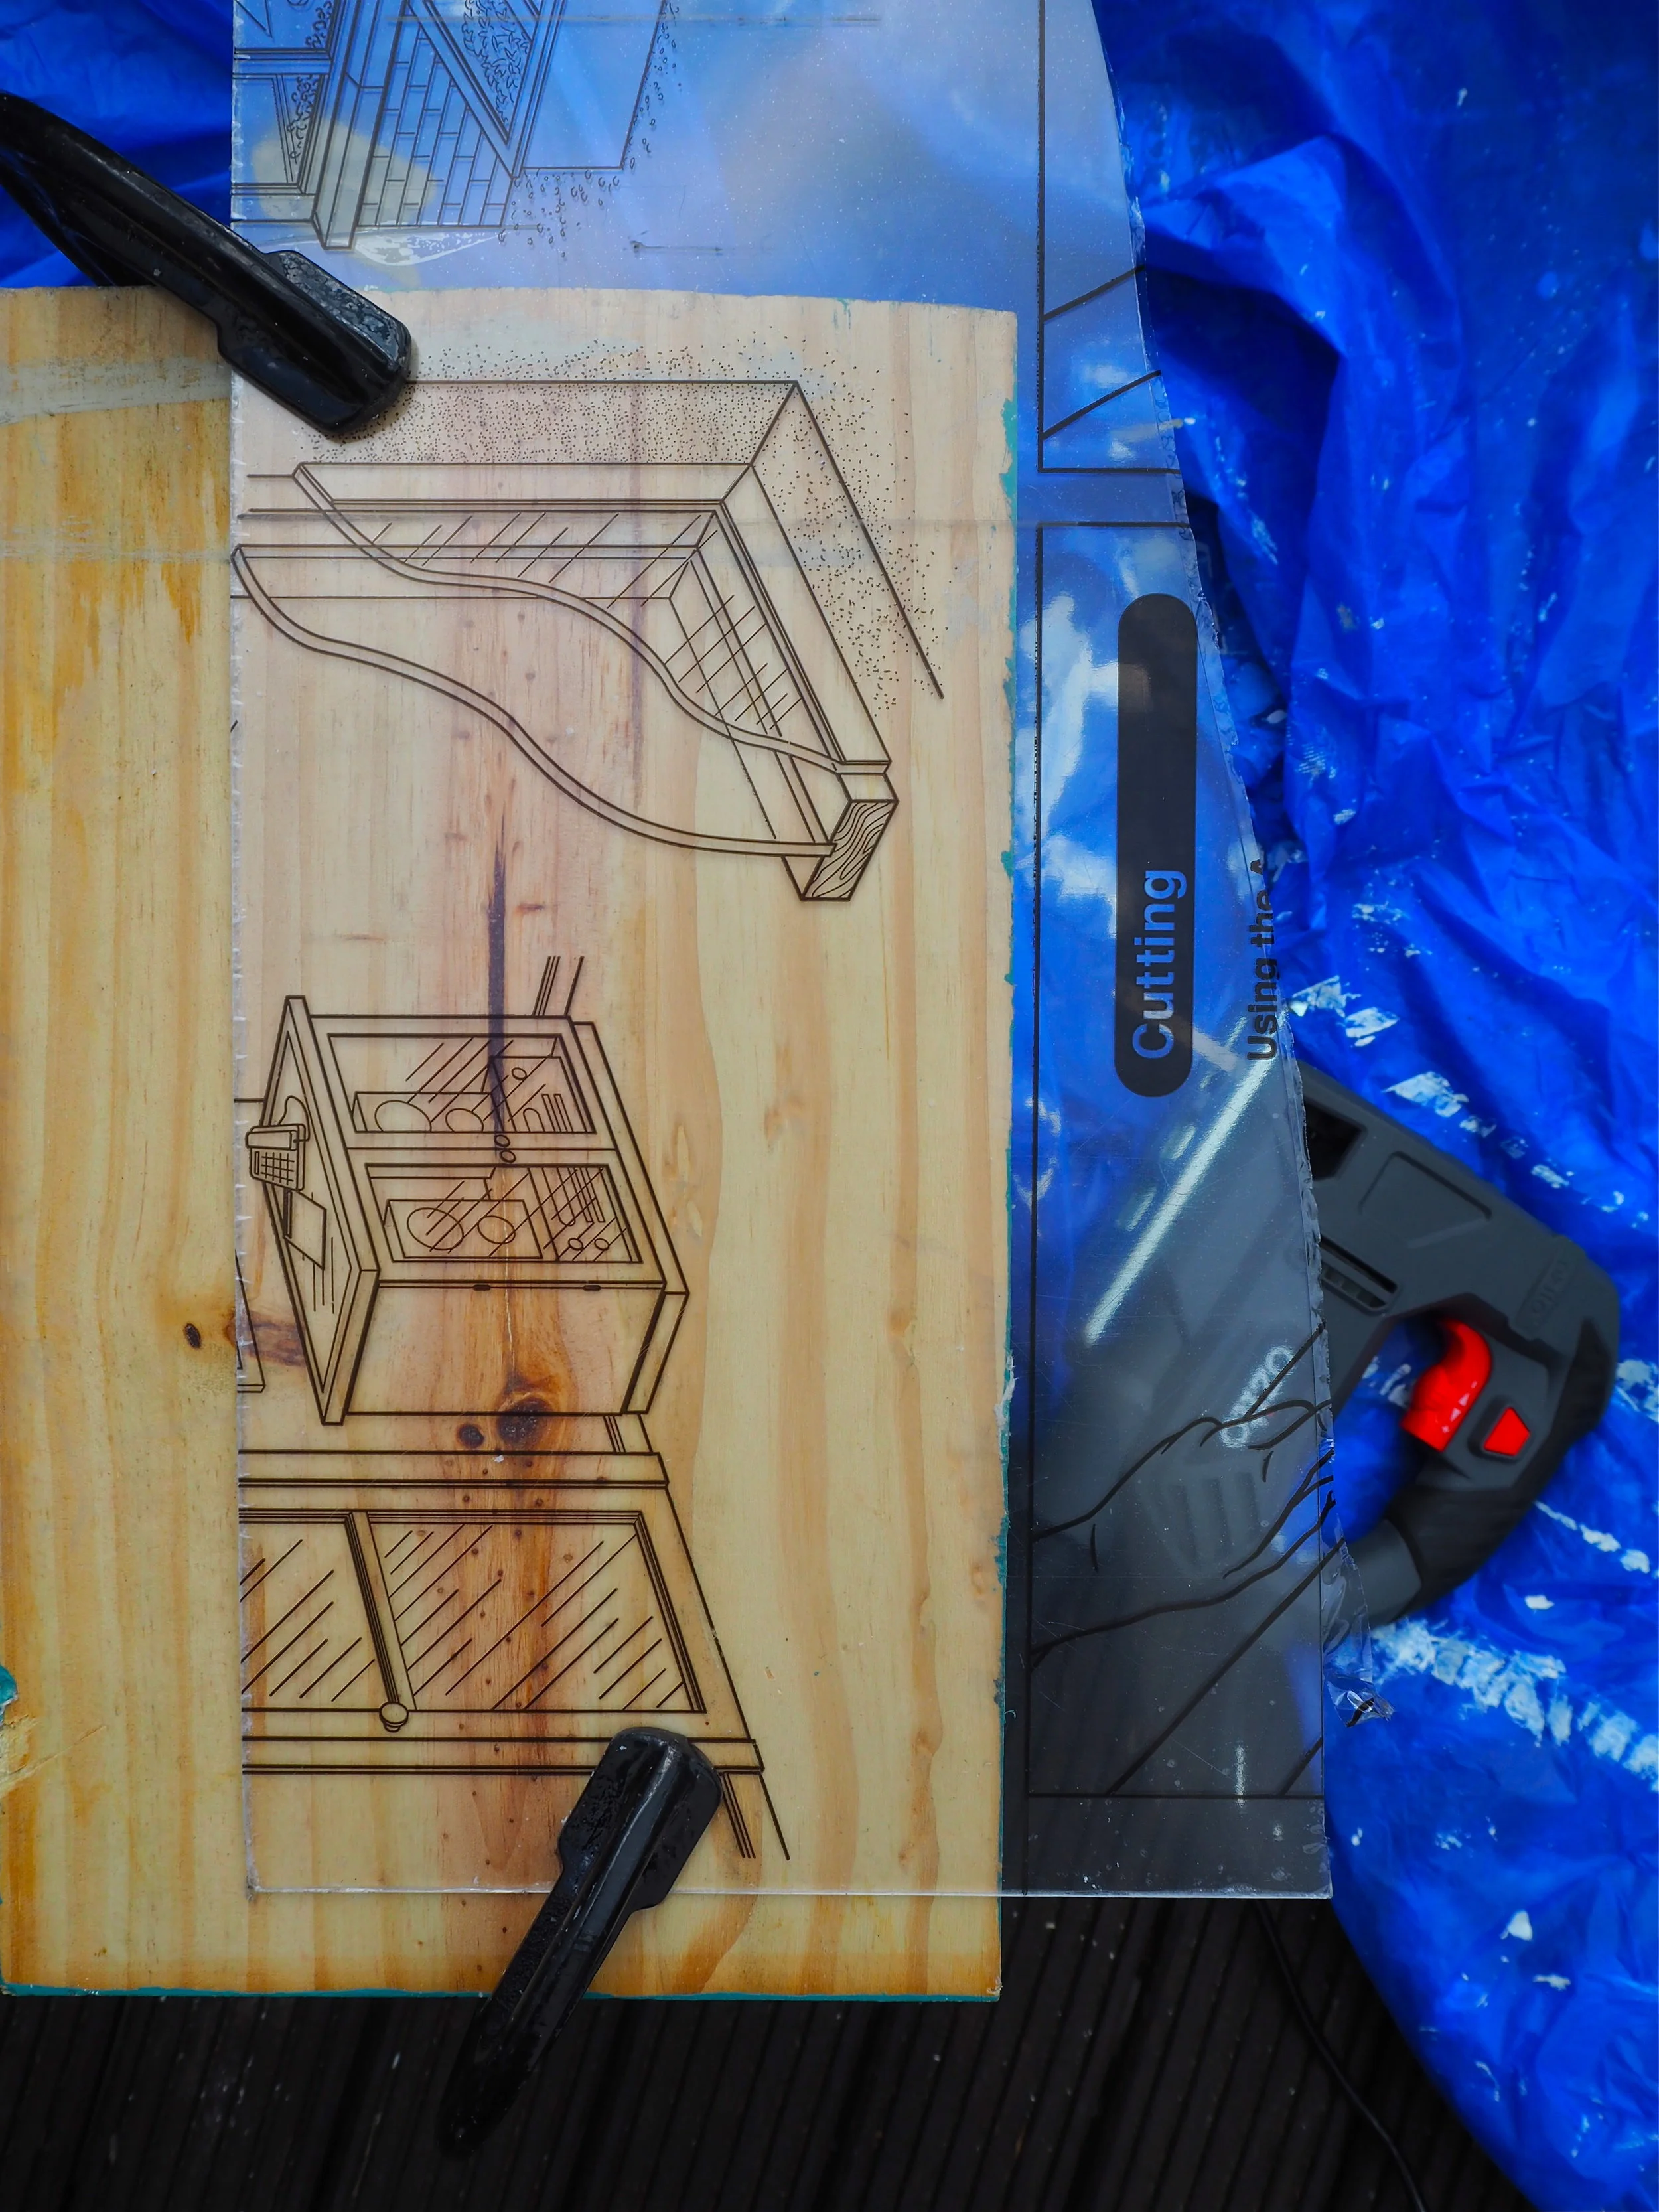
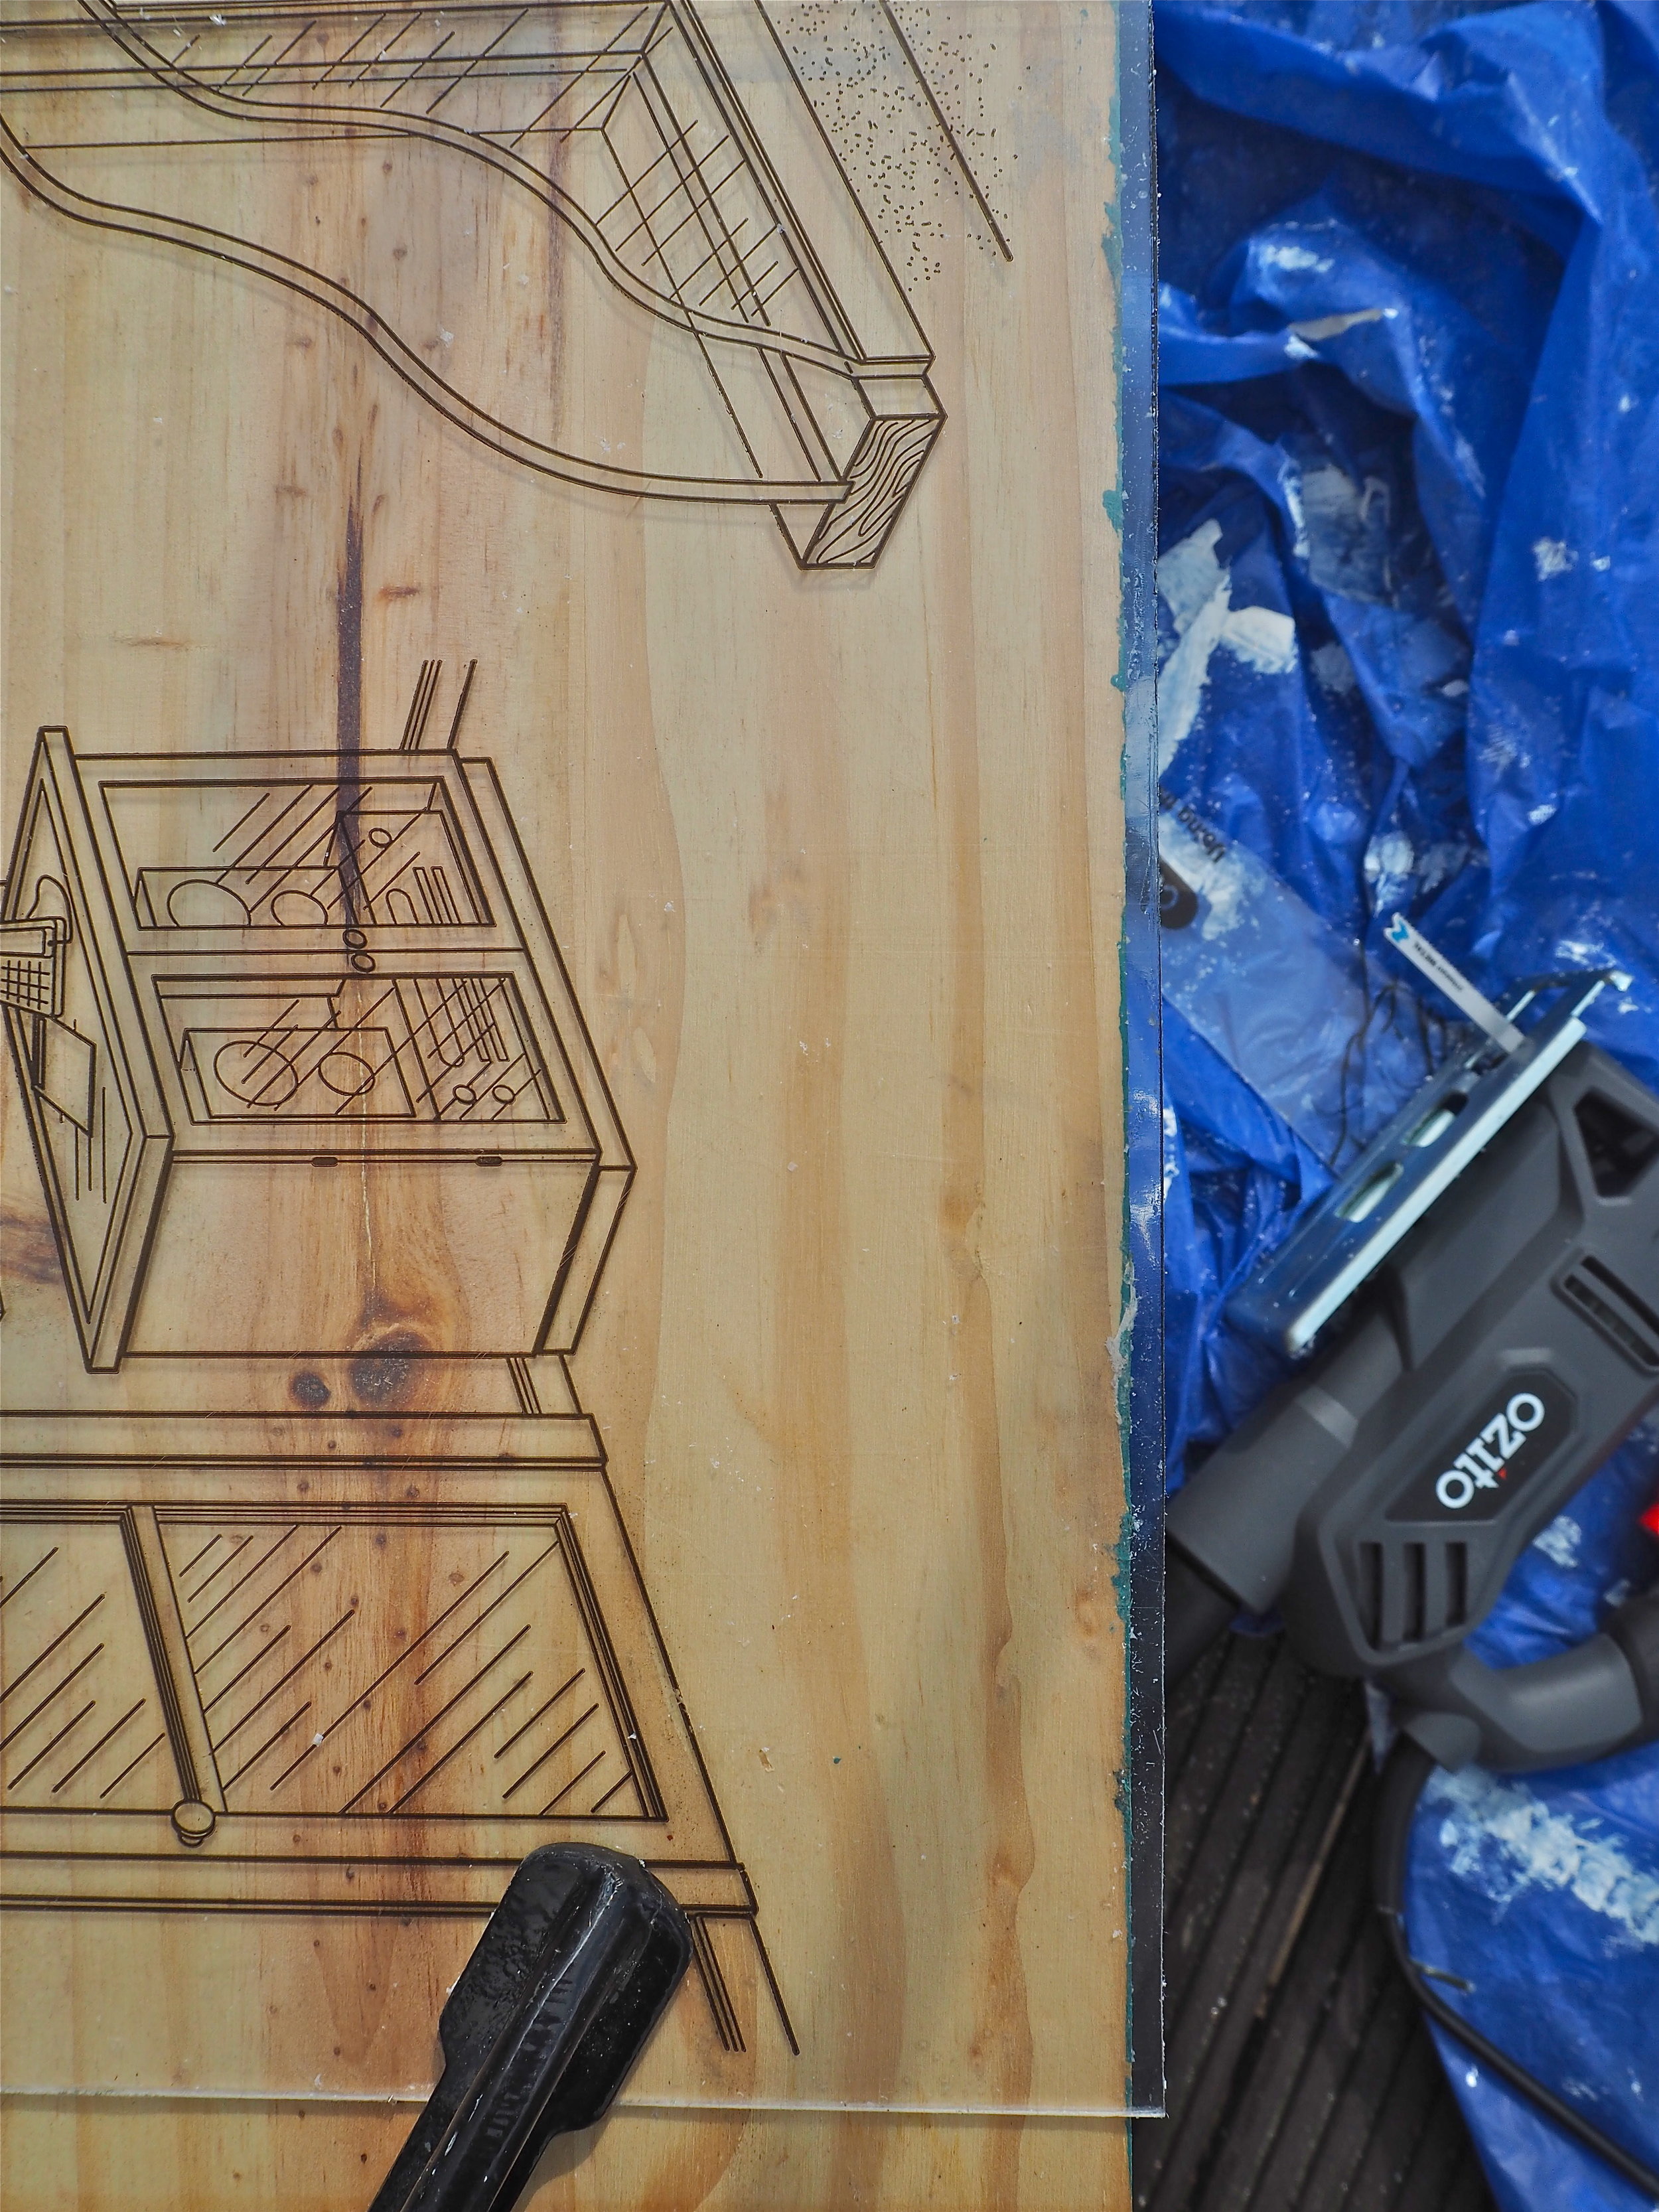
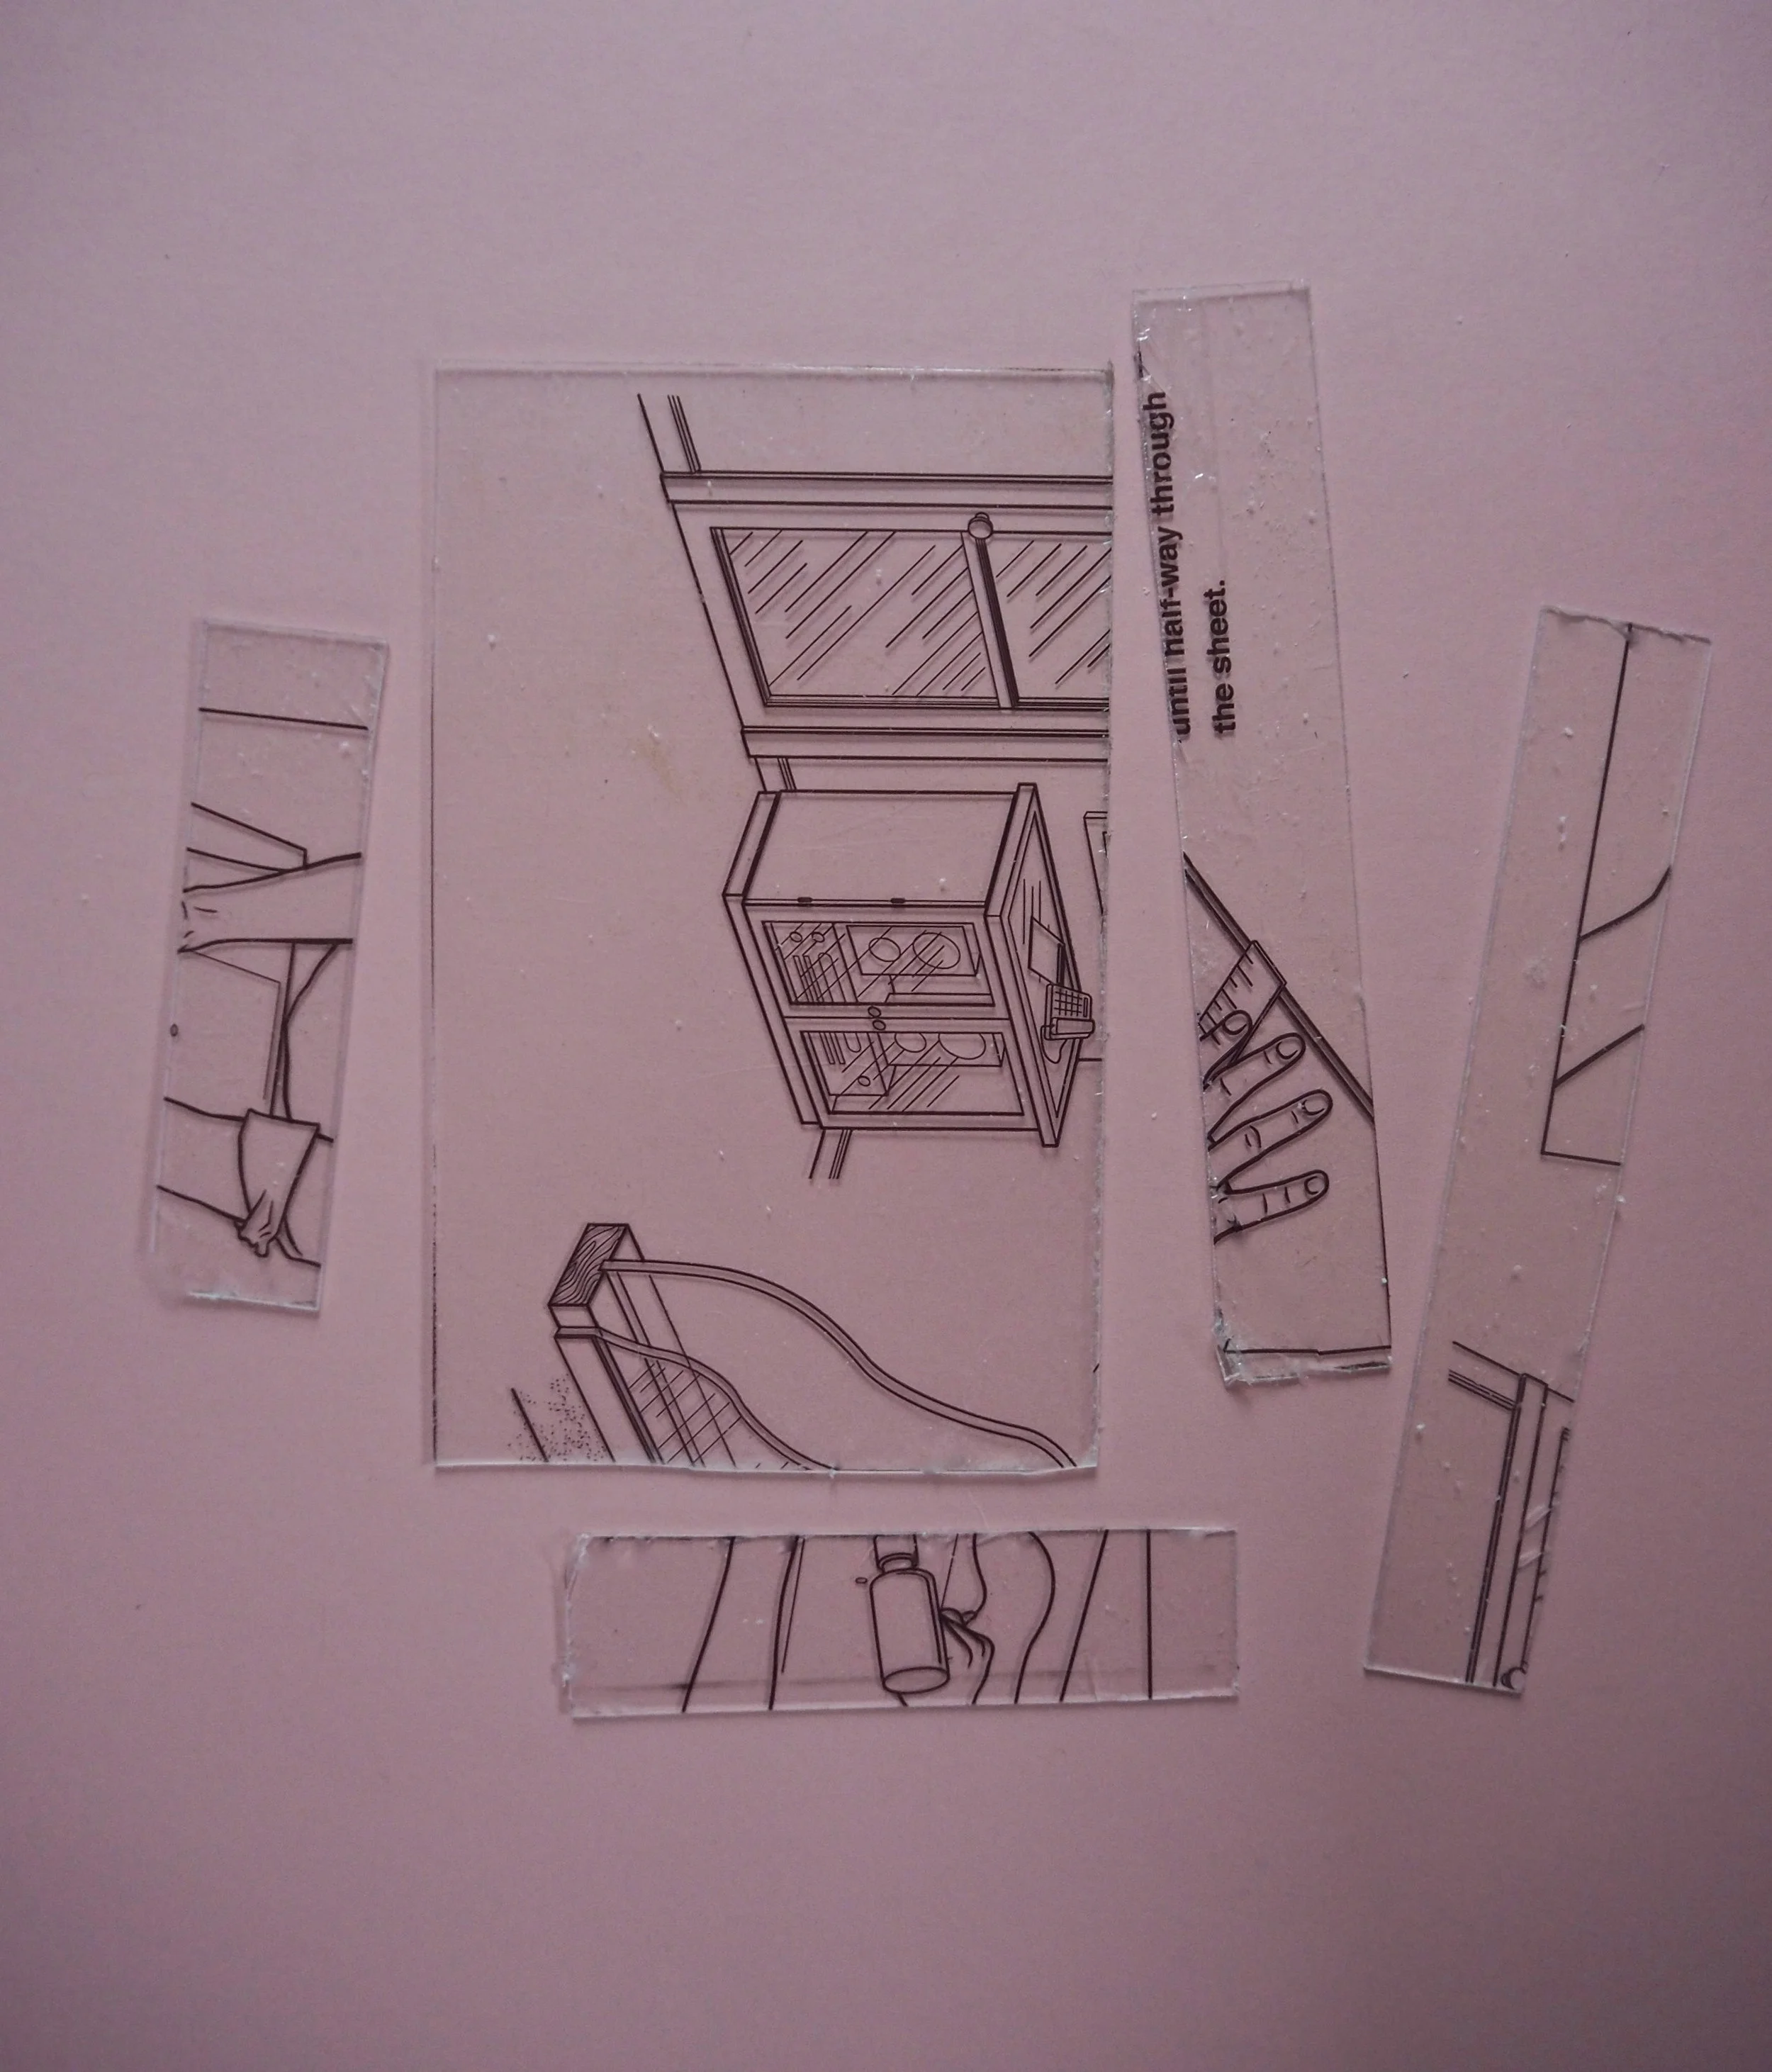
I used a Jigsaw cutting tool on a really slow speed to cut perfectly straight edges. You need to use a metal blade with small teeth as a wood blade would leave unsightly marks on the edges of the acrylic. You can cut these acrylic sheets by scoring them, clamping them tight and breaking by force, but I find the edges come out too rough. If you do not have a Jigsaw tool and this all sounds too much DIY work for you, then you can buy perfectly cut acrylic sheets online to your bespoke measurements. If you do decide to cut with a Jigsaw, it needs to be on the slowest setting possible and you need to be really careful. Acrylic is delicate and can shatter and break easily. In all honesty, some pieces needed to be cut a few times for this tray as they shattered. Do wear protective eye-wear when cutting. To avoid breakage, place your acrylic sheet on a flat piece of hardwood and make sure the section you are cutting is as near to the edge of the wood as possible. Always clamp it into place to avoid movement. In the picture below you can see a piece of acrylic before I cut it (left), then after I cut it (right):
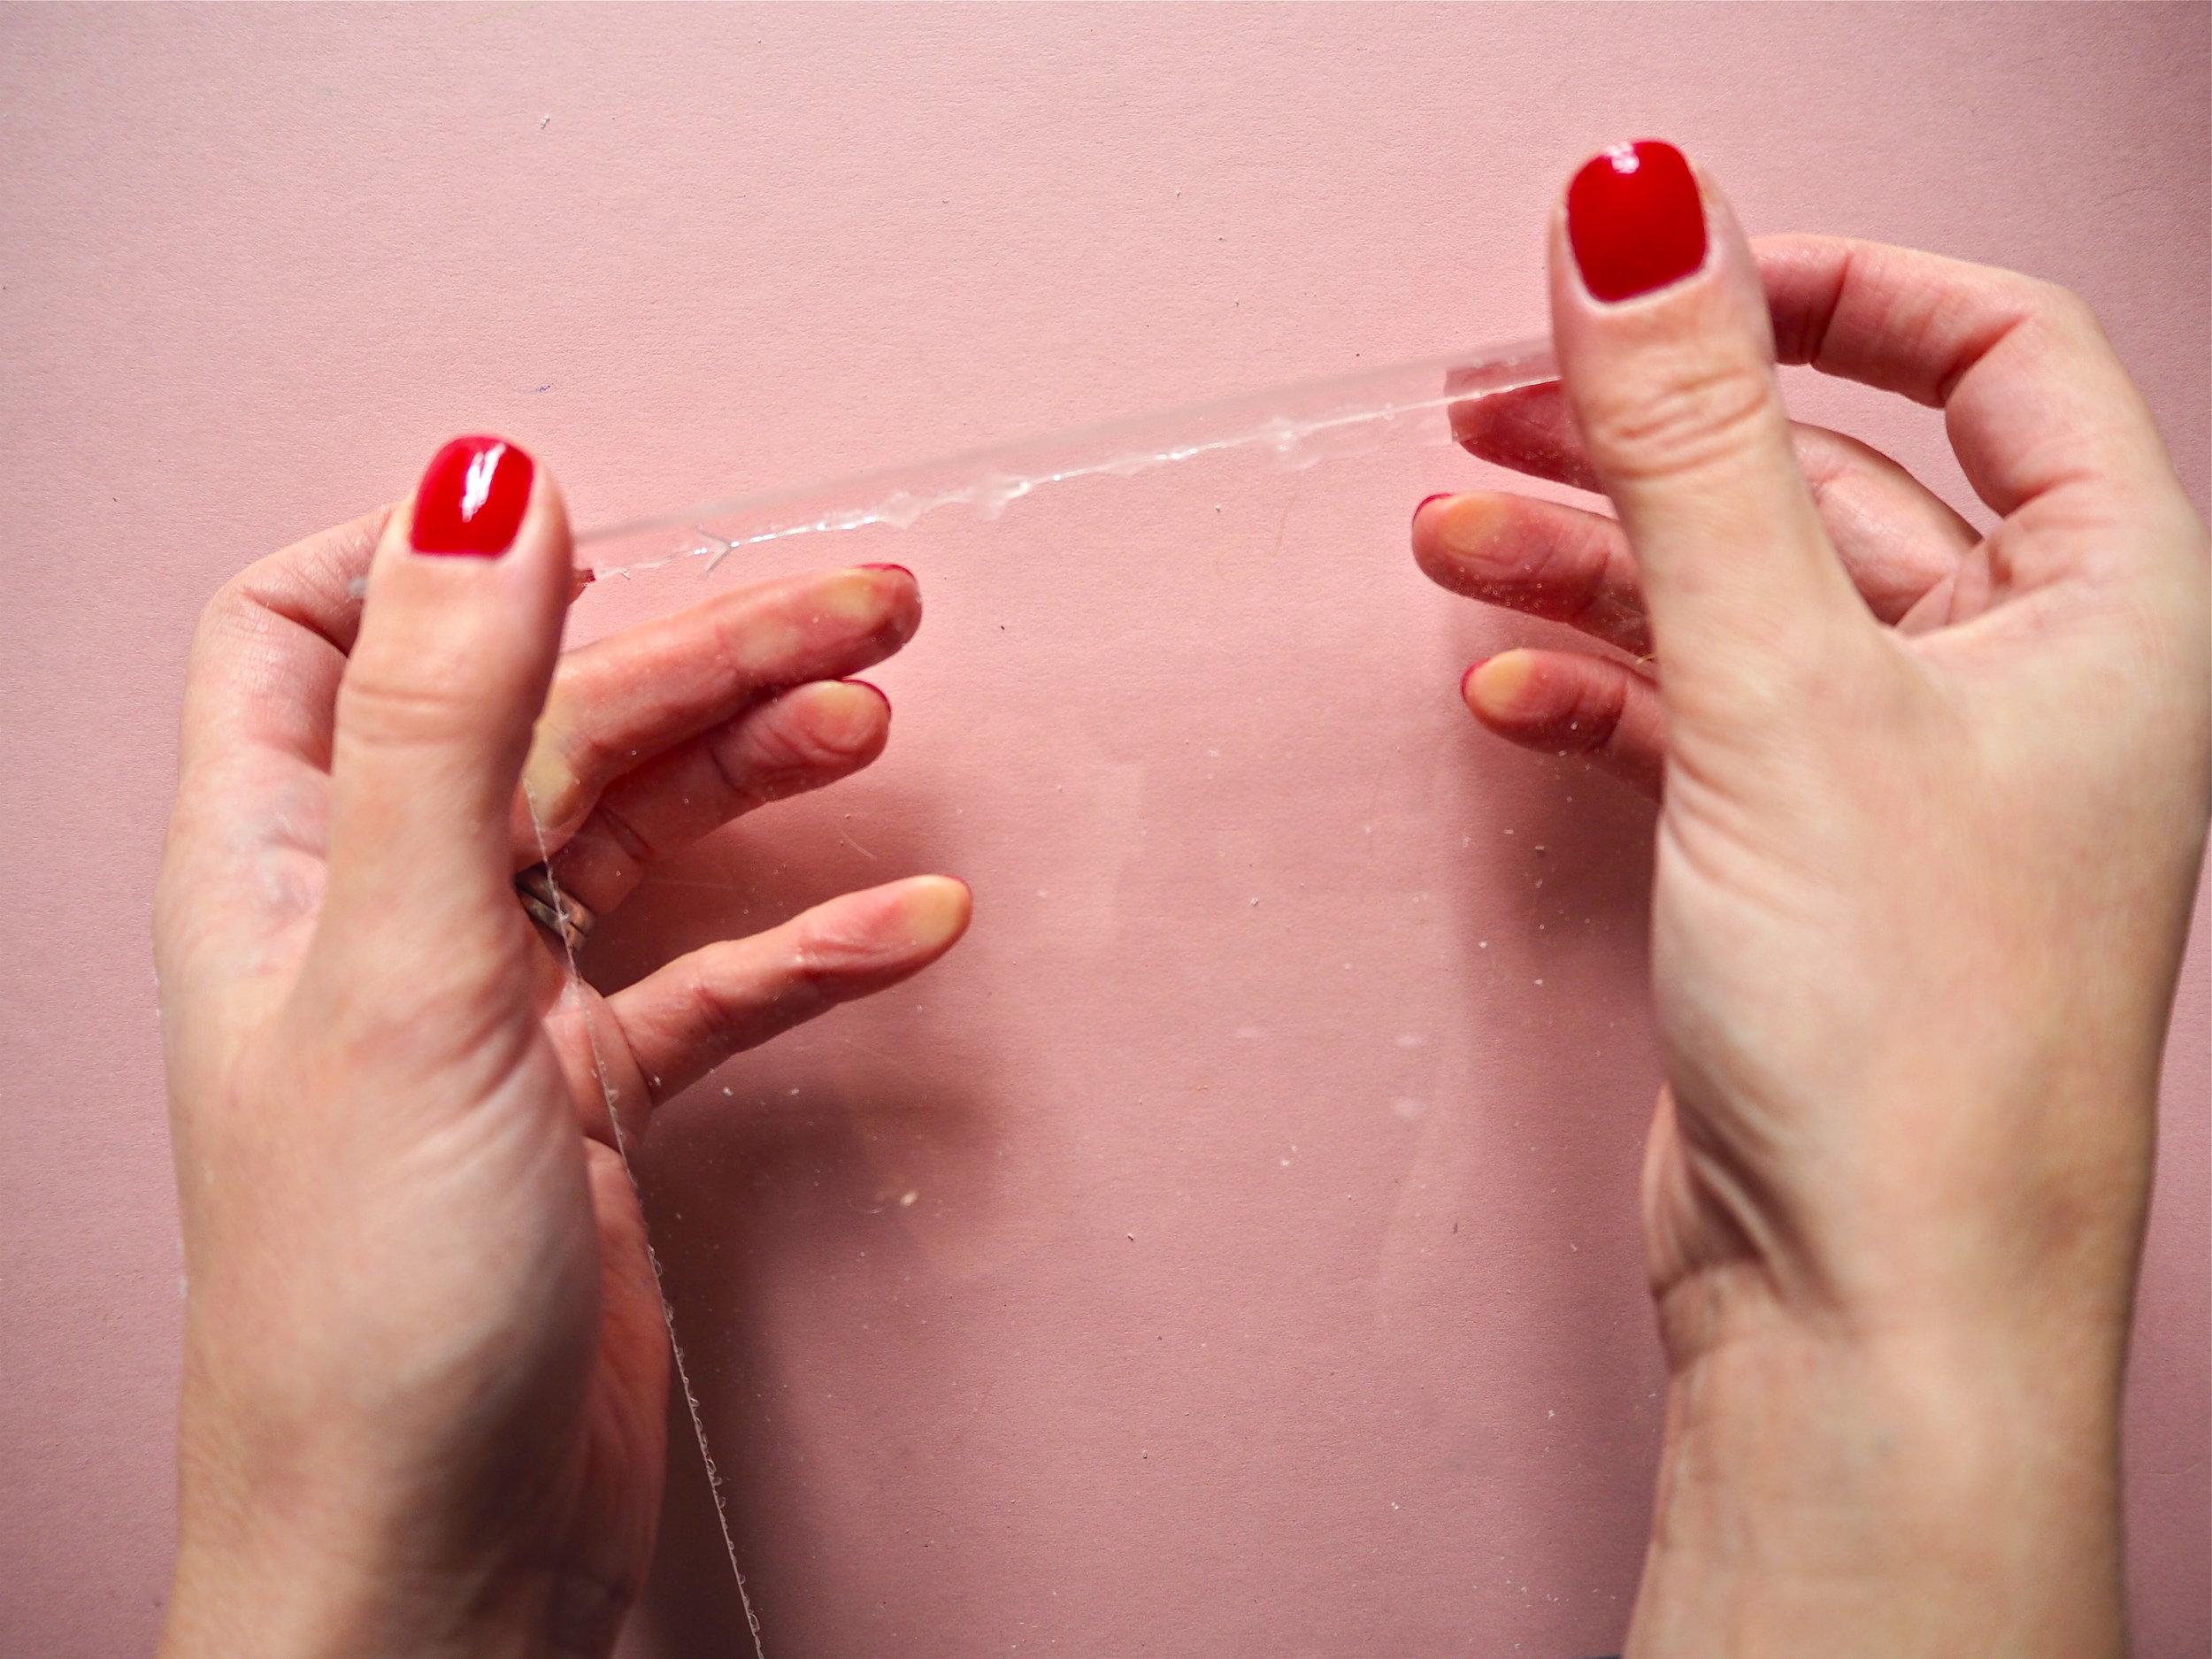
Once I had my base, plus four side panels, I removed the protective film from either side of the acrylic after cleaning up the edges. If your pieces are a bit bumpy in places, use a light piece of sandpaper to smooth it down. Do not remove the protective coating until you are 100% happy it is ready to be glued into place.
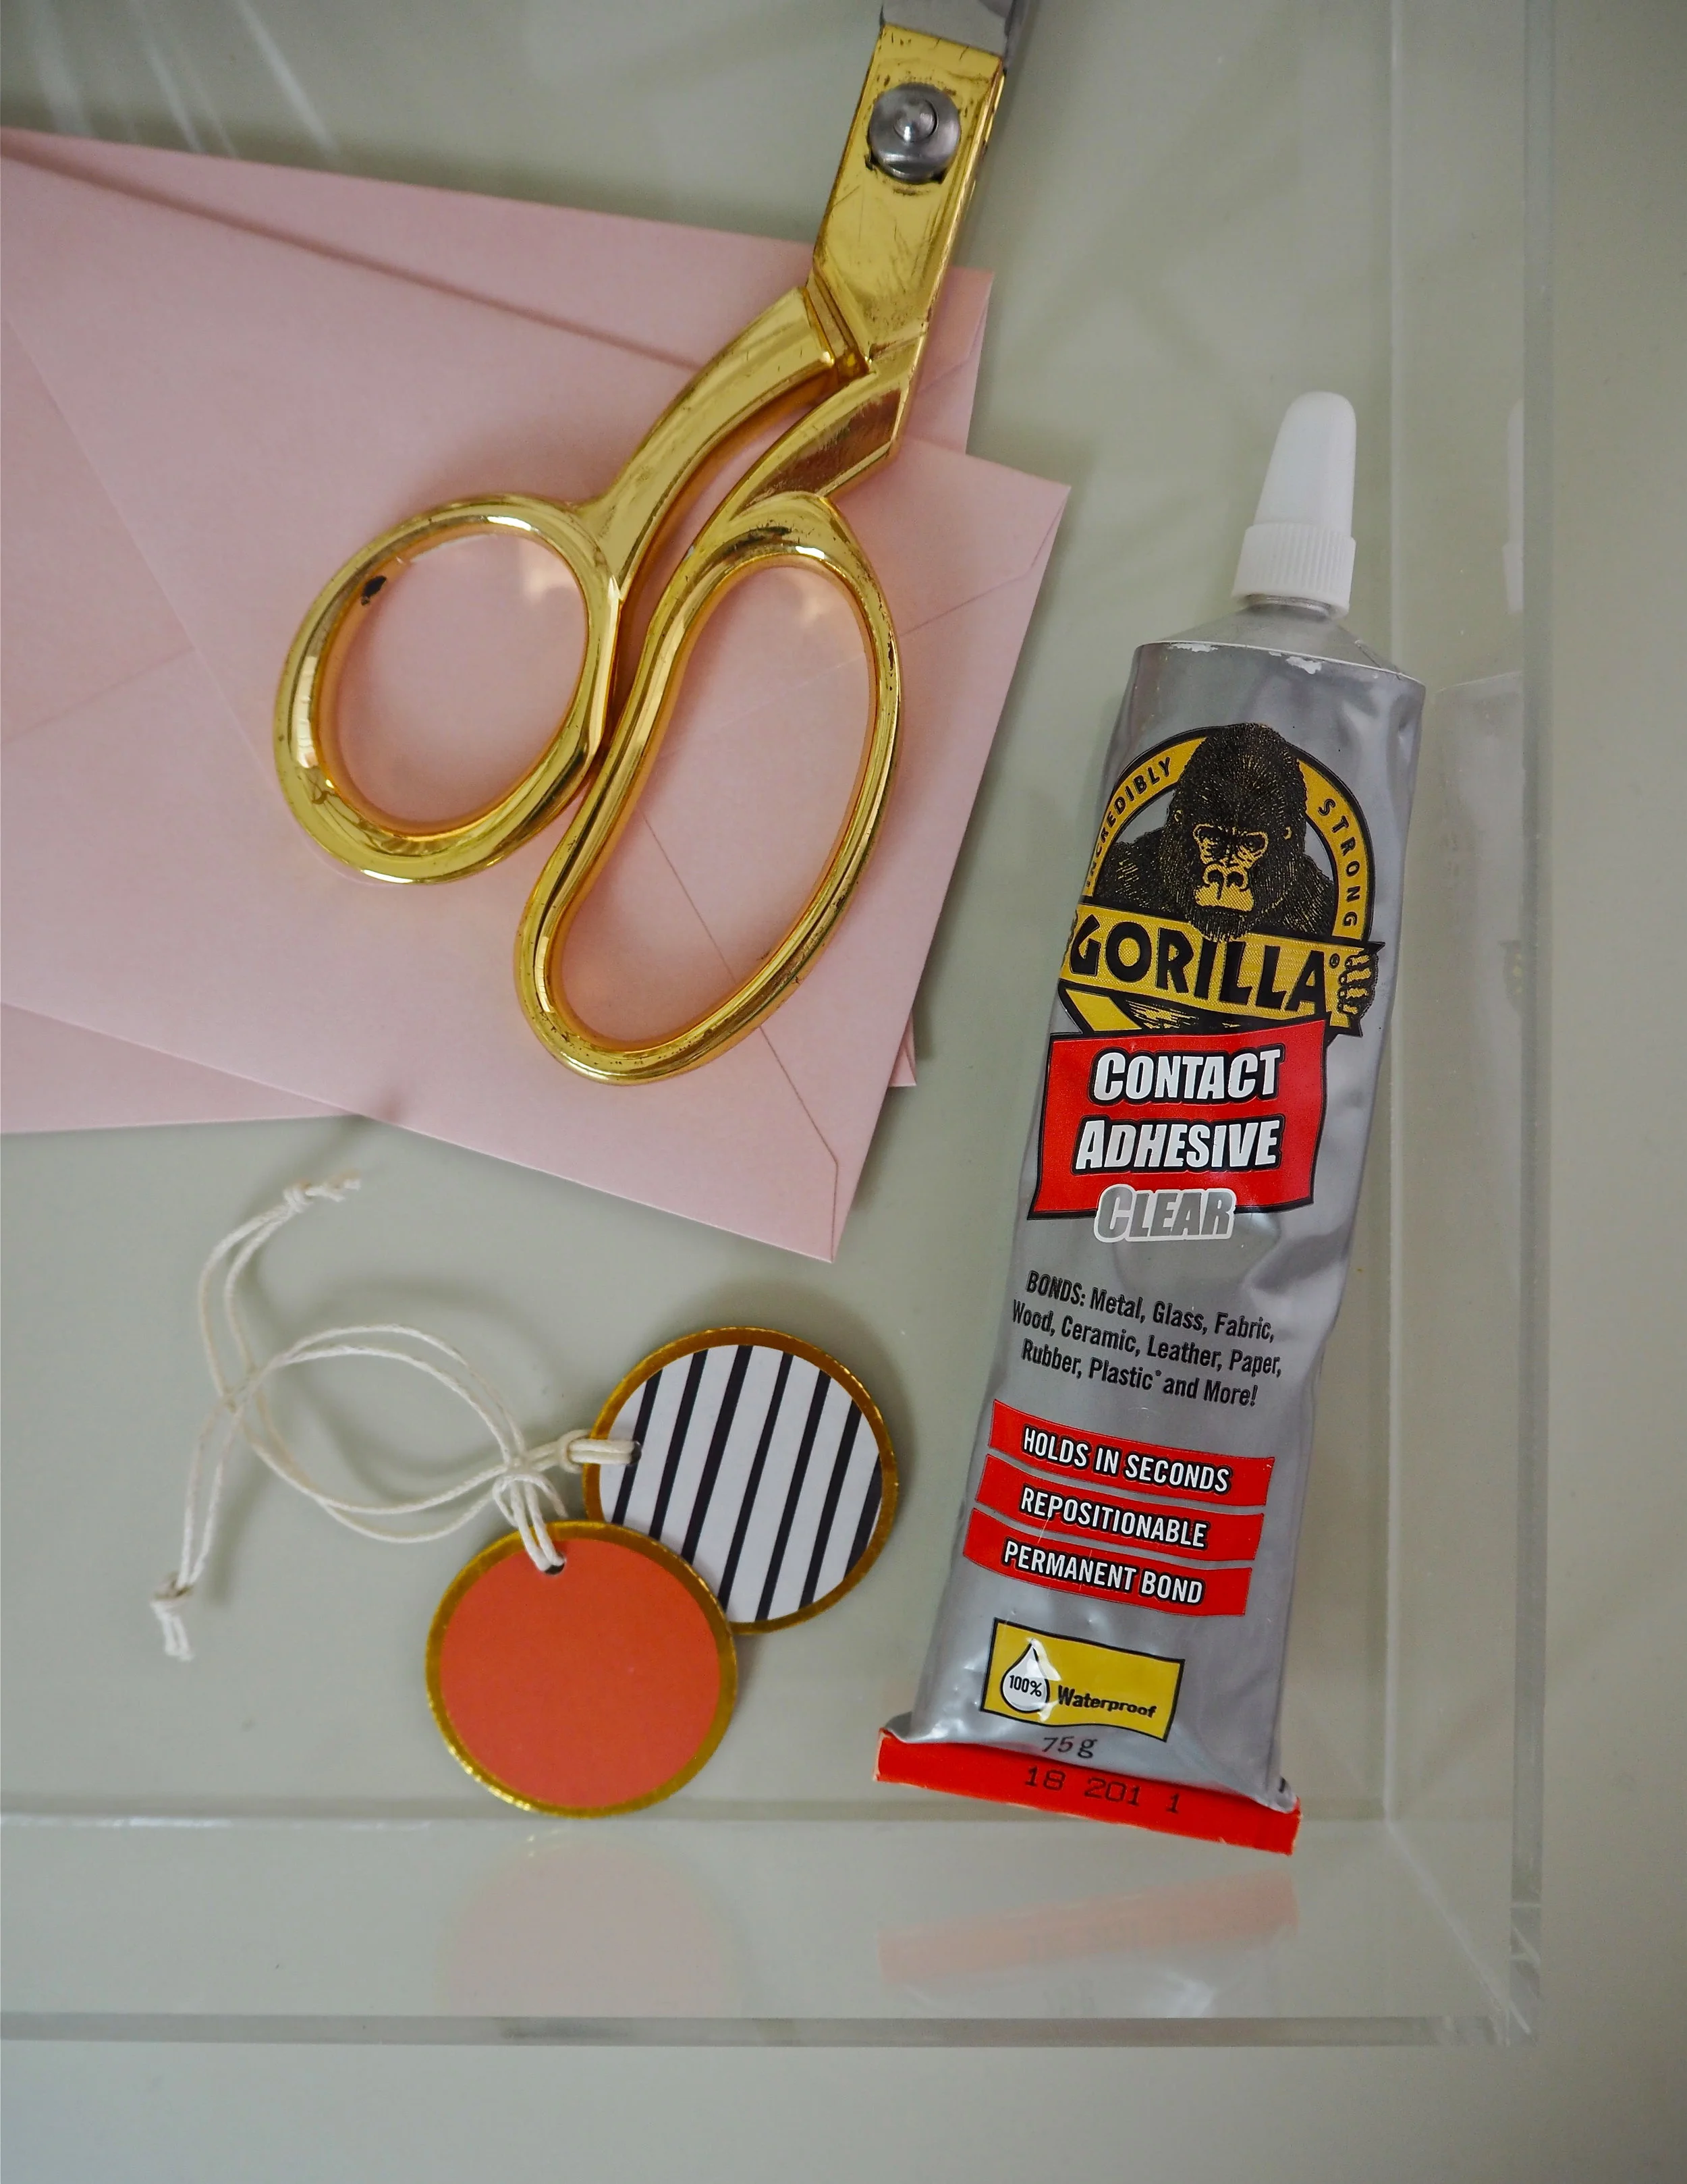
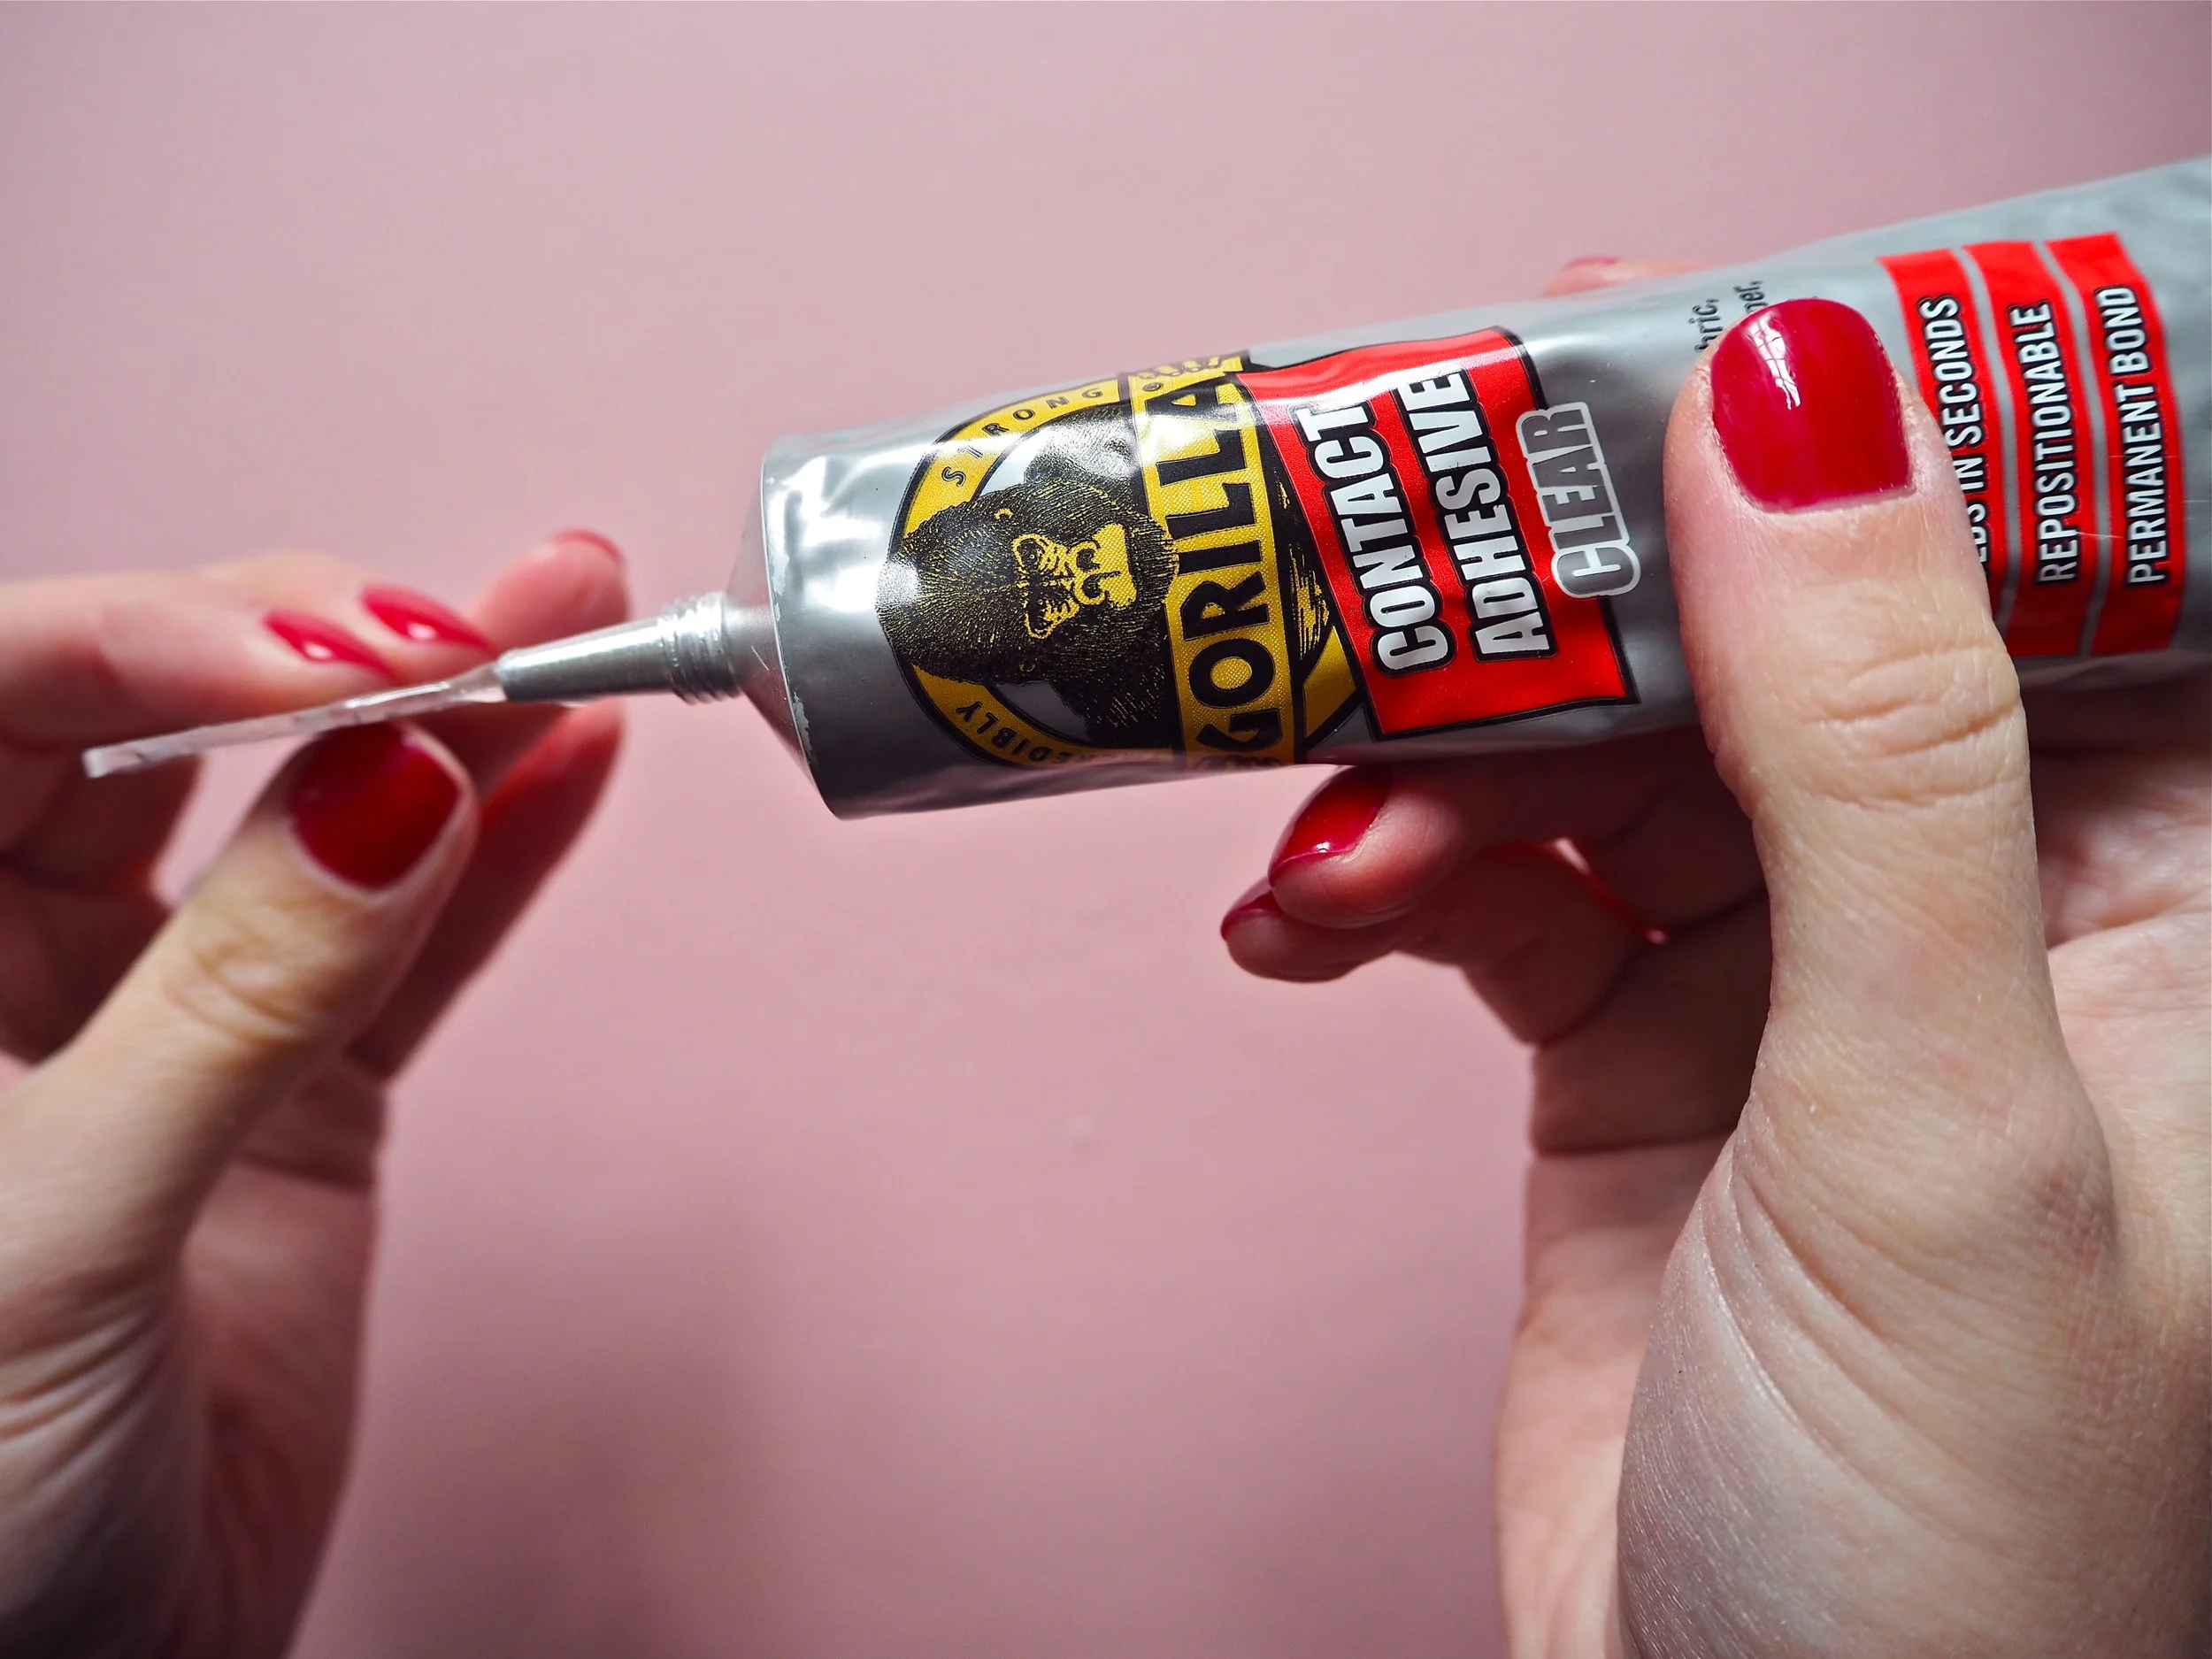
To build my tray I applied a thin layer of Gorilla Contact Adhesive Clear to the base of my side panels, plus the base edge. I wanted a repositionable bond so waited 1 minute after application before placing it to the base of the tray. I then had 2-4 minutes to be able to move the piece if it was too far left or right of where it need to be. When it was in the right place, I held both pieces together, quickly wiped away any excess glue with a damp cloth, then waited a short while until the Contact Adhesive had adhered. Once the tray was complete, I left it untouched in a safe place for 24 hours for the Contact Adhesive to fully cure.

Now I have the perfect modern paper tray that does not impose on my workspace! What do you think?