Child's Bedroom 3D Wall Mural DIY


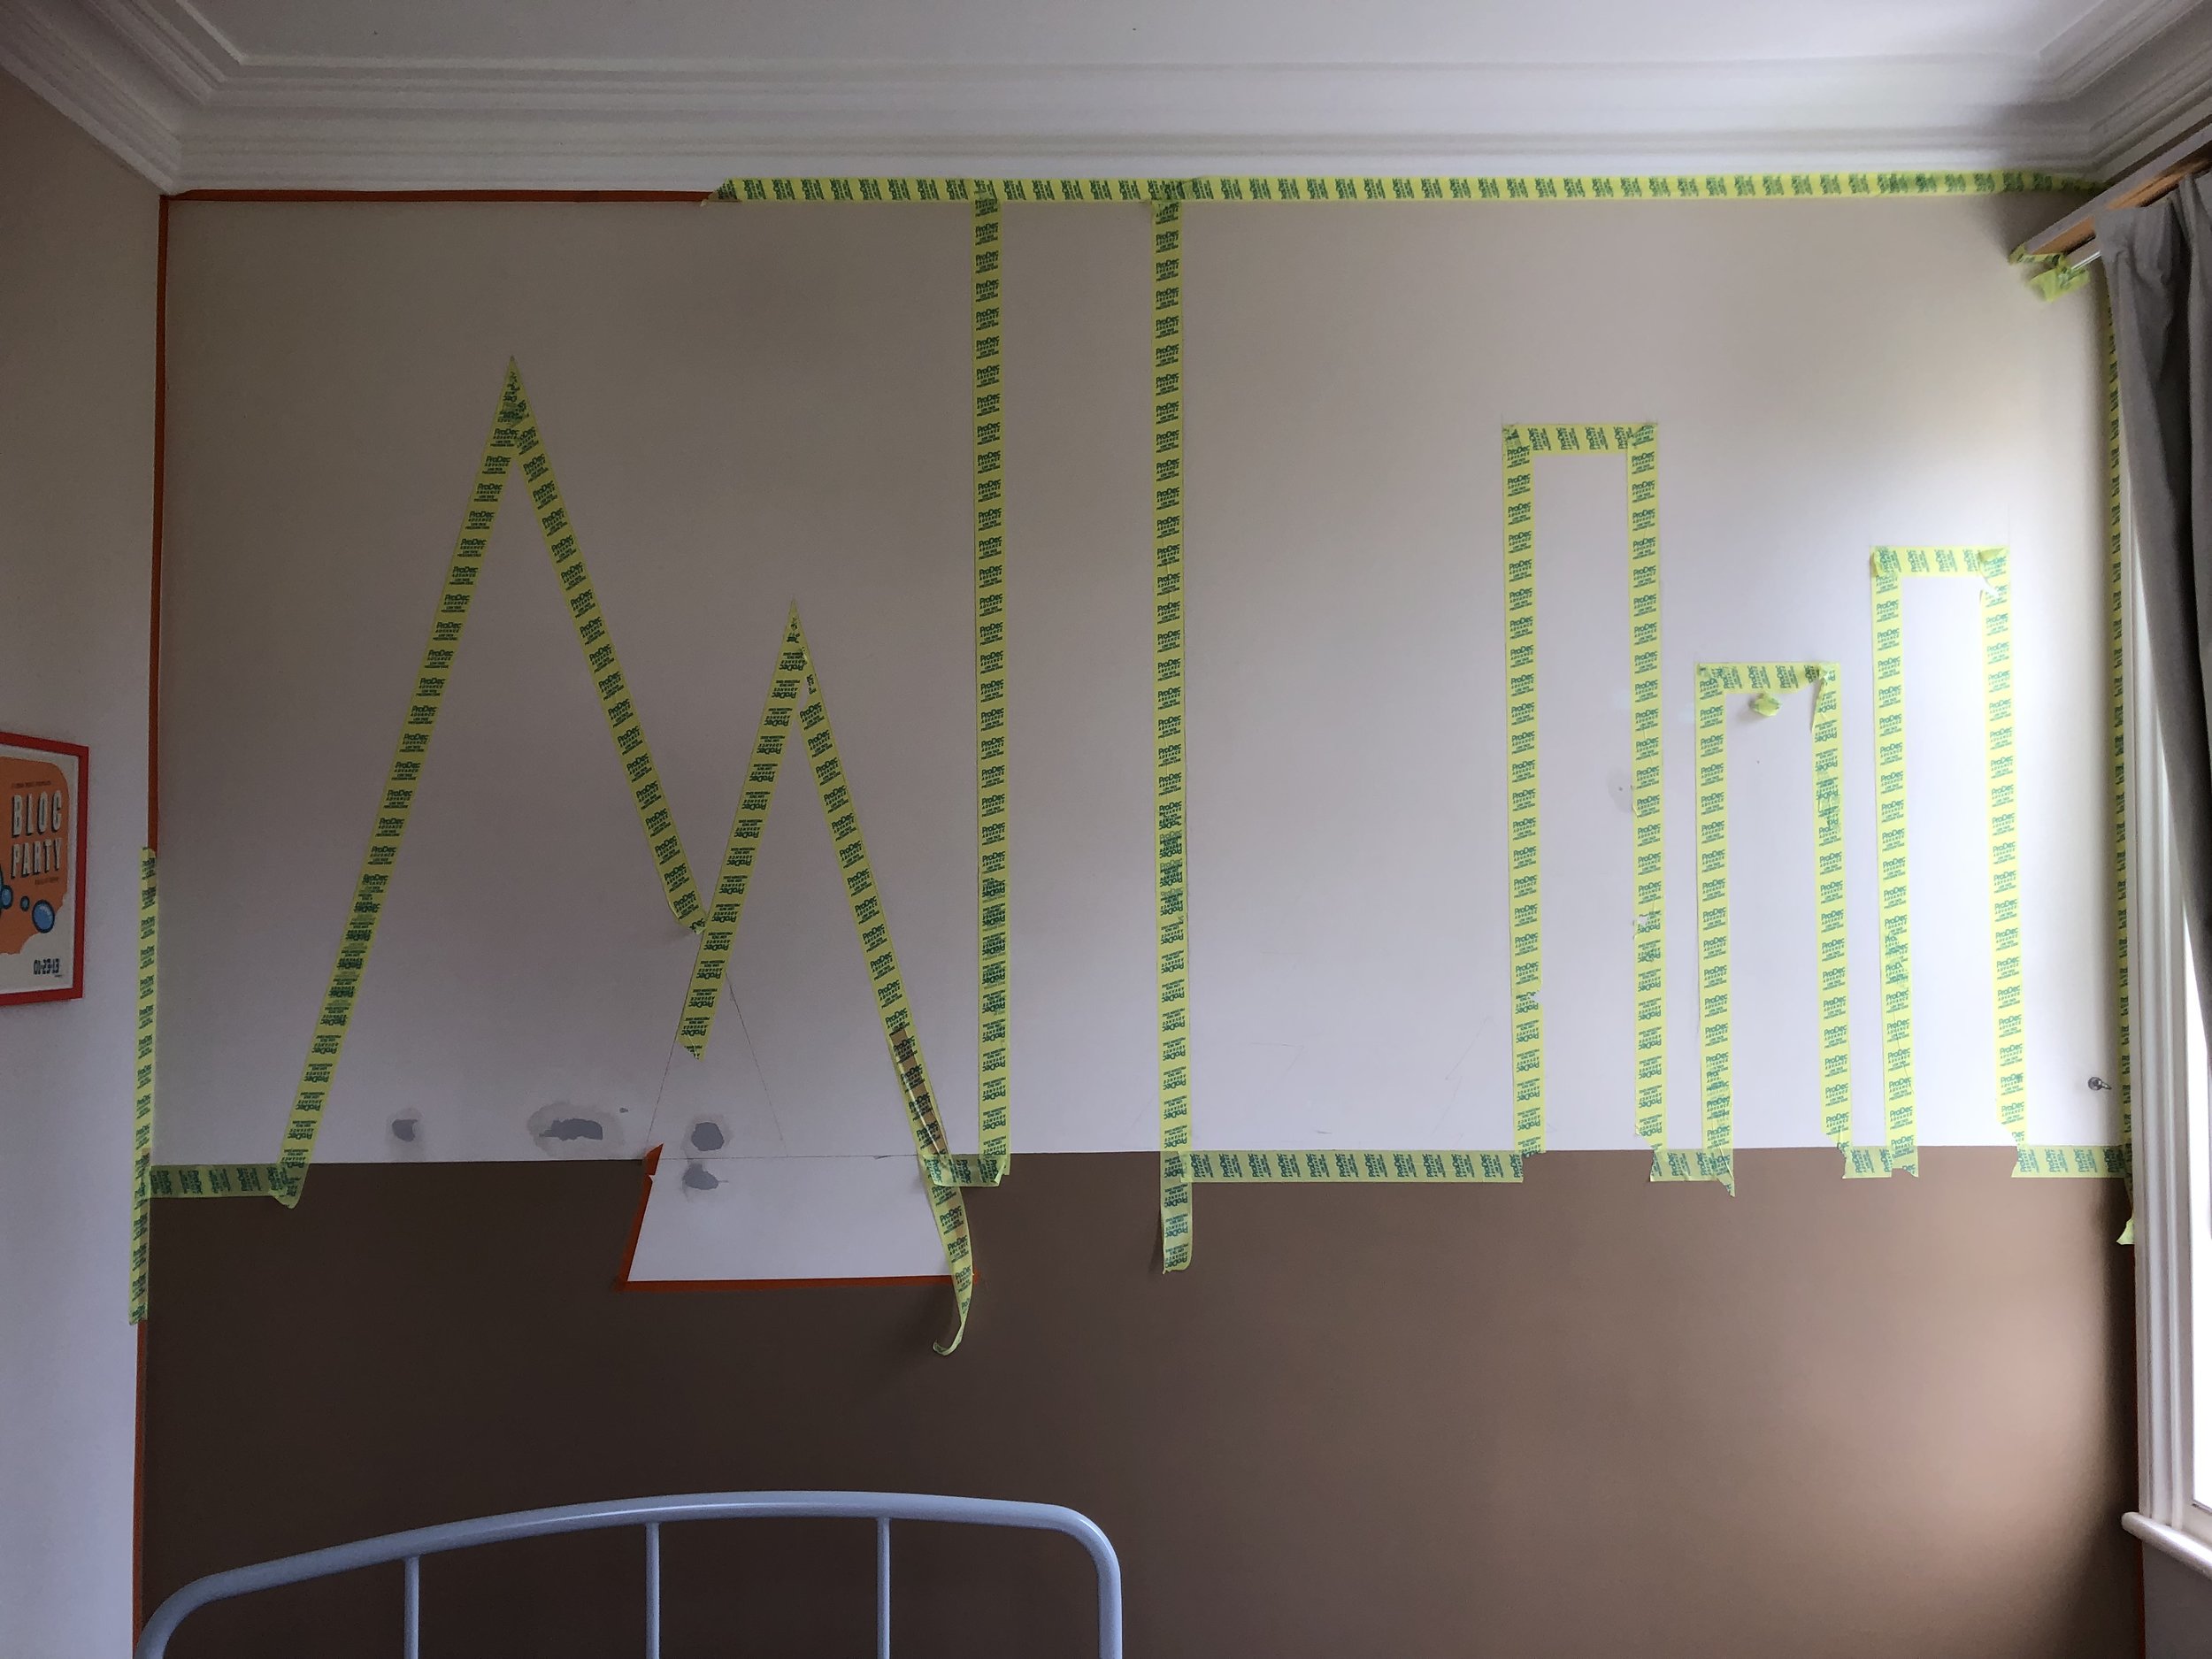
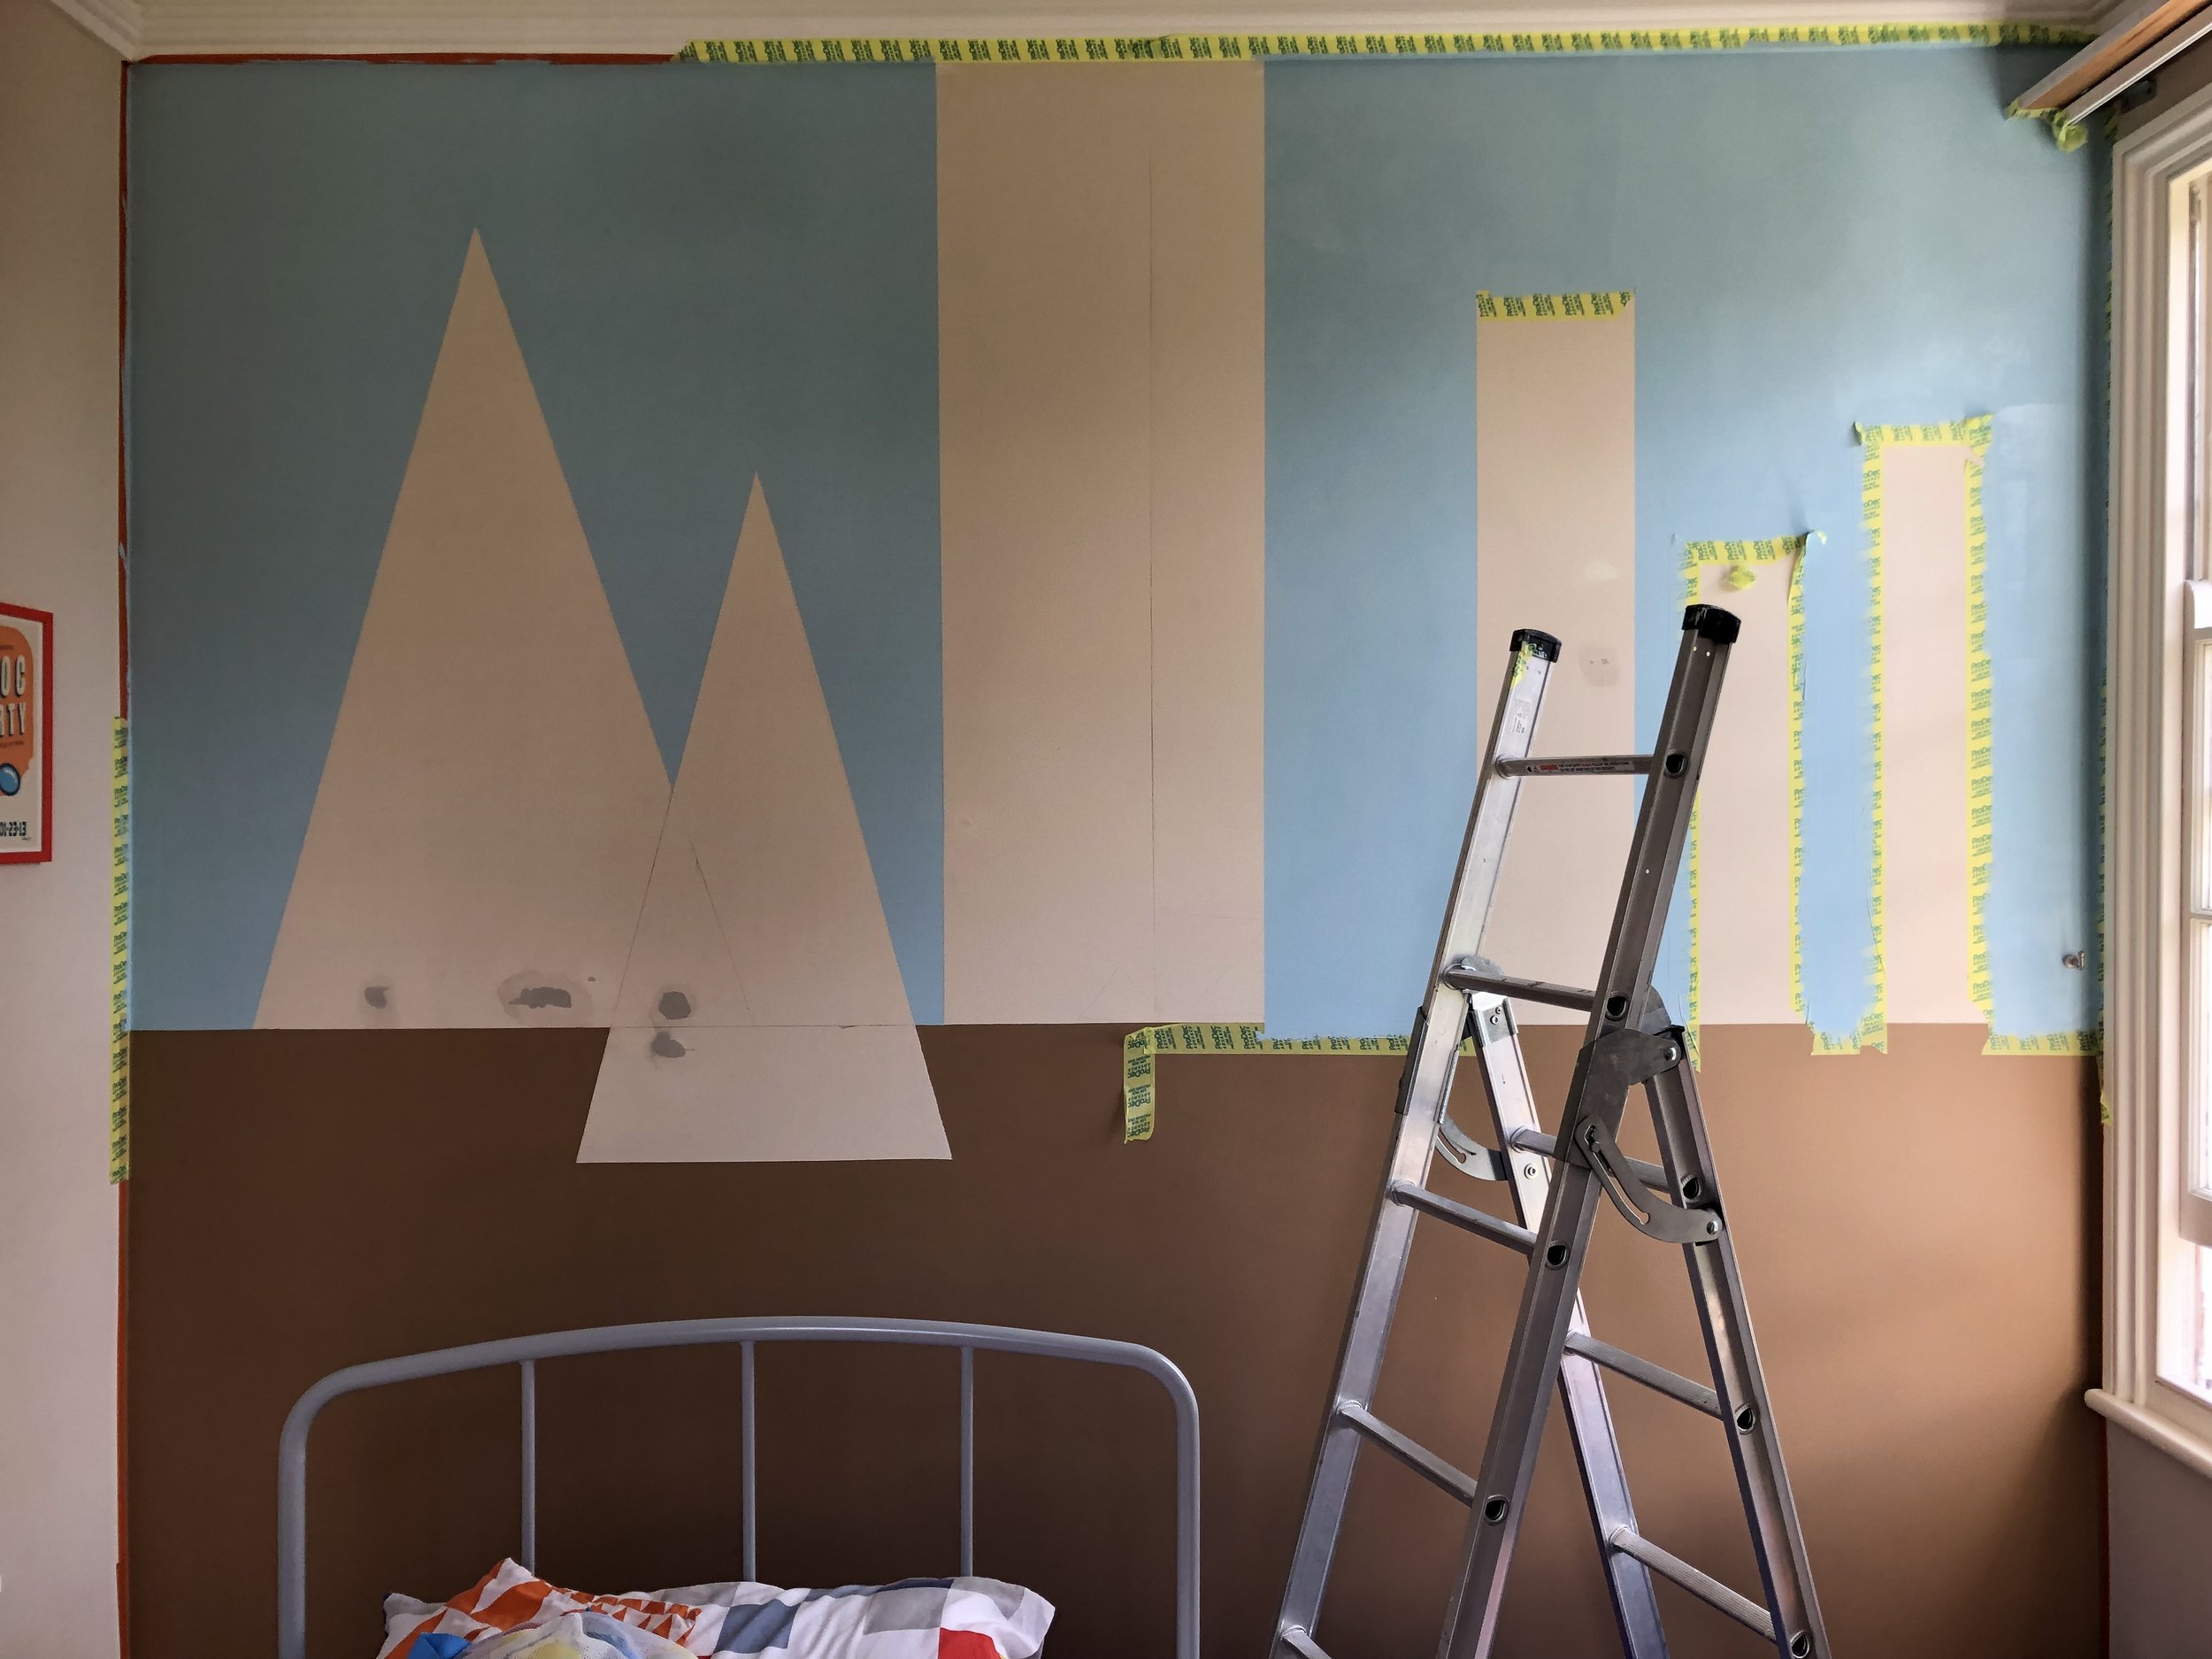
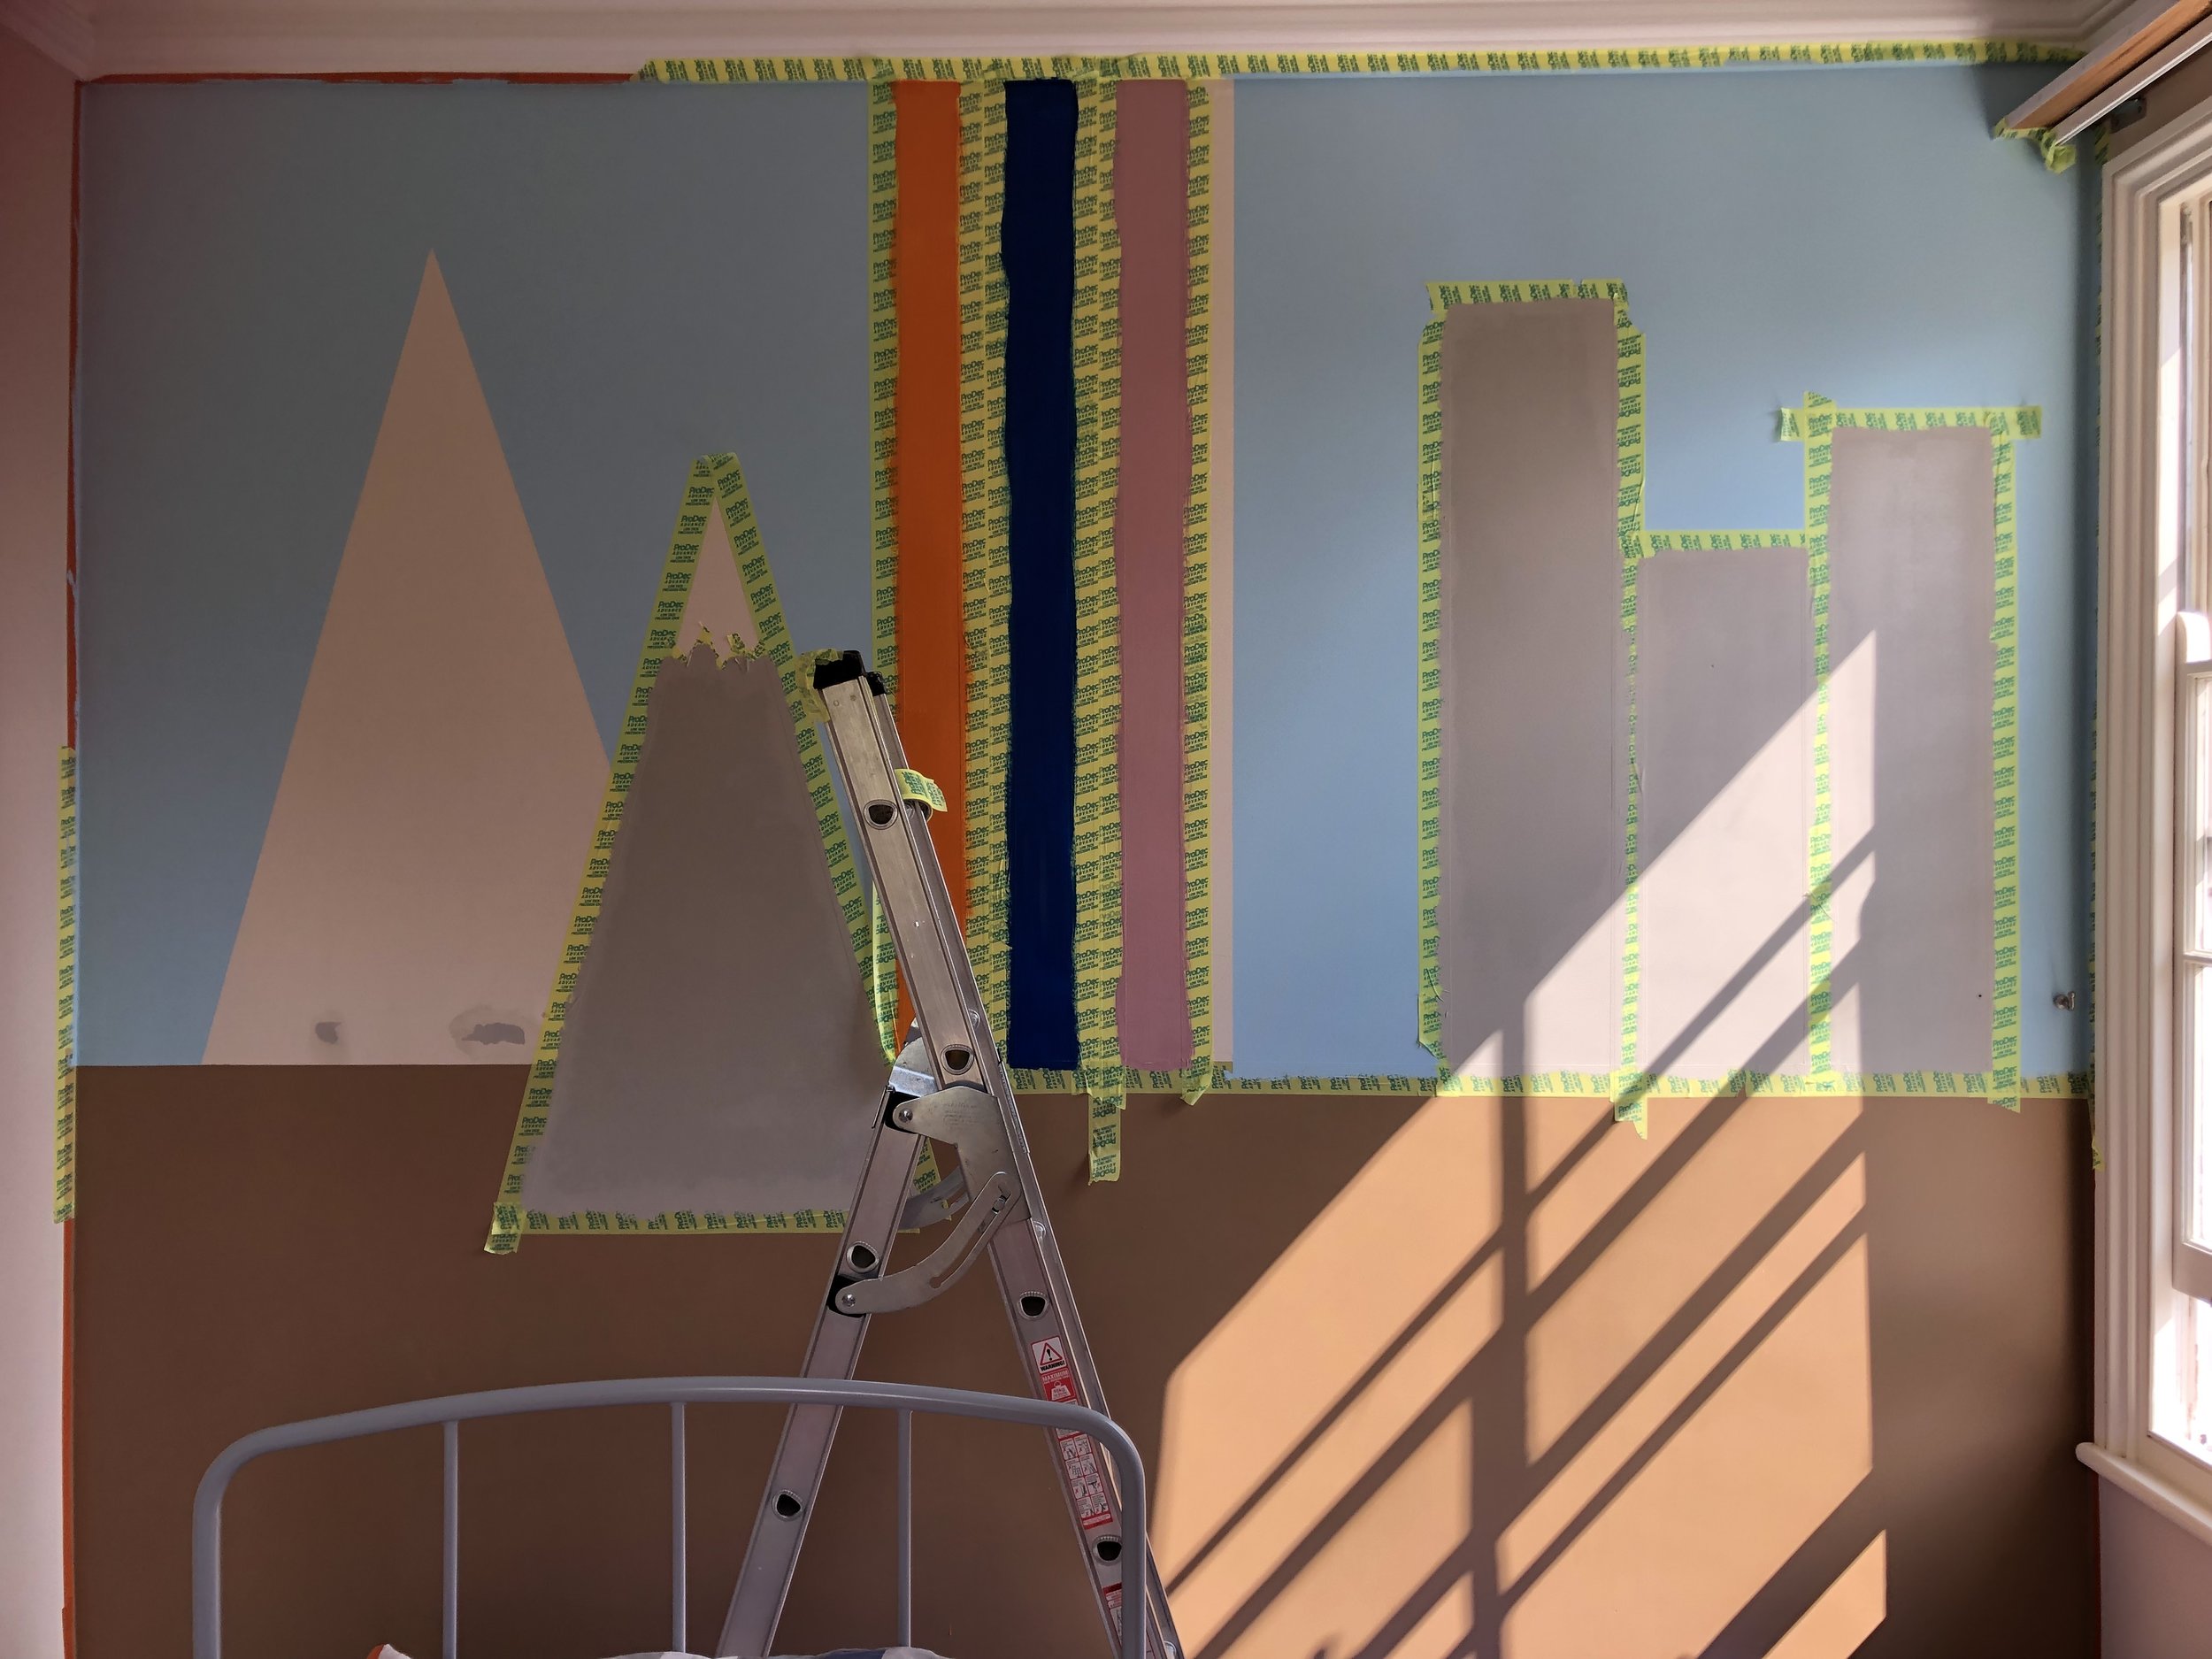
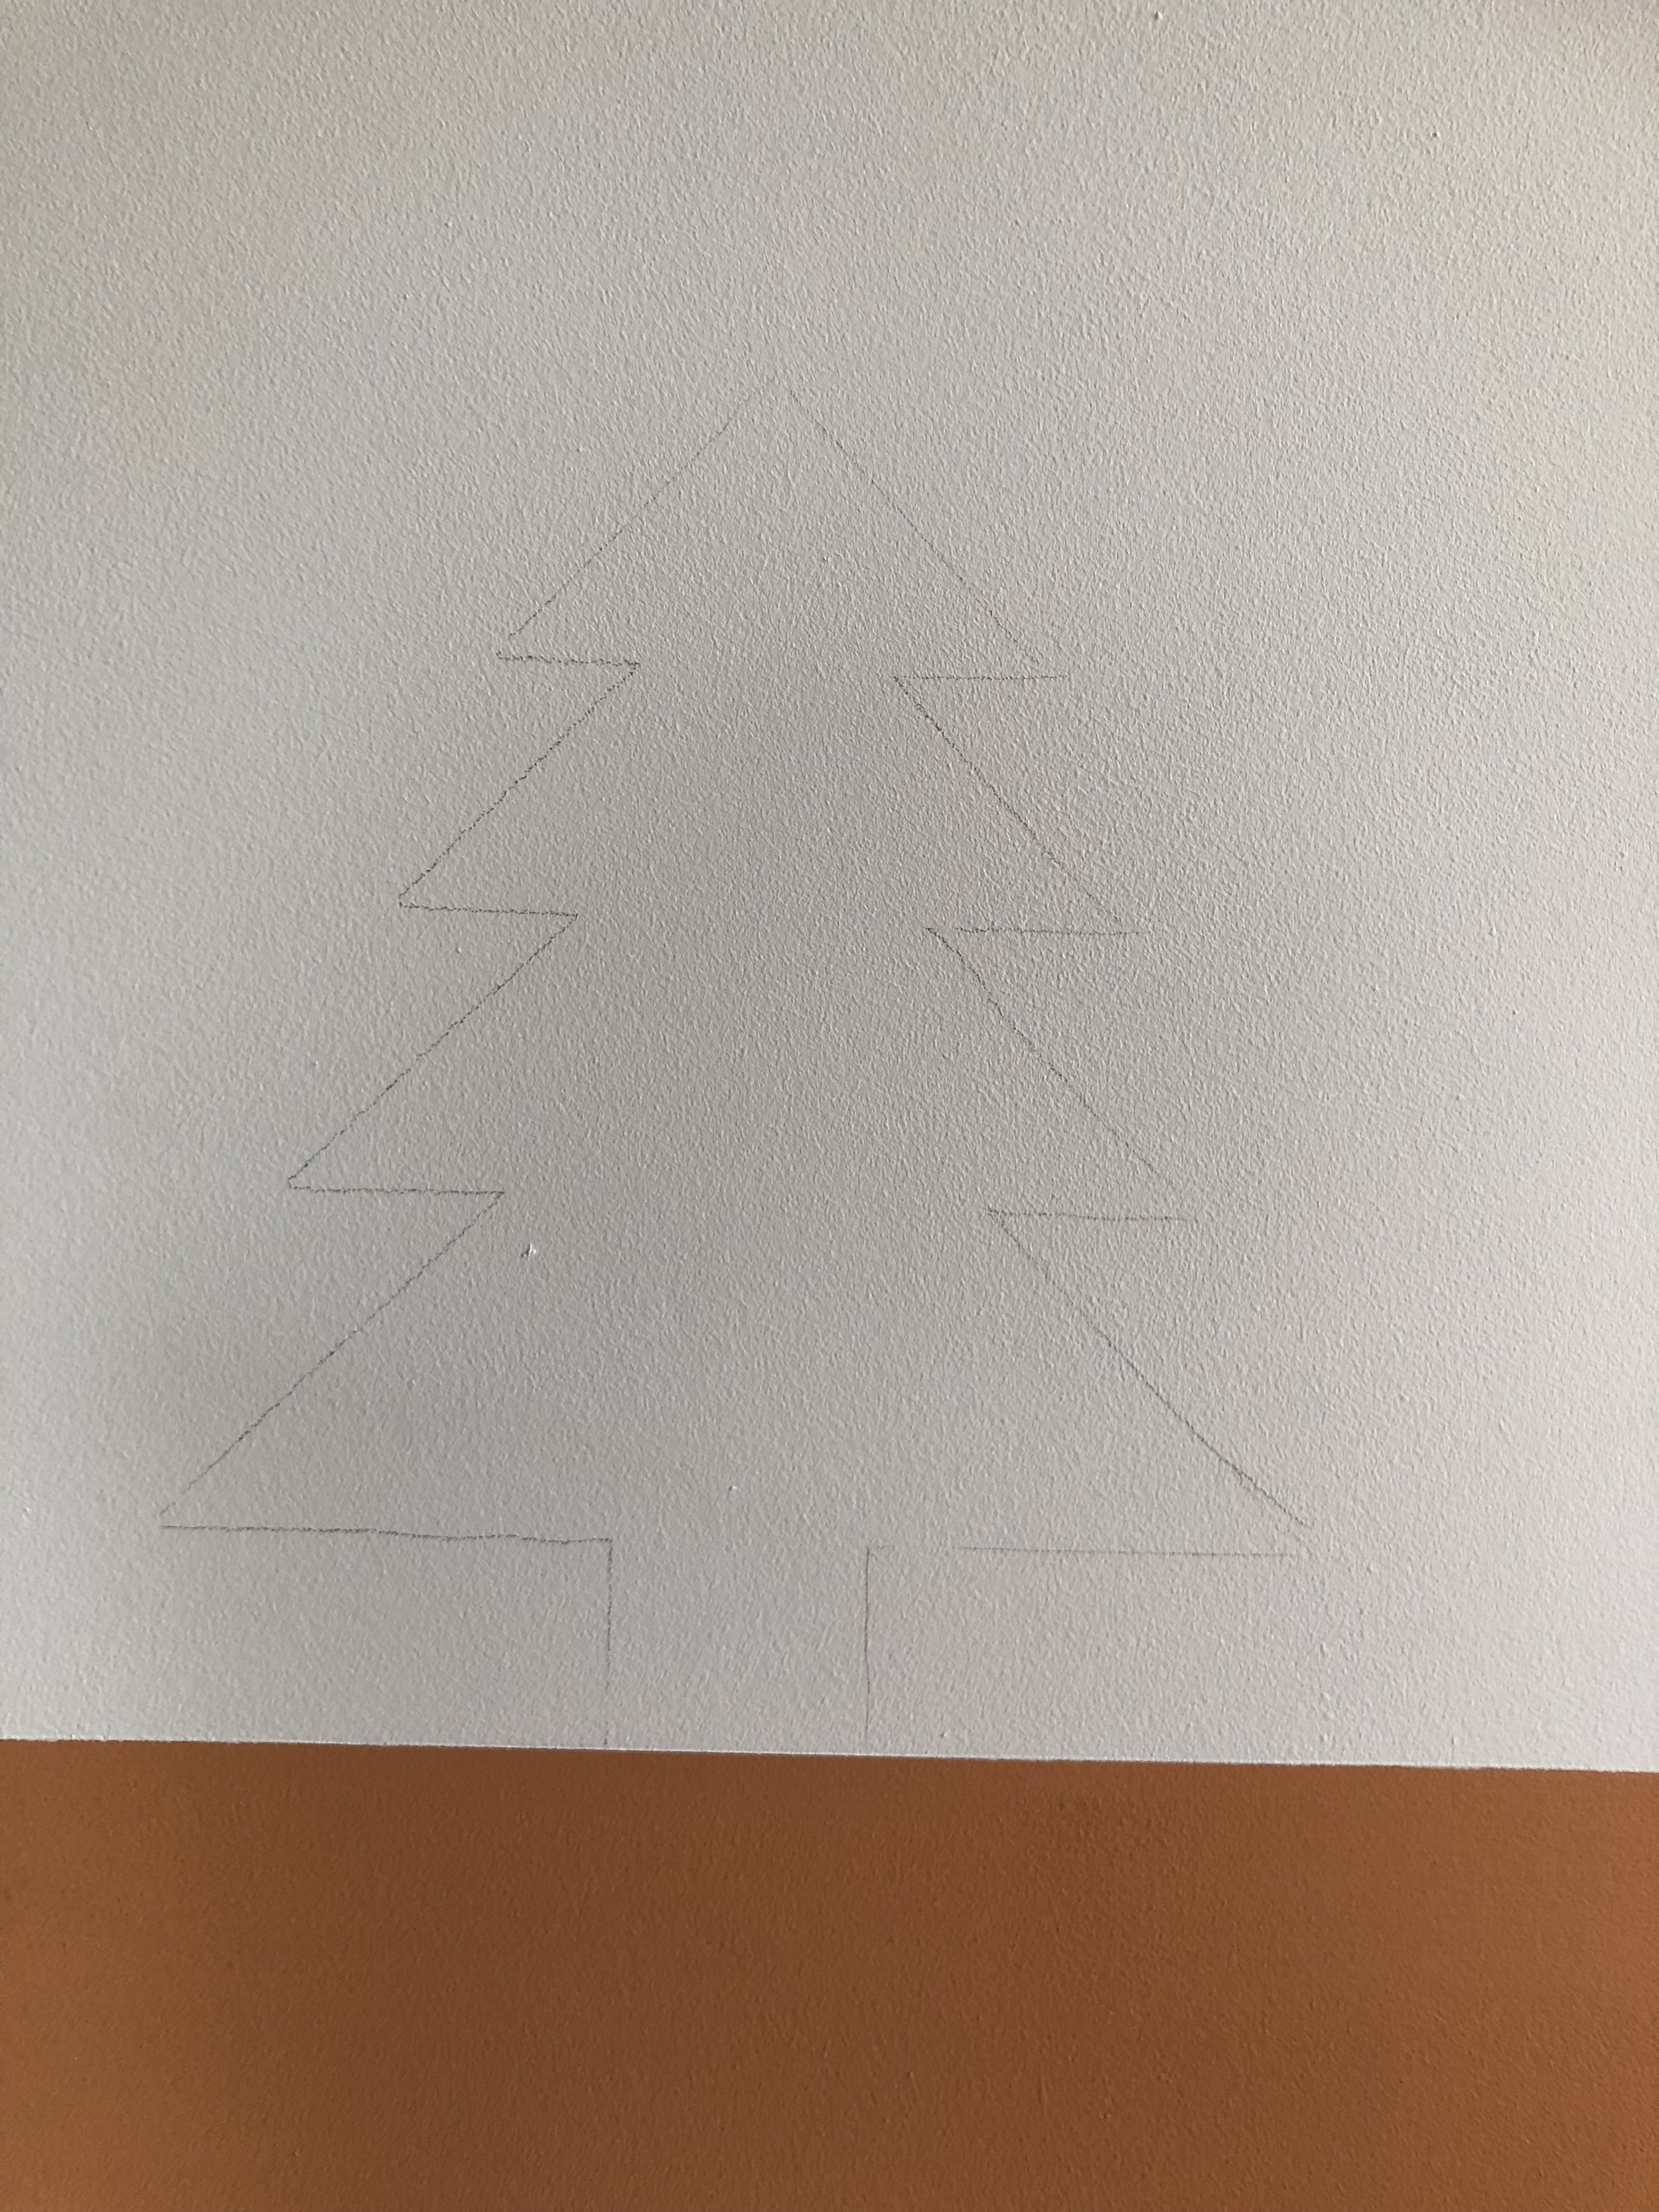
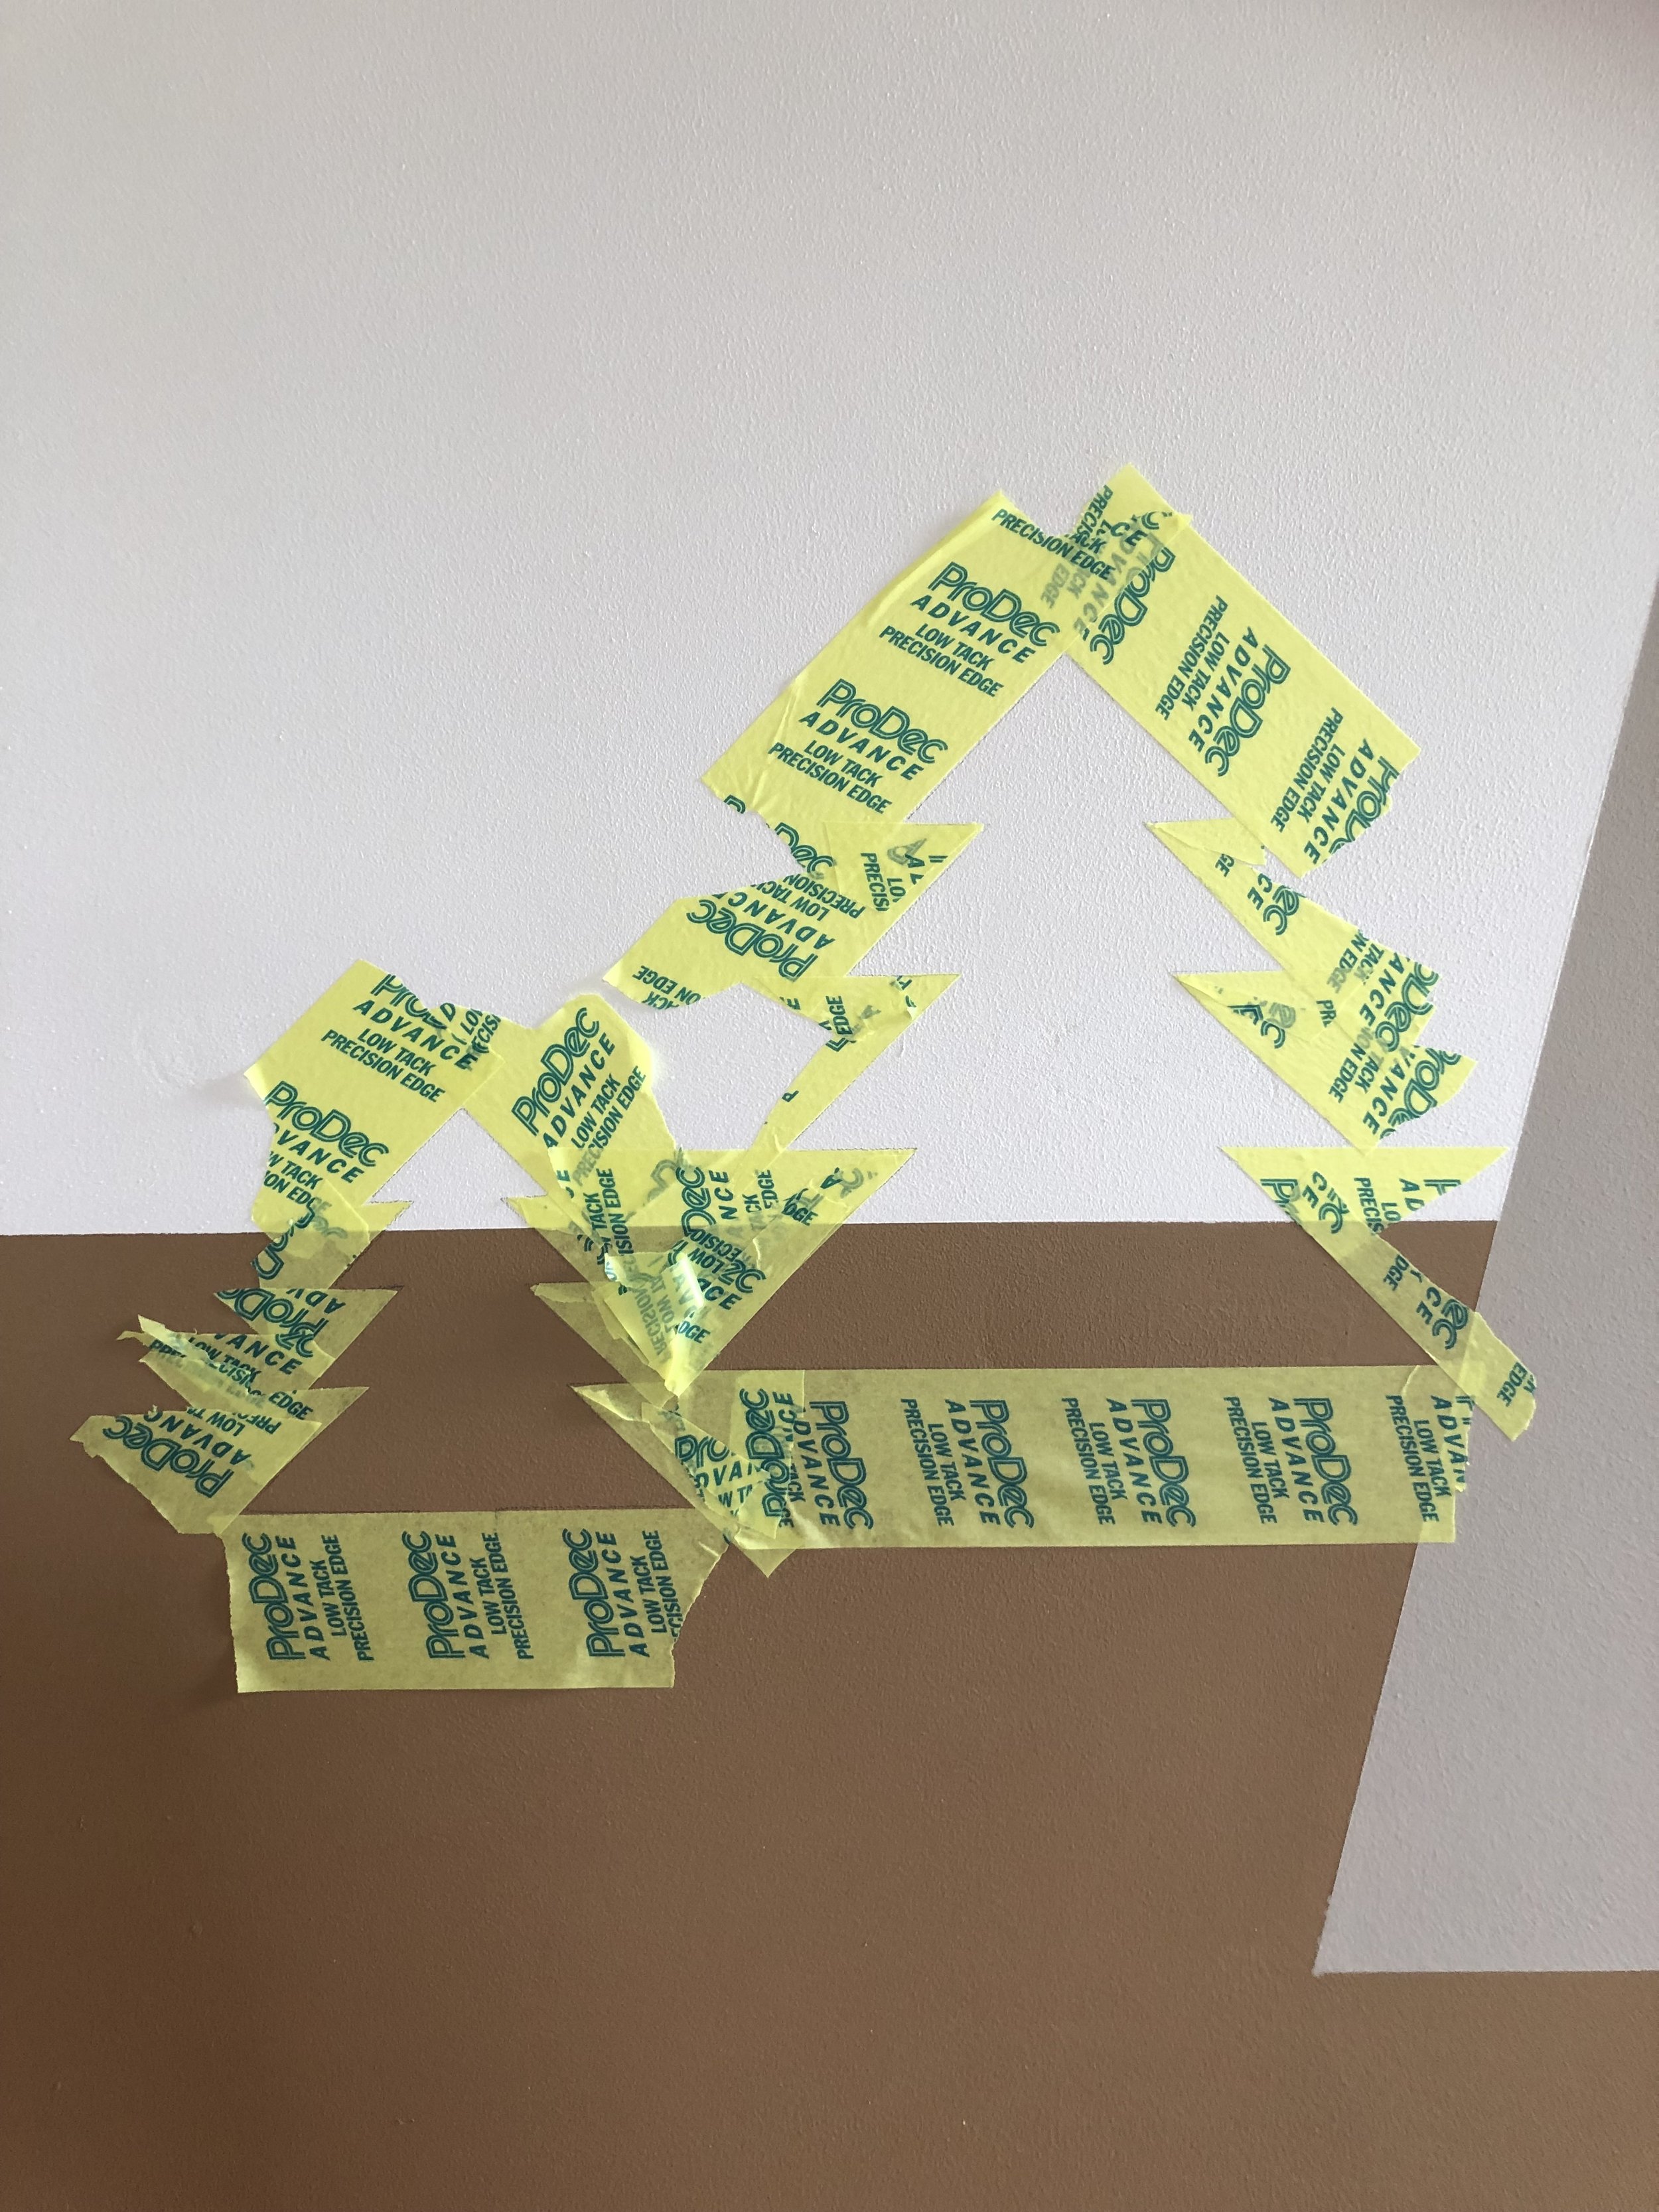
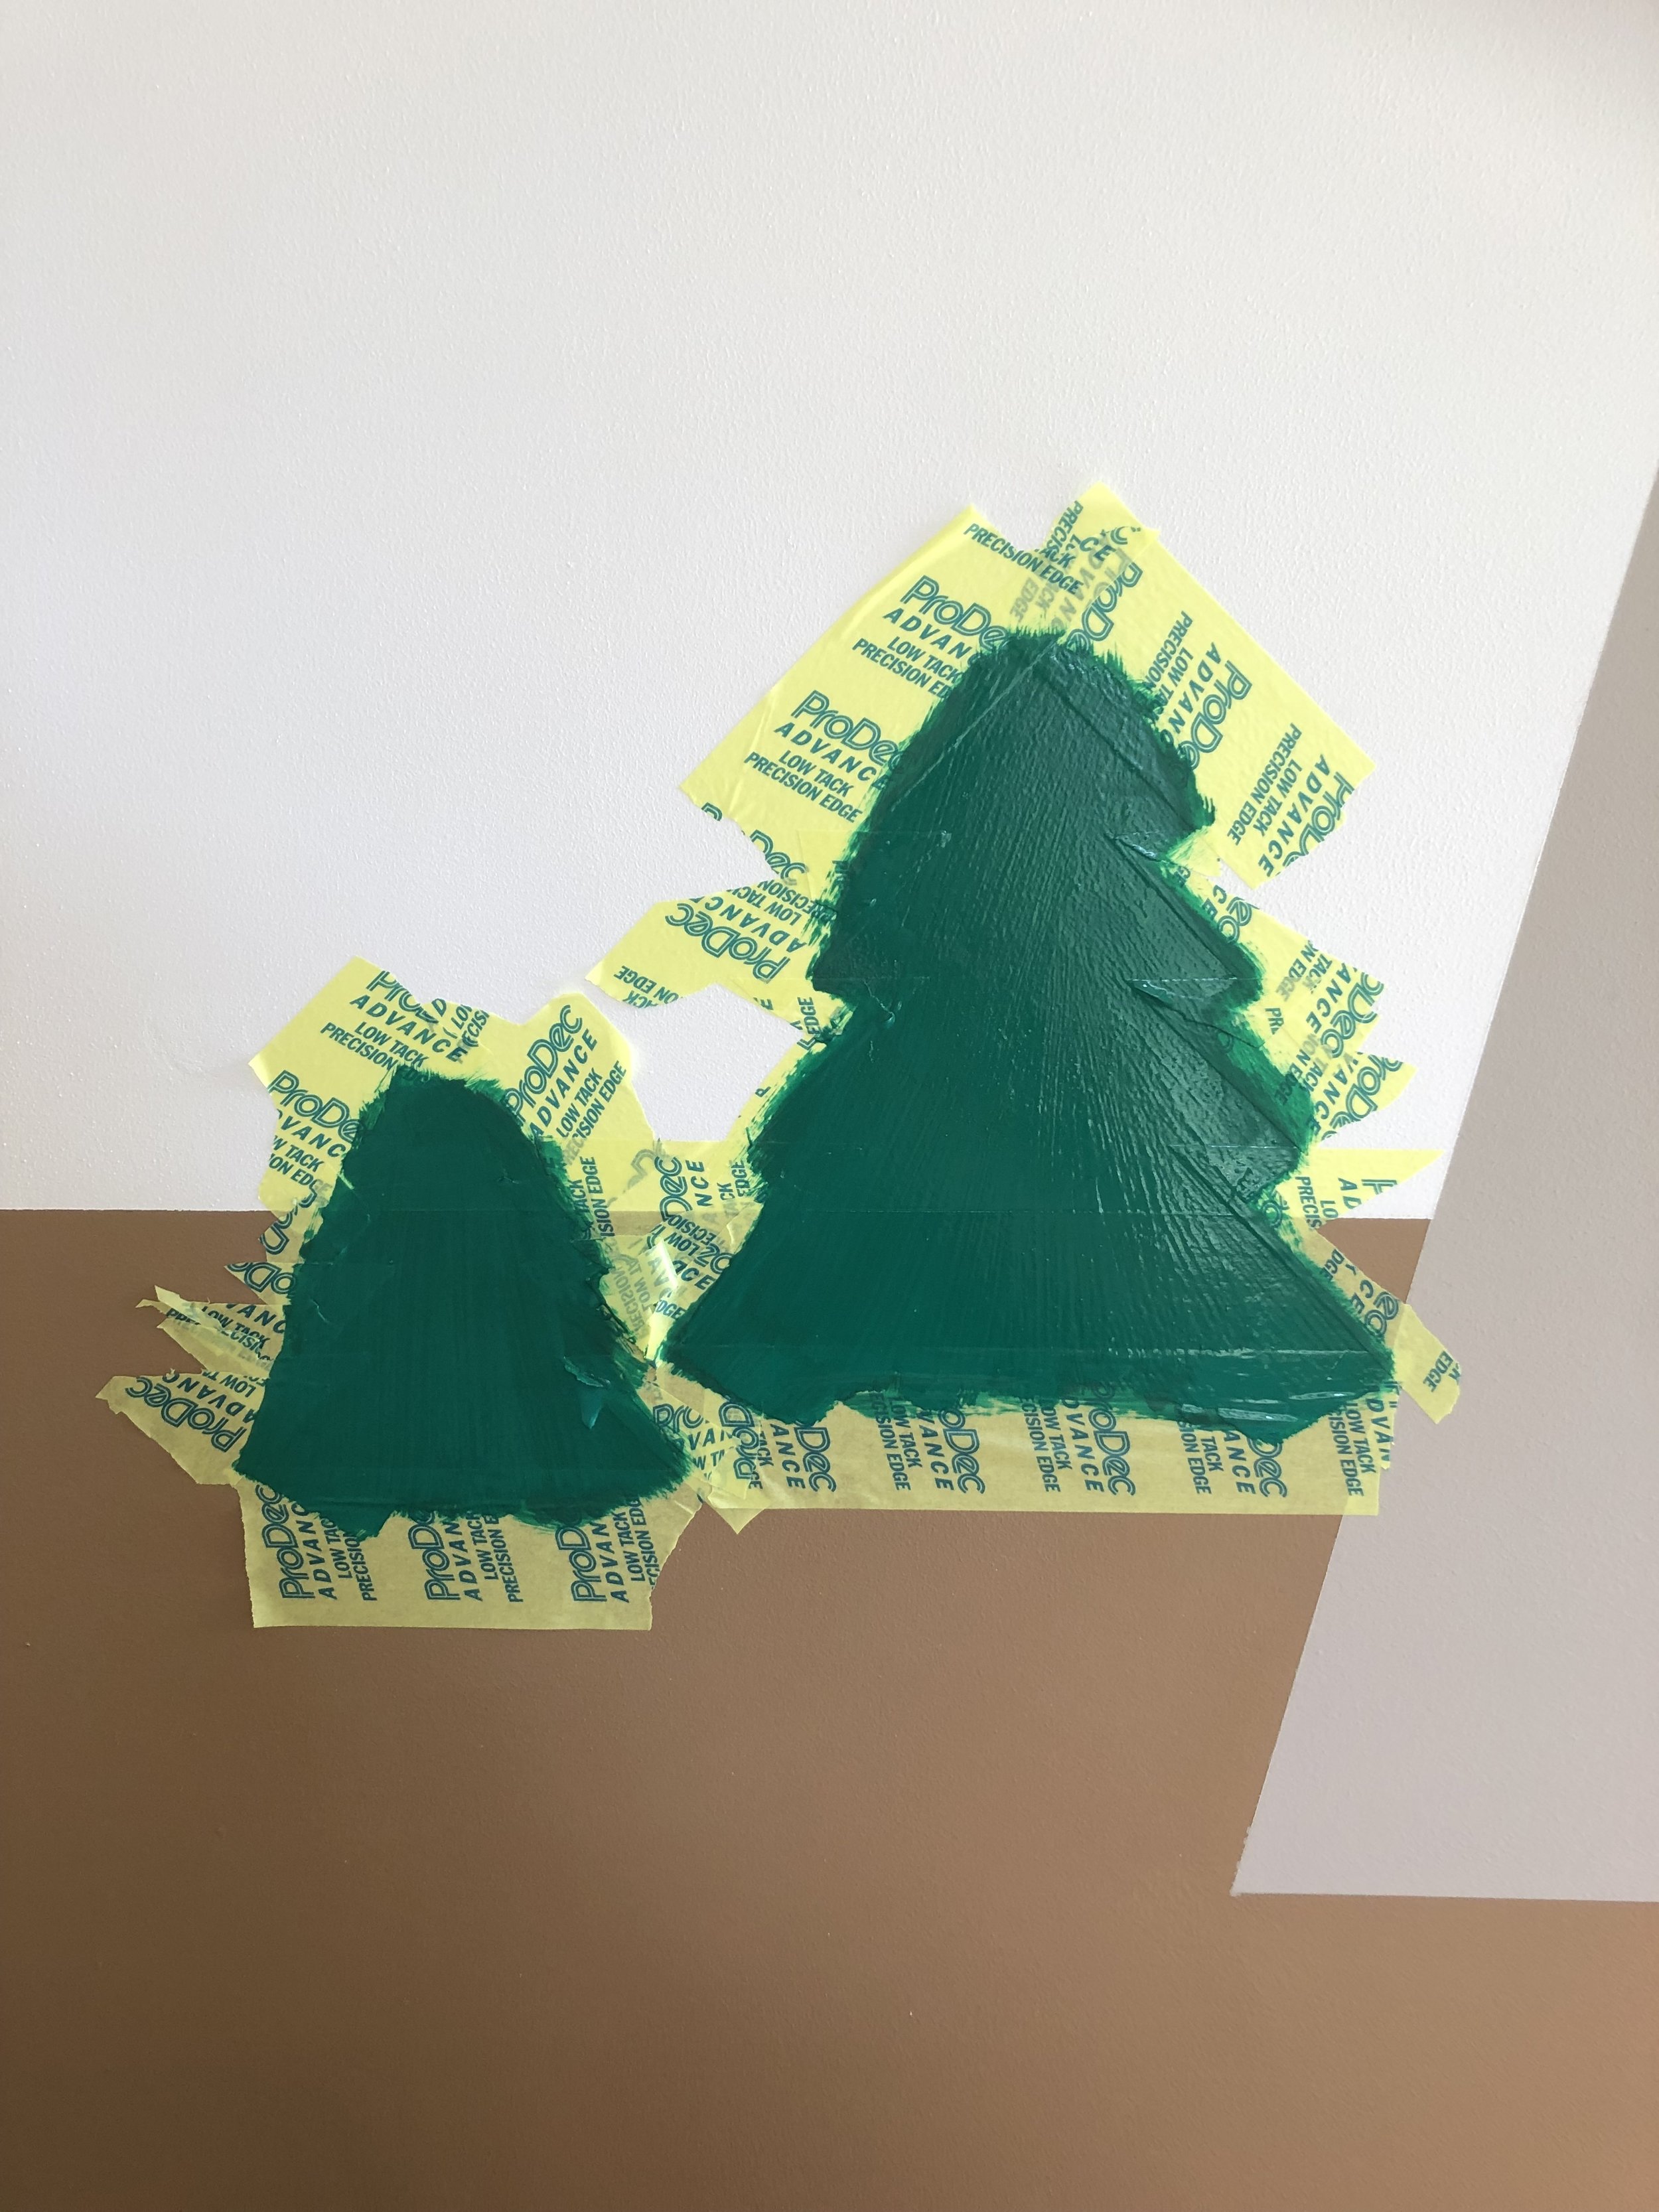
Taking an empty blank wall, I filled in any holes and washed away any marks, before drawing on a design using a pencil and a long, large spirit level. The spirit level allowed me to create straight, level lines and easily mark out mountains, a rainbow and tower blocks. I then applied a low-tack decorators tape along the outside of the pencil lines and painted inside or around the tape. To keep down costs, use left over paint from previous projects, or buy small tester pots of paint where you do not need to use a lot of colour. Apply and remove the tape as necessary, letting the paint dry before you move onto the next section.
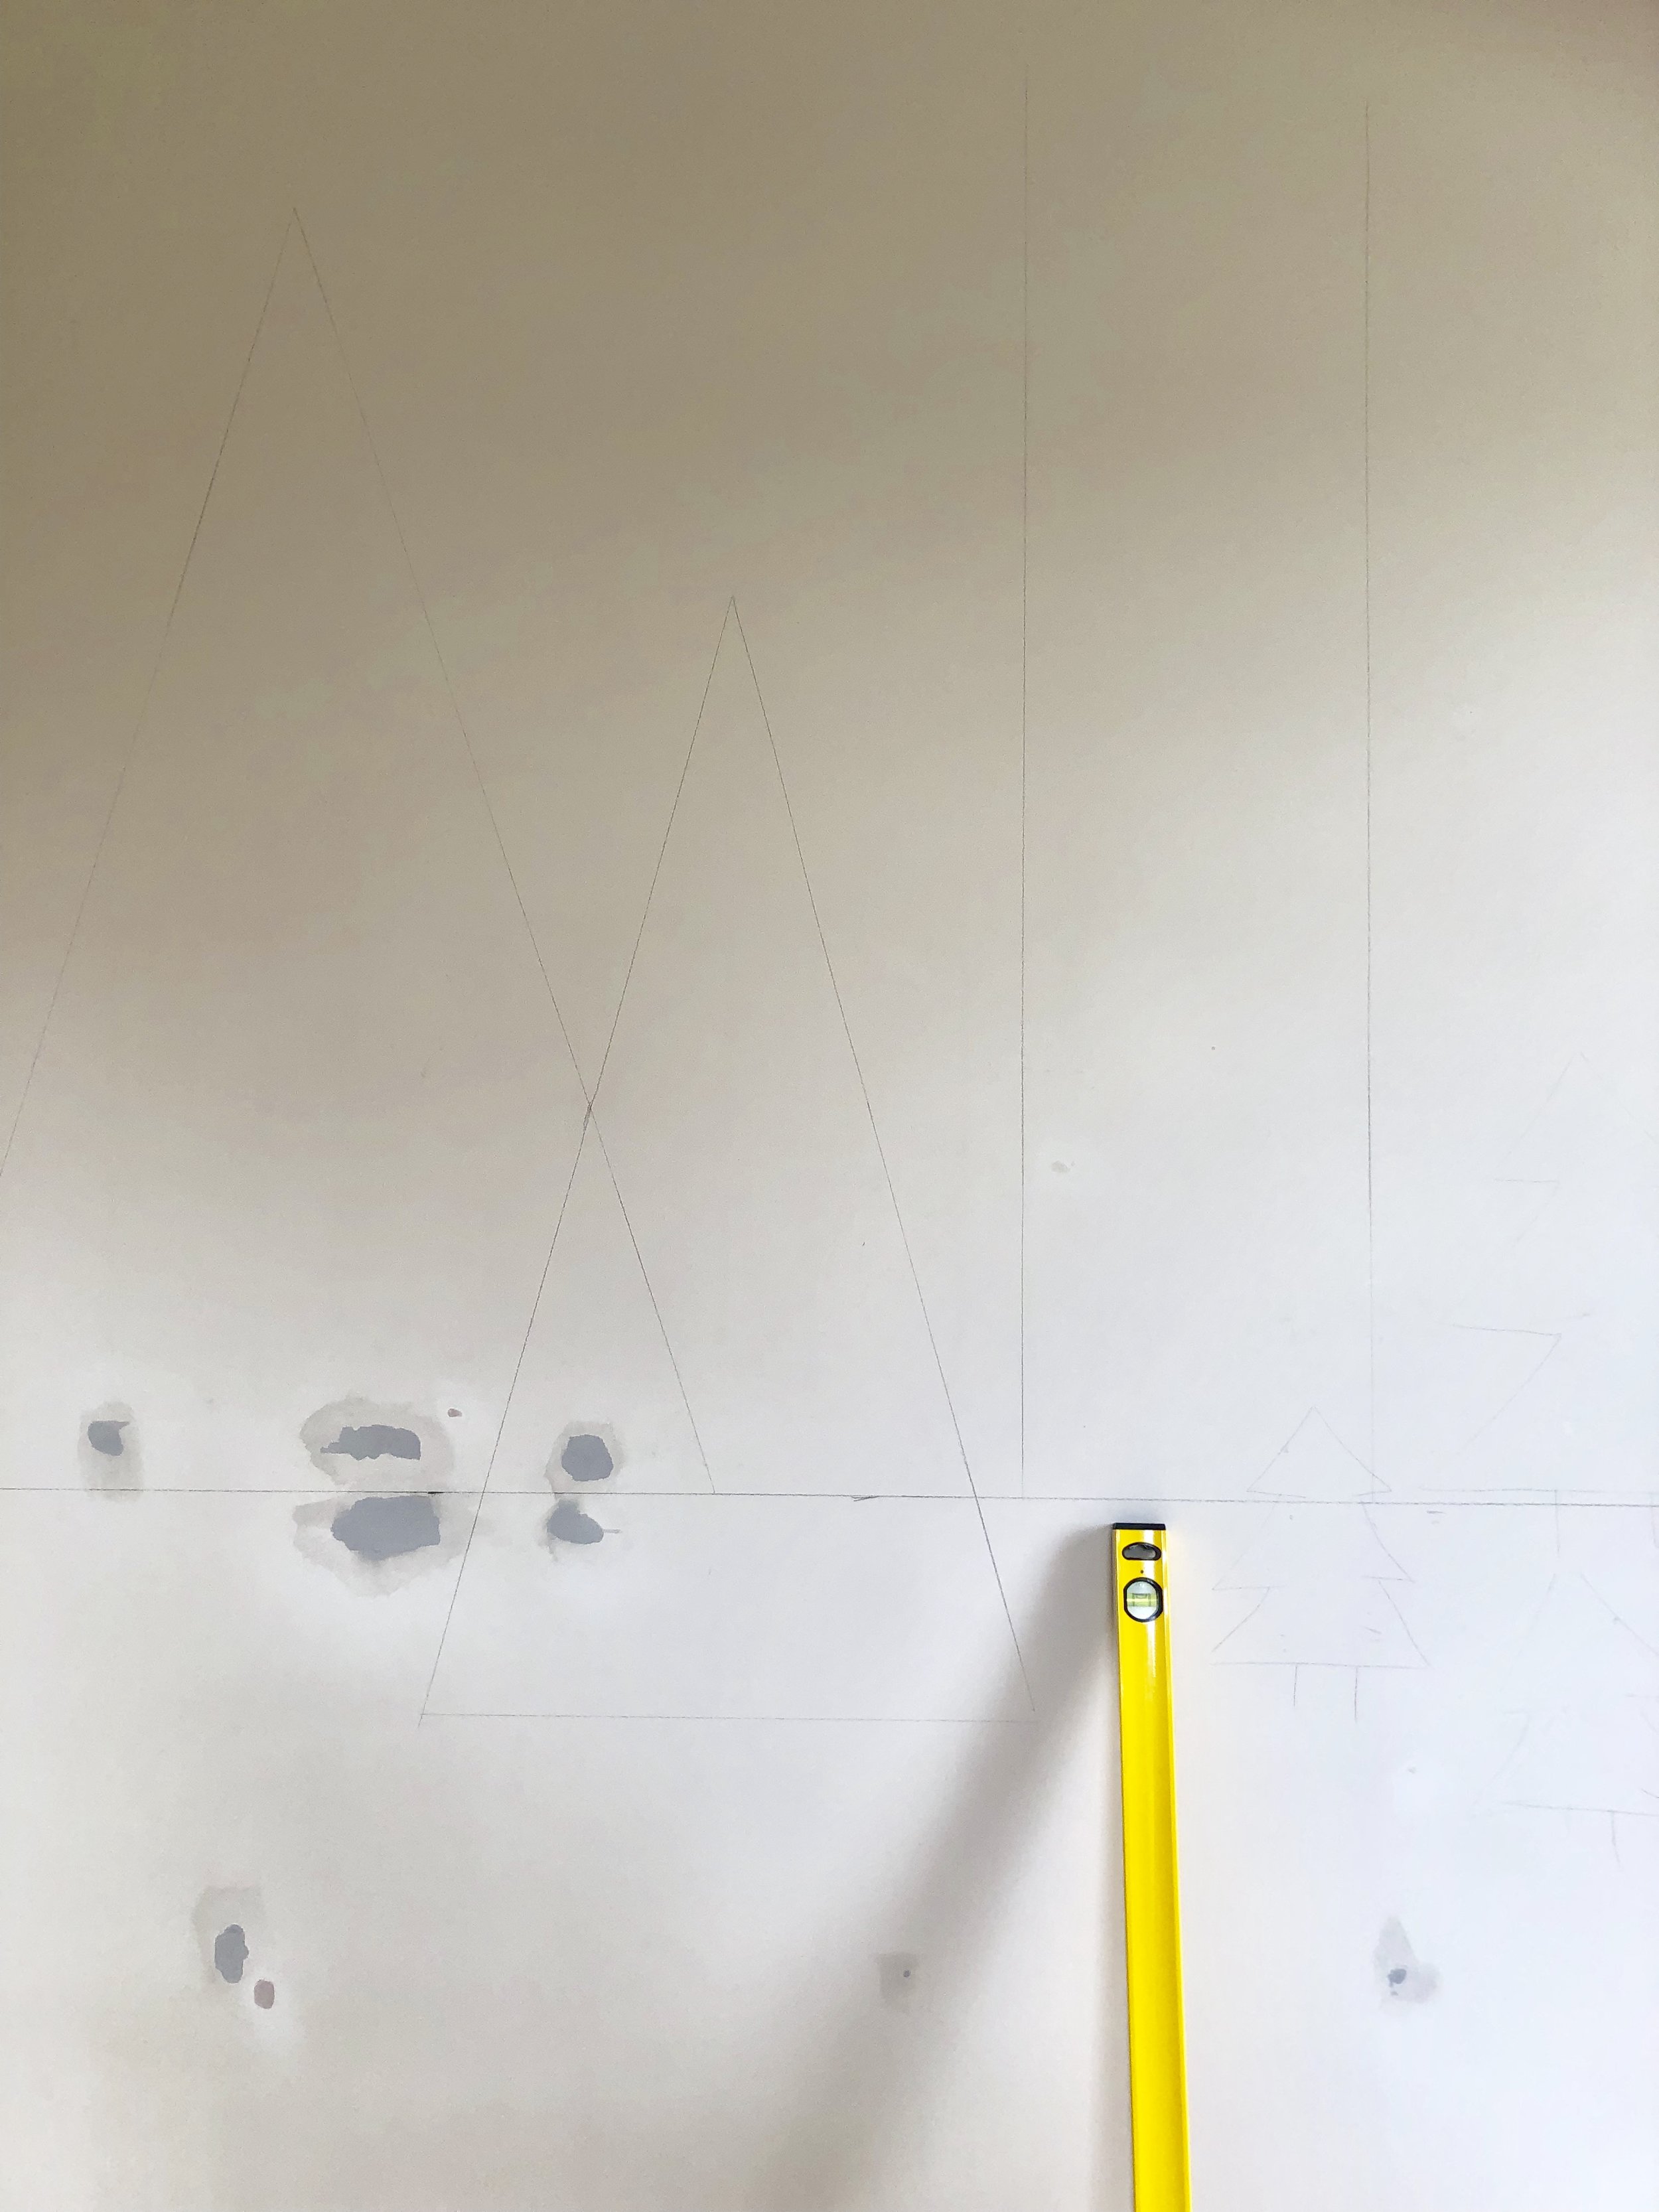
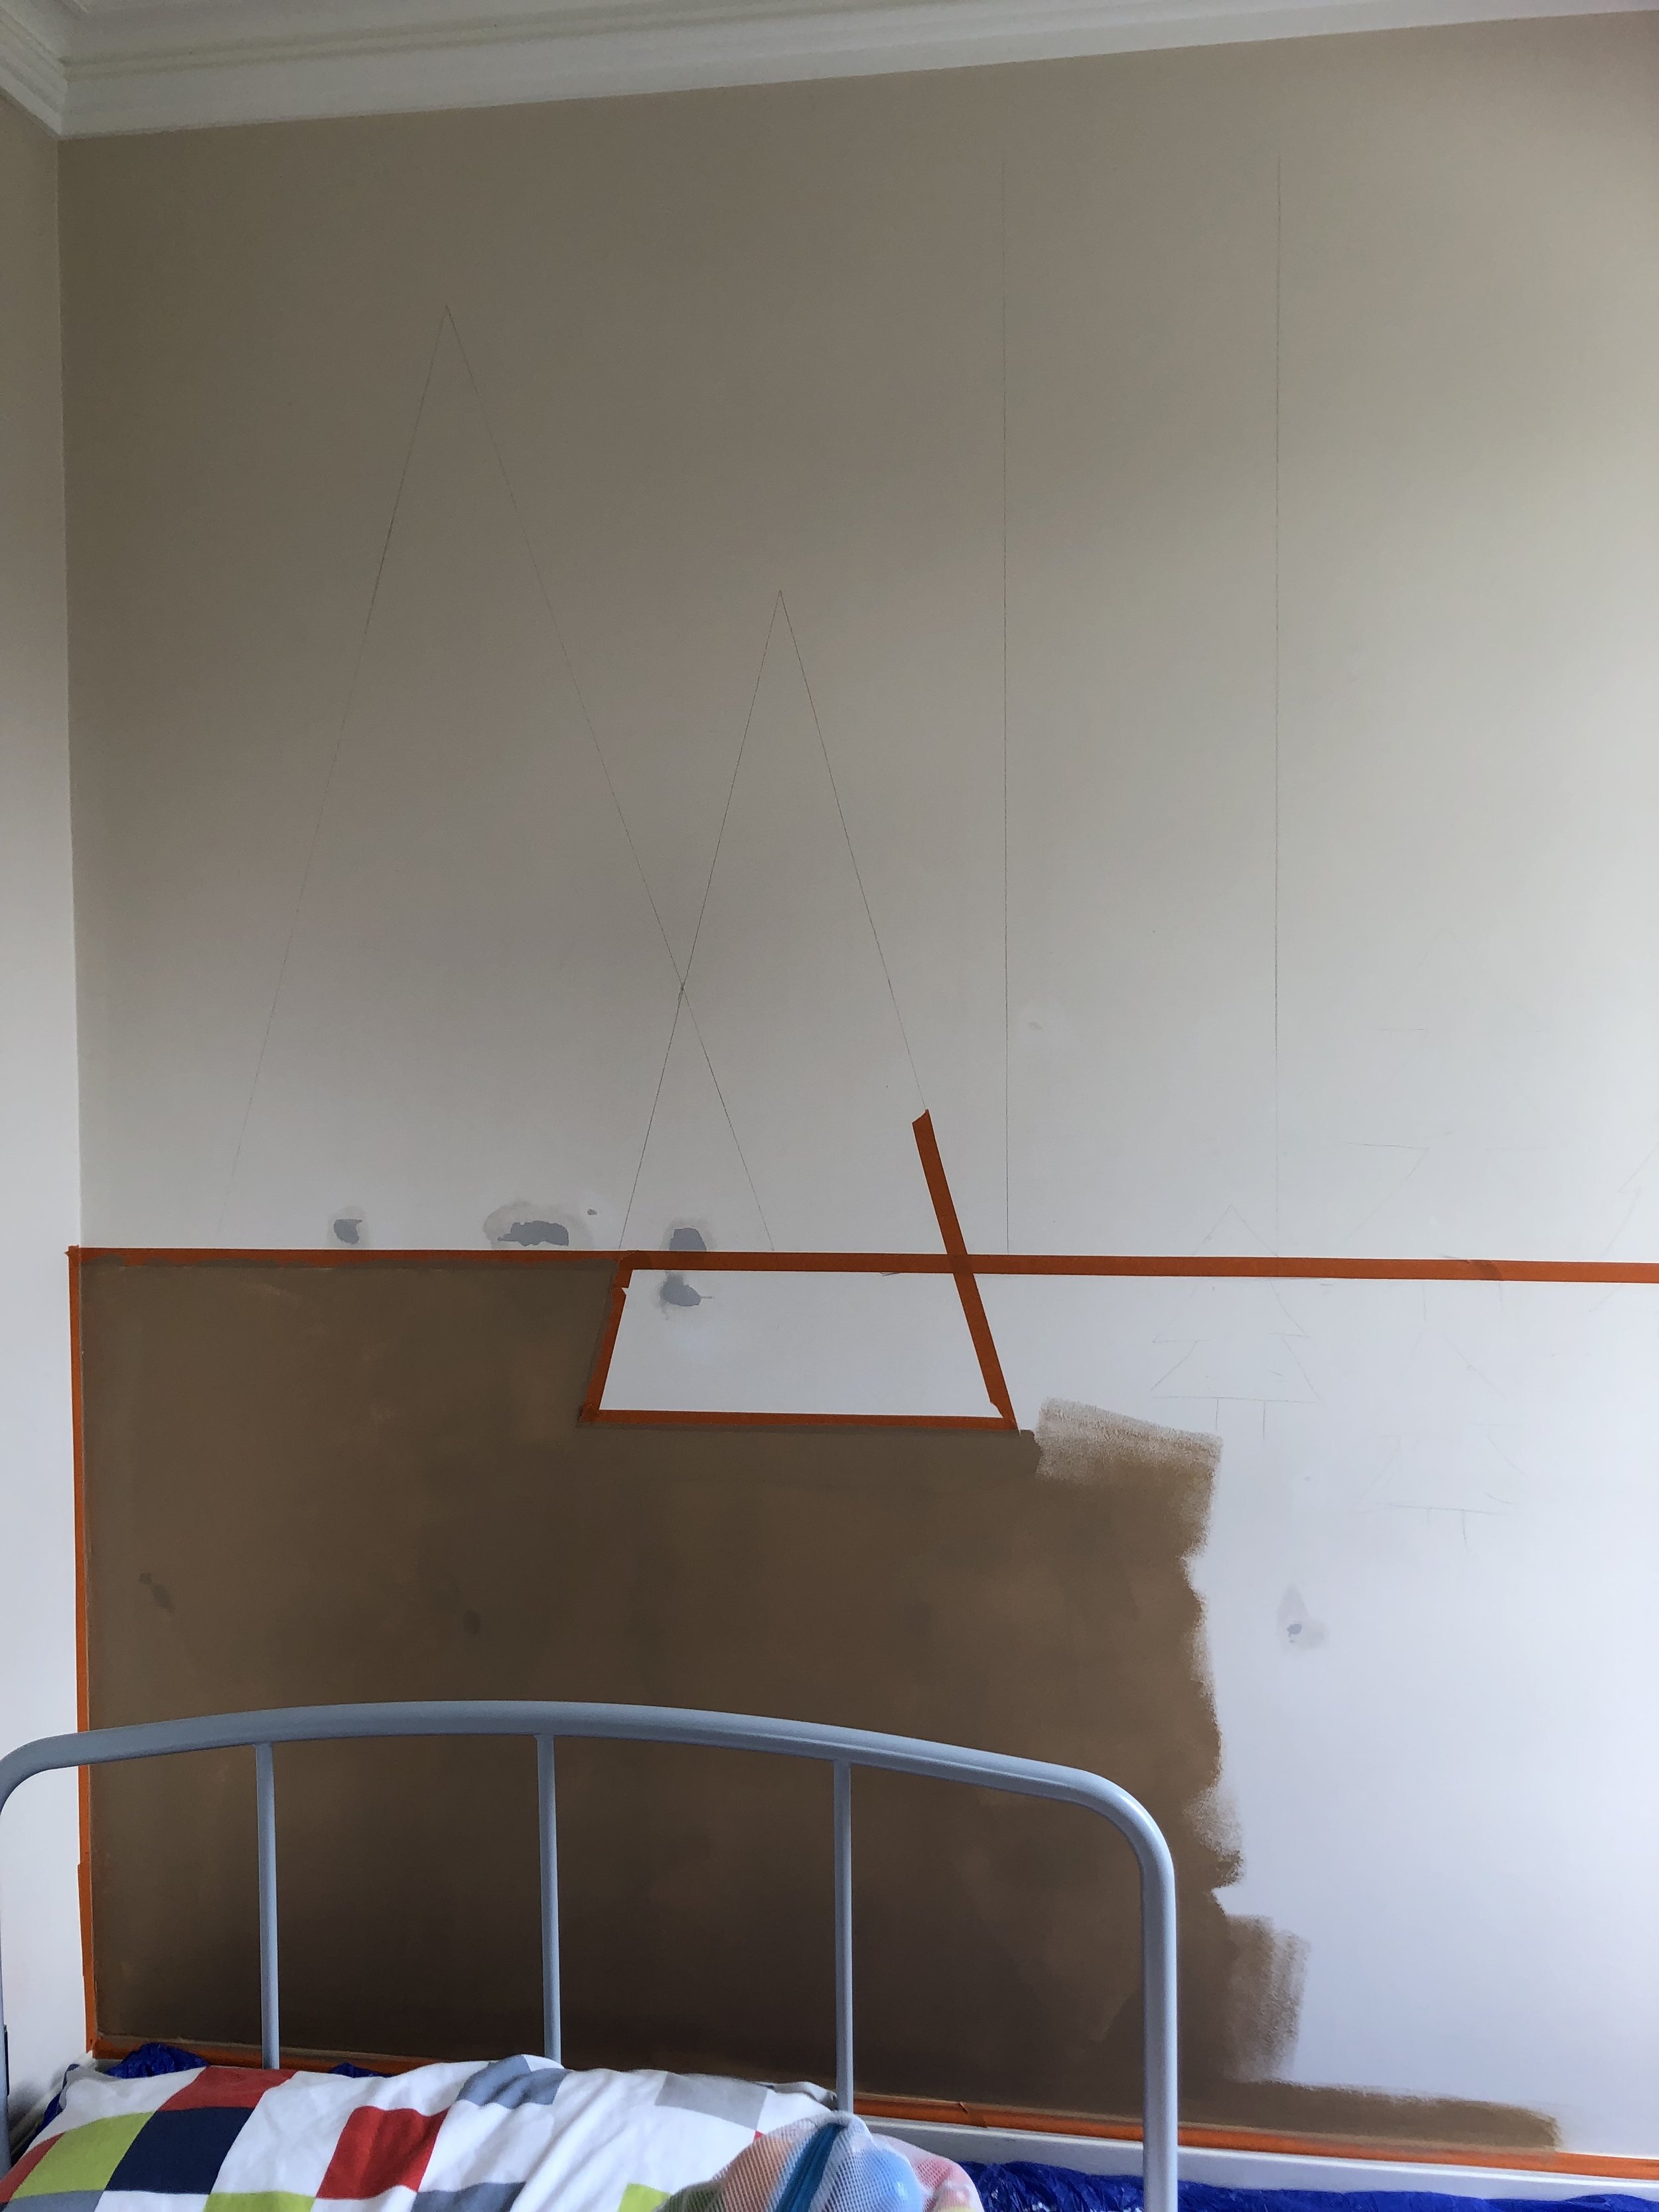
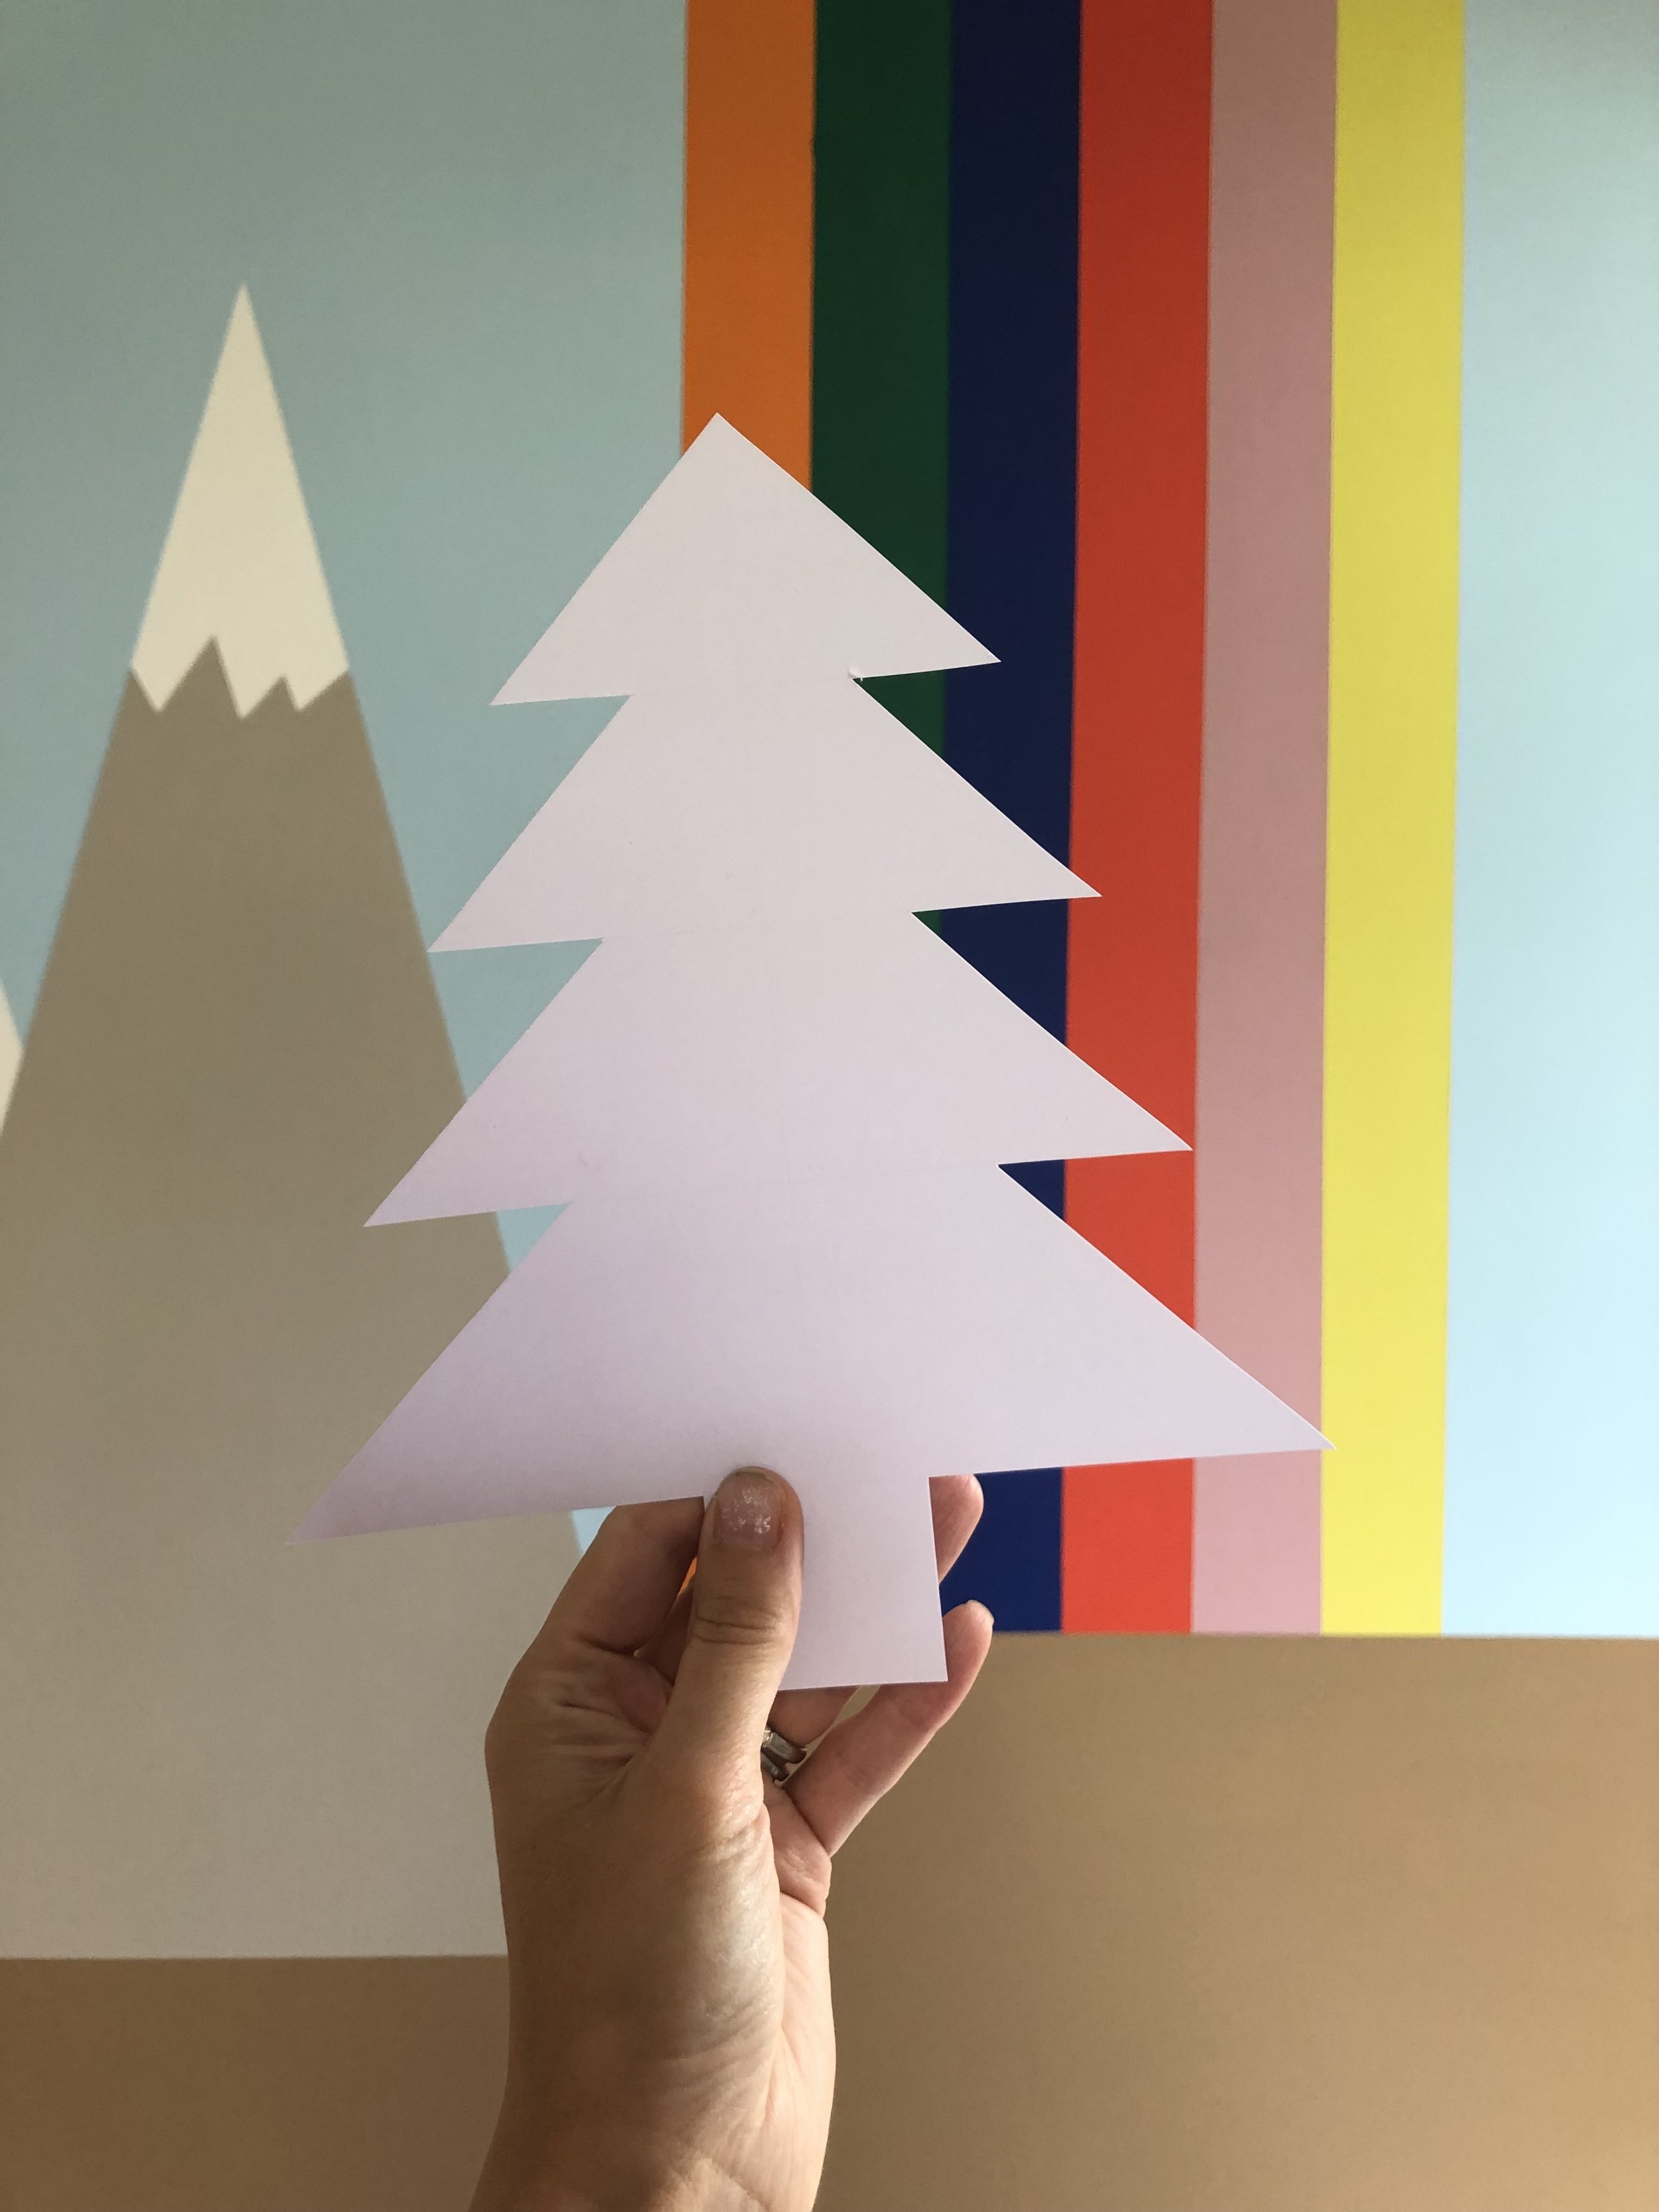
For smaller details such as the trees and tower block windows, I created a stencil on a piece of card and then marked around the stencil onto the wall. I then added the tape on top of the pencil lines and painted inside the marked off areas.
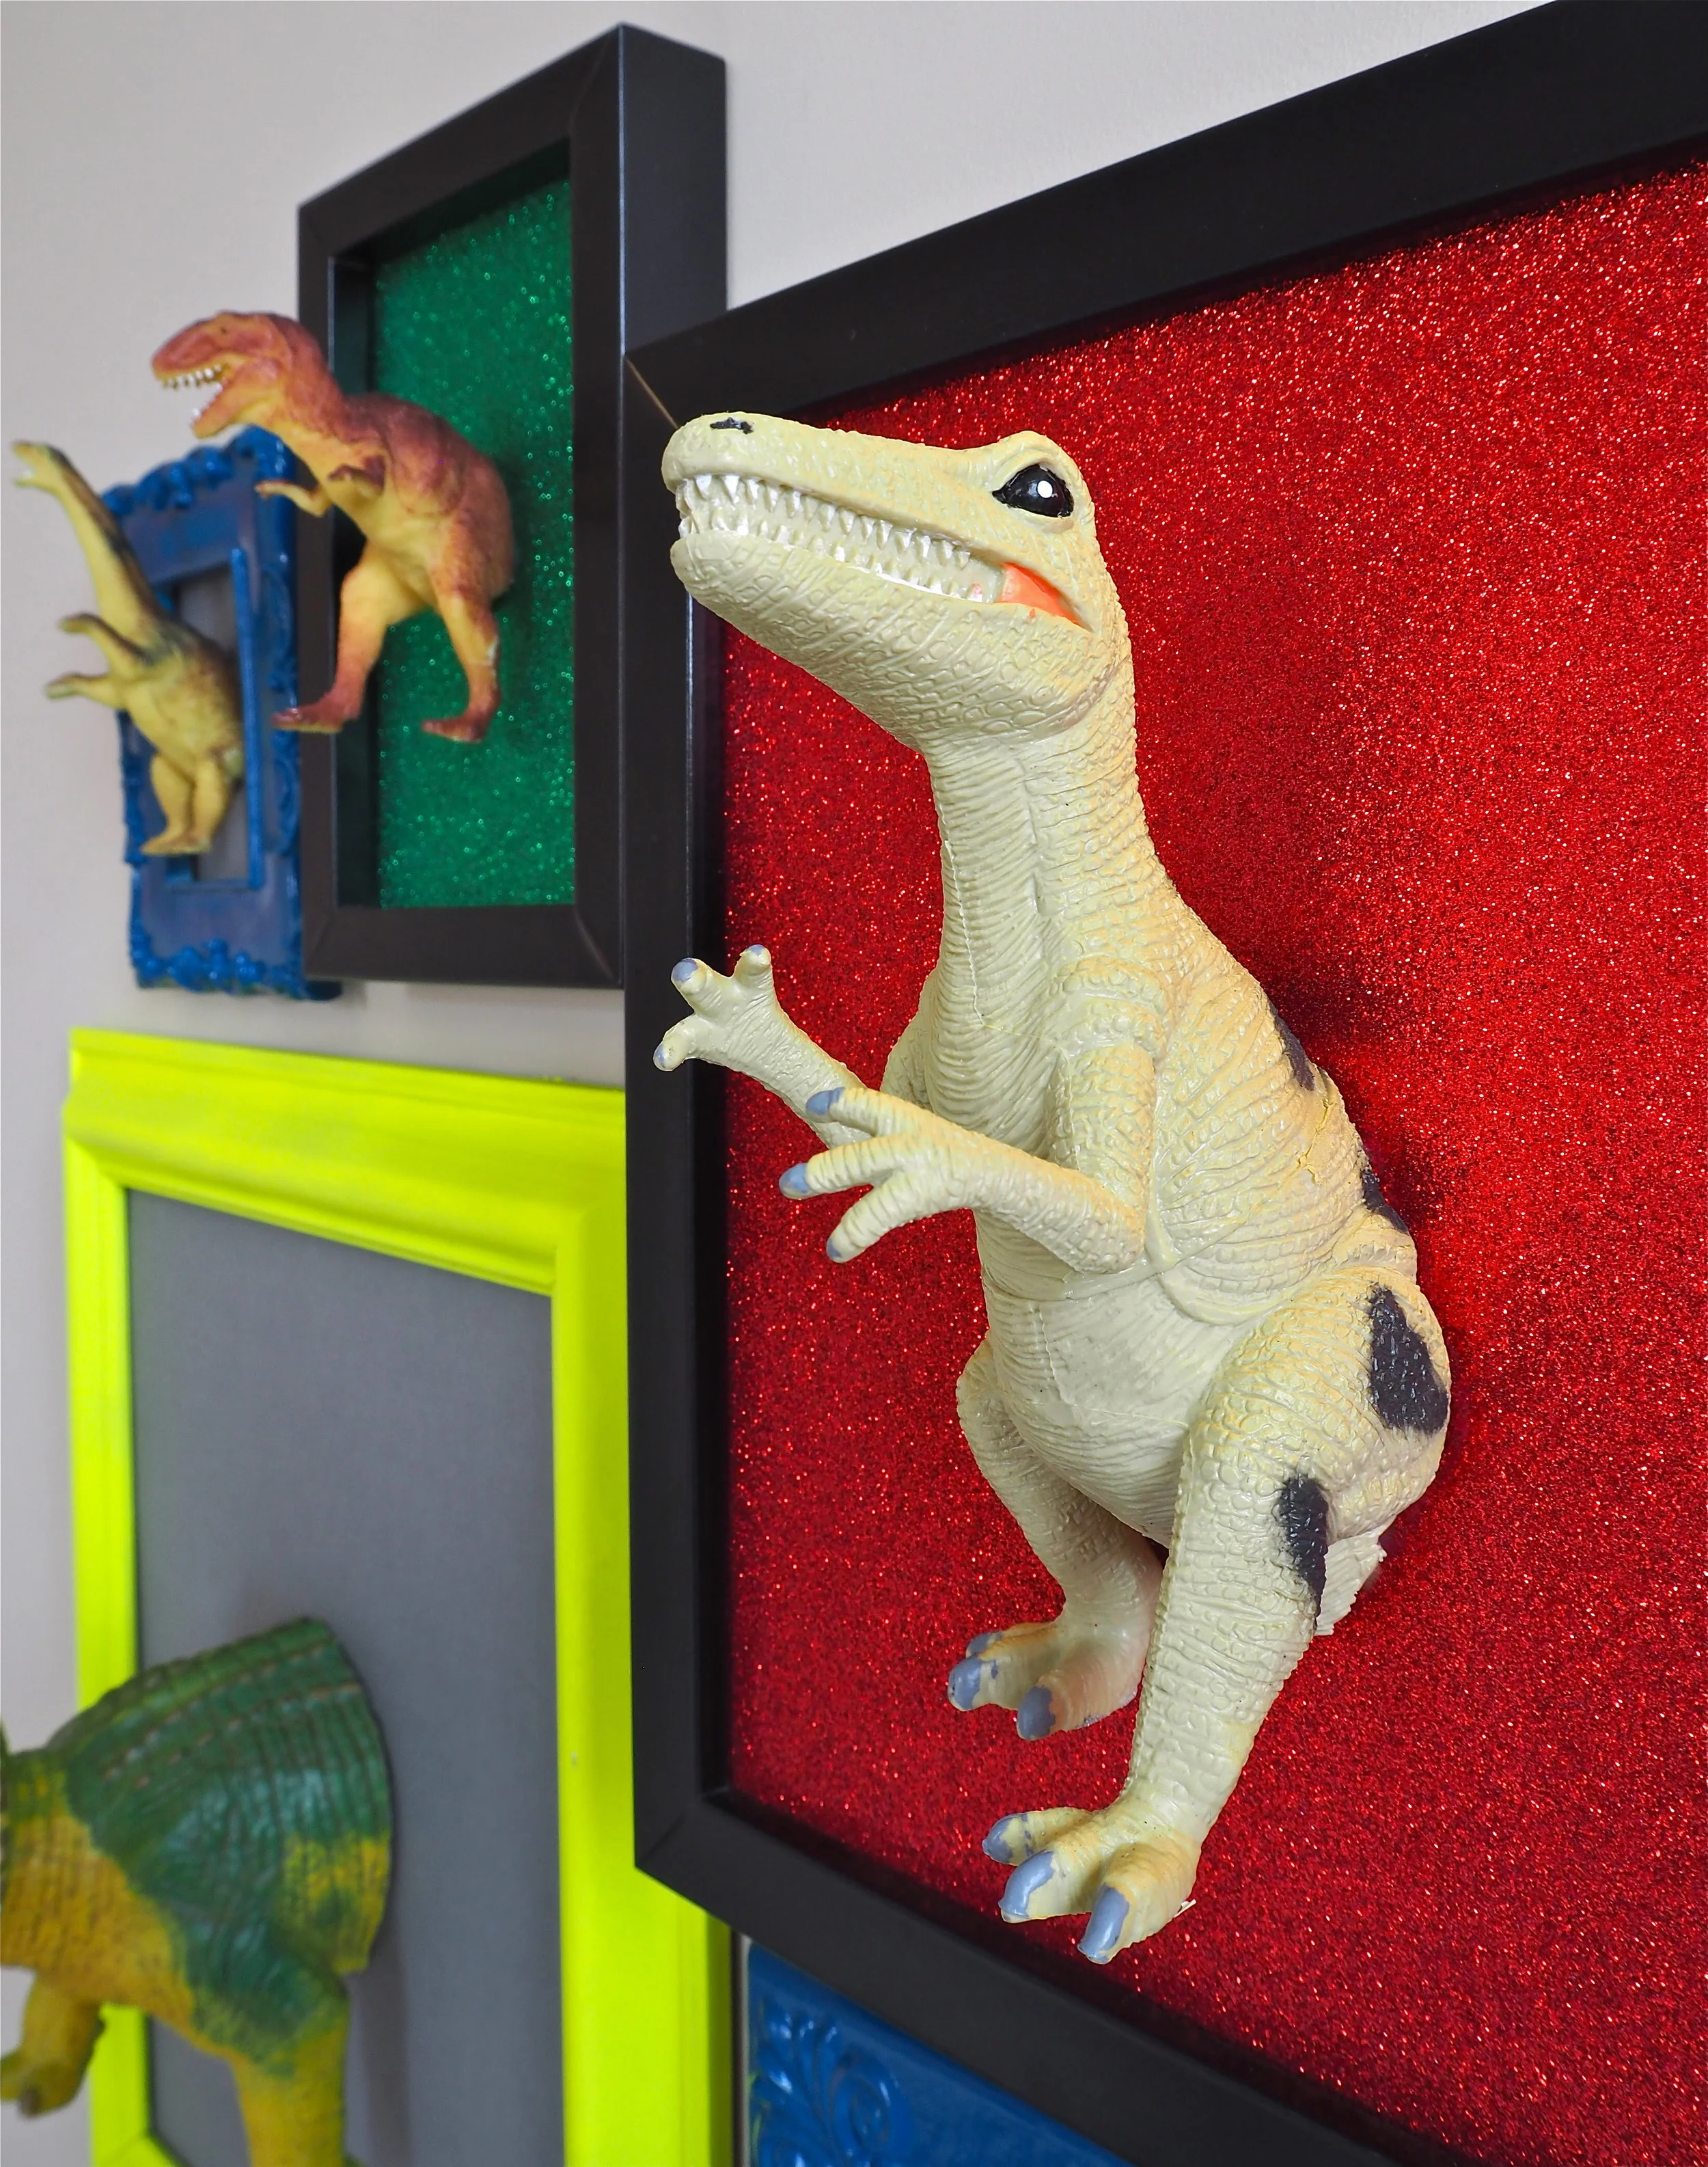
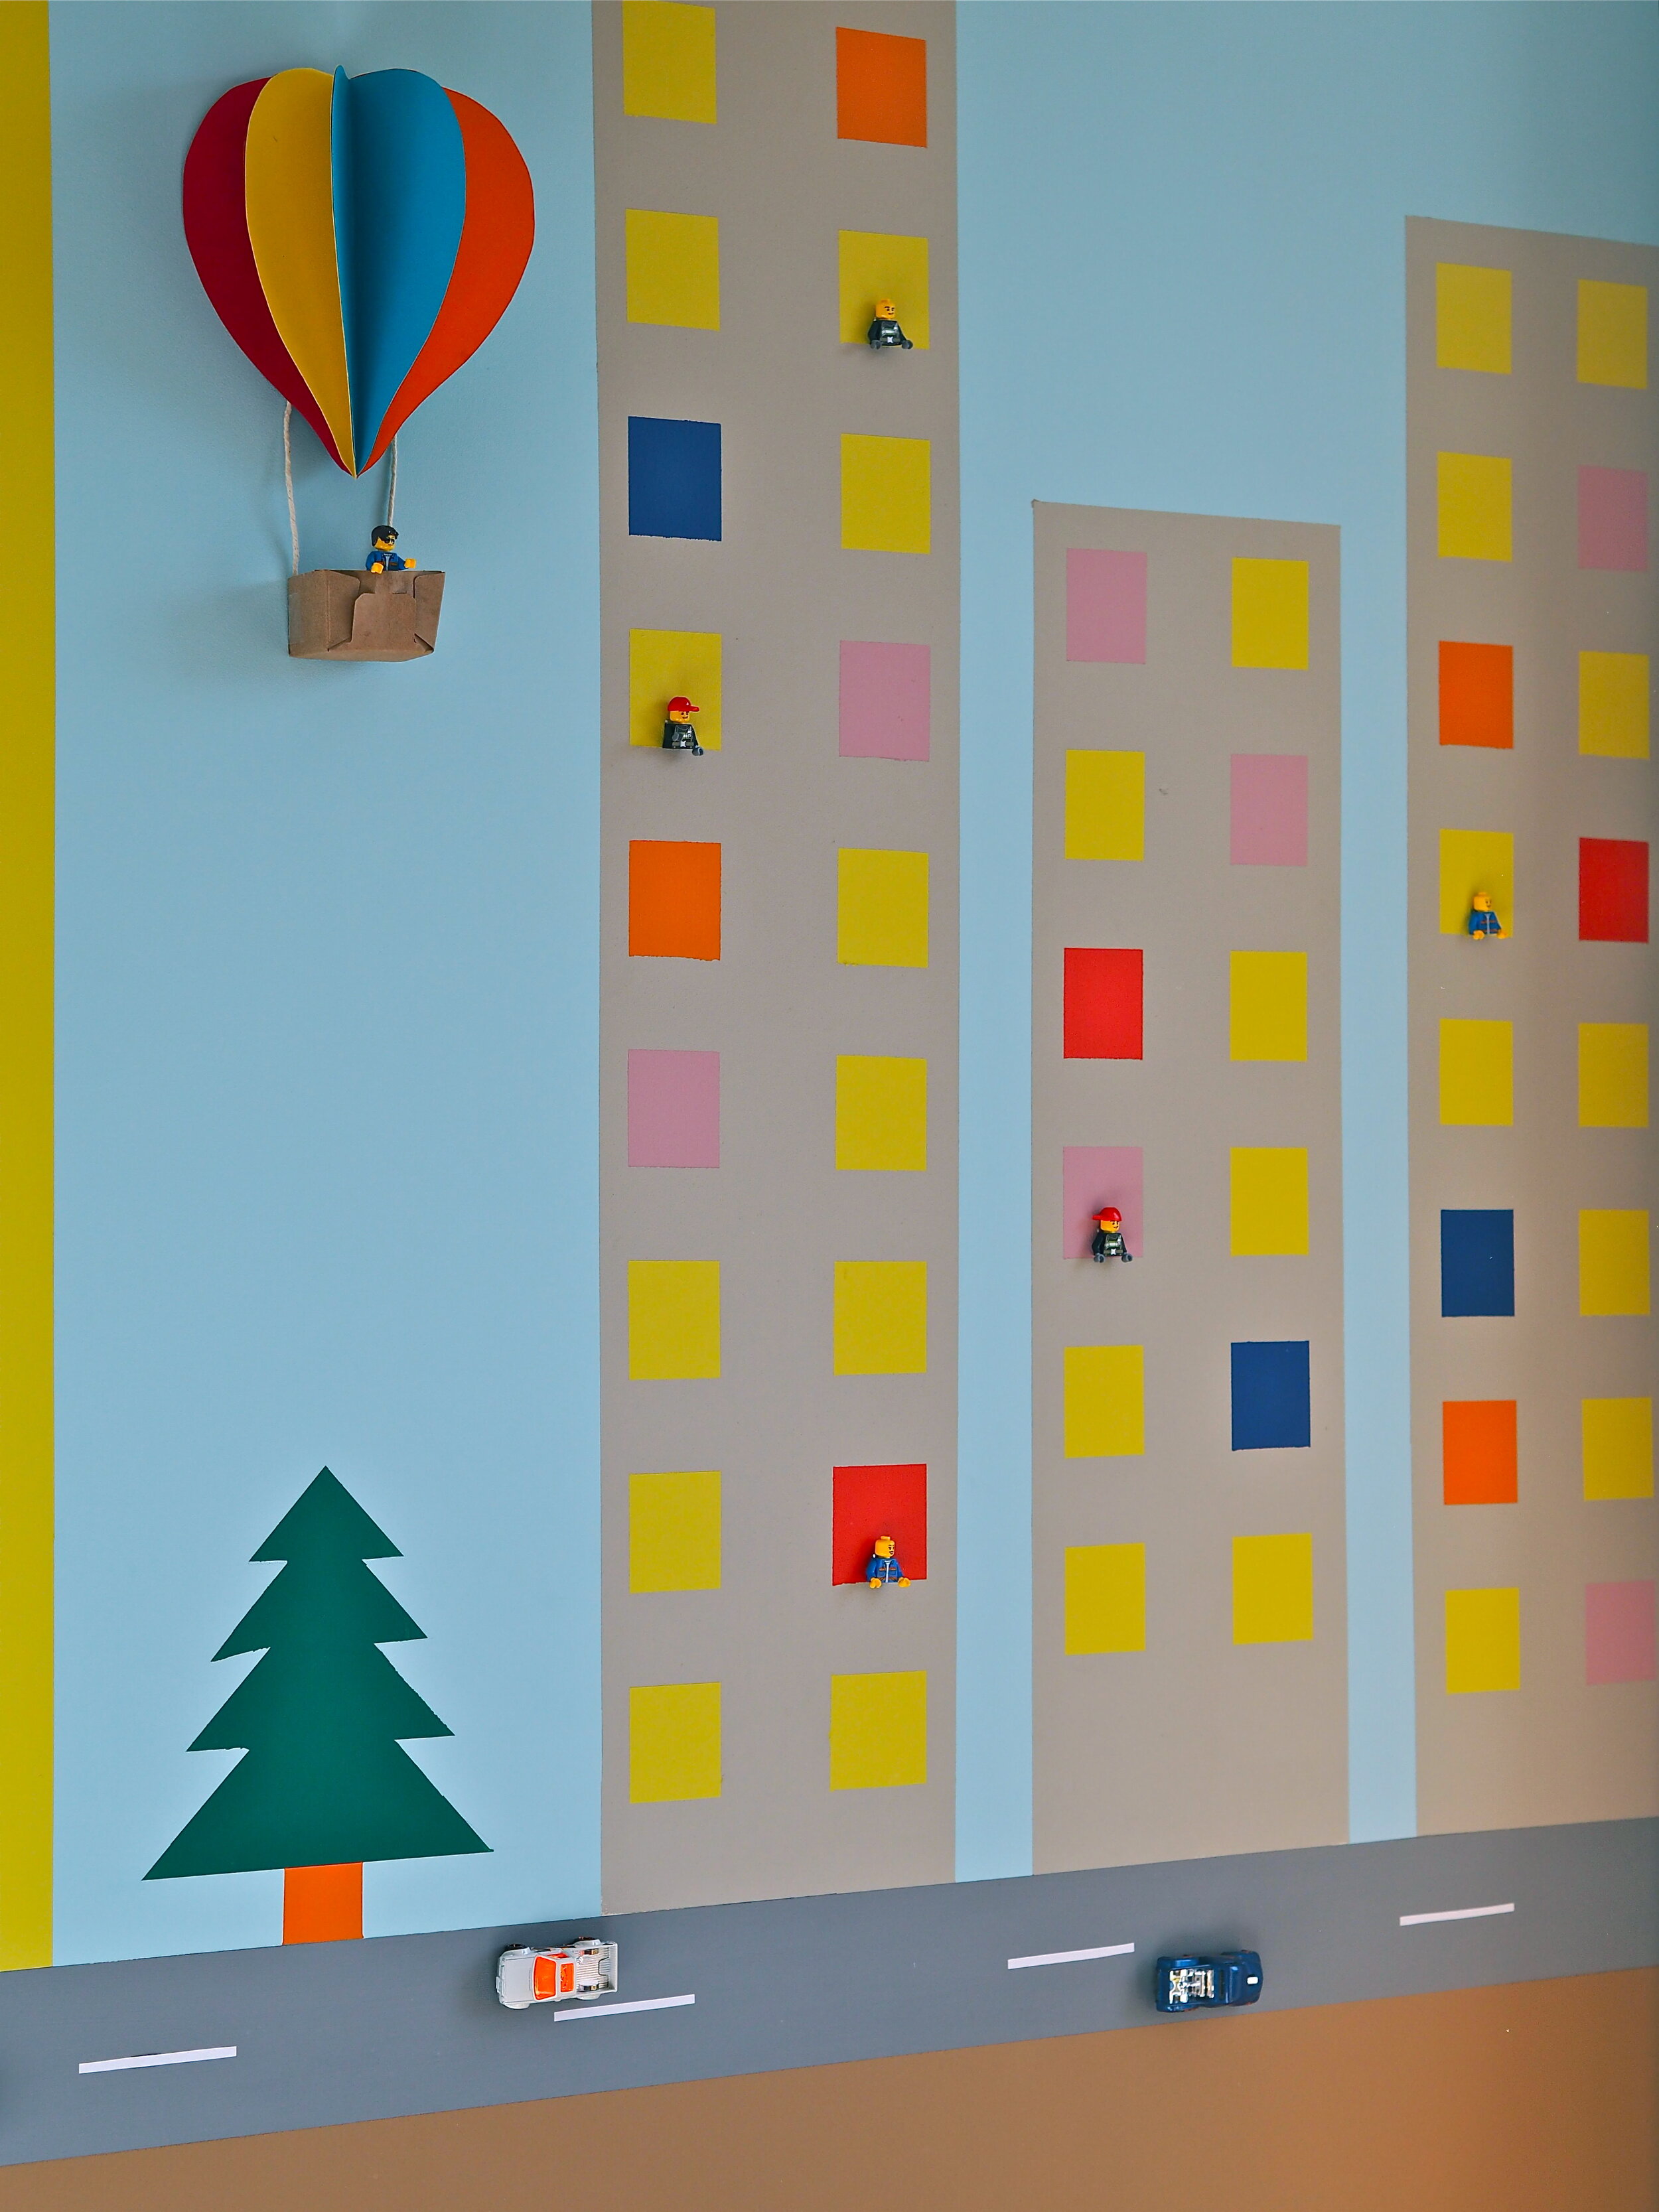
To create the 3D effect, I chose small, light toys and figures that complimented the landscape theme. I added a toy plane in the sky and racing cars onto the road. The tower block windows were perfect to add in lego figures. If your child does not already own these toys, they are easy to purchase online, or can be found in local charity shops.


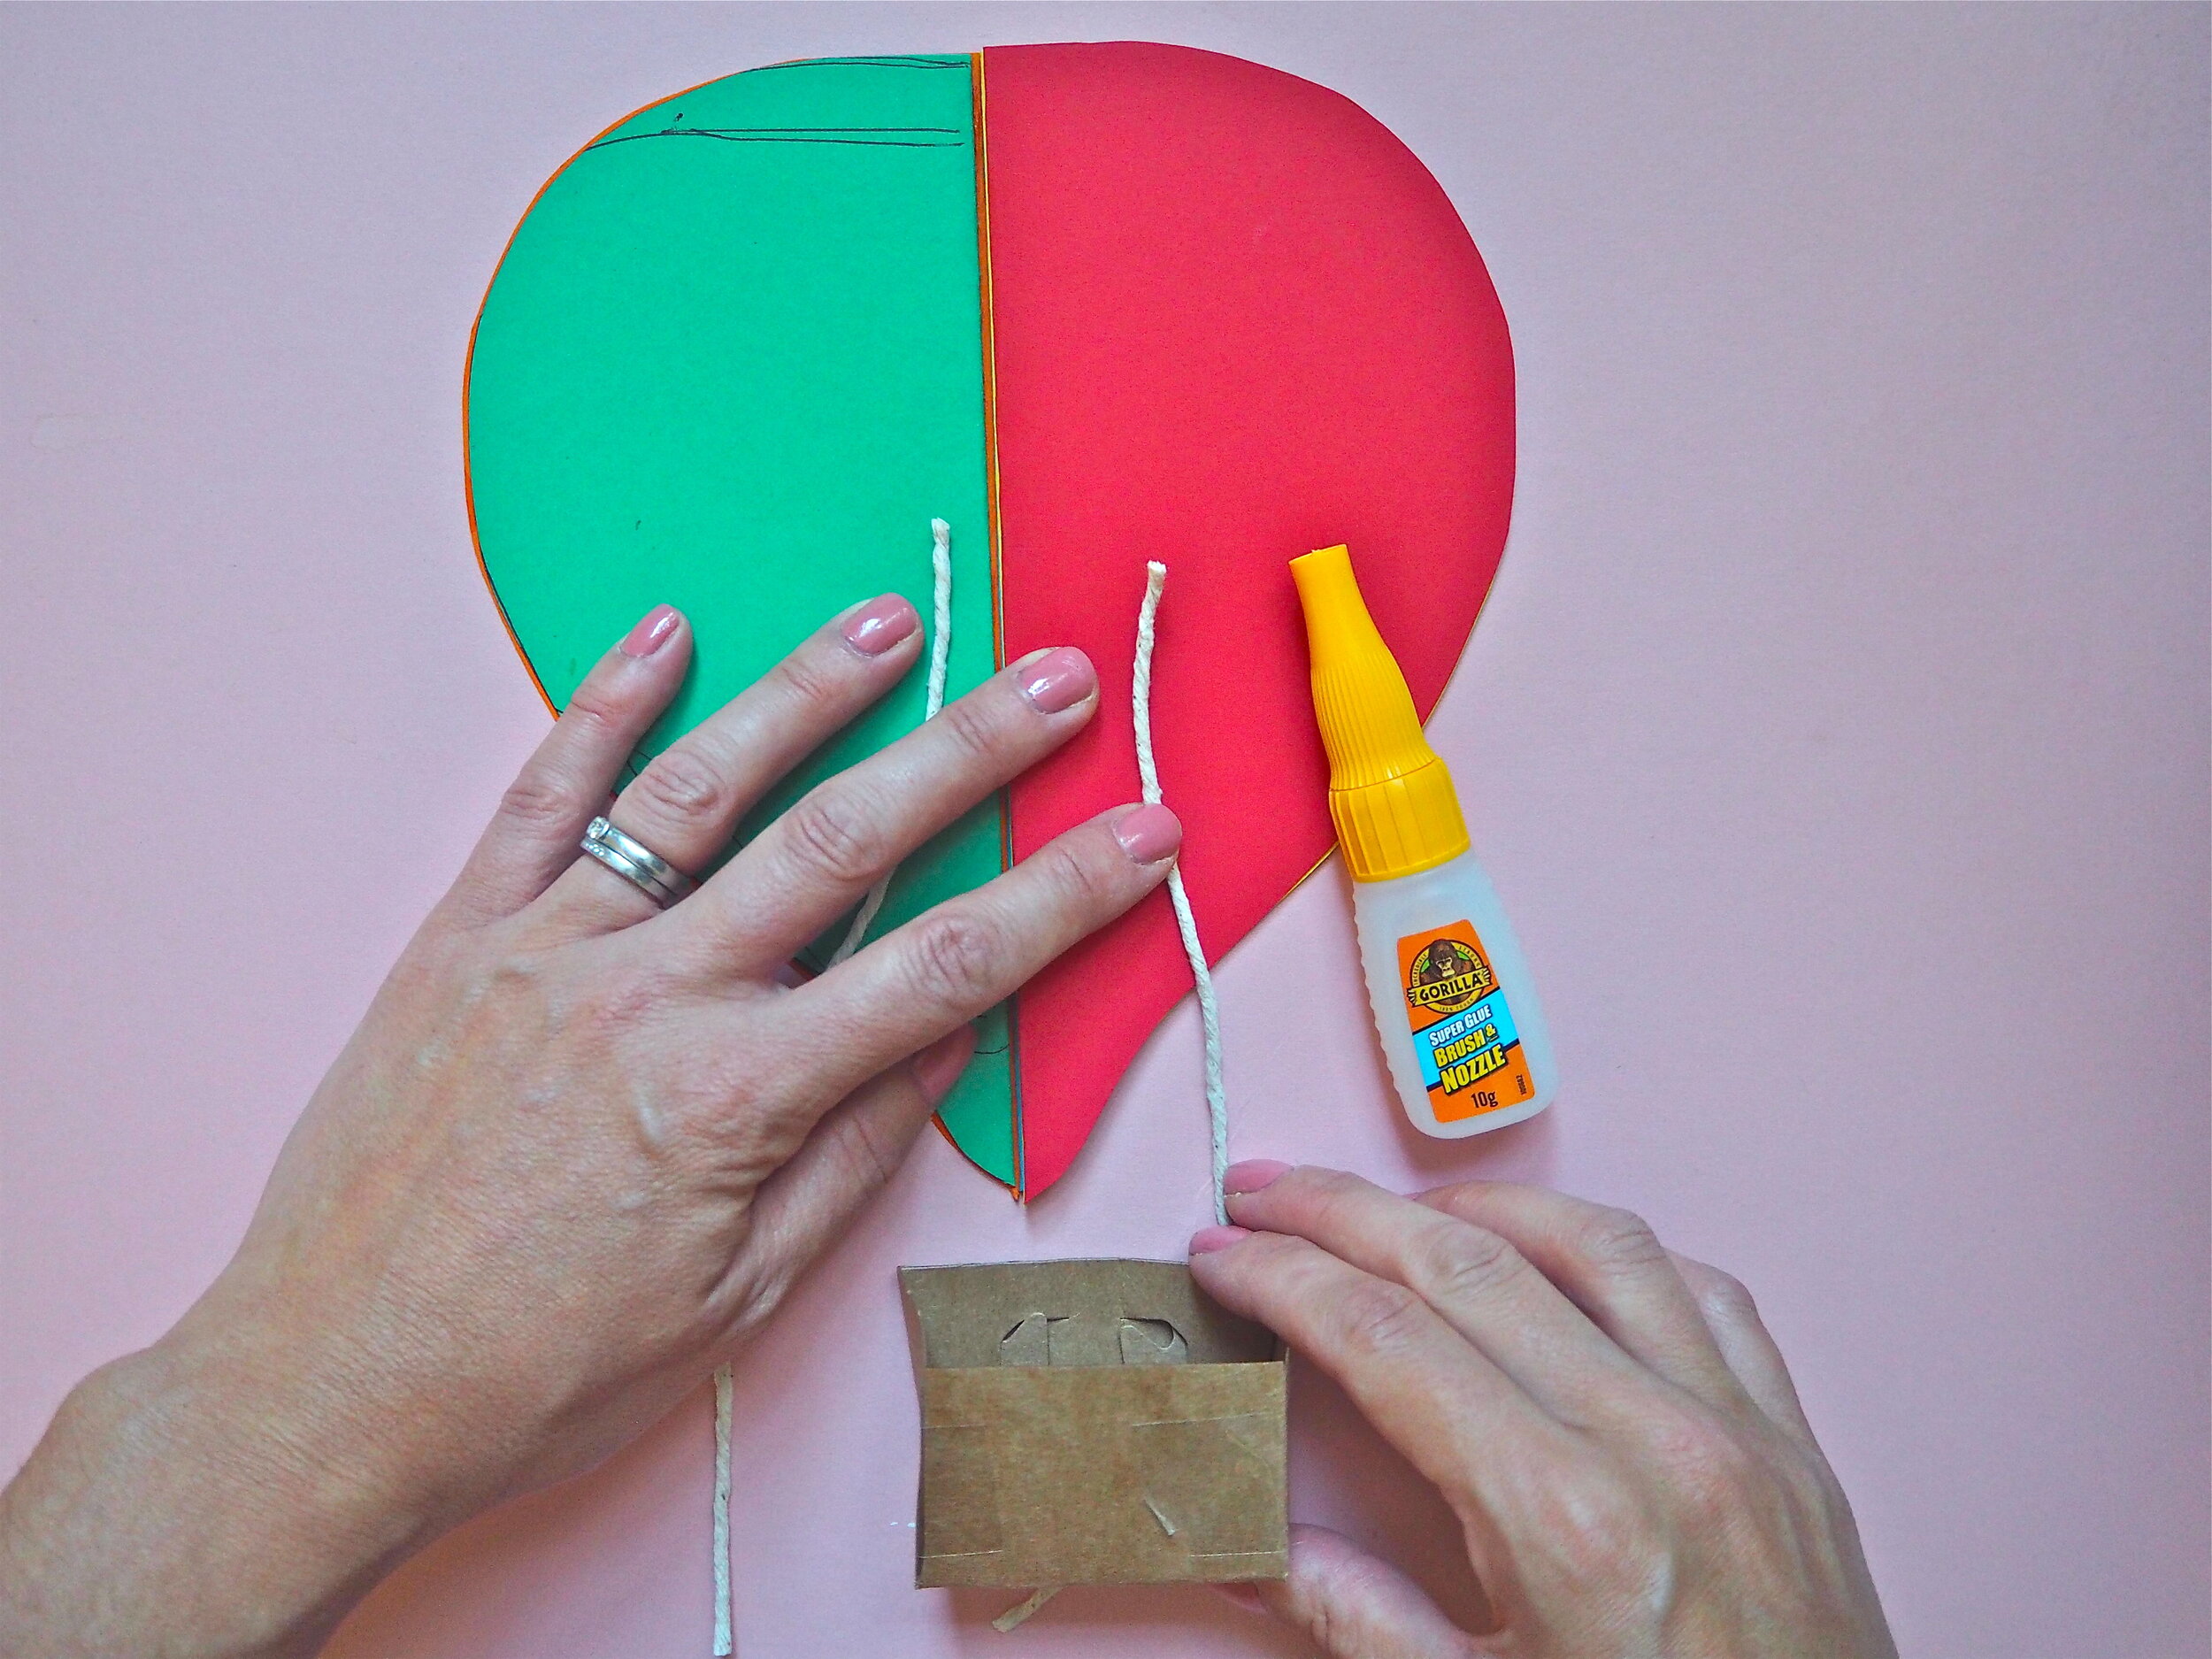
To create the balloon basket, I used a left over cardboard tray from the supermarket that once contained apples. I cut off the end and folded it up so that it could hold a lego figure. Inside the basket, again using Gorilla Super Glue Brush & Nozzle, I attached two pieces of string that I then glued to the reverse side of the paper balloon.


To attach the toy aeroplanes, lego figures, cars and the hot air balloon to the wall, I used Gorilla Crystal Clear Mounting Tape Squares. The fact that the squares are clear is perfect for this DIY, as it means you cannot see any white edges poking through the underside of the toys. It literally looks like the toy is ‘floating’ on the wall, adding to the 3D effect.

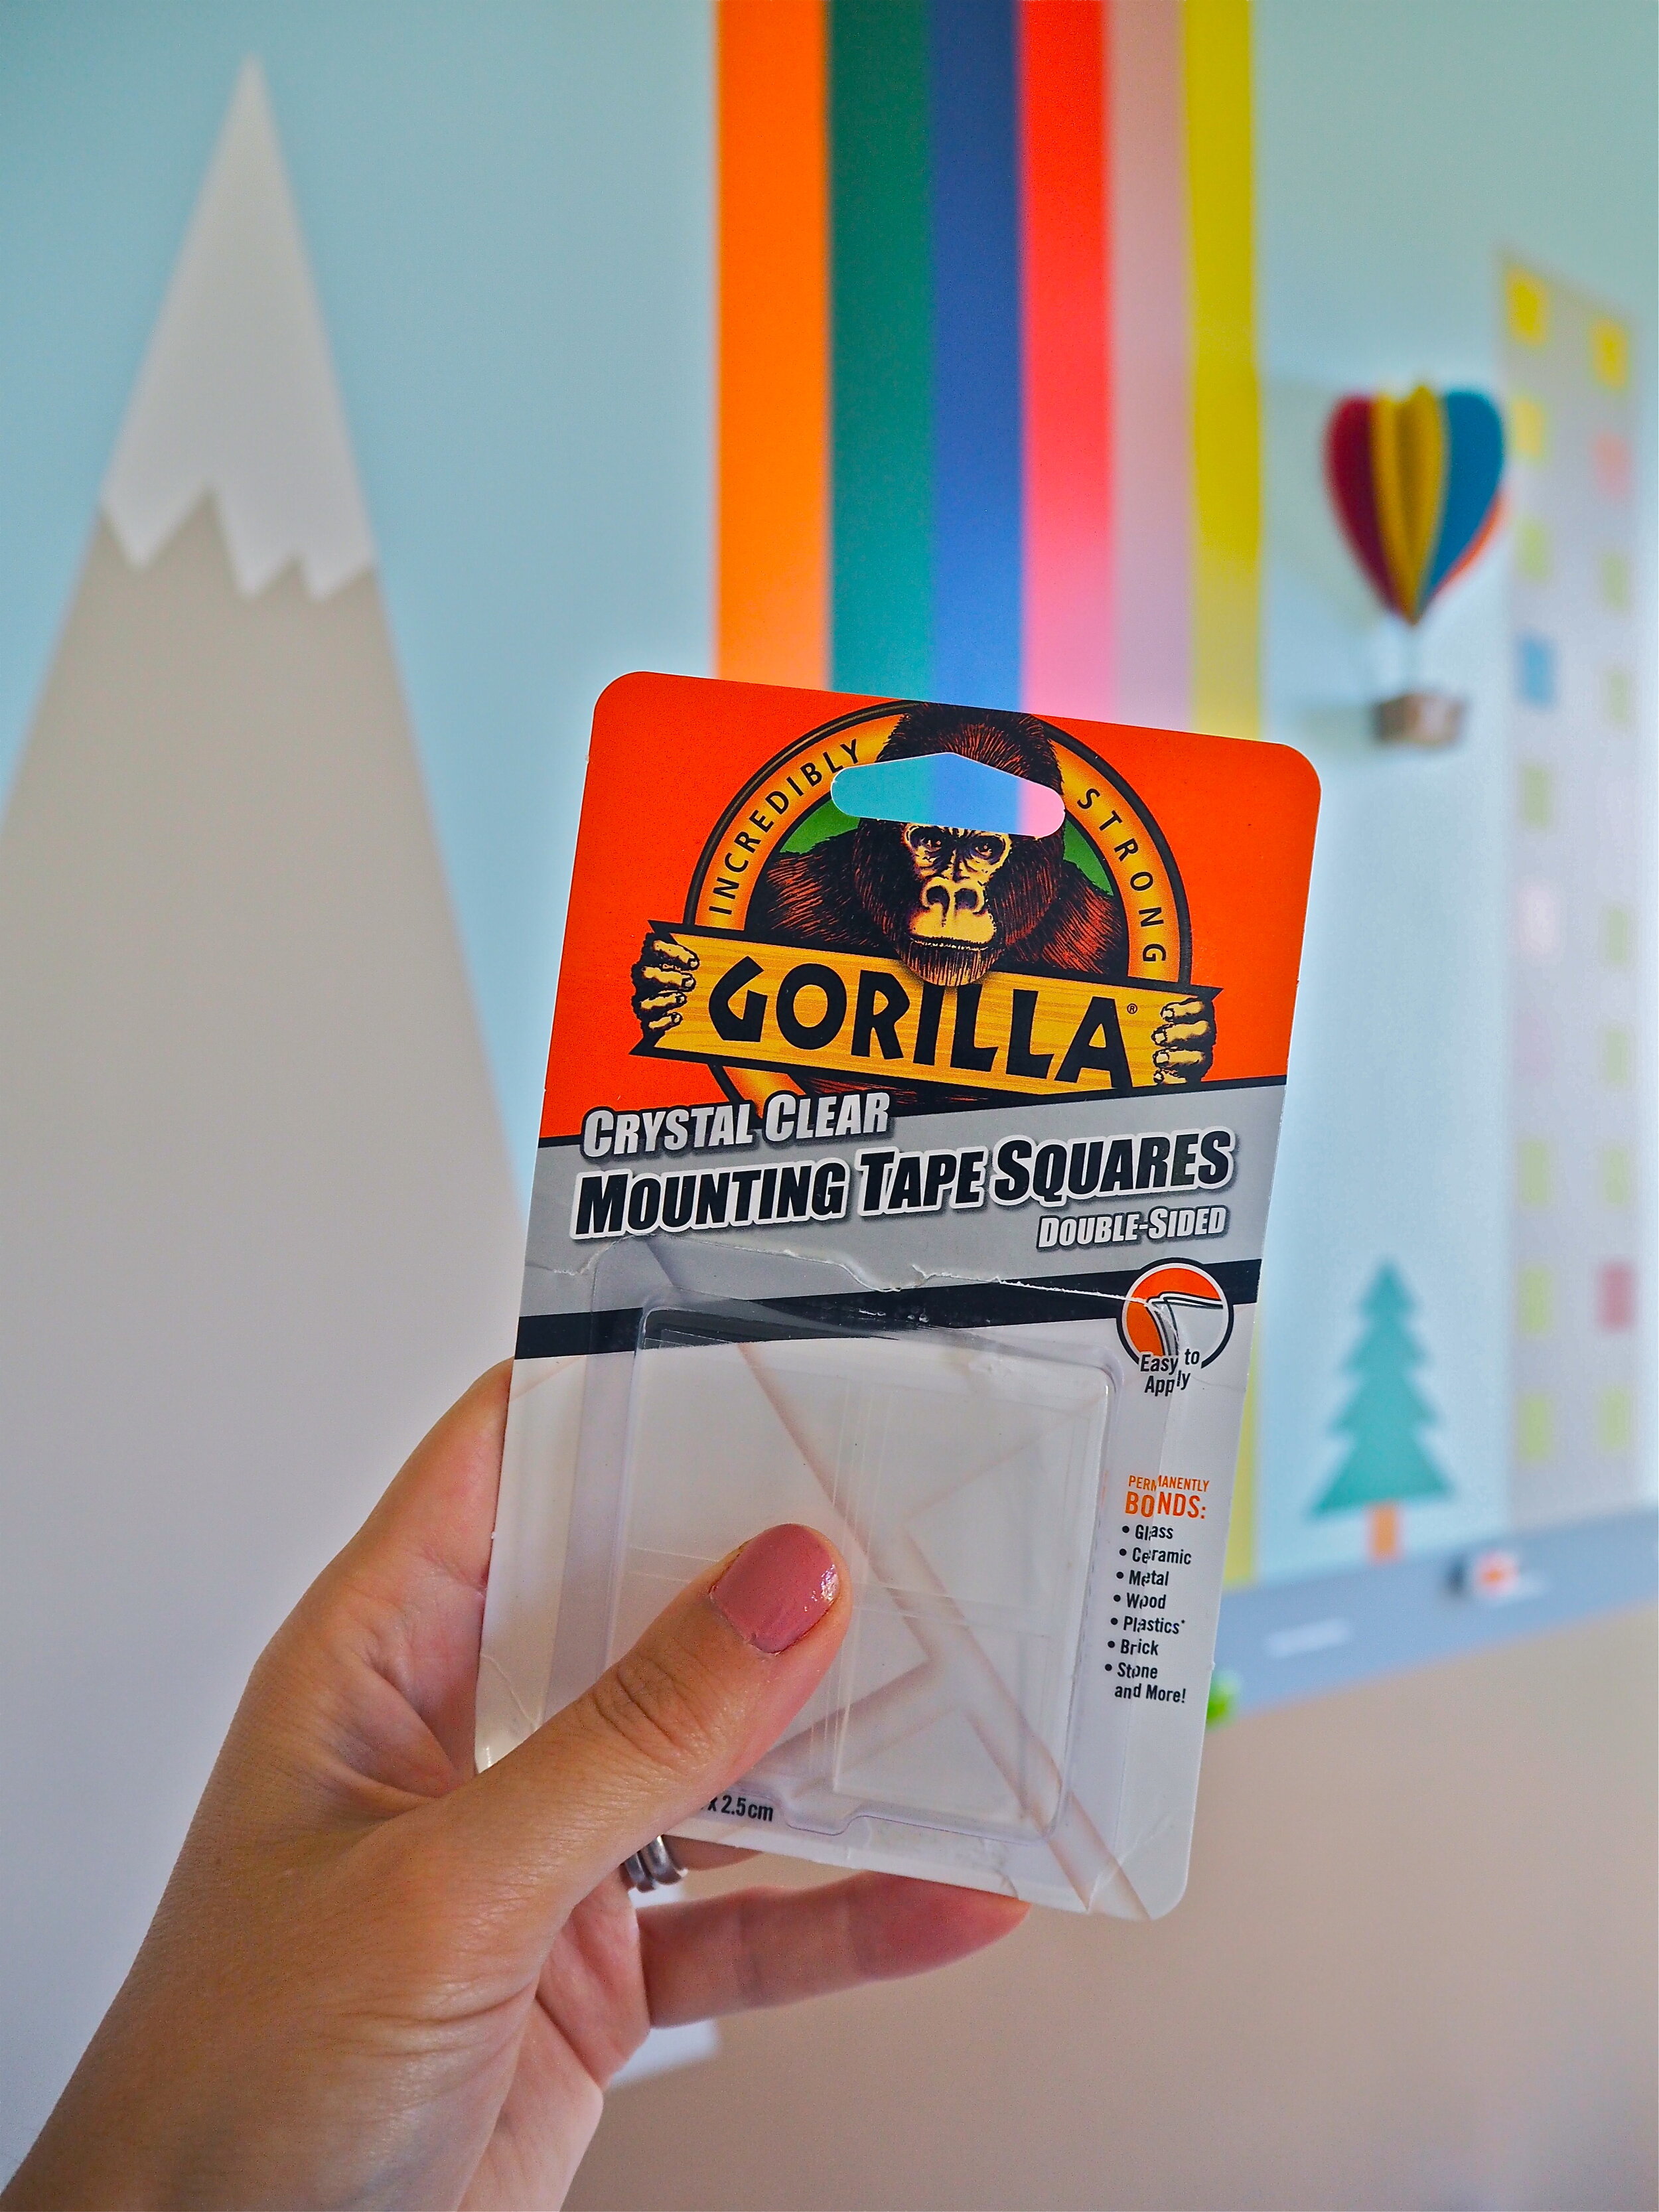
To apply the Mounting Tape Squares, I removed each square from the bottom liner, leaving on the top sheet of protective plastic. I then applied a square to the underside of the object to be mounted, pressing firmly down once in place. Once secure, I removed the top protective liner and positioned the toy onto the wall, pressing down firmly until there was a strong, permanent bond.


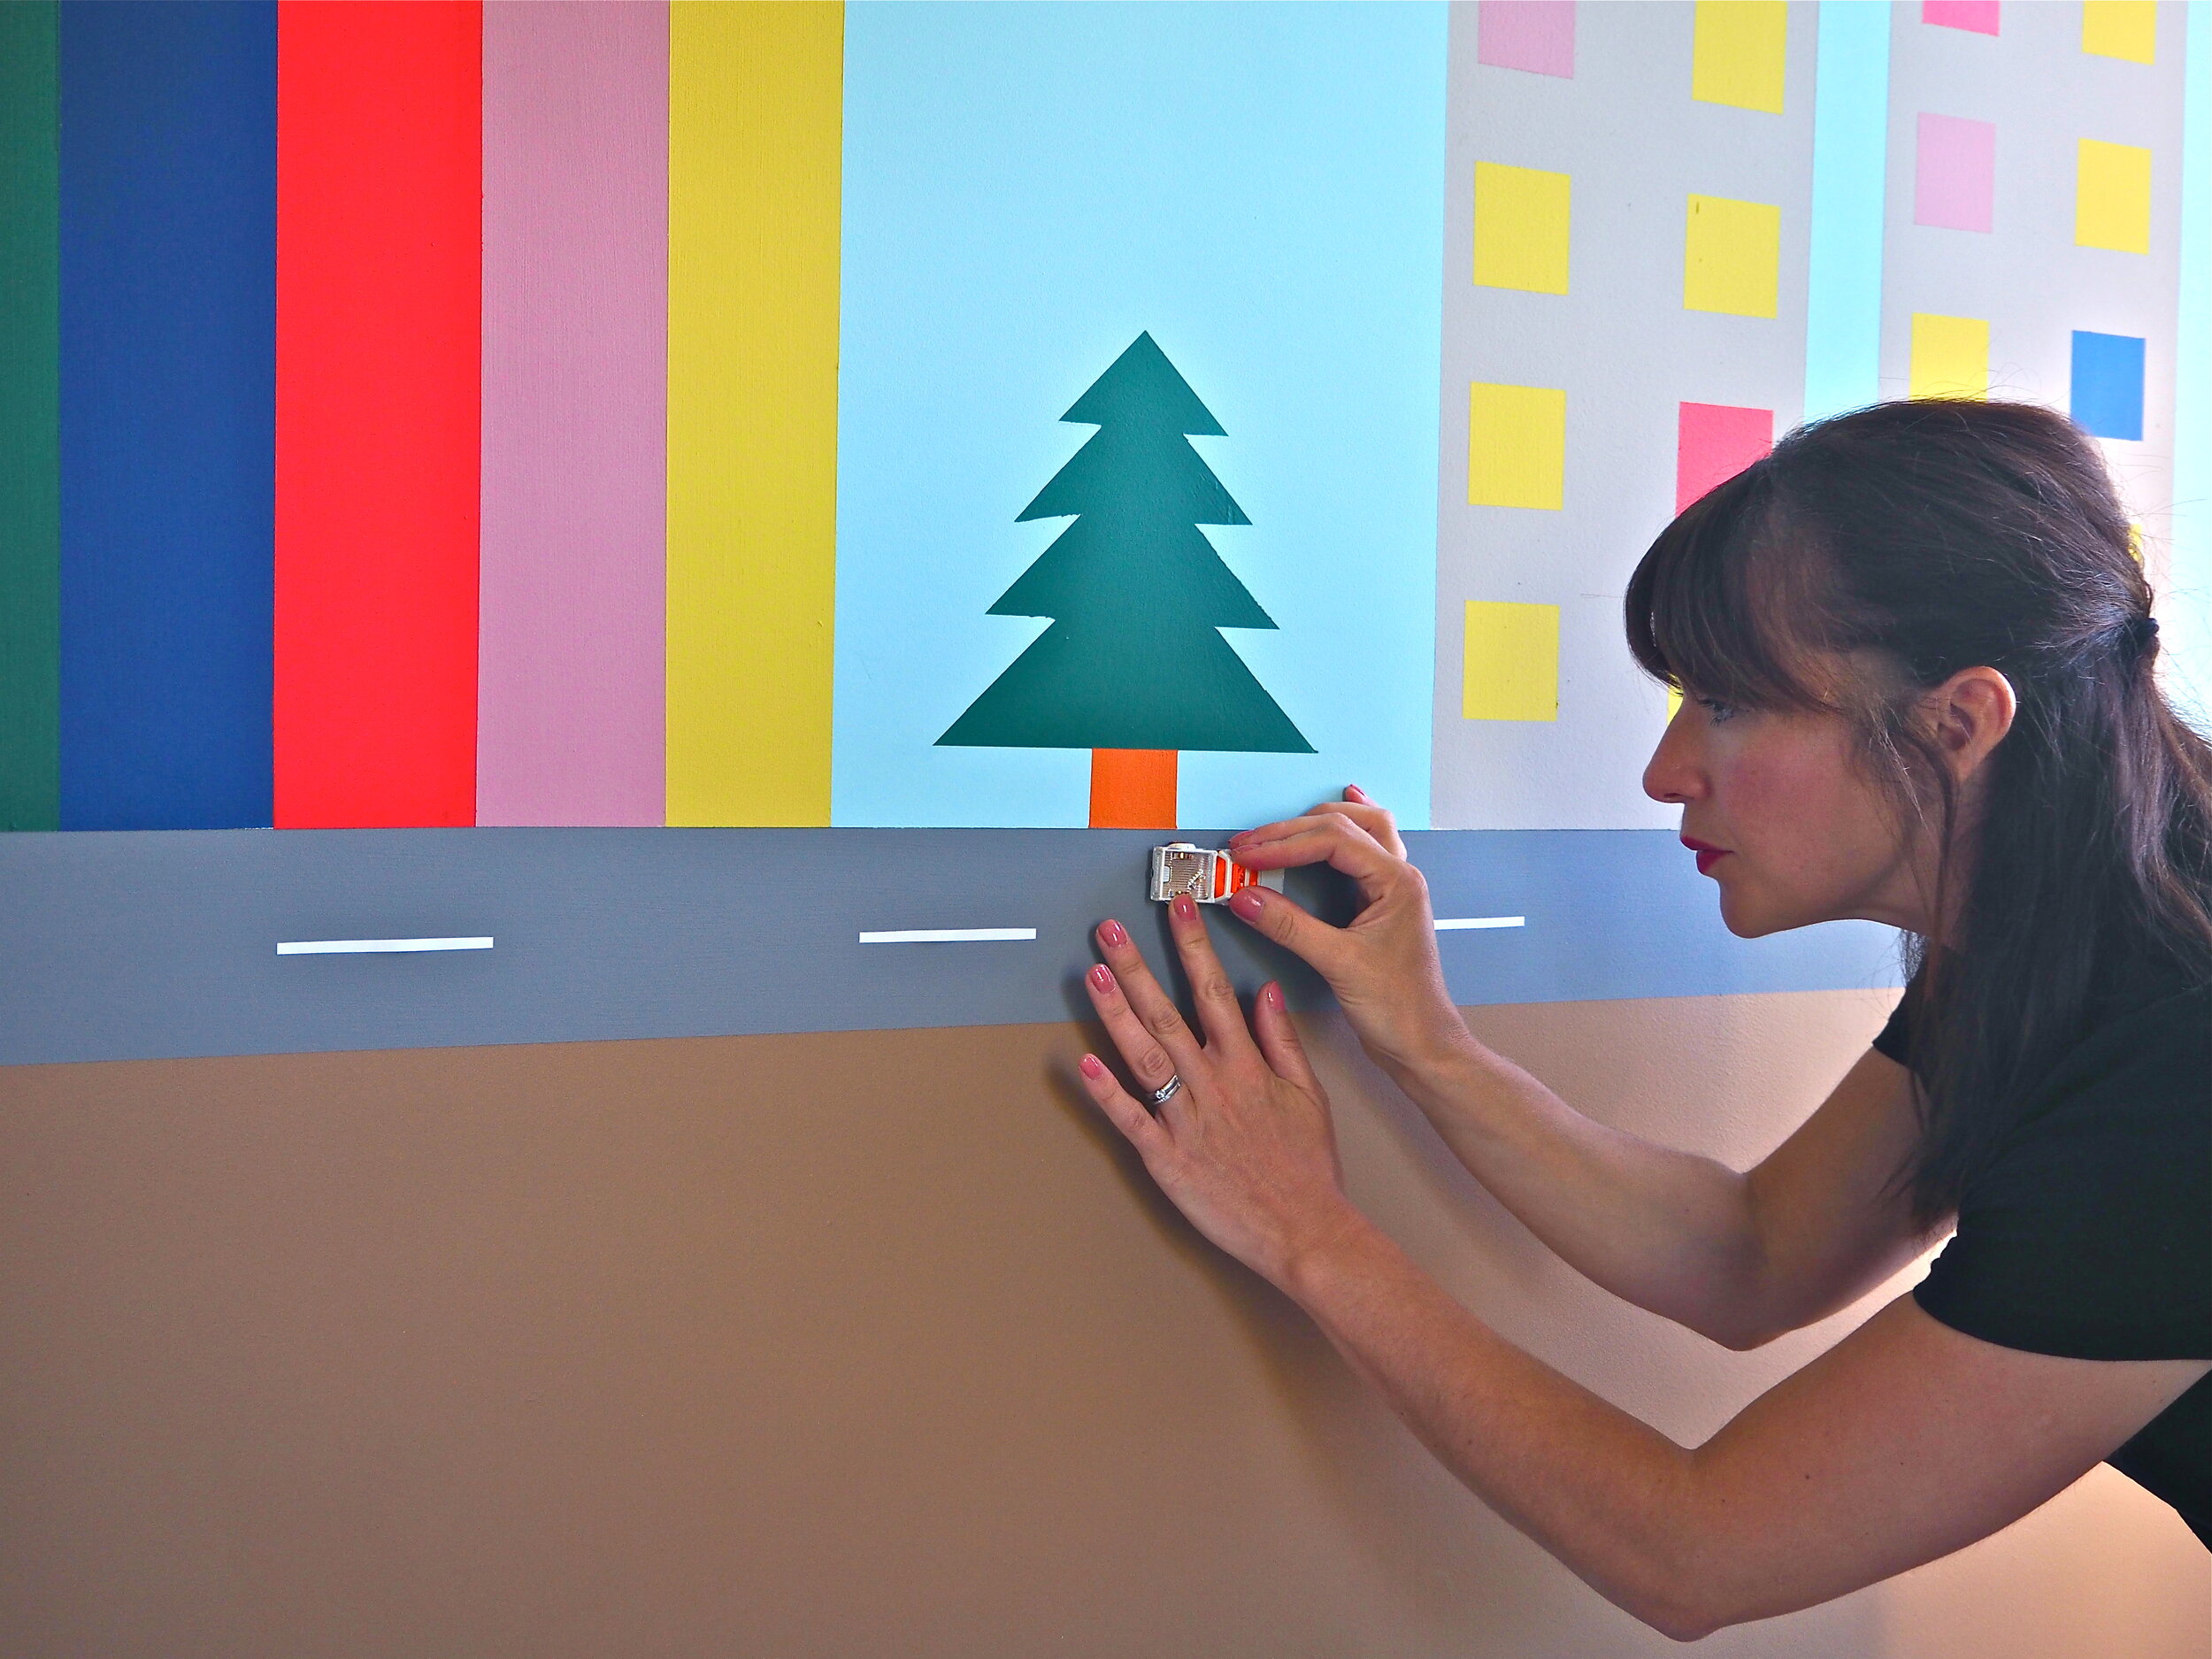
This is the final result! Doesn’t it look great? It provides a real level of visual interest and stimulation for a child in their bedroom, all done on a low budget.

If you enjoyed this DIY with Gorilla products, please do check out my other projects with the brand below….