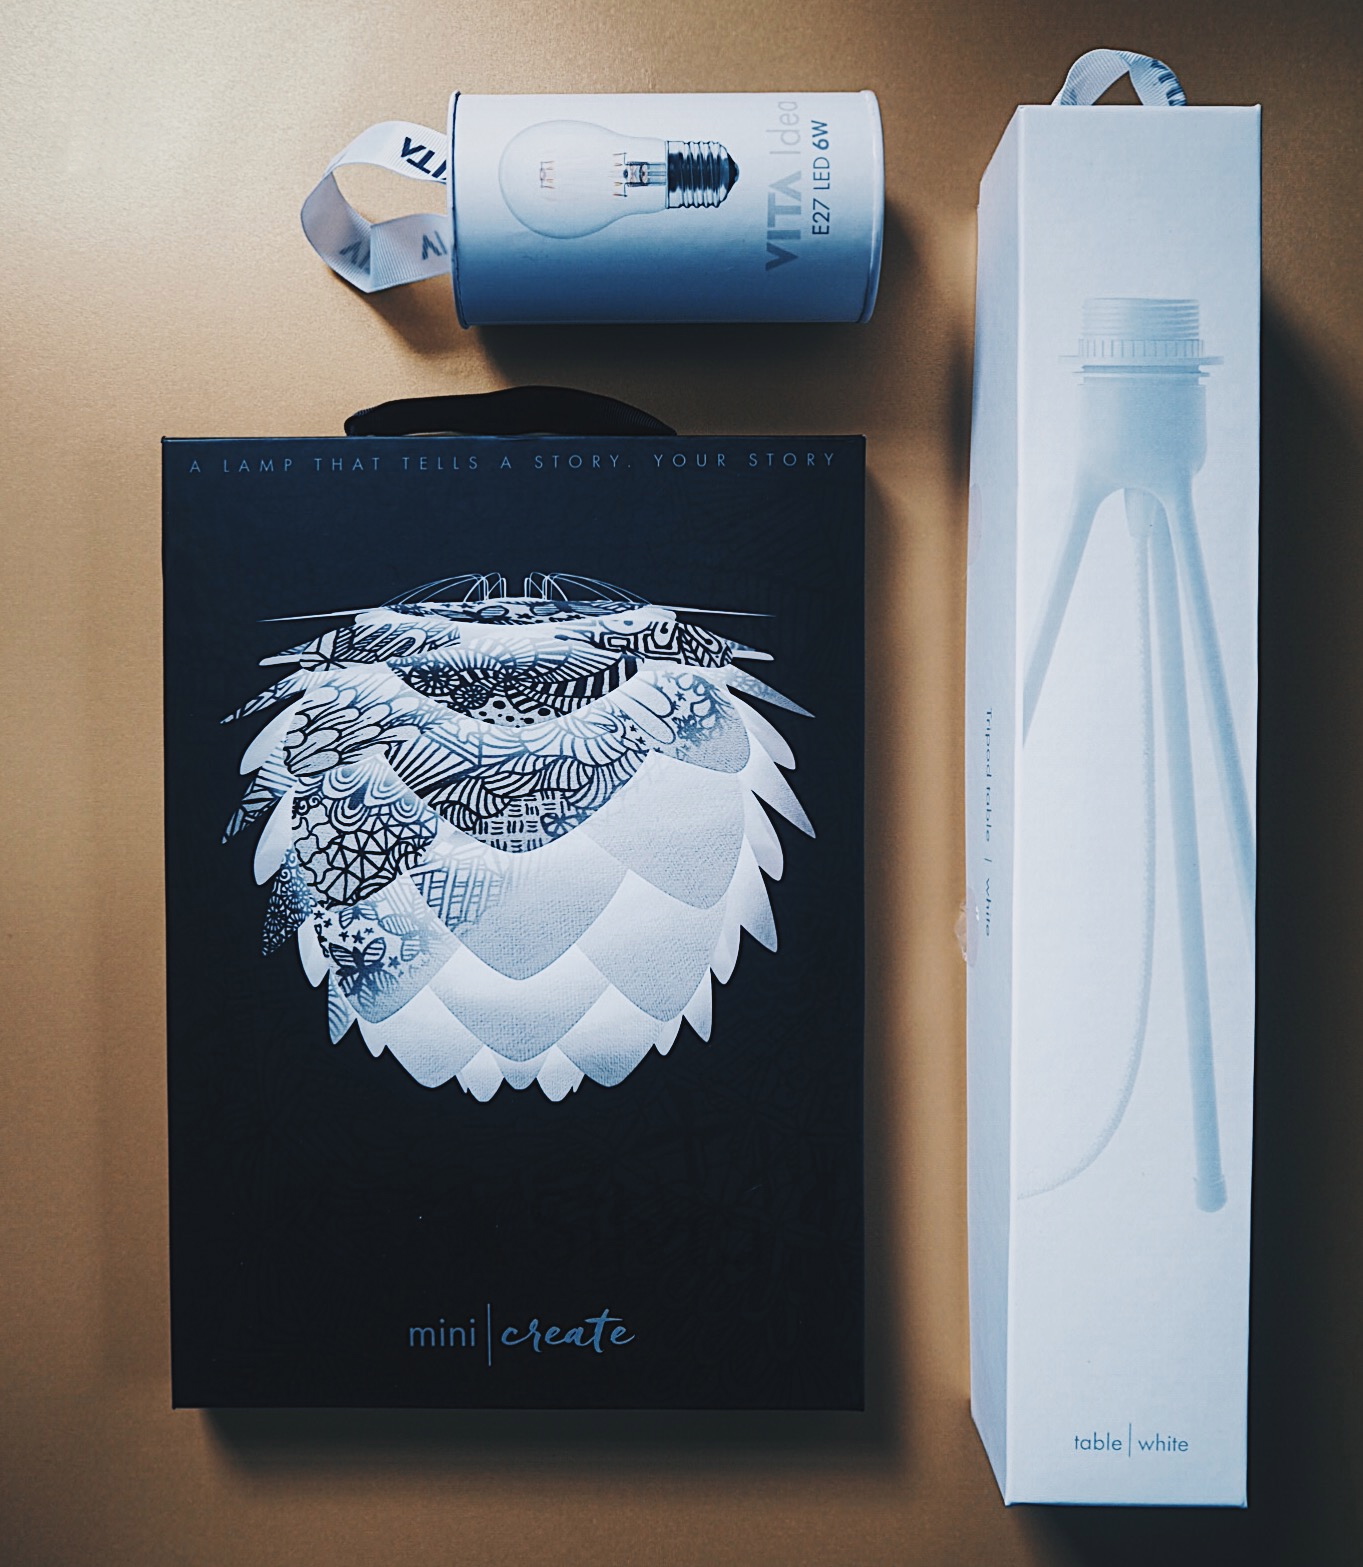
Why I Love Simple Plug-In Sconce Wall Lights (And What To Do If You Hate The Cable)

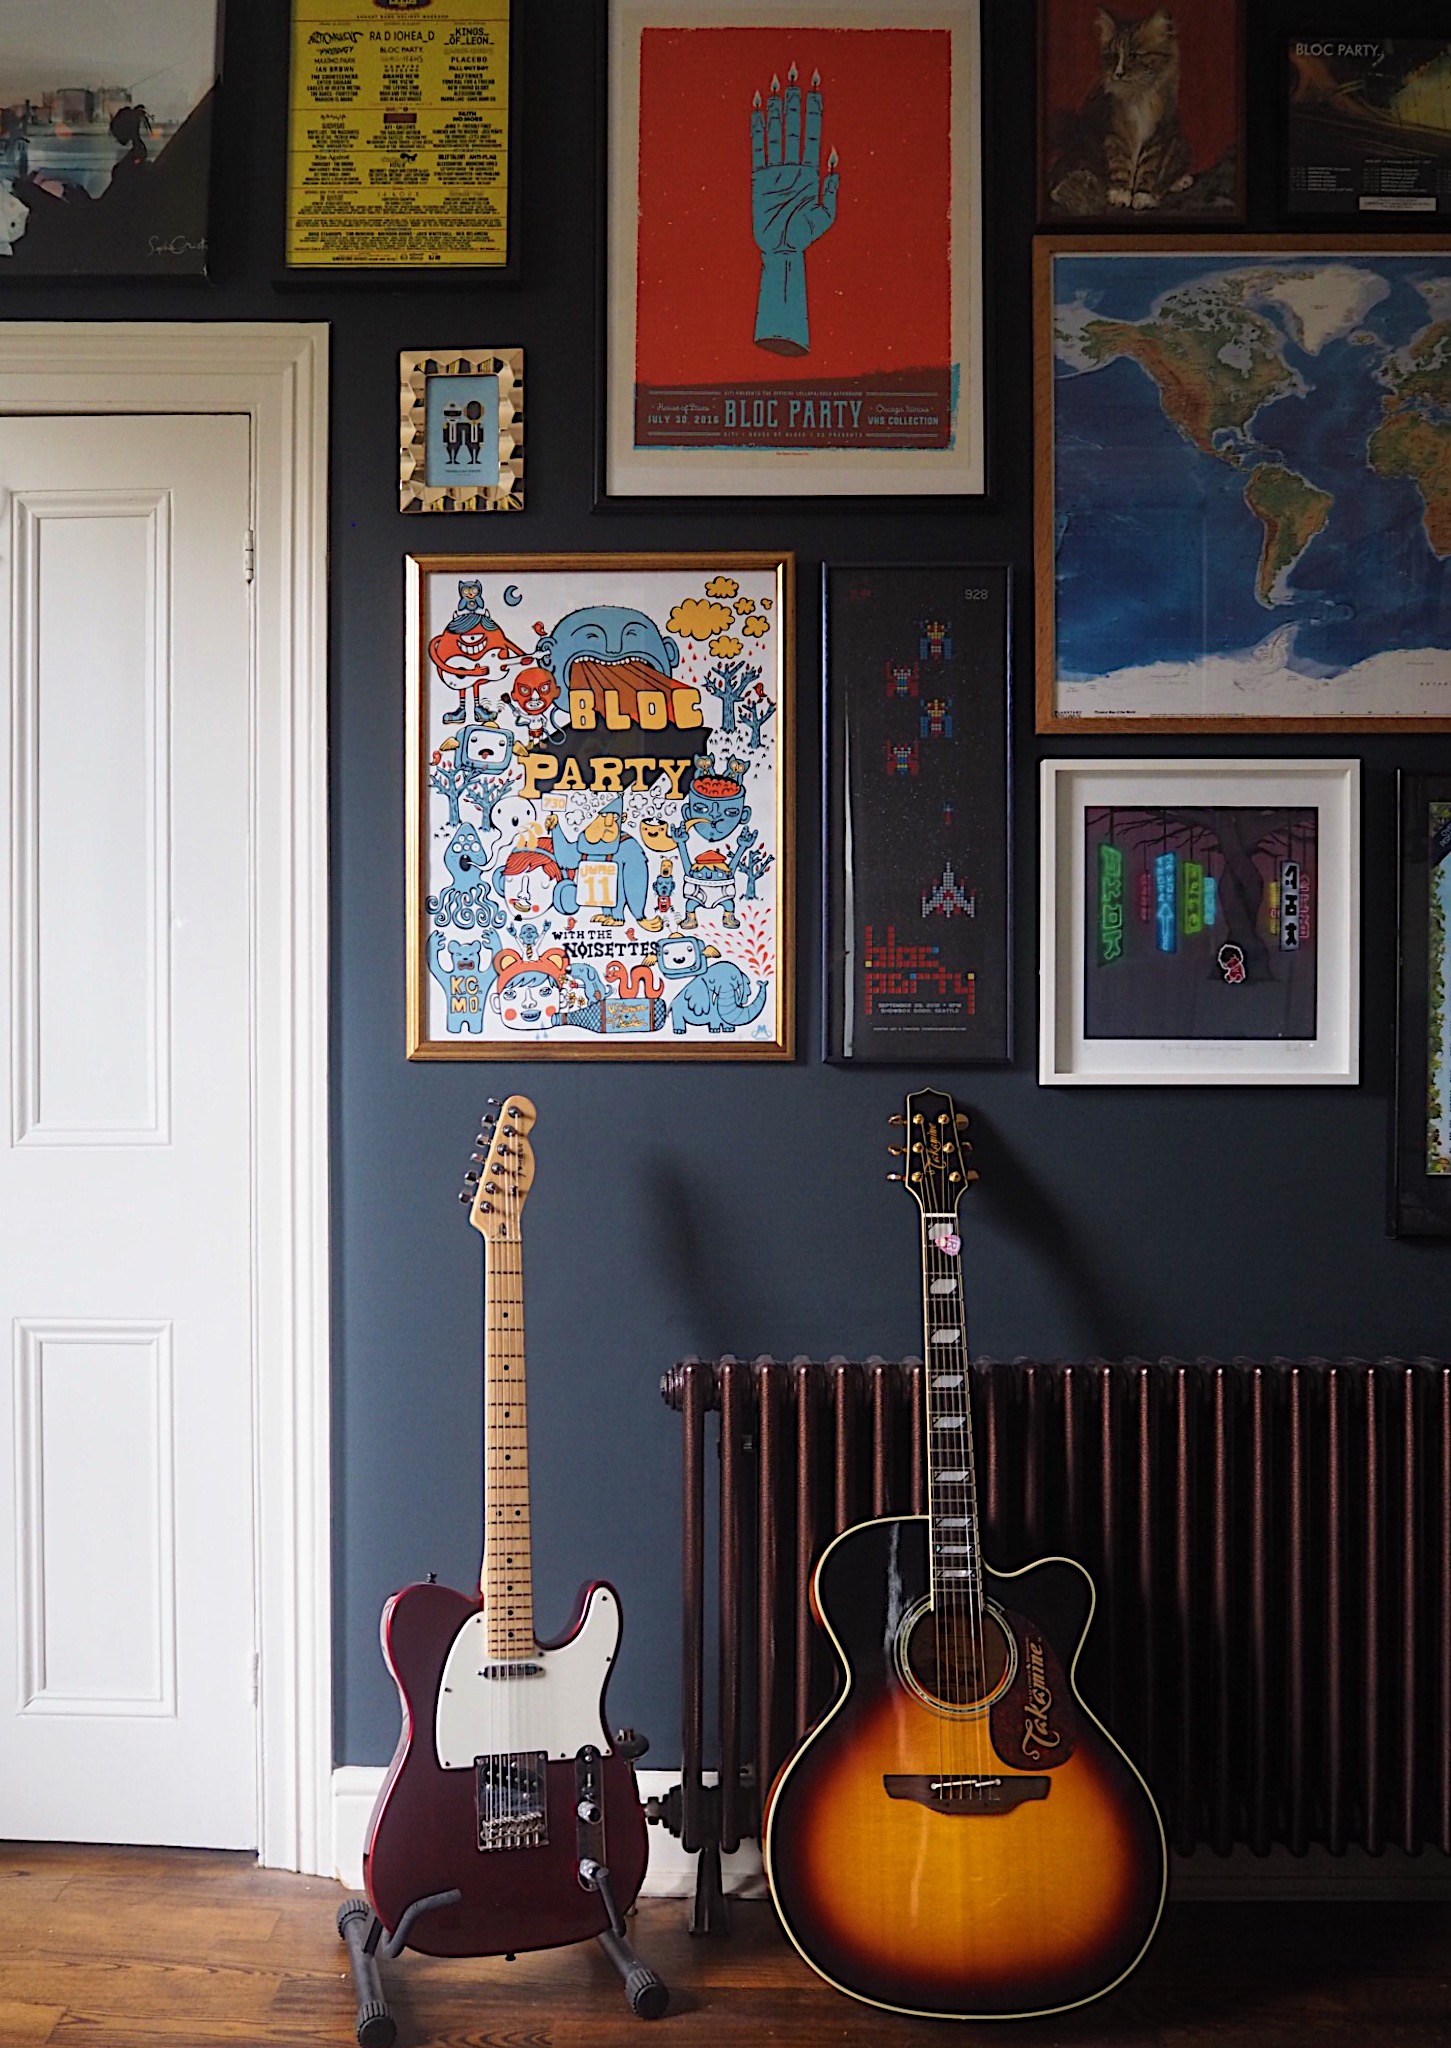
Wall lights seem to be a bit of a controversial issue - people either love them or hate them. For some, they are a stylish way to add lighting in a room. For others, wall lights are super-dated, and ceiling lights with floor & table lights for atmospheric lighting are preferred. For me personally, I love wall lights. The space-saving properties of them alone make them a winner in my book. By having a wall light as opposed to a lamp on my bedside table, I have more space for magazines / flowers / half-drunk cups of tea and so forth. I think they also can add a real feature to a wall, the same as an artwork or styled shelf can. A beautiful wall light will create a focal point.

Read More

Celebrating Chelsea Flower Show 2017 with pretty pastel paint colours inspired by flowers

Chelsea Flower Show 2017 begins on the 23rd of May. The annual flower show is always a highlight for me as I find it a huge source of inspiration. I do not visit it every year, but I always absorb myself in the TV coverage to find out what's the new 'it' flower for 2017, and who has designed the best show-garden.

Read More

Get Inspiration For Your Own Home From The Interior Sets At Grand Designs Live

This week I popped along to the Grand Designs Live exhibition at London's GIGANTIC ExCeL Convention Centre (seriously, I got lost in the building, wandering into another exhibition by mistake). Even though it would be amazing to build my own home, I'm quite happy in the already-built home I live in, so it was interiors rather than architecture that I was after at the show.

Read More

From Country Style To Contemporary - How To Transform A Kitchen

We all know that kitchens are the area of the home that can suck away all our hard-earned cash. The units, worktops, fixtures and fittings - all these things often cost a lot of money. I know people who have been put off purchasing a home as the kitchen has not been to their taste or style, and they can't afford to also purchase a sleek, shiny new kitchen on top of the property price.

Read More

Celebrating London Craft Week 2017: Upholstery With Shoreditch Design Rooms

Next week (from May 3rd - 7th, 2017) is London Craft Week. Now in its third year, this annual event is all about celebrating creativity and craftsmanship, with 230 events happening over the space of the week in the city. Last week I attended one of these events, the launch party for Heal's Modern Craft Market, and instantly navigated towards the stand hosted by Shoreditch Design Rooms. Based in East London, Shoreditch Design Rooms are successful upholsterers who offer training classes to the public ranging from leisure classes (where you can work on your own piece of furniture), to accredited courses for a diploma qualification in upholstery.

Read More

Creating Bespoke Interiors On A Budget - Being A Guest Speaker At The Ideal Home Show In London!

Since starting this blog I've been able to do some seriously cool stuff. It has also opened up a number of opportunities for me career-wise that I would NEVER have been given without it. However, the email that dropped in my inbox on one of the last days of February really had me spluttering out my cup of tea. It was from the PR people behind the Ideal Home Show, asking me to give them a call in regards to doing a couple of presentations on the Interior Styling Stage at the event towards the end of March.

Read More

Before & After: How I Designed The Shared Home Office


I'm so happy to be able to finally reveal to you the home office revamp that I have been working on since the start of the year! As I've mentioned in previous posts, me and my husband share this work space in our home and it just wasn't working for either of us. It was the only room in the house that remained decorated by the previous owners, and although the statement red chimney breast and biscuit coloured walls were inoffensive, they weren't exactly great either. Our artwork had been randomly hung all over the place just on the hooks left by the old owners; and with me and my husband working daily in this room, storage was a problem. As you can see in the pictures below, there was no-where to put anything and stuff had just started to build up until it was a TOTAL mess.

BEFORE:

Before: biscuit walls and beige curtains, art hung randomly, stuff EVERYWHERE!

Before: biscuit walls and beige curtains, art hung randomly, stuff EVERYWHERE!

Together with my husband we agreed on the below mood-board. The brief was a contemporary, masculine room which was also appealing to me. We already owned the walnut desk, plain rug and Ellie Vandoorne artwork (available from Rise Art - an ace online art marketplace selecting emerging and established artists), so we decided to choose colours that complemented these existing pieces.

The agreed final mood board for the room.

The agreed final mood board for the room.

My husband really likes blue, so I decided to paint the chimney breast and the opposite wall in 'Railings' by Farrow & Ball. I'd been wanting to use darker colours in the home for a long time, so this was the perfect opportunity to use this dark navy blue hue. The colour on the chimney breast really made the Ellie Vandoorne artwork pop with its yellow background. While on the opposite wall, it was used as a background for a gallery wall to display all the artwork we wanted up in the room in a coherent manner (unlike how they were randomly hung before).

AFTER:

The colour on these walls is 'Railings' by Farrow & Ball. This is the Modular set with ash base from LSA International.

The colour on these walls is 'Railings' by Farrow & Ball. This is the Modular set with ash base from LSA International.

I did not want the room to be completely dark, preferring the chimney breast and gallery wall to be a 'feature', rather than blending in with all one colour. Instead, I painted the far end wall where the desk was placed in 'Clunch' by Farrow & Ball, which is a white that I prefer to others as in our house it always comes across more as a soft grey, rather than a yellow-white.

In the small space that existed on this end wall, I placed a really cheap shelf ladder that I also painted in Railings to blend in. On the shelves I put wire storage baskets for all my paint samples and documents to be tidily contained in one area! To DIY this gold mesh wire notice board click here.

These bowls with beech handles are part of the Disc Collection by LSA International.

These bowls with beech handles are part of the Disc Collection by LSA International.

In the shelving alcove I pasted in this Cole & Son Hicks Hexagon Wallpaper. This created an extra dimension in the room, as well as being a cheaper way to introduce designer wallpaper as this alcove used less than one roll. The black/gold/white colours of the paper tied in with the Railings, Clunch and gold notice board in the room.

With the left over Hicks Hexagon I covered old filing boxes and magazine holders that were going to be used in the room, to keep the room consistent.

Another budget DIY that I carried out to keep costs down was to dye the beige curtains with fabric dye. The existing curtains were in absolutely fine condition, they were just beige and didn't match the new decor. Ideally, I'd have opted for thick, opulent, dark velvet curtains, but I couldn't spend that sort of money when I had perfectly good quality lined curtains in the room. Instead, I brought some navy fabric dye from Hobbycraft and dyed the beige curtains dark blue. The curtains had a polyester stripe in the pattern which did not dye, but the cotton part and the lining dyed perfectly! I was really happy with the outcome.

This is the Axis Vase Trio with Ash Base by LSA International that I am using to store my multitude of gold paperclips!

This is the Axis Vase Trio with Ash Base by LSA International that I am using to store my multitude of gold paperclips!

To keep the room masculine, I used a lot of stationary containers by LSA International made of material such as glass, leather and wood. These LSA pieces not only look beautiful to be on display, but are totally practical! I found that by using 'display-worthy' storage on shelving units, you could fit a lot more in one place and it looked tidy and stylish, not chaotic and cramped!

Amazingly, me and my husband now have a work room which suits both our tastes! Craft items co-exist with music equipment, and thanks to choosing the right pieces it all works.

What do you think of our new he-she office? Leave your comments below!

* Huge thank you to Farrow & Ball, Cole & Son, LSA International, Rise Art and Sainsbury's who gifted items featured in this post. Please note that this post also contains some affiliate links, which basically means if you shop this look via this post I'll get a small commission.

The Top 5 Finishing Touches That My Home Would Not Be Complete Without

A well designed room really comes down to the finishing touches. Those last pieces that pull the whole look together. If you do not add in finishing touches, a room will lack depth, texture, and that 'cosy' feeling will just be absent. I've therefore listed my top five finishing touches below for you that my home would just not be complete without!

Read More

Make this Decorative DIY Feather Wall Hanging

The lovely ladies behind MiaFleur recently provided some gorgeous gold champagne flutes for an Instagram competition that I wanted to run in celebration of my blog turning a whole year old! I definitely owed them one, so when they challenged me to a guest post for them on a DIY feather wall hanging, how could I refuse?

Read More

Create A Pretty Easter Display With Painted Branches & Hanging John Lewis Decorations

The Easter Bank Holiday falls three weeks later than last year for 2017, so its after the school holidays. For those of you with children to entertain, or for those of you with dogs to walk, I thought I'd share with you my 'Easy Easter Tree'. This tree costs virtually nothing to make, but provides a beautiful focal point in your home over the Easter break. All you need is a bit of branch collecting and some left over white paint!

Read More

Trying To Decide On The Right Chesterfield For The He-She Home Office

If you have been witness to my Instagram Stories recently, you'll see that I have been redesigning and redecorating the home office that myself and my husband share. As previously mentioned, the home office that was once promised to my husband as solely his room when we brought this house, has now also been taken over by me with the launch of the blog! The home office therefore needed a complete overhaul to accommodate all his work stuff, plus all my blog and interior design bits (mainly consisting of paint charts from every paint brand know to (wo)mankind).

Read More

DIY Pastel Easter Door Wreath Made From Cheap Plastic Eggs

For my Easter door wreath this year, I wanted to make something really full-on and dramatic.  I feel like i've achieved that with this egg-tastic door wreath! This wreath was really cheap to make, but it wasn't the quickest thing to knock up. If like me you are dedicated to the cause of having the best Easter wreath in town for a few quid, then read on my like-minded friends...

Read More

Brainstorming On How To Stop The Guest Bedroom From Being Boring

We have a small guest bedroom in the basement of our home with an en suite, which is basically my mums room as she stays every other week or so. When we moved in, the room was painted the same shade of magnolia every other room in the house was painted, so I gave it a couple of coats of Teresa's Green by Farrow & Ball. Even though I still love this paint colour, the room seems, well, so boring. When I go into the room it is completely uninspiring. It doesn't help that the furniture in the room is all 'left overs' taken from different rooms we brought with us from our old house. These are 'make do' items that the room needs functionally, but haven't been brought to complement the room, or the other items in it.

Read More

Style Challenge With The VITA Copenhagen Silvia Mini Create


A little while ago my lovely friend Jenny from the award-winning Seasons In Colour blog got in touch and said "You're crafty, fancy a styling challenge in collaboration with the VITA copenhagen Silvia Mini Create?"

Now the VITA copenhagen Silvia is quite iconic. The fanned 'leaves' create that globe artichoke effect that is unmistakably Danish in design. VITA copenhagen have manifested this design from it's original white form to also be available in a choice of metallics and a 'mini' version for table/floor lamps. The latest version is a DIY project, whereby the leaves are made from watercolour paper that can be drawn or painted on to create your very own lighting design.

So, how could I resist Jenny's offer? Apart from being convinced she will wipe the floor with me in the styling challenge (the woman just oozes style and creativity), this was right up my street. You can find a link to Jenny's creation at the bottom of this post!

All the parts of the kit to get started - the shade, table stand and VITA lightbulb

All the parts of the kit to get started - the shade, table stand and VITA lightbulb

VITA delivered to my door everything I needed for my Mini Create - the table lamp base (which just clicks into place easily in seconds), a VITA bulb, and the Mini Create itself, which was packaged as an adorable flat carry pack. Inside the pack was the shades structural elements, along with the leaves that you popped out of the watercolour paper. You get extra leaves in the pack in case some leaves go wrong or you decide to start again. You can also buy a new complete pack of the leaves for £39 if you decide to change your lamp later further down the line.

3A4C79B3-02F4-4F54-B684-1CDCE6CABF64.jpg

As I had recently decorated my living room blue with elements of pink, I decided that I was going to create an ombre pink effect on my Silvia Mini Create. This would mean my lamp would fit in with the scheme of the room, while the ombre effect was a bit modern (I've been wanting to ombre my hair for ages but chicken out as I think I'm too old now to pull it off!)

I purchased a rose pink watercolor from my local craft store, then set about testing how I would ombre each leaf.

Using a small brush, I added a tiny amount of the pink paint to the tip of a leaf, then gradually added water, working the paint upwards so that it got lighter and lighter and the top was a very pale pink. I repeated this for all the leaves, which I was actually relaxing and enjoyable to do. Perfect for a lazy, crafty Sunday.

While my leaves were drying I put together the structure of the shade, which was a simple slot-in process.

I then slotted in my ombre leaves as per the instructions. This was also simple and they held perfectly.

So this is my pink ombre DIY VITA Copenhagen Silvia Mini Create! It is quite effective in front of the blue walls, and is totally bespoke as it has been created by me!

If you like the sound of the Silvia Mini Create, but don't feel completely 'crafty-confident', you can download ready-made templates from the VITA copenhagen website which you can then print directly onto the watercolour paper and then colour as you wish. There are a number of patterns available from geometric triangles to doodle designs.

So that's mine, come on Jenny show me yours!

* I was gifted all the items to make up the Silvia Mini Create by VITA copenhagen in order to write this post, to which I am super grateful! Massive huge thank you to Jenny from the continuously brilliant Seasons In Colour for letting me be a part of this challenge with her, and for always supporting me and this blog.

How To DIY A Gold Mesh Metal Wire Notice Board

I'm currently re-vamping our home office as it had turned into a complete disaster area. The home office had belonged to my husband until this blog came along, then unfortunately for him I intruded on this room as well. One of the problems that I caused was that I had paint charts and fabric samples strewn everywhere, and whenever I needed to find one of these quickly, it was in a pile somewhere either on the floor or on the desk.

Read More

Farrow & Ball's Key Colours For Spring 2017 & How I Would Use Them In My Home

I know this blog is meant to be about getting a contemporary look on a budget, and Farrow & Ball tend to be considered as 'posh paint' due to its price point, but I just cannot stress enough how much of a Farrow & Ball fan I am. To me, its often a false economy buying a cheaper paint brand. For application, colour depth and range, Farrow & Ball really cannot be beaten. If you are going to spend money in one area when decorating, spend it on the paint. It's the foundation of the room and what everything else will be based around. With my Farrow & Ball fan-dom you can imagine I was excited to see what the key colours for spring 2017 were going to be for F&B. This season F&B have picked four hues - two dramatic, intense colours alongside two neutral shades.

Read More

How To Reupholster A HeadBoard & Create A Tufted Effect With Buttons


IMG_4368.JPG

My mother-in-law recently asked me to cover an old headboard in her guest bedroom and add in tufted buttons (that trick which creates the plush diamond pattern effect). I'd never upholstered a headboard before, but spurned on by how well my pink velvet bedroom bench came out, I watched a few YouTube videos made by an American upholstery company, made notes, then went about sourcing the items required to do the job.

This wallpaper is called Azul by Harlequin.

This wallpaper is called Azul by Harlequin.

To upholster a headboard you need the following:

  • Upholstery fabric big enough to cover the front of the headboard and be wrapped around the back (around 10 cm from the headboard edge.)

  • A staple gun and staples

  • Self-cover buttons. I brought mine from Hobbycraft.

  • Scissors

  • Tape measure and ruler

  • pencil

  • Really strong thread (not cotton thread).

  • Large needle

  • A drill

The headboard it in it's original form. The colour was nice but the fabric was old and stained.

The headboard it in it's original form. The colour was nice but the fabric was old and stained.

How the headboard looks now.

How the headboard looks now.

First off I laid my fabric face down on the floor, placed the headboard upside down on top, then made sure that I had enough fabric to pull round the edges to the back of the headboard.

Pulling fabric over onto the headboard so that it's taught, I used the staple gun to staple it in place:

Once the fabric was stapled in position, I checked for any loose areas of fabric and pulled and stapled them down so the headboard looked tidy. Double check there are no loose or lumpy areas, then cut away any excess fabric:

Turning the headboard face-forward, I used a tape measure and a ruler to mark where I would like the buttons to be positioned to create the diamond tufted effect. I measured the headboard length-ways from the top of the headboard where I wanted the buttons to start, then divided the area in half. I then marked where the 2 buttons would need to sit and worked down the headboard. The key here is to get your measurements right. Each button should be the exact distance apart, both side to side and up and down from each other. The best way to imagine this is as if to place a grid over the headboard:

Work in a grid pattern when measuring where to place your buttons. Each button should be the exact same distance apart. Please note that this image is an example of how to think about spacing your buttons rather than pattern choice (you can choose l…

Work in a grid pattern when measuring where to place your buttons. Each button should be the exact same distance apart. Please note that this image is an example of how to think about spacing your buttons rather than pattern choice (you can choose lines or a diamond pattern).

I then carefully used a drill to drill a hole through the headboard where each button should be. You have to take great care here to apply pressure right away so your fabric does not get caught in the drill and tear.

Take a snap button, remove the top and then cut a circle of your headboard fabric a few millimetres bigger than your button head. Fold and tuck the fabric around the button head, then snap on the base. Push any loose pieces of fabric into the snap button using the tip of scissors. You can find detailed instructions on doing this here.

Thread your needle, then push your needle through the drill hole you have created on the headboard. Put your finger on the button and slightly push it down, pull your thread tight with your other hand, then staple the thread in place at least 3 or 4 times with the staple gun. I zig-zagged the thread as I stapled it to secure it better. Repeat this for all your buttons!

IMG_4371.JPG

Ta-da! One reupholstered headboard with tufted buttons.

Upholstering this headboard was actually quite easy. Next I'm thinking of trying a chair. Have you re-upholstered with success? If so let me know in the comments section below....

Review: How an Eve Sleep Mattress Actually Saved My Sanity

For over a year, me and my husband had been in mattress hell. Our existing 10 year old mattress was a disaster (apparently you're only meant to have the same mattress for 8 years max anyway?) The springs were pushing out everywhere (no doubt not helped by a toddler who loved jumping on it multiple times a day). Obviously, it wasn't a dream to sleep on. You can see for yourself without even needing to lay down on it that the mattress had seen better days.....

Read More